Your Step-by-Step Guide to Managing Tasks and Projects: Navigating the Dashboard, Projects, and File Uploads
5 mins read · Updated 29 Sep, 2025
STEP 1: Click on "Work" to Access Your Dashboard
- Navigate to the sidebar menu on the left.
- Click on the Work link to view your tasks and projects.
- Ensure you are on the Dashboard page to see your current status and updates.
- After clicking, you will be directed to the relevant section for managing your work activities.

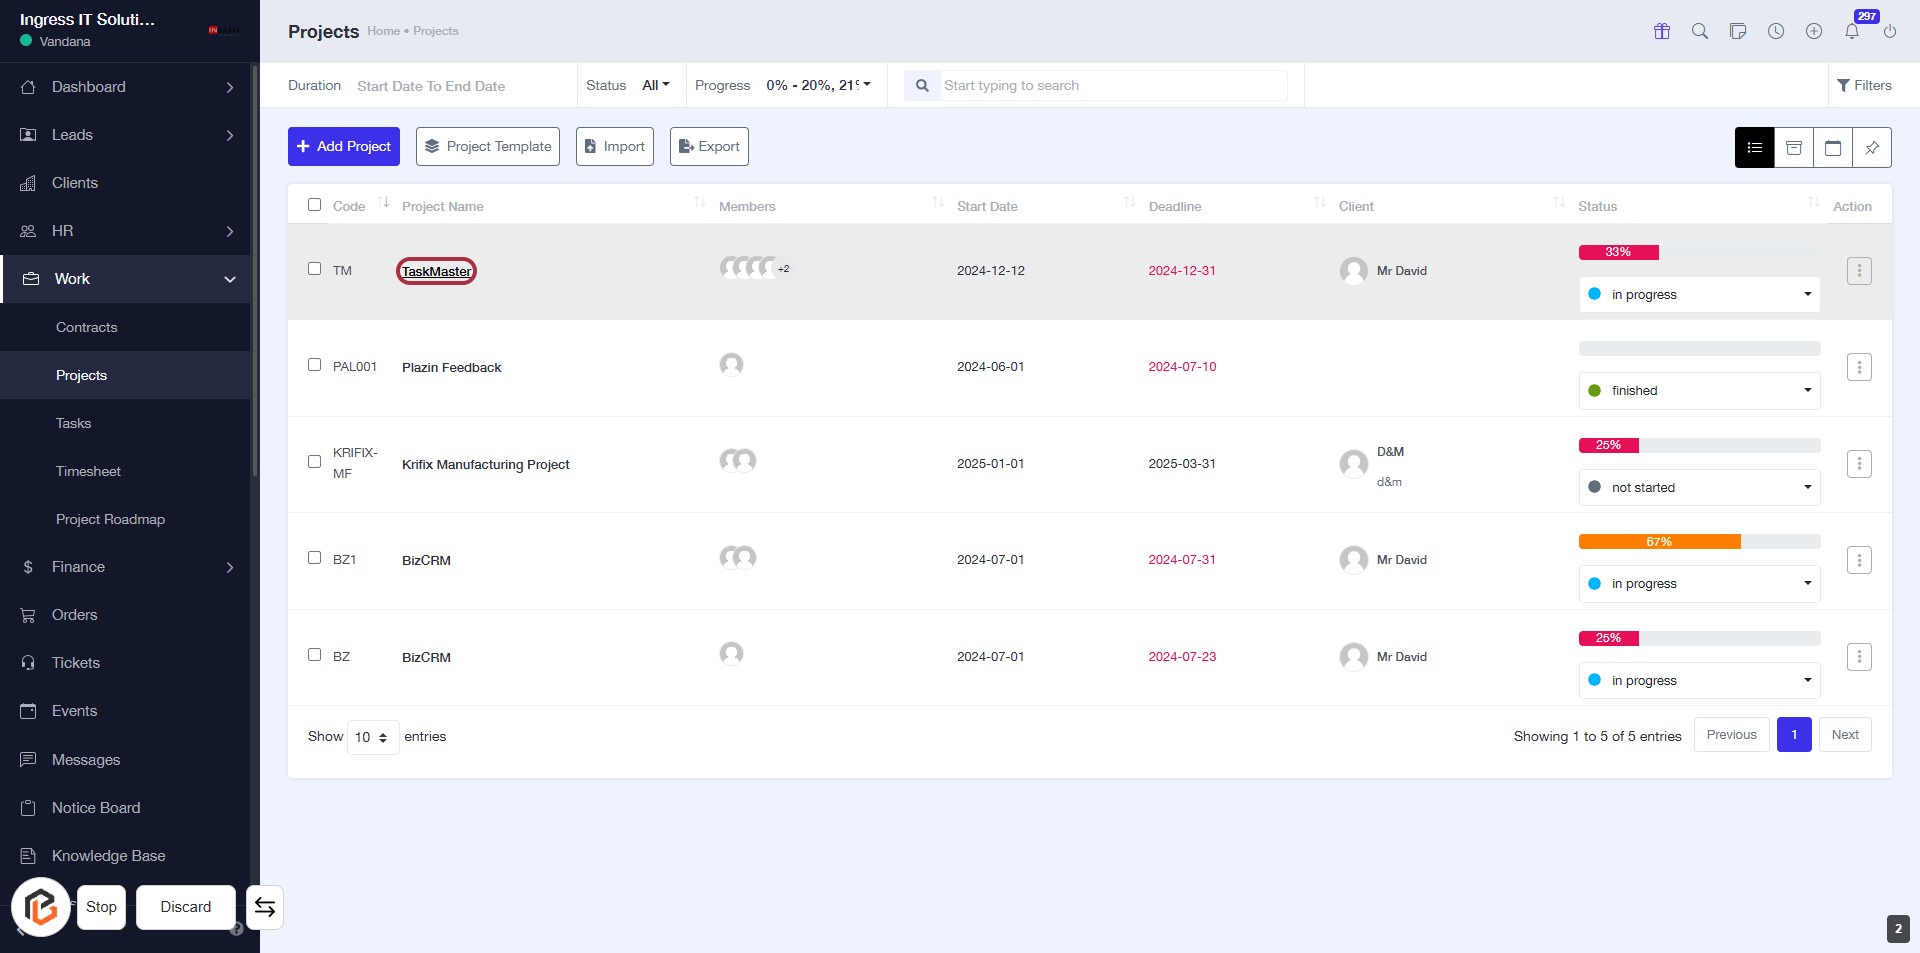
STEP 2: Click on "Projects" to Access Project Overview
- Navigate to the sidebar menu.
- Click on the Projects link highlighted in red.
- This will direct you to the Projects section of your dashboard.
- Ensure you have the necessary permissions to view project details.

STEP 3: Select "TaskMaster" Project
- Click on the "TaskMaster" link in the project list to access its details.
- Ensure you are on the Projects page to see the project overview.
- Review the project information displayed after clicking the link.
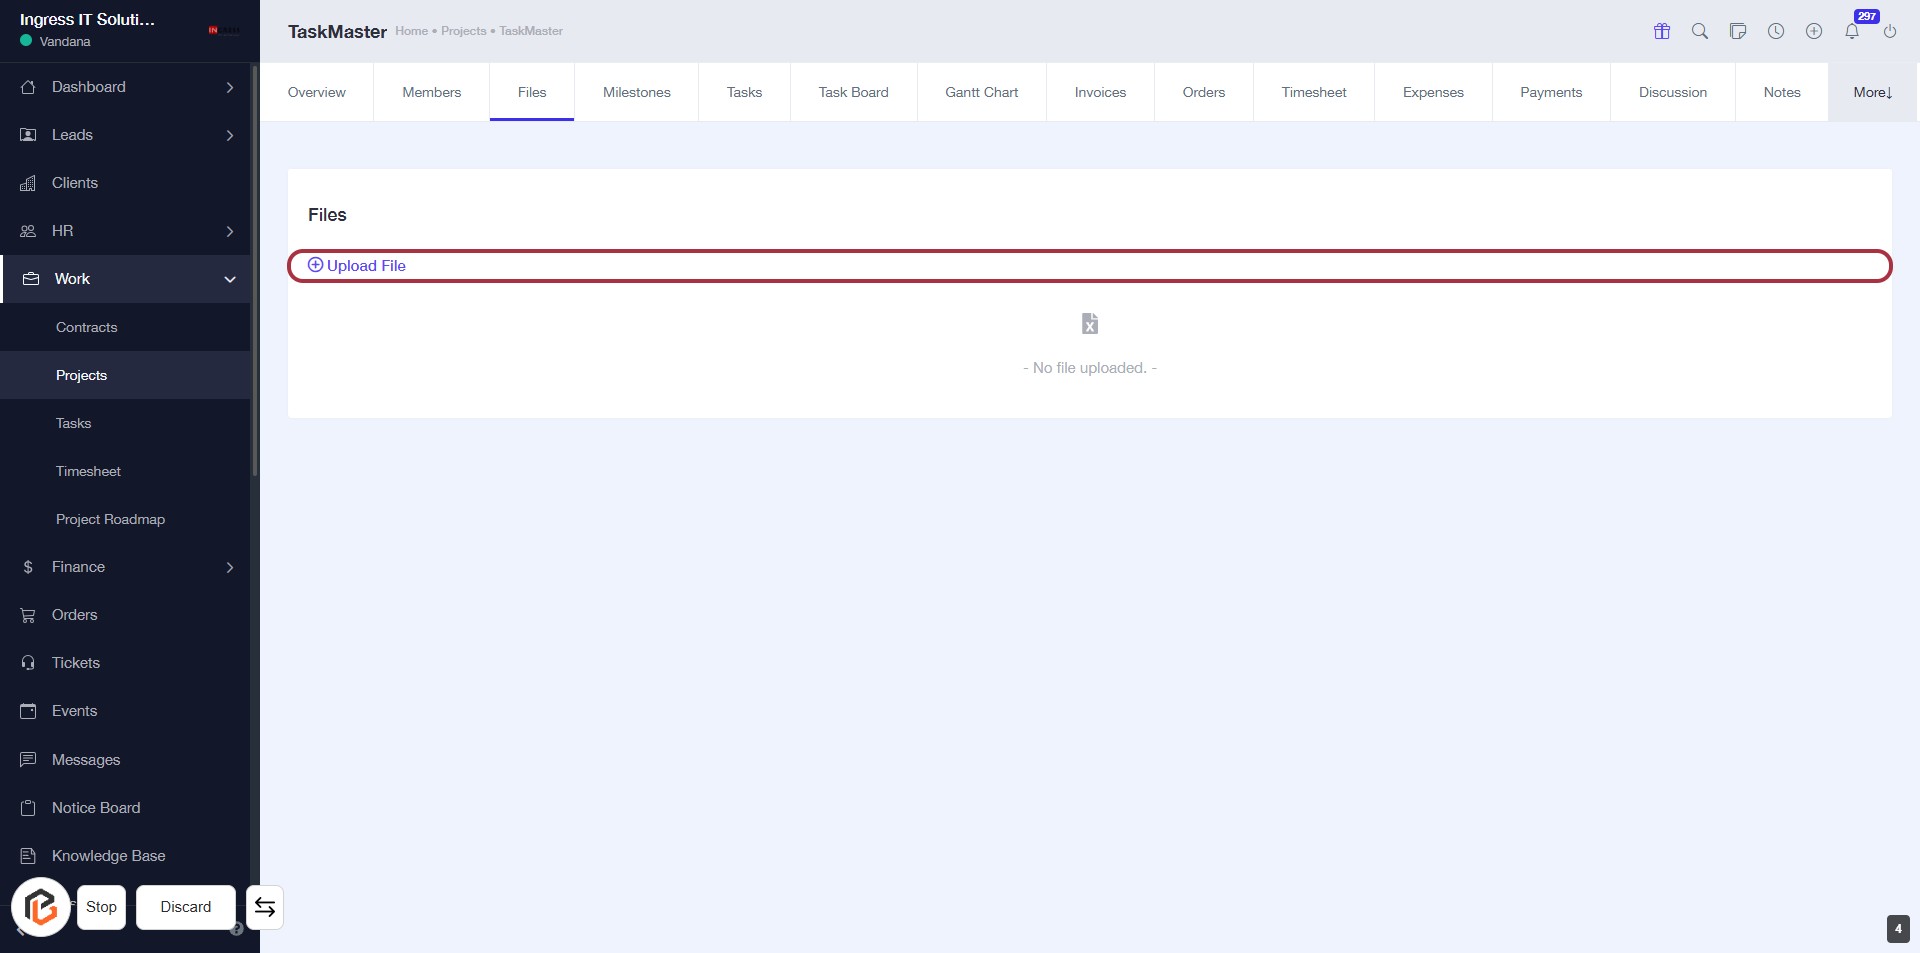
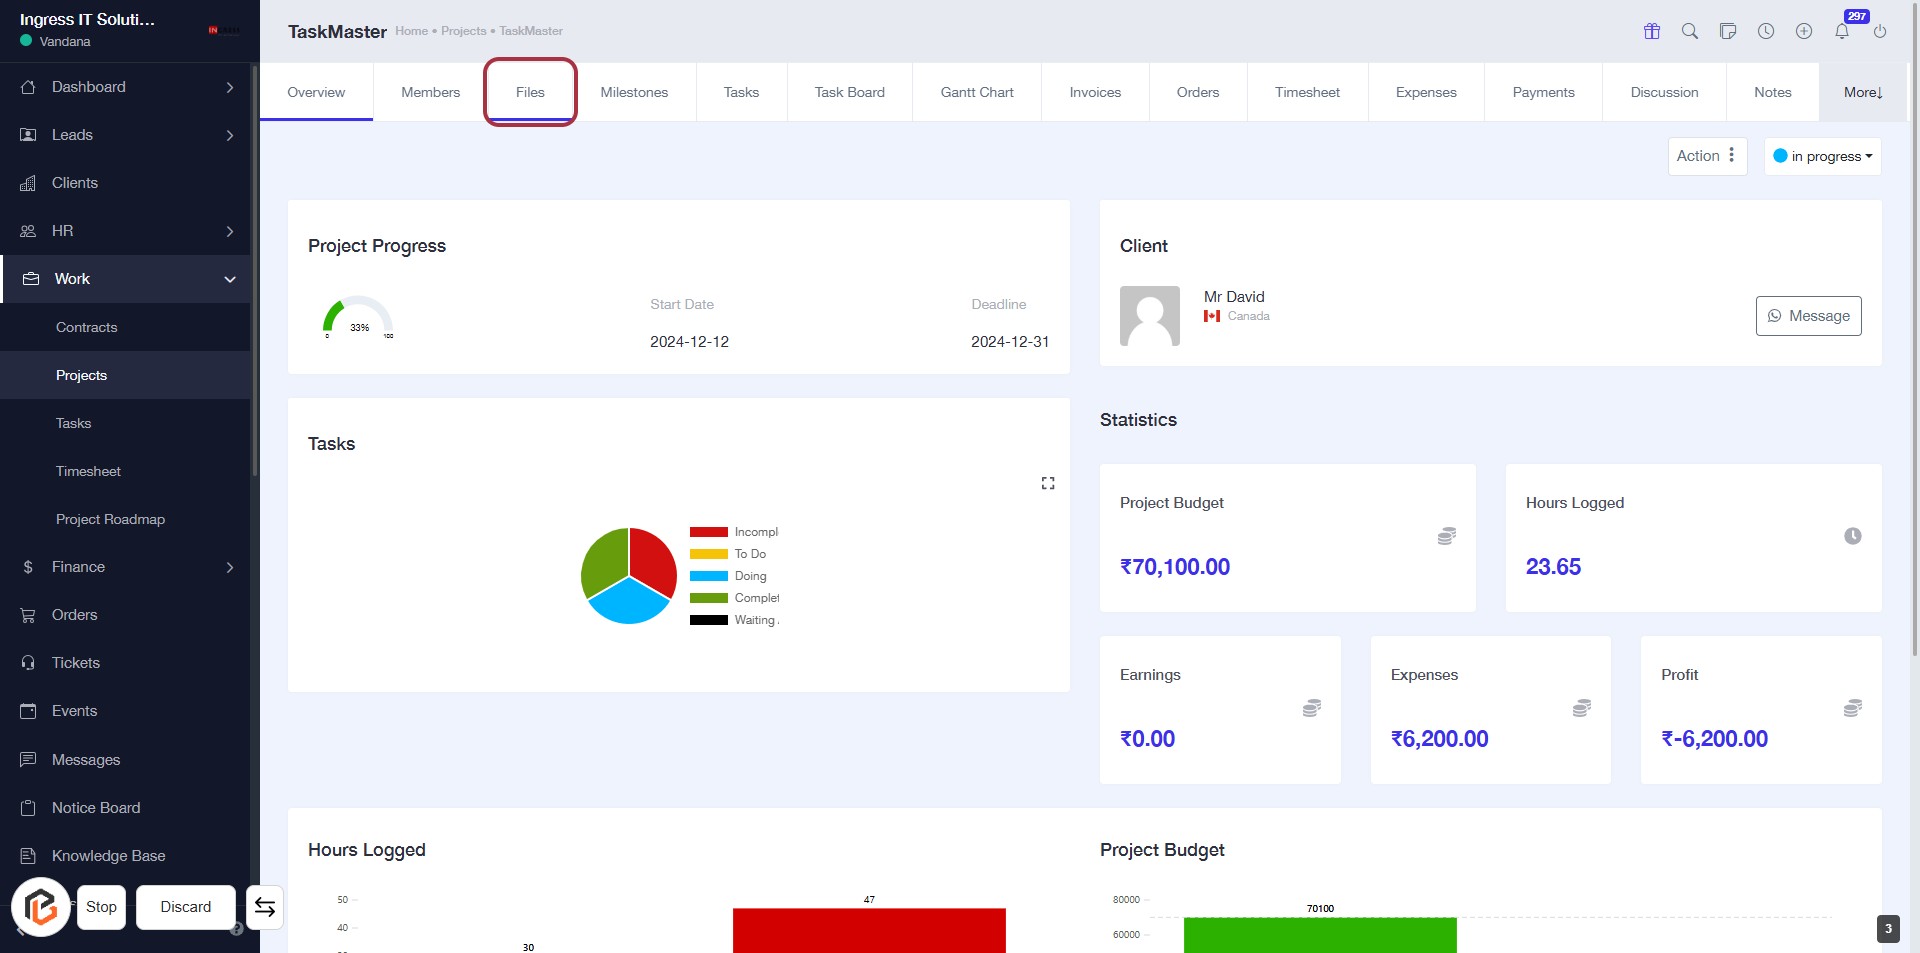
STEP 4: Click on "Files" to Access Project Documents
- Navigate to the "Files" tab in the project dashboard.
- This section allows you to manage and view project-related documents.
- Ensure you have the necessary permissions to upload or view files.
- Next, you will be able to click on "Upload File" to add documents.
STEP 5: Click on "Upload File"
- Navigate to the "Files" section of your project.
- Click on the highlighted Upload File button to initiate the file upload process.
- Ensure you have the file ready for selection after clicking.
- Follow any prompts to complete the upload.