Step-by-Step Guide to Navigating Tasks, Projects, and Discussions in Your Dashboard
11 mins read · Updated 29 Sep, 2025
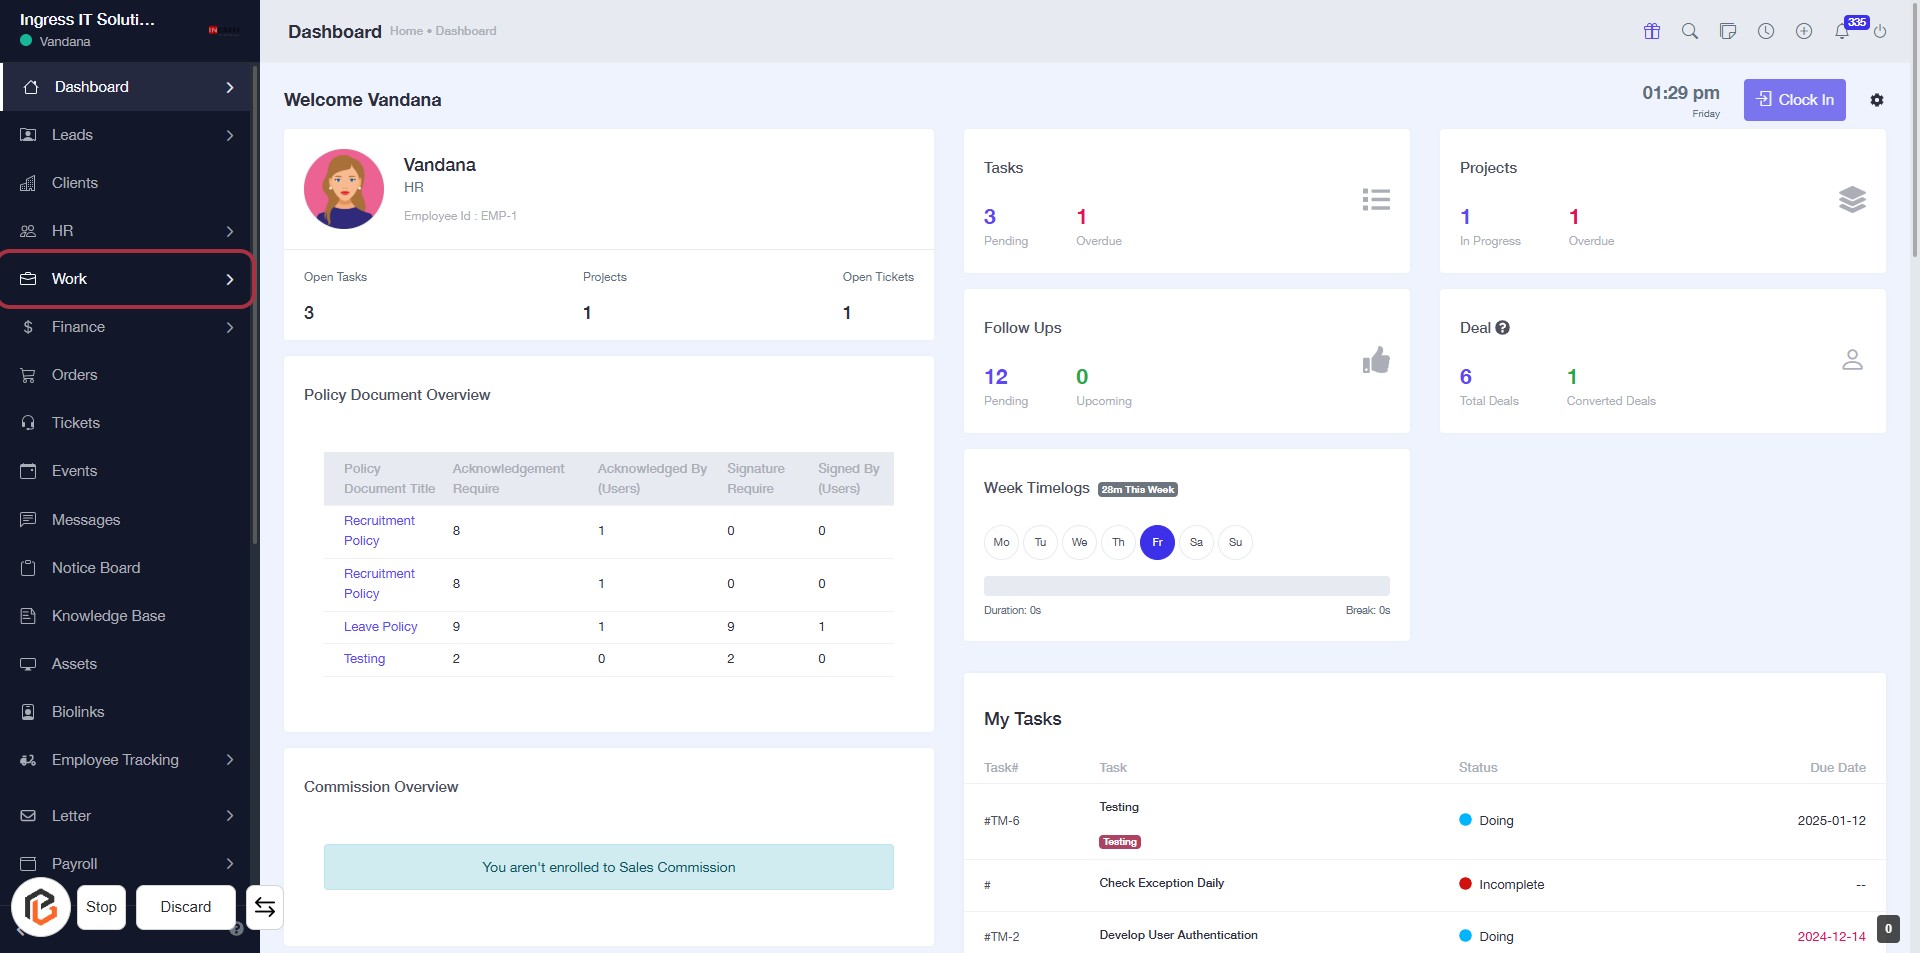
STEP 1: Click on "Work" to Access Your Dashboard
- Navigate to the sidebar menu on the left.
- Click on the Work link to view your tasks and projects.
- Ensure you are on the Dashboard page to see your current status and updates.
- This action will lead you to the next step of accessing Projects.
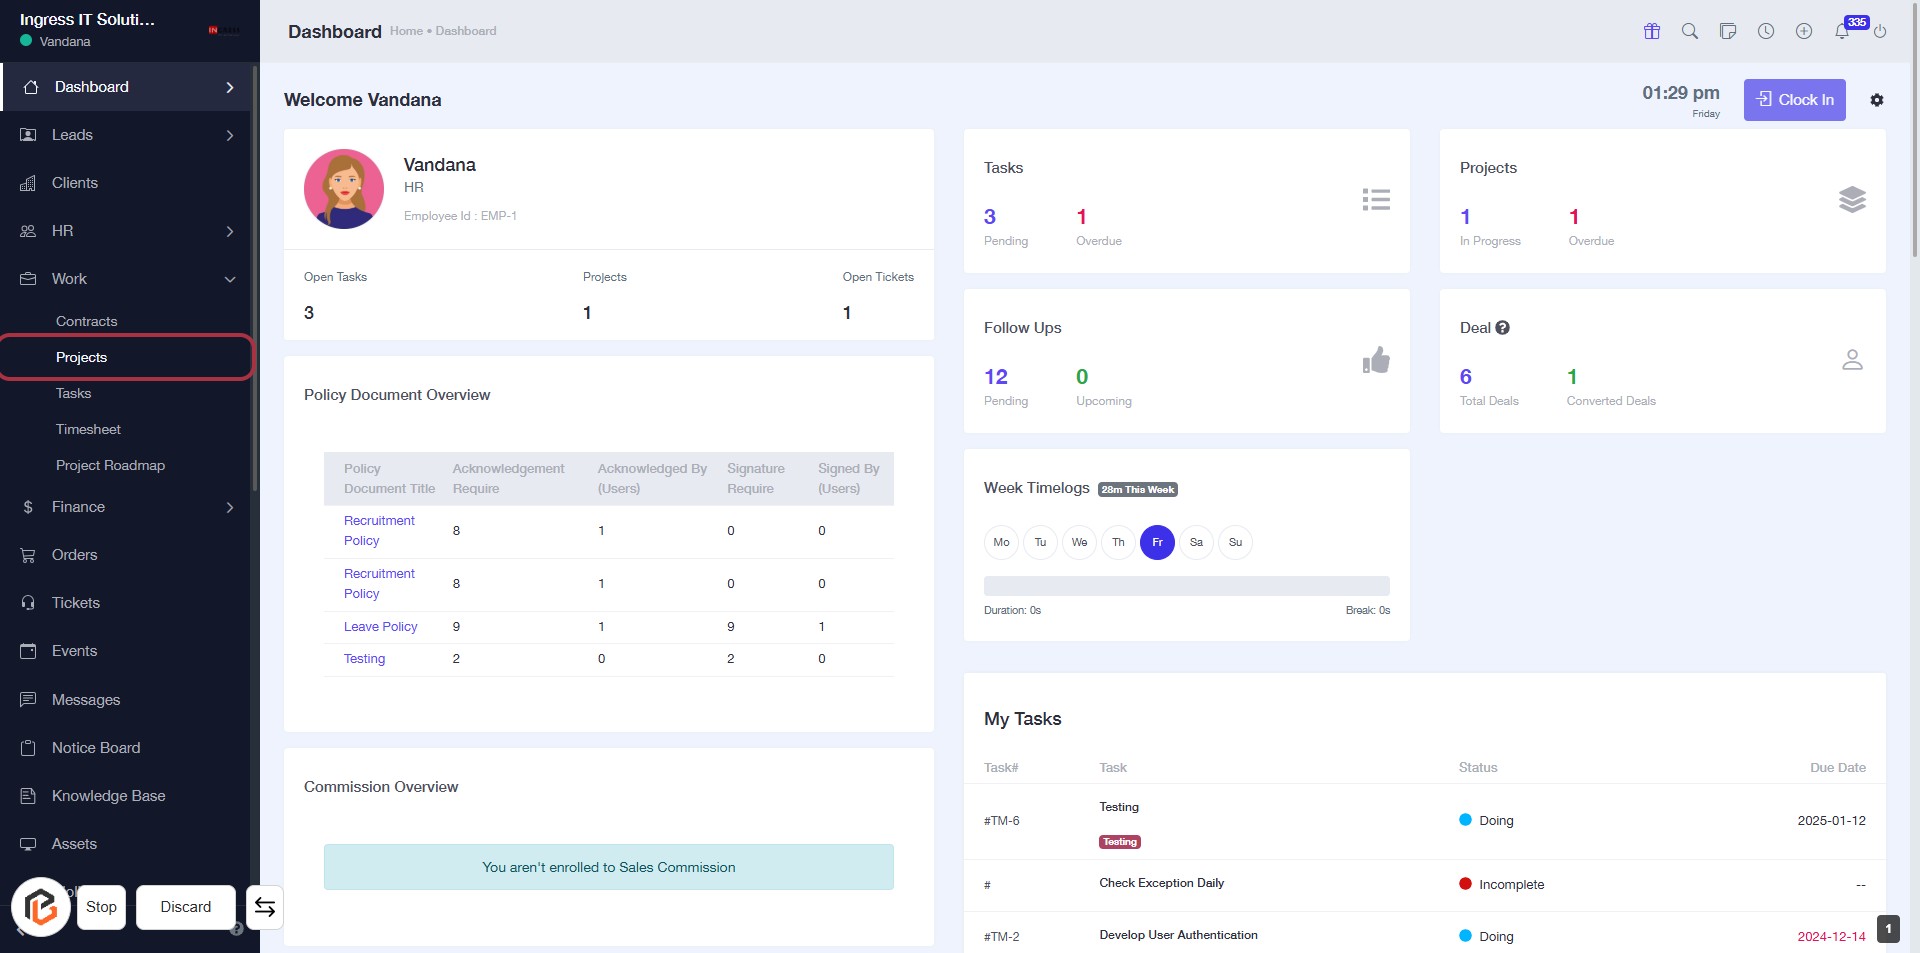
STEP 2: Click on "Projects" to Access Project Overview
- Navigate to the left sidebar and locate the "Projects" option.
- Click on the "Projects" link to view the project details.
- Ensure you check the "Policy Document Overview" and "Commission Overview" sections for relevant information.
- Review your tasks and project statuses displayed on the dashboard.
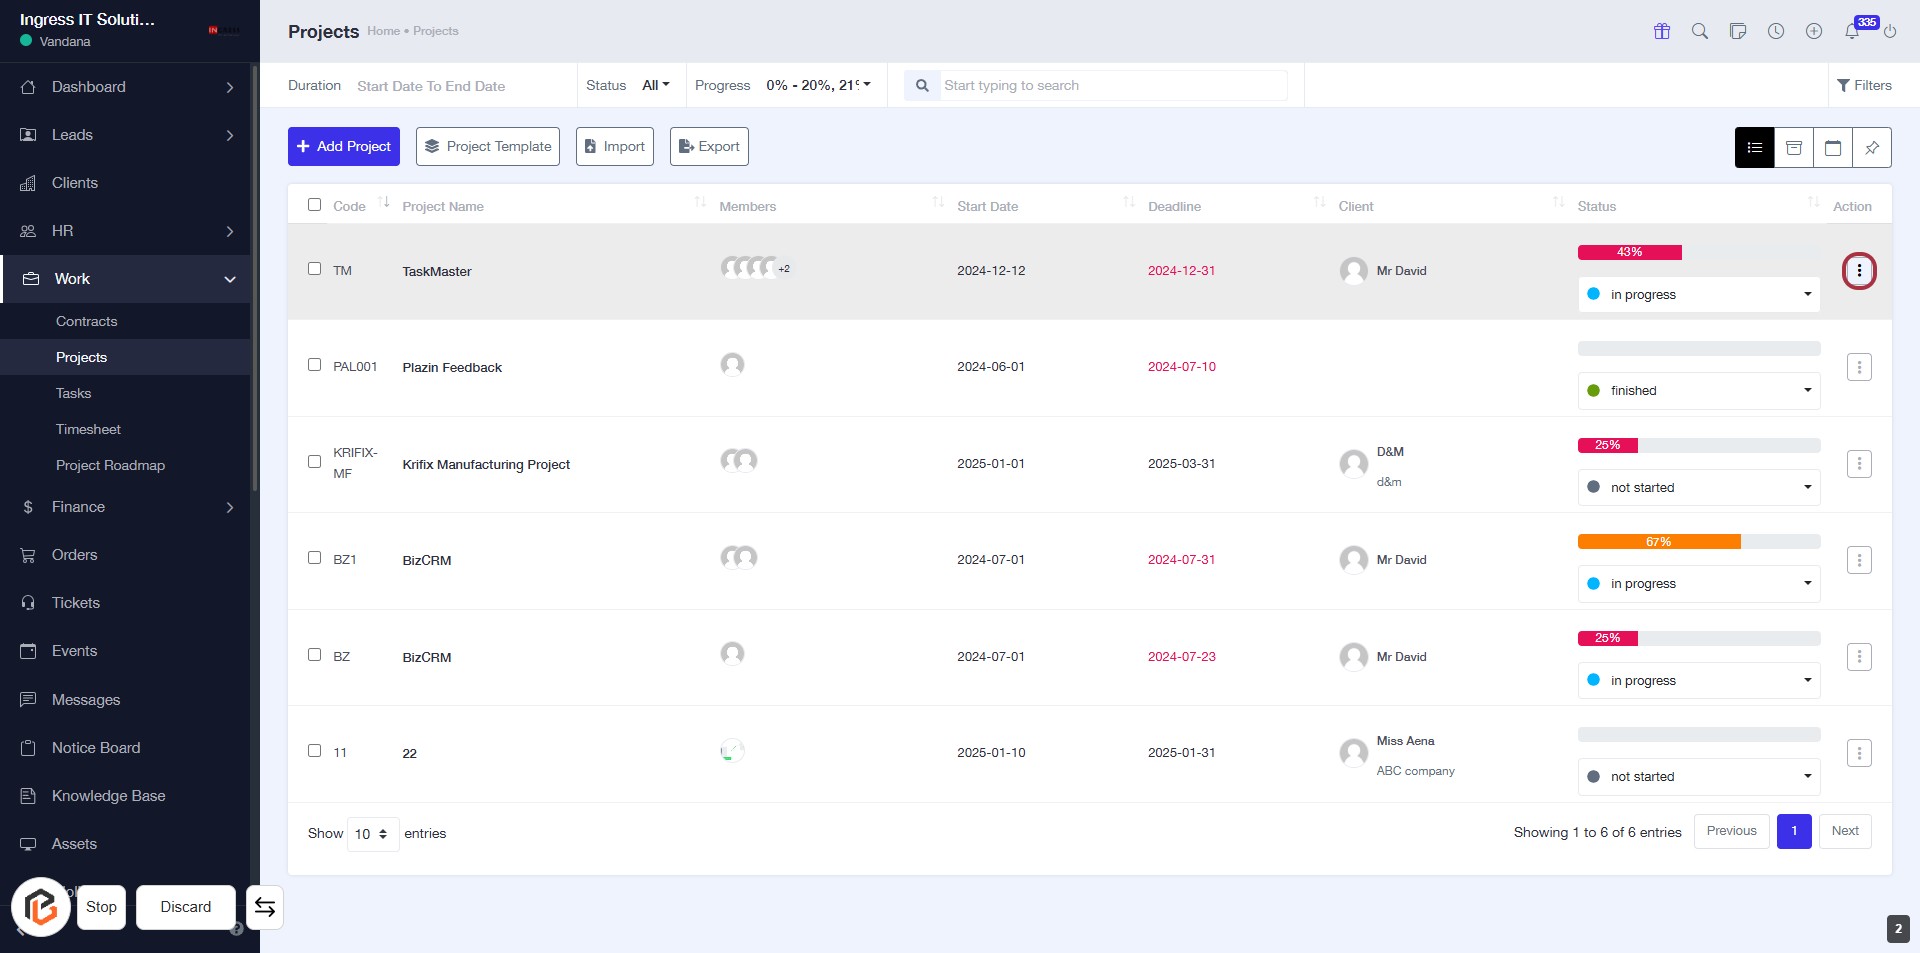
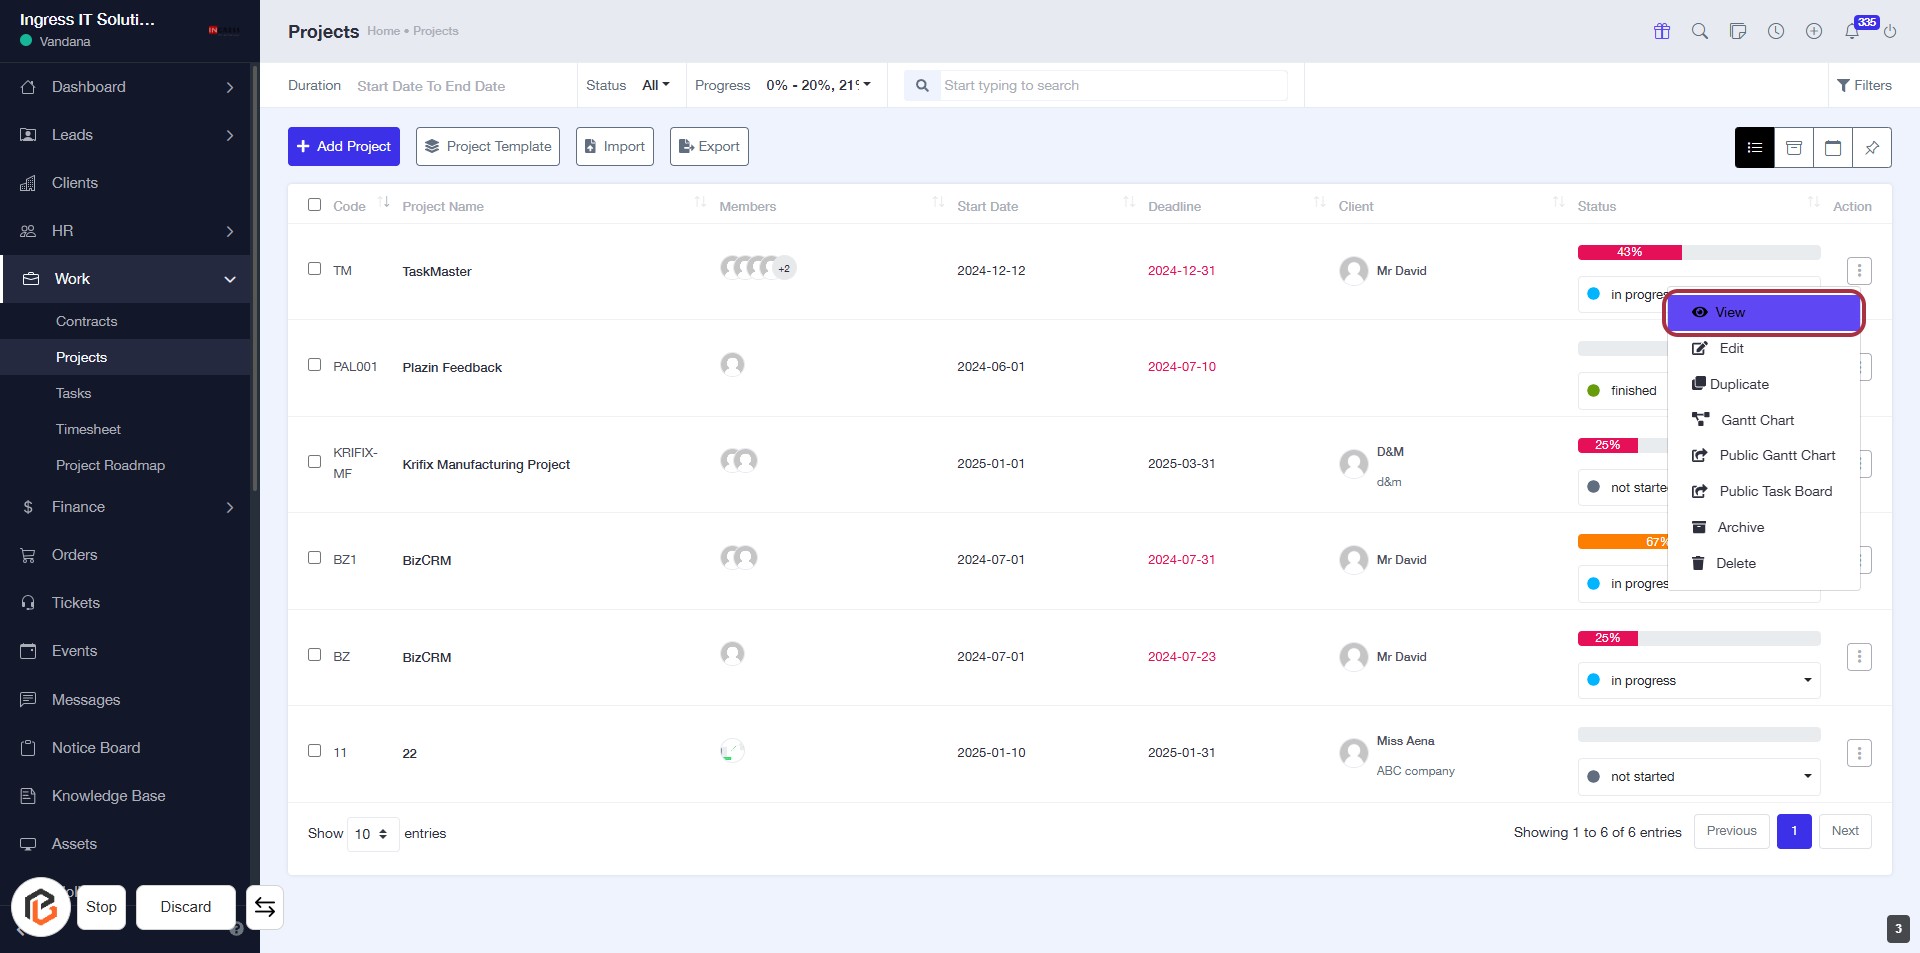
STEP 3: Click on "Action Button" to Access Project Options
- Locate the action button in the "Projects" table, highlighted in red.
- Click on the button to reveal additional options for the selected project.
- Ensure you are on the correct project row before clicking.
- Review the options presented after clicking for further actions.
STEP 4: Click on "View" to Access Project Details
- Locate the "View" link in the Action column of the project list.
- Click on "View" to open the project details.
- Ensure you have selected the correct project before clicking.
- This action will provide you with more information about the selected project.
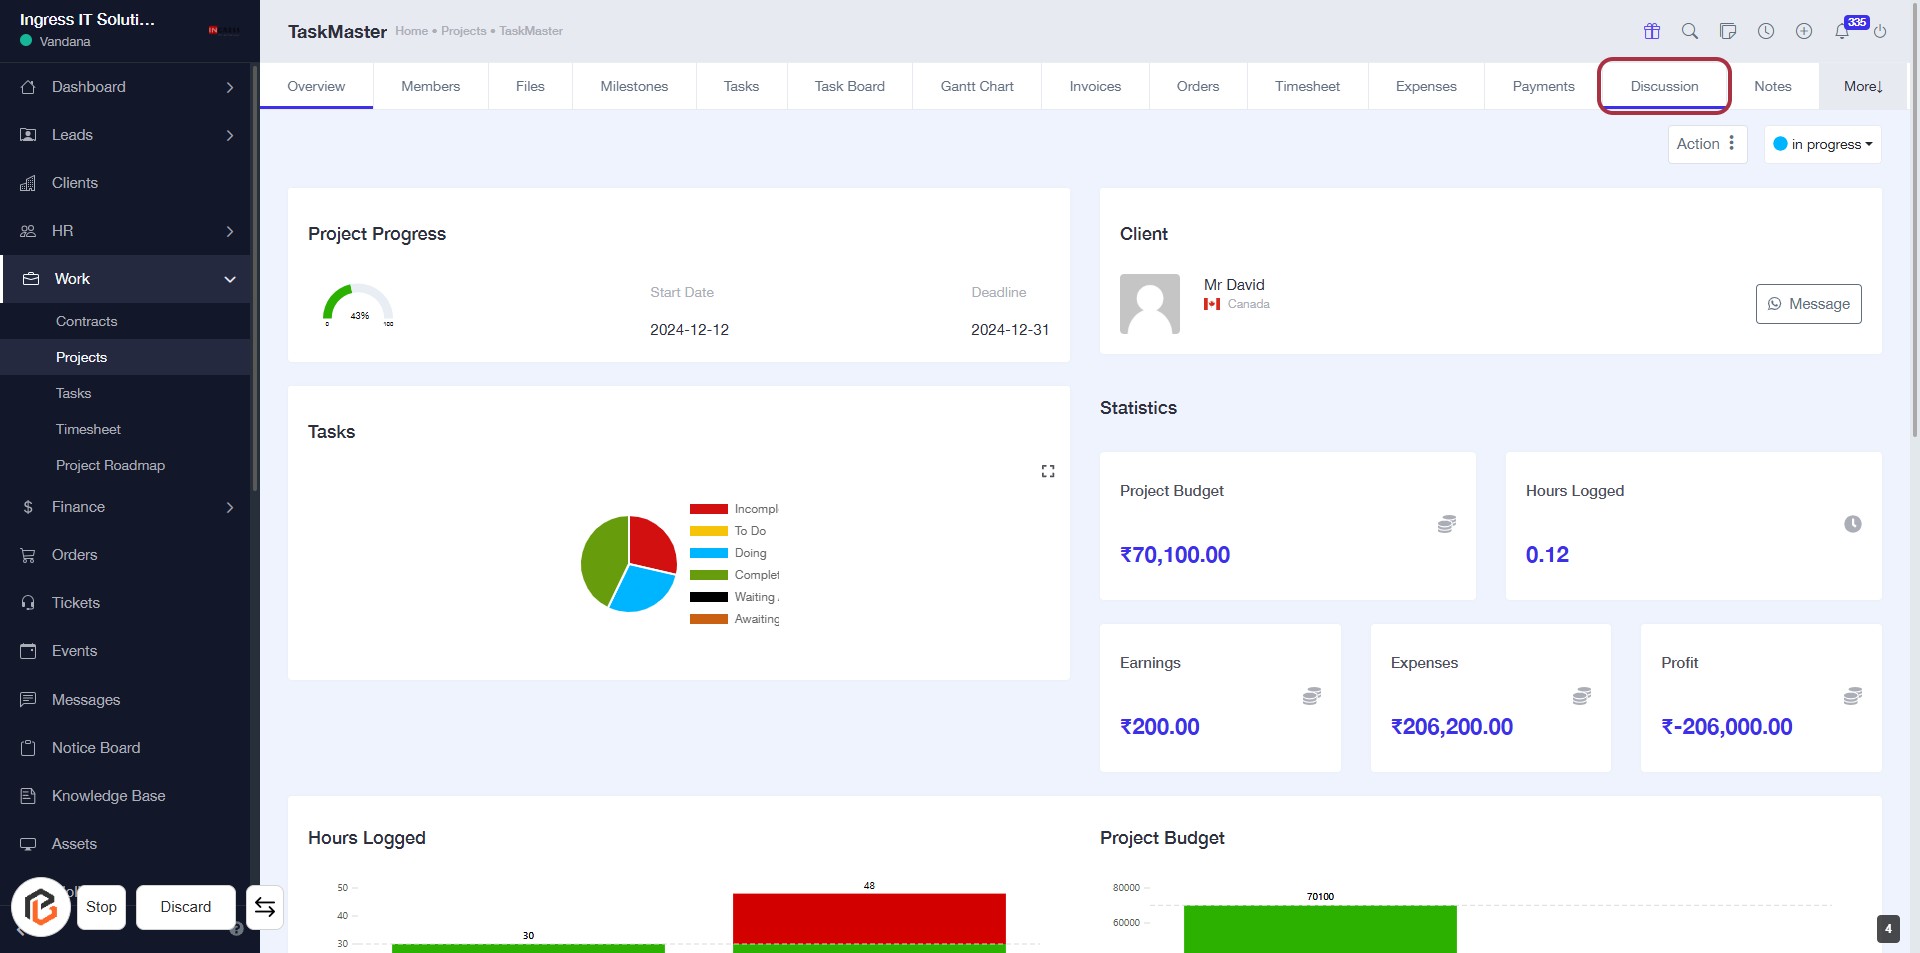
STEP 5: Click on "Discussion" to Access Project Conversations
- Navigate to the highlighted "Discussion" tab in the project interface.
- Click on the "Discussion" span to view ongoing conversations related to the project.
- Ensure you have the necessary permissions to participate in discussions.
- Look for any notifications or updates in the discussion area.
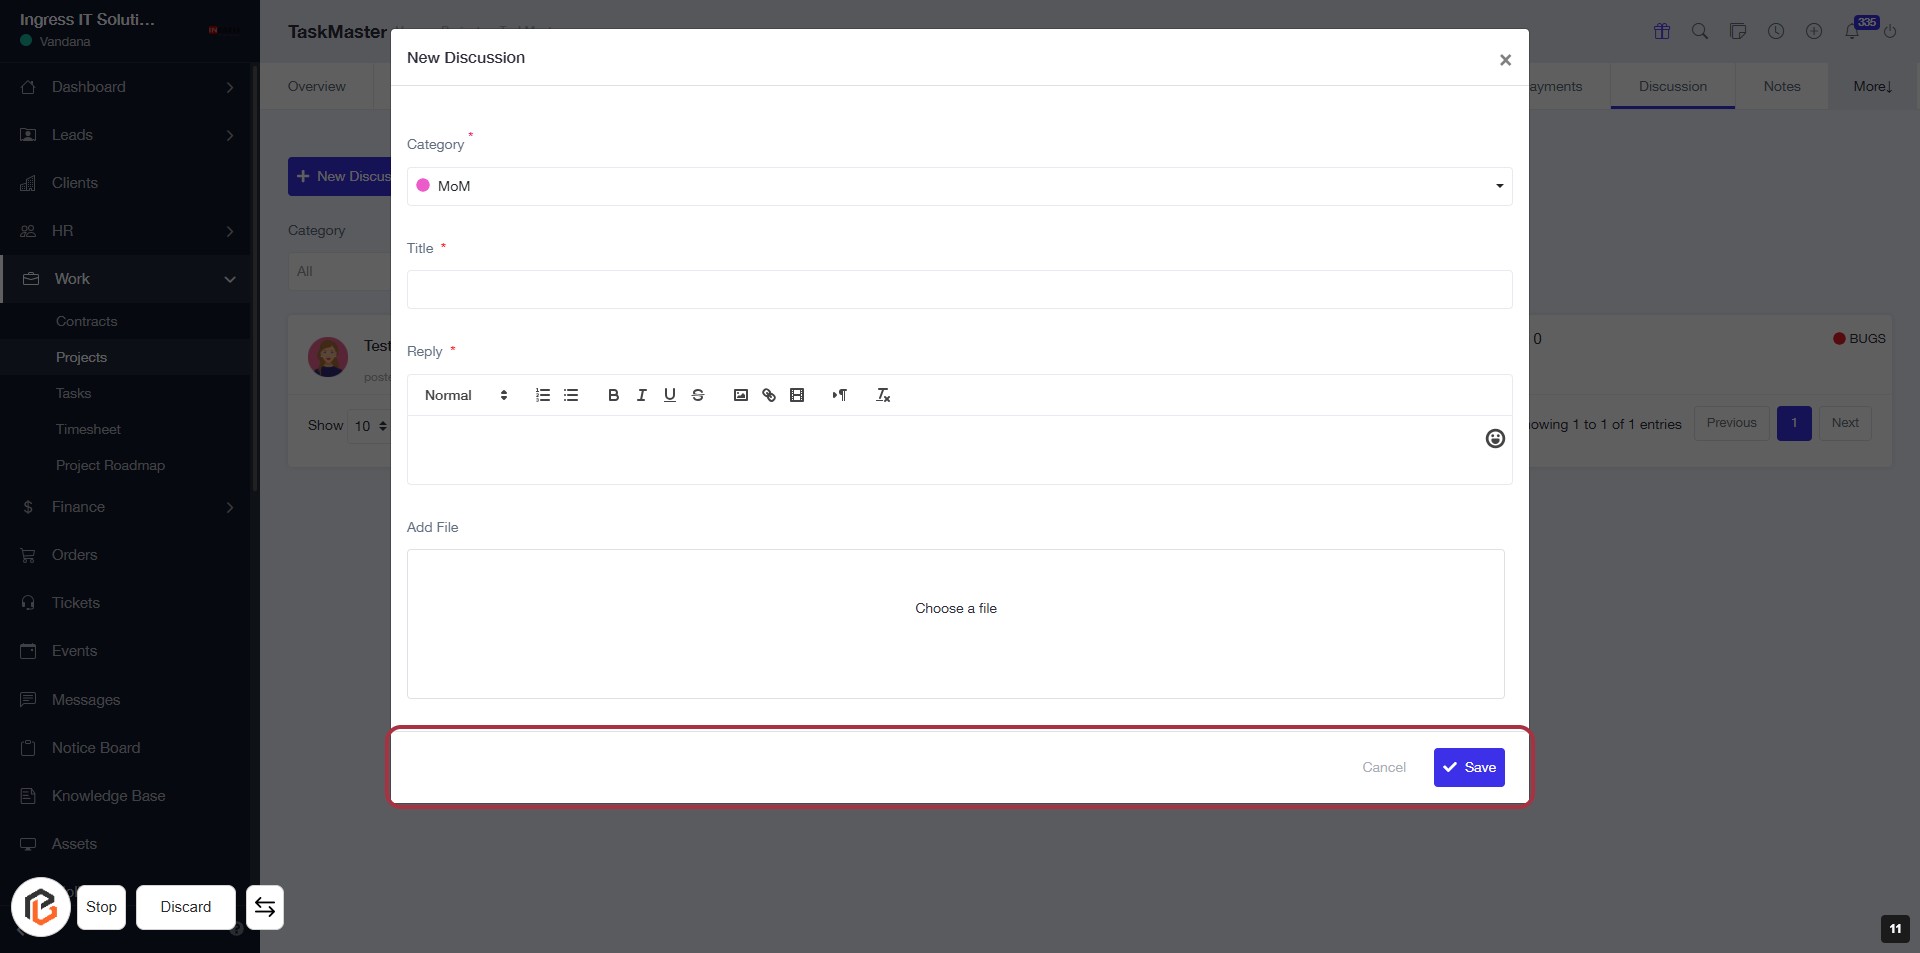
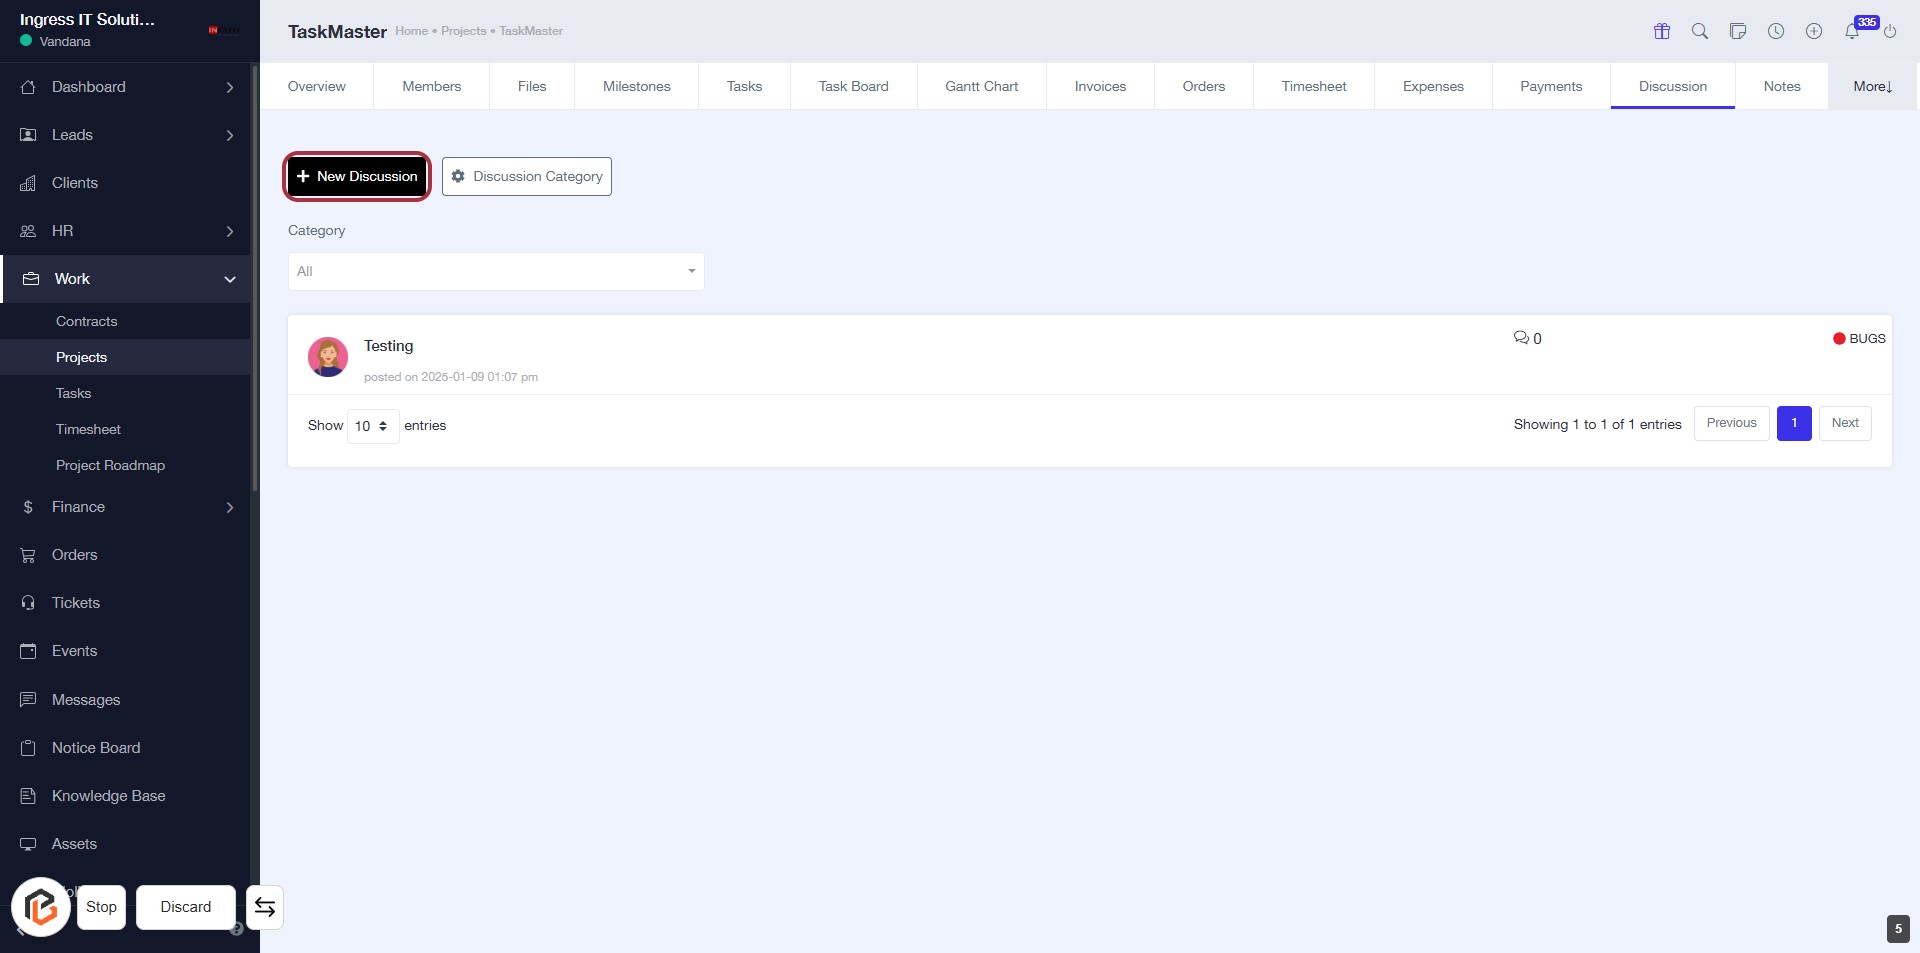
STEP 6: Click on "New Discussion"
- Navigate to the "Discussion" tab in your project.
- Locate the New Discussion button highlighted in red.
- Click on the New Discussion button to initiate a new conversation.
- Ensure to fill in any required fields in the upcoming form.
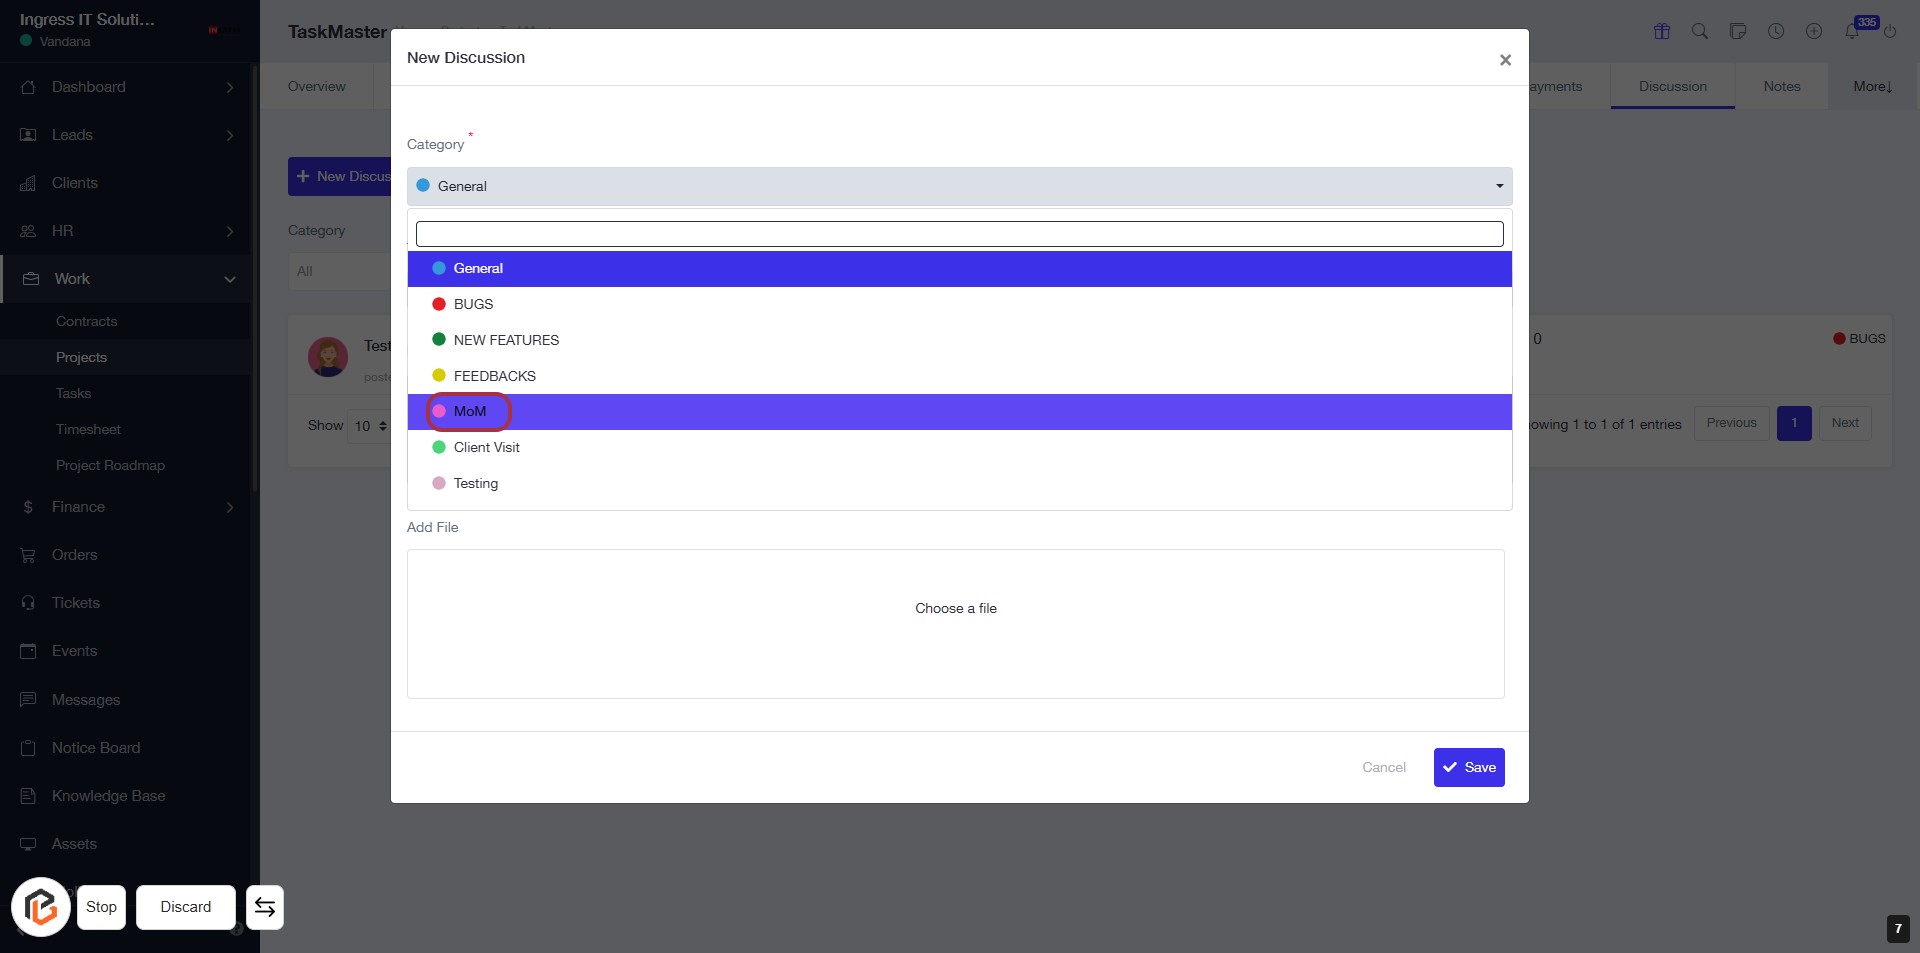
STEP 7: Select "MoM" from Category
- Click on the "Category" dropdown.
- Locate and select "MoM" from the list of options.
- Ensure the selection is highlighted to confirm your choice.
- Proceed to the next step by entering the "Title".
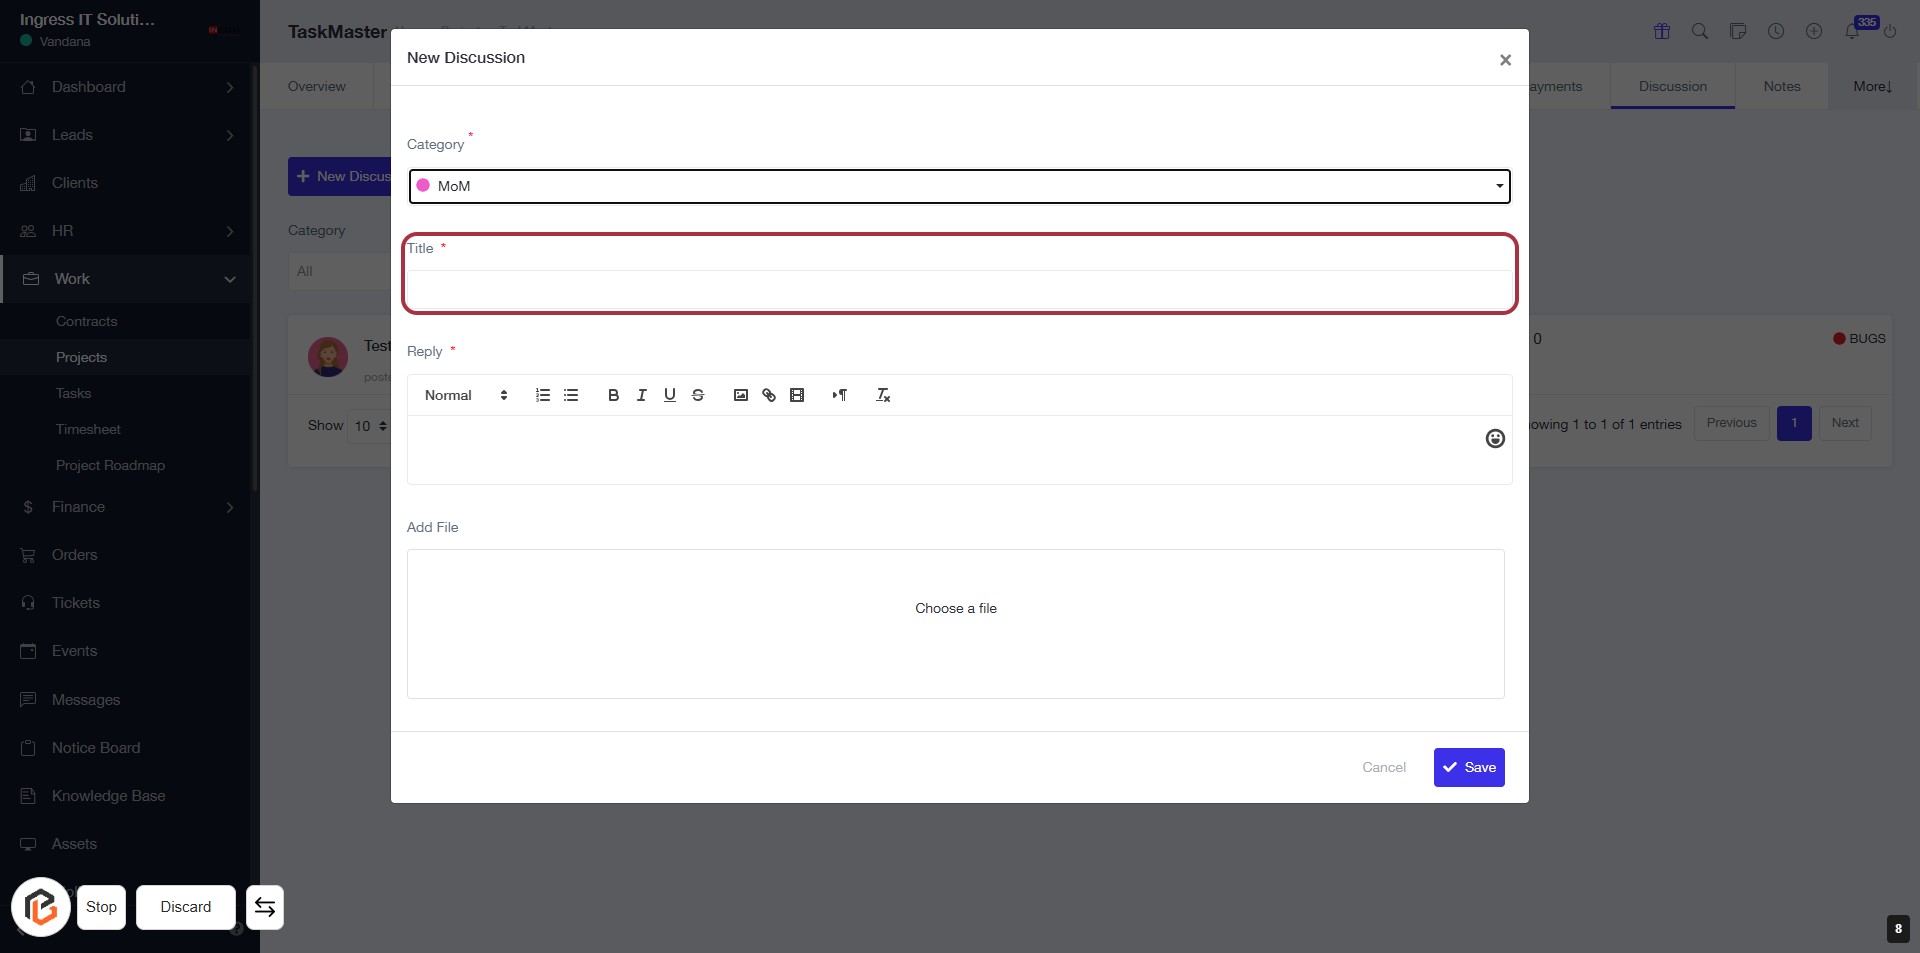
STEP 8: Enter Title for New Discussion
- Click on the Title field (marked with an asterisk) to input your discussion title.
- Ensure the title is relevant to the discussion context.
- The Title field is mandatory, so it must be filled before proceeding.
- After entering the title, you can move to the next step to write your reply.
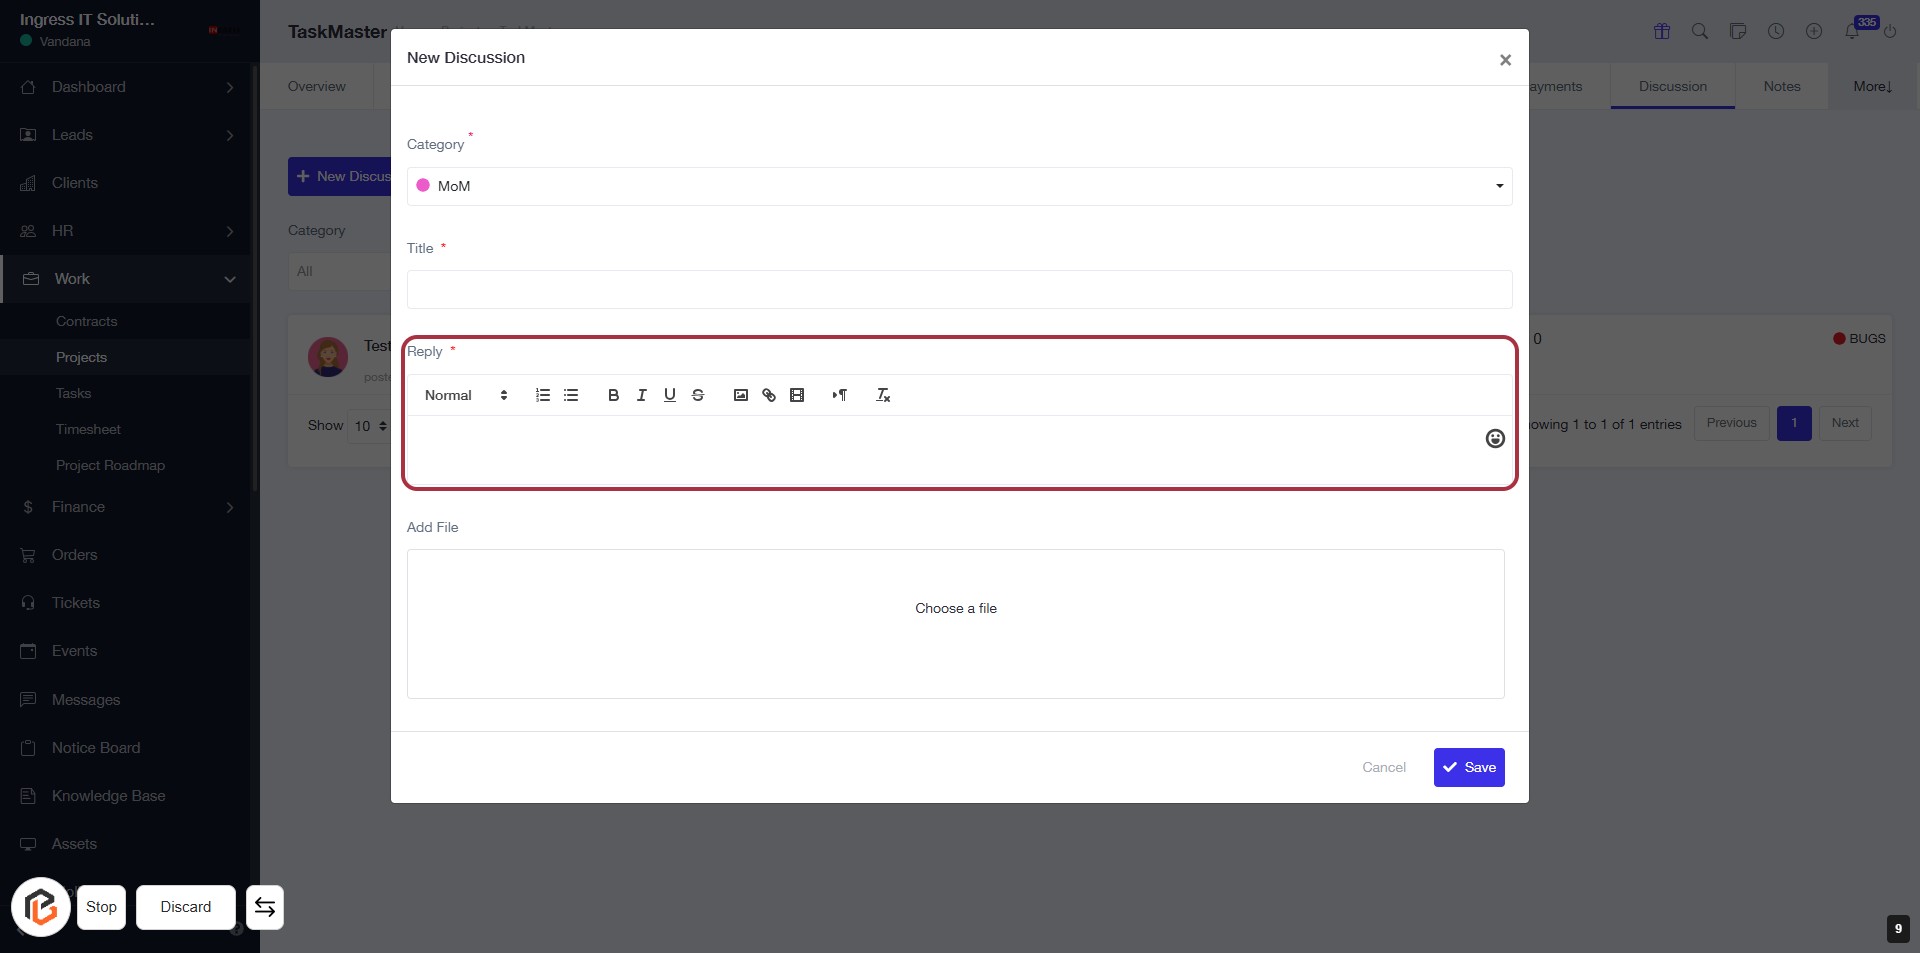
STEP 9: Click "Reply" to Add Your Response
- Locate the "Reply" section highlighted in red.
- Click on the "Reply" area to activate the text input.
- Enter your response in the provided text area.
- Ensure to fill in any required fields marked with an asterisk (*).
- Proceed to the next step to upload a file if needed.
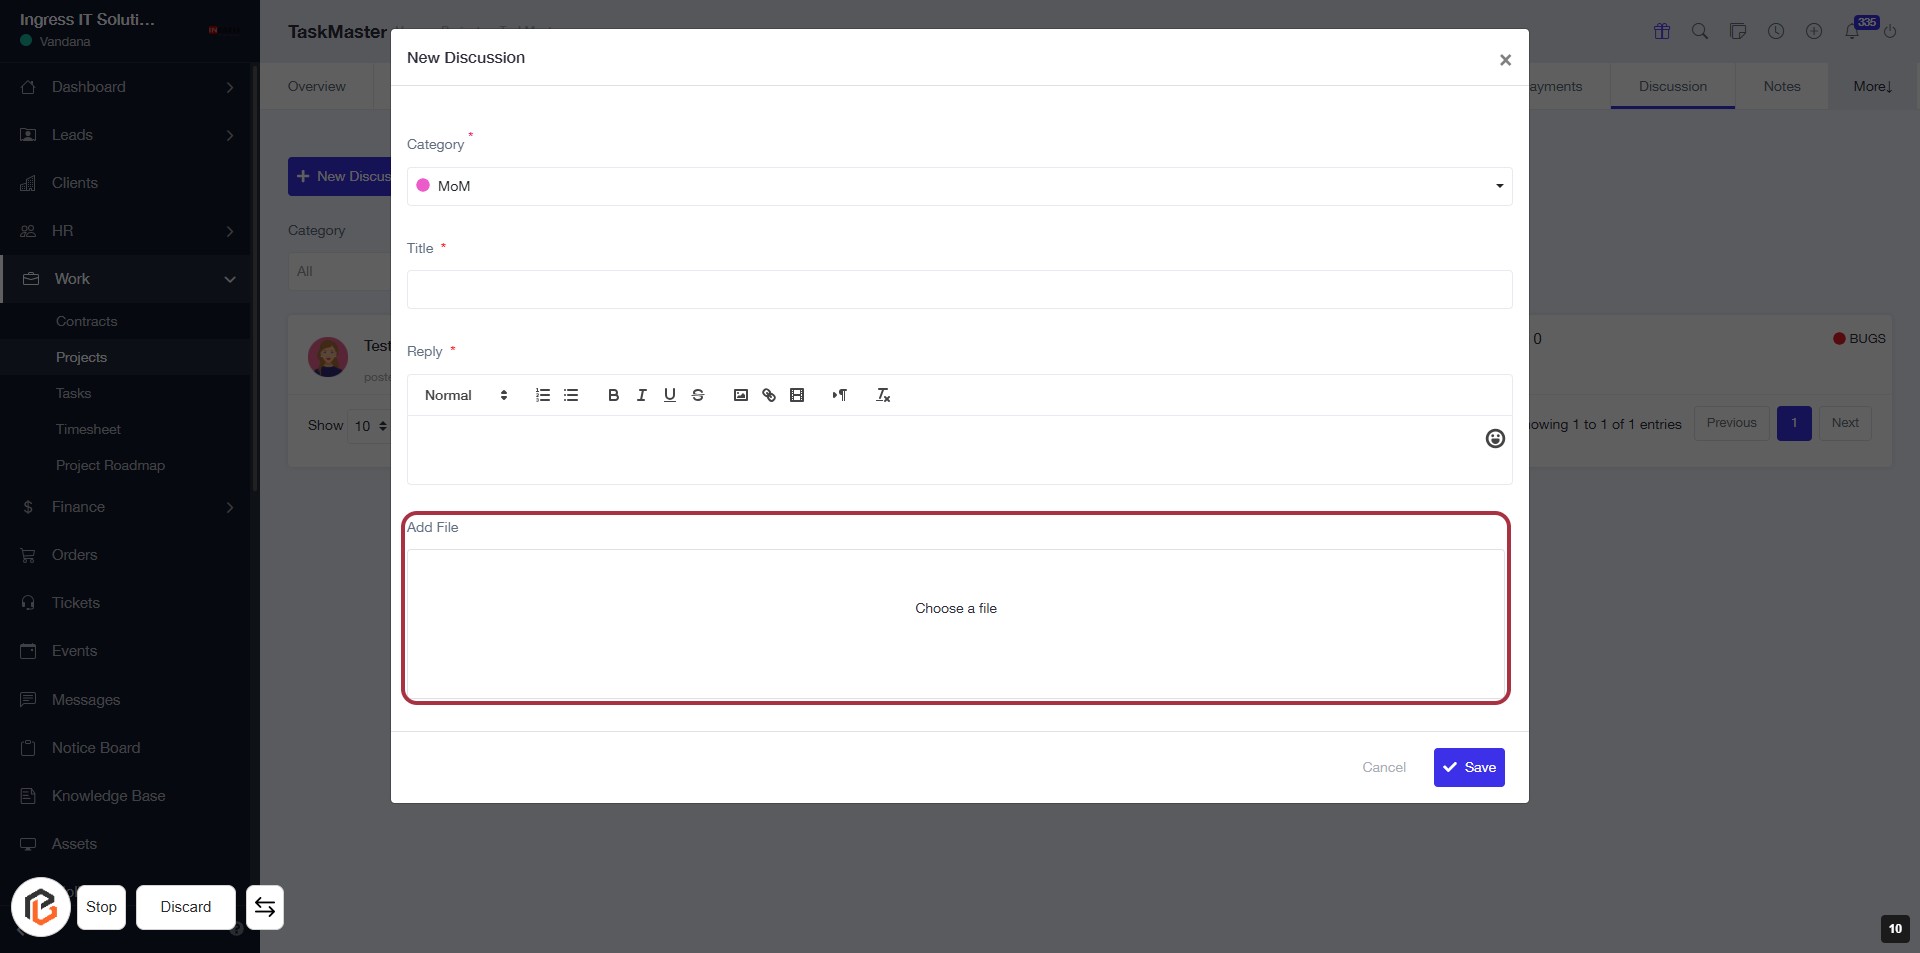
STEP 10: Click "Add File" to Upload a Document
- Locate the "Add File" section in the discussion form.
- Click on the highlighted area to open the file upload dialog.
- Select the file you wish to upload from your device.
- Ensure that any required fields marked with an asterisk (*) are filled out before proceeding.
- After uploading, continue to the next step by clicking the "Save" button.
STEP 11: Click "Save" to Submit Your Discussion
- Ensure all required fields (marked with *) are filled out: Category, Title, and Reply.
- Review your entries for accuracy.
- Click the Save button to submit your discussion.
- If you wish to cancel, click the Cancel button instead.