Step-by-Step Guide to Managing Tasks on BizCRM: Create, Assign, and Track Effectively
17 mins read · Updated 29 Sep, 2025
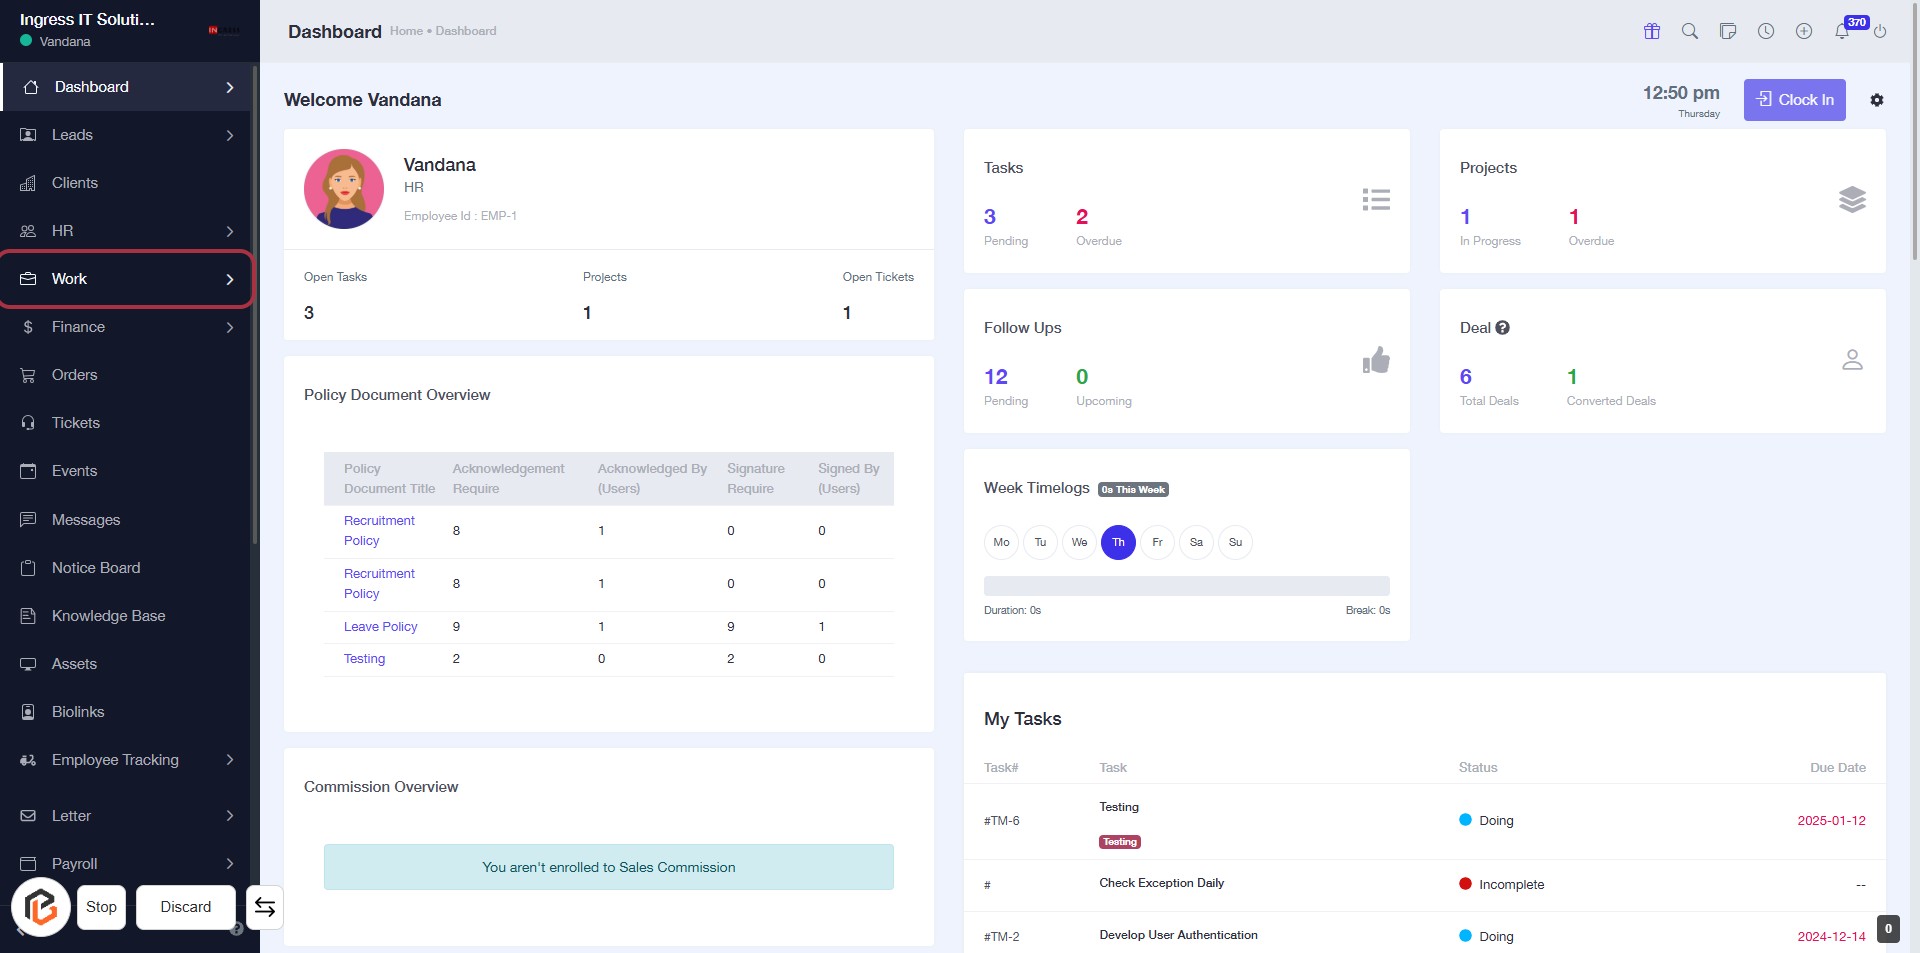
STEP 1: Click on "Work" to Access Your Dashboard
- Navigate to bizcrmapp.com.
- Locate the "Work" link in the sidebar.
- Click on the "Work" link to view your tasks and projects.
- Ensure you are on the Dashboard page to see your overview.
Proceed to the next step to access your Tasks.
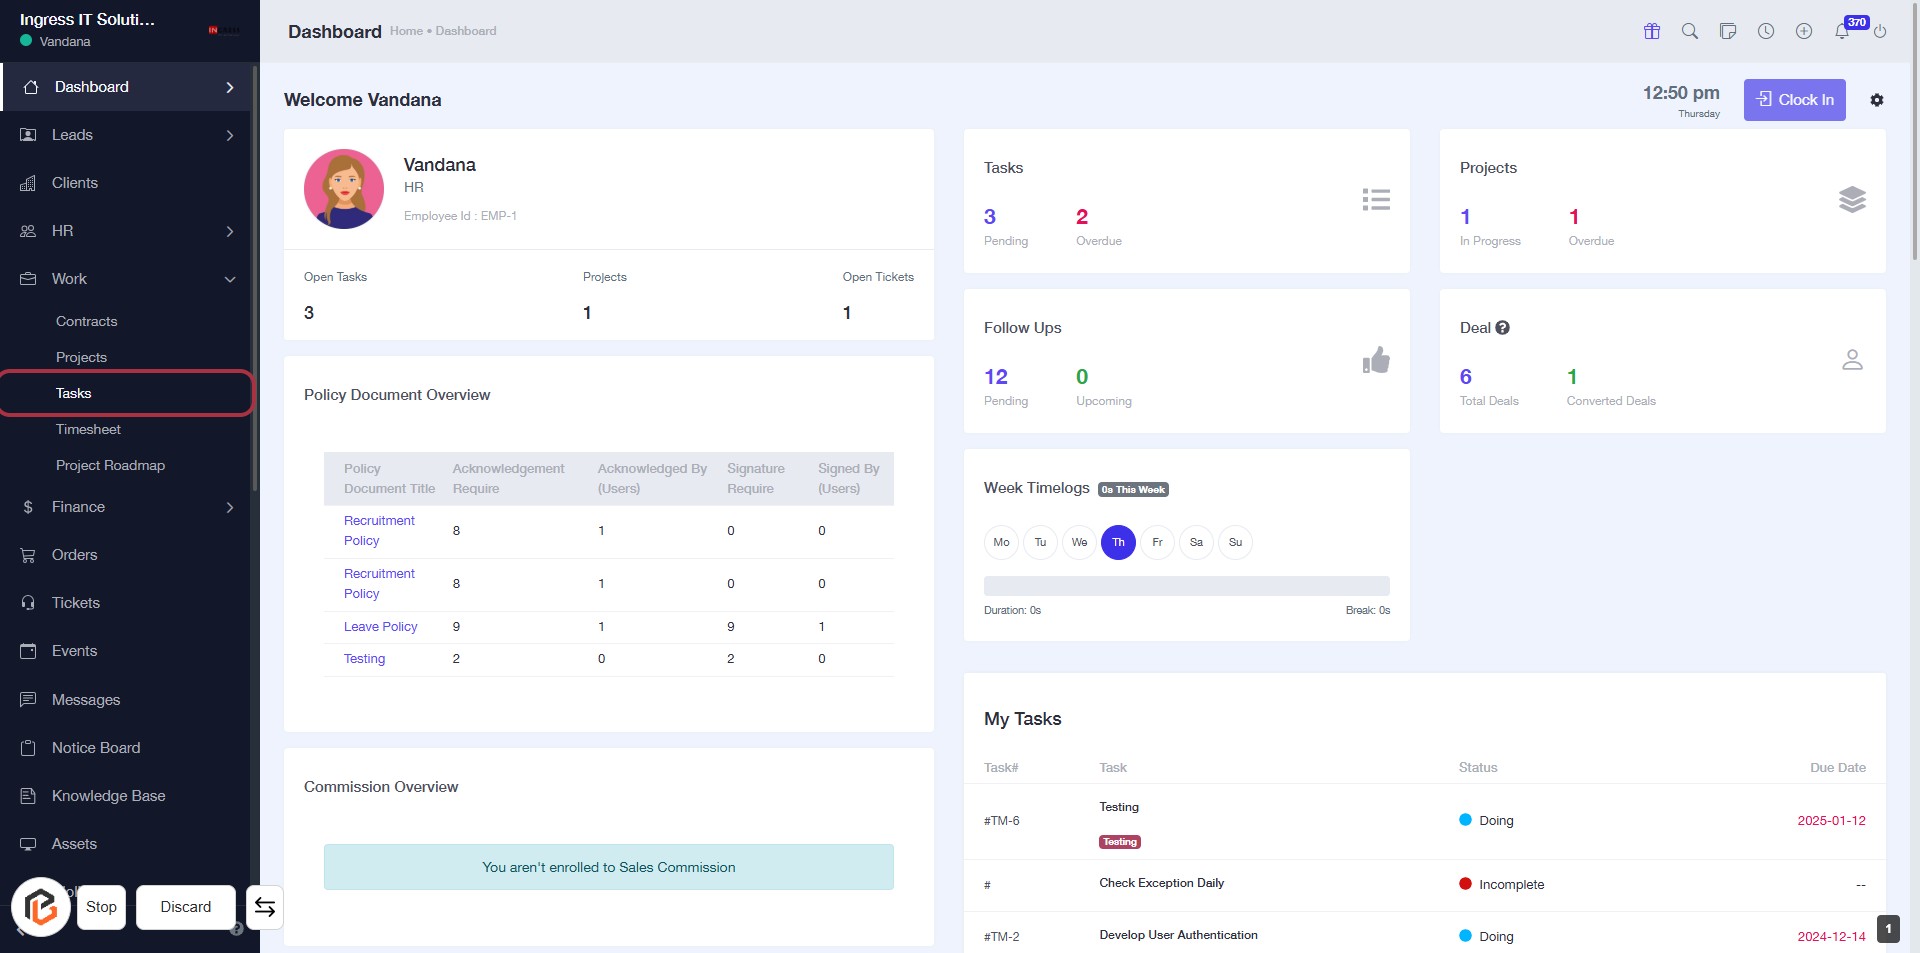
STEP 2: Click on "Tasks" to Access Your Task Overview
- Navigate to the left sidebar and locate the "Tasks" option.
- Click on "Tasks" to view your task overview, including pending and overdue tasks.
- Ensure you check the status of your tasks for effective management.
- After reviewing, proceed to the next step to add a new task.
STEP 3: Click on "Add Task"
- Navigate to the "Tasks" section.
- Click on the Add Task button located at the top of the task list.
- This action will open a new form for entering task details.
- Ensure to fill in all required fields marked with an asterisk (*).

STEP 4: Enter Title for the Task
- Click on the "Title" field (marked with a red border).
- Enter a descriptive title for your task (required field).
- Ensure the title clearly reflects the task's purpose.
- Proceed to the next step by selecting the "Task category".
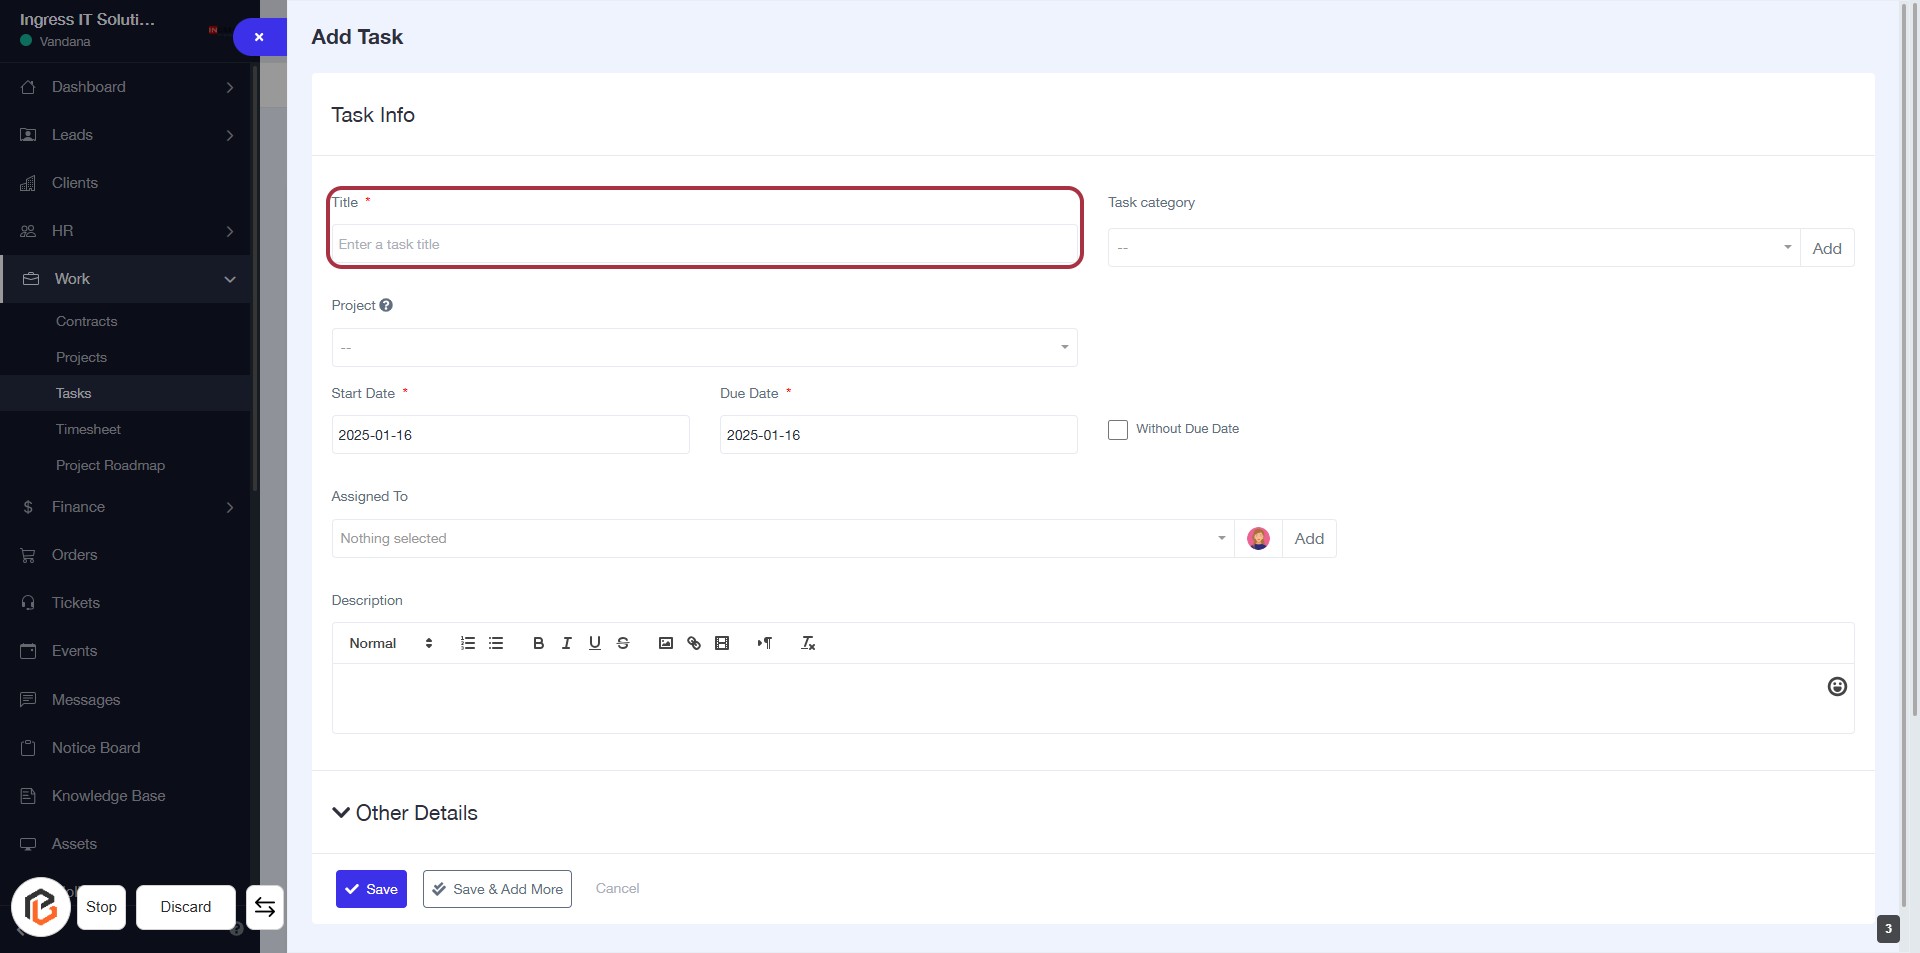
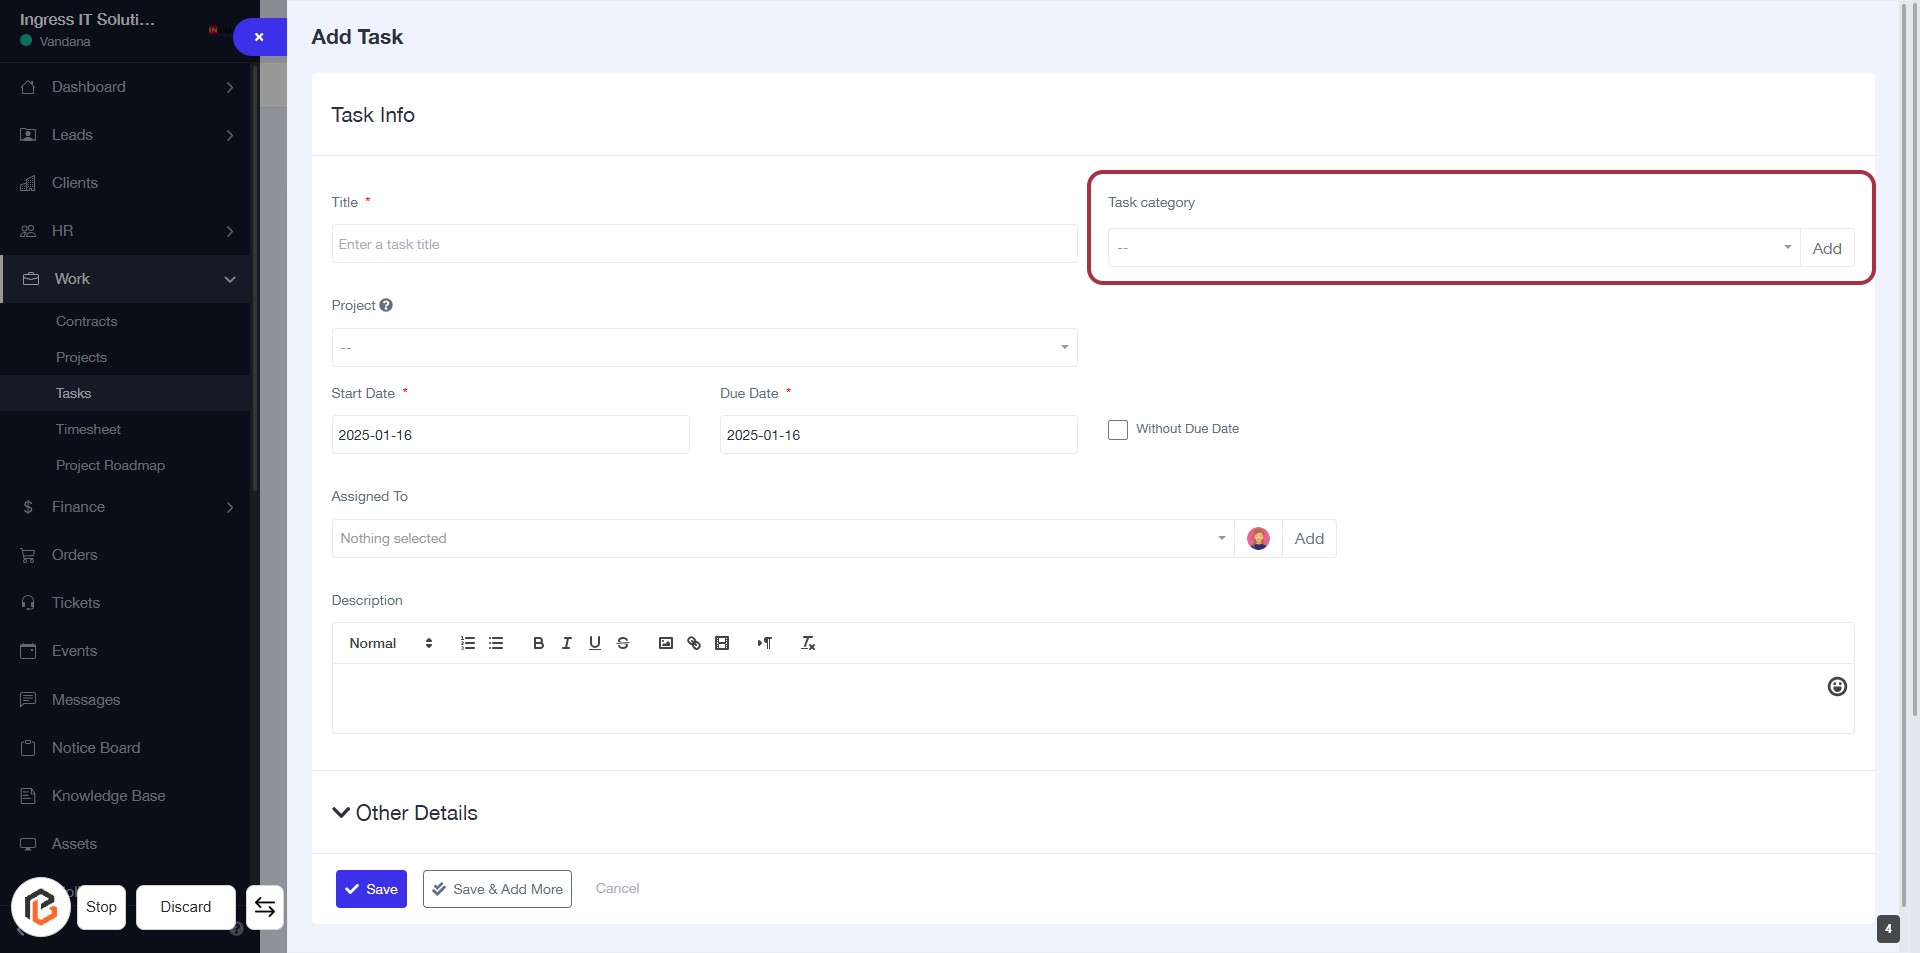
STEP 5: Select "Task category"
- Click on the "Task category" field to open the dropdown menu.
- Choose the appropriate category from the list.
- Ensure that the category is relevant to the task you are creating.
- This field may be required, indicated by an asterisk (*).
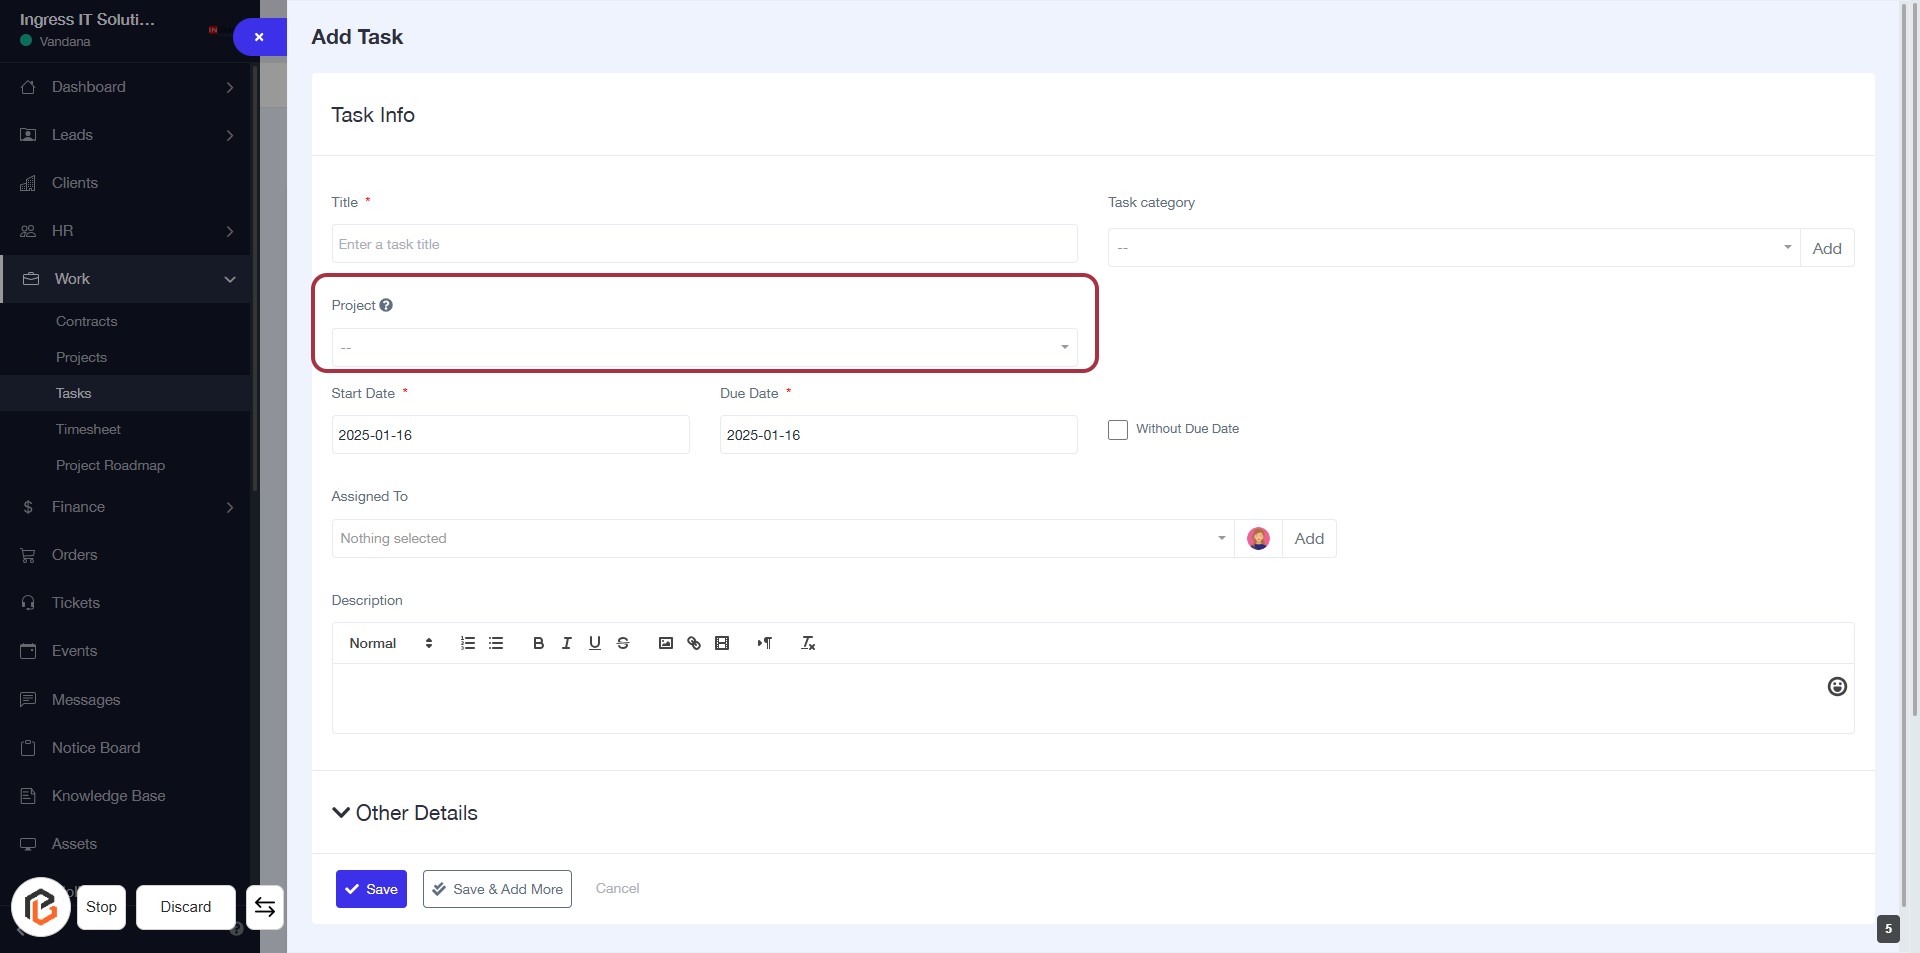
STEP 6: Select "Project"
- Click on the "Project" field to choose a project from the dropdown.
- Ensure to fill in the required fields marked with an asterisk (*).
- Review other fields such as "Start Date," "Due Date," and "Assigned To" for completion.
- Proceed to the next step by selecting "Start Date."
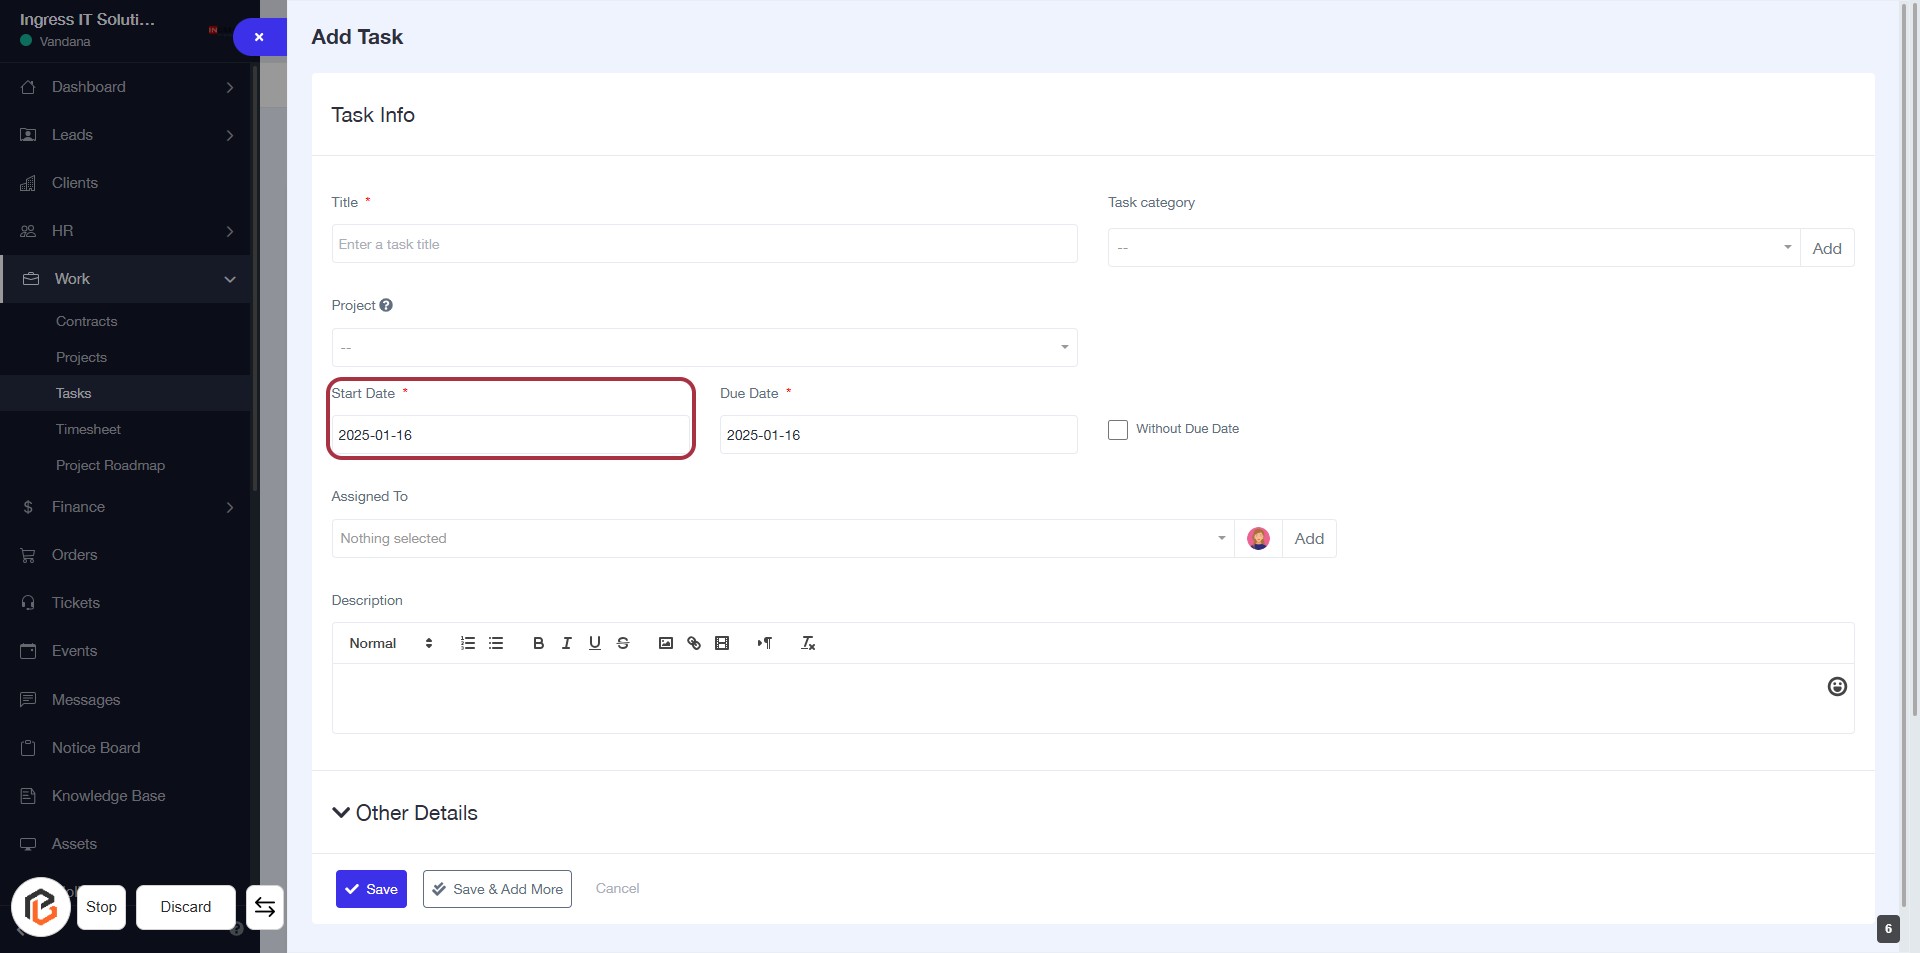
STEP 7: Select "Start Date"
- Click on the "Start Date" field (marked with an asterisk * for required input).
- Enter the desired start date for the task.
- Ensure the date format is correct (YYYY-MM-DD).
- Proceed to the next step by selecting "Due Date".
STEP 8: Select "Due Date"
- Click on the "Due Date" field (marked with an asterisk) to set the deadline for the task.
- Ensure to fill in the date format correctly (e.g., YYYY-MM-DD).
- This field is mandatory, so make sure to provide a due date before proceeding.
- After entering the due date, you can continue to the next step: Add "Assigned To".

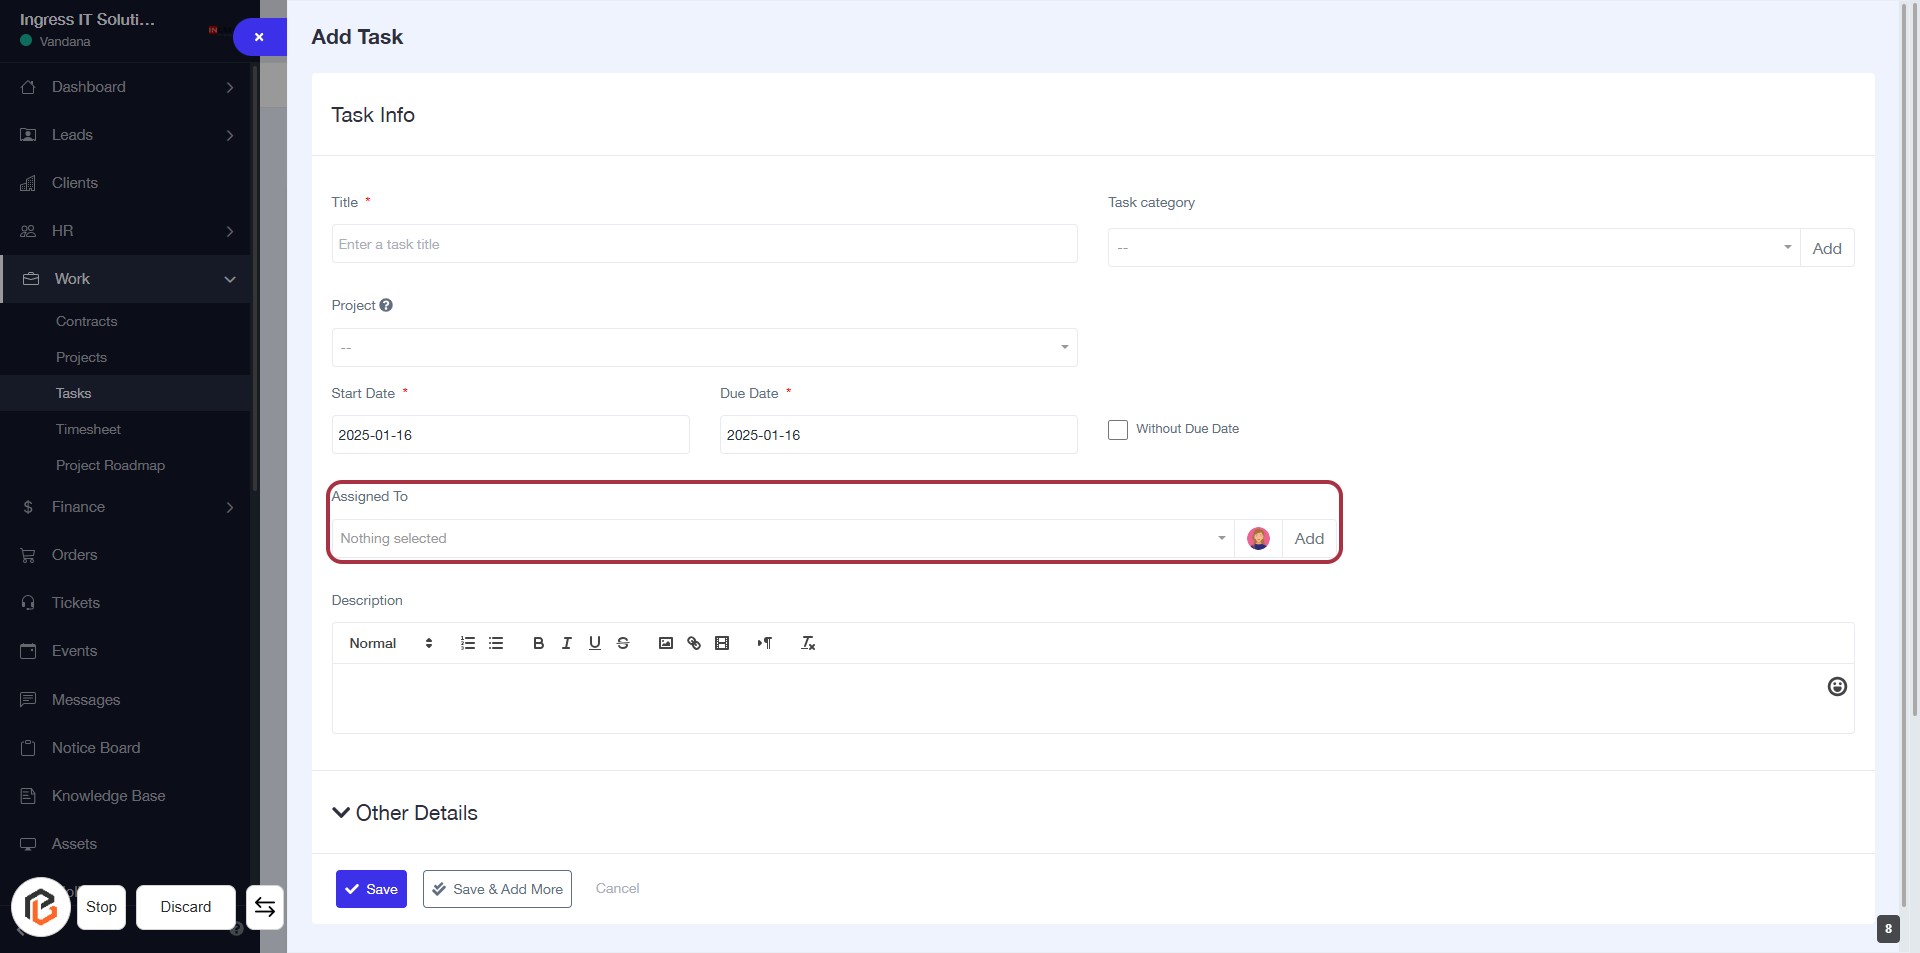
STEP 9: Click "Assigned To" to Select a User
- Locate the "Assigned To" field in the task form.
- Click on the field to open the user selection dropdown.
- Choose a user from the list to assign the task.
- Ensure the selection is made before proceeding to the next step.
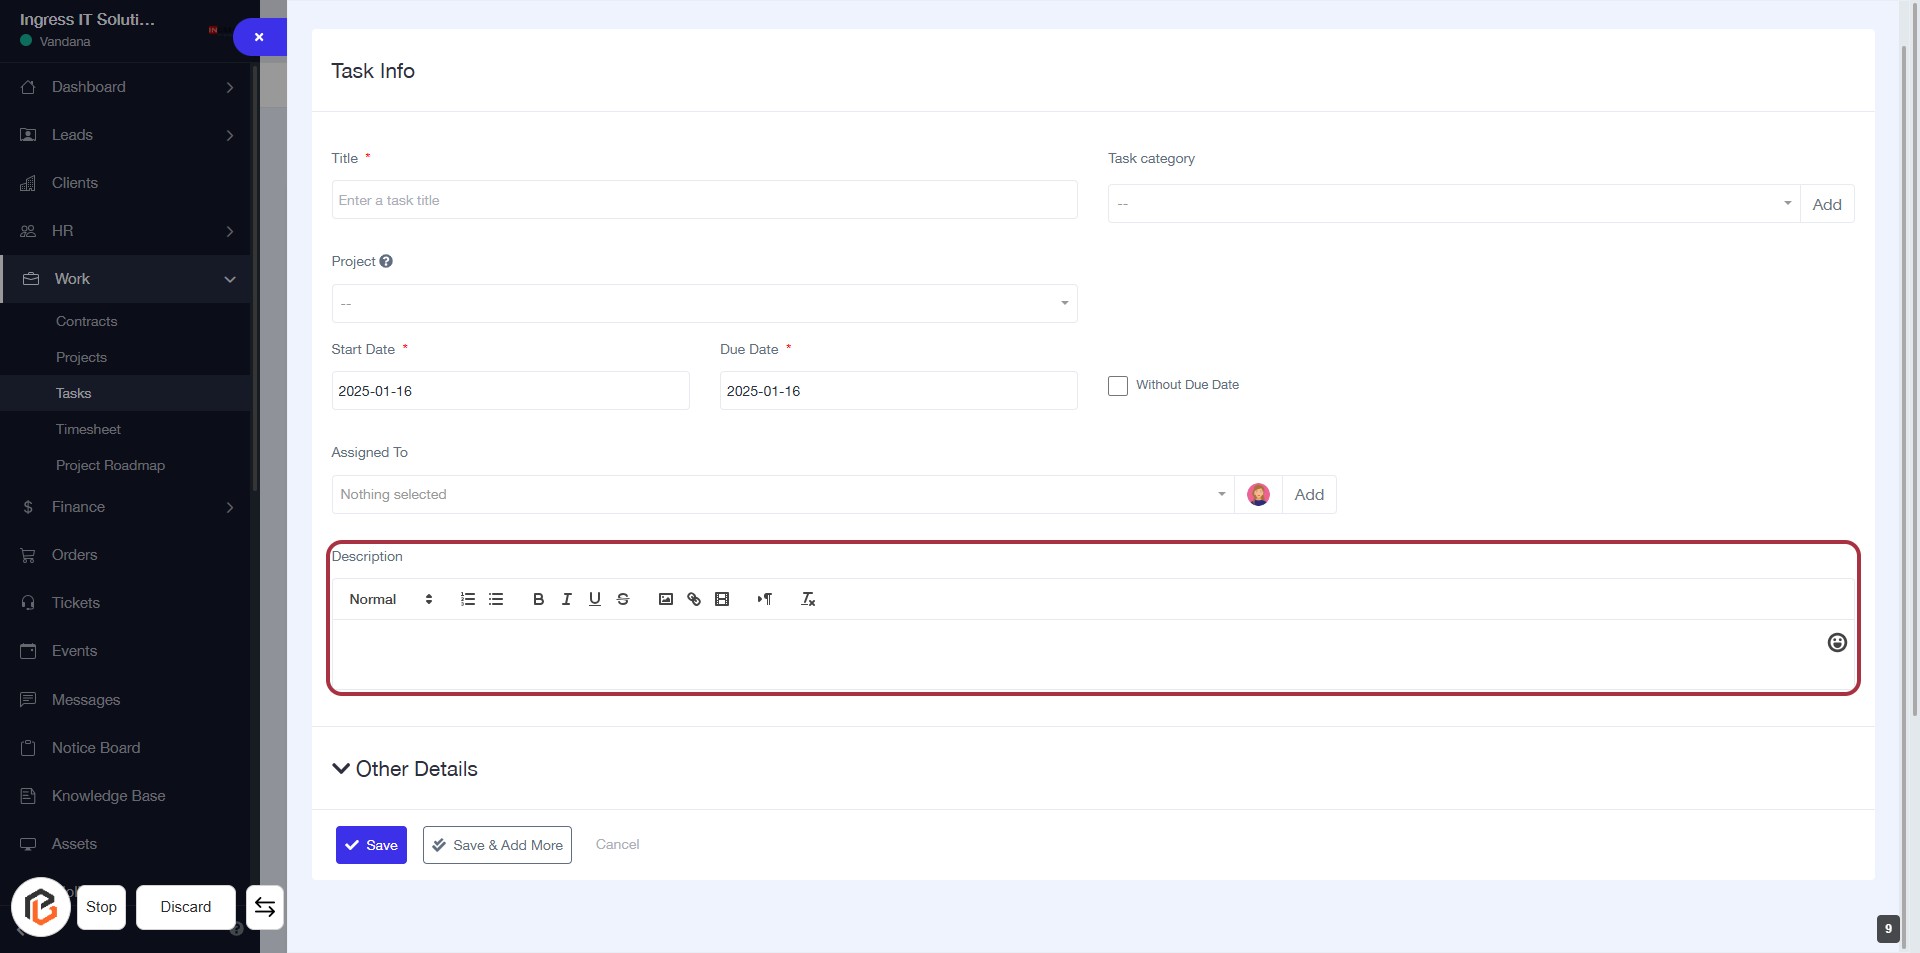
STEP 10: Click "Description" to Add Task Details
- Locate the "Description" field in the task form.
- Click on the highlighted area to activate the text editor.
- Enter relevant details about the task.
- Use formatting options (bold, italic, lists) as needed.
- Ensure all required fields are filled before proceeding.
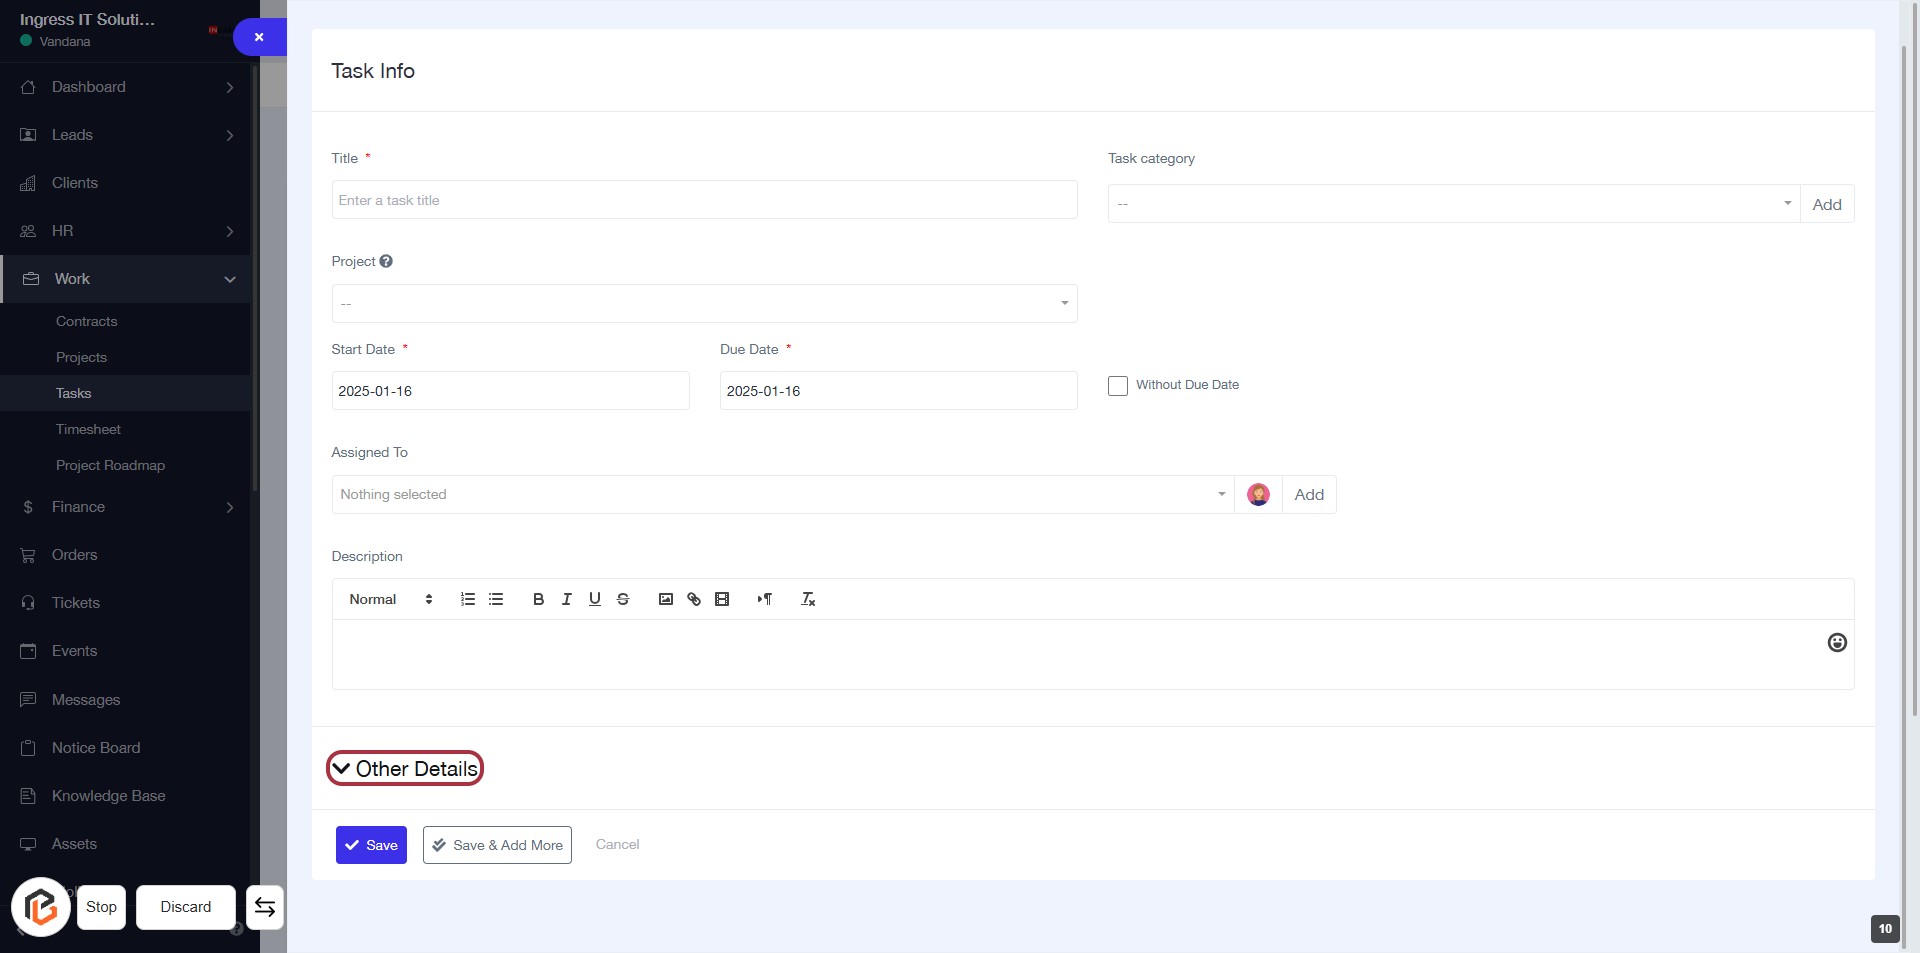
STEP 11: Click on "Other Details" to Expand Task Information
- Locate the "Other Details" link in the task form.
- Click on it to reveal additional fields related to the task.
- Ensure all required fields marked with an asterisk (*) are filled out.
- Review any optional fields that may enhance task details.
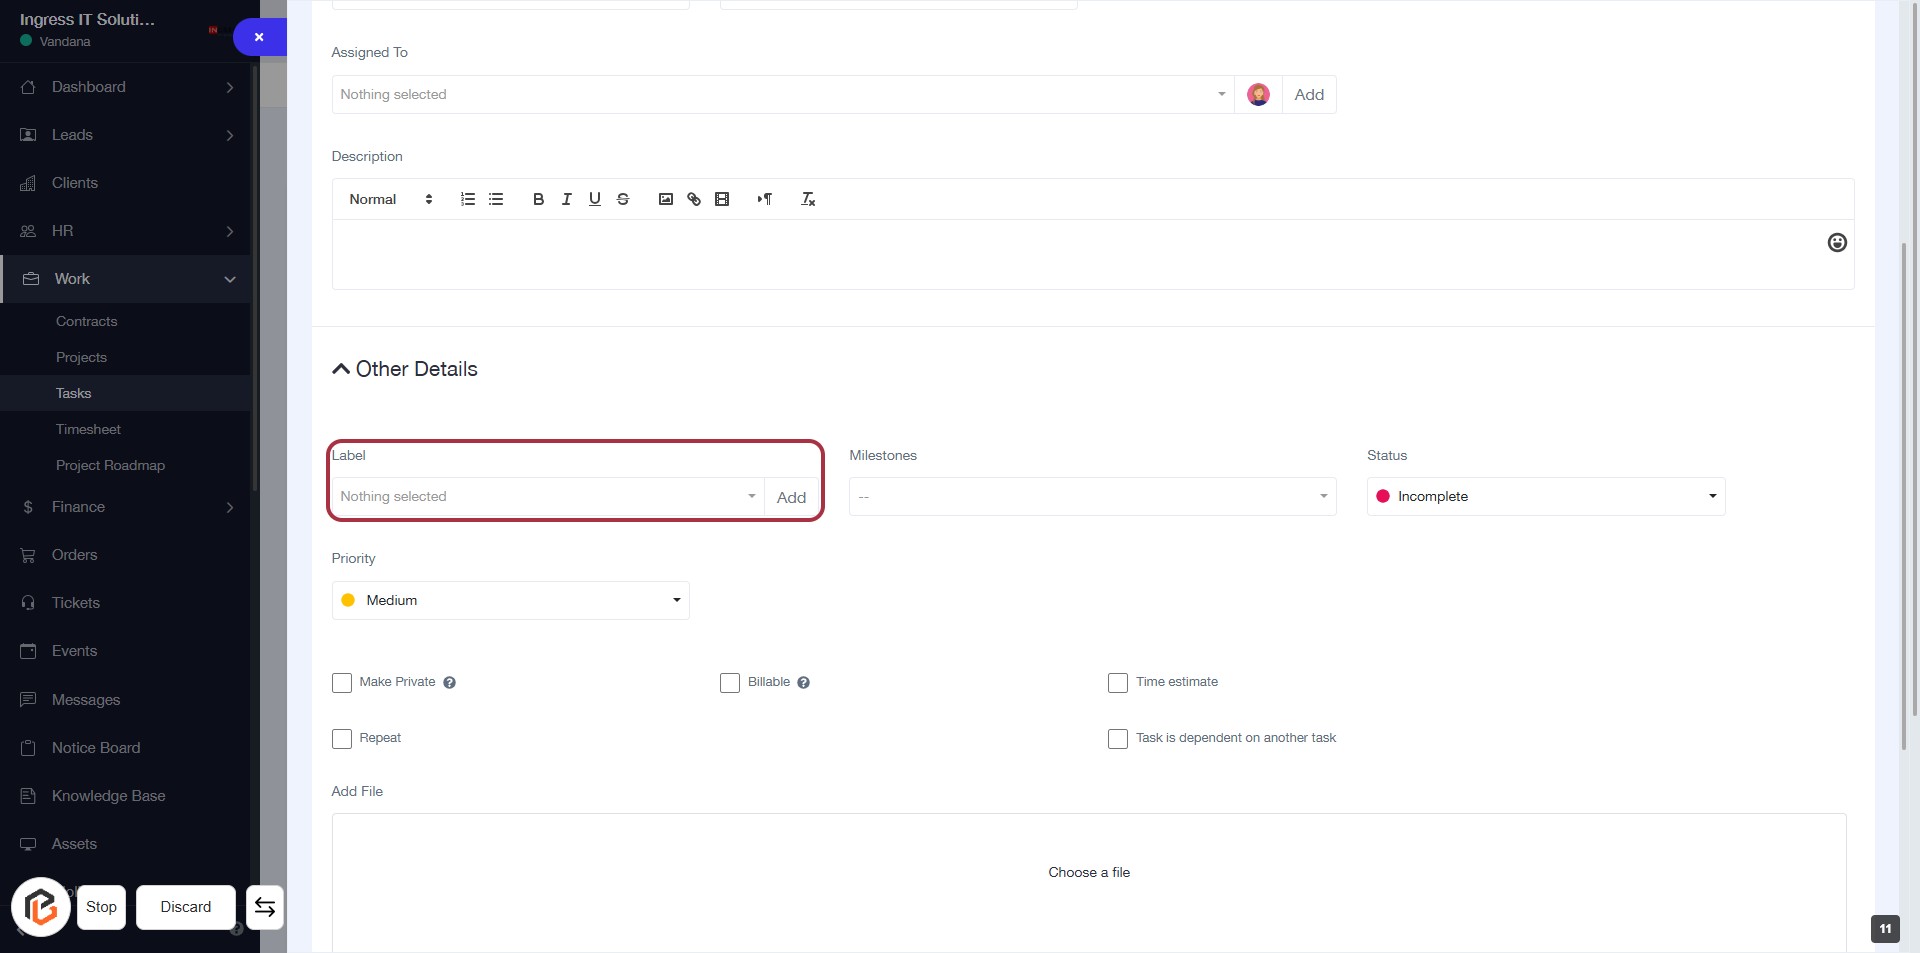
STEP 12: Click on "Label" to Add Task Context
- Navigate to the "Other Details" section.
- Click on the "Label" field.
- Select or enter the desired label from the dropdown.
- Ensure the label is relevant to the task context.
- Proceed to the next step by selecting "Milestones."
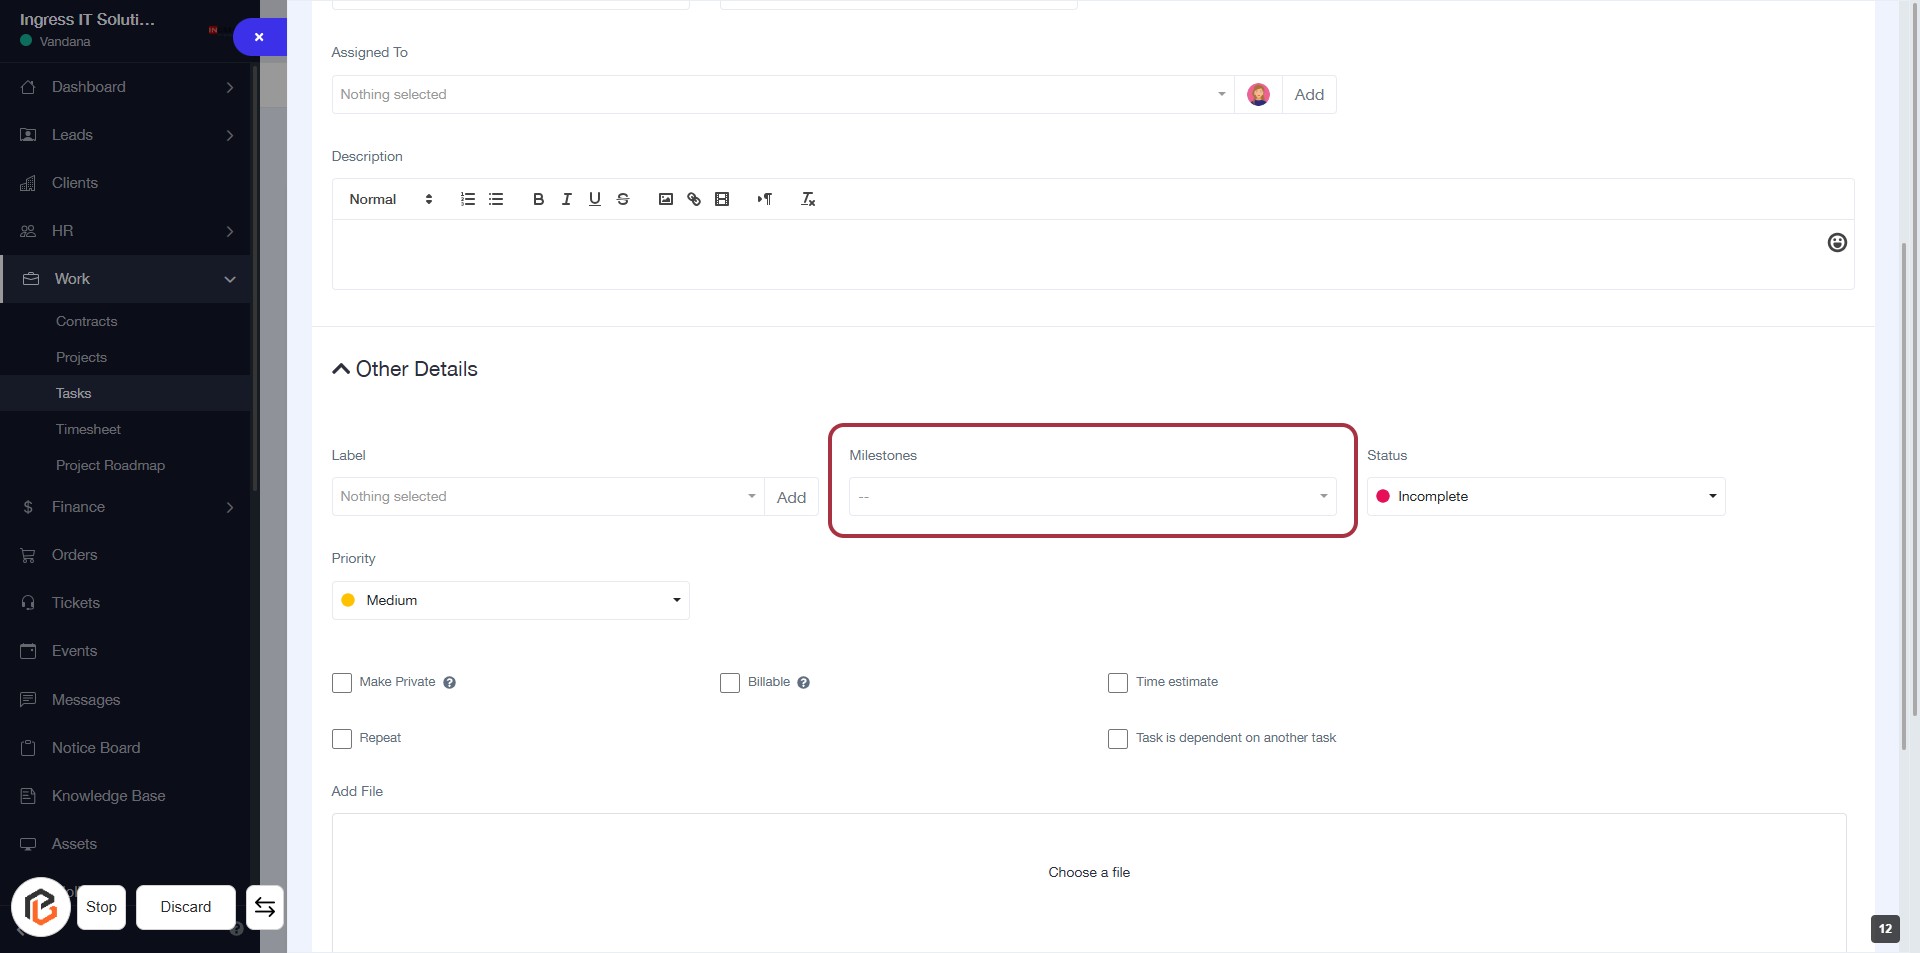
STEP 13: Select "Milestones" for Task Context
- Click on the "Milestones" section in the "Other Details" area.
- Ensure you have the correct context for your task.
- After selecting, proceed to the next step to choose the "Status" of the task.
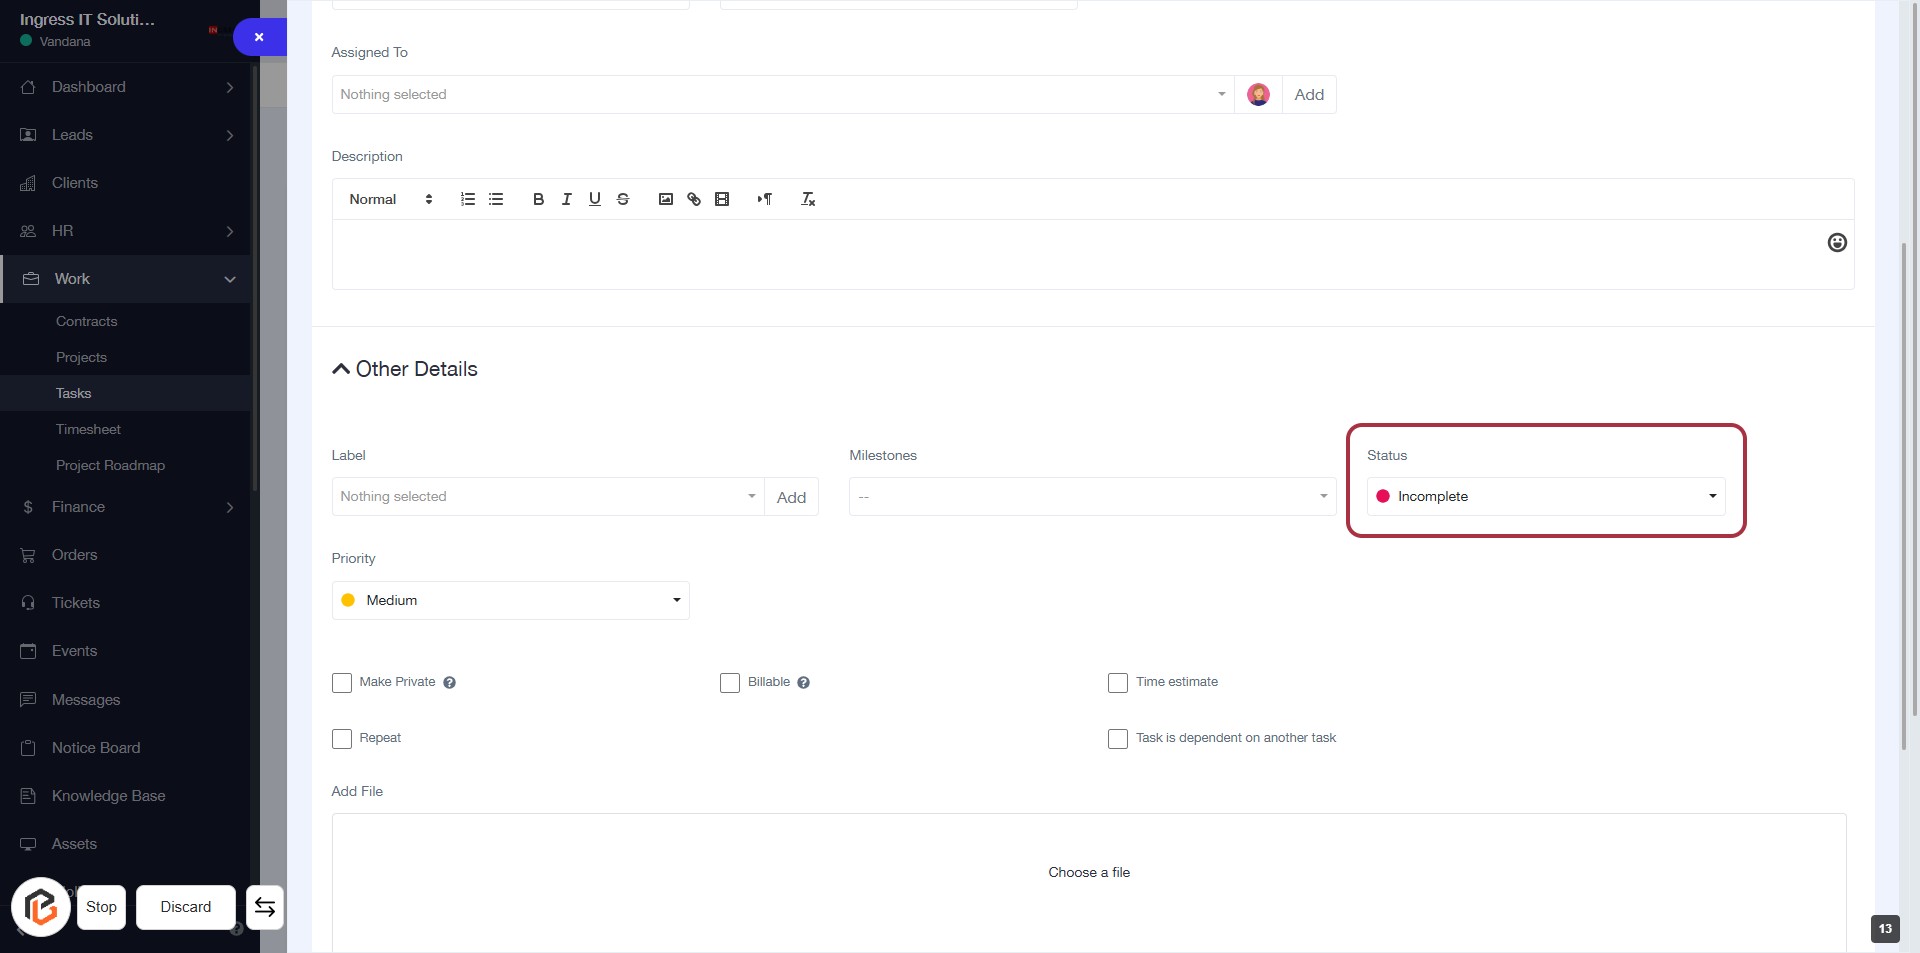
STEP 14: Select "Status" for Task Details
- Click on the "Status" dropdown to view available options.
- Choose the appropriate status for your task (e.g., Incomplete).
- Ensure all required fields marked with an asterisk (*) are filled out.
- Review your selections before proceeding to the next step.
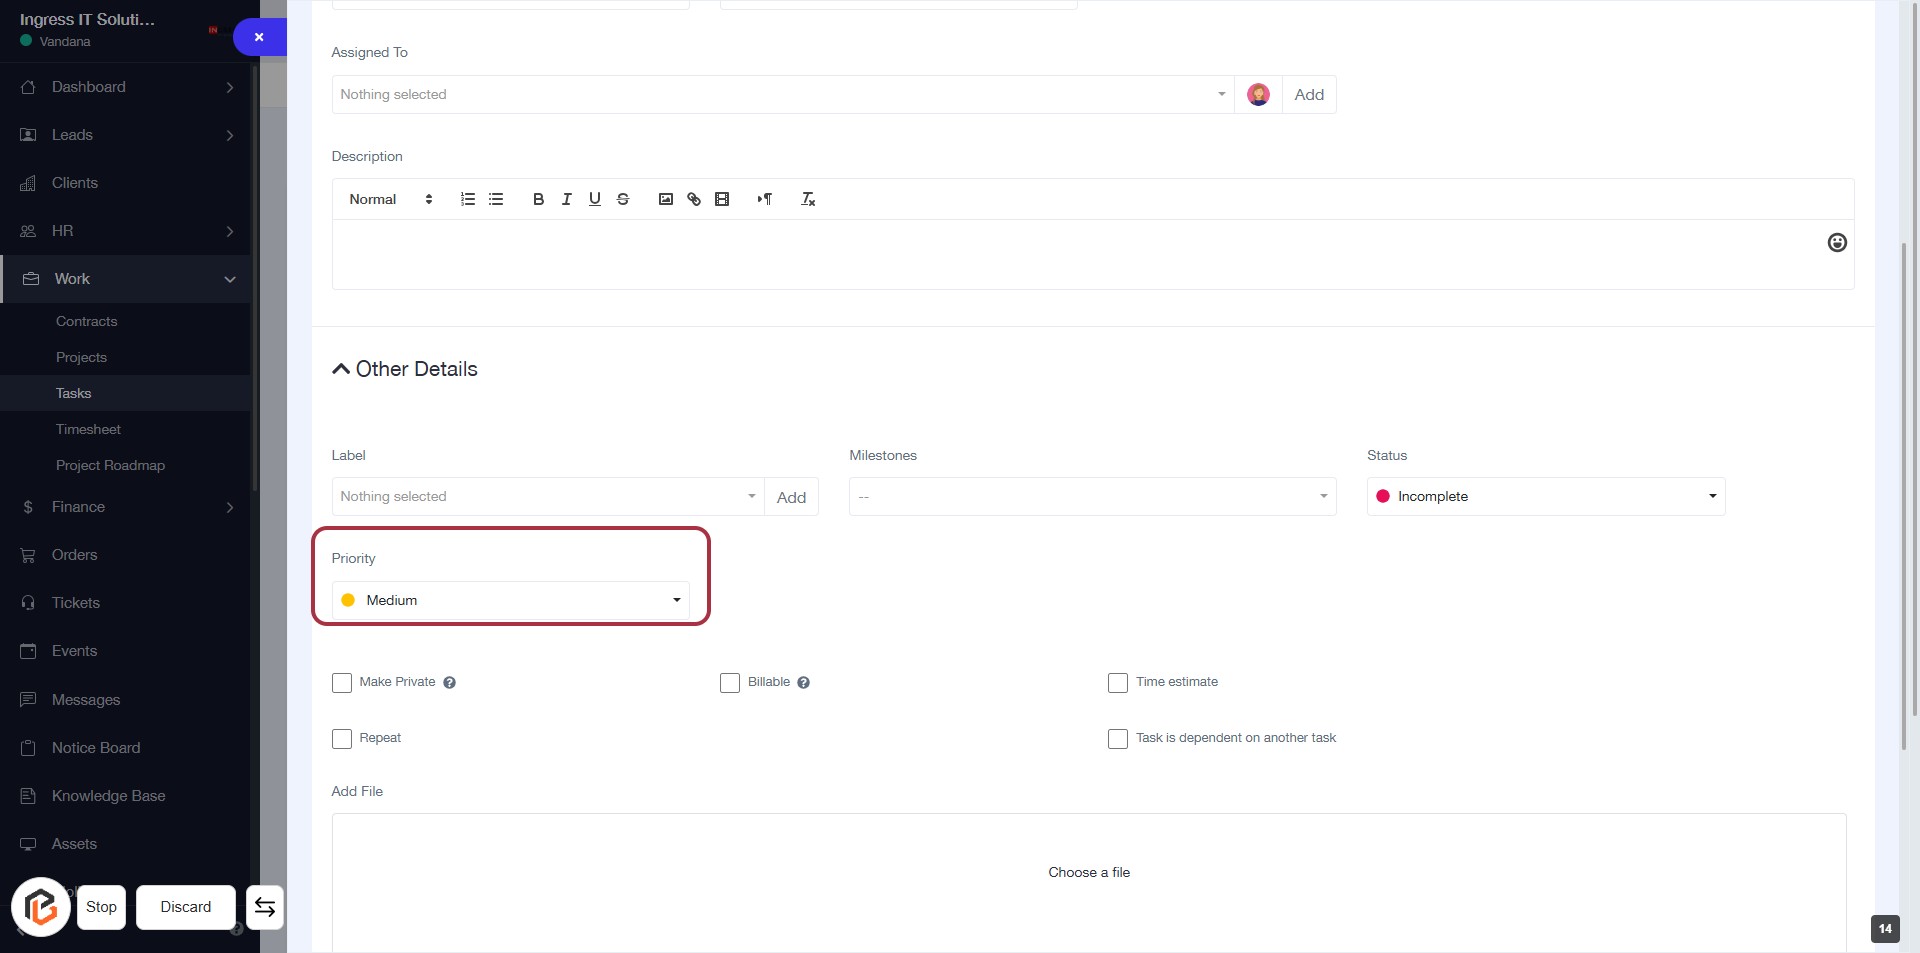
STEP 15: Select "Priority" for Task Details
- Click on the "Priority" dropdown in the "Other Details" section.
- Choose the desired priority level (e.g., High, Medium, Low).
- Ensure that the selection reflects the urgency of the task.
- Proceed to the next step to upload a file if needed.
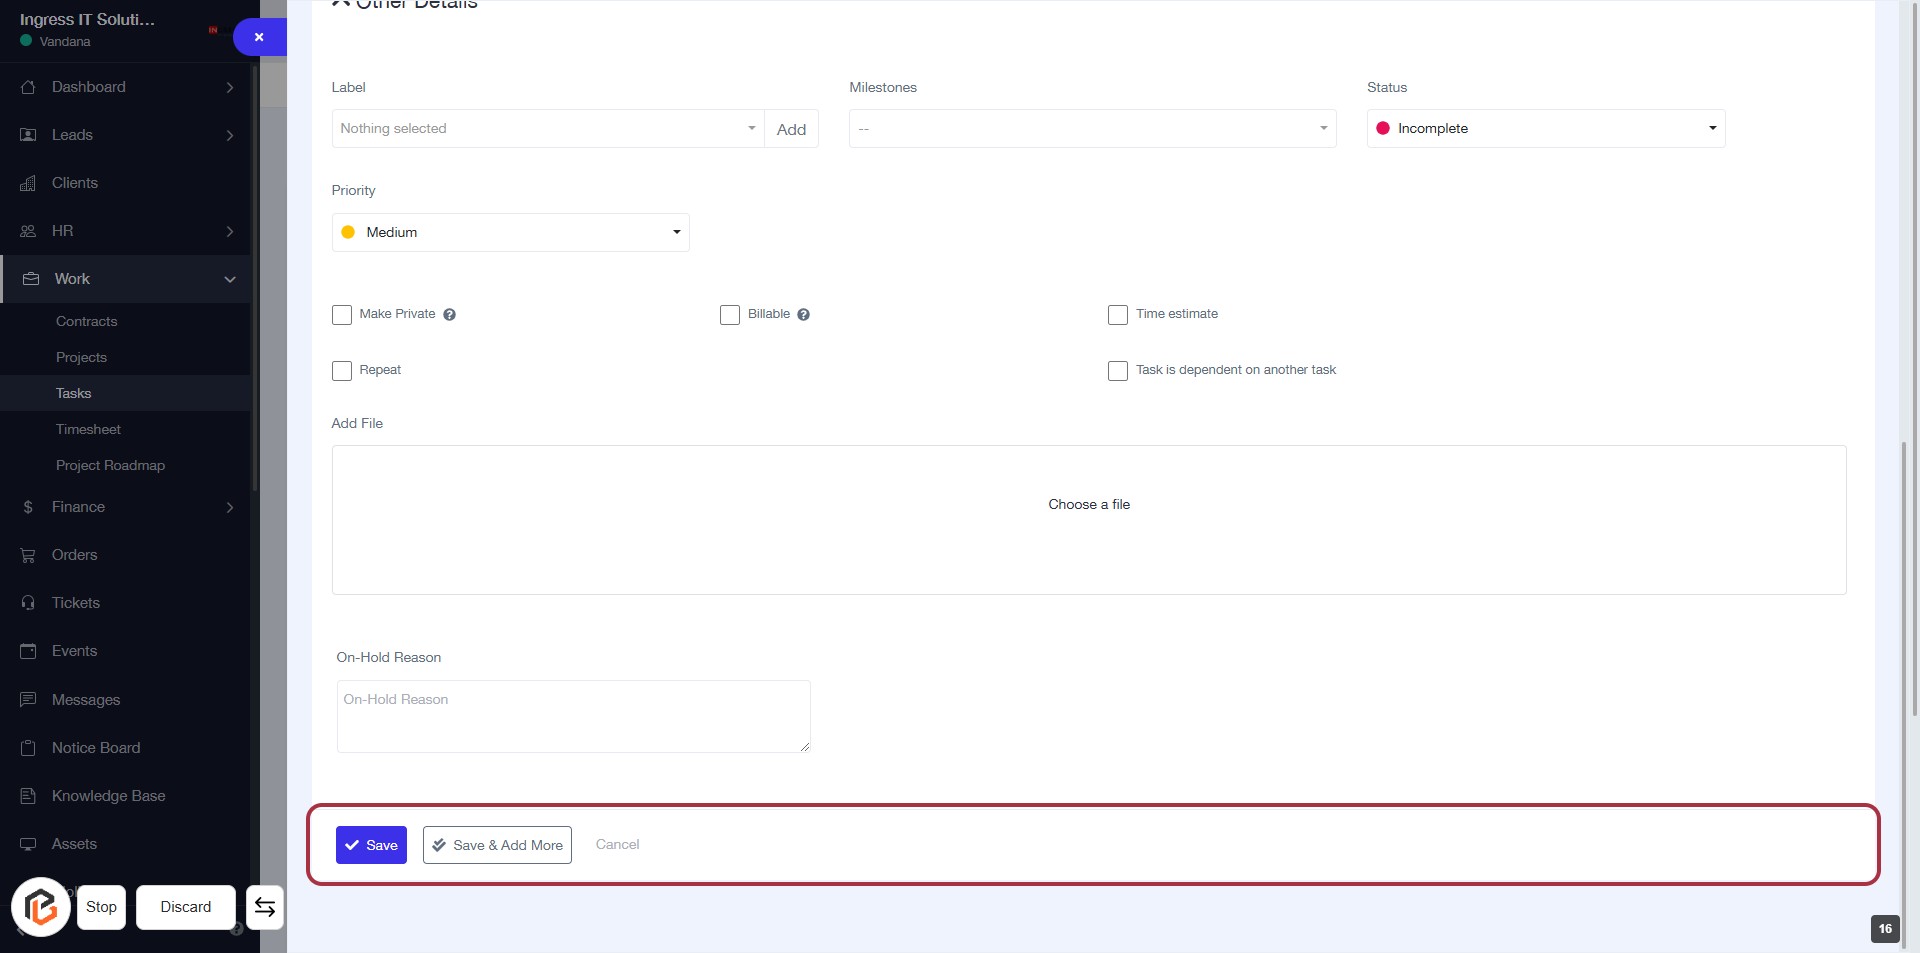
STEP 16: Click "Add File" to Upload a Document
- Locate the Add File section highlighted in red.
- Click on the Add File area to open the file selection dialog.
- Choose the file you wish to upload from your device.
- Ensure the file is relevant to the task at hand.
- Proceed to the next step by clicking on the Save Button.

STEP 17: Click "Save" to Finalize Your Task
- Ensure all required fields are filled in the form.
- Review optional inputs like "Make Private" and "Billable."
- Click the Save button located at the bottom of the form to save your task.
- If needed, you can also choose Save & Add More to create another task.