Step-by-Step Guide to Managing Tasks and Projects in TaskMaster: From Dashboard Navigation to Column Setup
8 mins read · Updated 29 Sep, 2025
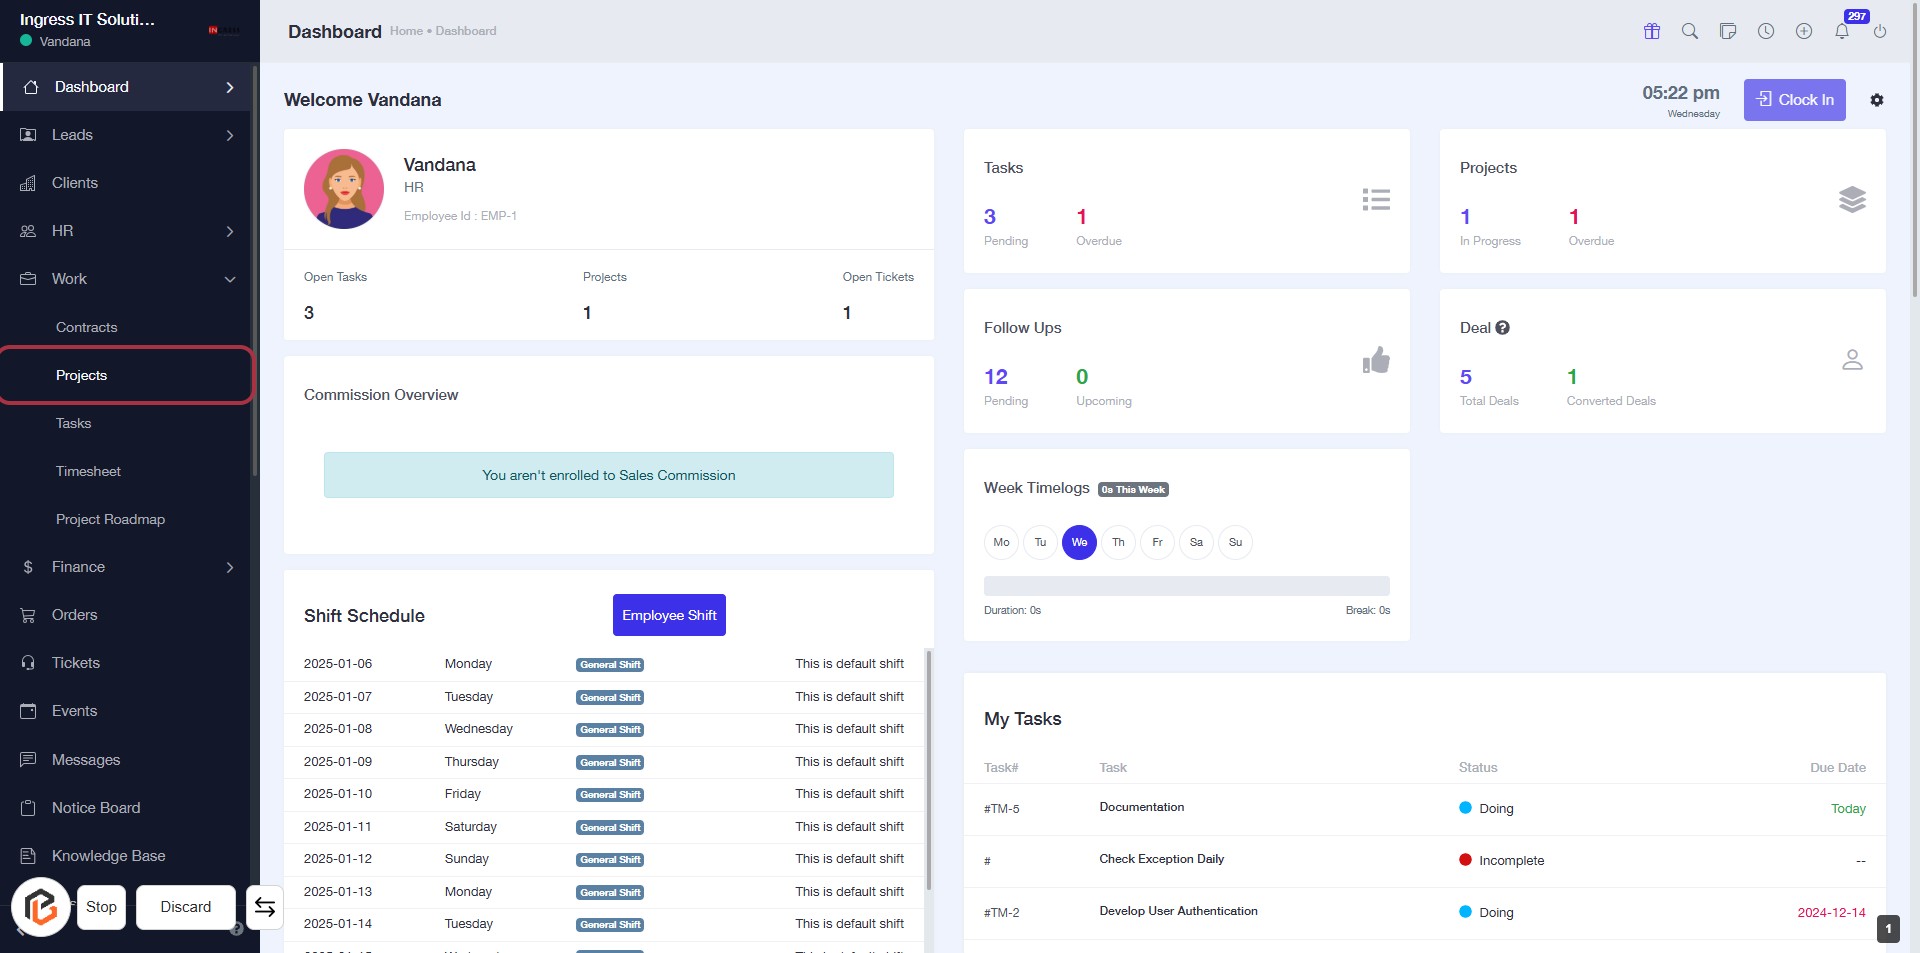
STEP 1: Click on "Work" to Access Your Dashboard
- Navigate to the sidebar menu on the left.
- Click on the "Work" link to view your tasks and projects.
- Ensure you are on the Dashboard page for an overview of your current work status.

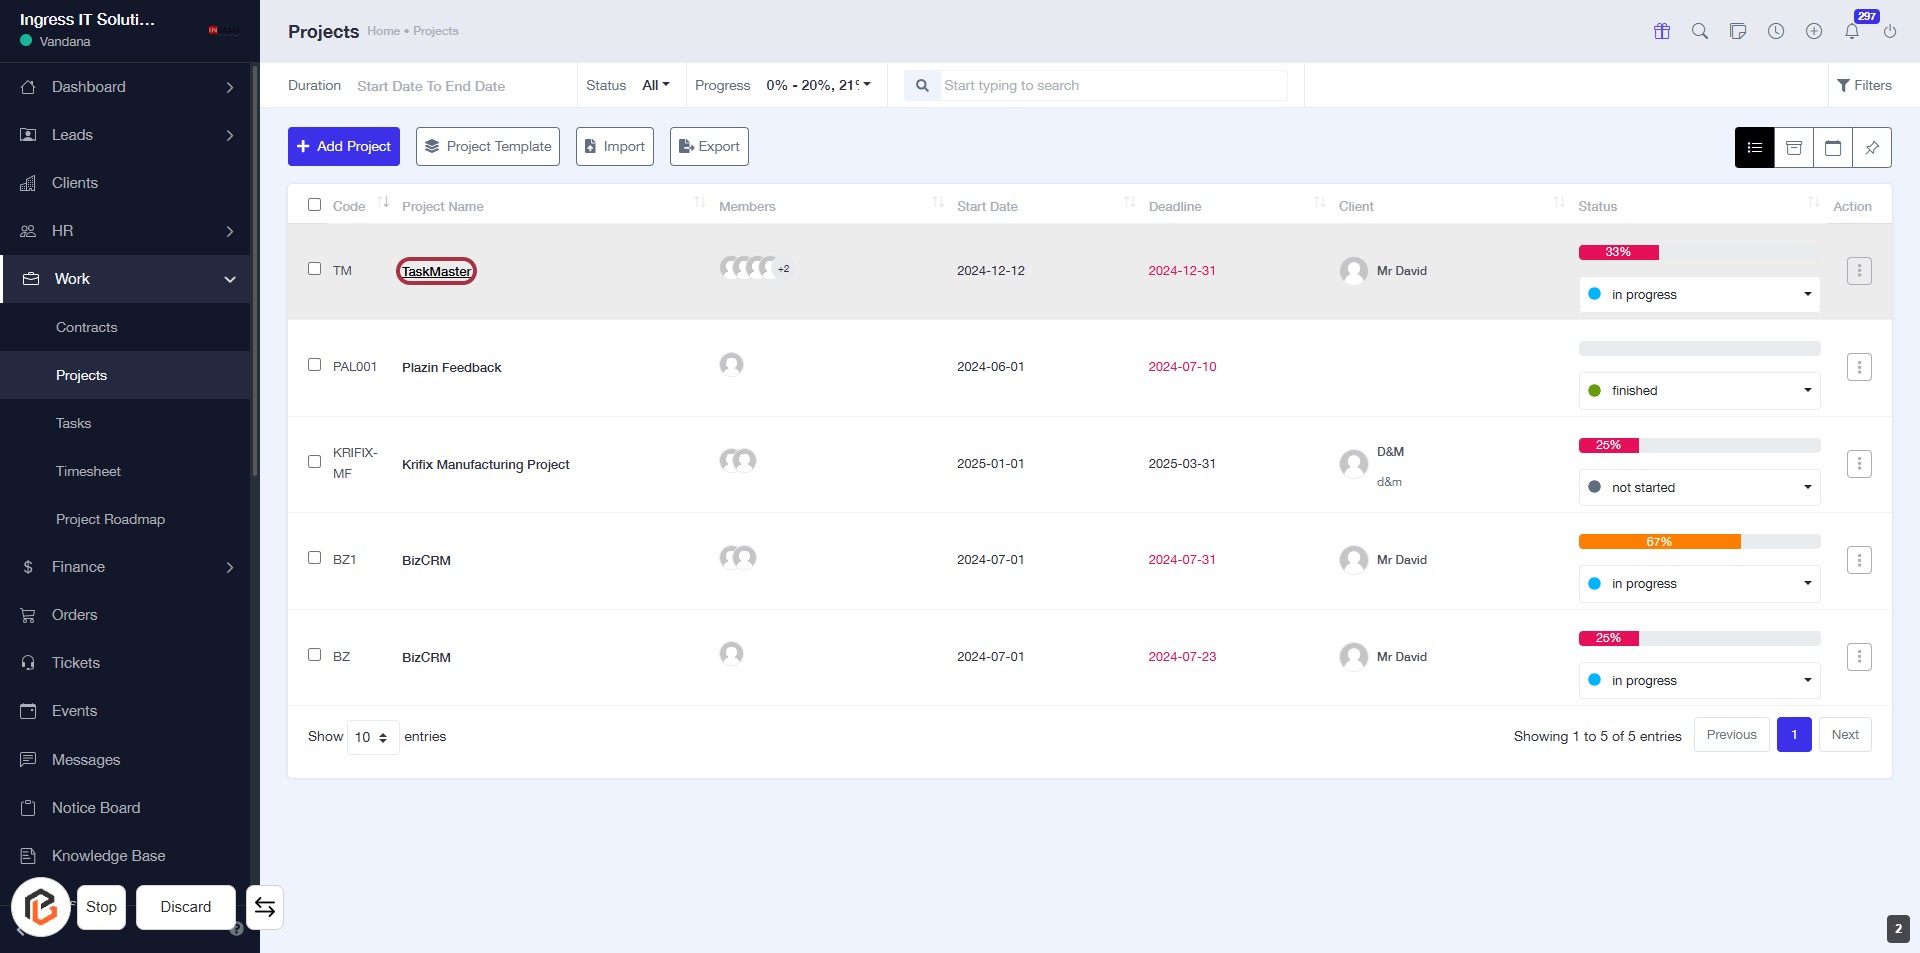
STEP 2: Click on "Projects" to Access Project Overview
- Click on the "Projects" link in the sidebar to view your project details.
- Ensure you are on the dashboard page for easy navigation.
- The highlighted area indicates where to click to access project-related information.
STEP 3: Select "Your Project" in this case we selected "TaskMaster" Project
- Click on the "TaskMaster" link in the project list to access its details.
- Ensure you are on the "Projects" page to locate the project.
- The project name is highlighted for easy identification.
- Proceed to the next step to explore the "Task Board."
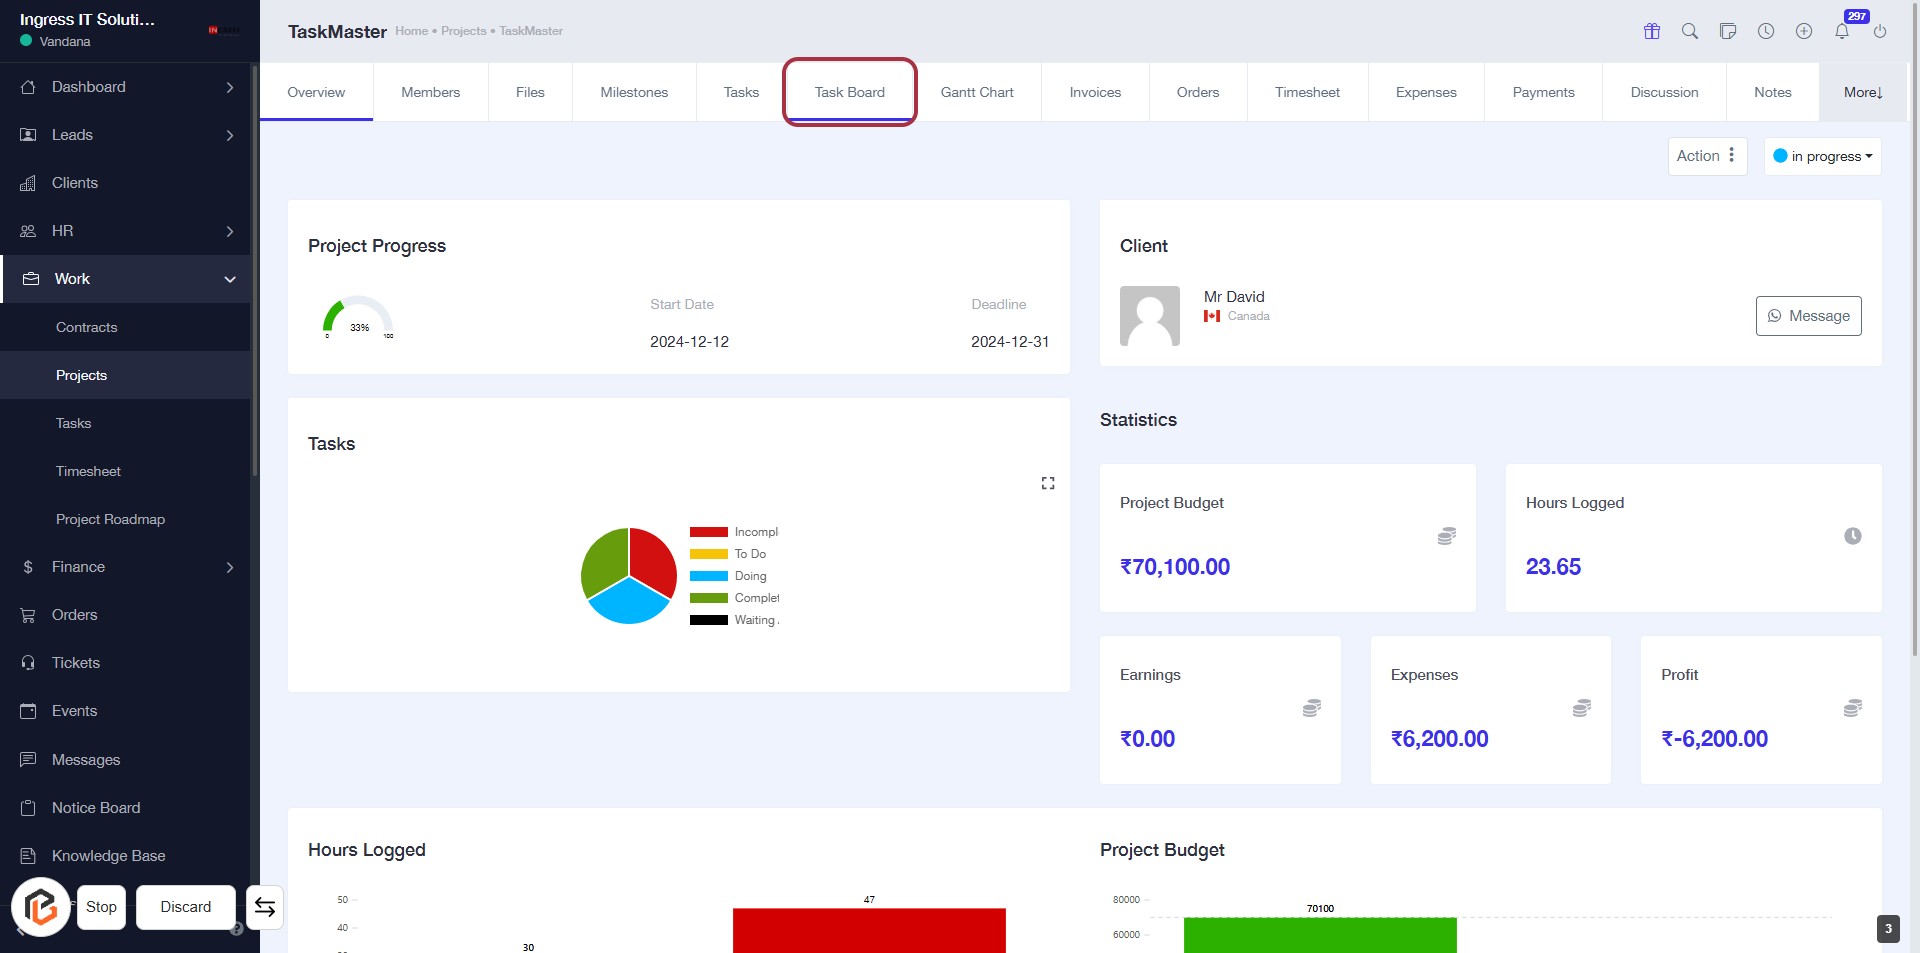
STEP 4: Click on "Task Board"
- Navigate to the "Task Board" section of the TaskMaster project.
- Locate the "Task Board" tab highlighted in the interface.
- Click on the "Task Board" to access task management features.
- Ensure you are on the correct project page before proceeding to the next step.
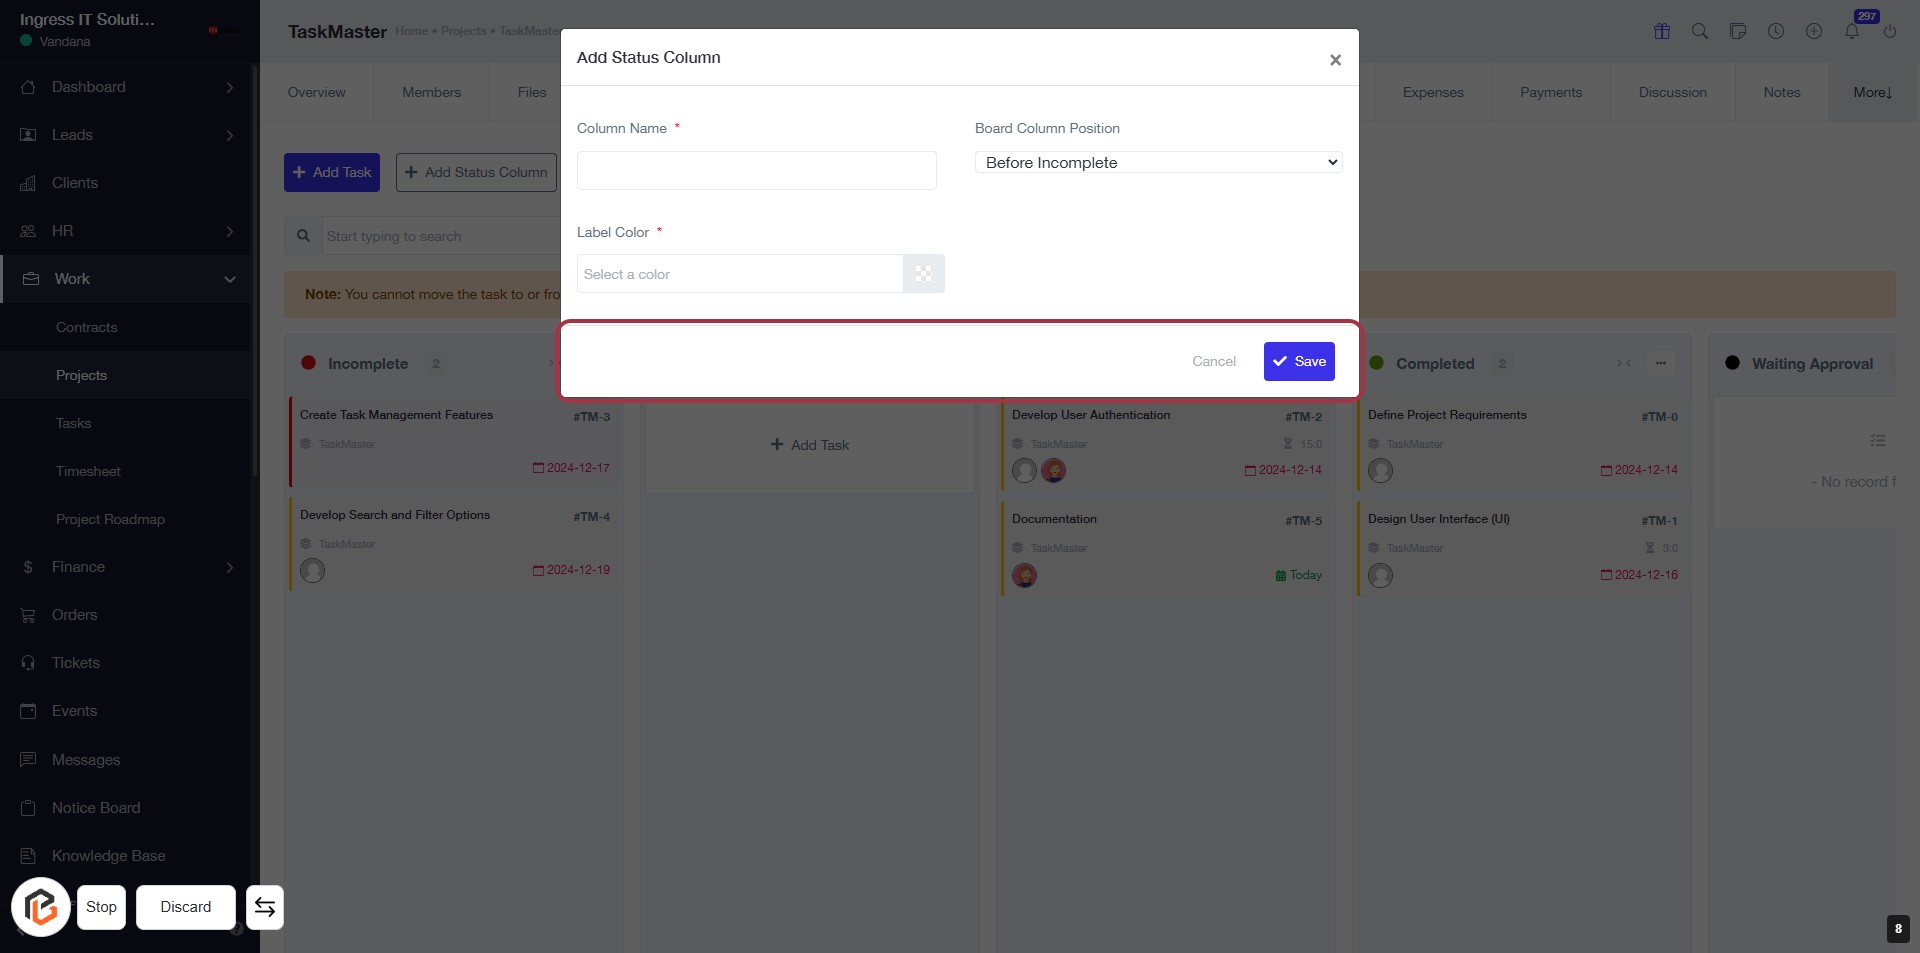
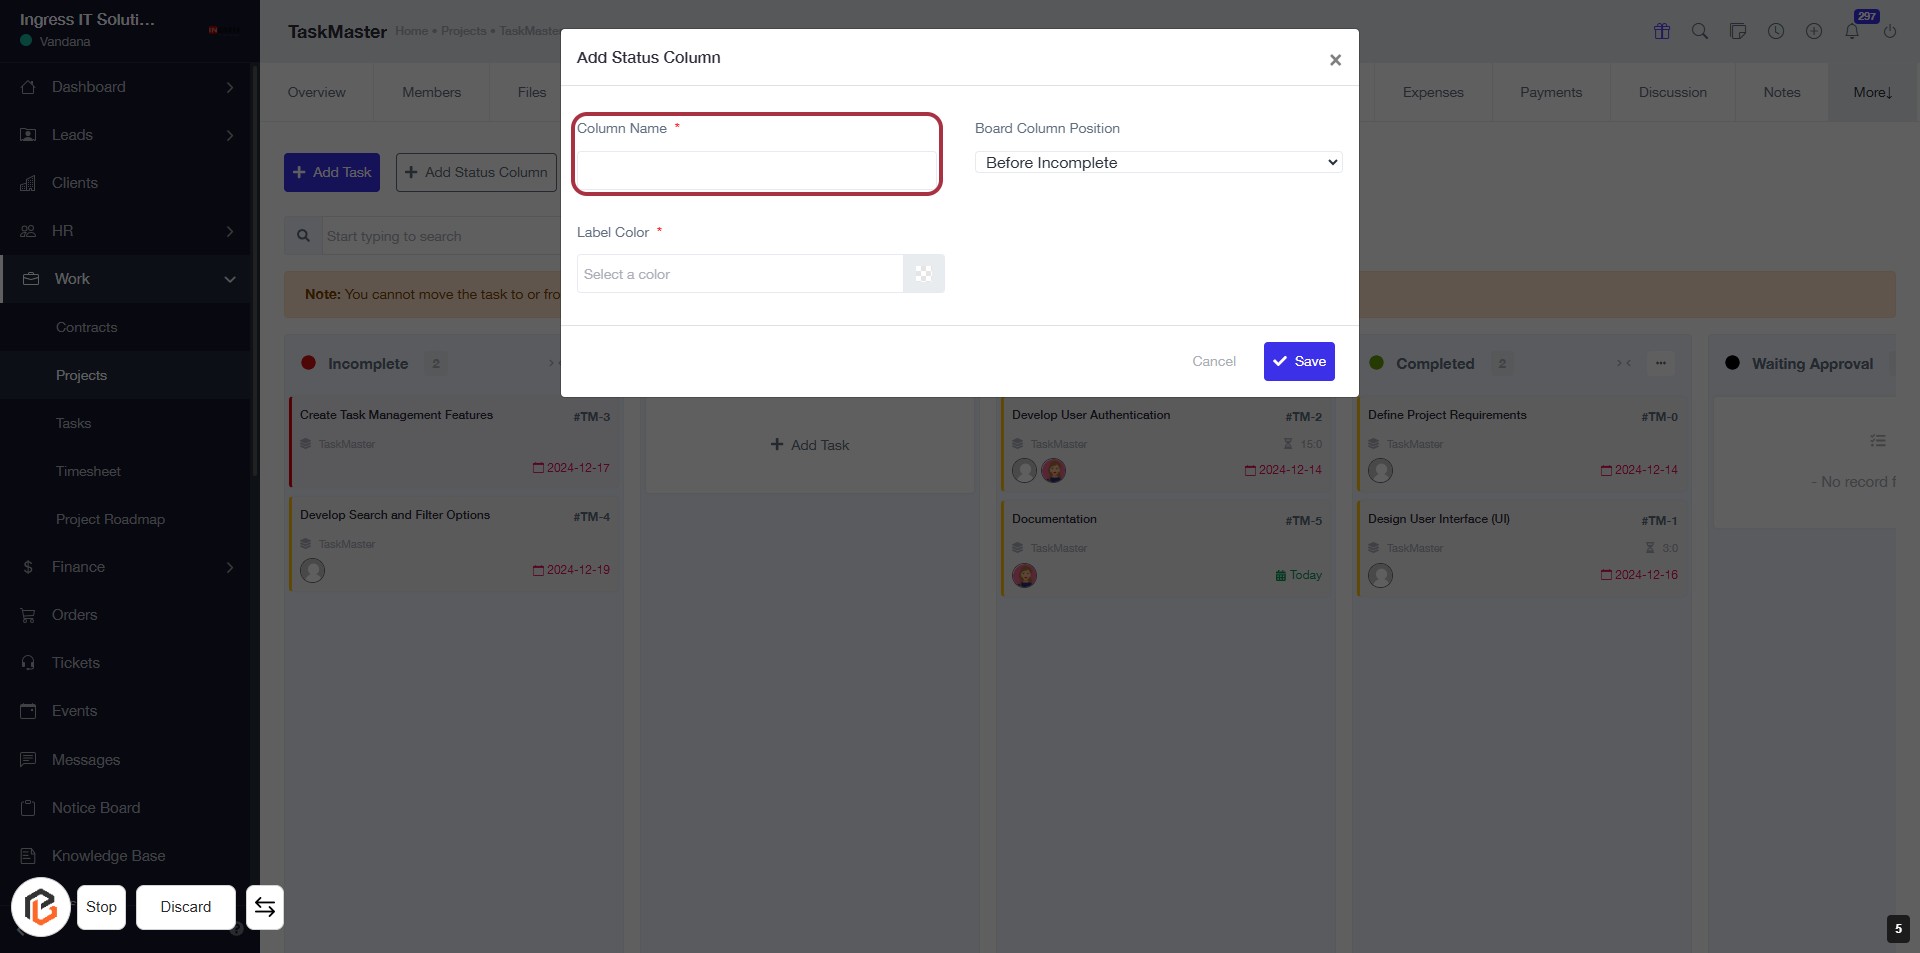
STEP 5: Enter Column Name
- Click on the "Column Name" field (marked with an asterisk * for required input).
- Ensure to provide a name for the new column.
- After entering the name, proceed to the next step to select the "Board Column Position".
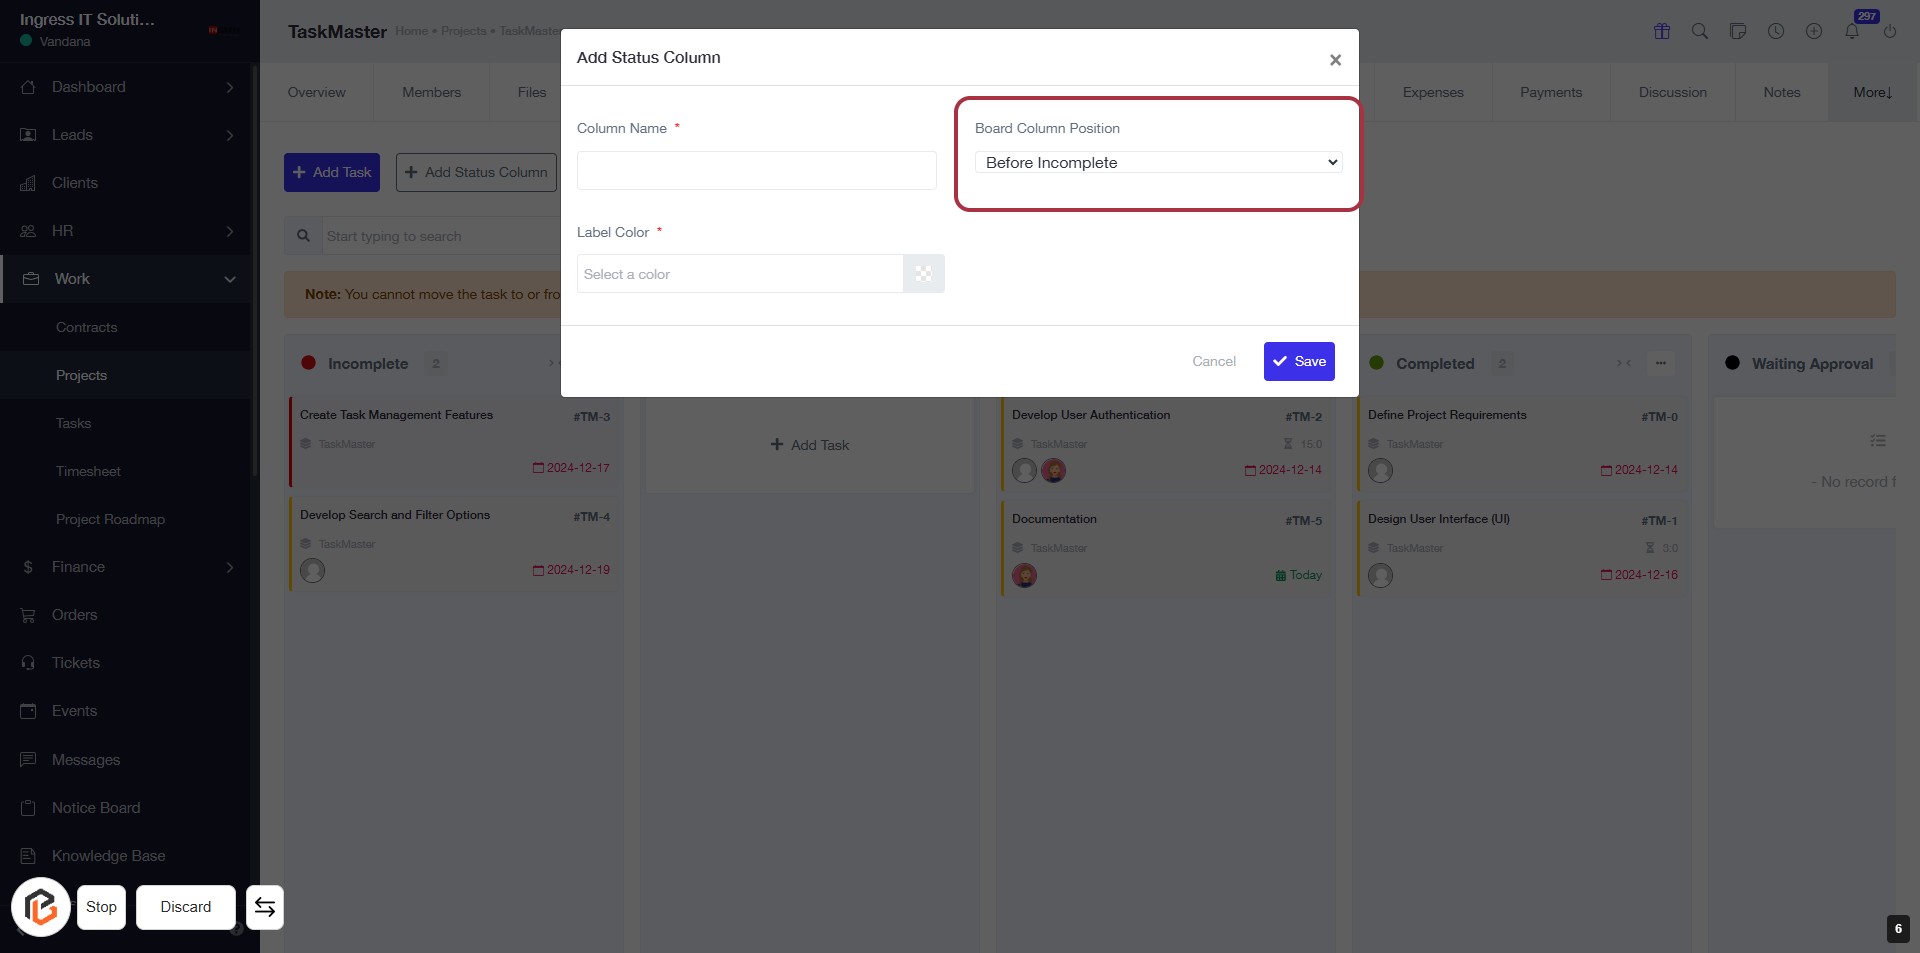
STEP 6: Select "Board Column Position"
- Click on the "Board Column Position" dropdown.
- Choose the desired position for the new column from the options available.
- Ensure the selection aligns with your project workflow.
- Proceed to the next step by selecting the "Label Color."
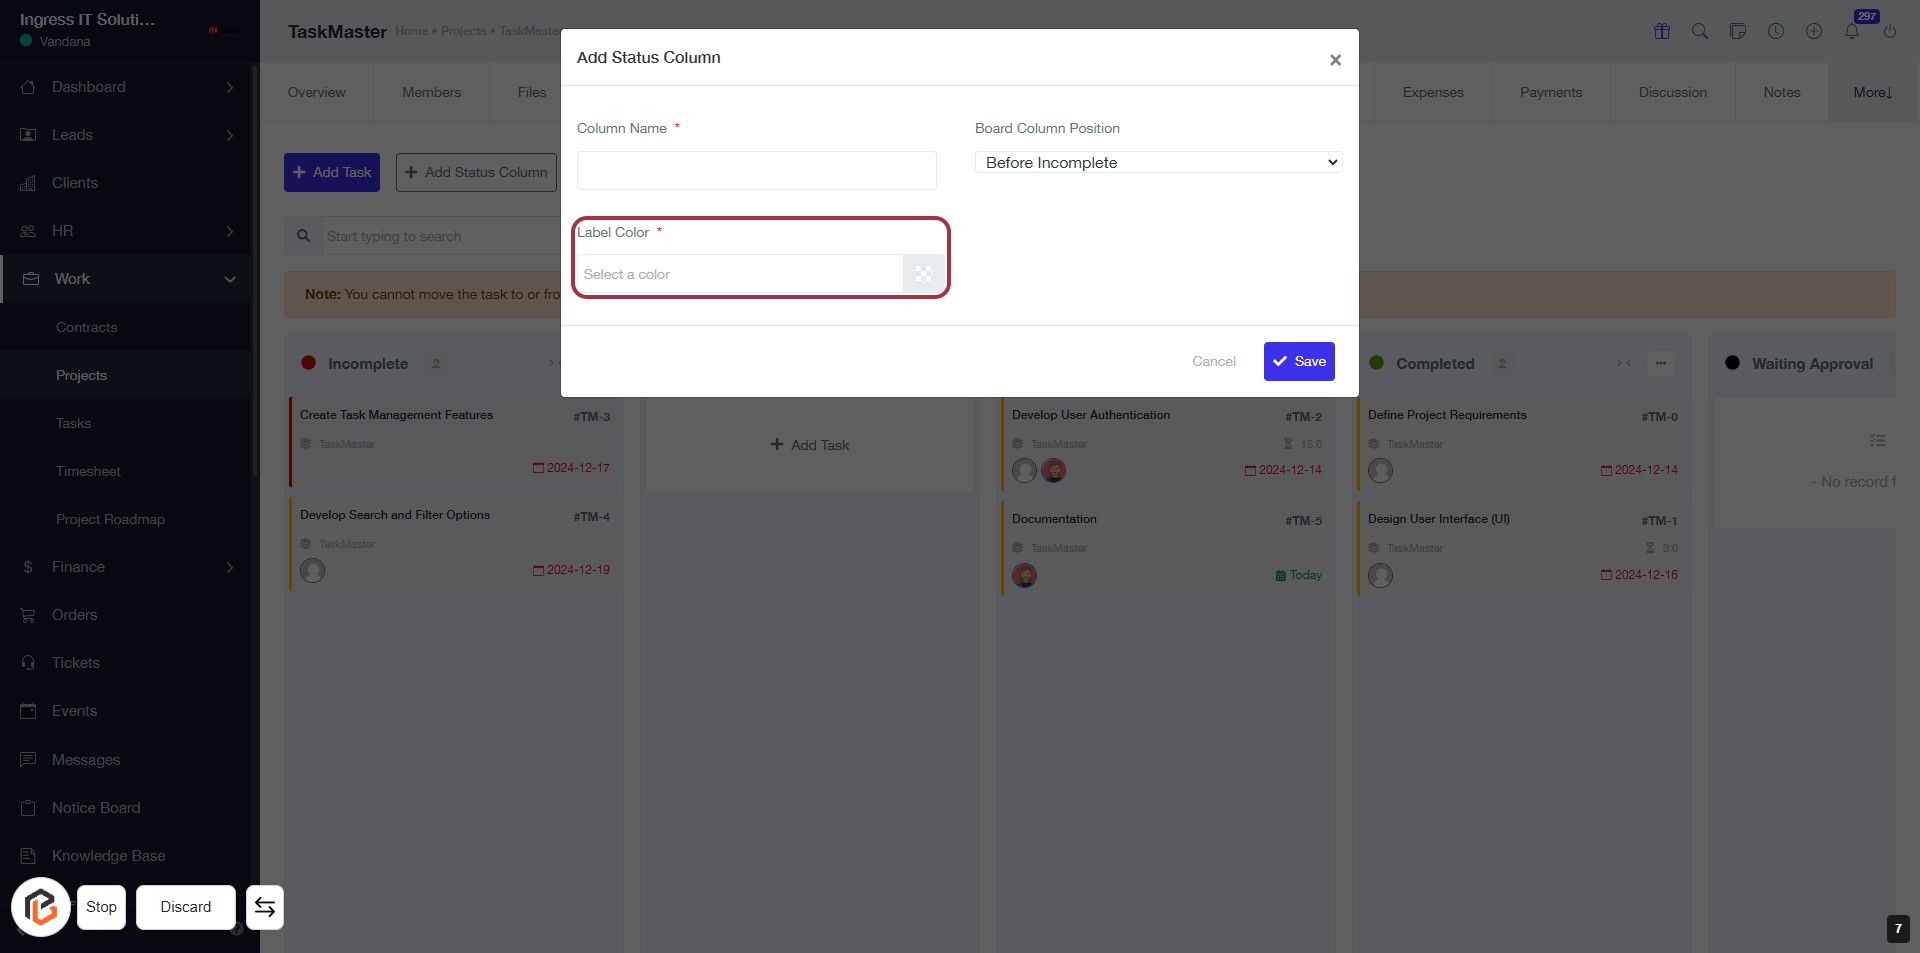
STEP 7: Select "Label Color"
- Click on the "Label Color" field to choose a color for your task column.
- Ensure to select a color as indicated by the asterisk (*), which denotes a required field.
- After selecting the color, proceed to the next step by clicking the "Save" button.
STEP 8: Click "Save" to Finalize Your Changes
- Ensure all required fields (marked with *) are filled:
- Column Name
- Label Color
- Board Column Position
- Review your entries for accuracy.
- Click the Save button in the highlighted area to save your new status column.
- If needed, use the Cancel button to discard changes.