Step-by-Step Guide to Managing Tasks and Notes in Your Project Dashboard
10 mins read · Updated 29 Sep, 2025
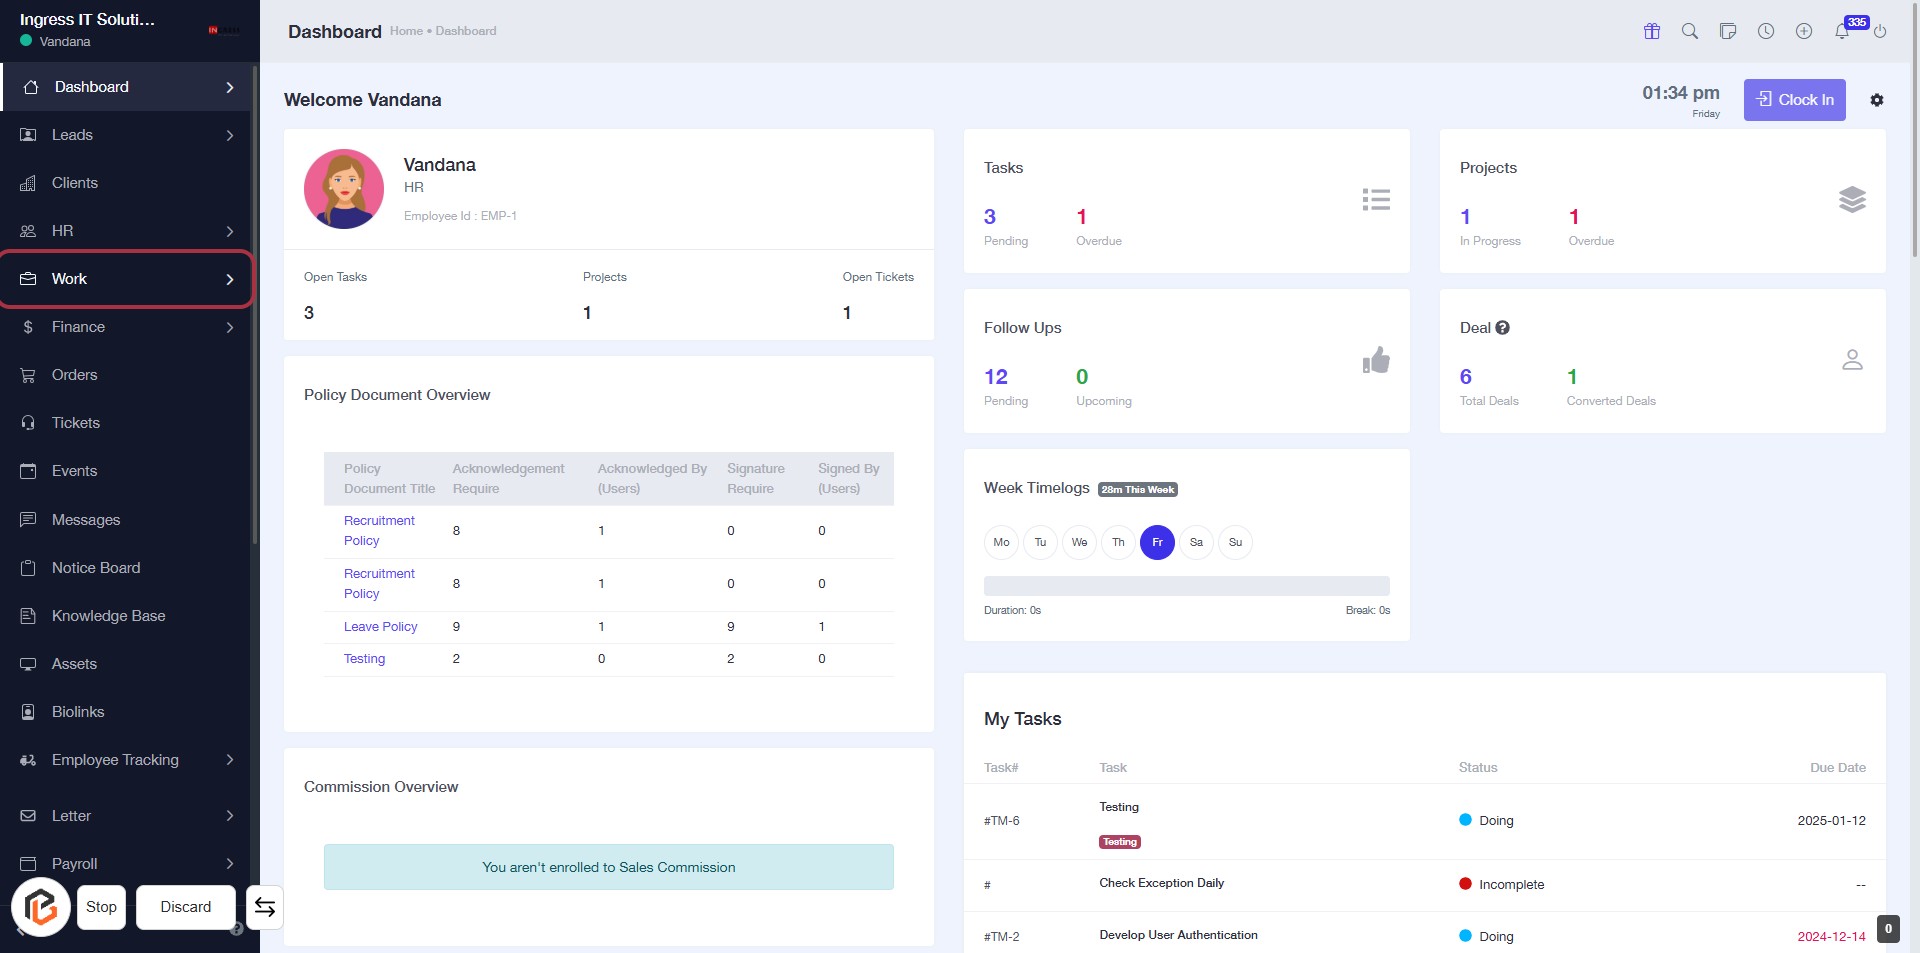
STEP 1: Click on "Work" to Access Your Dashboard
- Navigate to the sidebar menu.
- Click on the Work link to view your tasks and projects.
- Ensure you are on the Dashboard page for context.
- After clicking, you will see an overview of your tasks, projects, and follow-ups.
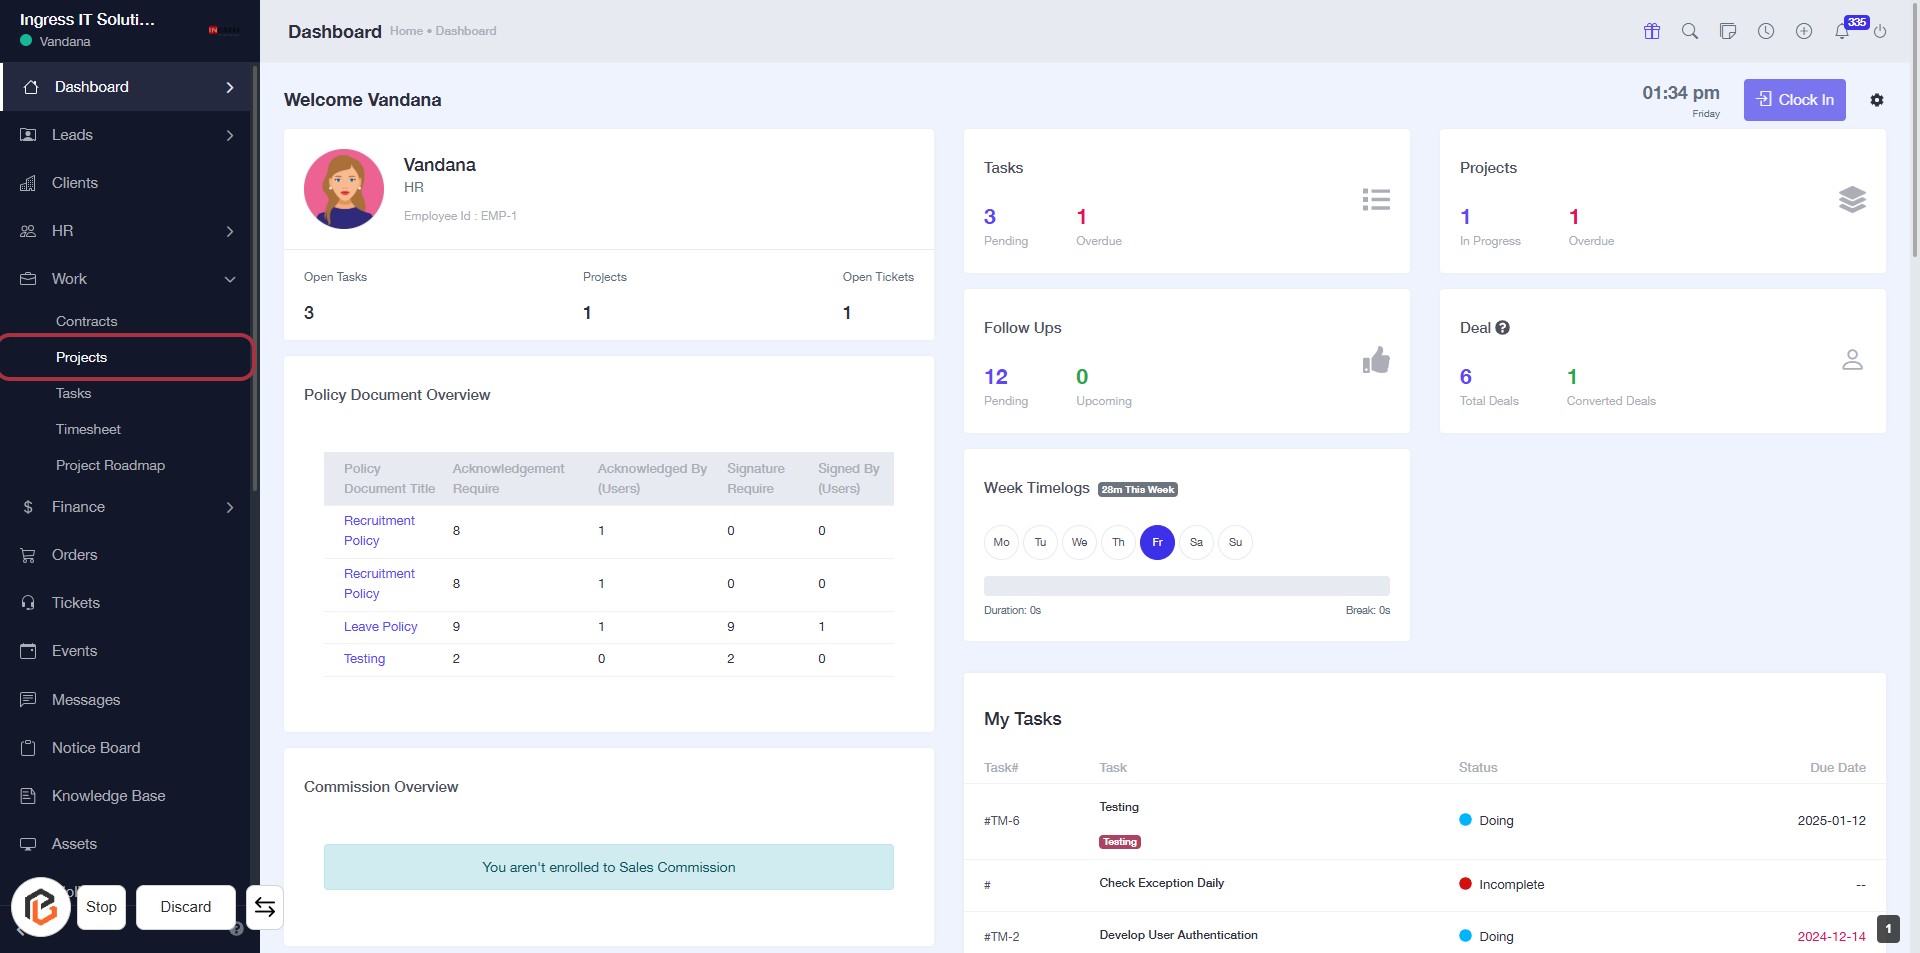
STEP 2: Click on "Projects" to Access Project Overview
- Navigate to the left sidebar of your dashboard.
- Locate and click on the "Projects" link.
- This will direct you to the Projects section, where you can view project details and statuses.
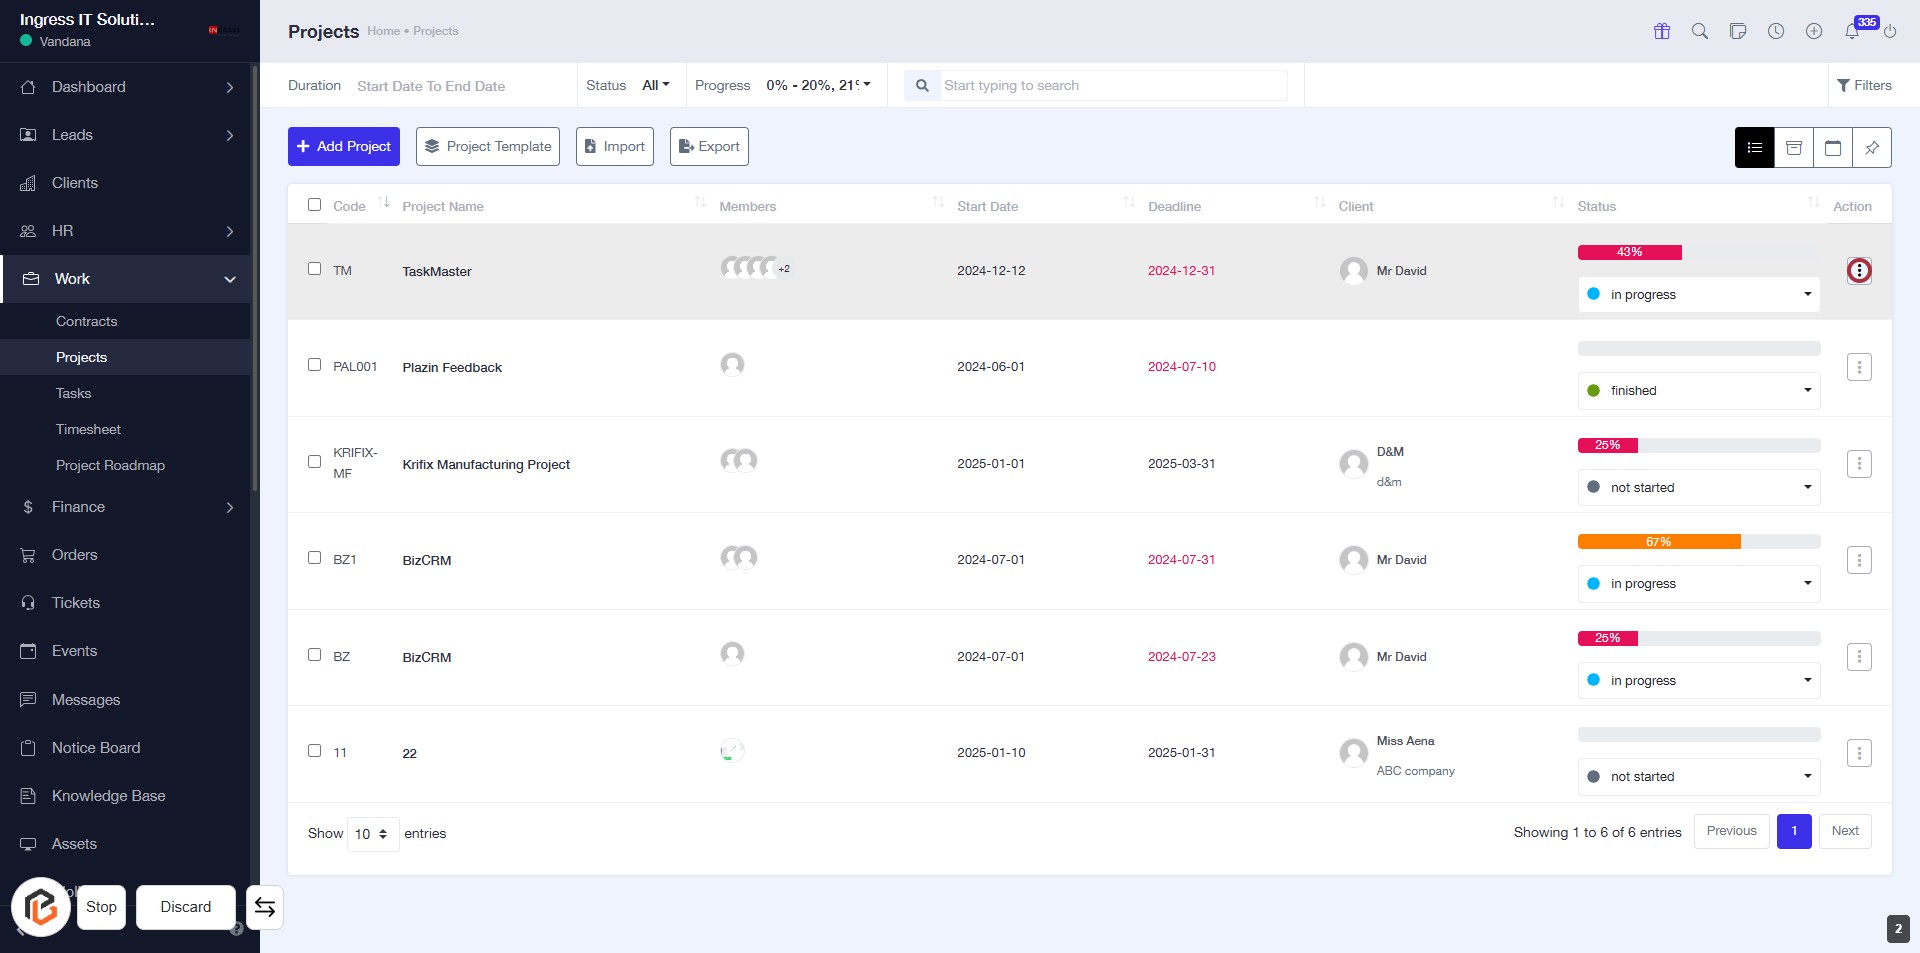
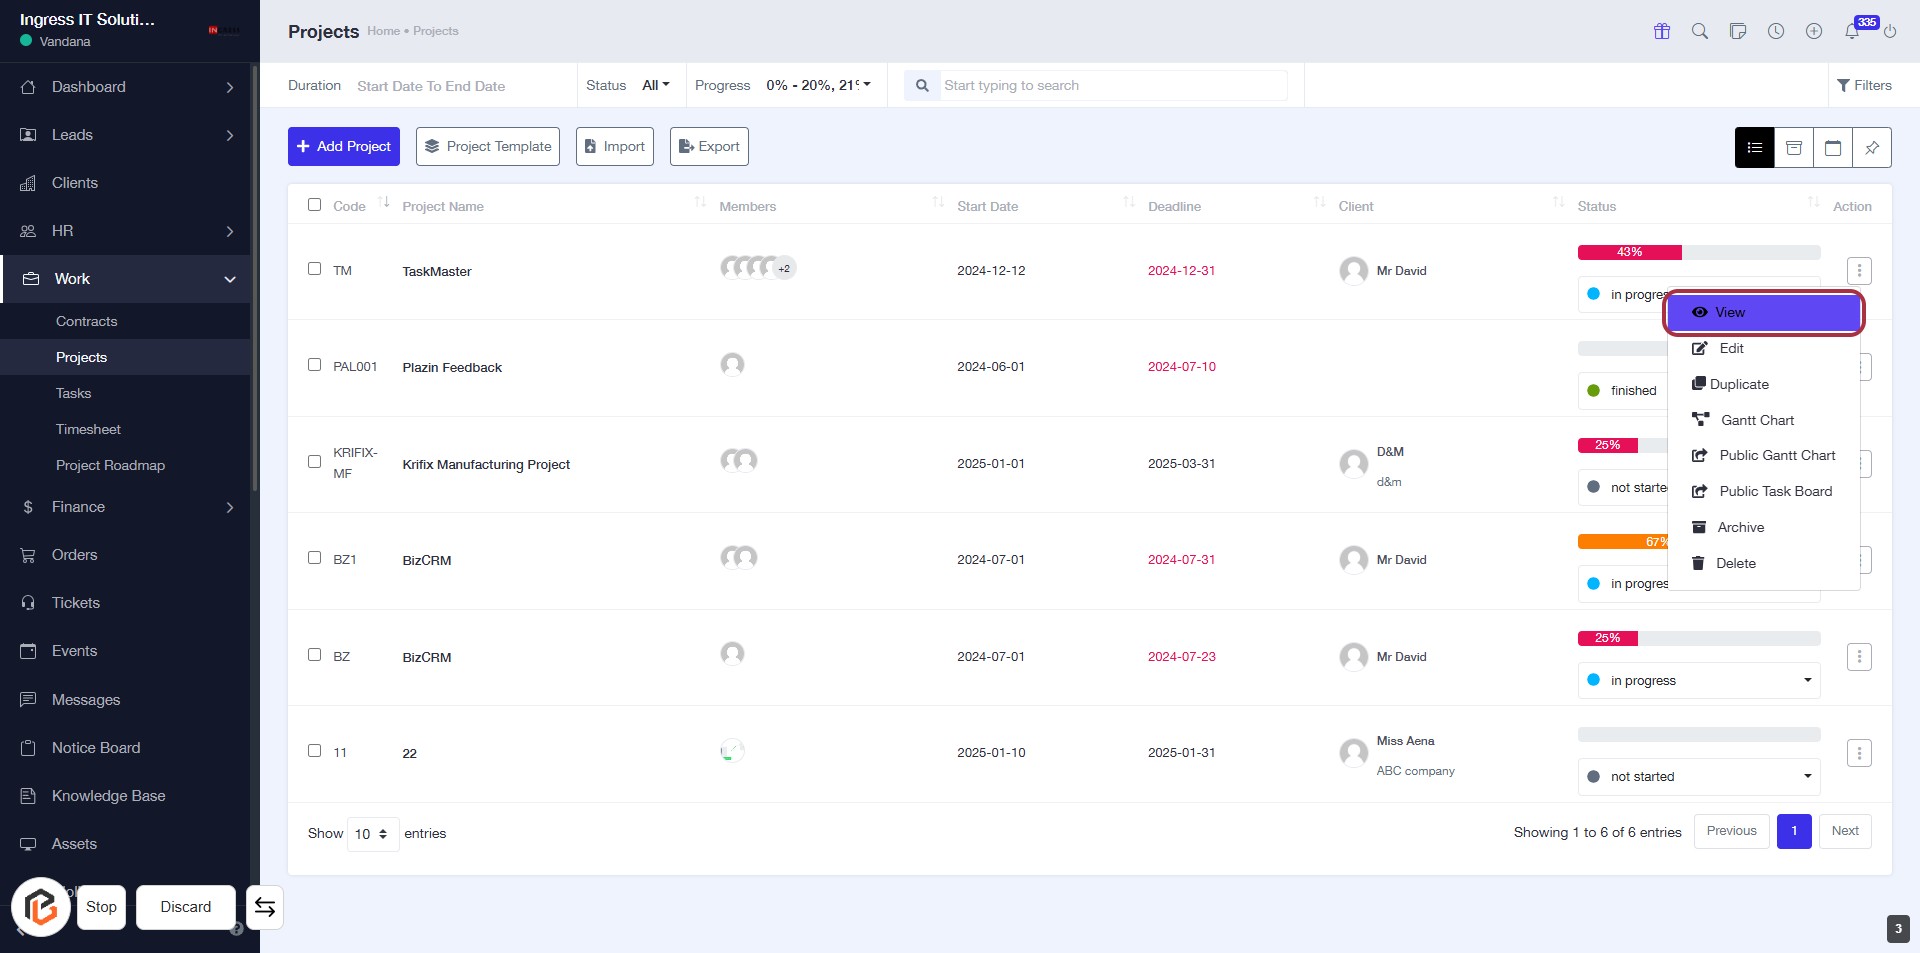
STEP 3: Click on "Action Button"
- Navigate to the "Projects" section.
- Locate the action button in the highlighted area.
- Click on the action button to proceed with the desired operation.
- Ensure to review any prompts or options that may appear after clicking.
STEP 4: Click on "View" to Access Project Details
- Navigate to the "Projects" section.
- Locate the project you wish to view.
- Click on the "View" link in the Action column to access detailed information about the selected project.
- Ensure you have the necessary permissions to view project details.
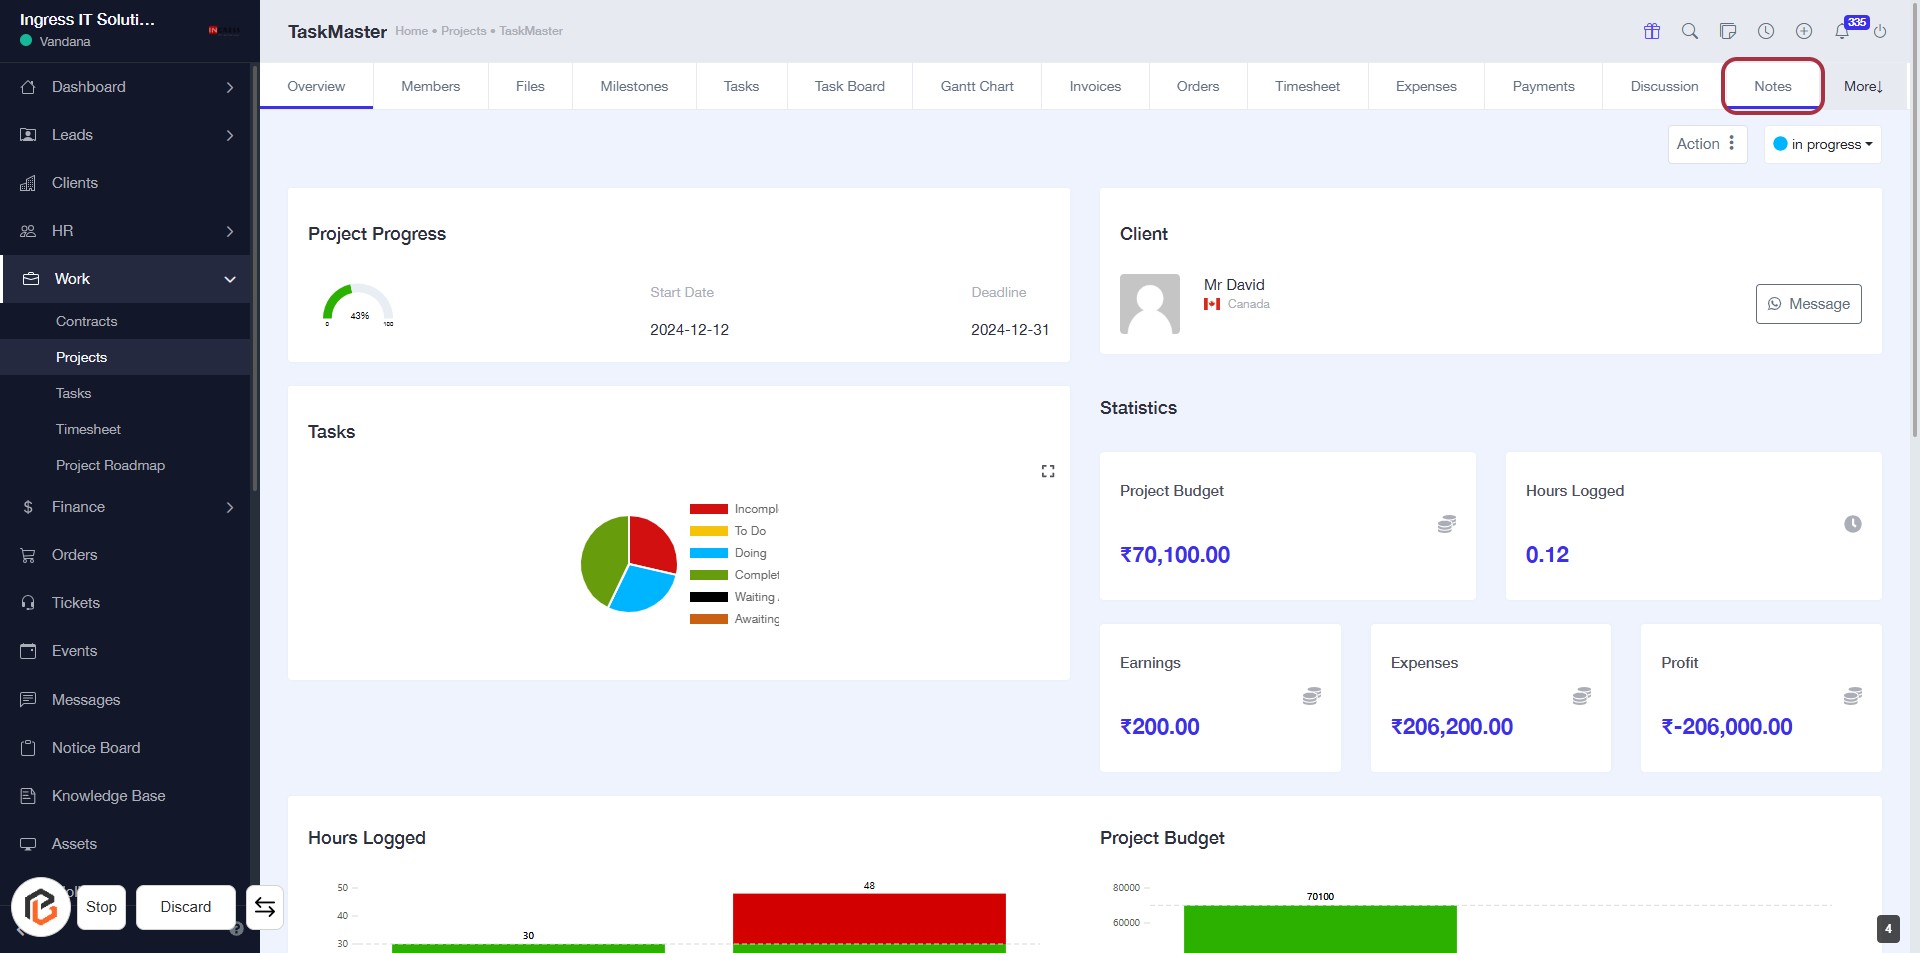
STEP 5: Click on "Notes" to Access Project Notes
- Navigate to the "Notes" section by clicking on the highlighted area.
- This section allows you to view and manage project-related notes.
- Ensure to check for any existing notes before adding new ones.
- Next, you can proceed to click on "Add Note" to create a new entry.
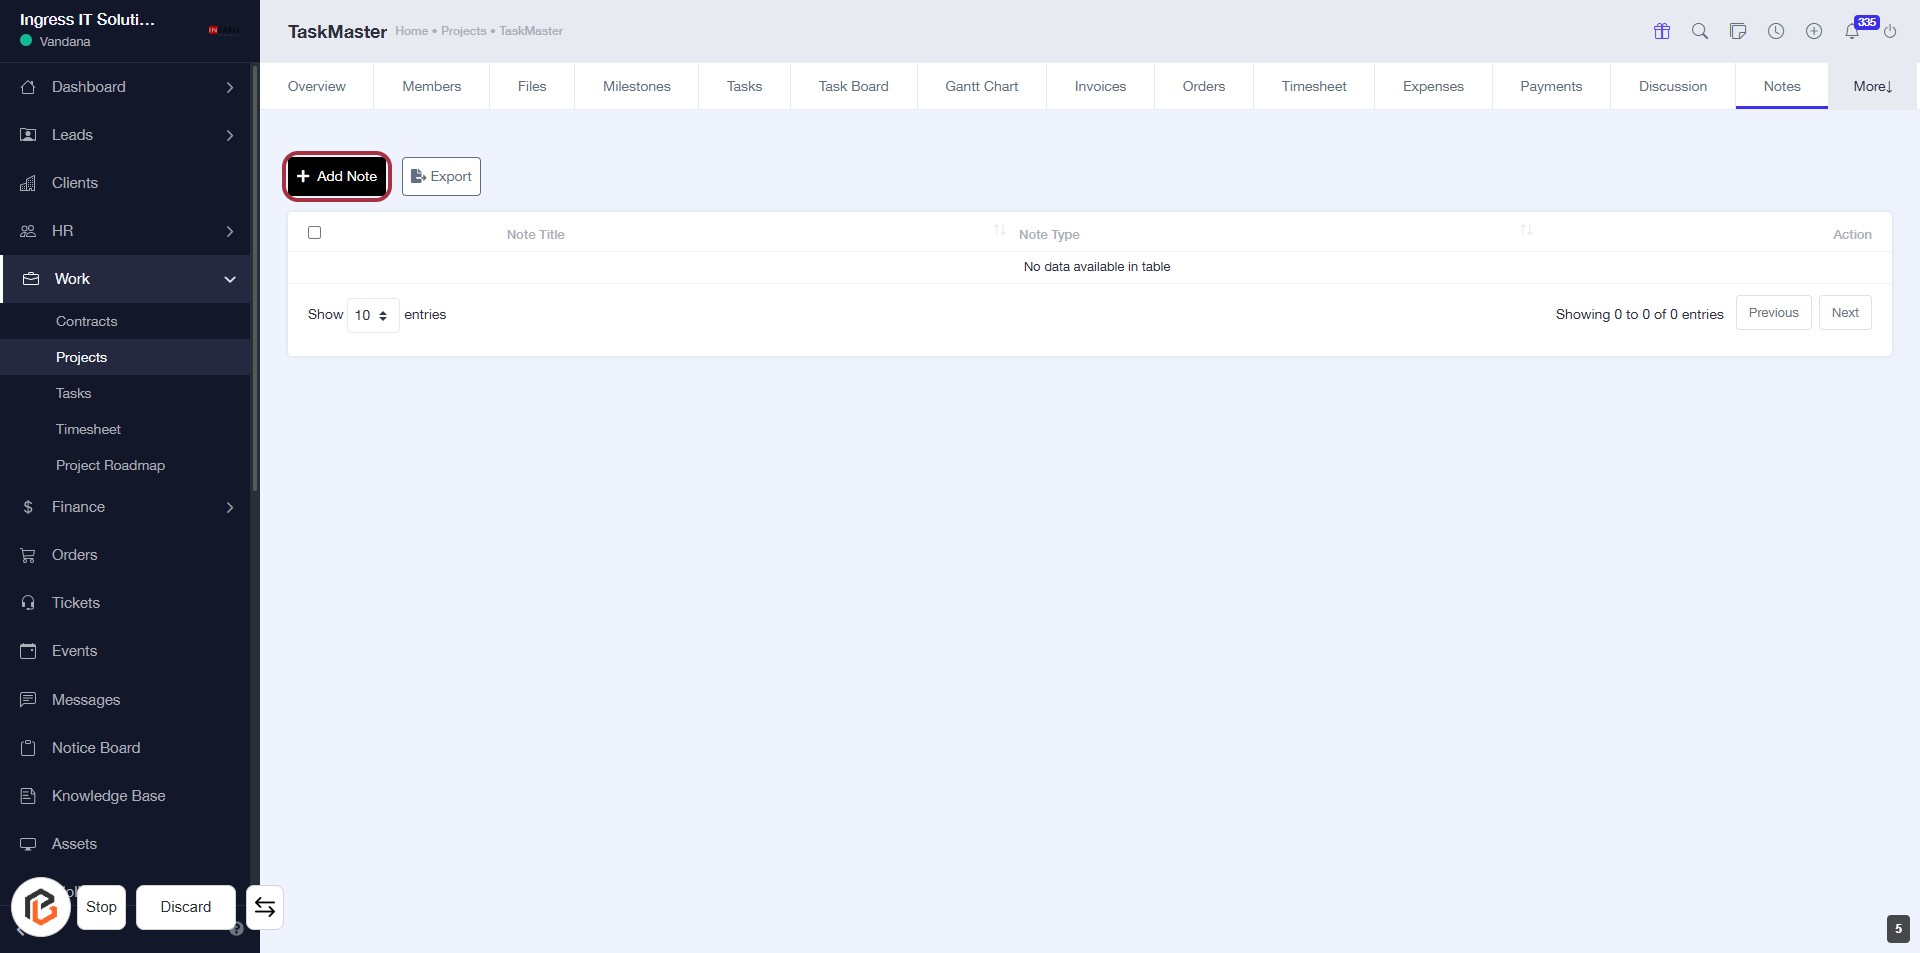
STEP 6: Click on "Add Note"
- Navigate to the Notes section of your project.
- Locate the Add Note button highlighted in red.
- Click on Add Note to proceed to the next step where you will enter the note title.
STEP 7: Enter Note Title
- Click on the "Note Title" field (marked with a red border).
- Enter a descriptive title for your note (this field is mandatory, indicated by the asterisk).
- Ensure the title is relevant to the content of the note.
- Proceed to the next step to select the "Note Type."
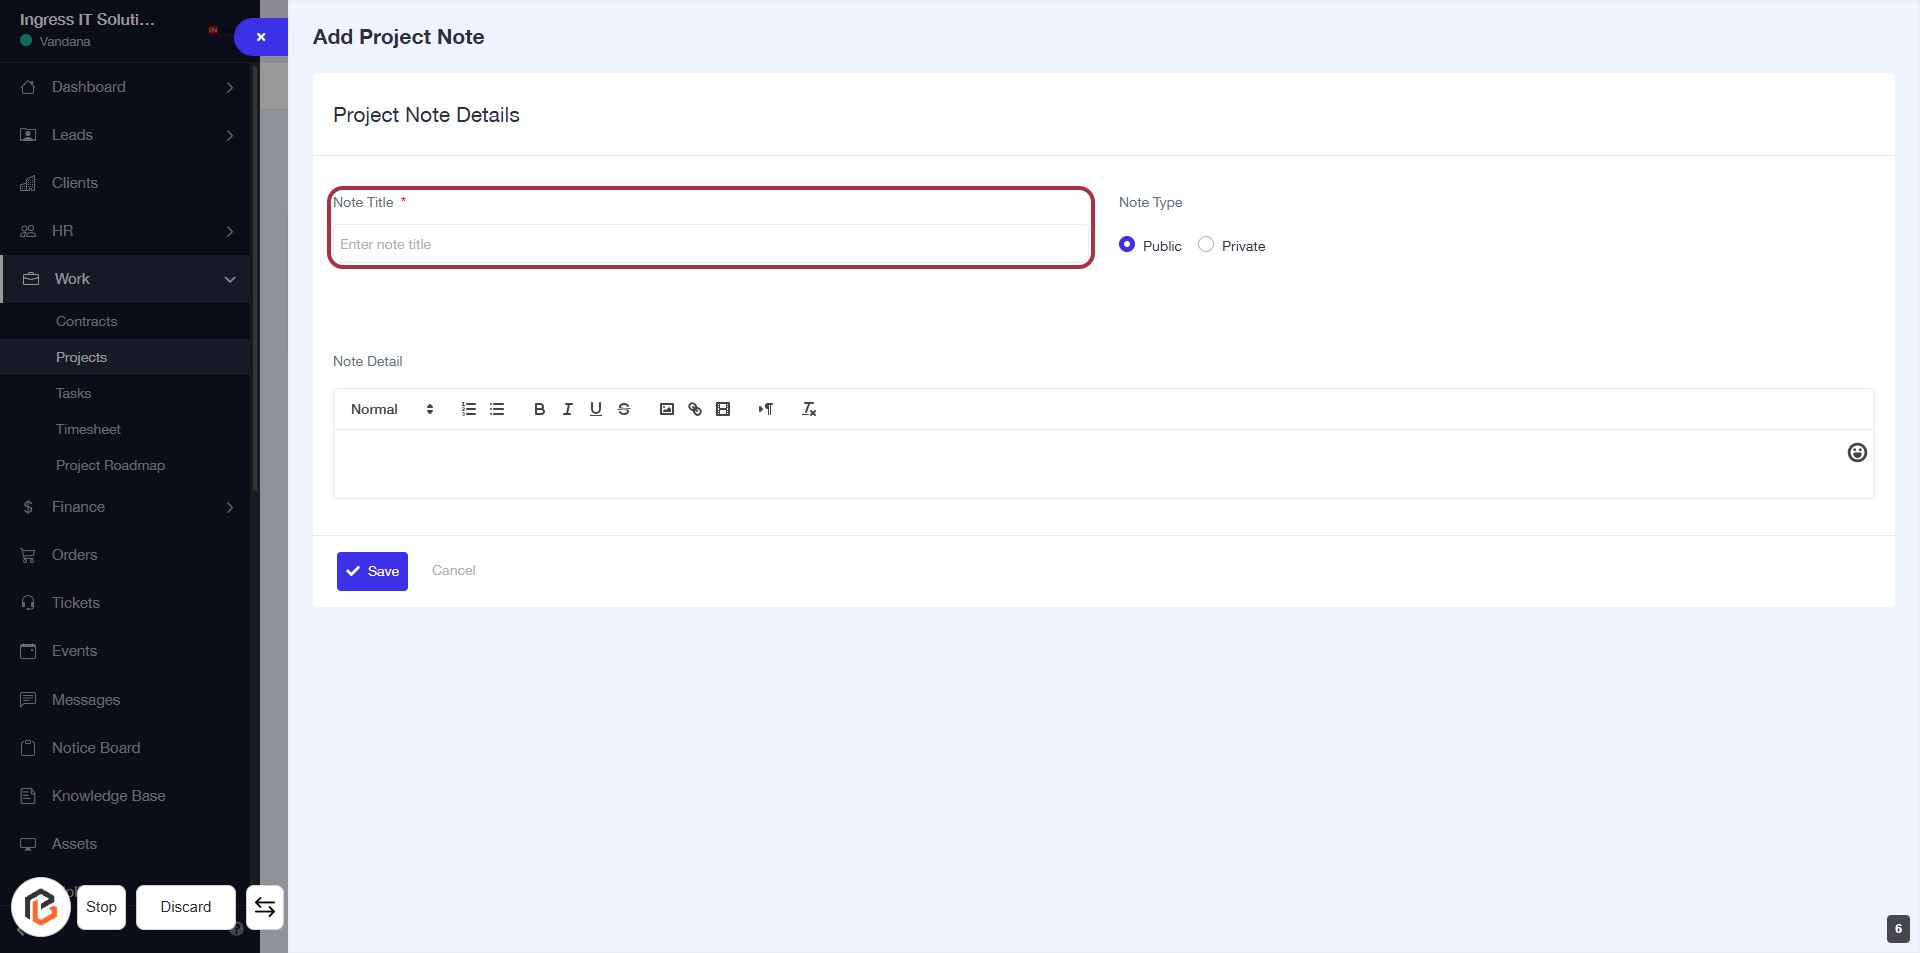
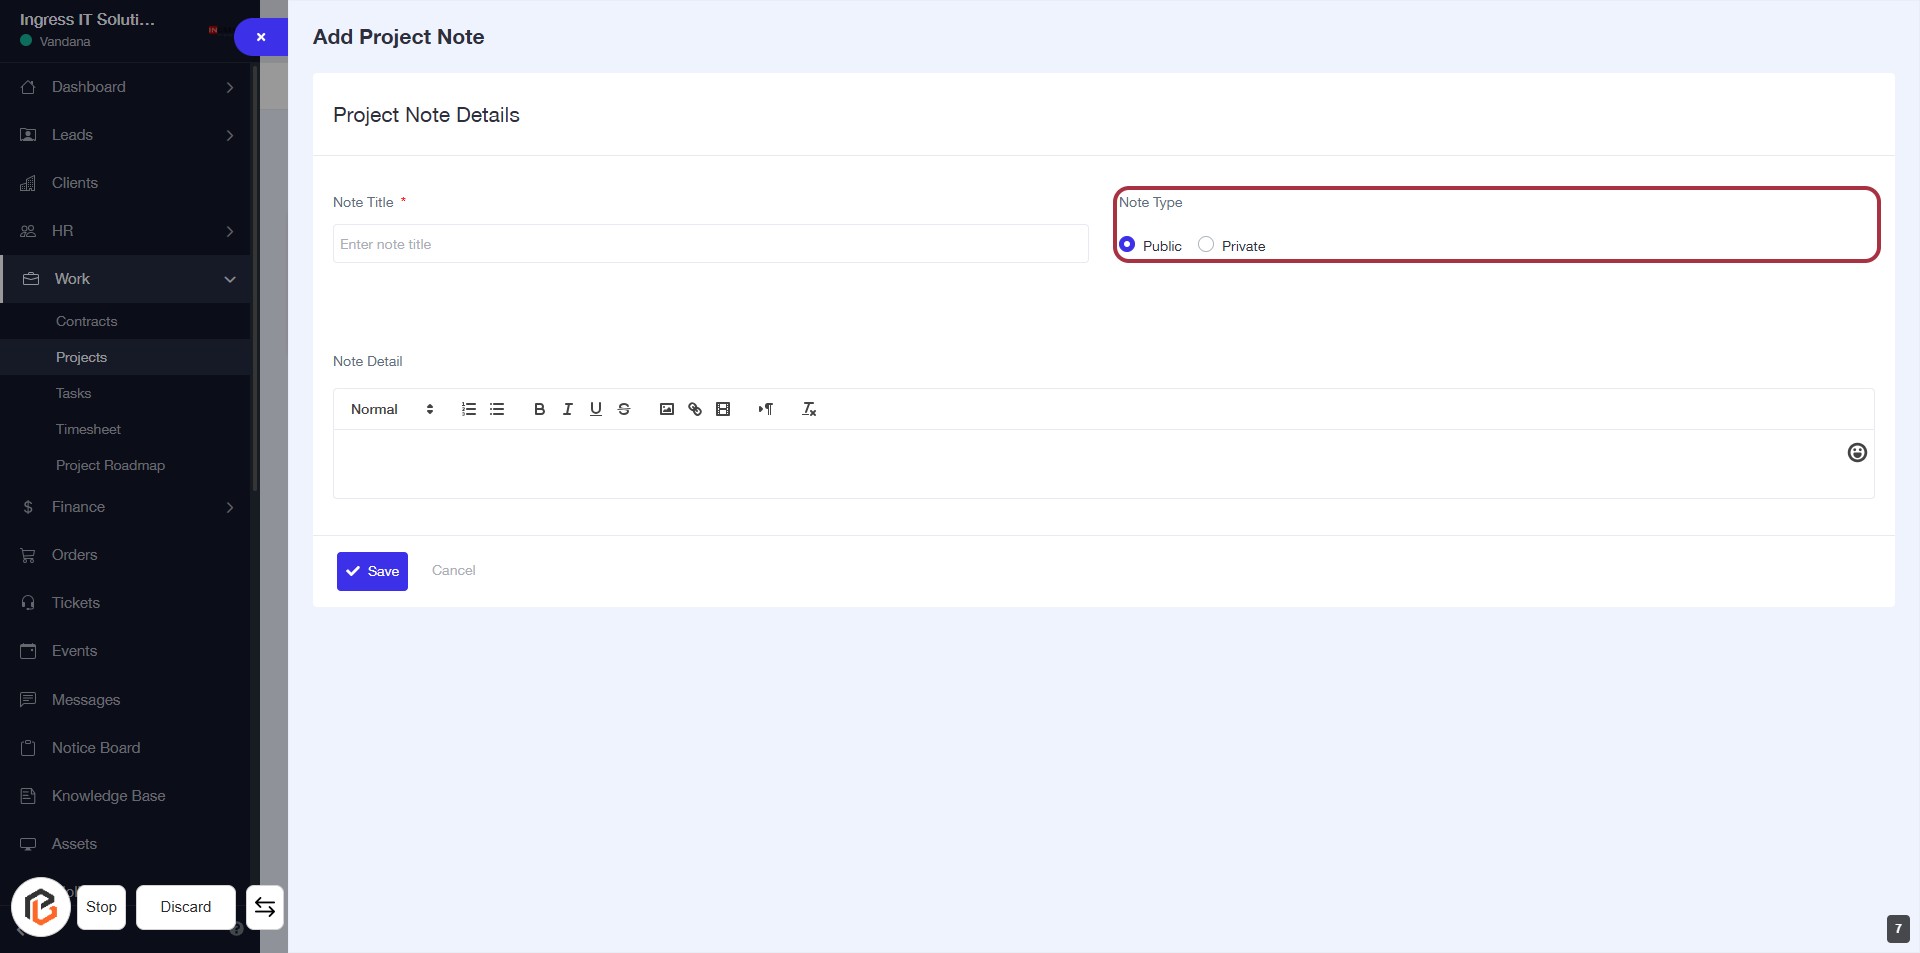
STEP 8: Select "Note Type"
- Click on the "Note Type" section highlighted in red.
- Choose between "Public" or "Private" options to define the visibility of your note.
- Ensure that you have completed the previous step by entering a note title.
- Proceed to the next step to write in the "Note Detail" section.
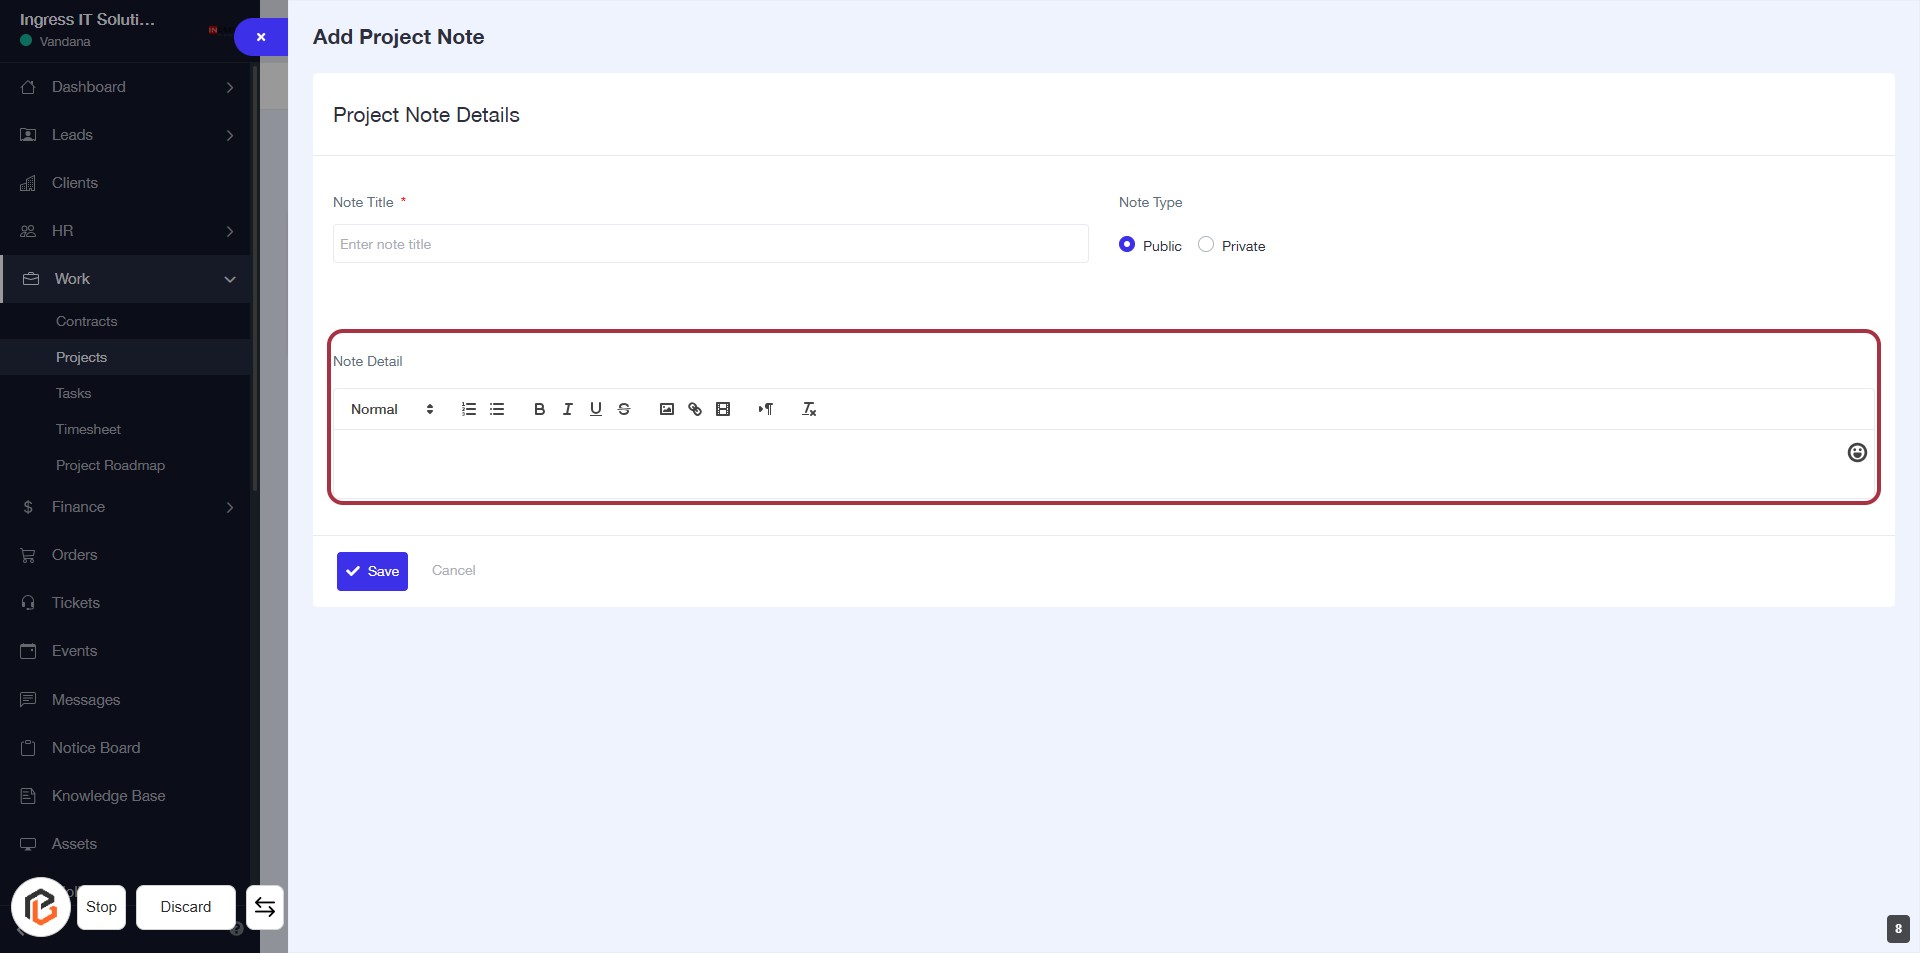
STEP 9: Click on "Note Detail" to Add Project Notes
- Navigate to the "Note Detail" section.
- Click on the highlighted area to begin entering your notes.
- Use the formatting options available (e.g., bold, italic) to enhance your note.
- Ensure all required fields are filled out before proceeding to the next step.
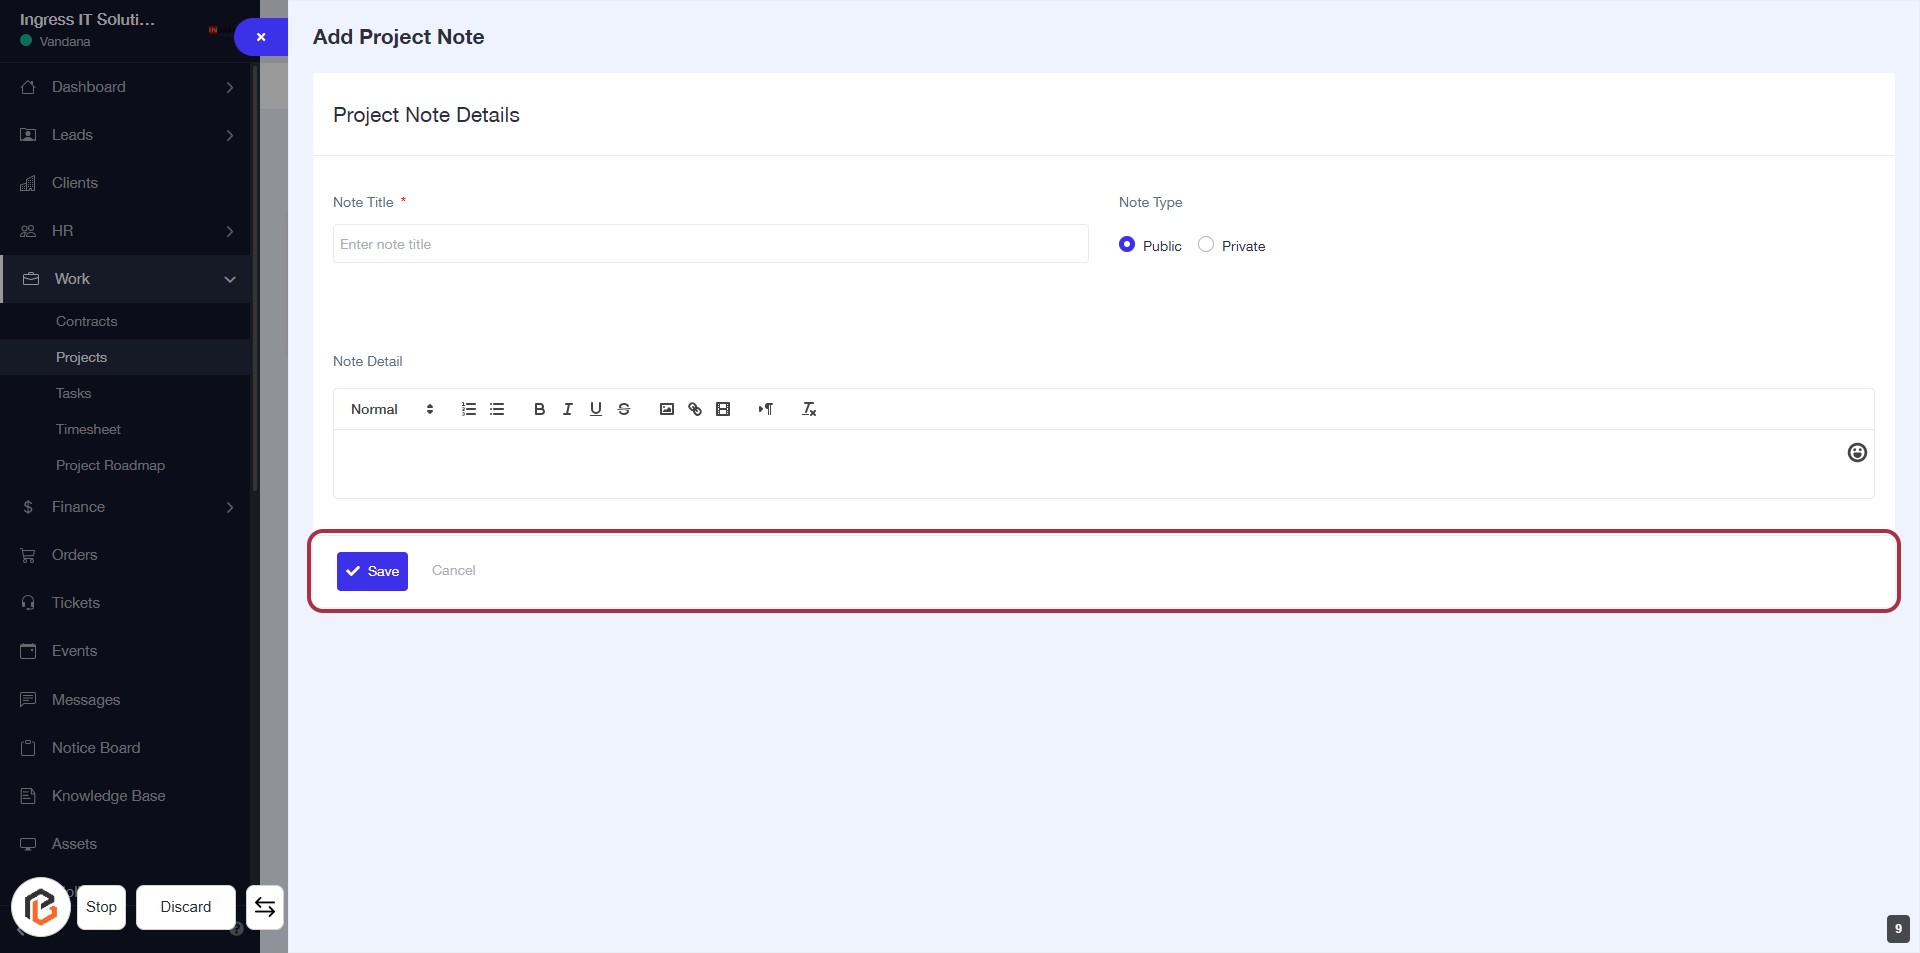
STEP 10: Click on "Save" to Finalize Project Note
- Ensure all required fields (marked with *) are filled out.
- Review the "Note Title" and "Note Detail" for accuracy.
- Click the Save button to save your project note.
- If needed, you can click Cancel to discard changes.