Step-by-Step Guide to Managing Tasks and Adding Members in Your Project Dashboard
9 mins read · Updated 29 Sep, 2025
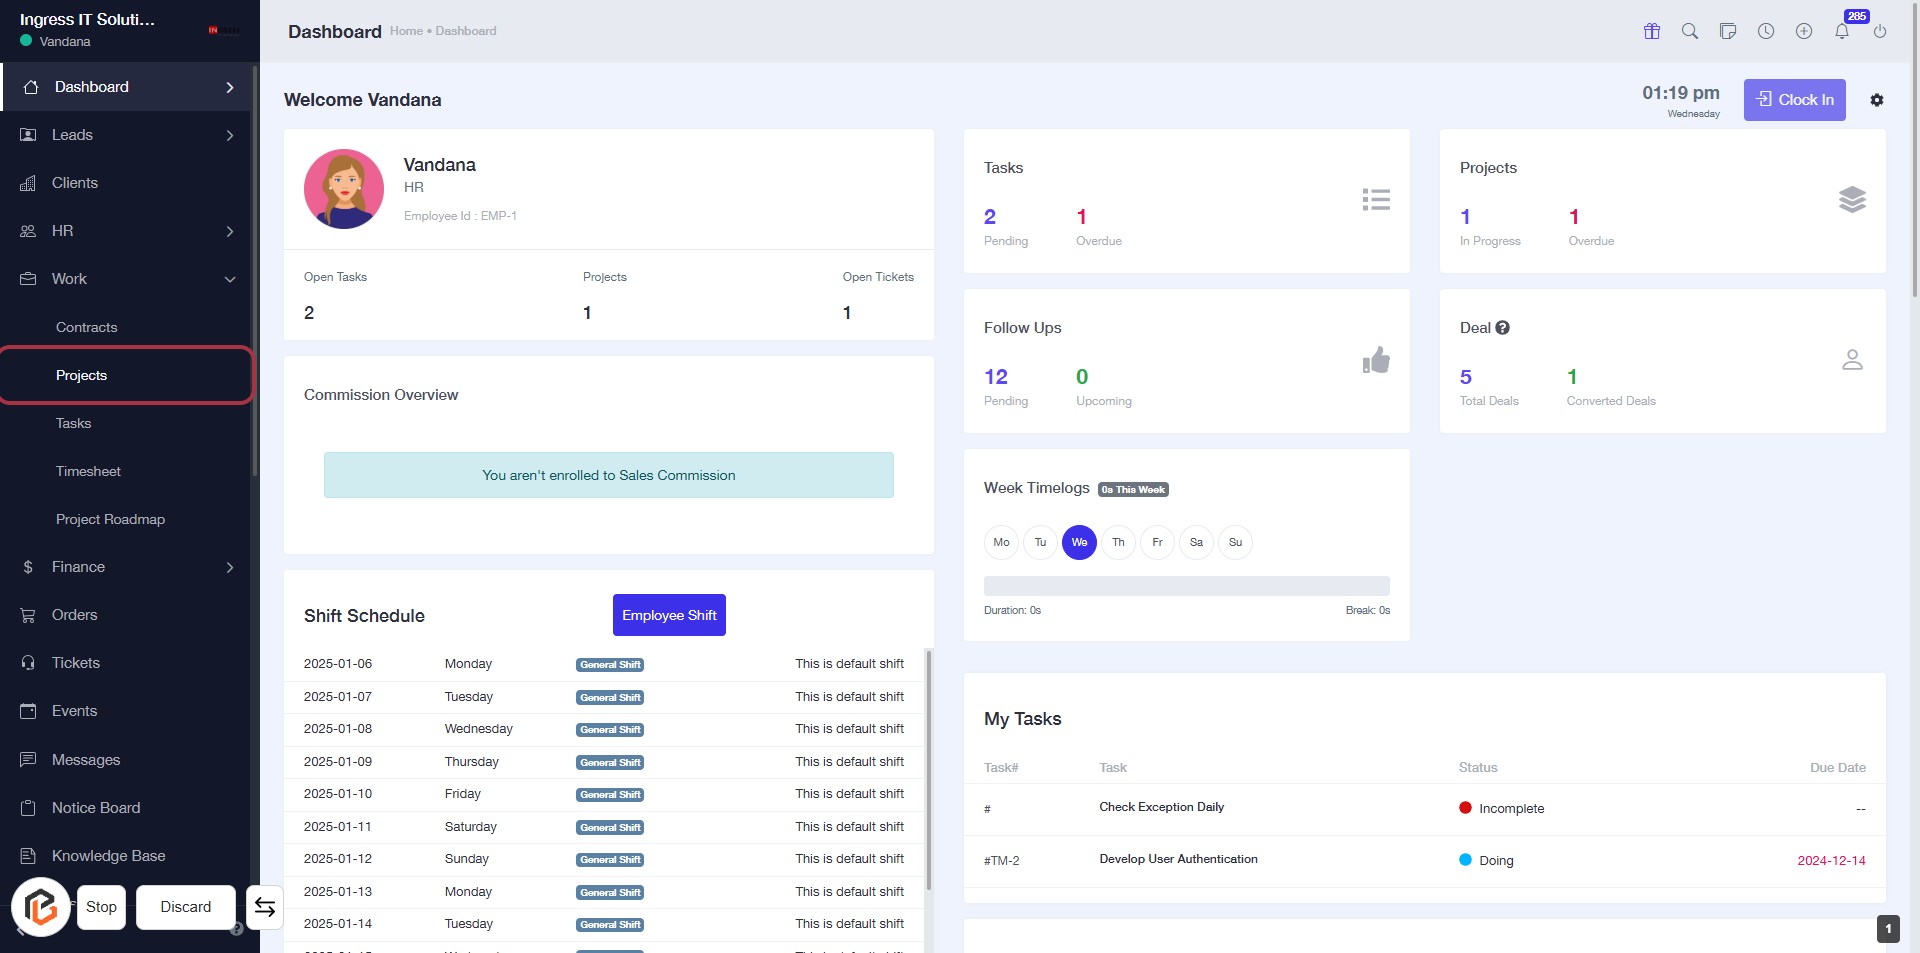
STEP 1: Click on "Work" to Access Your Dashboard
- Navigate to the left sidebar of the dashboard.
- Locate and click on the "Work" link to view your tasks and projects.
- Ensure you are on the Dashboard page to access relevant information.
- After clicking, you will see an overview of your tasks, projects, and other related details.

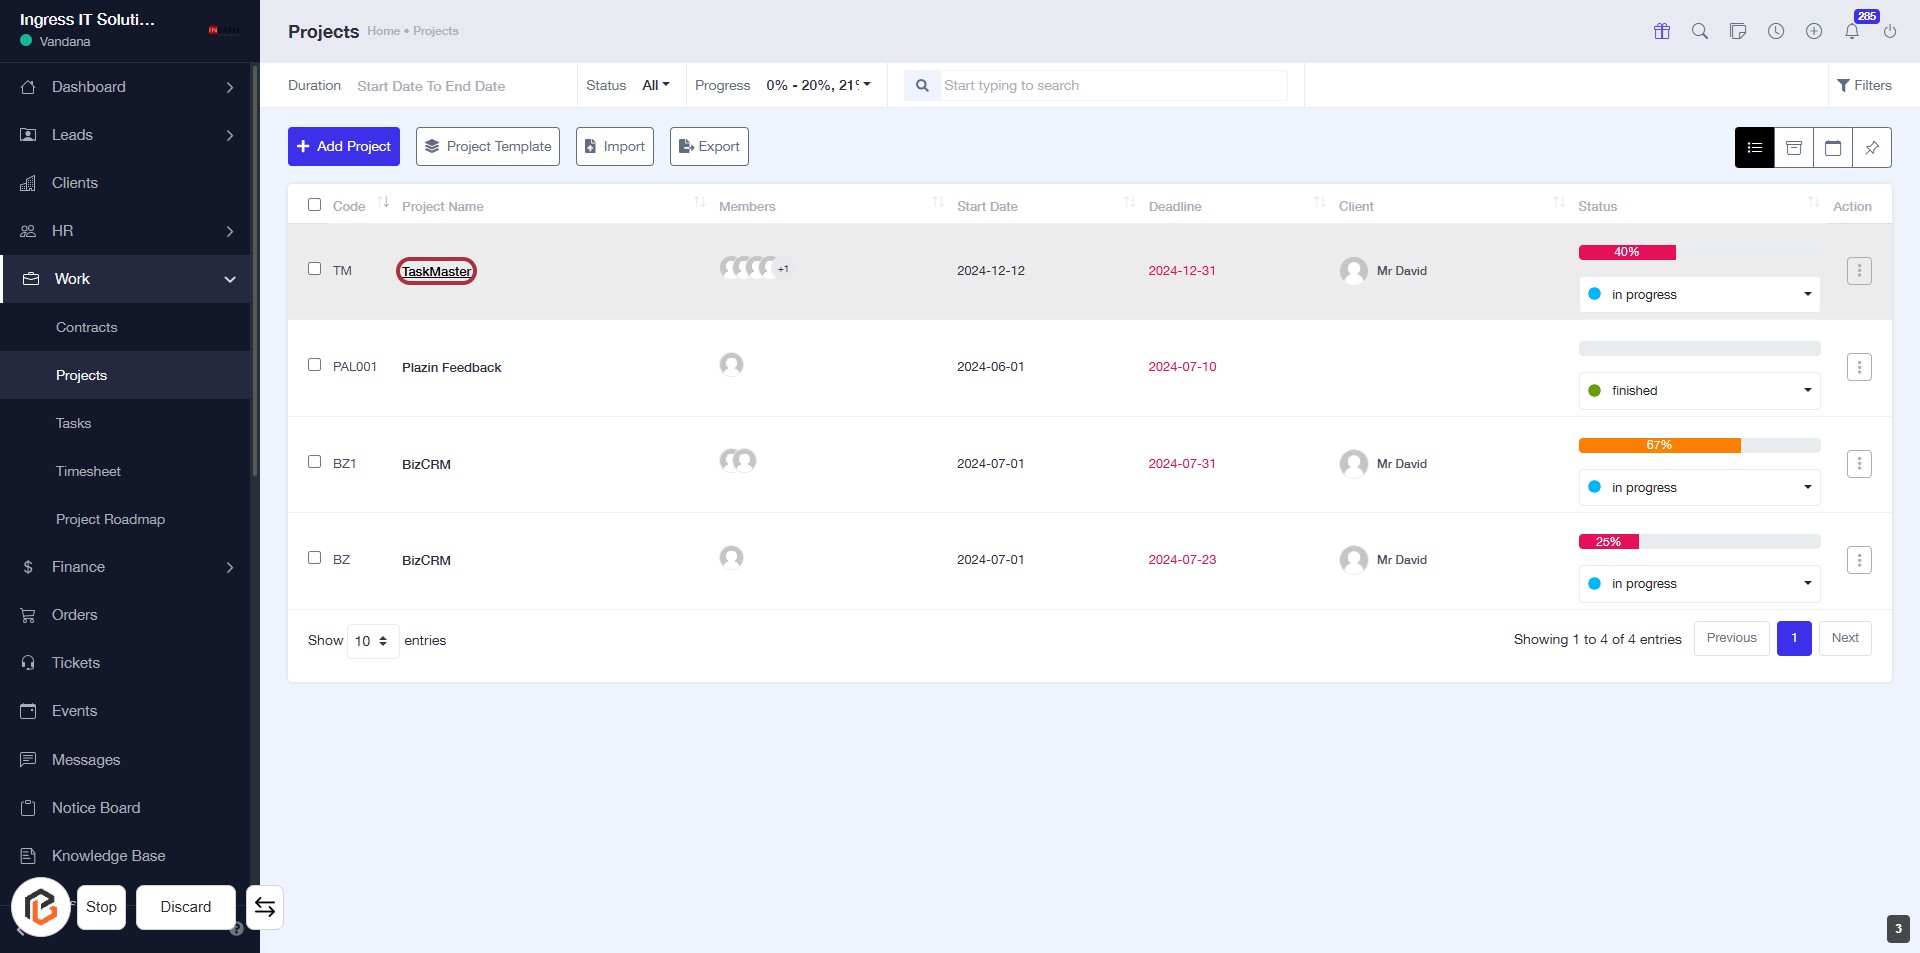
STEP 2: Click on "Projects" to Access Project Overview
- Locate the "Projects" option in the sidebar menu.
- Click on the highlighted "Projects" link to view project details.
- Ensure you are on the dashboard page to access this feature.
- This action will lead you to the project overview section for further management.
STEP 3: Select "TaskMaster" Project
- Click on the "TaskMaster" link in the project list to view its details.
- Ensure you are on the Projects page to locate the project.
- The highlighted area indicates where to click for accessing the project.
- After selecting, you can proceed to manage project members in the next step.
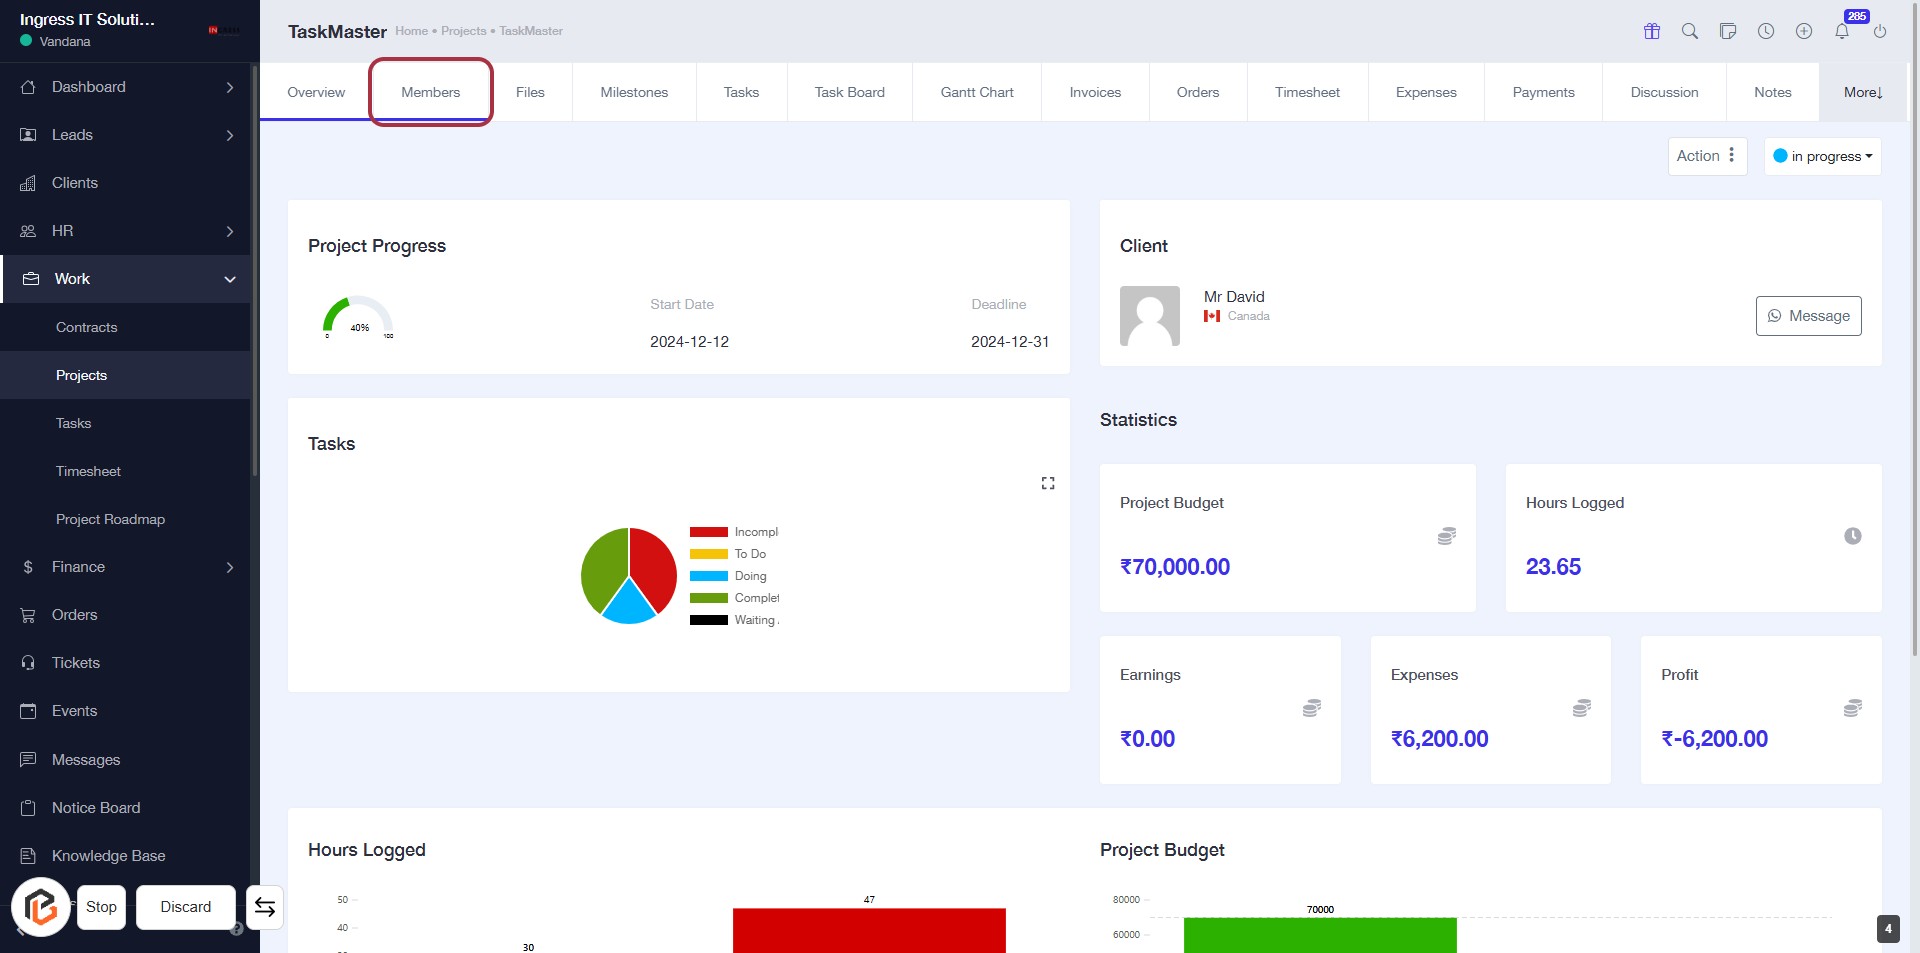
STEP 4: Click on "Members" to Access Team Details
- Navigate to the "Members" section by clicking on the highlighted tab.
- This section allows you to view and manage team members associated with the "TaskMaster" project.
- Ensure you have the necessary permissions to add or modify member details.
- After reviewing, proceed to the next step to add project members.
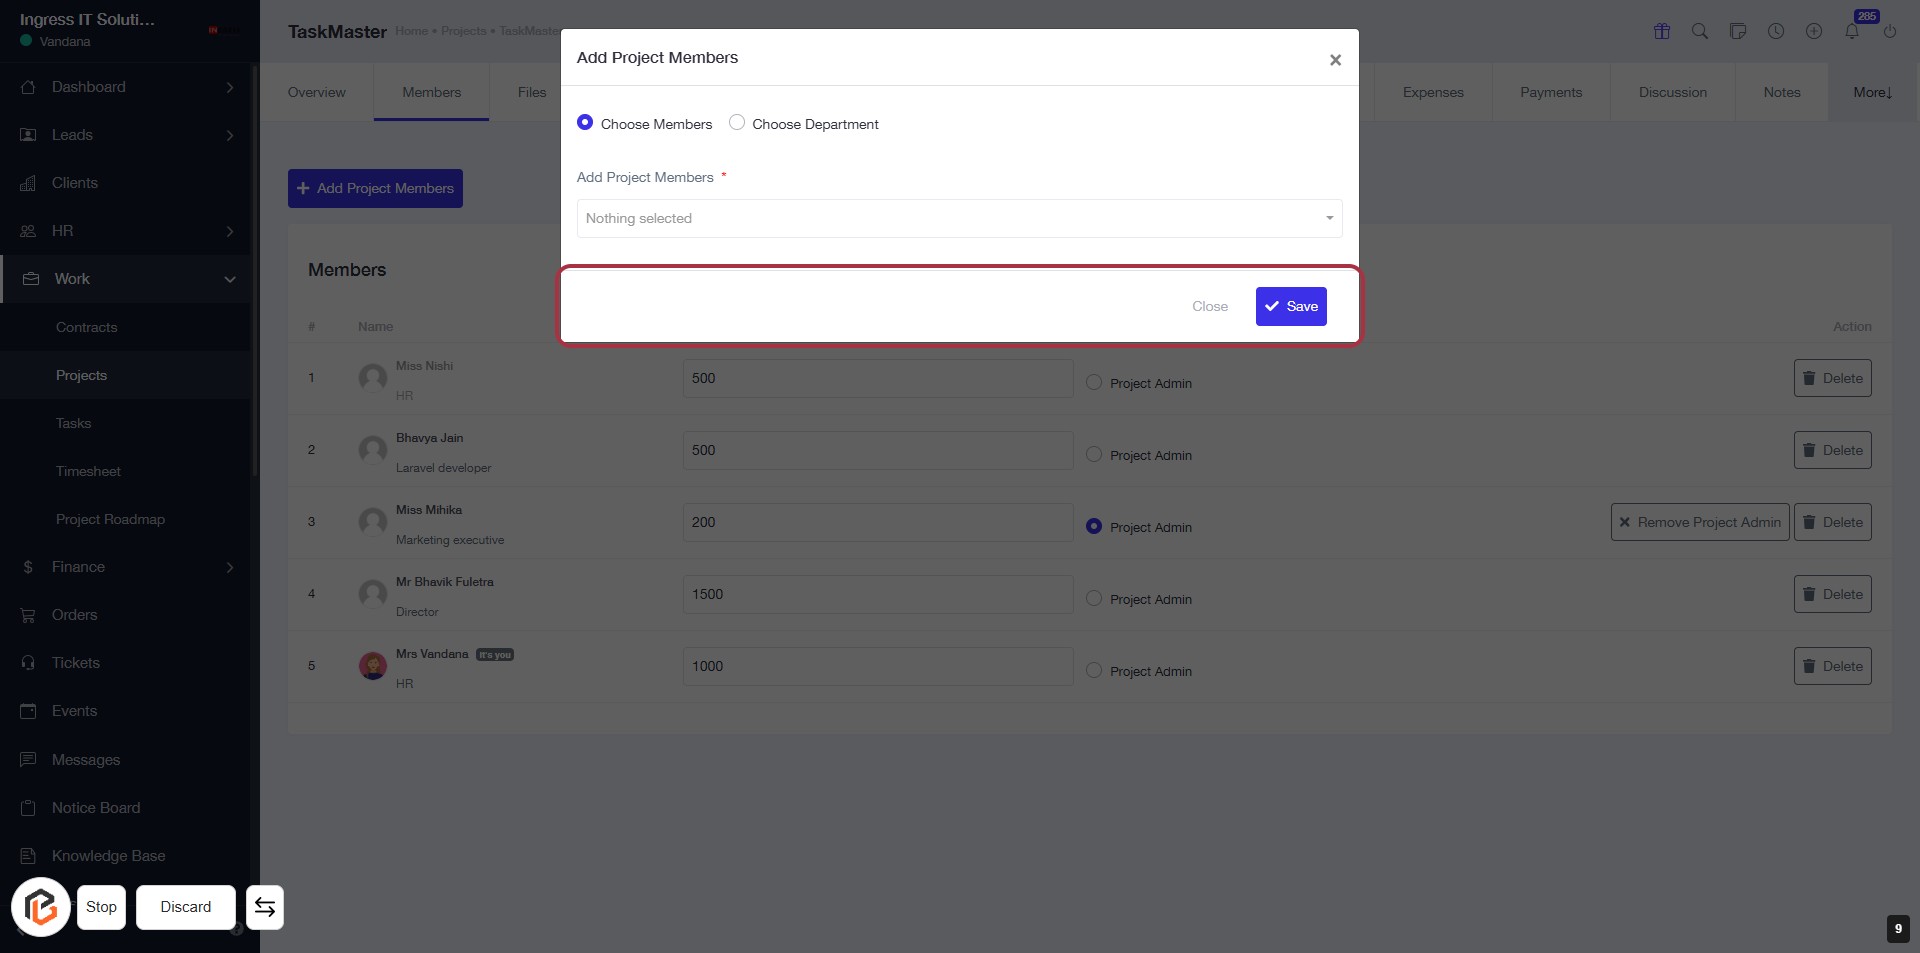
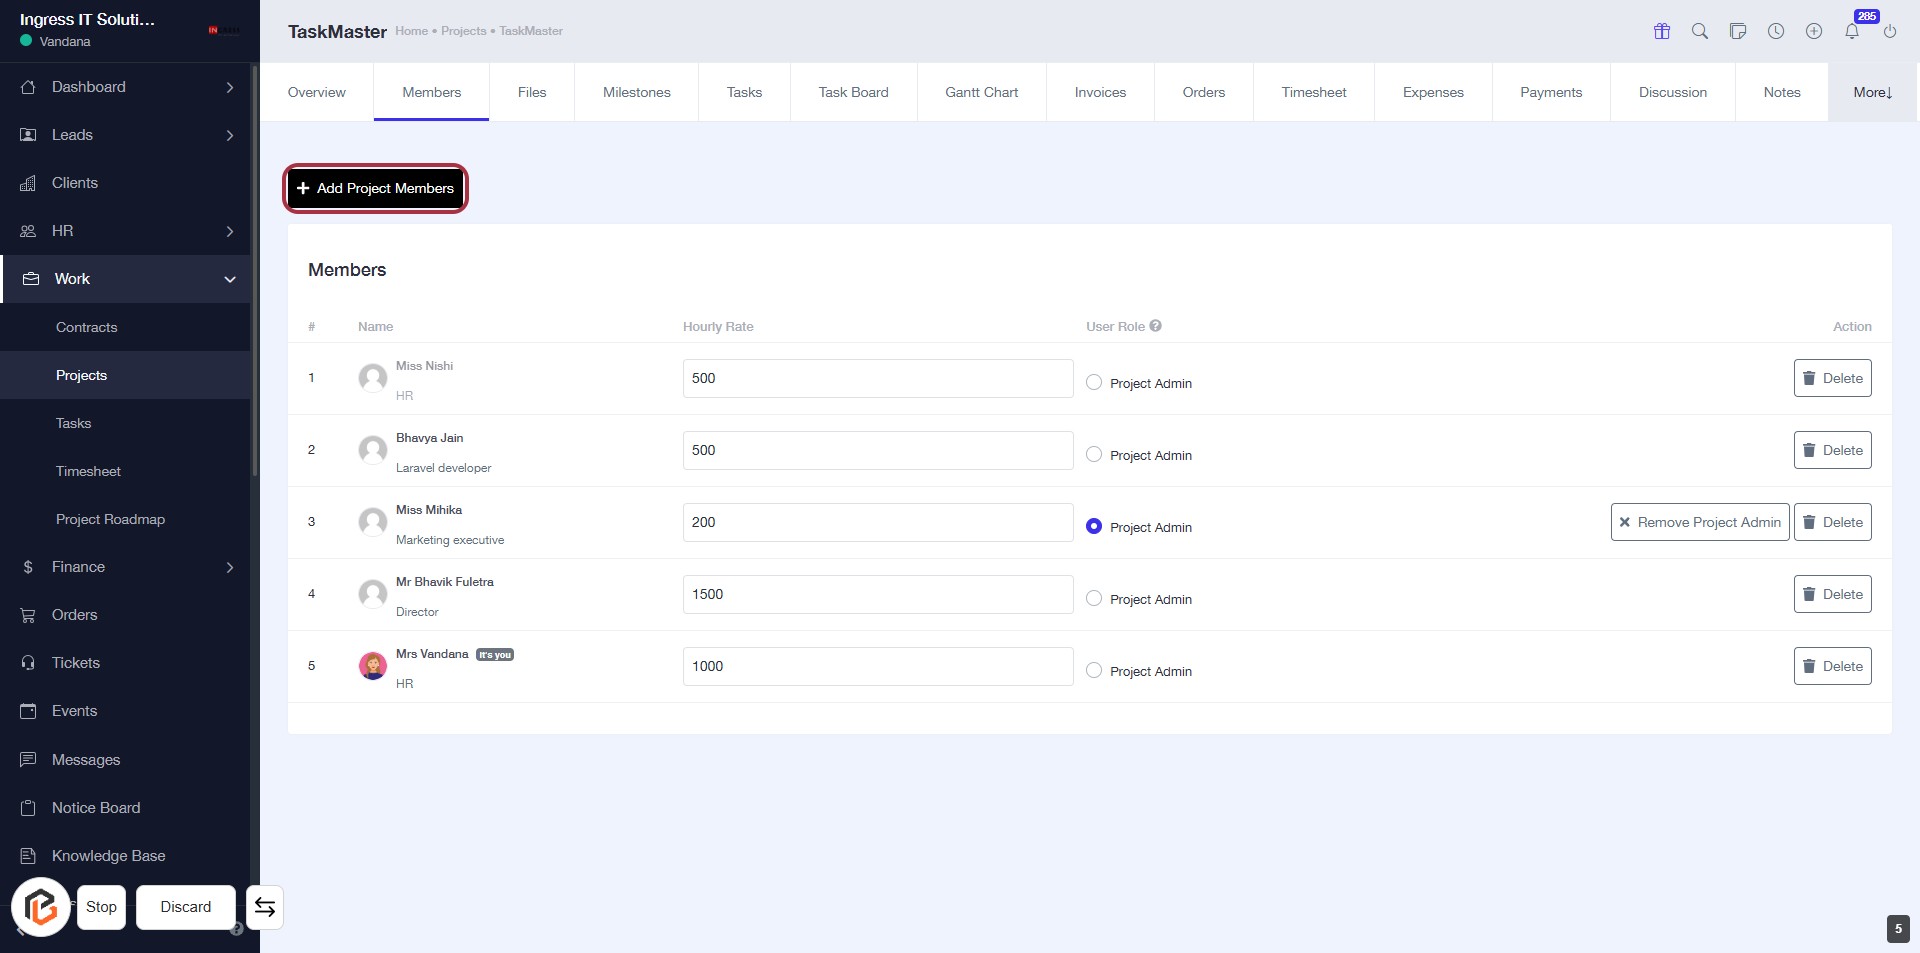
STEP 5: Click on "Add Project Members"
- Navigate to the "Members" tab in your project.
- Locate the Add Project Members button highlighted in red.
- Click on this button to initiate the process of adding new members to your project.
- Ensure you have the necessary member details ready for the next steps.
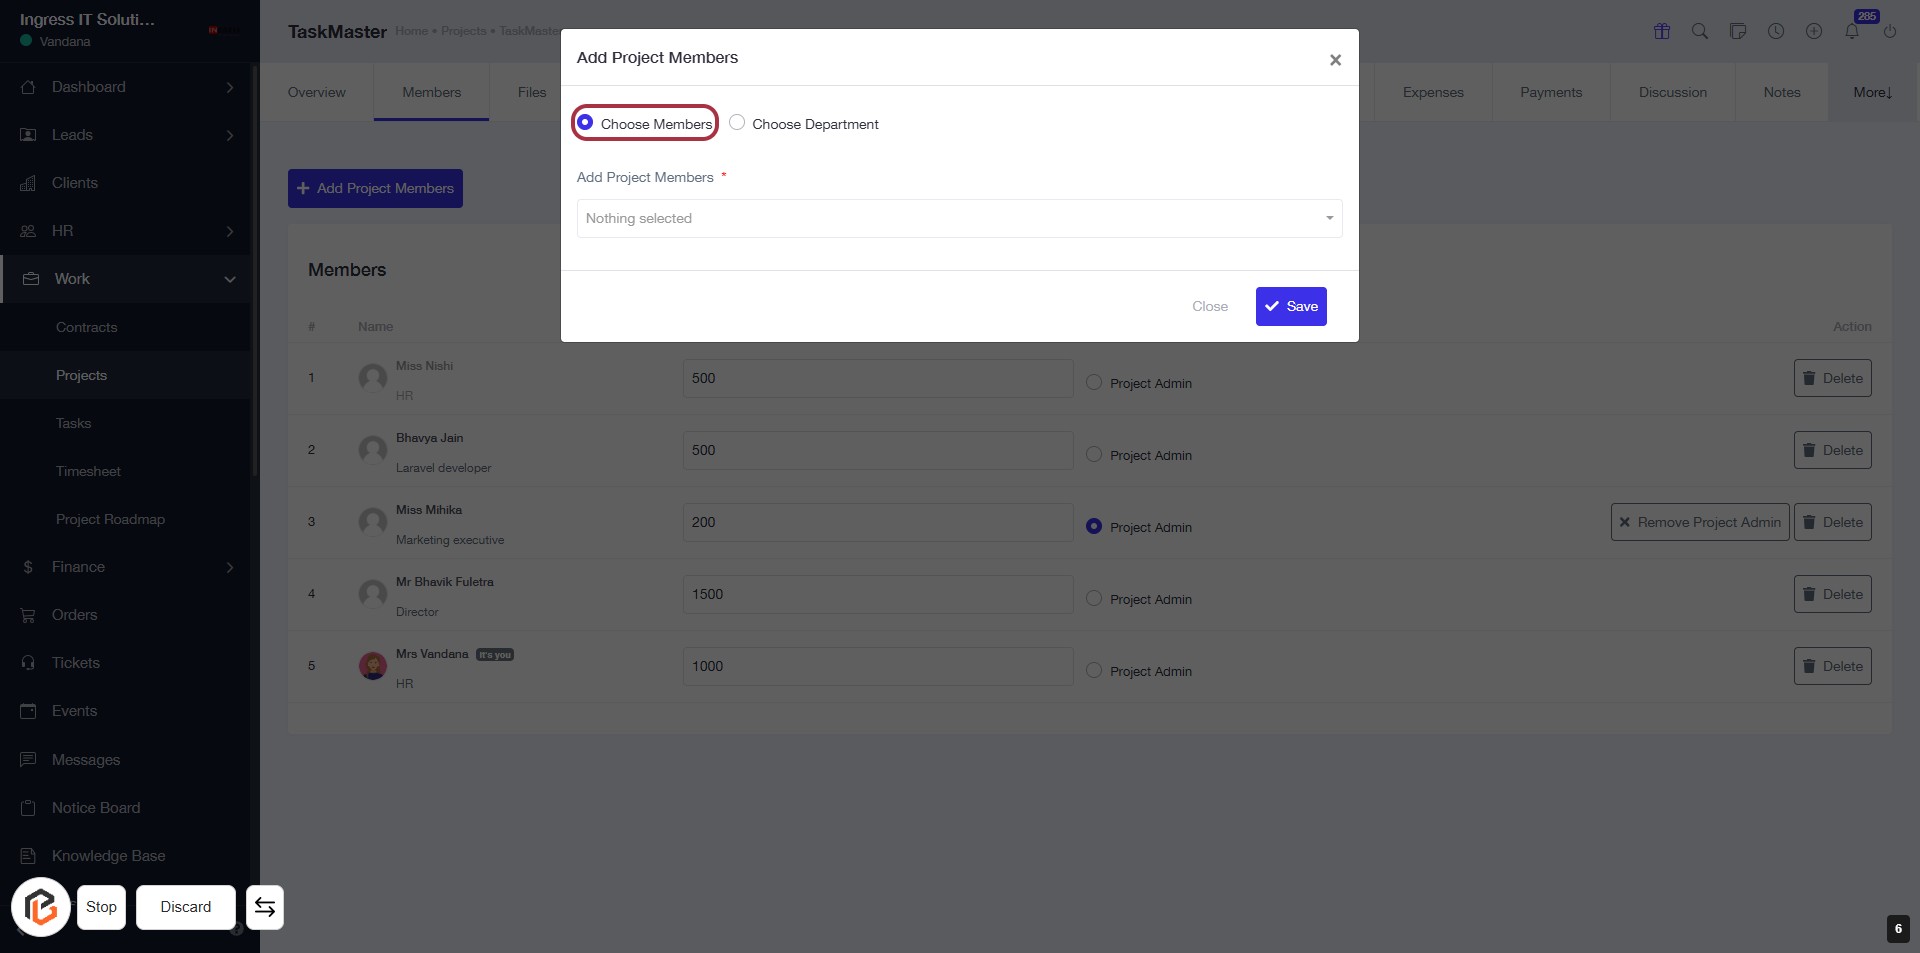
STEP 6: Click on "Choose Members"
- Click on the "Choose Members" option to select project members.
- Ensure to fill in any required fields marked with an asterisk (*).
- After selecting members, proceed to the next step by clicking on "Choose Department".
STEP 7: Click on "Choose Department"
- Click on the "Choose Department" option in the dialog box.
- Ensure you have selected the appropriate department for project members.
- After selection, proceed to fill in any required fields marked with an asterisk (*).
- Review your choices before moving to the next step.

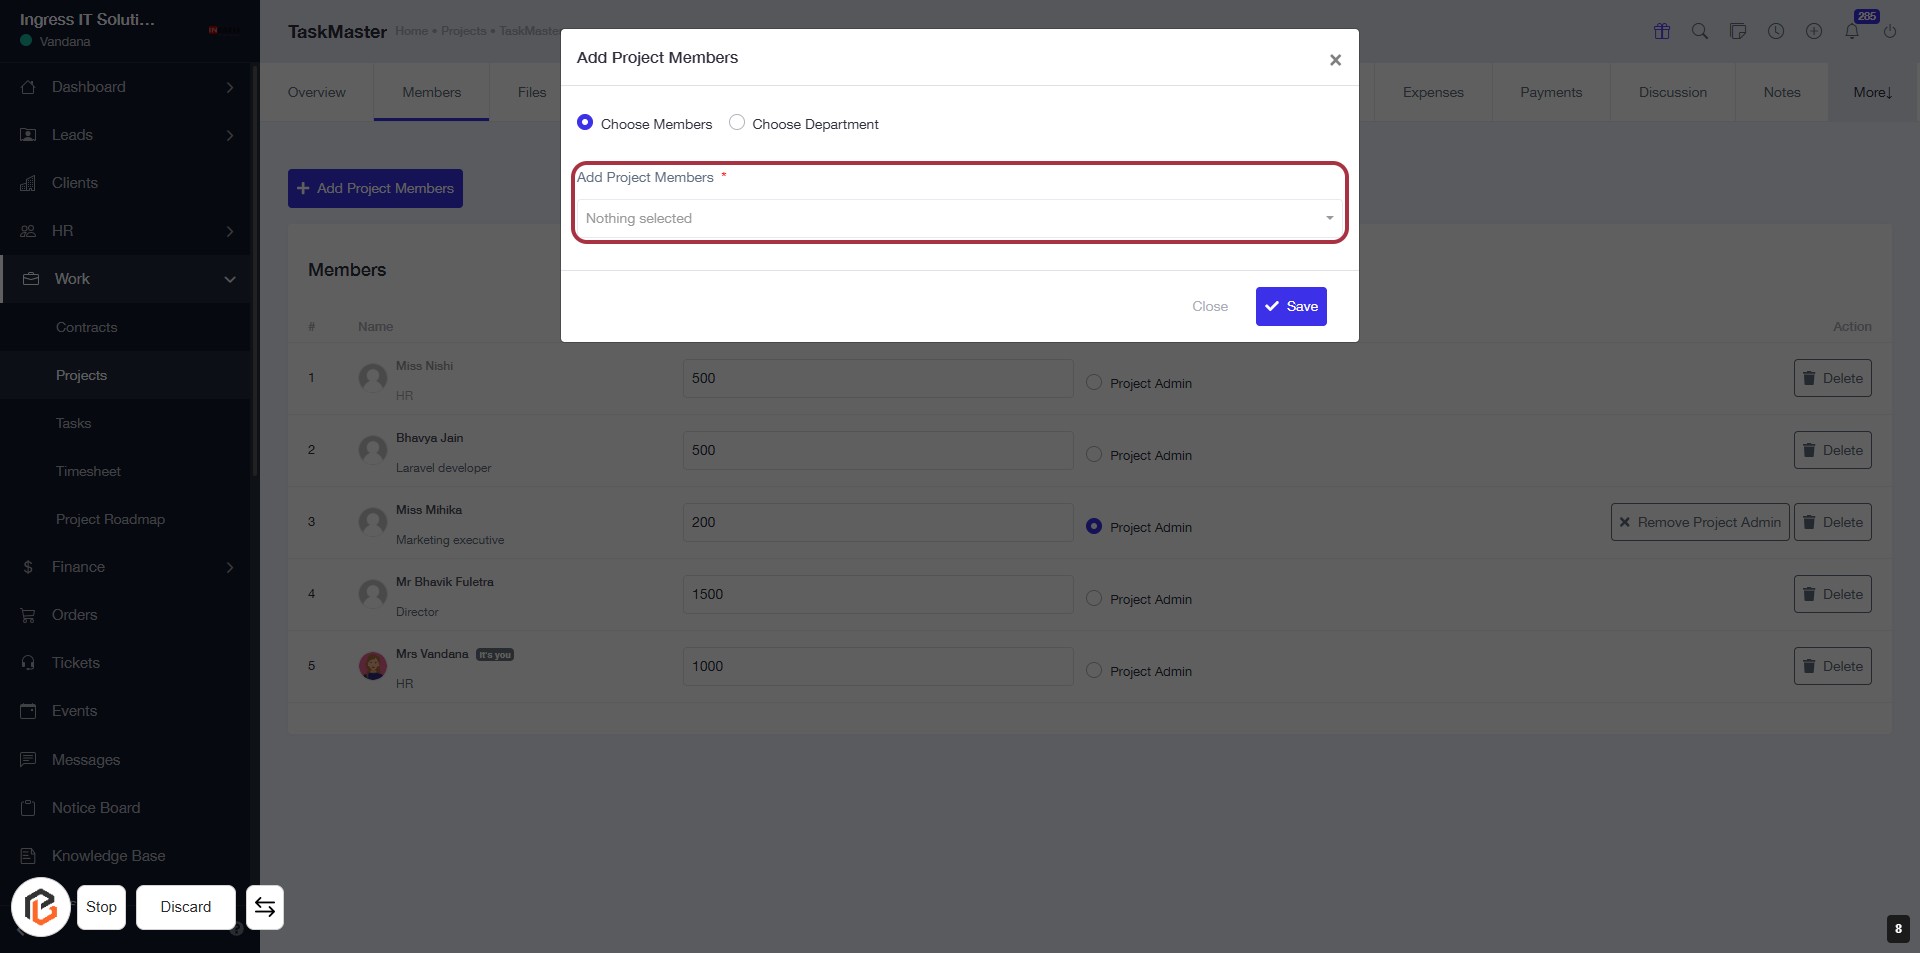
STEP 8: Select "Add Project Members"
- Click on the "Add Project Members" section.
- Ensure to fill in the required field marked with an asterisk (*).
- Select members from the dropdown menu that appears.
- Review your selections before proceeding.
- Next, click on the "Save" button to finalize your changes.
STEP 9: Click "Save" to Add Project Members
- Ensure all required fields are filled in the "Add Project Members" dialog.
- Click the Save button to confirm your selections.
- If you need to exit without saving, click Close.