Step-by-Step Guide to Managing Projects and Teams on Your Dashboard
6 mins read · Updated 29 Sep, 2025
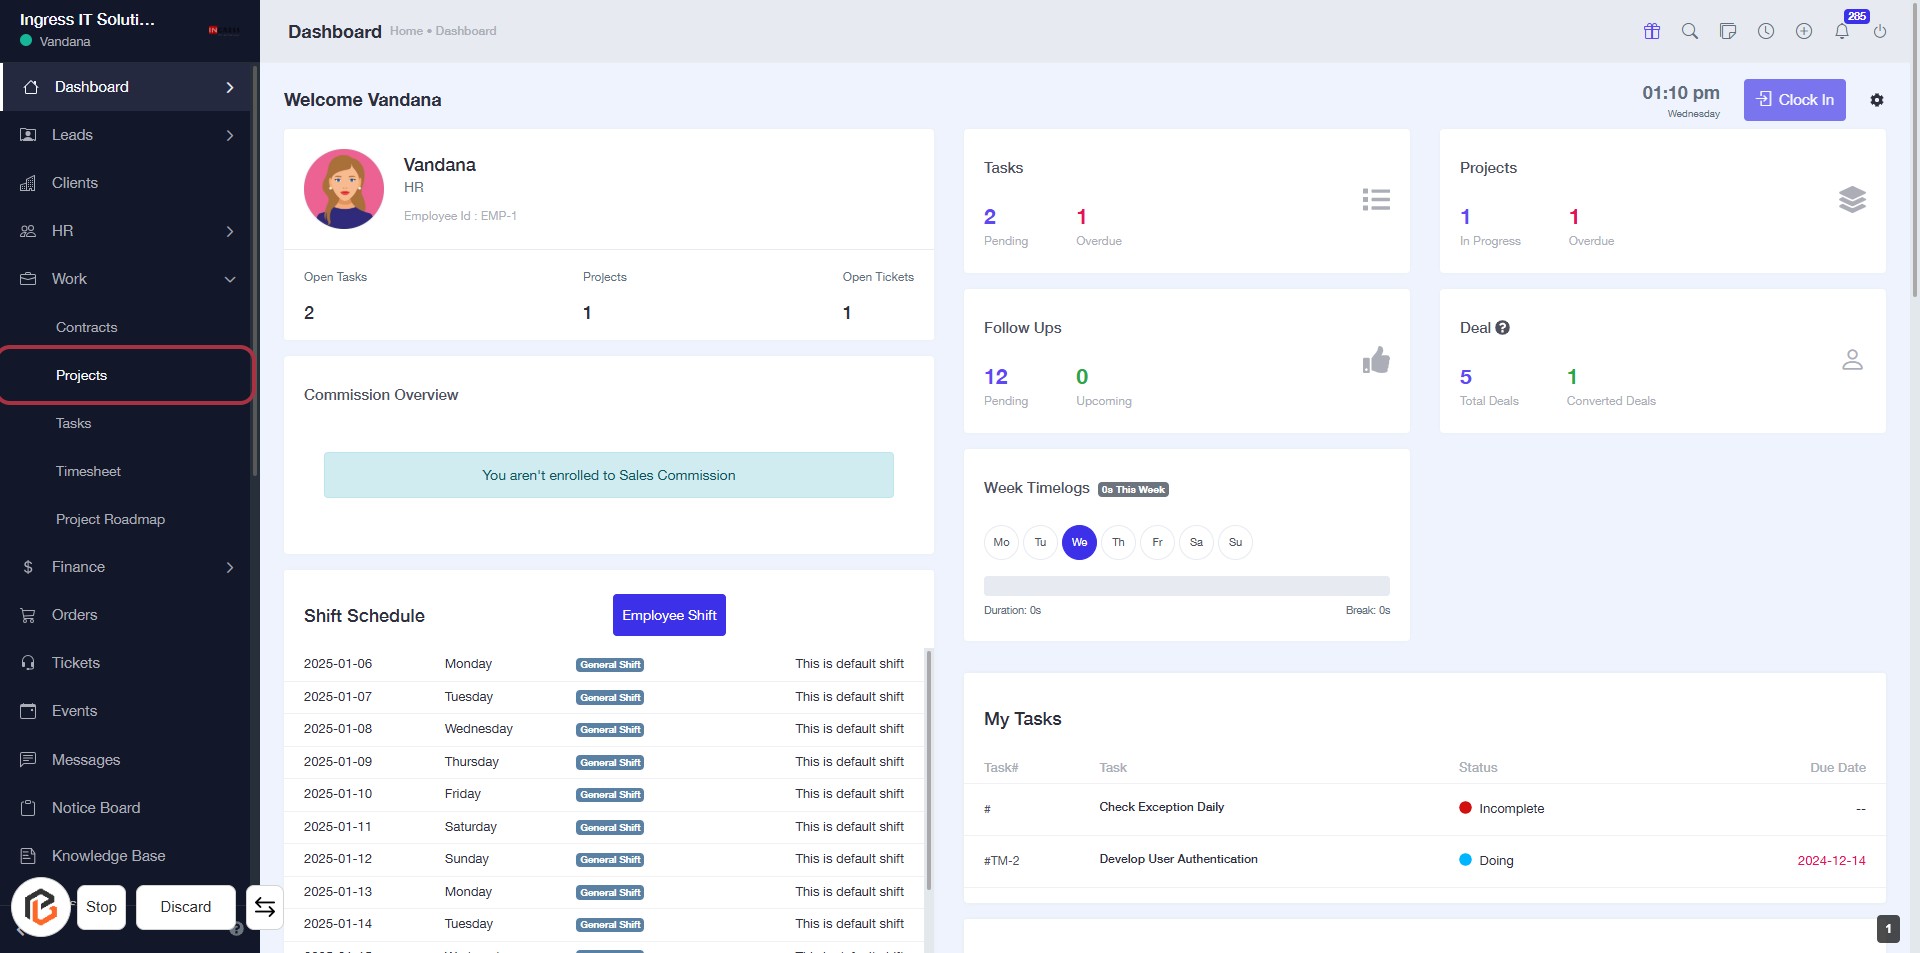
STEP 1: Click on "Work" to Access Your Dashboard
- Navigate to the left sidebar of the dashboard.
- Click on the "Work" link to view your tasks and projects.
- Ensure you are on the correct page to manage your work-related activities.

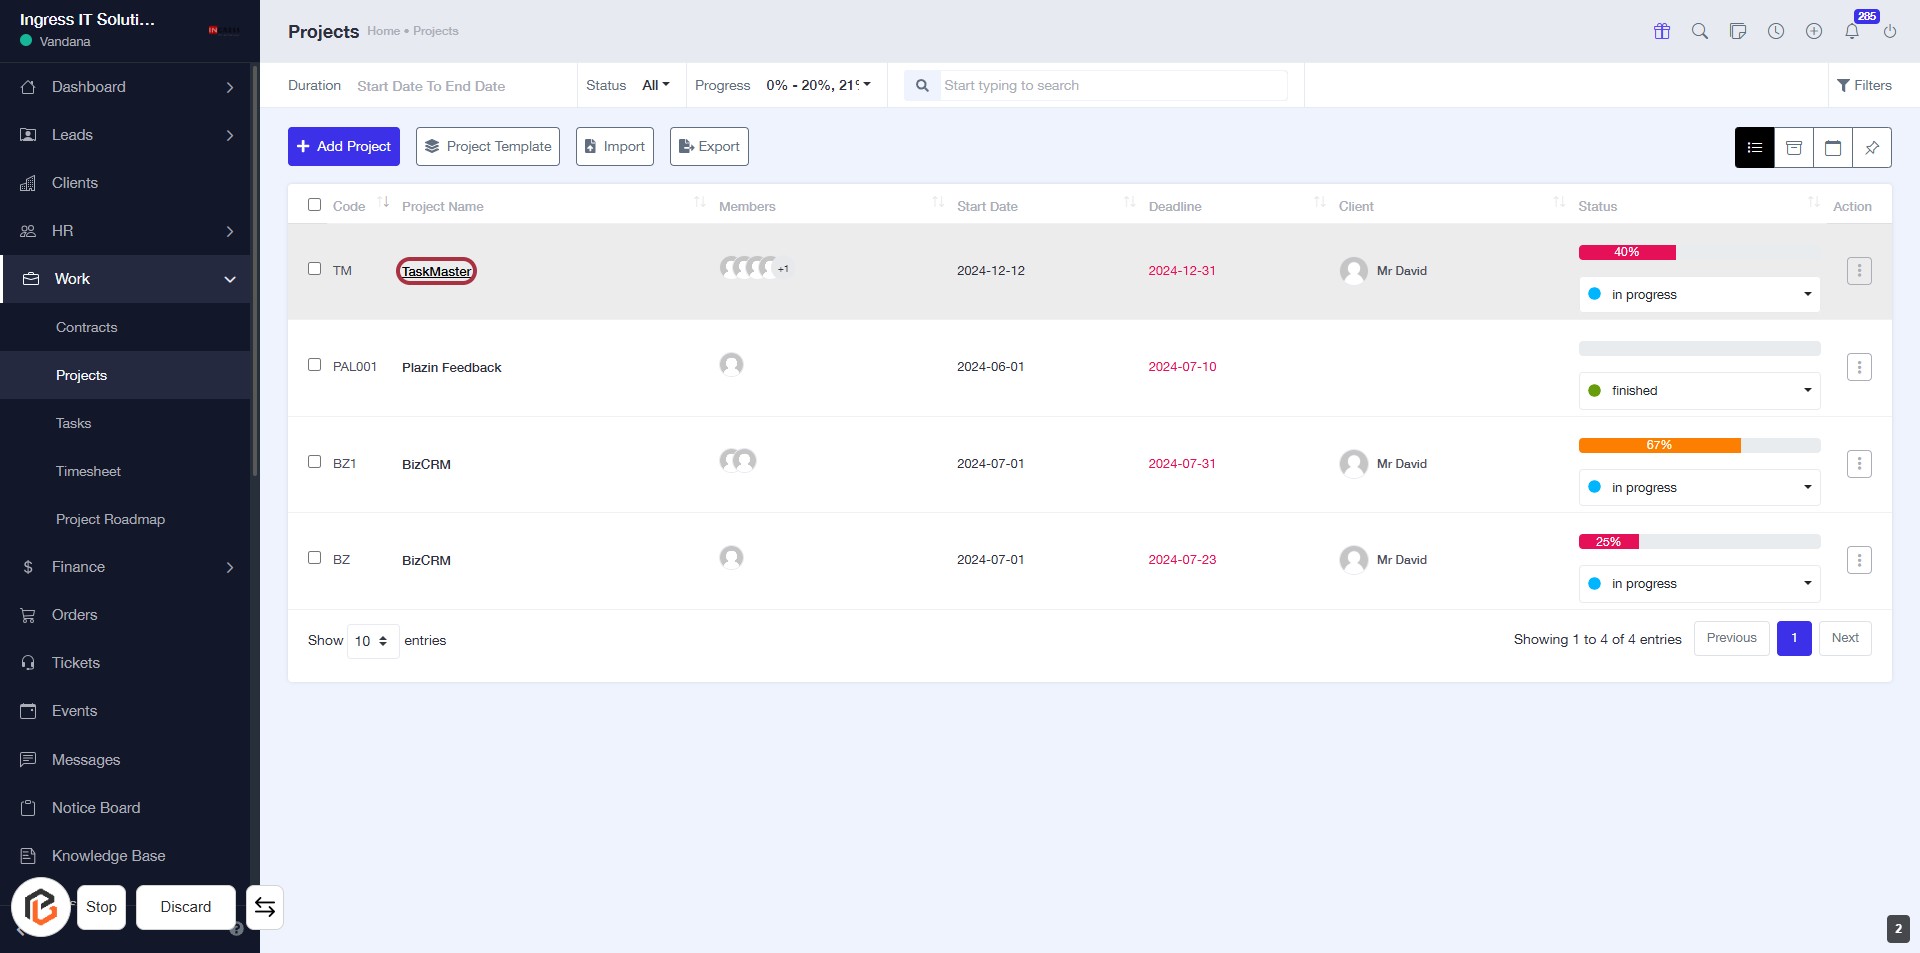
STEP 2: Click on "Projects" to Access Project Details
- Navigate to the left sidebar of your dashboard.
- Locate the "Projects" option highlighted in red.
- Click on "Projects" to view your project details.
- Ensure you have the necessary permissions to access this section.
STEP 3: Click on "TaskMaster" to Access Project Details
- Navigate to the "Projects" section.
- Locate the project titled TaskMaster.
- Click on the project name to view its details.
- Ensure to check any additional information or options available on the project dashboard.
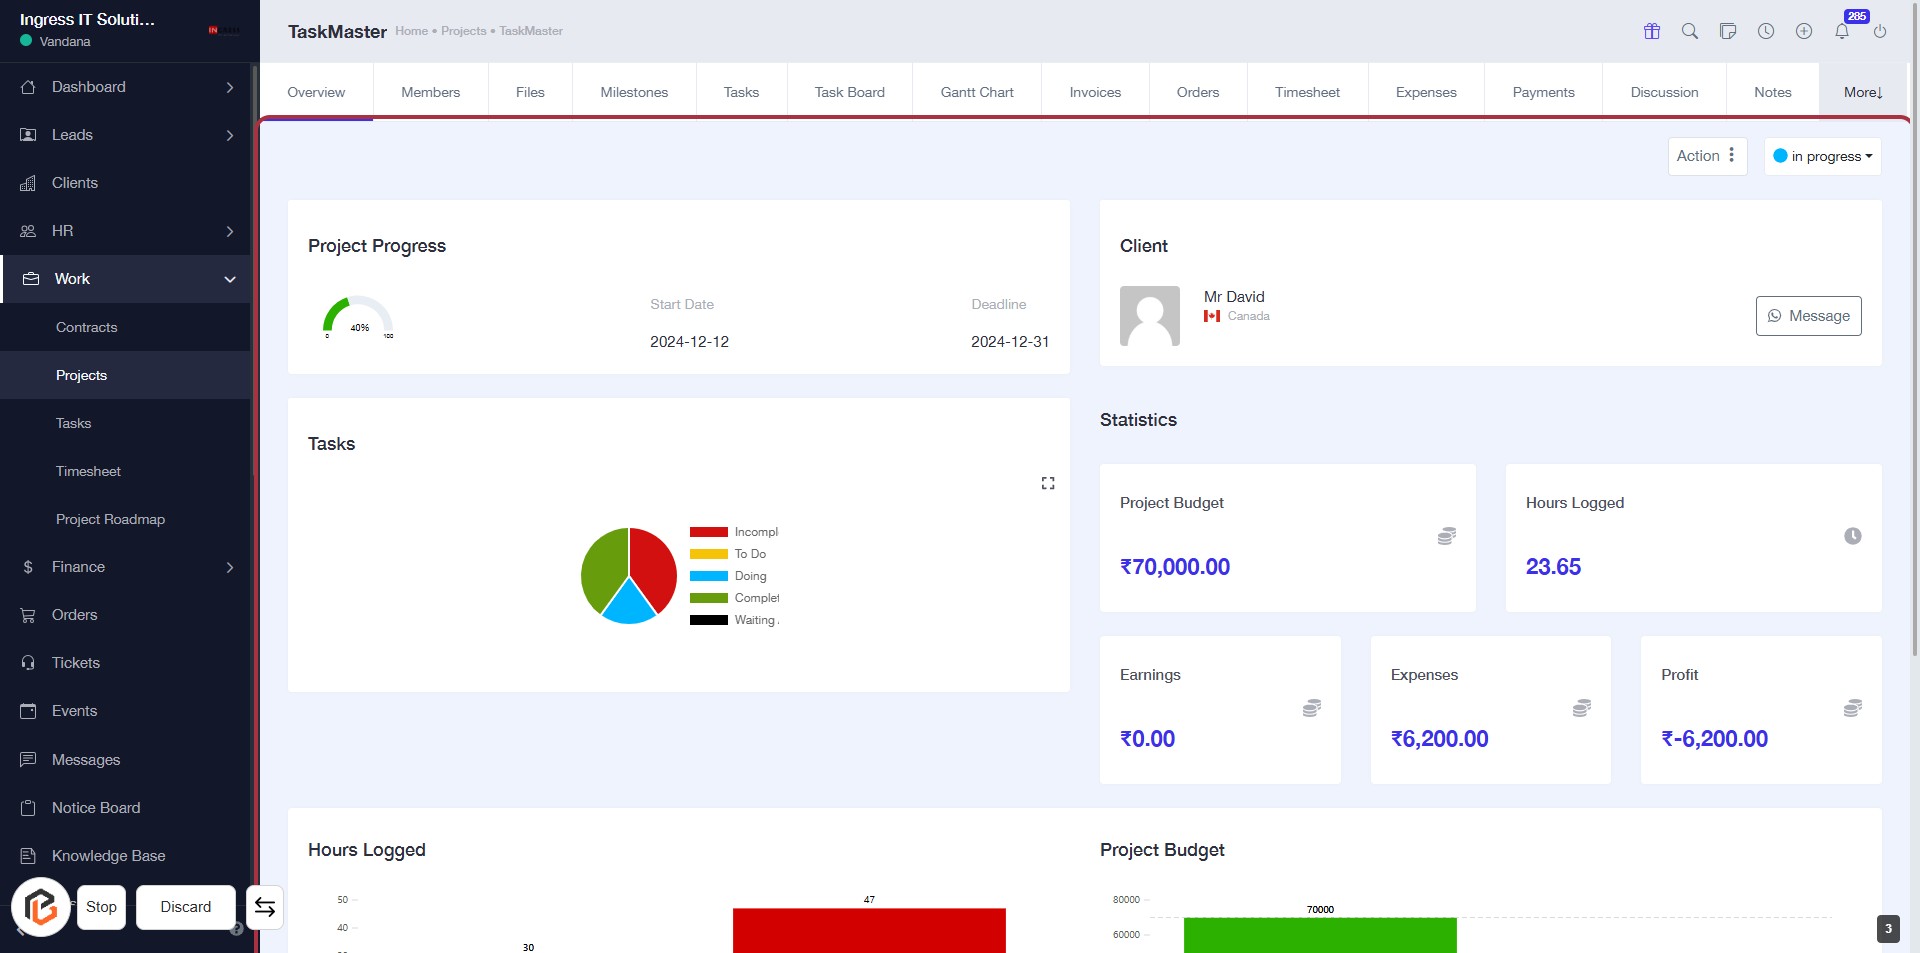
STEP 4: Click on "in progress" to View Project Status
- Navigate to the highlighted area marked in red.
- Click on the "in progress" status to view detailed project information.
- Review the project progress, budget, and logged hours displayed on the dashboard.
- Ensure to check other project statistics for comprehensive insights.
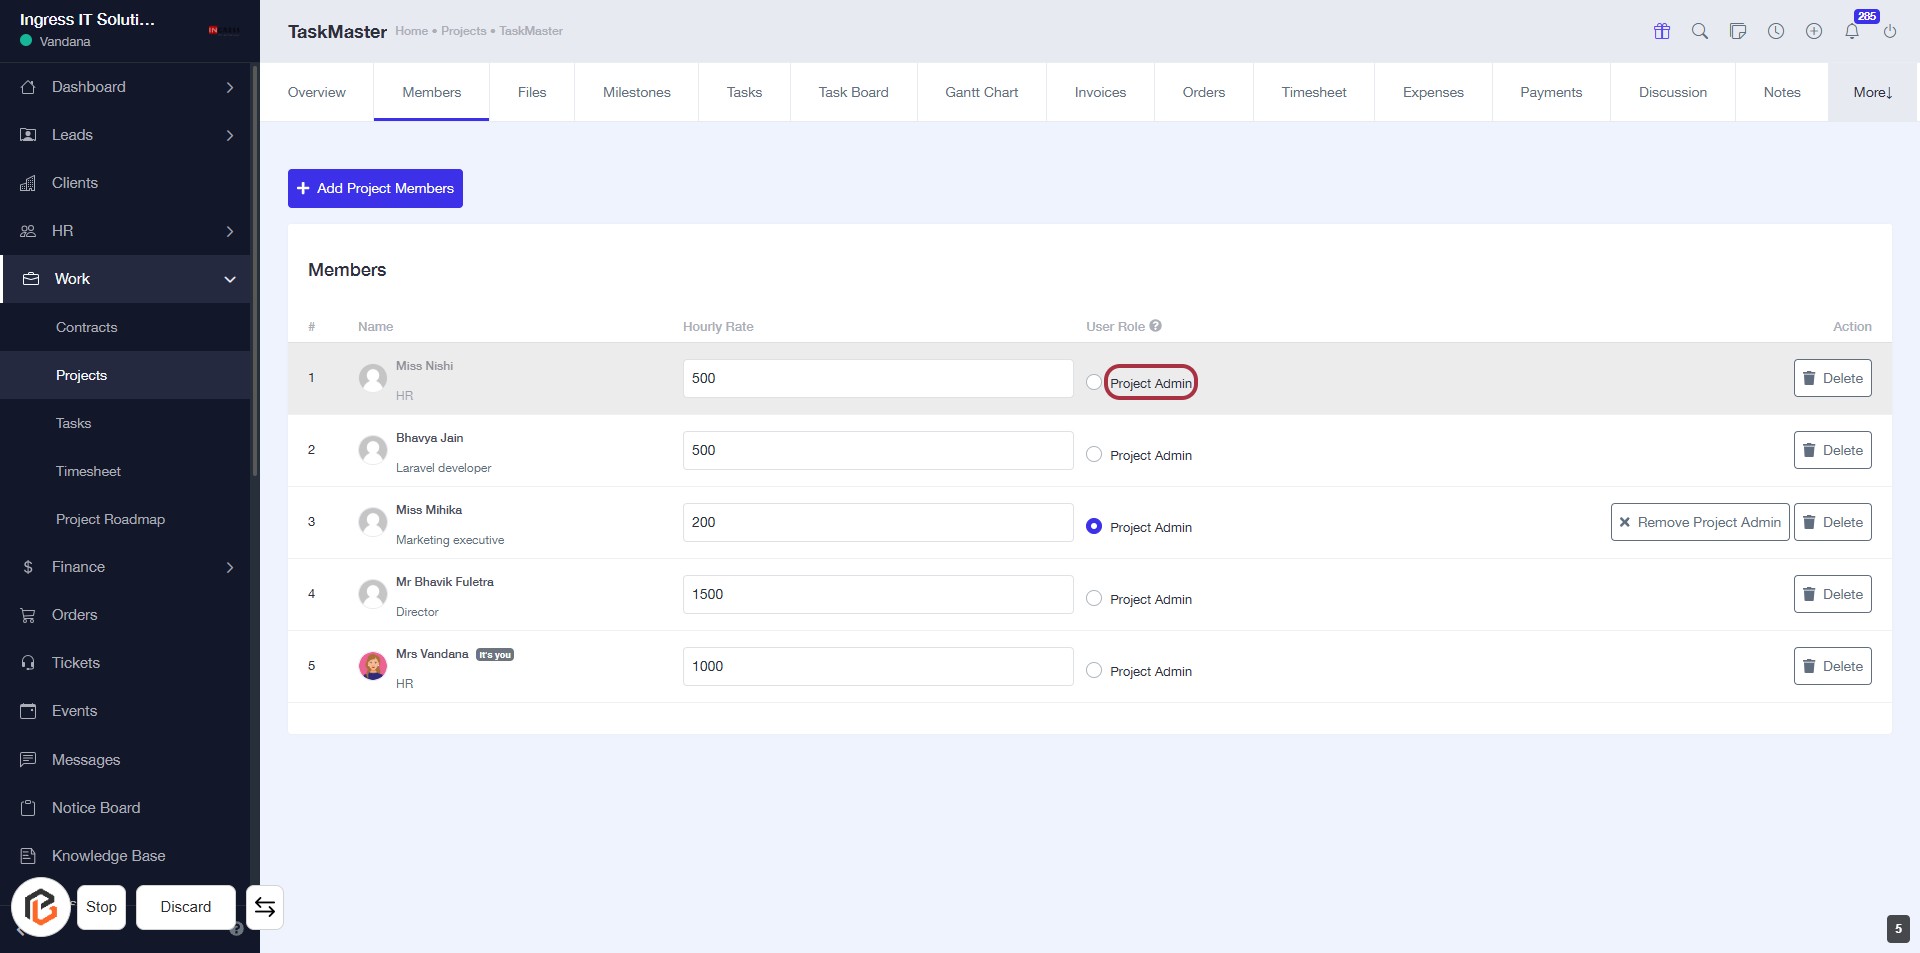
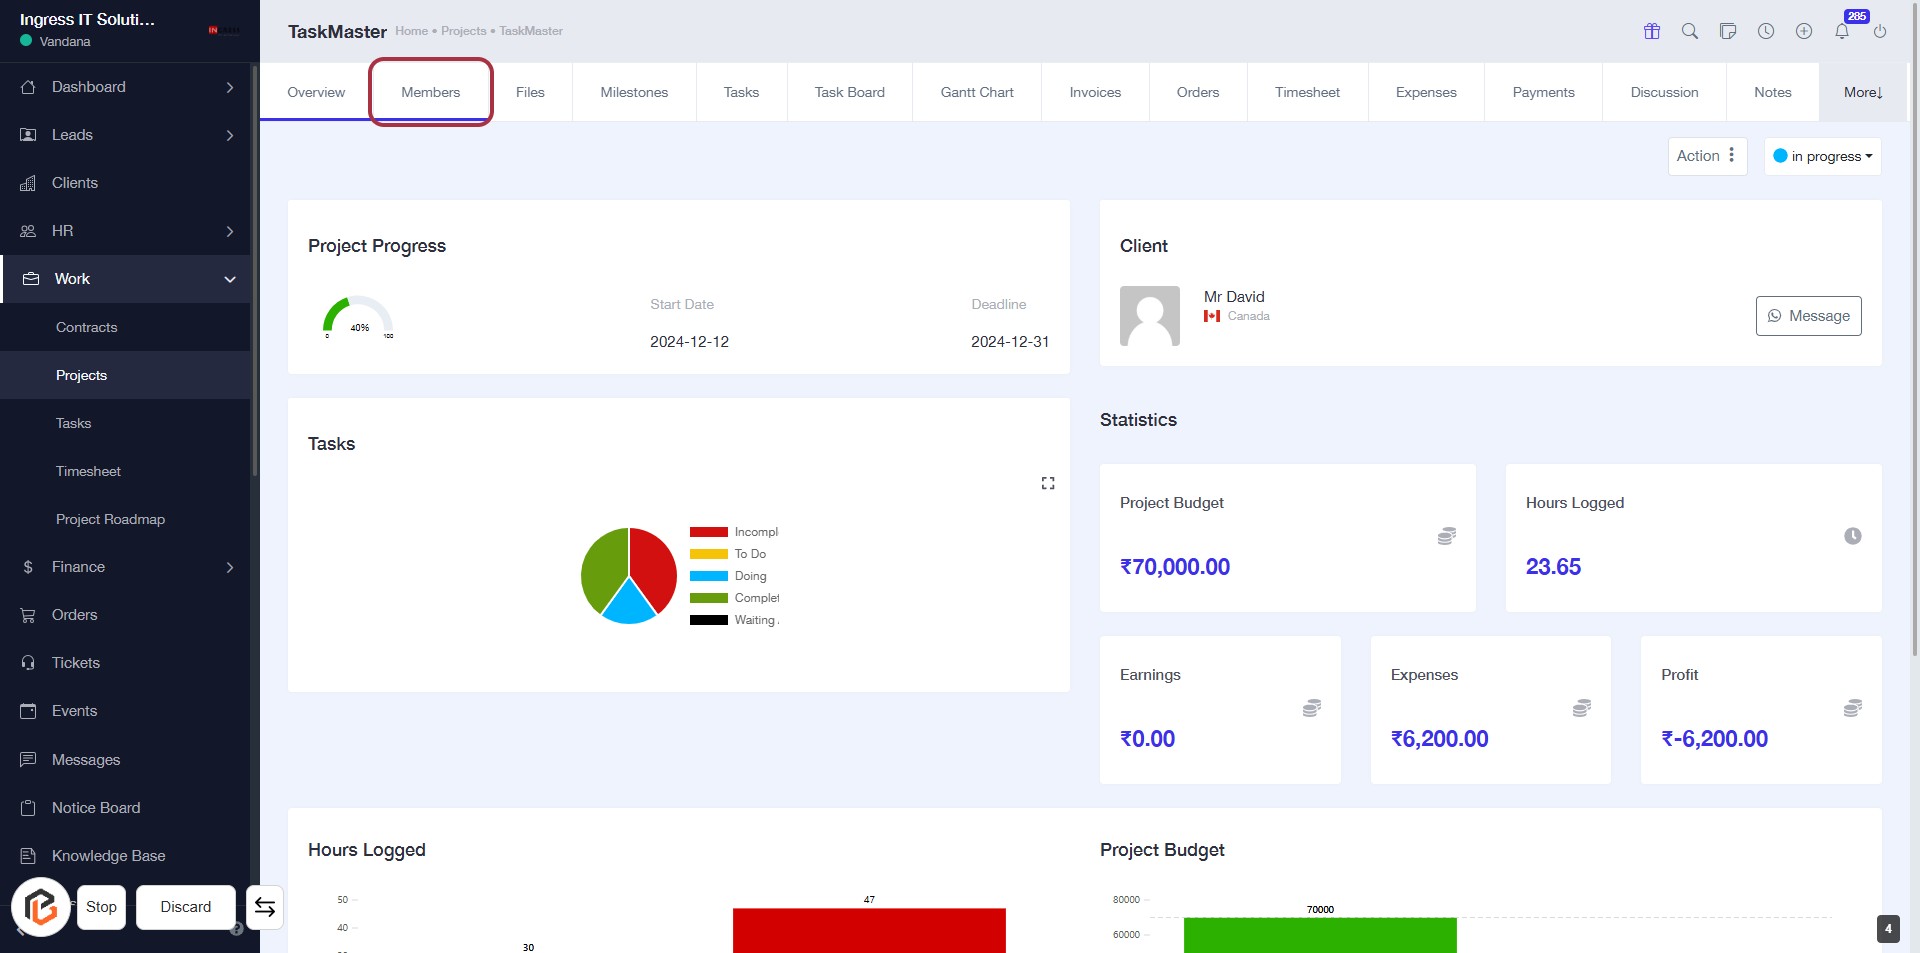
STEP 5: Click on "Members" to Access Project Team
- Navigate to the "Members" tab in the project interface.
- This section allows you to view and manage team members assigned to the project.
- Ensure you check for any required inputs or actions needed in this area.
- After reviewing, proceed to the next step to assign roles.
STEP 6: Select Project Admin Role for Employee
- Click on the "Project Admin" label in the User Role section.
- Ensure the selection is marked for the desired employee.
- Review other members' roles if necessary.
- Confirm any changes before proceeding.