Step-by-Step Guide to Managing Projects and Expenses in BizCRM
17 mins read · Updated 29 Sep, 2025
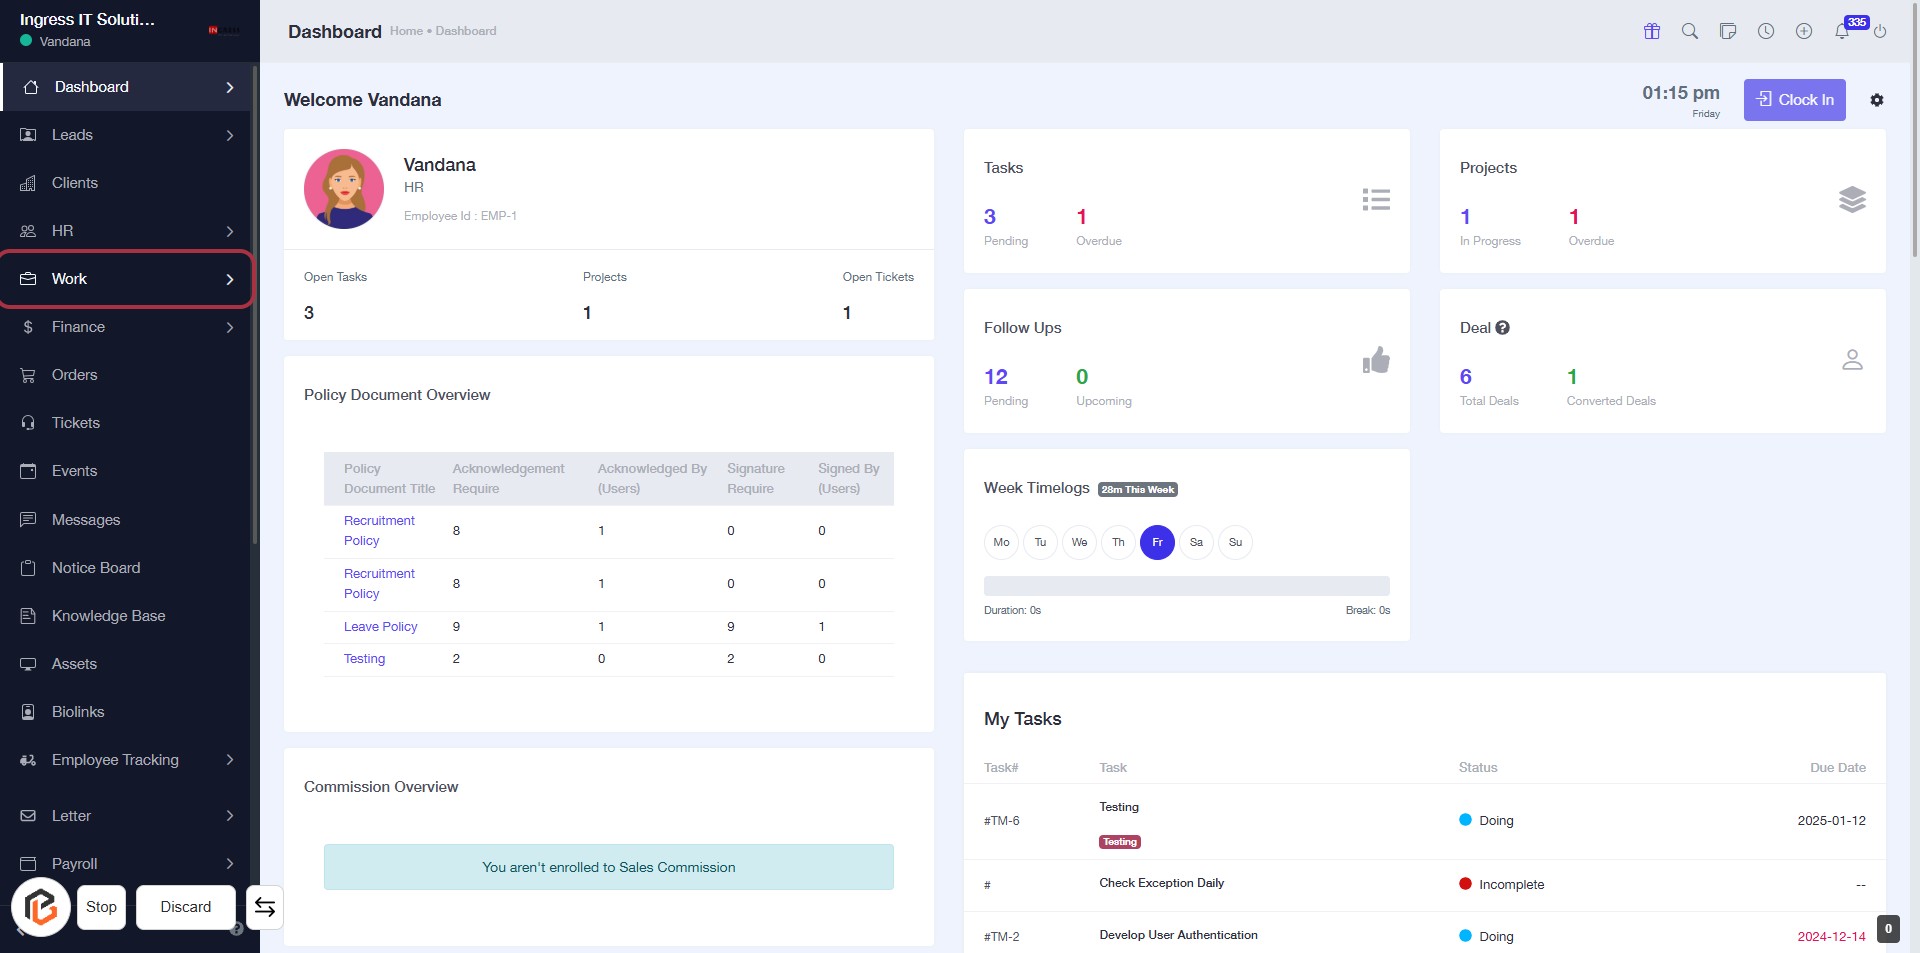
STEP 1: Click on "Work" to Access Your Dashboard
- Navigate to the Dashboard at
bizcrmapp.com. - Locate and click on the "Work" link in the sidebar.
- This will direct you to the Work section, where you can view tasks, projects, and other relevant information.
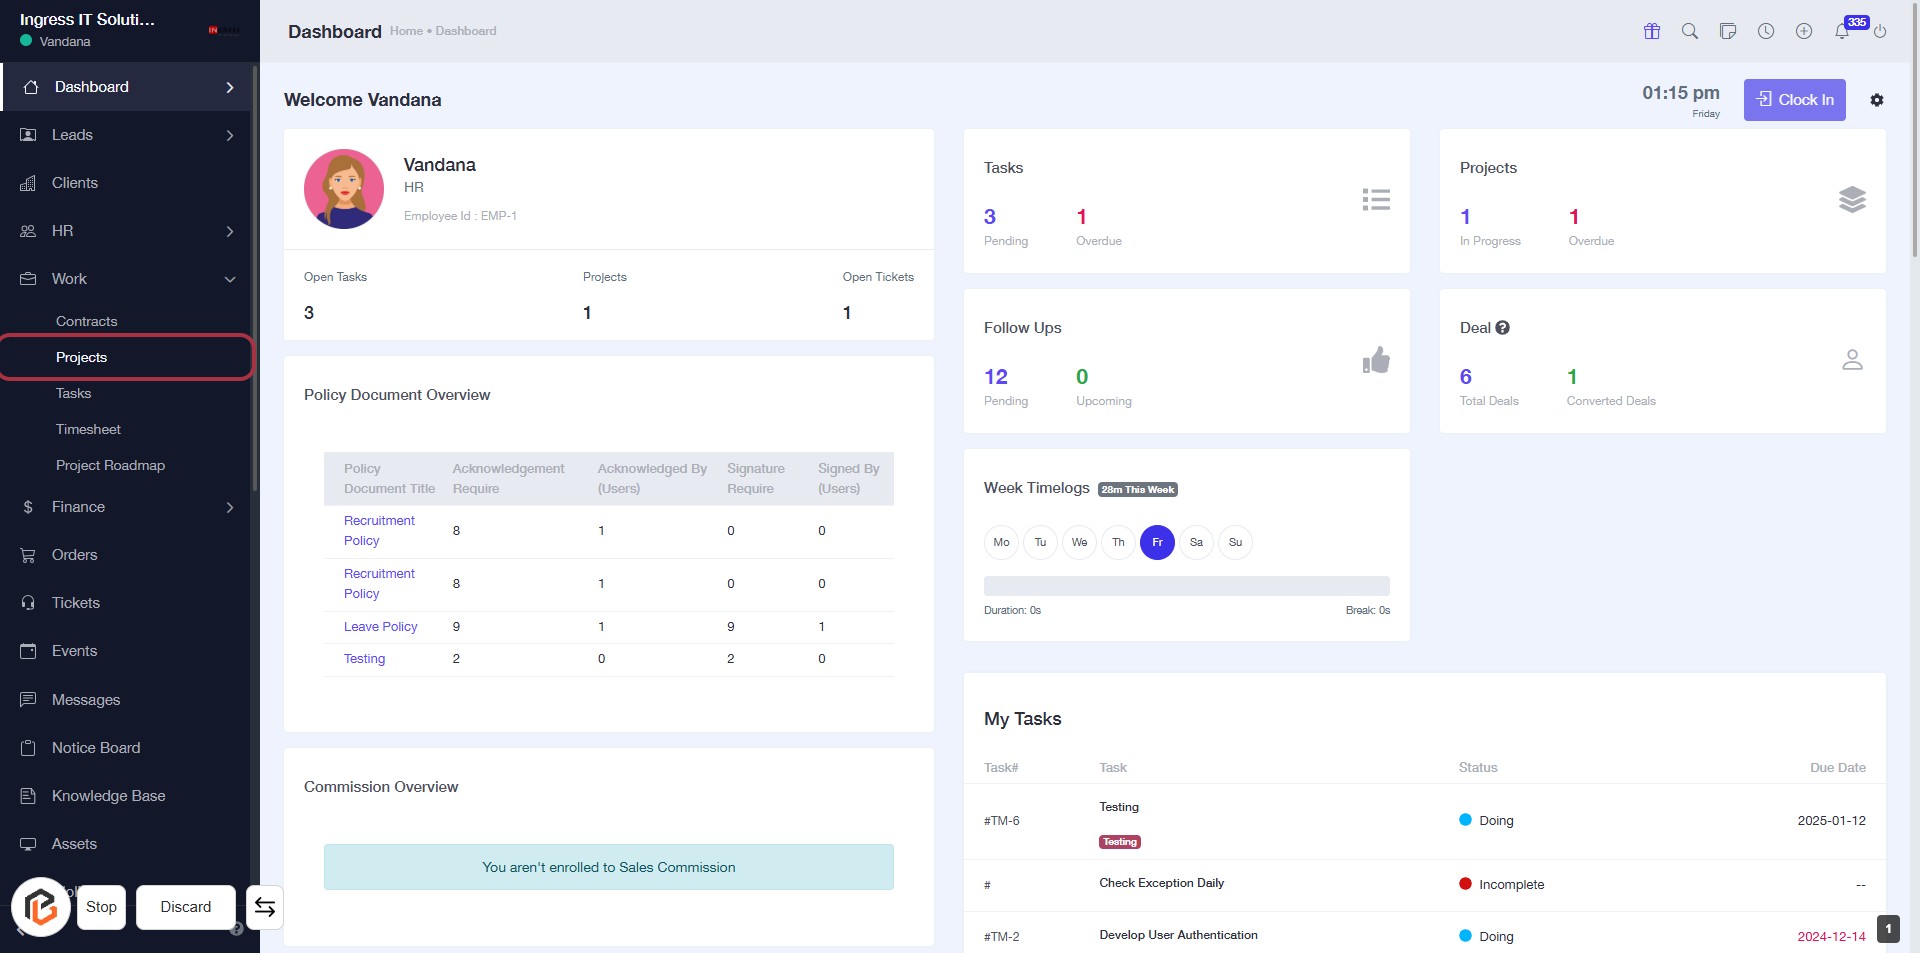
STEP 2: Click on "Projects" to Access Project Overview
- Navigate to the left sidebar and locate the "Projects" section.
- Click on the "Projects" link to view the project details.
- Ensure you check for any updates or notifications related to your projects.
- Review the project status and any associated tasks or documents.
STEP 3: Click on "Action Button"
- Navigate to the "Projects" section.
- Locate the action button in the highlighted area.
- Click on the action button to proceed with the desired operation.
- Ensure all necessary project details are visible before clicking.
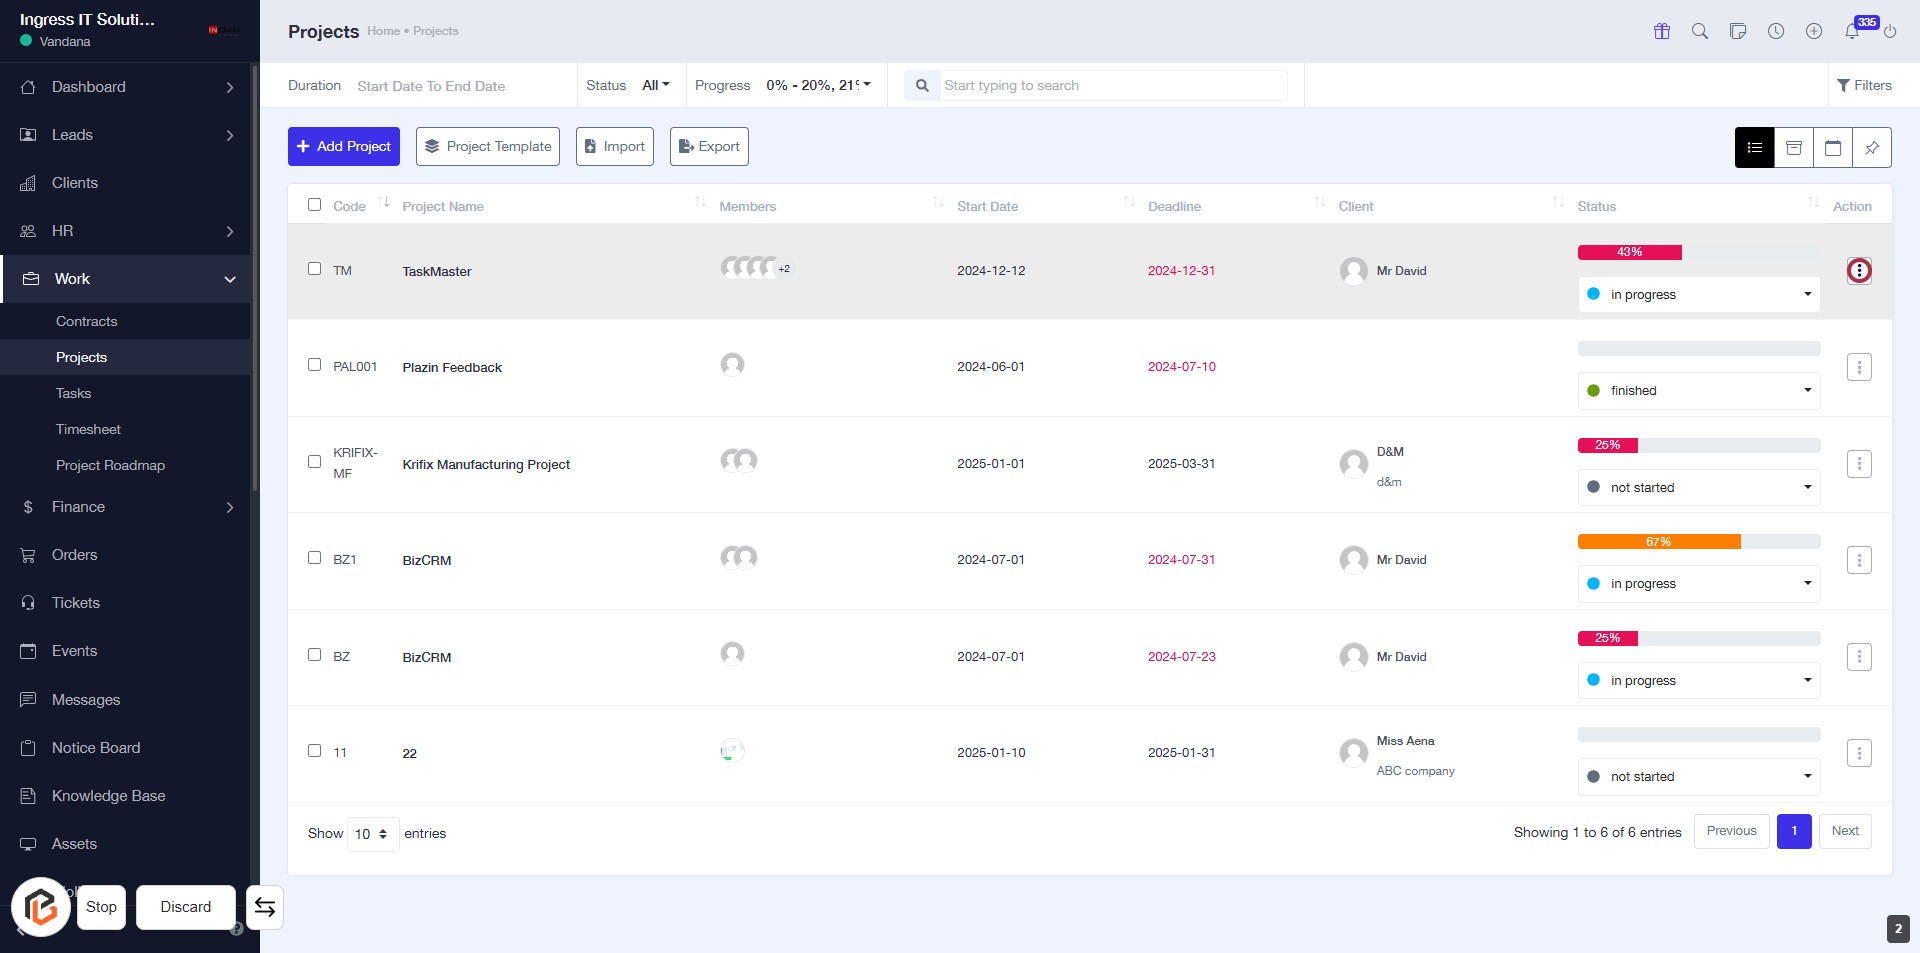
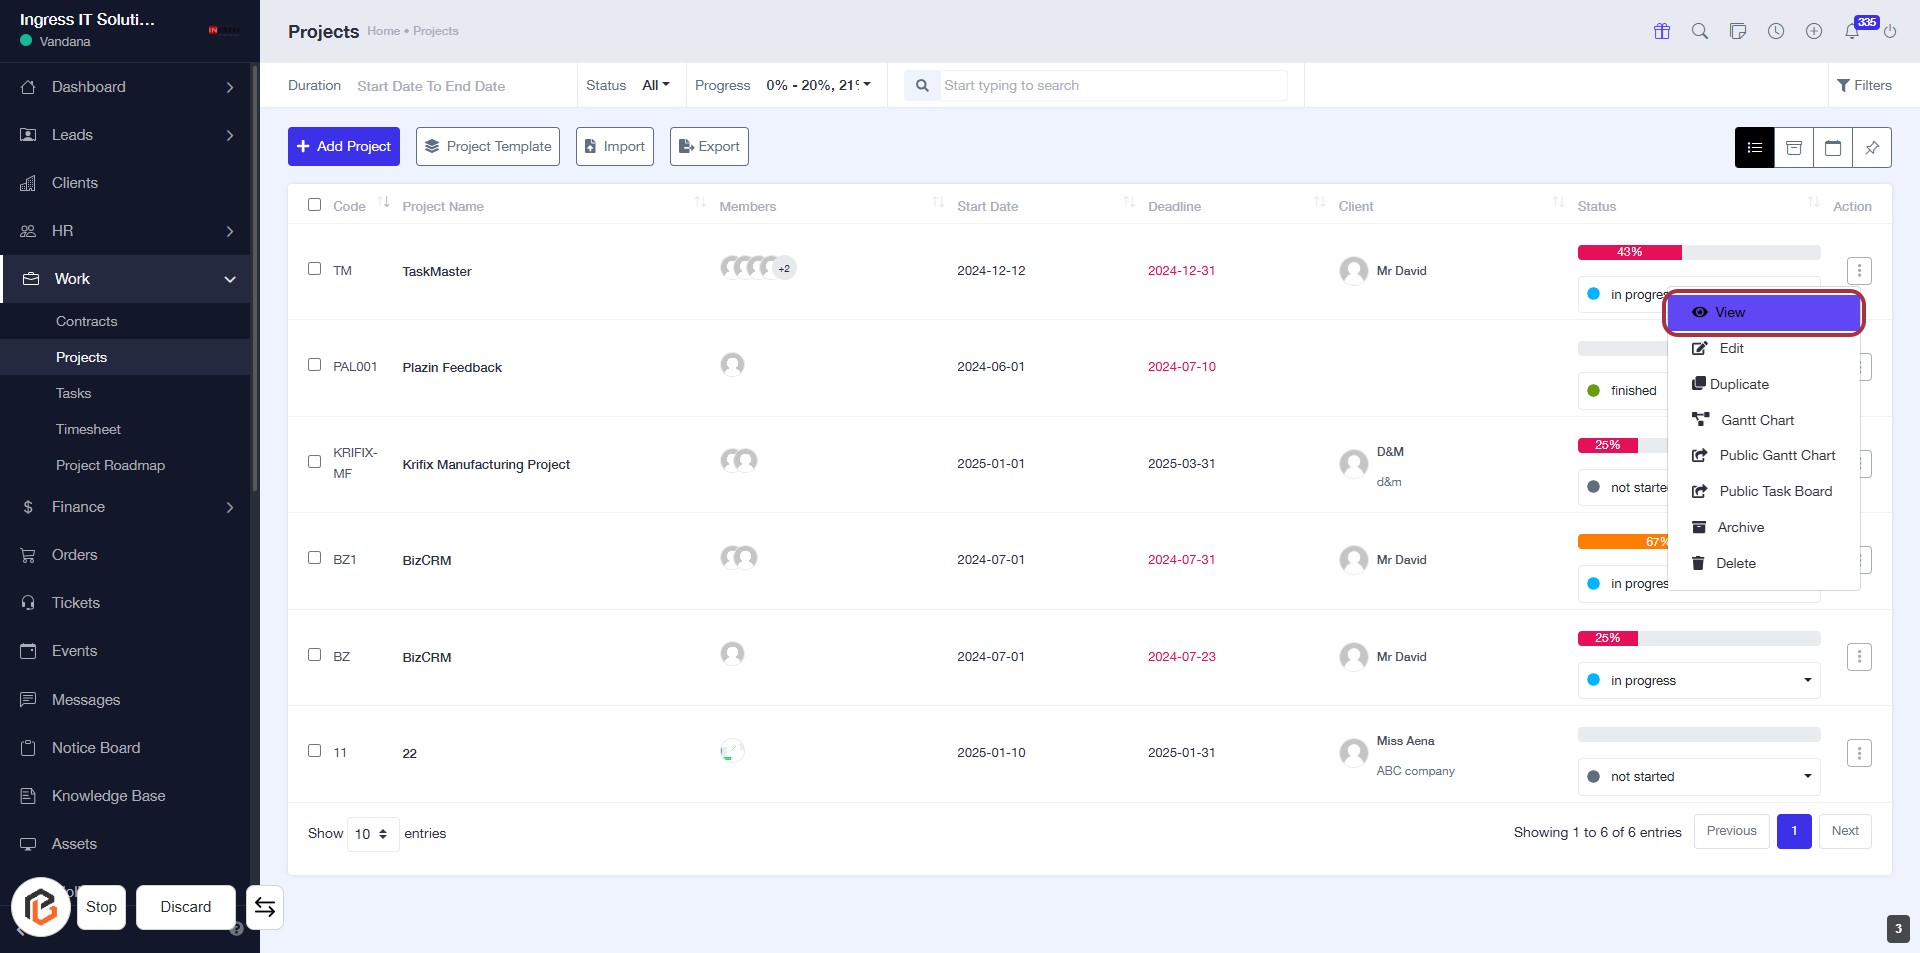
STEP 4: Click on "View" to Access Project Details
- Locate the "View" link in the Action column of the project list.
- Click on "View" to open the project details.
- Ensure you have the necessary permissions to access project information.
- Review the project details displayed on the next screen.
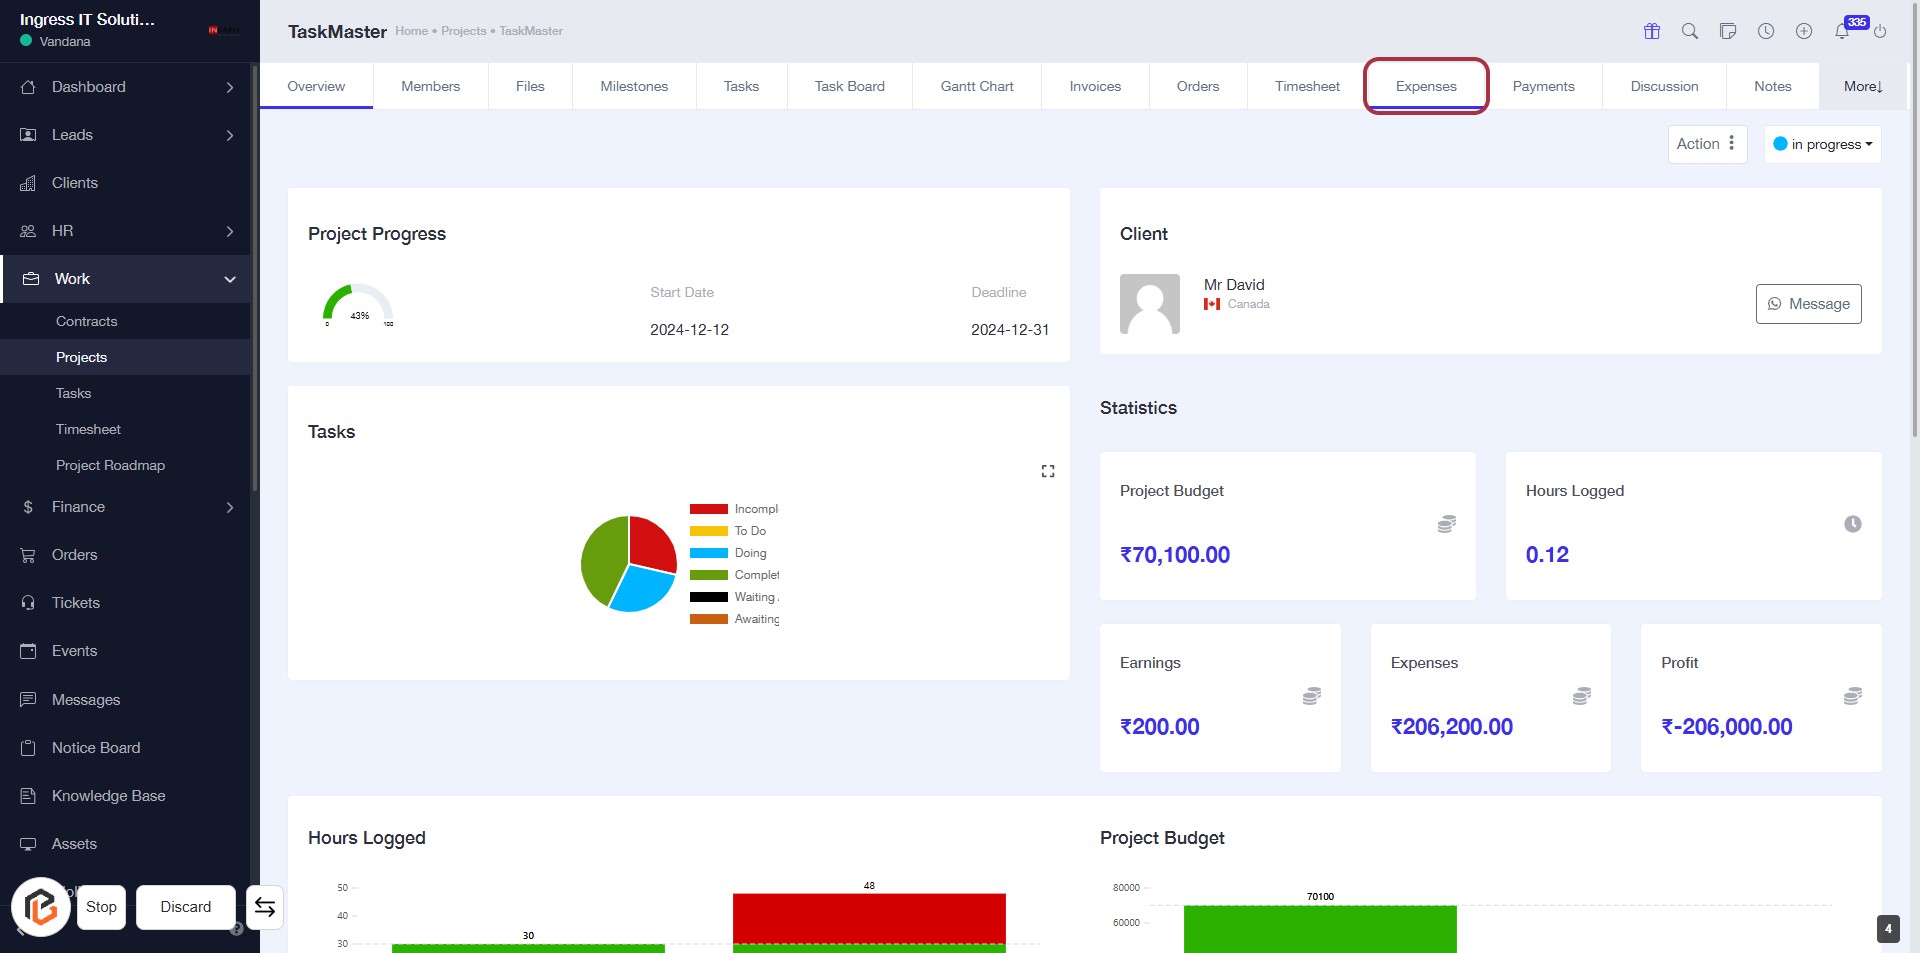
STEP 5: Click on "Expenses" to Access Expense Details
- Navigate to the "Expenses" tab in the project overview.
- Ensure you are on the correct project page.
- Click on the highlighted "Expenses" area to view detailed expense information.
- Prepare to proceed to the next step by clicking "Add Expense" for further actions.
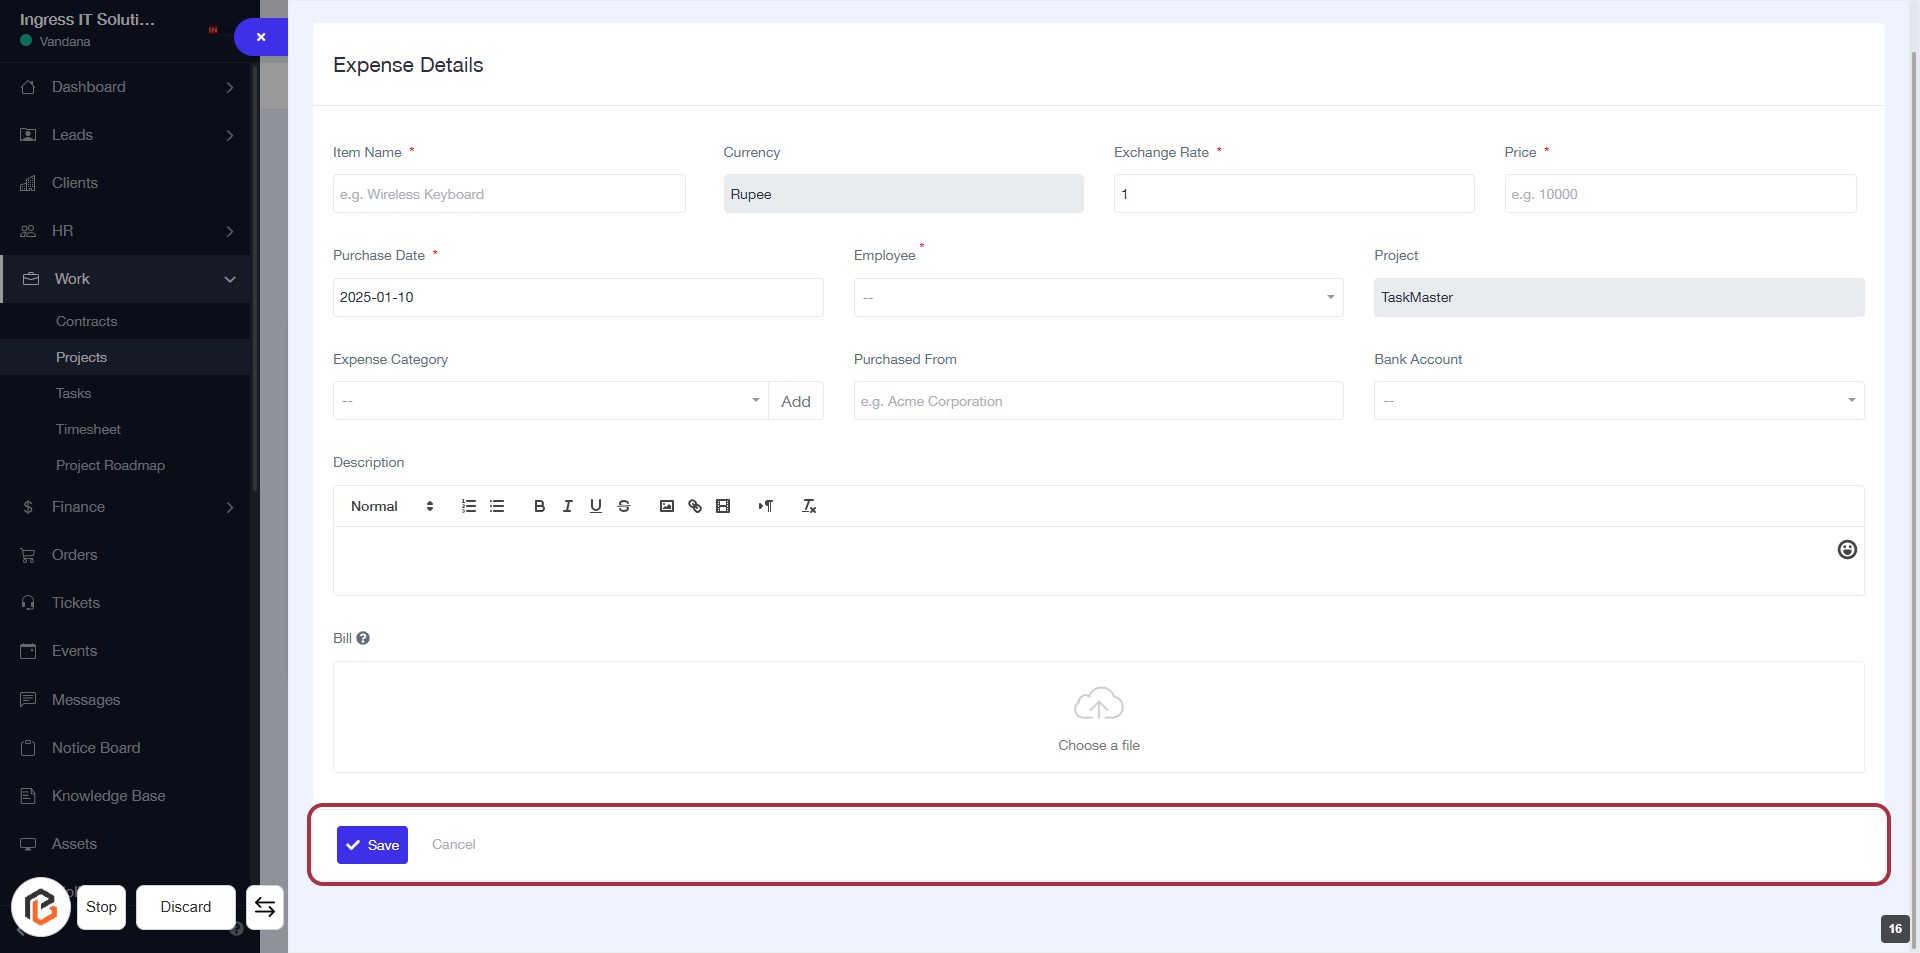
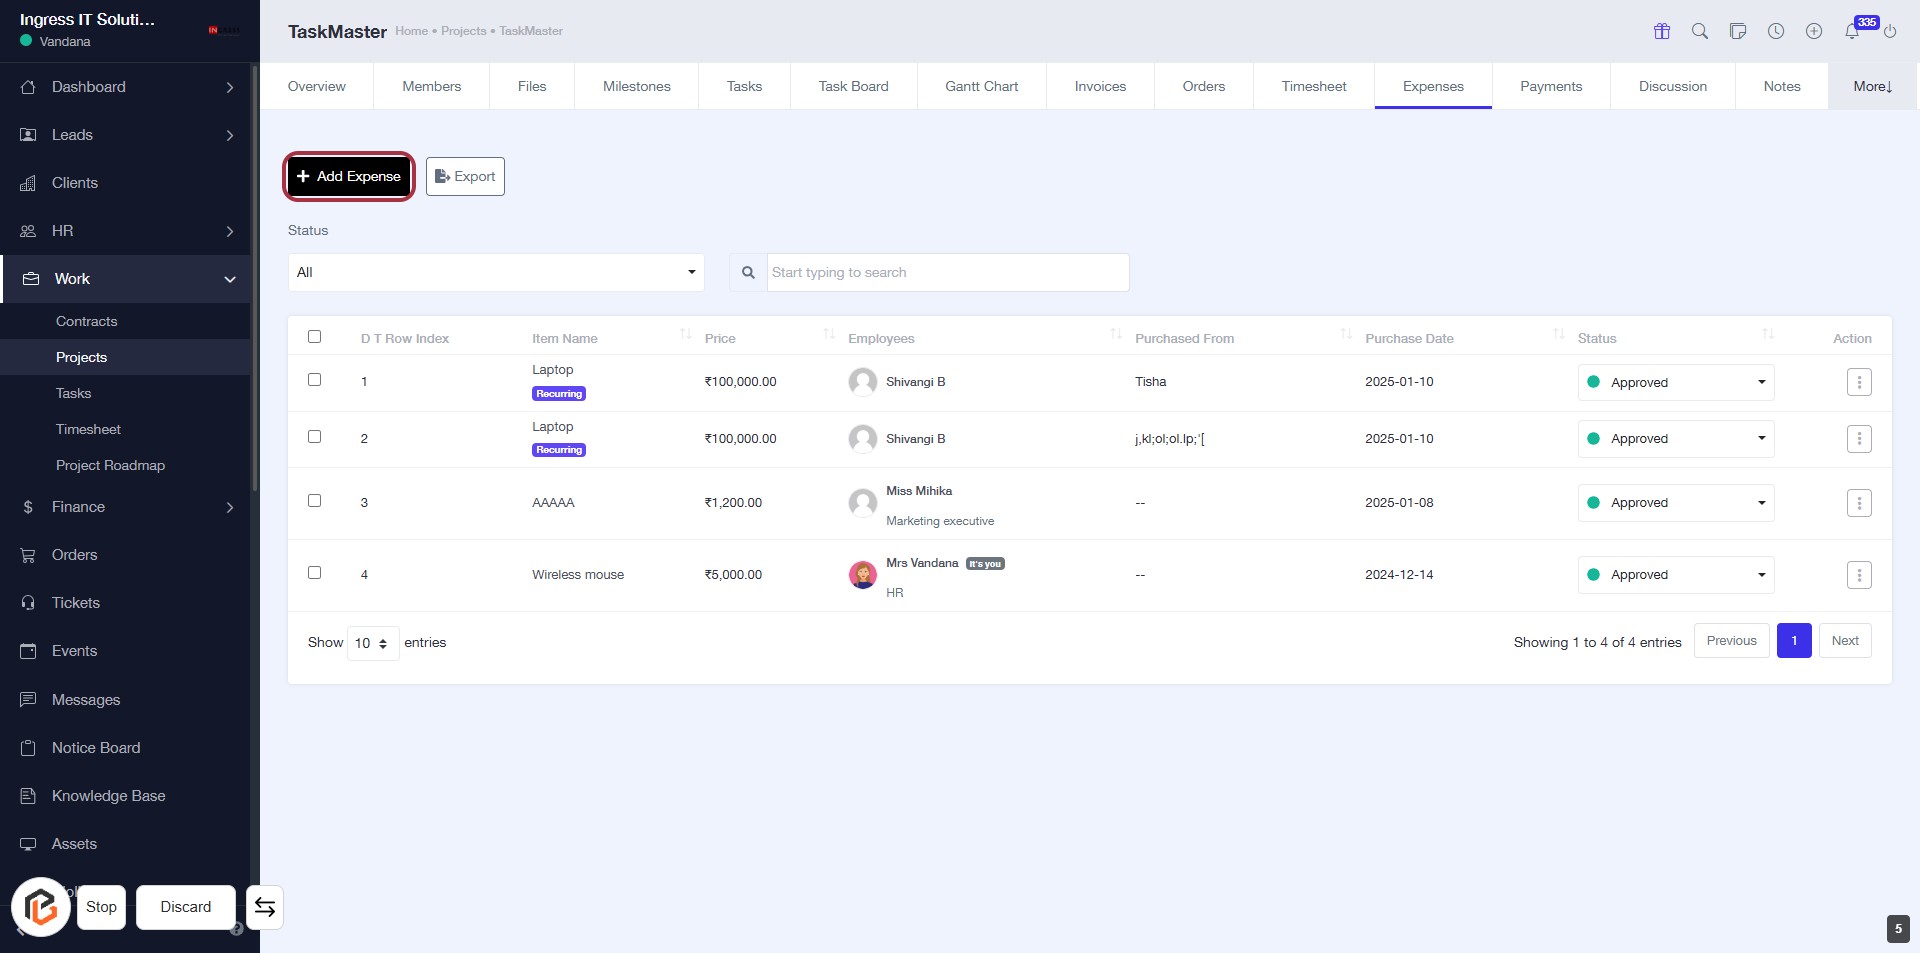
STEP 6: Click on "Add Expense"
- Navigate to the "Expenses" tab.
- Click on the Add Expense button highlighted in red.
- This action will open a form for entering expense details.
- Ensure to fill in all required fields marked with an asterisk (*).
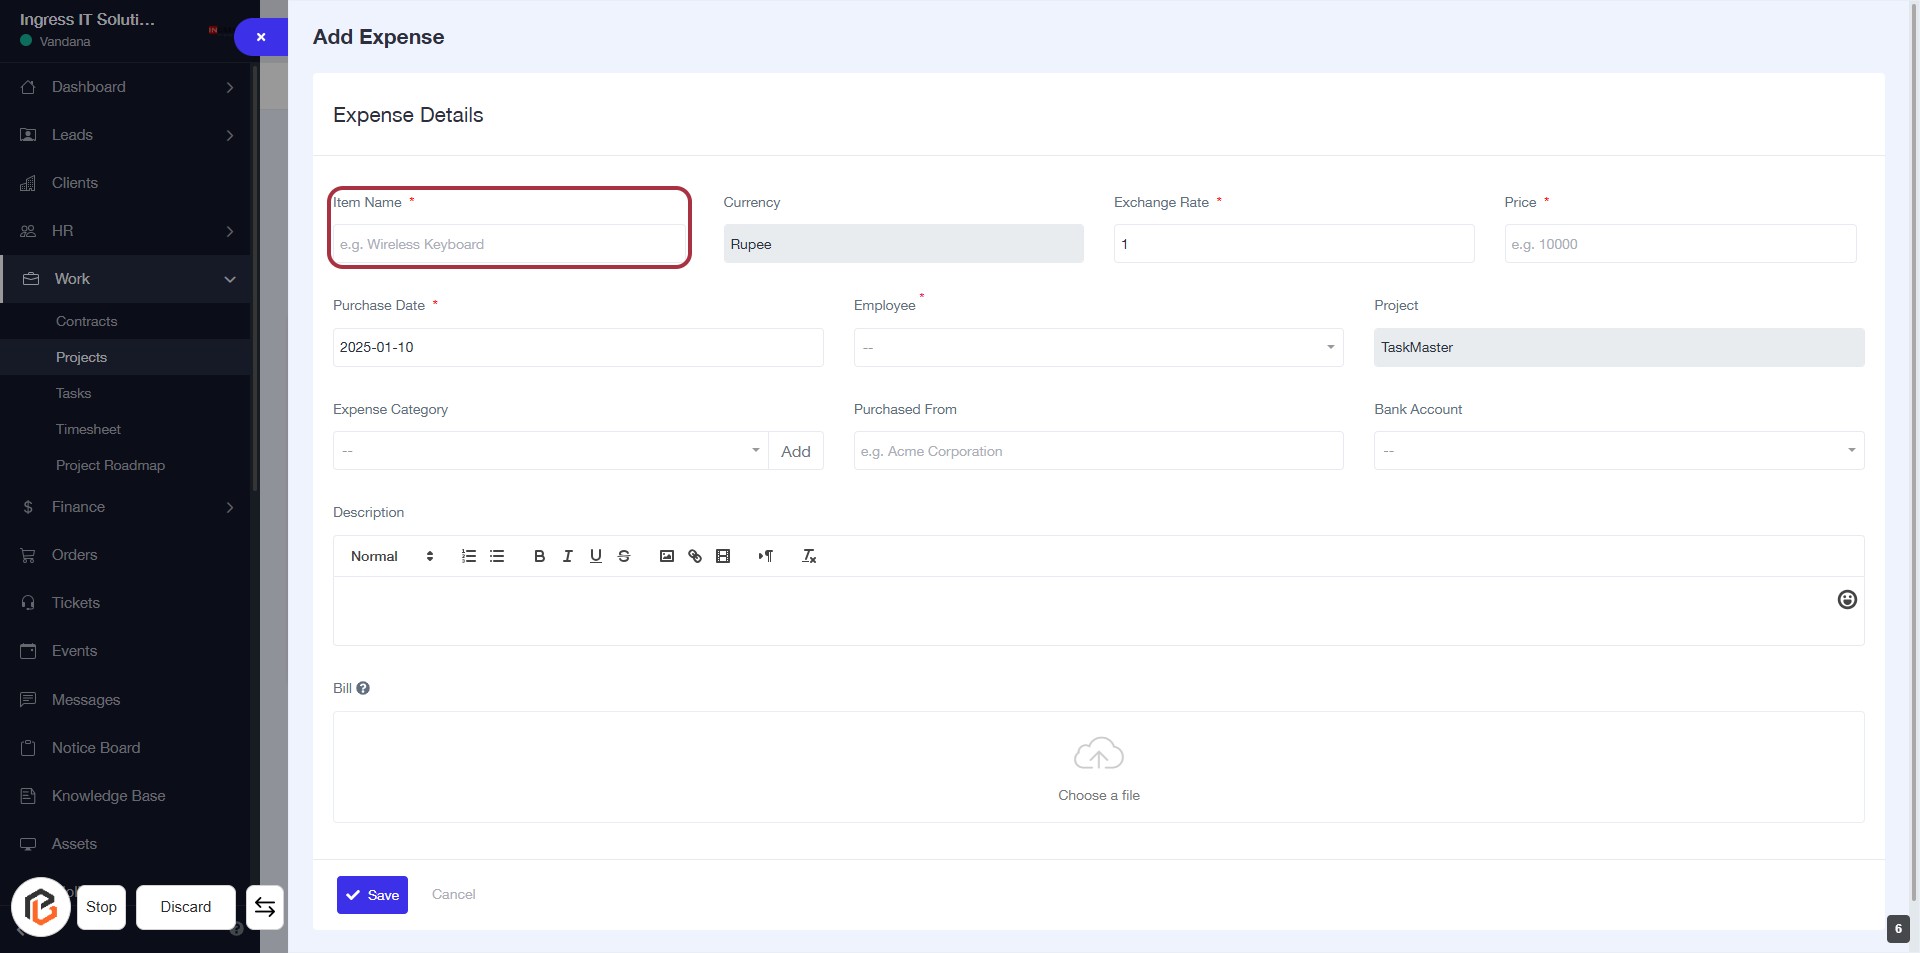
STEP 7: Enter Item Name
- Click on the highlighted area labeled "Item Name" to input the name of the expense item.
- Ensure to fill in this field as it is marked with an asterisk (*), indicating it is required.
- Consider providing a clear and descriptive name for better tracking of expenses.
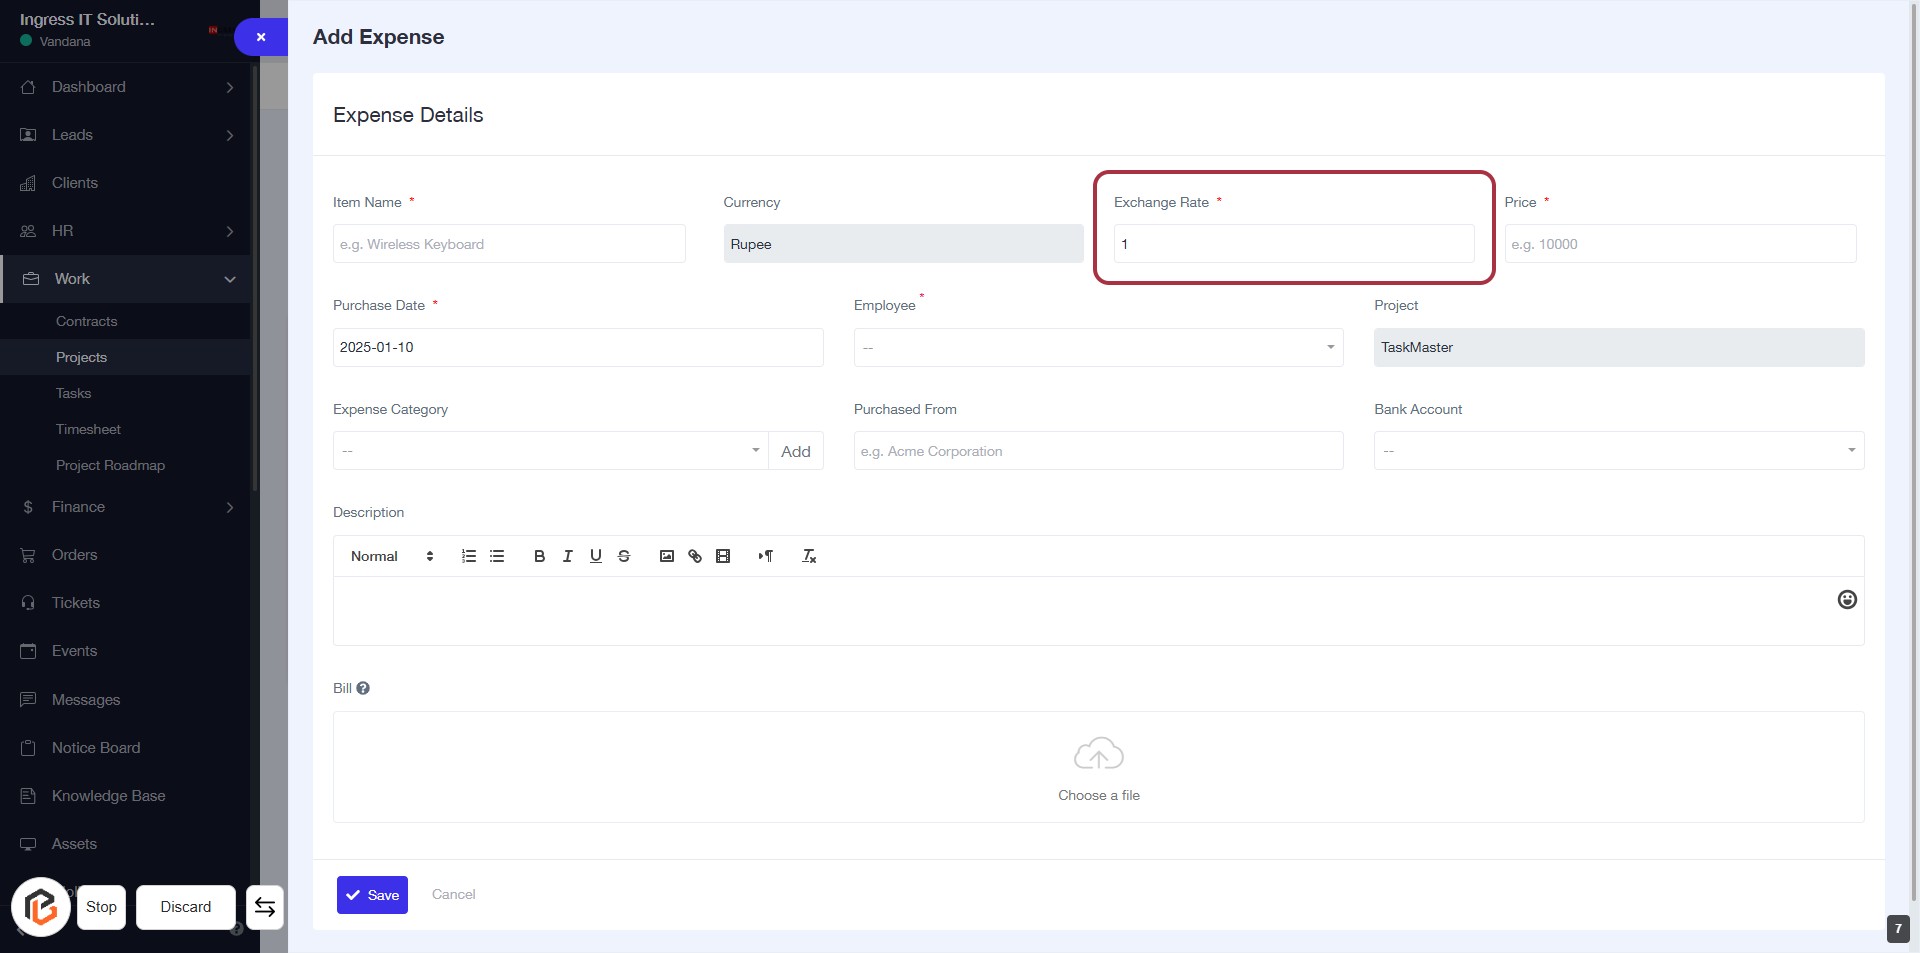
STEP 8: Enter Exchange Rate
- Click on the "Exchange Rate" field (marked with a red border).
- Ensure to fill in the required field, indicated by the asterisk (*).
- Review other fields in the form for completeness.
- Proceed to the next step by entering the "Price".
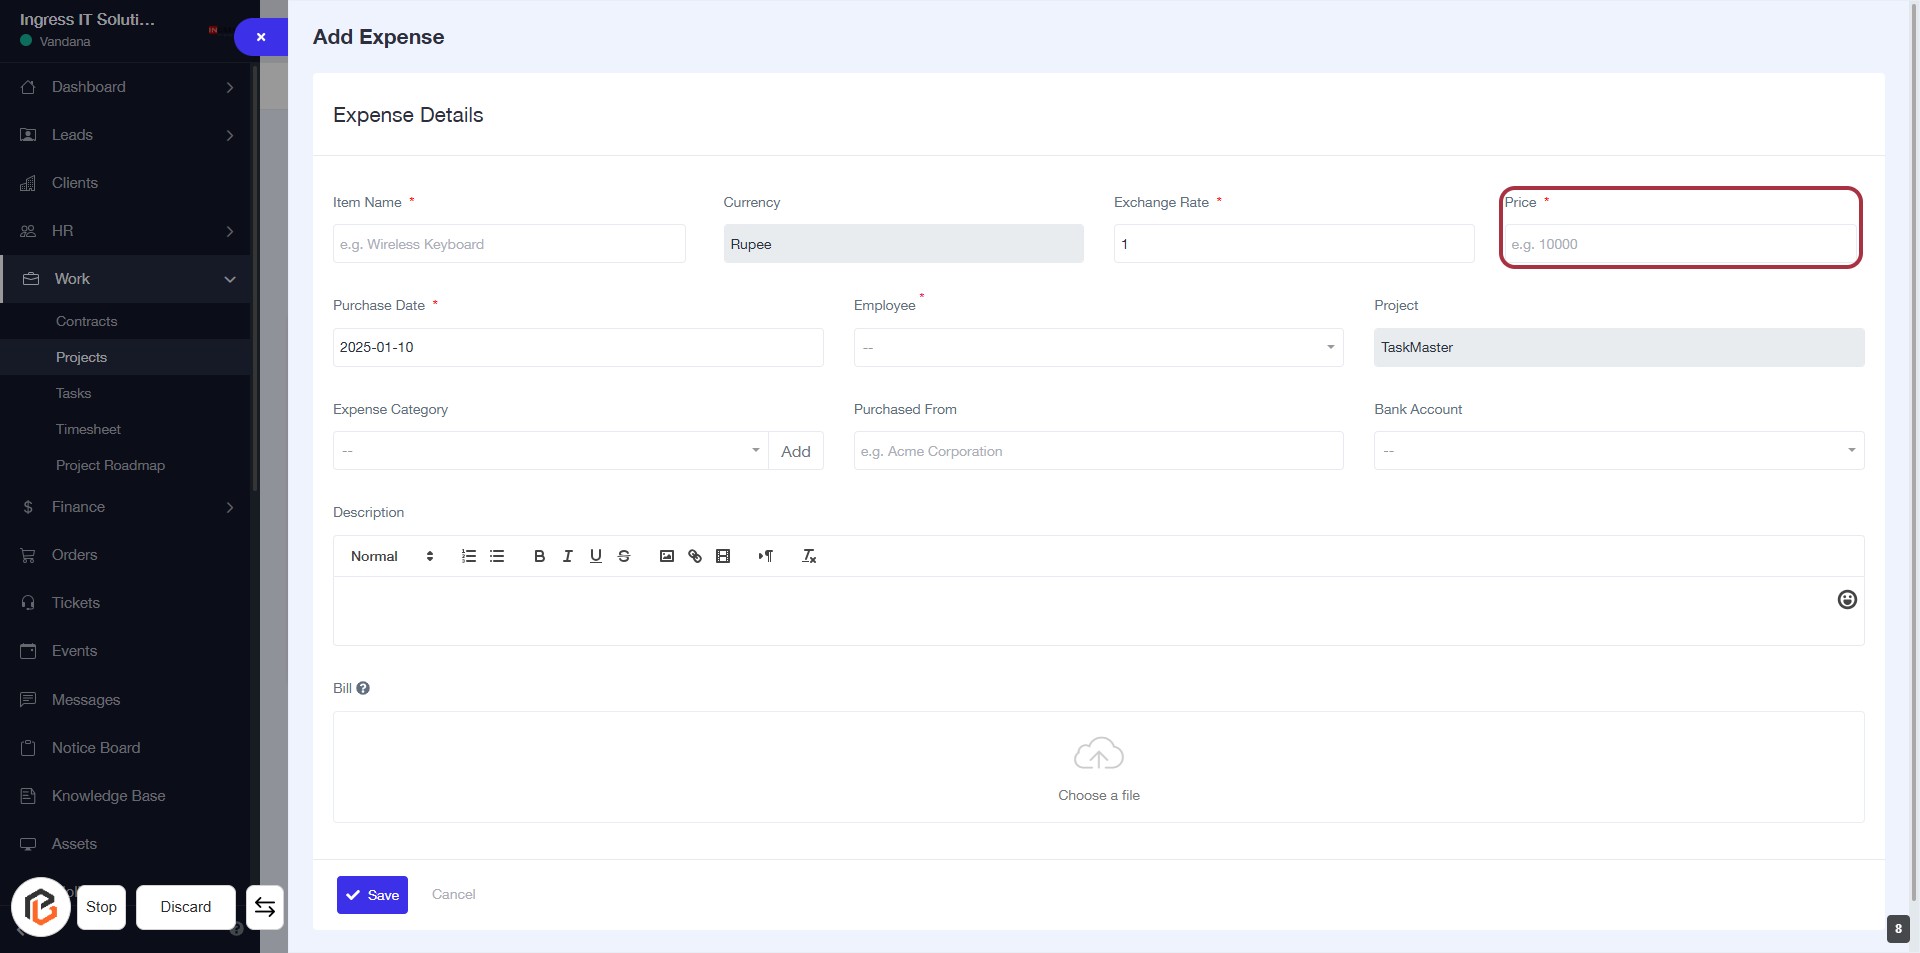
STEP 9: Enter Price for Expense
- Click on the Price field (marked with an asterisk) to input the expense amount.
- Ensure to enter a valid numerical value (e.g., 10000).
- Review other required fields like Currency, Exchange Rate, and Employee before proceeding.
- After entering the price, continue to the next step to Select Purchase Date.
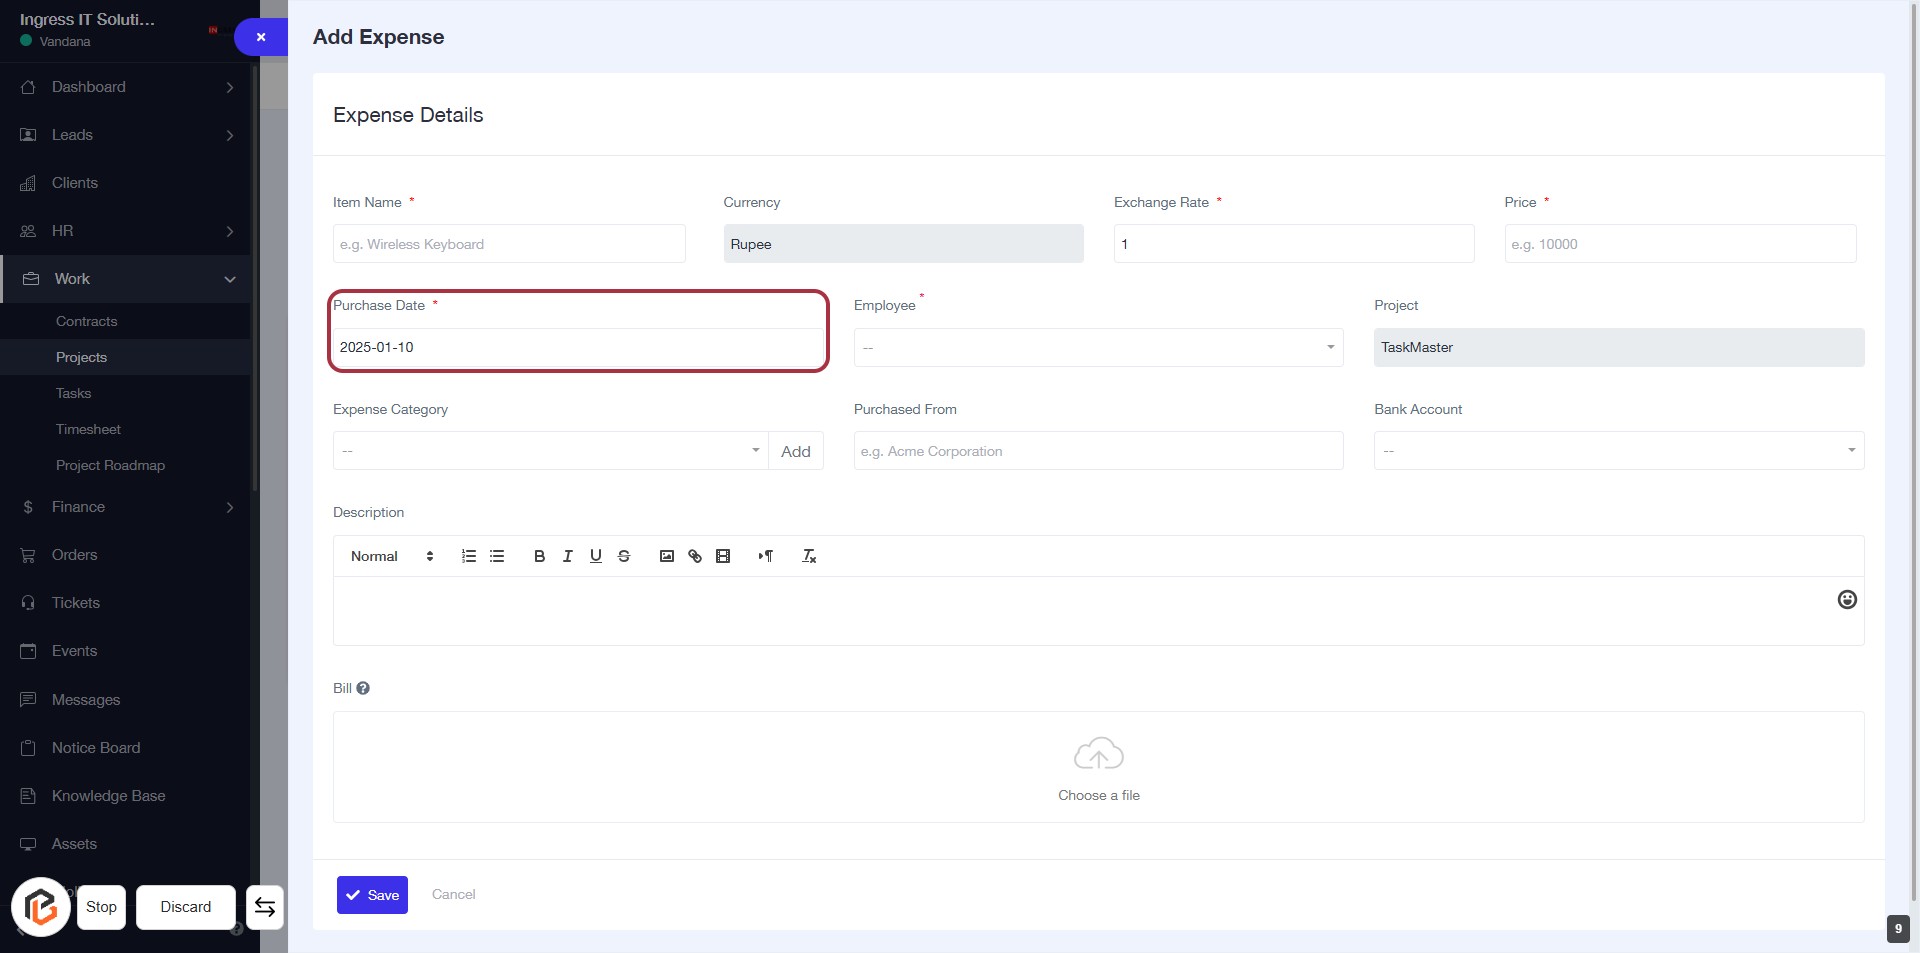
STEP 10: Select "Purchase Date"
- Click on the "Purchase Date" field (marked with an asterisk * for required input).
- Enter the date of purchase in the format YYYY-MM-DD.
- Ensure all other required fields are filled out before proceeding.
- After entering the date, you can move to the next step by selecting "Employee".
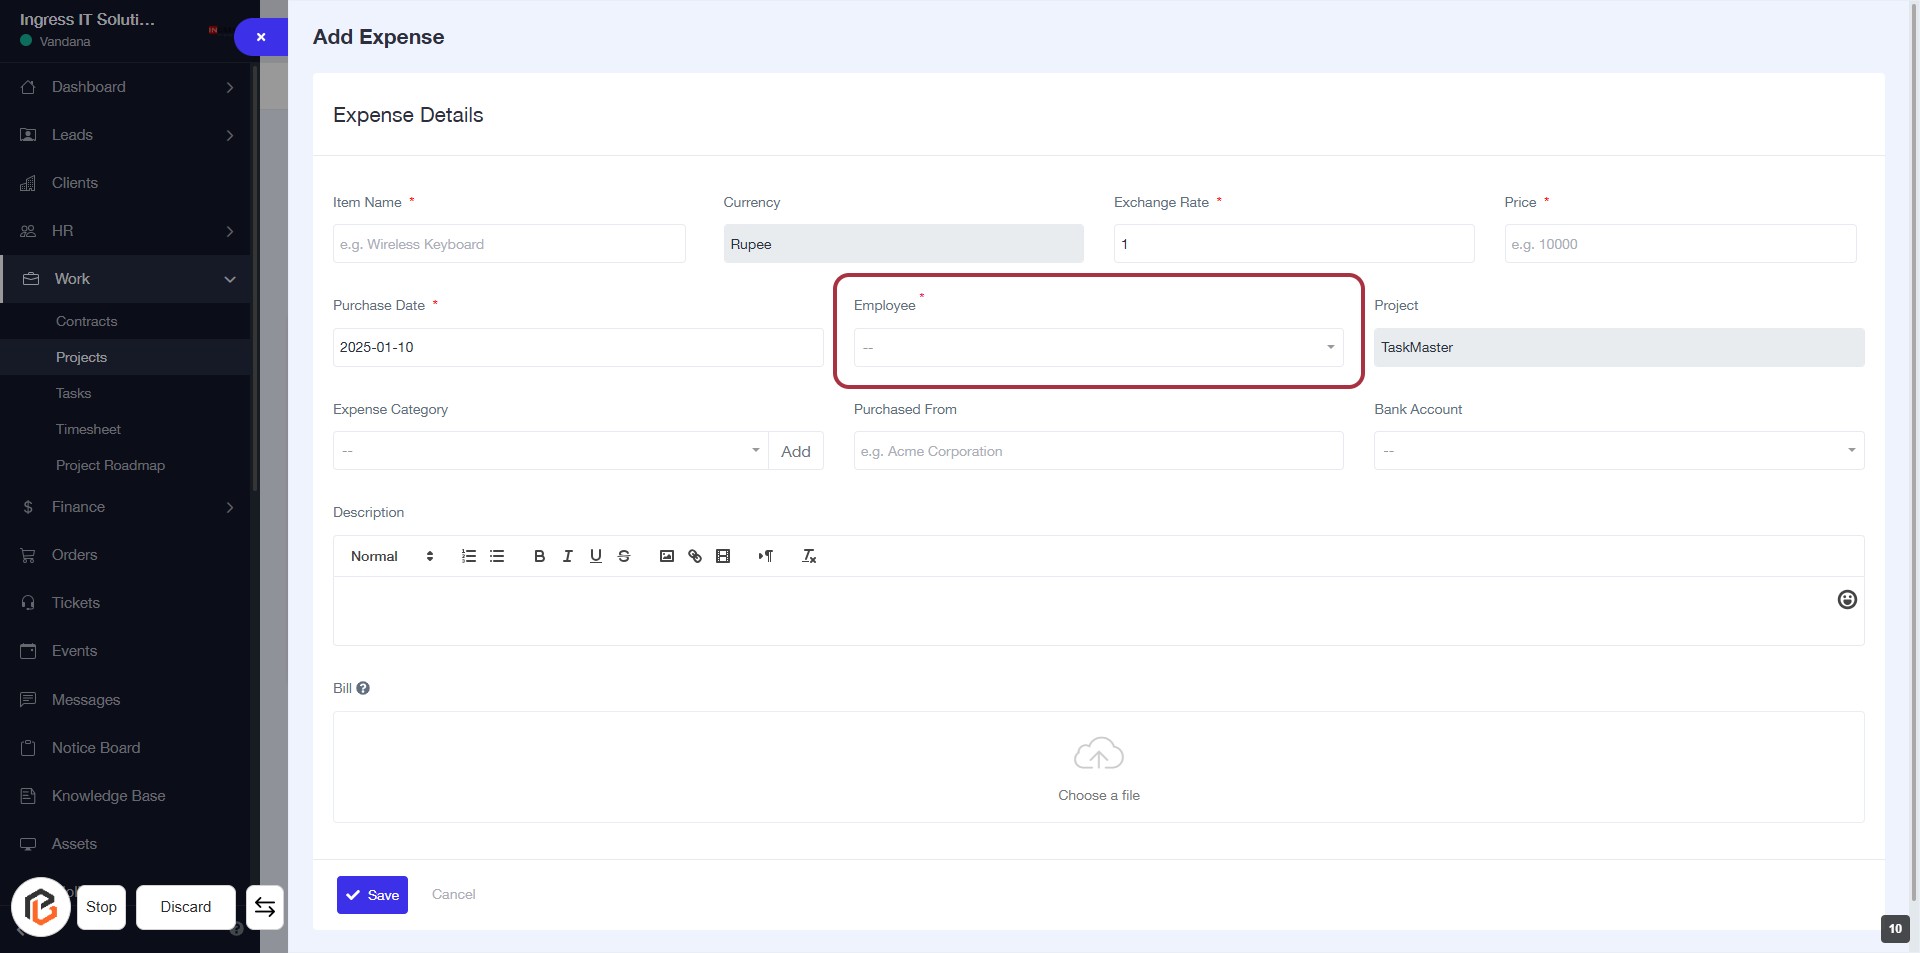
STEP 11: Select "Employee"
- Click on the "Employee" field highlighted in red.
- Choose the appropriate employee from the dropdown list.
- Ensure the field marked with an asterisk (*) is filled, as it is mandatory.
- Proceed to the next step by adding the "Expense Category."
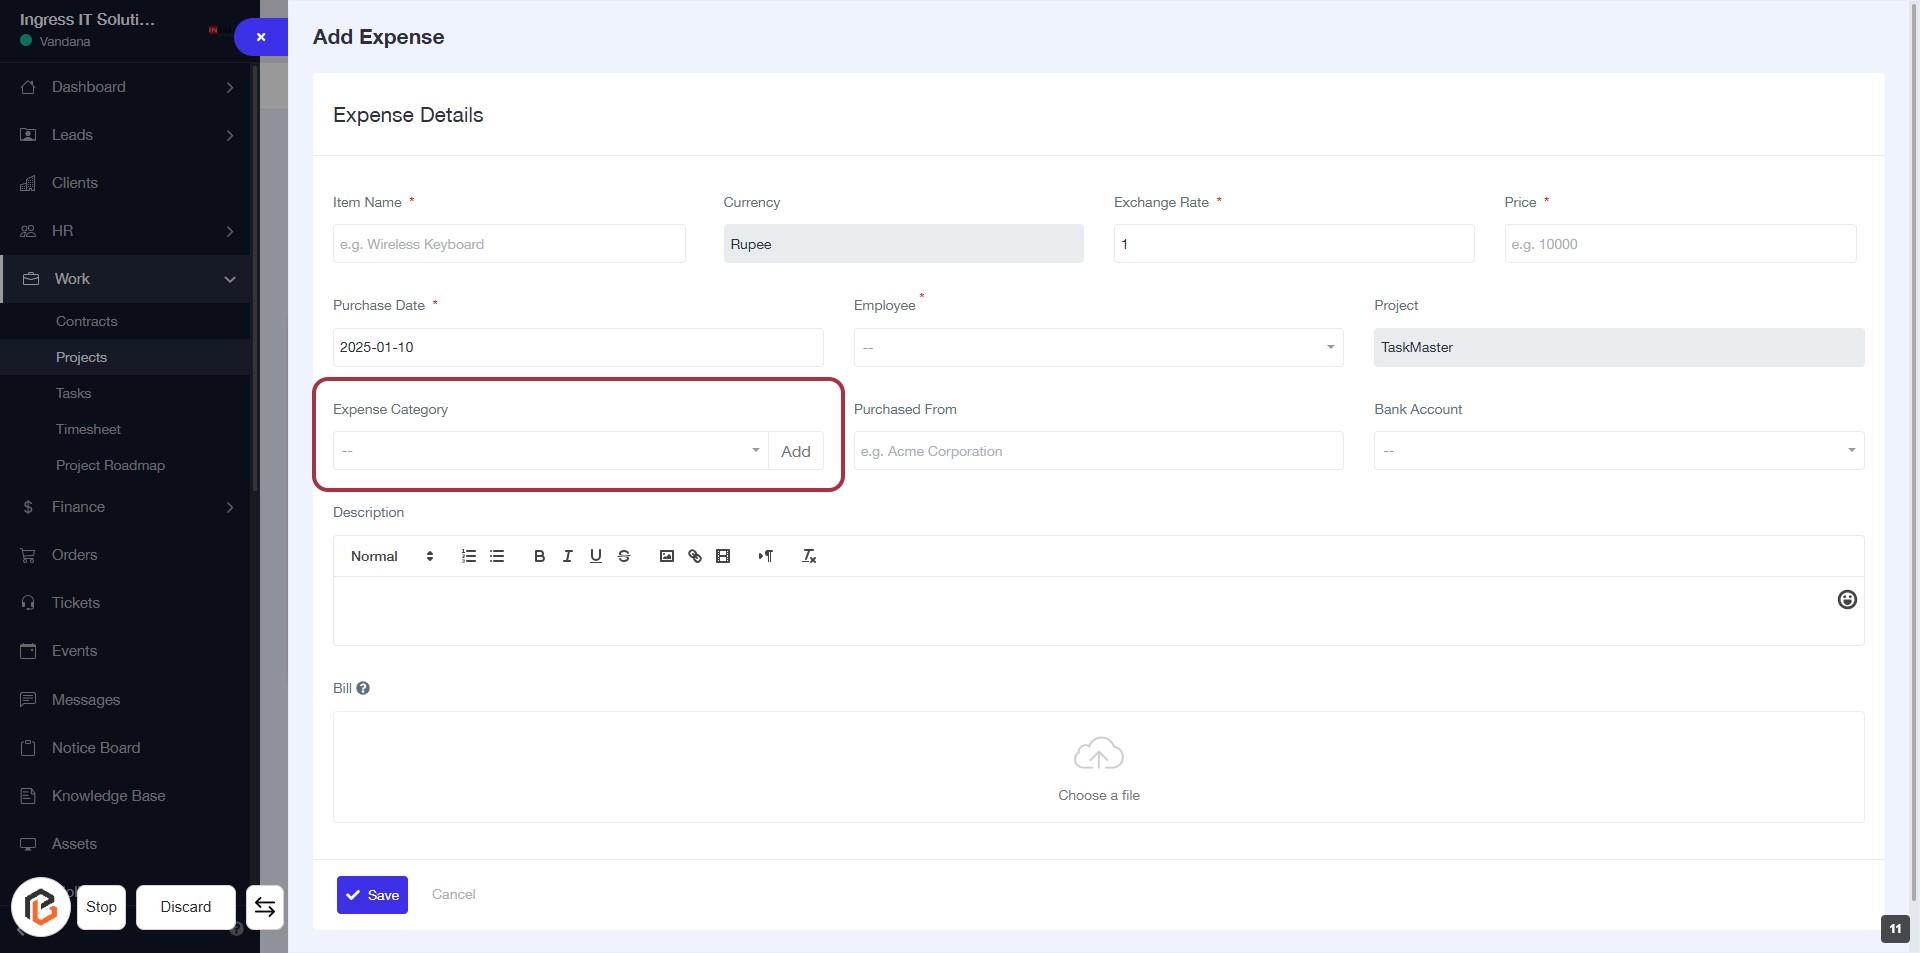
STEP 12: Click "Expense Category" to Add
- Navigate to the "Expense Category" section in the form.
- Click on the "Expense Category" field to select or add a category.
- Ensure to fill in any required fields marked with an asterisk (*).
- Proceed to the next step by entering details in the "Purchased From" section.
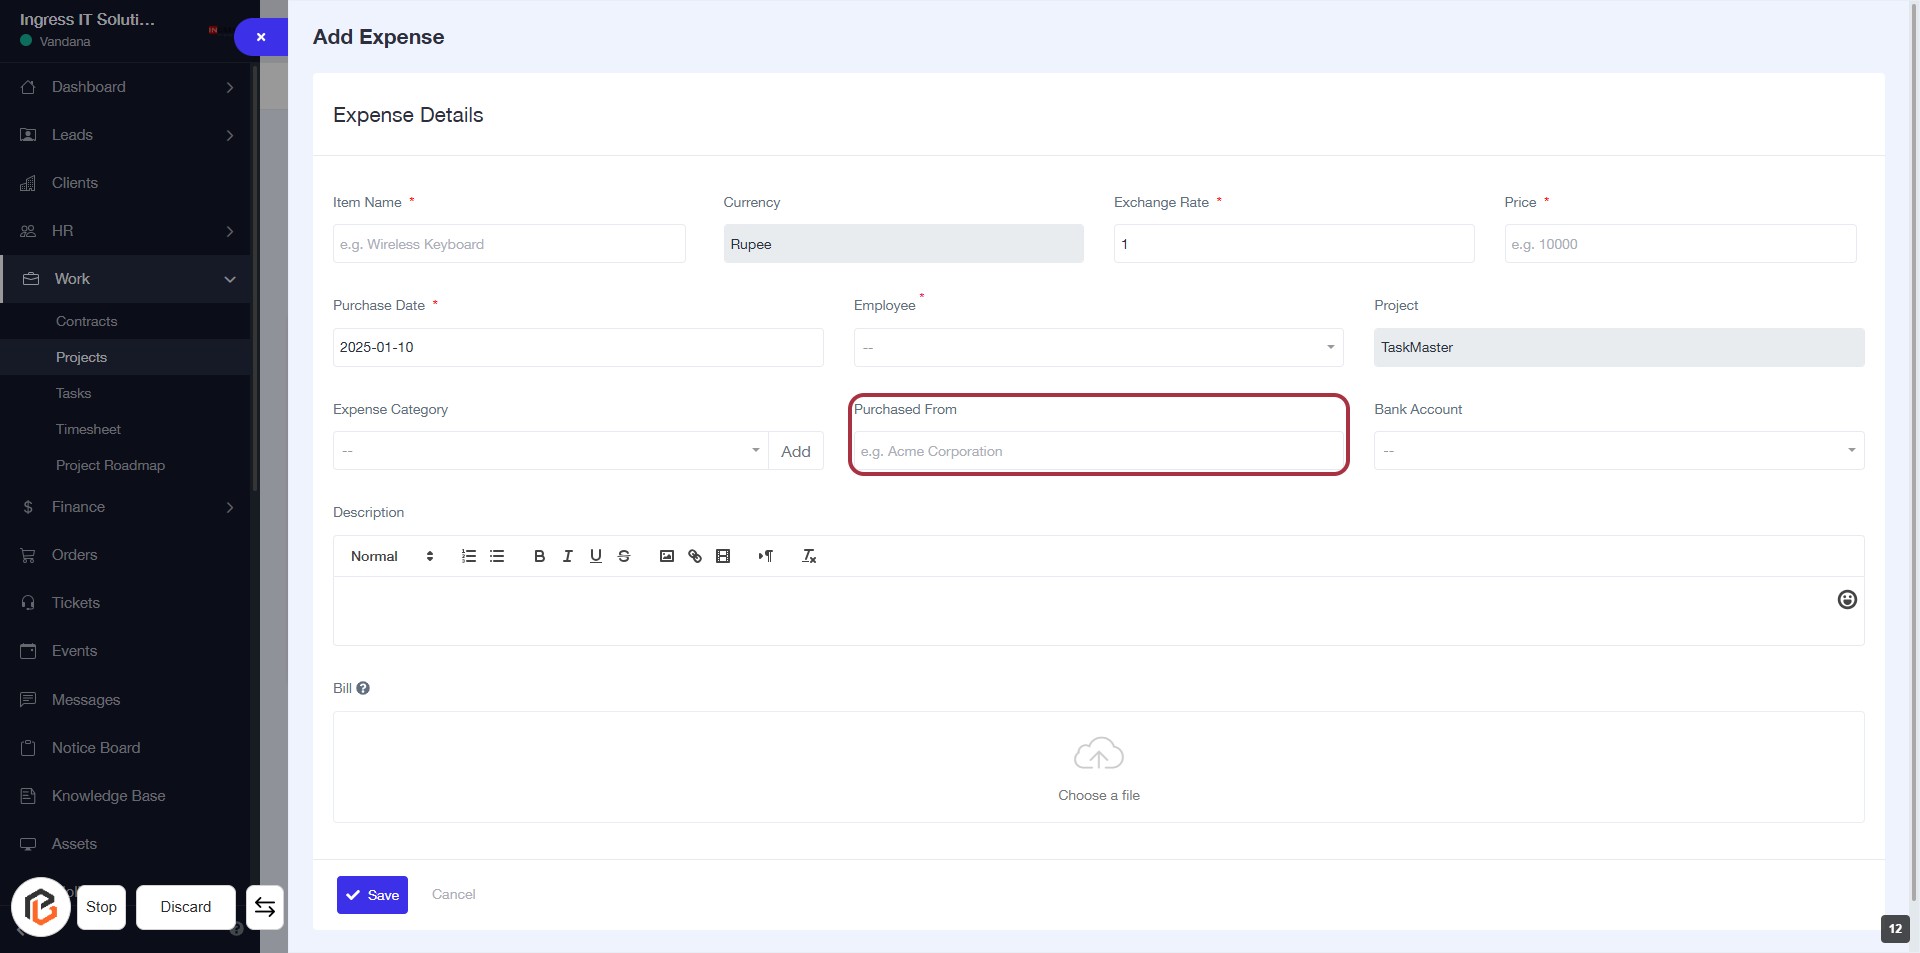
STEP 13: Enter "Purchased From"
- Click on the "Purchased From" field.
- Input the name of the vendor or company from which the item was purchased.
- Ensure to provide accurate details for proper record-keeping.
- The field may have a placeholder (e.g., "e.g. Acme Corporation") to guide your entry.
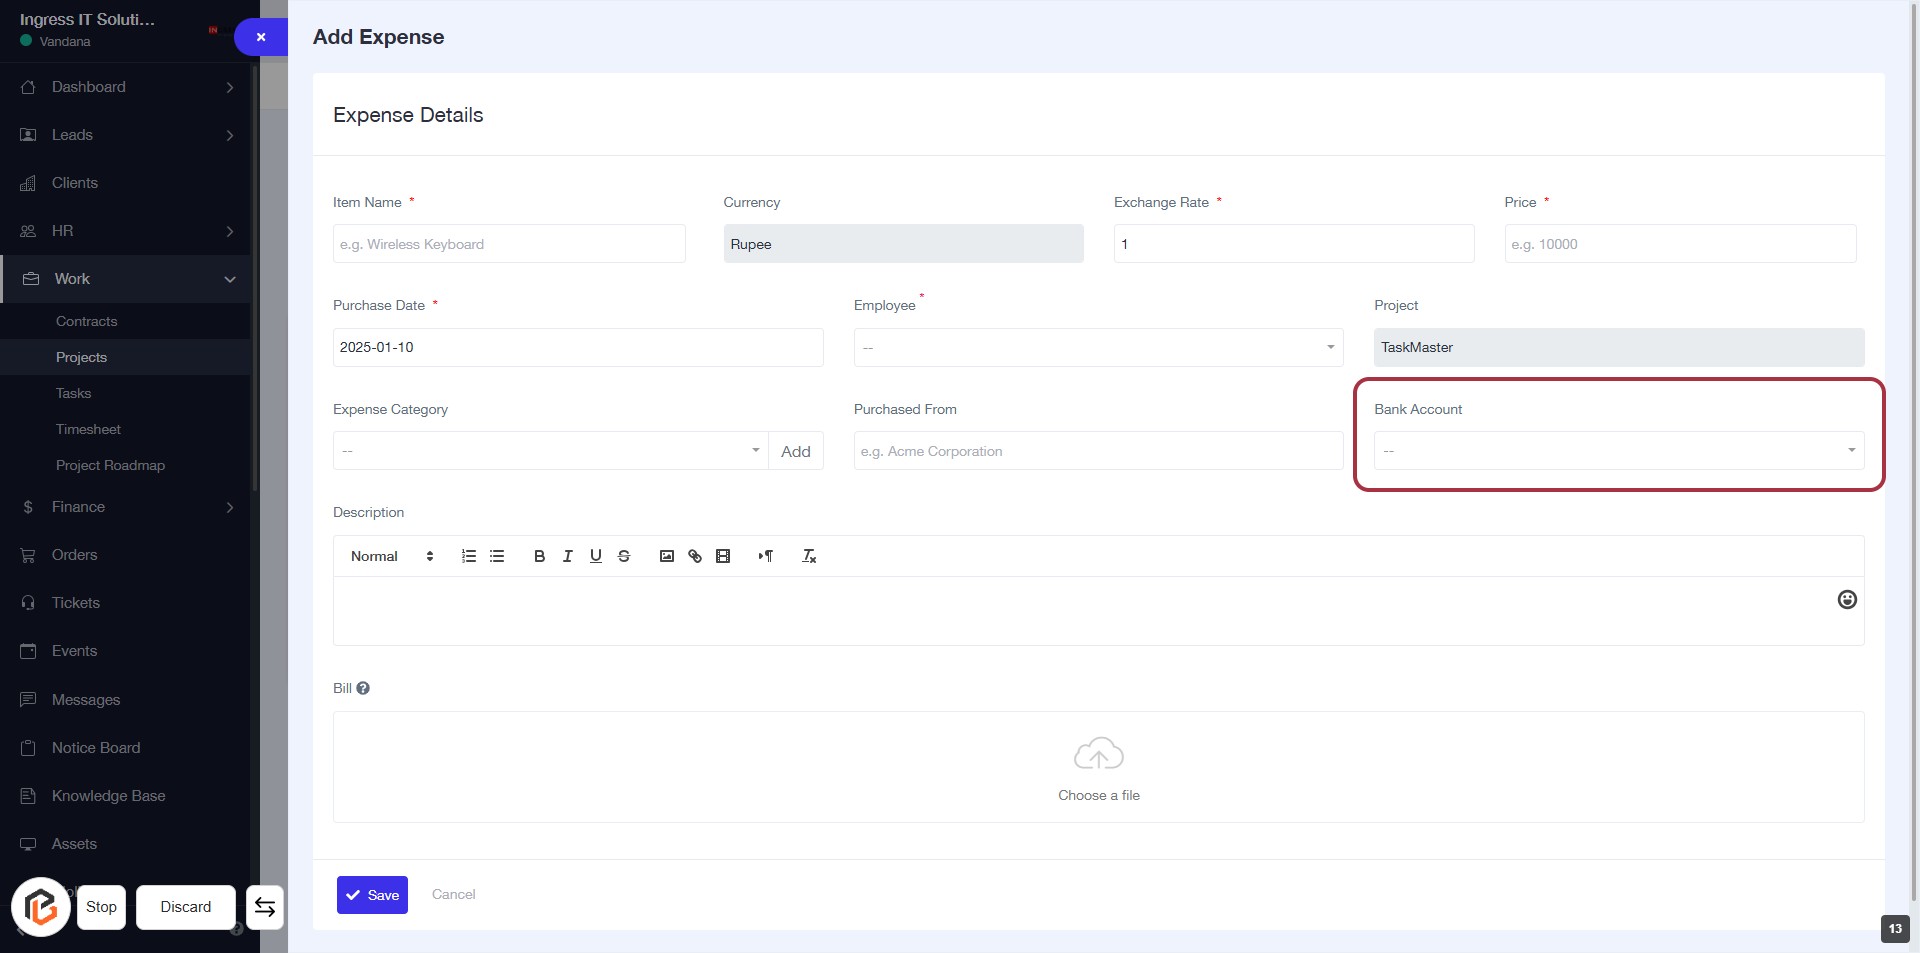
STEP 14: Select "Bank Account"
- Click on the "Bank Account" dropdown.
- Choose the appropriate bank account from the list.
- Ensure all required fields marked with * are filled out before proceeding.
- After selection, continue to the next step to write the "Description".
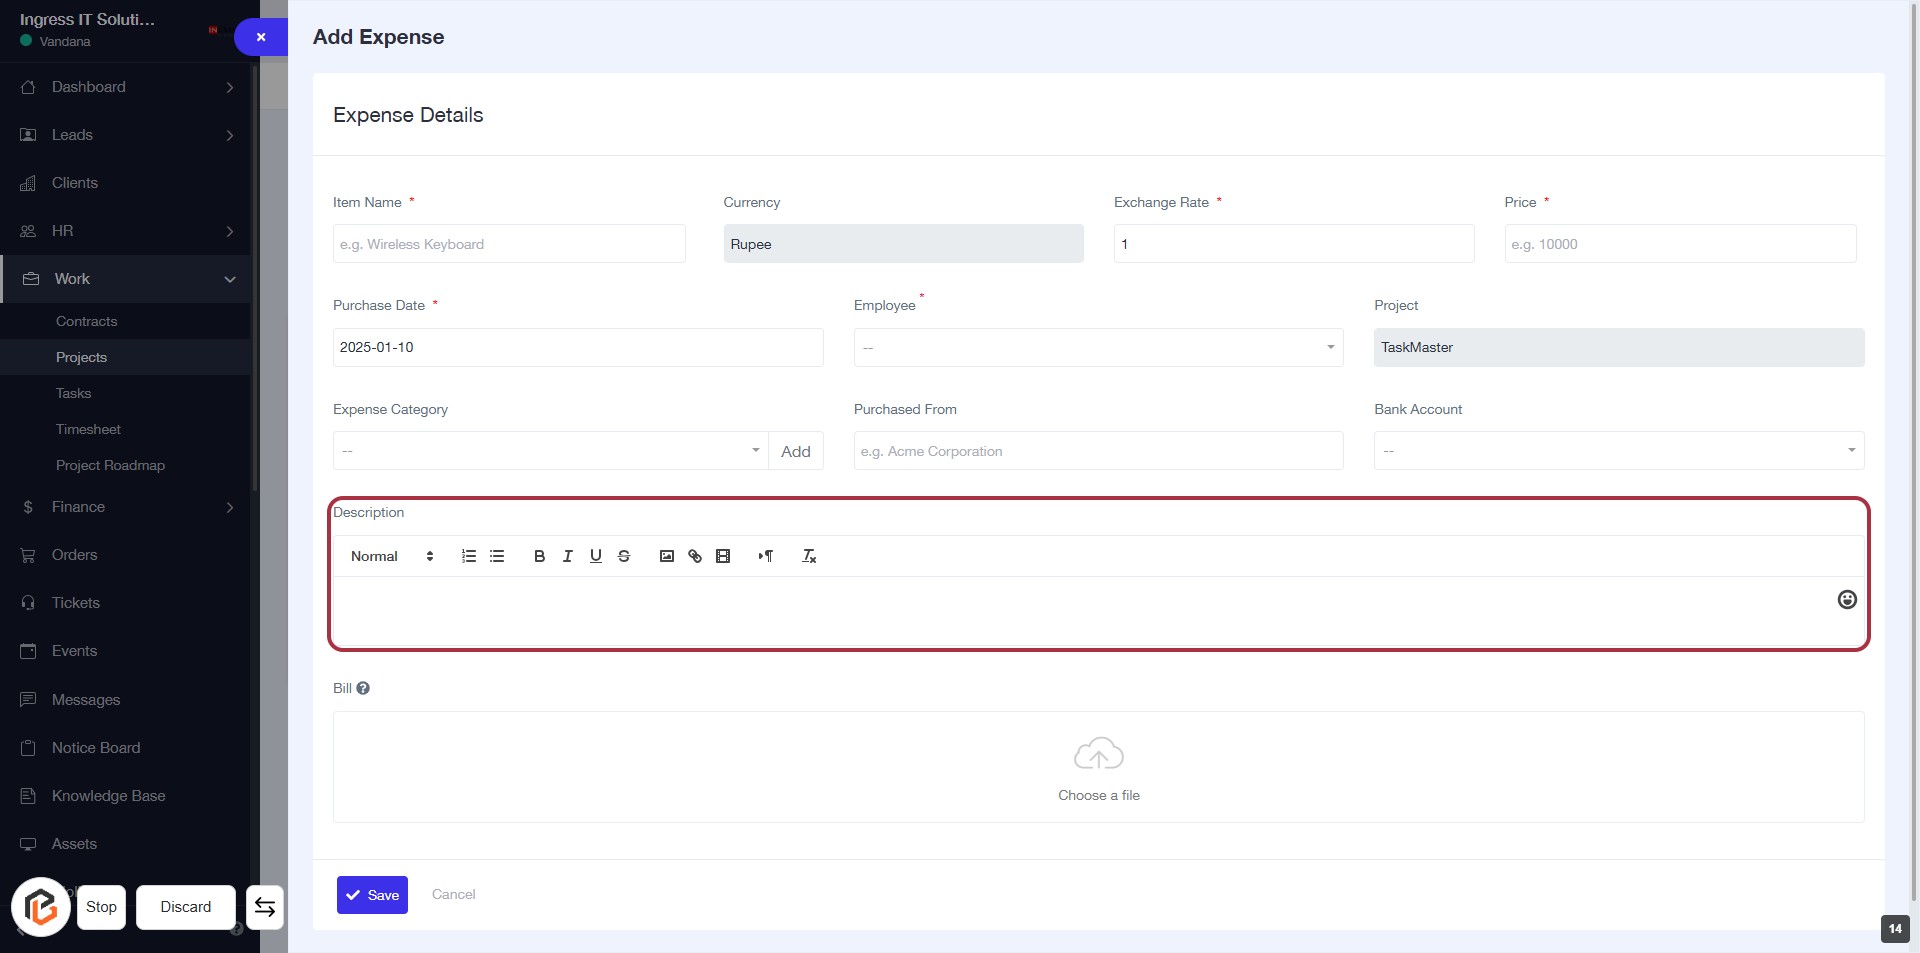
STEP 15: Click "Description" to Add Expense Details
- Click on the "Description" field to enter details about the expense.
- Ensure to provide a comprehensive description for clarity.
- The field allows formatting options (bold, italics, etc.) for better presentation.
- Proceed to the next step to upload the "Bill" after filling in the description.
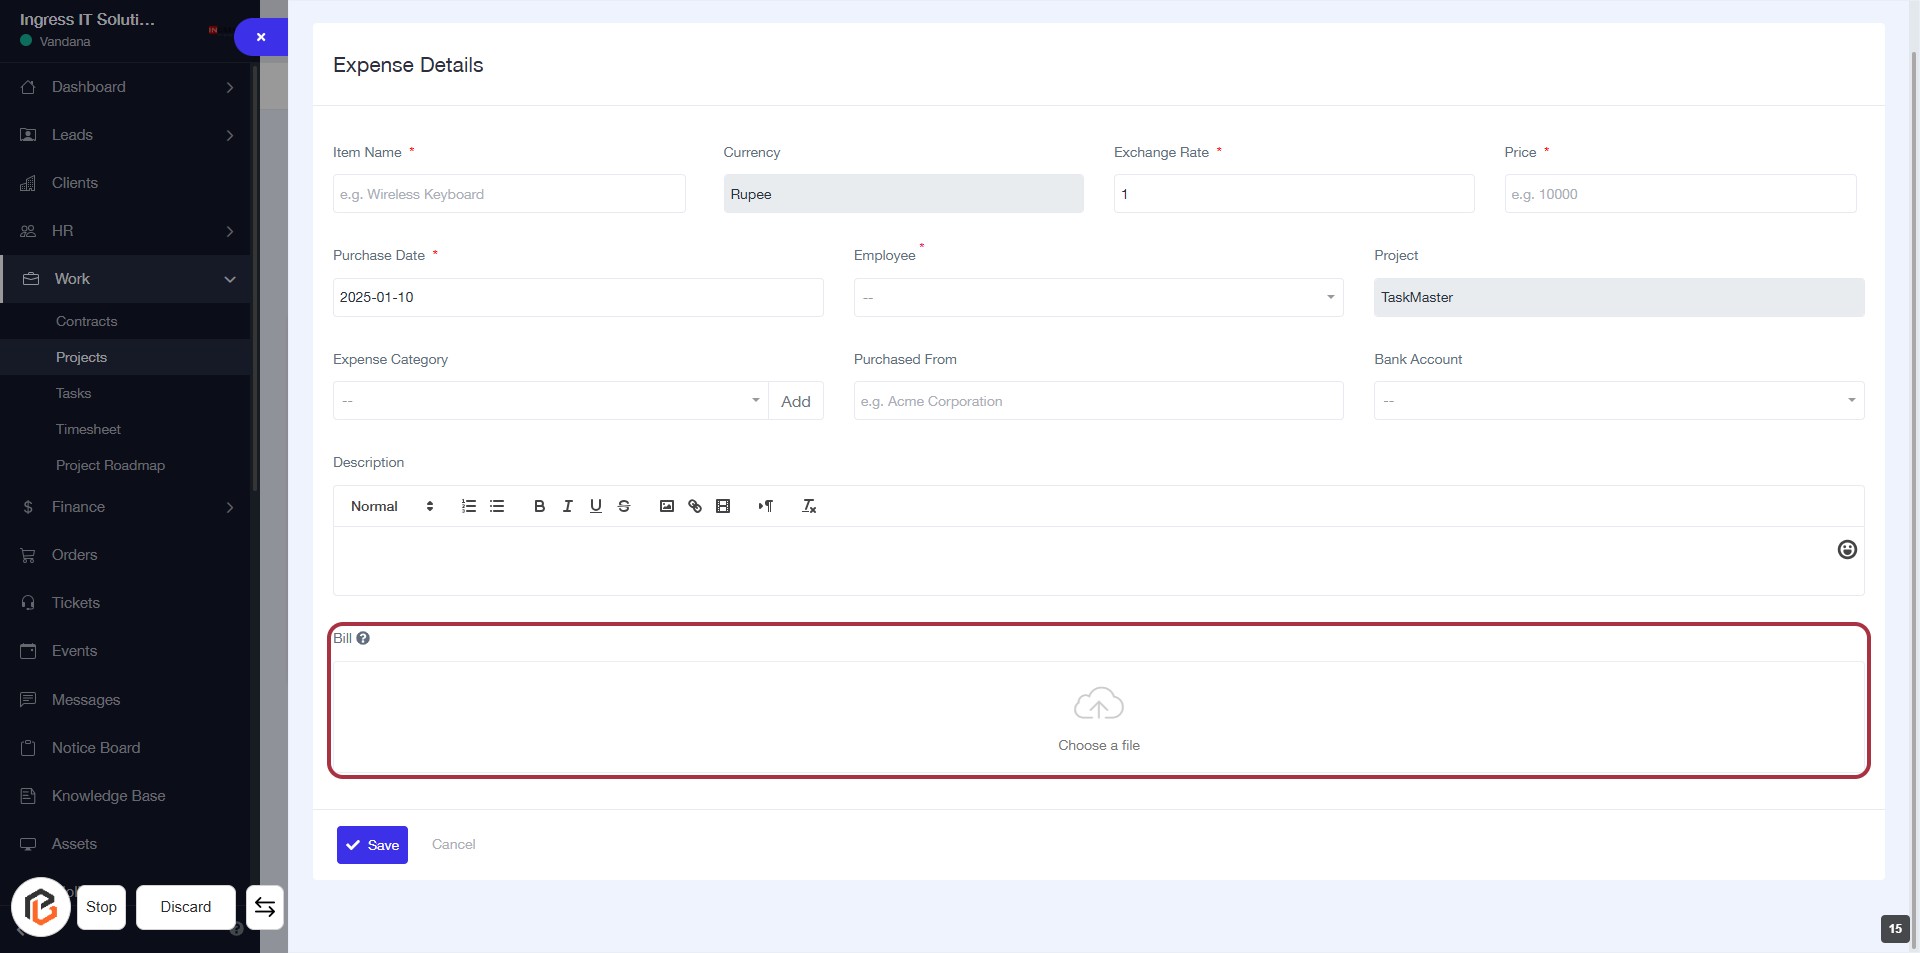
STEP 16: Upload Bill
- Click on the "Choose a file" area to upload your bill.
- Ensure the file you select is relevant to the expense being recorded.
- After uploading, proceed to the next step by clicking on the "Save" button.
STEP 17: Click on "Save" to Finalize Expense Entry
- Ensure all required fields are filled out, marked with an asterisk (*).
- Review the details entered for accuracy.
- Click the Save button located at the bottom of the form to save your expense entry.
- If needed, you can also click Cancel to discard changes.