Step-by-Step Guide to Logging Your Time in the TaskMaster Interface
14 mins read · Updated 29 Sep, 2025
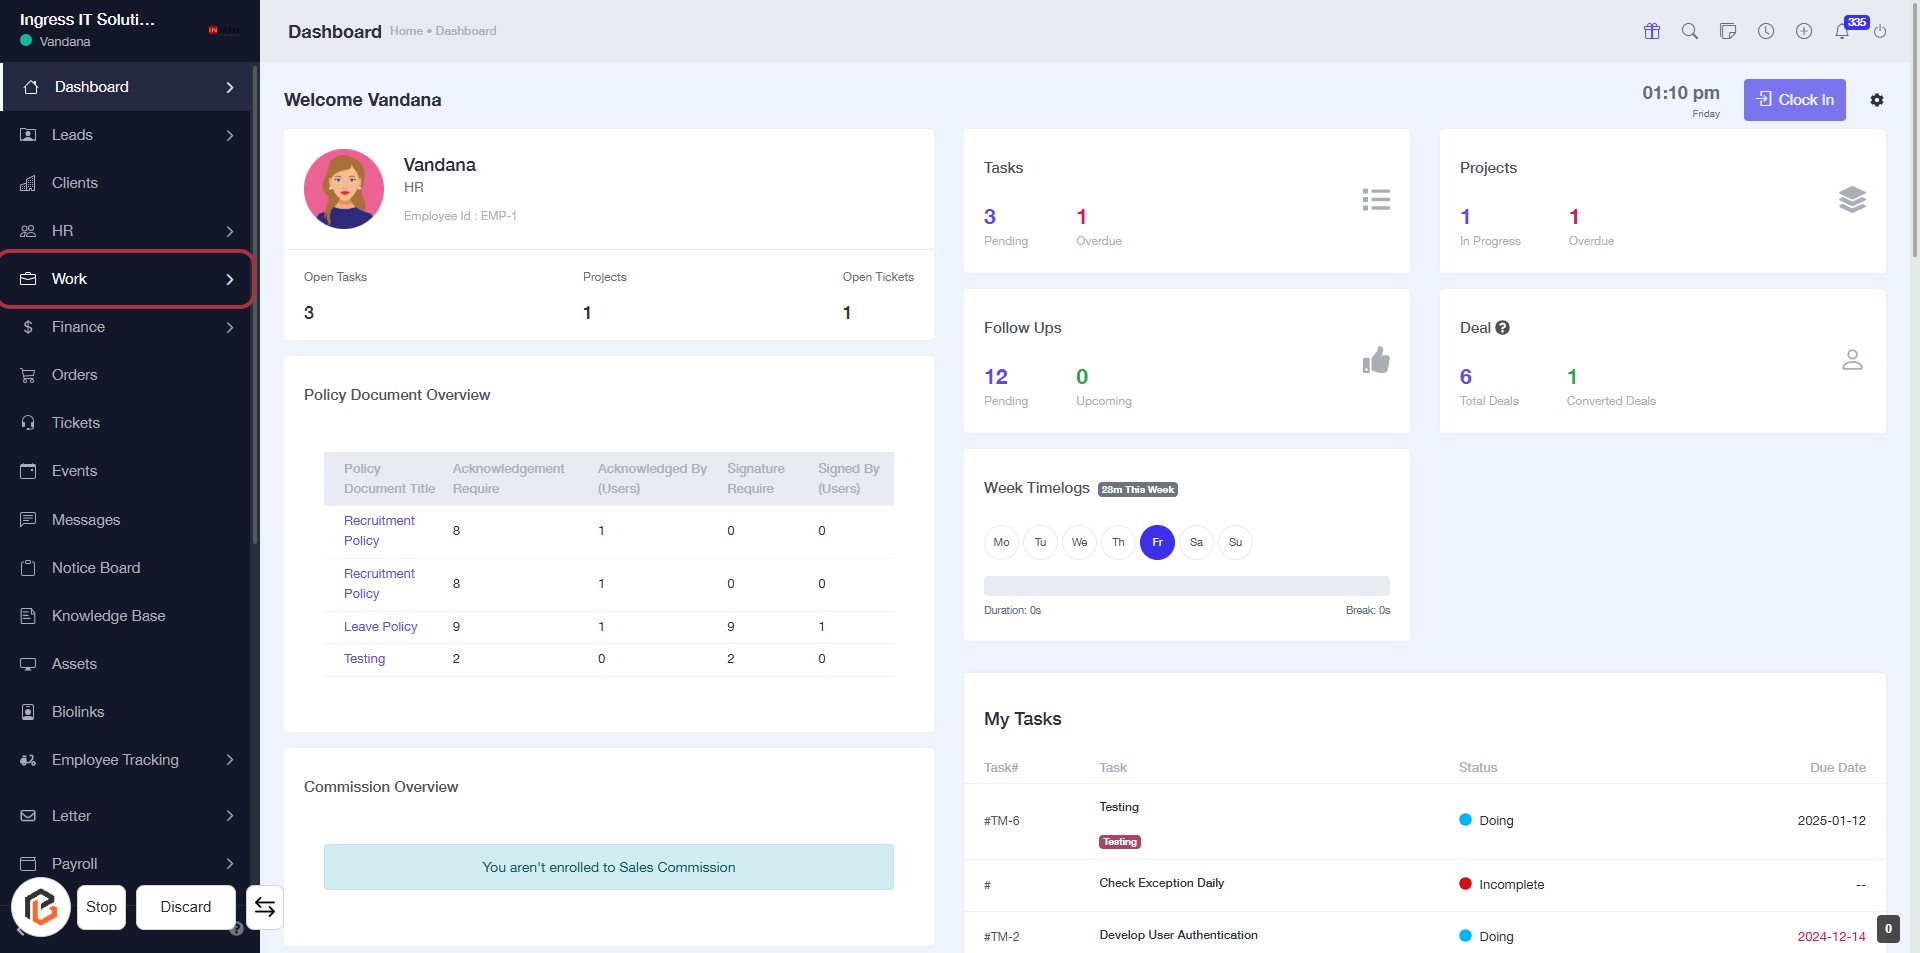
STEP 1: Click on "Work" to Access Your Dashboard
- Navigate to the sidebar menu on the left.
- Locate and click on the "Work" link.
- This will direct you to your work-related tasks and projects overview.
- Ensure you check the Policy Document Overview and Commission Overview sections for relevant information.
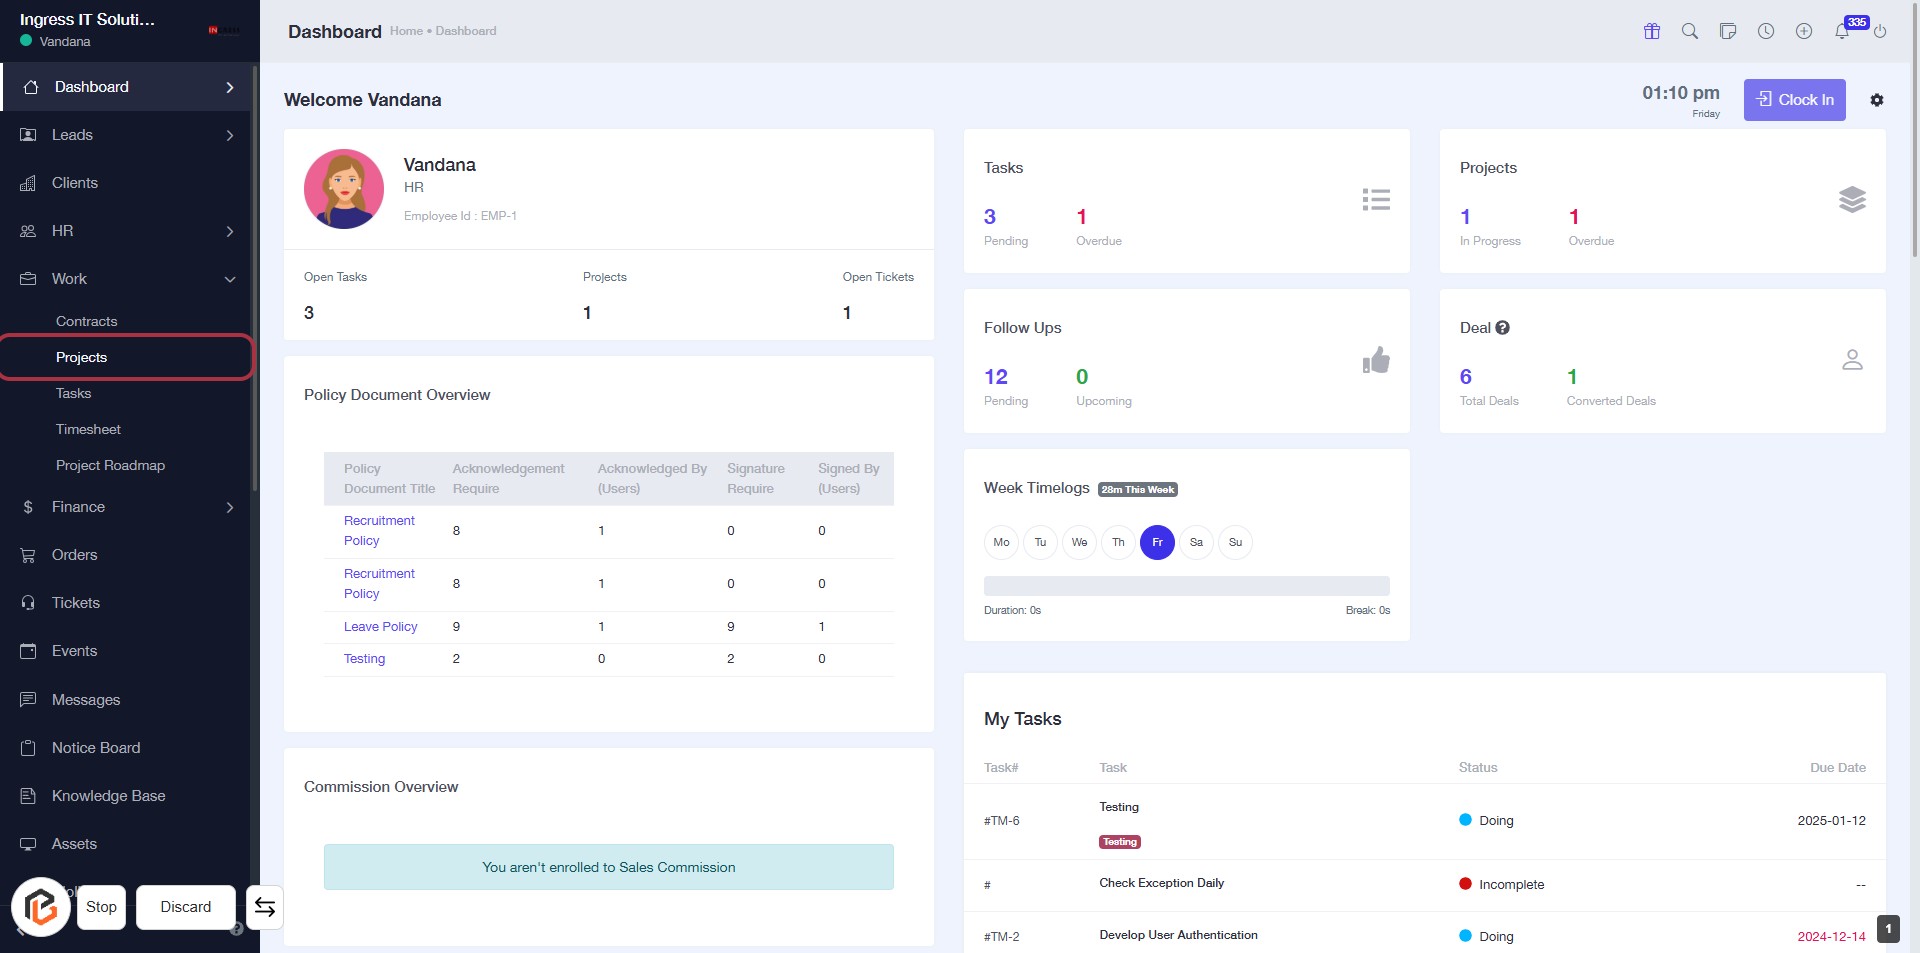
STEP 2: Click on "Projects" to Access Project Overview
- Navigate to the sidebar menu.
- Click on the Projects link highlighted in the red border.
- This will take you to the Projects section of your dashboard.
- Review the project details displayed, including any open tasks and project statuses.
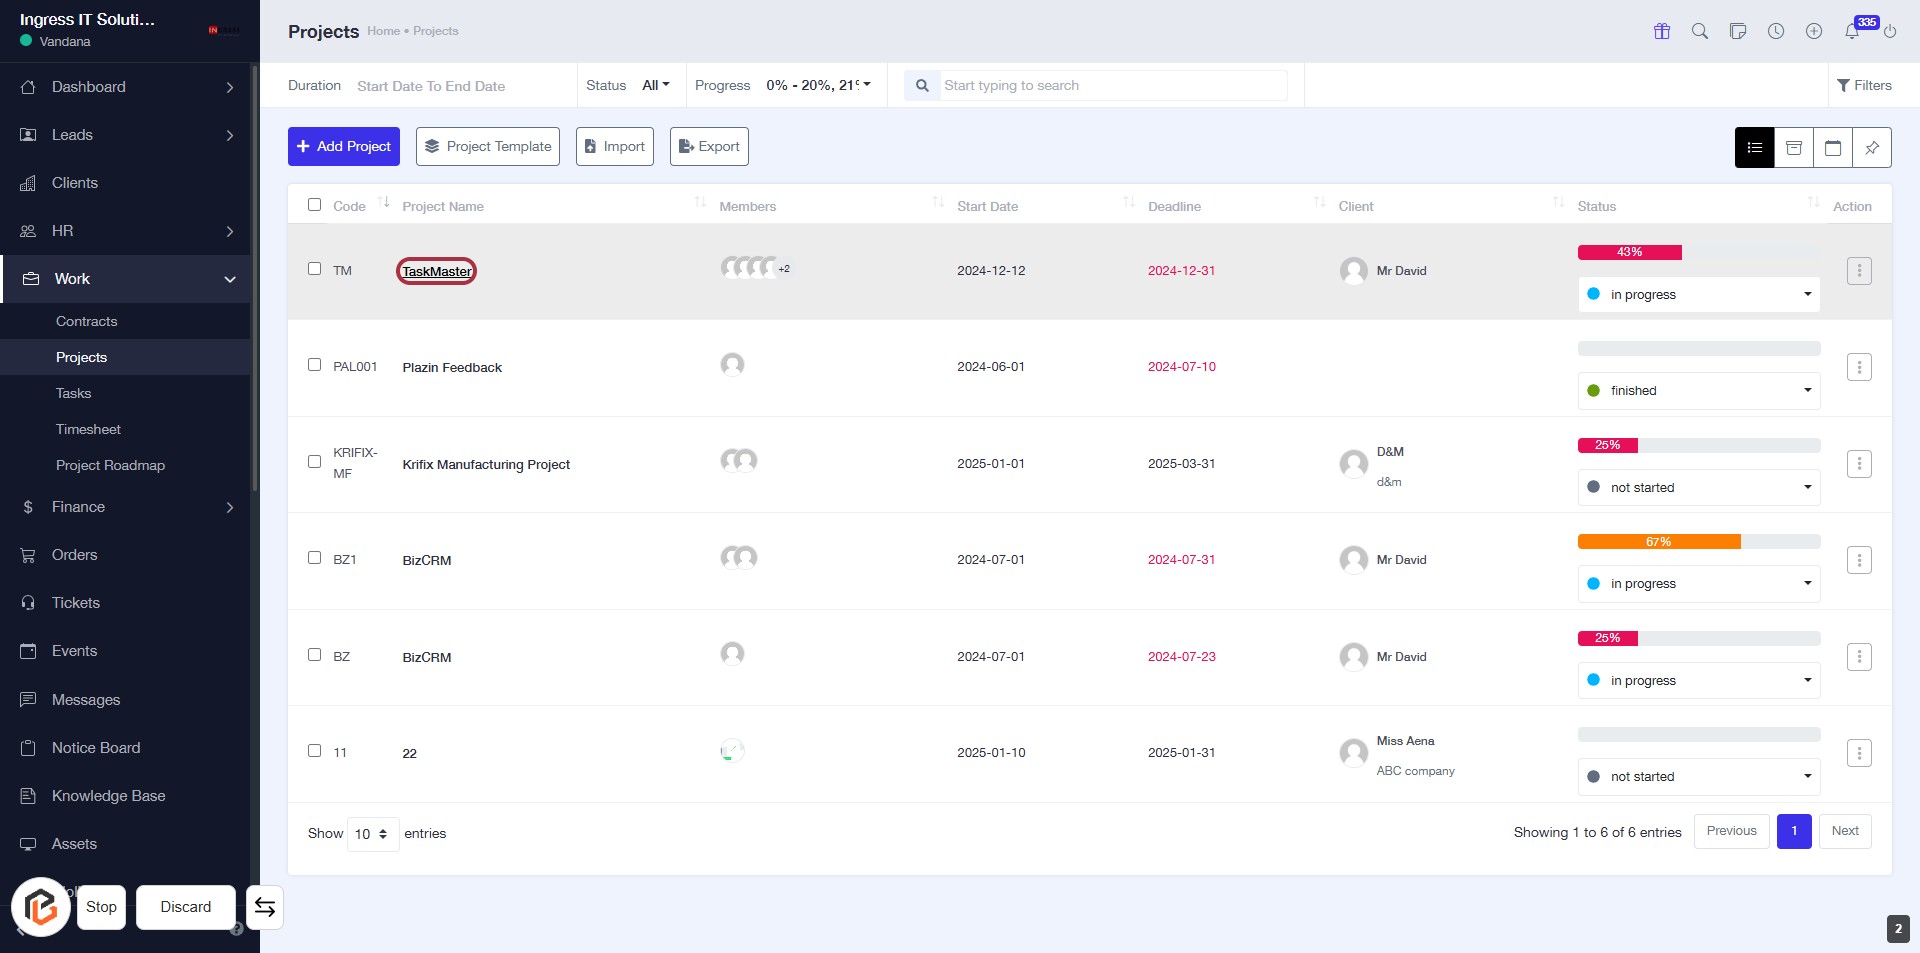
STEP 3: Select "TaskMaster" Project
- Click on the "TaskMaster" link in the project list to access its details.
- Ensure you are on the Projects page to locate the project.
- The project name is highlighted for easy identification.
- Proceed to the next step to manage timesheets related to this project.
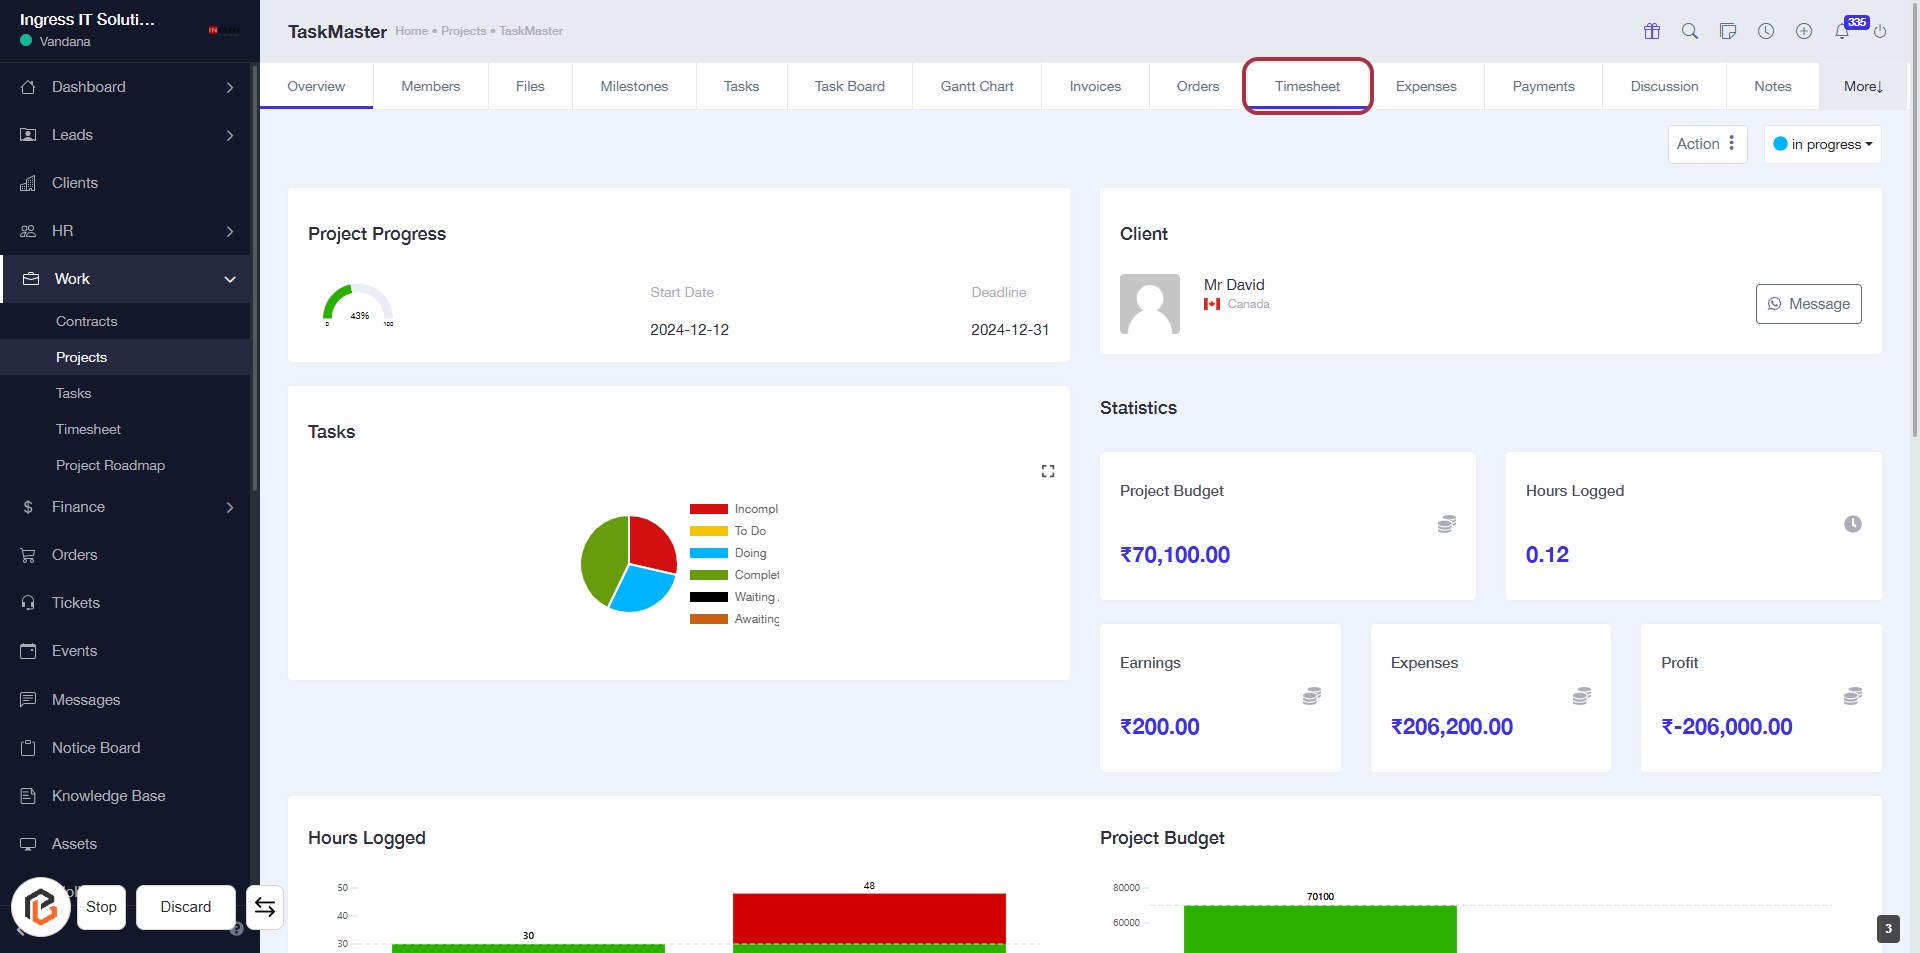
STEP 4: Click on "Timesheet"
- Navigate to the "Timesheet" section in the TaskMaster interface.
- Click on the highlighted "Timesheet" tab to access the timesheet functionalities.
- Ensure you have the necessary permissions to view and log time entries.
- Prepare to log your time in the next step by clicking on "Log Time."
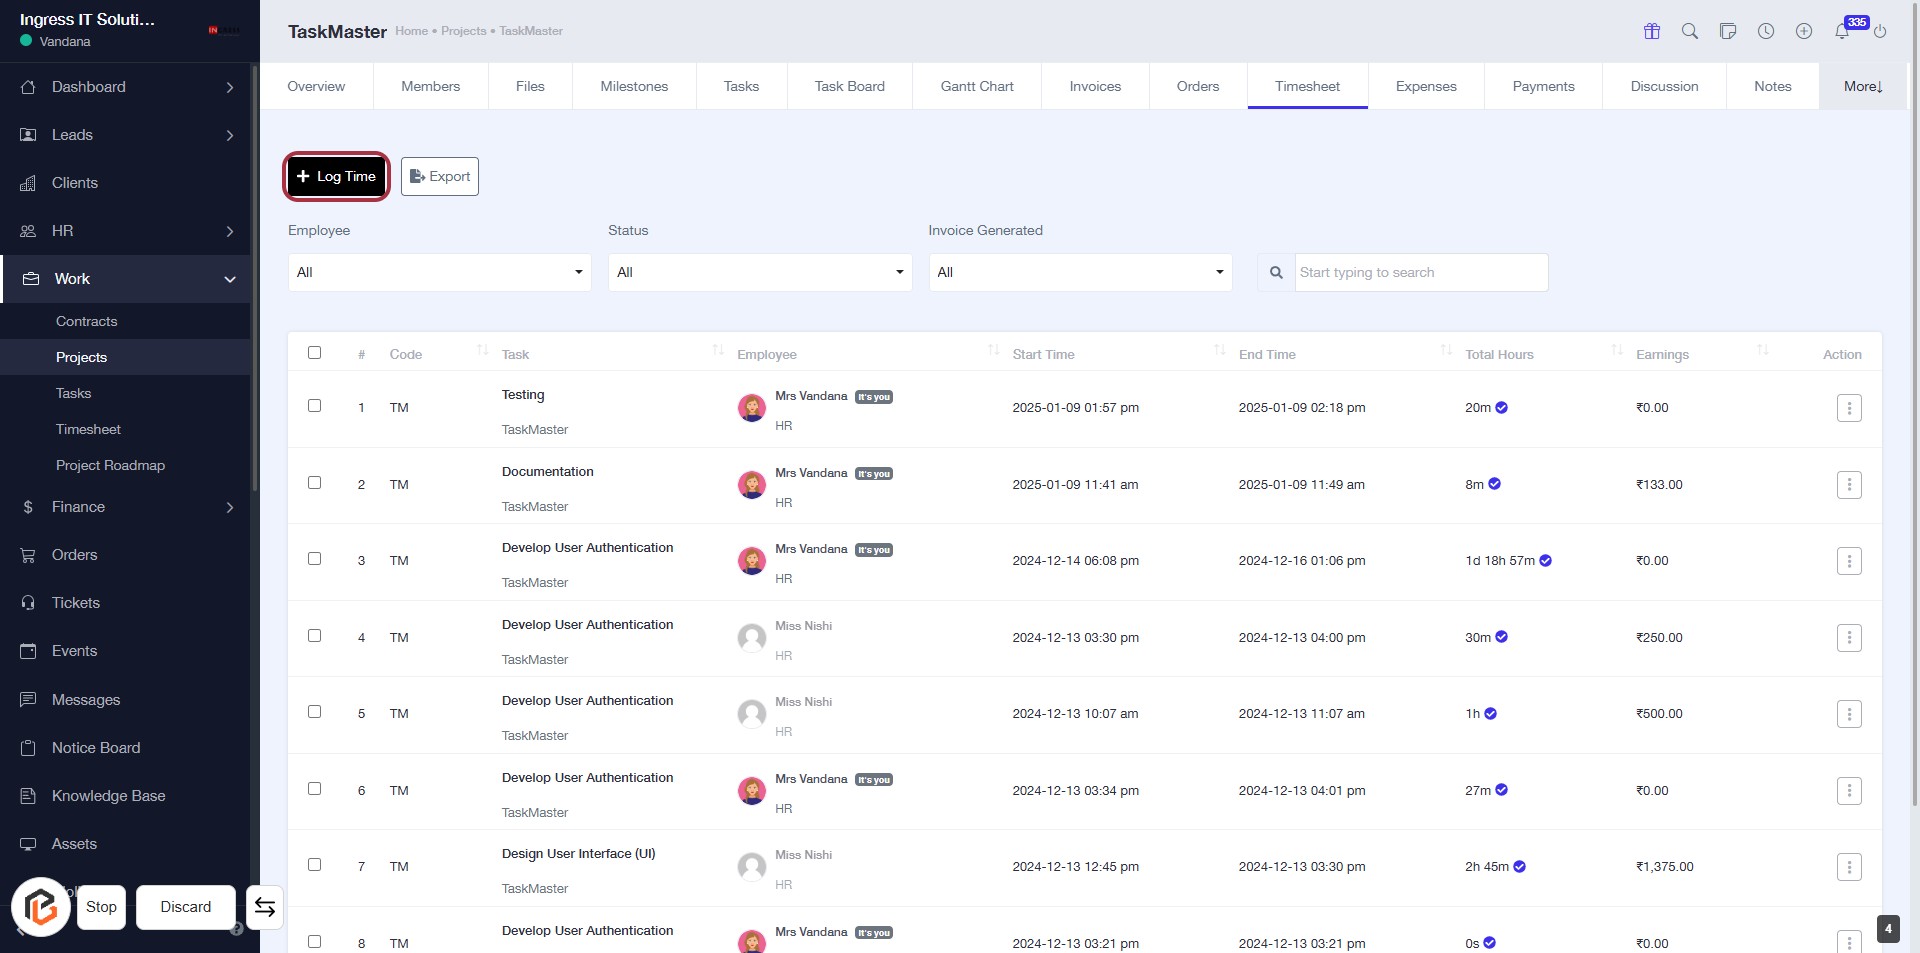
STEP 5: Click on "Log Time"
- Navigate to the Timesheet section.
- Click on the + Log Time button highlighted in red.
- Ensure you have the necessary project details ready for logging time.
- After clicking, proceed to Select "Project" in the next step.
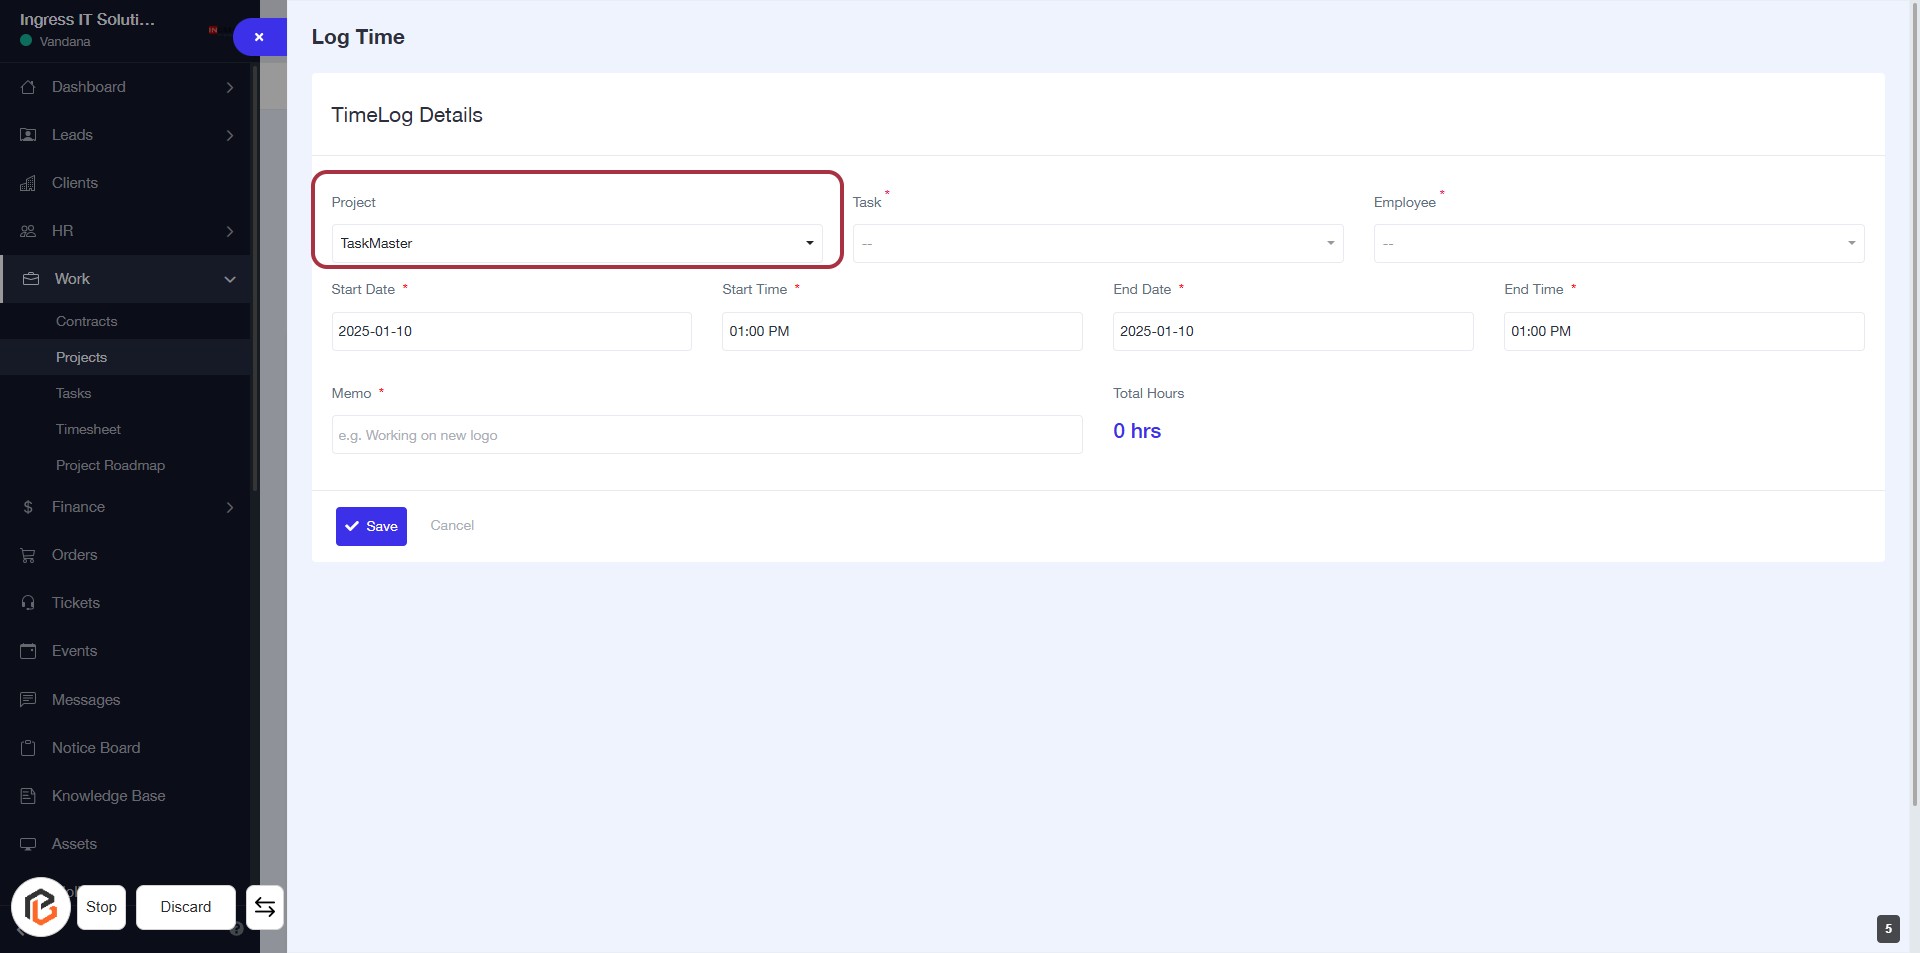
STEP 6: Select "Project"
- Click on the "Project" dropdown to choose a project.
- Ensure to fill in the required fields marked with an asterisk (*), including:
- Start Date
- End Date
- Employee
- End Time
- Memo (optional)
- Proceed to the next step by selecting "Task".
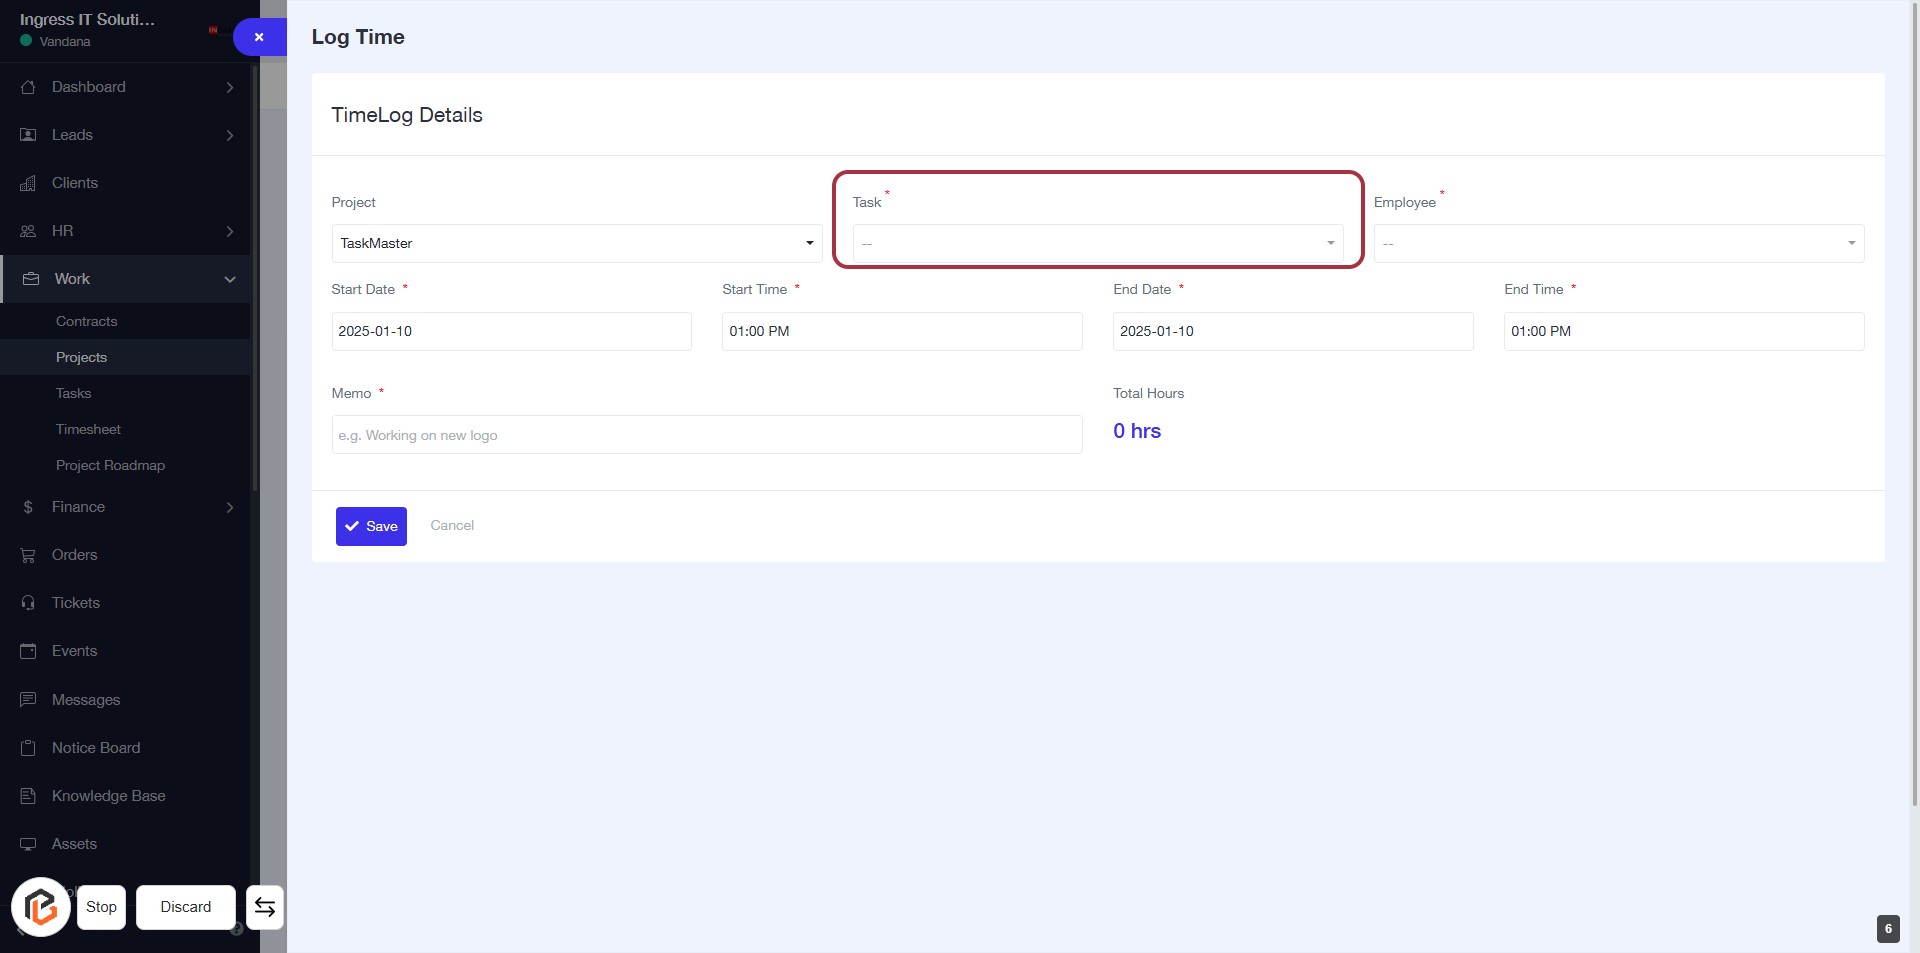
STEP 7: Select "Task"
- Click on the "Task" field (marked with a red border) to choose a task from the dropdown.
- Ensure to select a task as it's a required field (indicated by the asterisk '*').
- After selecting the task, proceed to the next step by selecting "Employee".
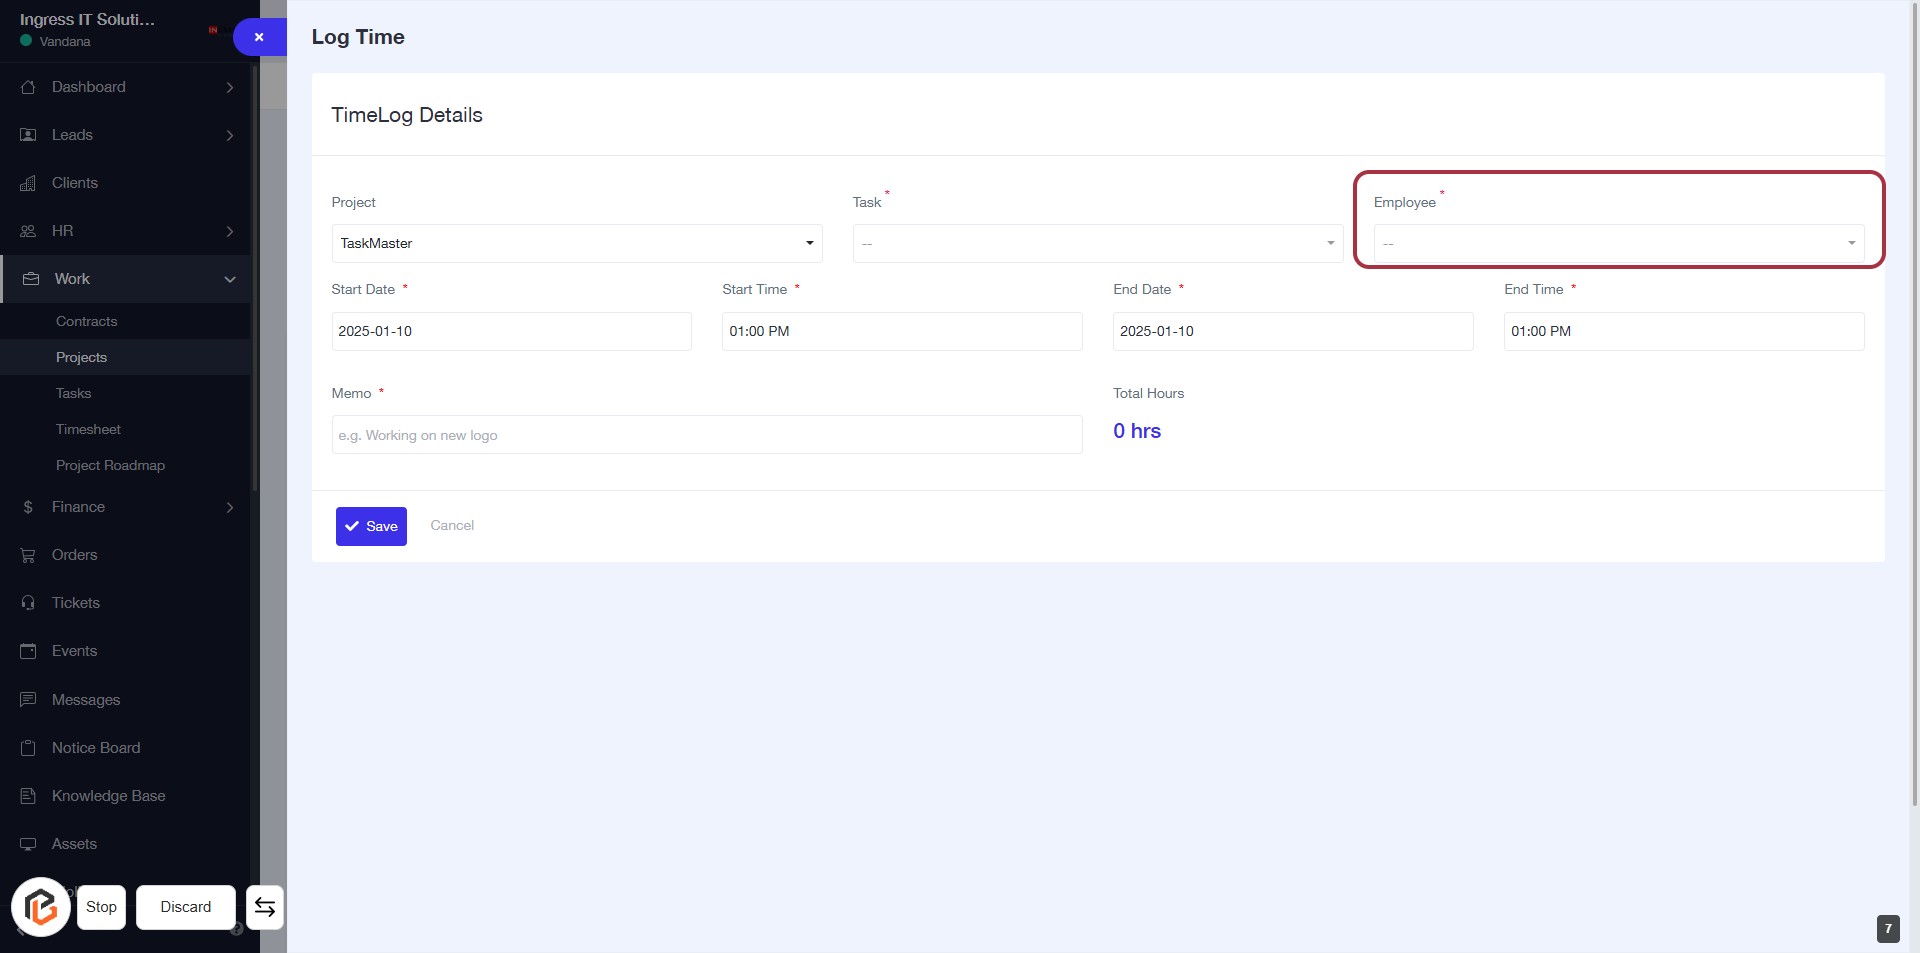
STEP 8: Select "Employee"
- Click on the "Employee" field (marked with an asterisk) to choose an employee from the dropdown list.
- Ensure that all required fields (marked with *) are filled out before proceeding.
- After selecting the employee, continue to the next step by selecting "Start Date."
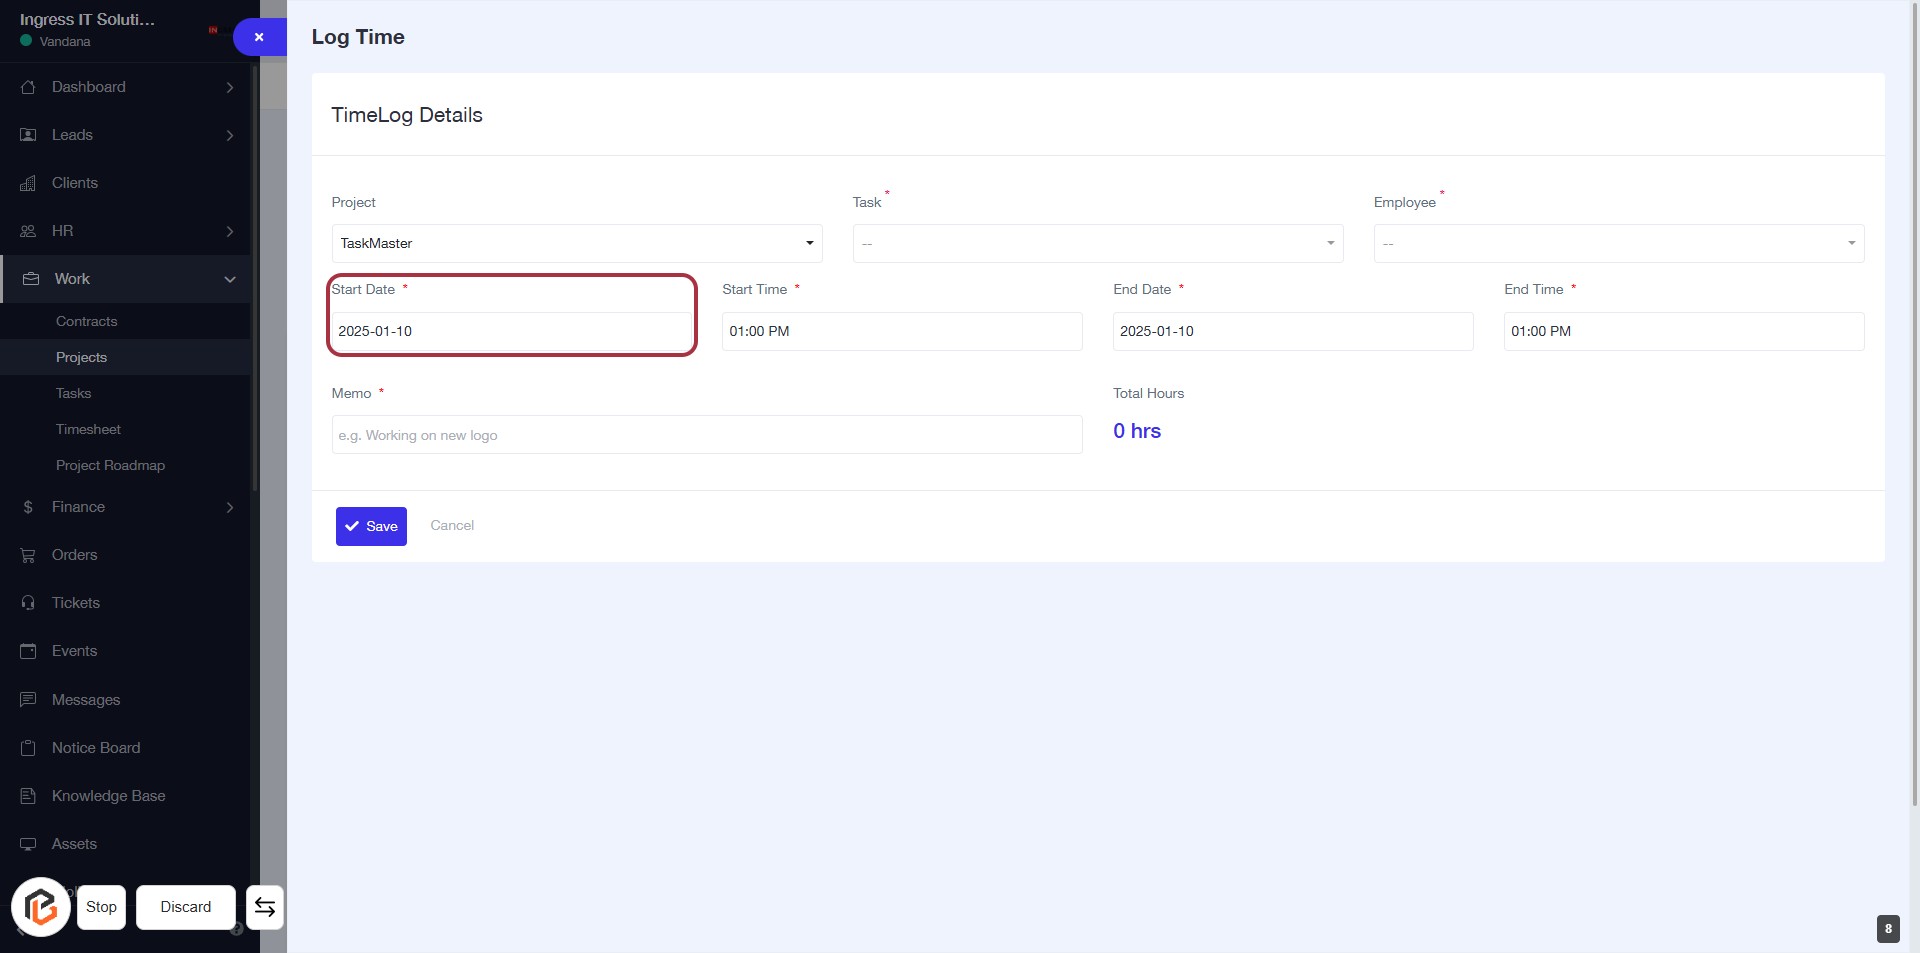
STEP 9: Select "Start Date"
- Click on the "Start Date" field (marked with an asterisk * for required input).
- Ensure you enter a valid date format (e.g., YYYY-MM-DD).
- Review other fields for completion: Project, Task, Employee, End Date, and Memo.
- Proceed to the next step by entering the "Start Time".
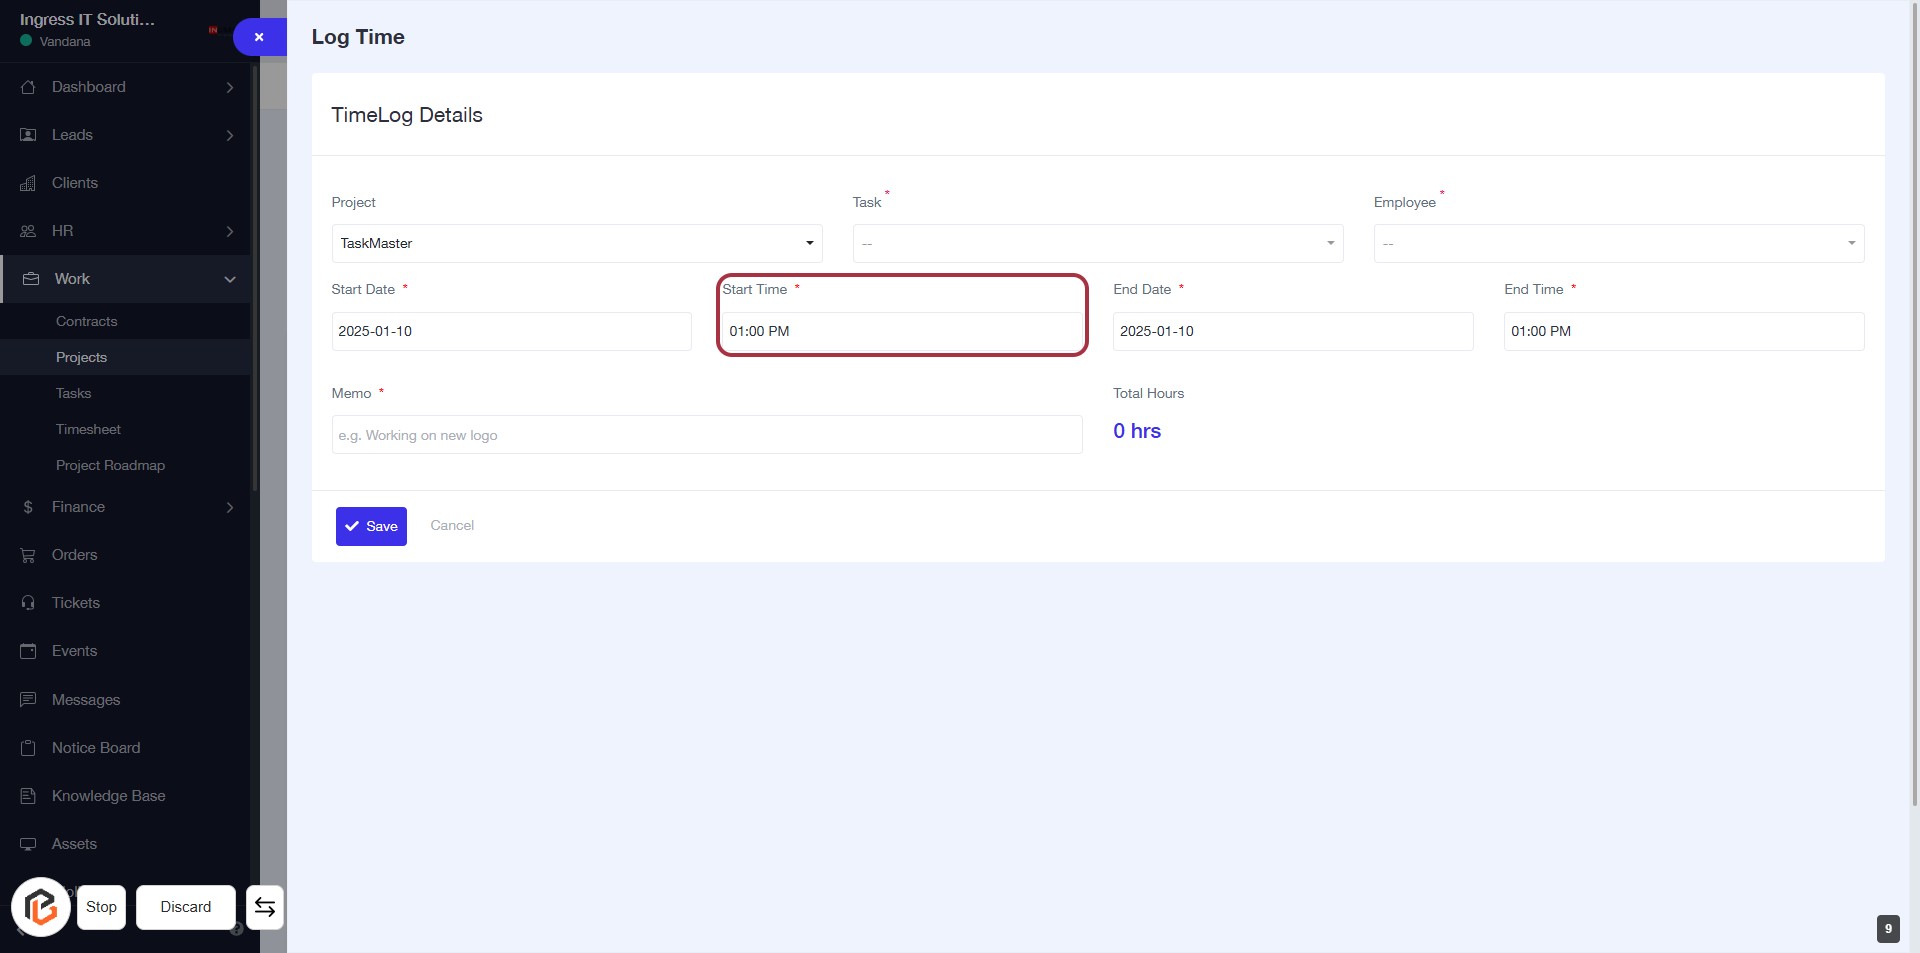
STEP 10: Enter "Start Time"
- Click on the "Start Time" field (marked with an asterisk * for required input).
- Input the desired start time for your time log.
- Ensure the format is correct (e.g., HH:MM AM/PM).
- Proceed to the next step by selecting "End Date."
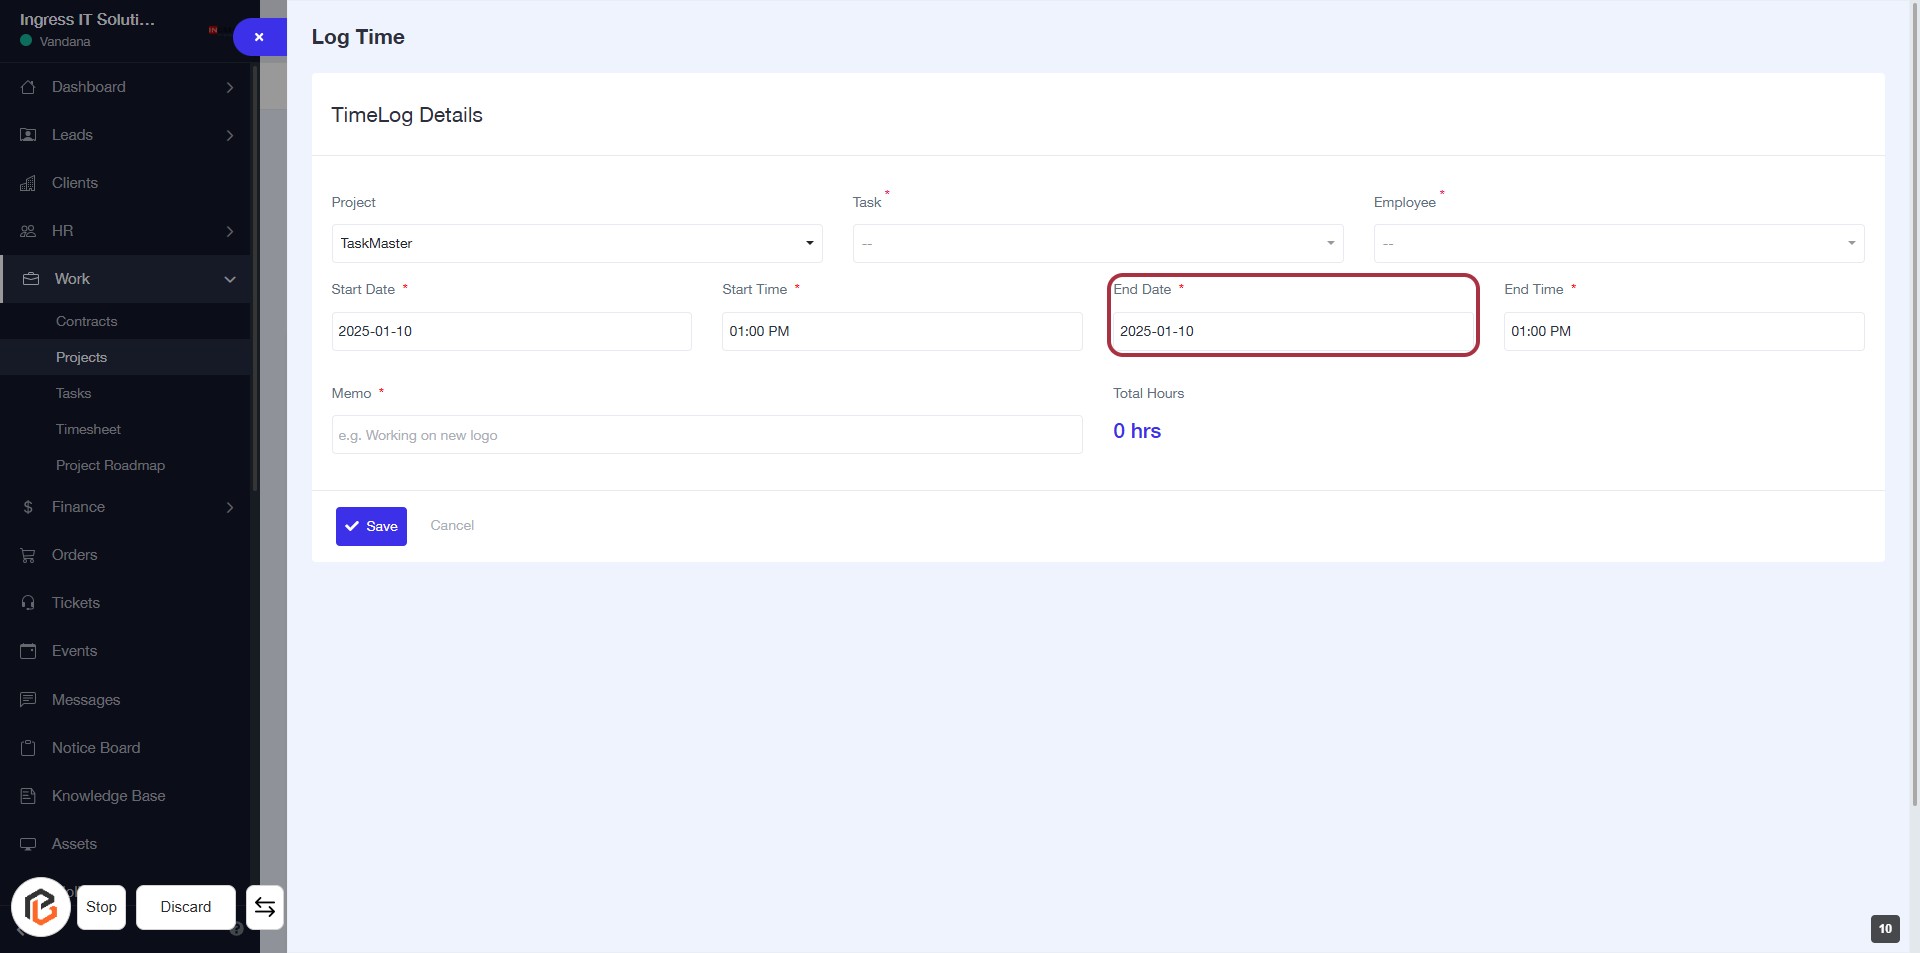
STEP 11: Select "End Date"
- Click on the "End Date" field (marked with an asterisk * for required input).
- Ensure the date format is correct (YYYY-MM-DD).
- Review other required fields: Project, Task, Employee, Start Time, and Memo.
- Proceed to the next step by entering the "End Time."
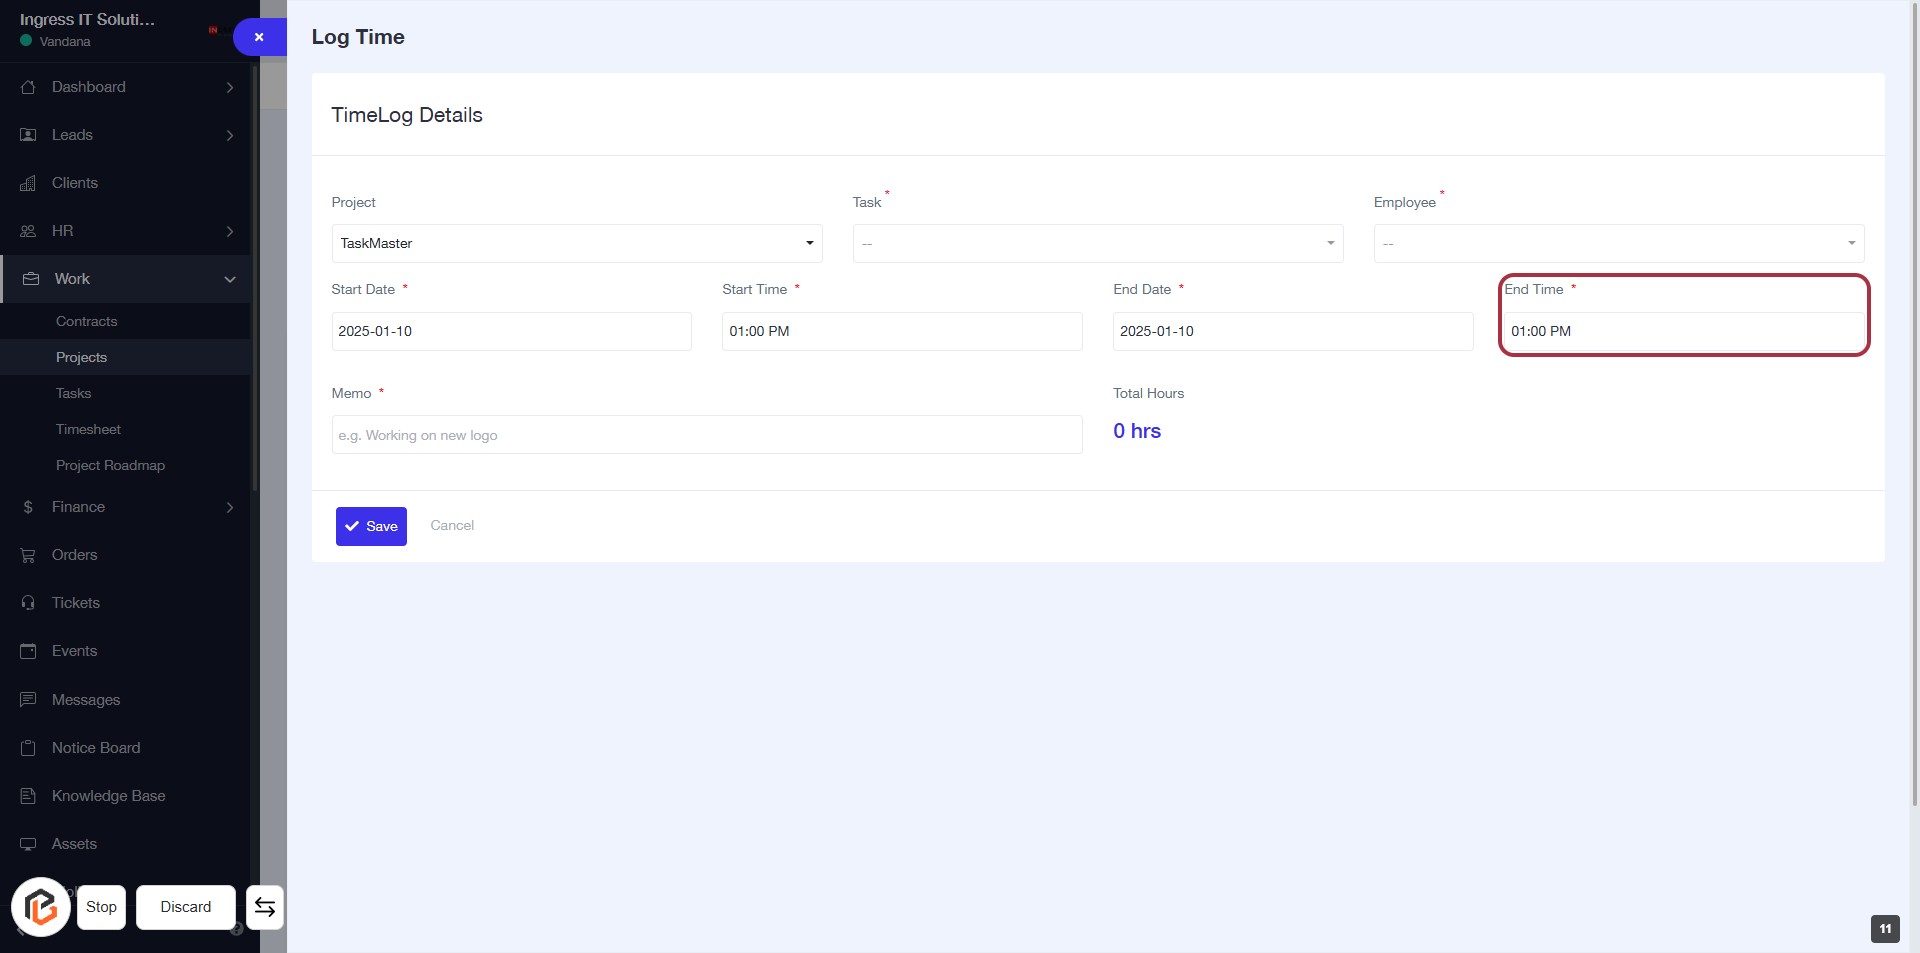
STEP 12: Enter "End Time"
- Click on the "End Time" field (marked with an asterisk) to input the time.
- Ensure the time format is correct (e.g., HH:MM AM/PM).
- Review other required fields: Project, Task, Employee, End Date, and Memo.
- Proceed to the next step by filling in the "Memo" section.
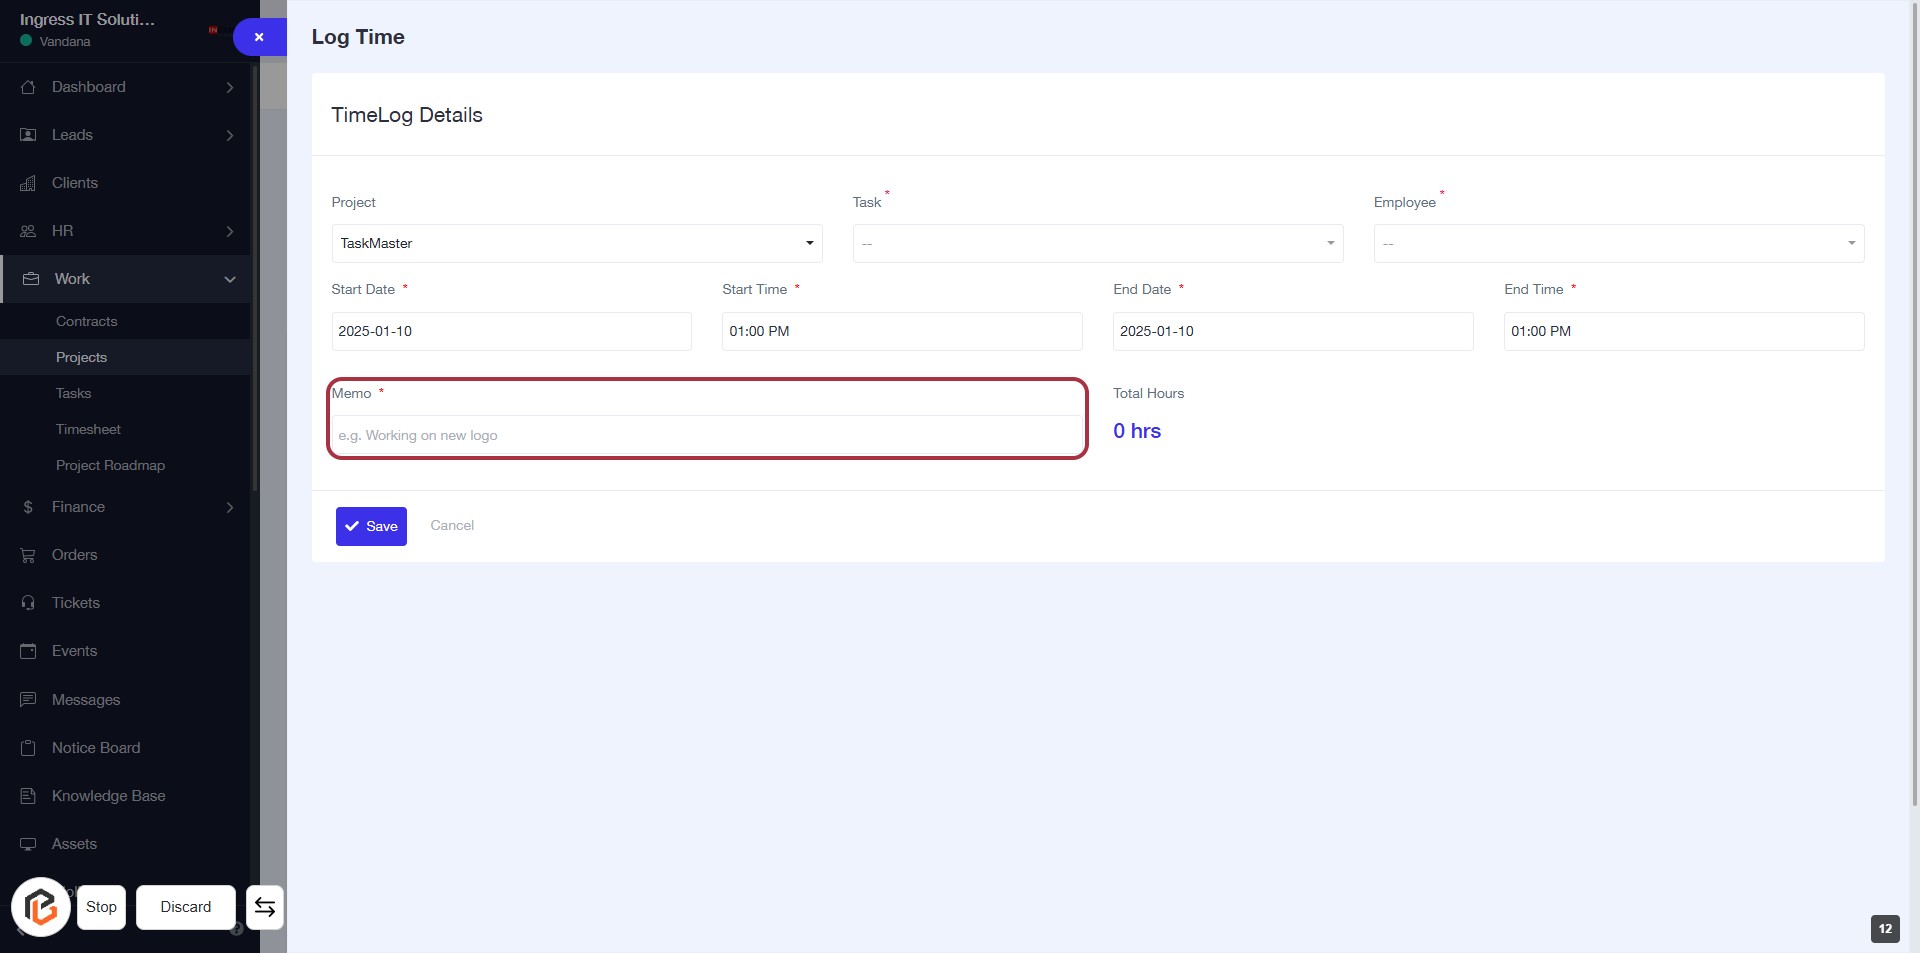
STEP 13: Click on "Memo" Field to Add Context
- Locate the "Memo" field highlighted in red.
- Click on the "Memo" area to input your notes.
- Enter relevant context (e.g., project details or tasks).
- Ensure the field is marked with an asterisk (*) indicating it's required.
- Proceed to the next step by clicking the "Save" button.
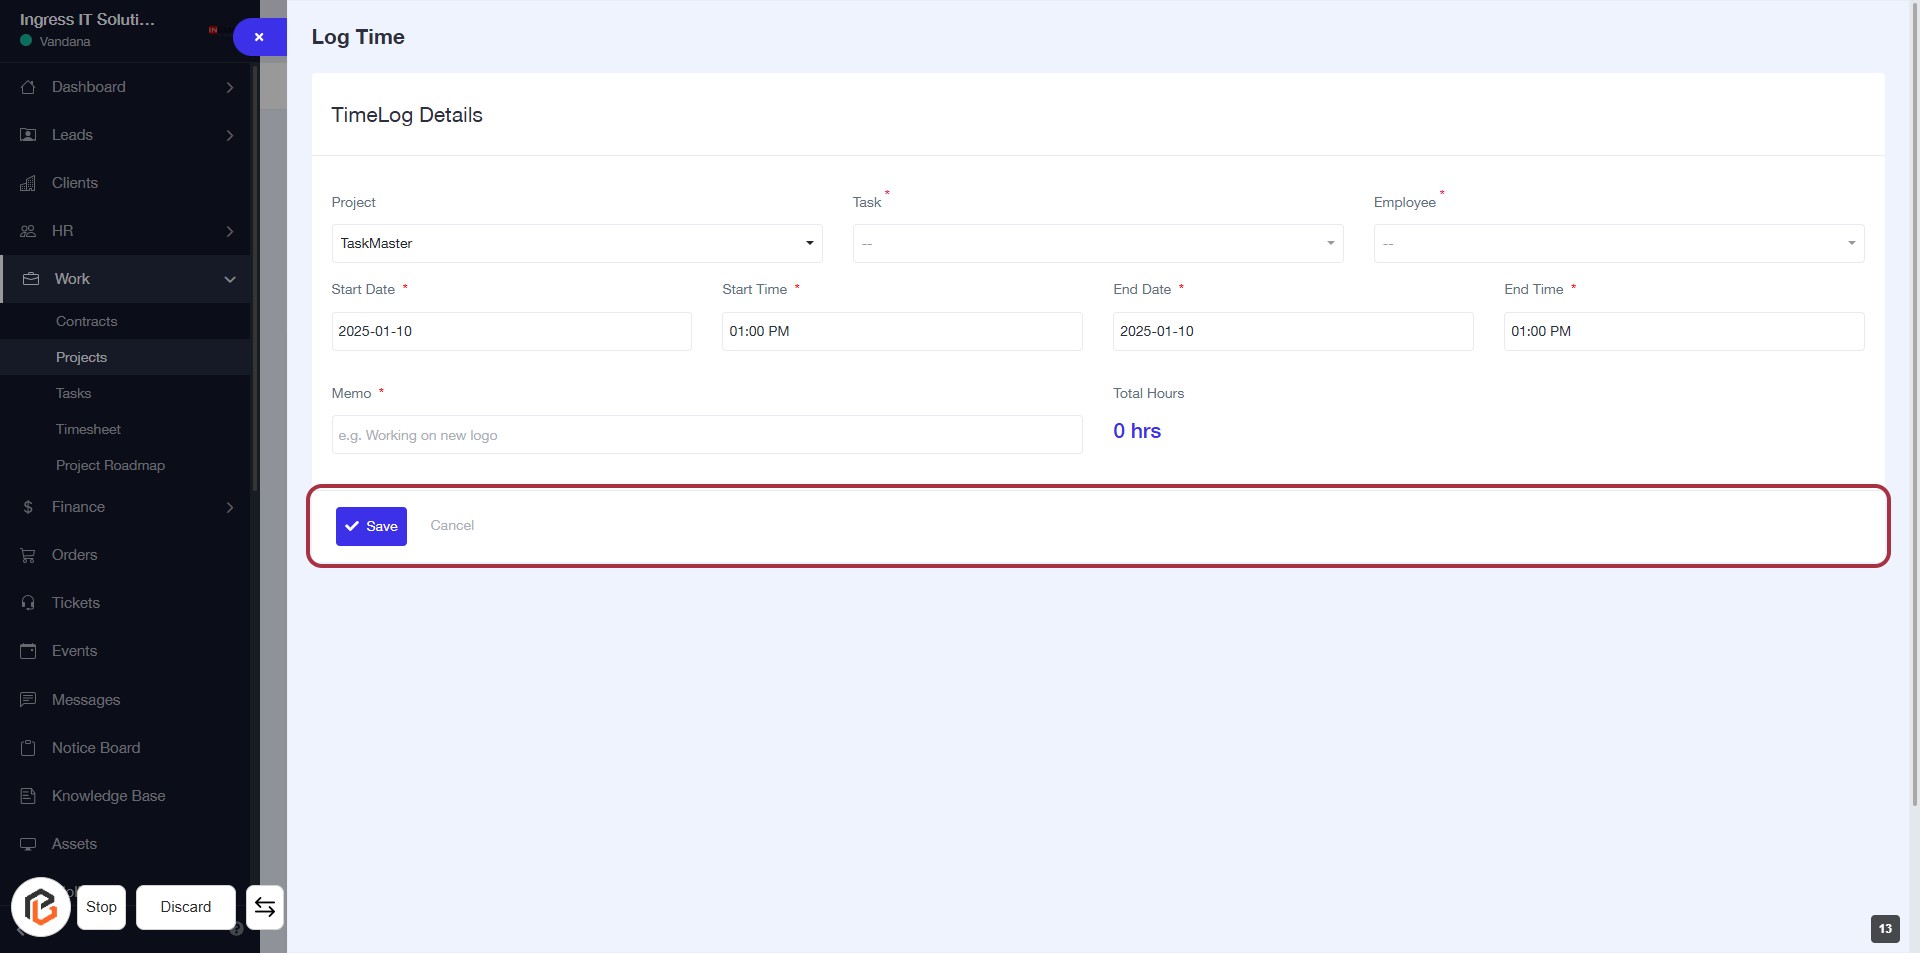
STEP 14: Click on "Save" Button to Finalize Time Log Entry
- Ensure all required fields (marked with *) are filled out: Project, Task, Start Date, Start Time, End Date, End Time, Employee, and Memo.
- Review your entries for accuracy.
- Click the Save button to submit your time log.
- If needed, you can click Cancel to discard changes.