Step-by-Step Guide to Creating and Submitting a Contract: A Comprehensive Overview
23 mins read · Updated 29 Sep, 2025
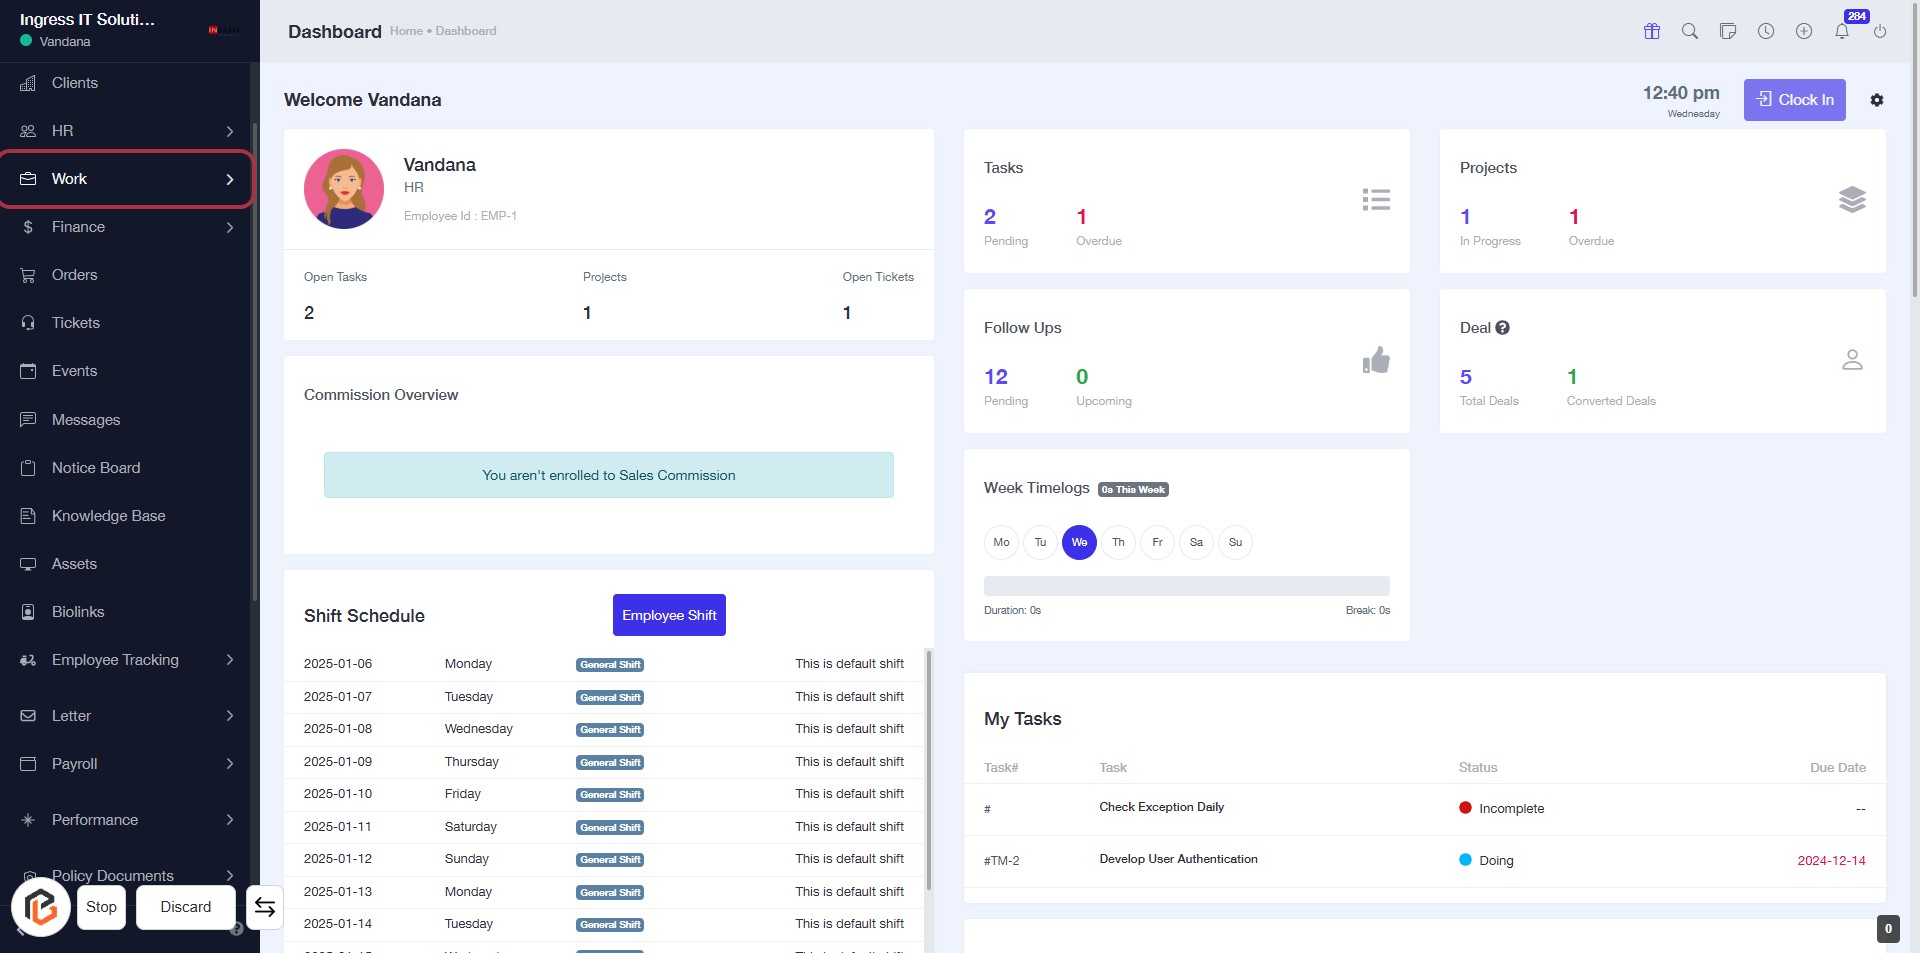
STEP 1: Go to "bizcrmapp.com". CLICK on "Work"
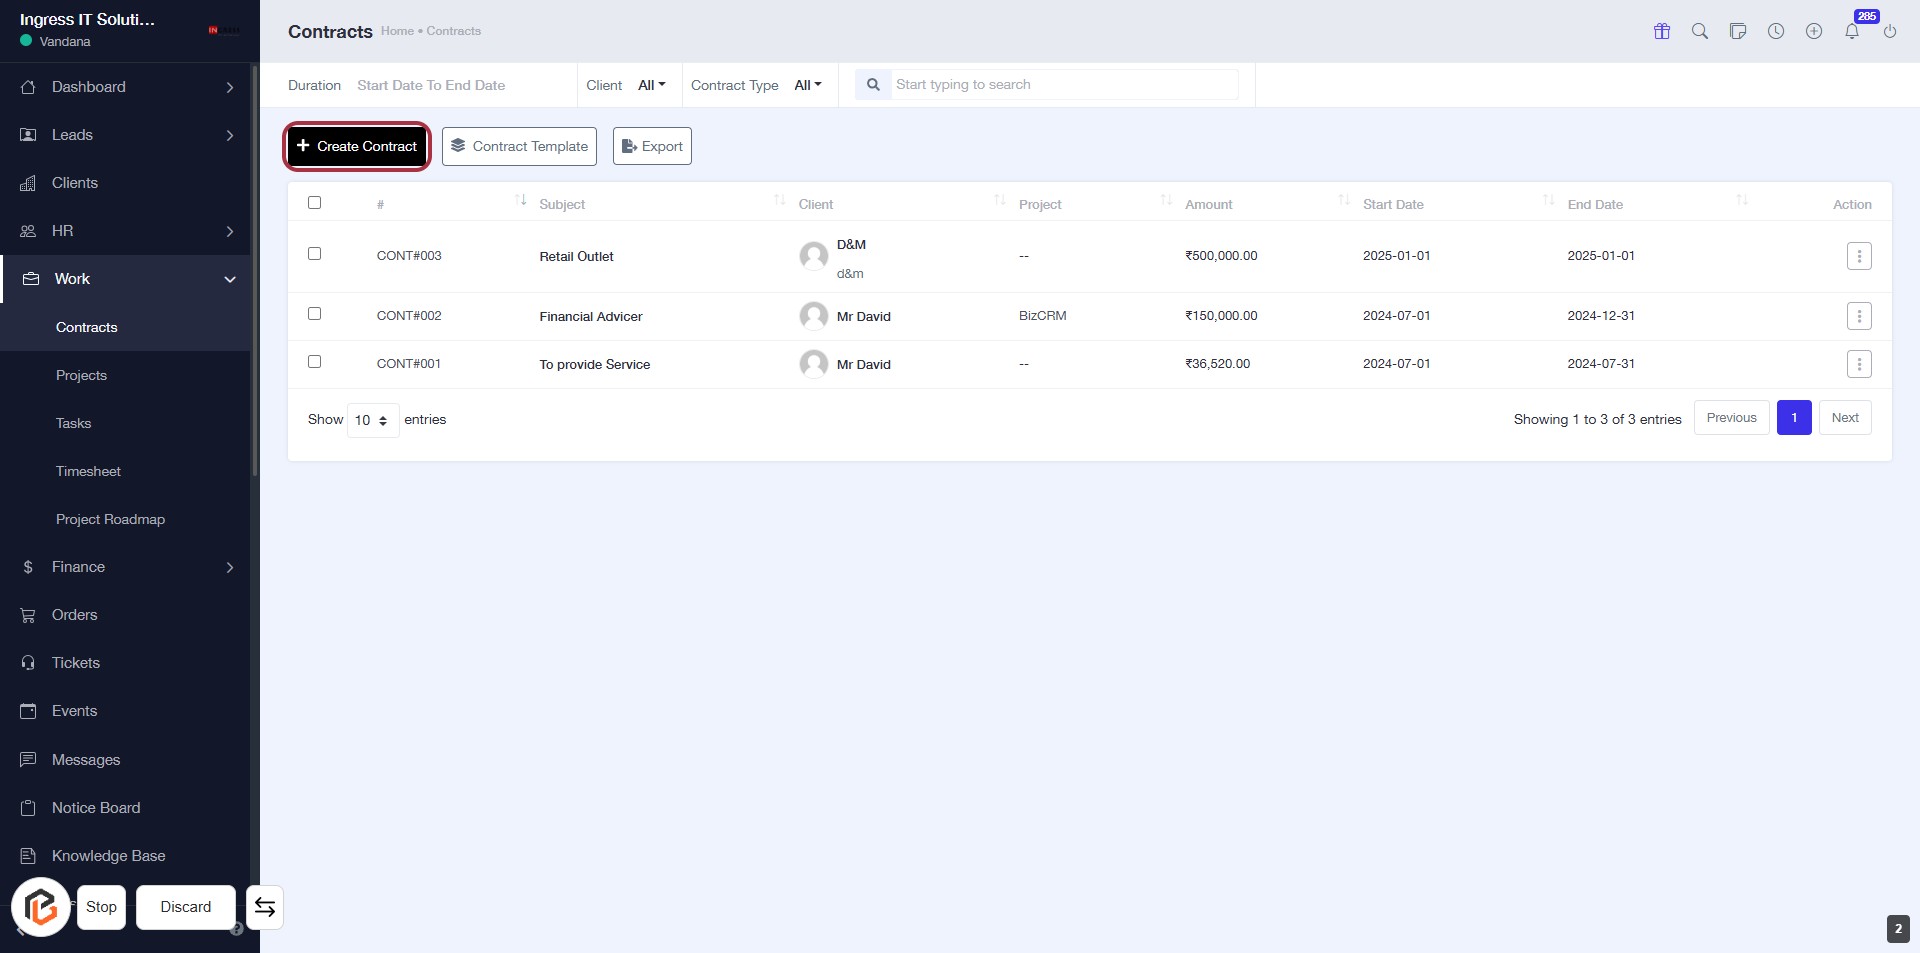
STEP 2: Click on "Contracts"
- Navigate to the left sidebar and locate the "Contracts" link.
- Click on the "Contracts" link to access the contracts section.
- Ensure you are on the dashboard page to view the relevant options.
- After clicking, you will be directed to the contracts overview page.

STEP 3: Click on "Create Contract"
- Navigate to the "Contracts" section.
- Click on the Create Contract button highlighted in red.
- This action will lead you to the contract creation form.
- Ensure you have all necessary details ready for the next step.
STEP 4: Enter Contract Number
- Click on the "Contract Number" field (marked with an asterisk * for required input).
- Input the unique identifier for the contract.
- Ensure the format aligns with any specified guidelines (e.g., prefix, numbering).
- Proceed to the next step by entering the "Subject" after completing this field.
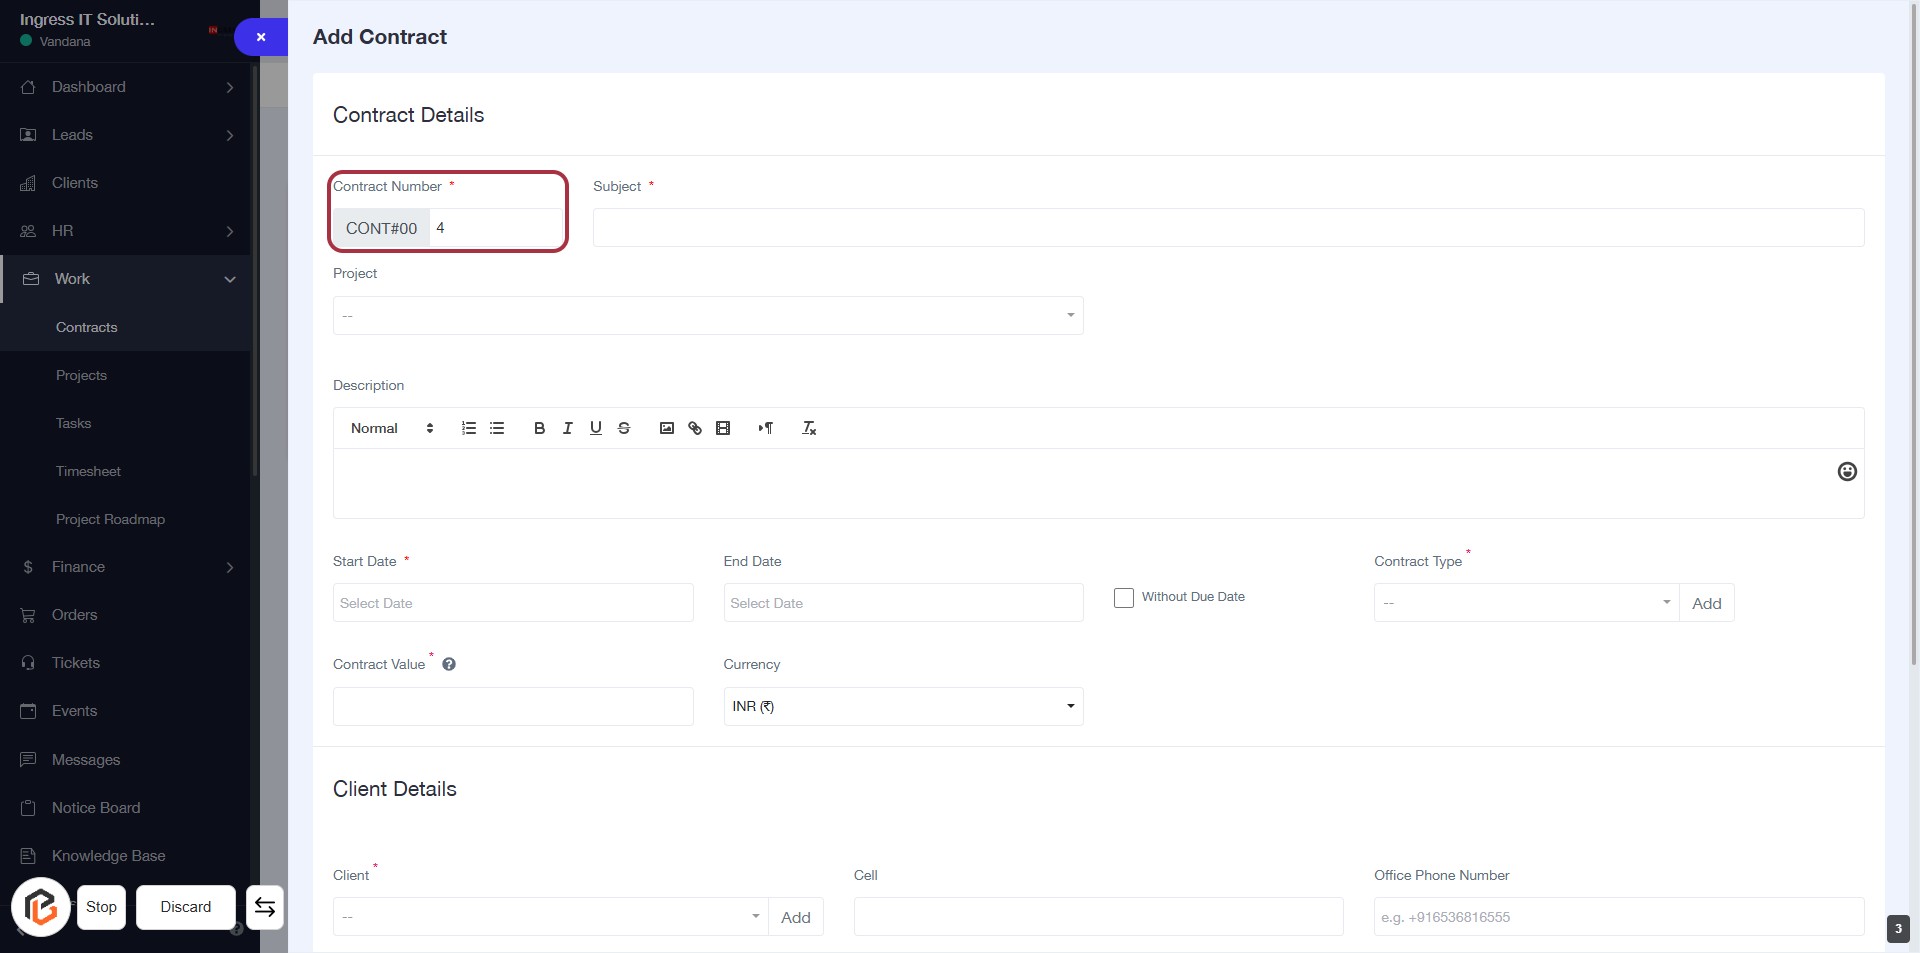
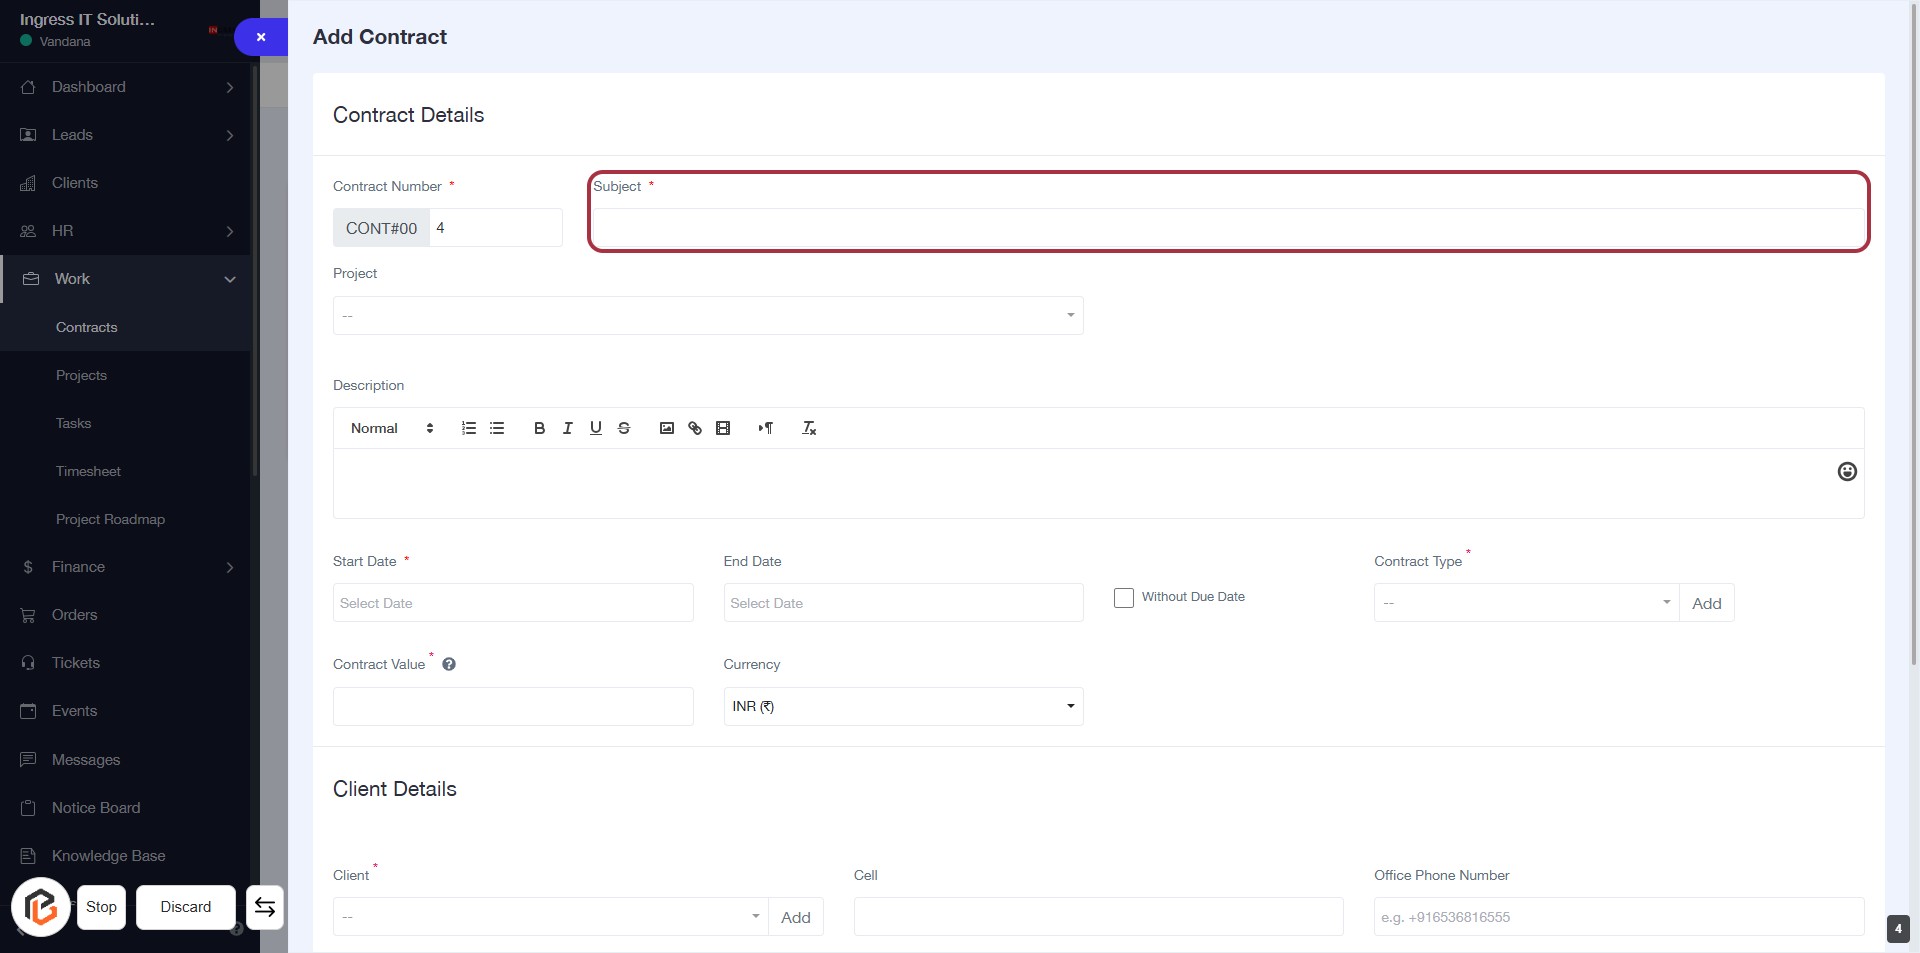
STEP 5: Enter "Subject" for Contract Details
- Click on the "Subject" field to input the subject of the contract.
- Ensure to fill in the required field marked with an asterisk (*).
- This field provides context for the contract, so be clear and concise.
- Proceed to the next step by entering the "Project" information.
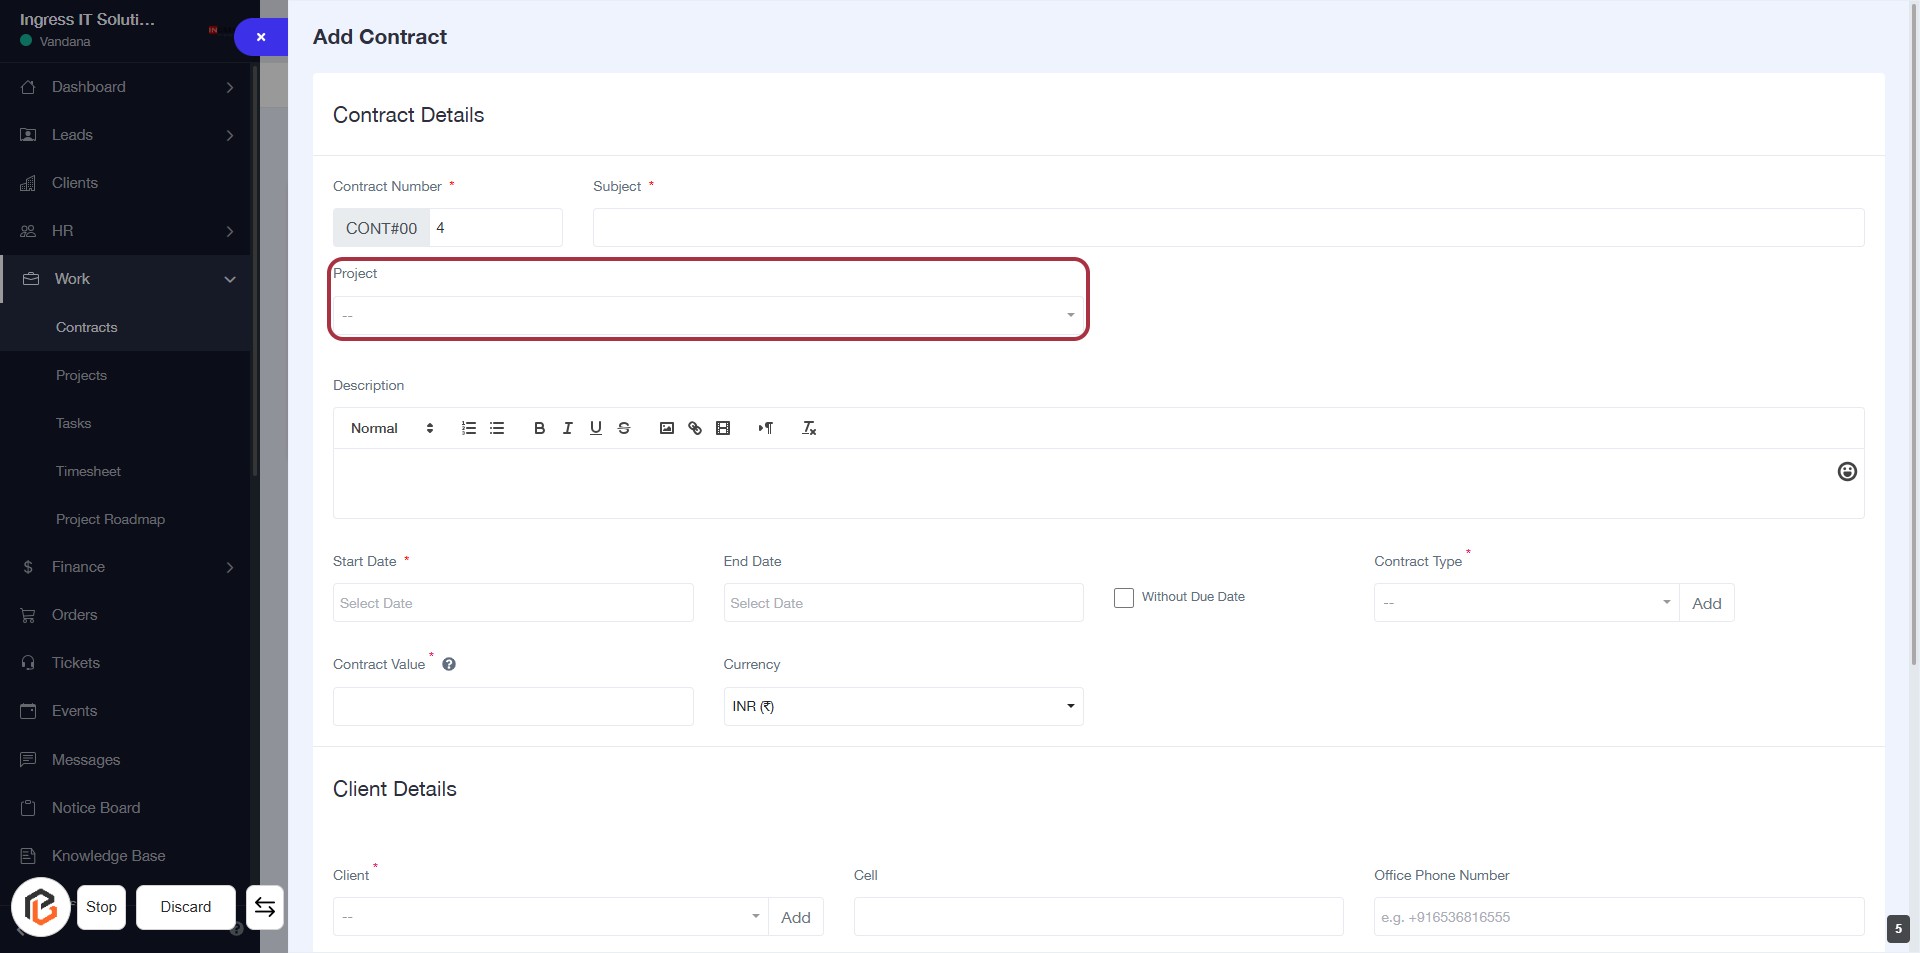
STEP 6: Enter "Project" for Contract Details
- Click on the "Project" field to select or enter the relevant project information.
- Ensure that the field is filled out as it may be required for contract processing.
- Review other fields such as "Contract Number," "Subject," and "Description" for completeness.
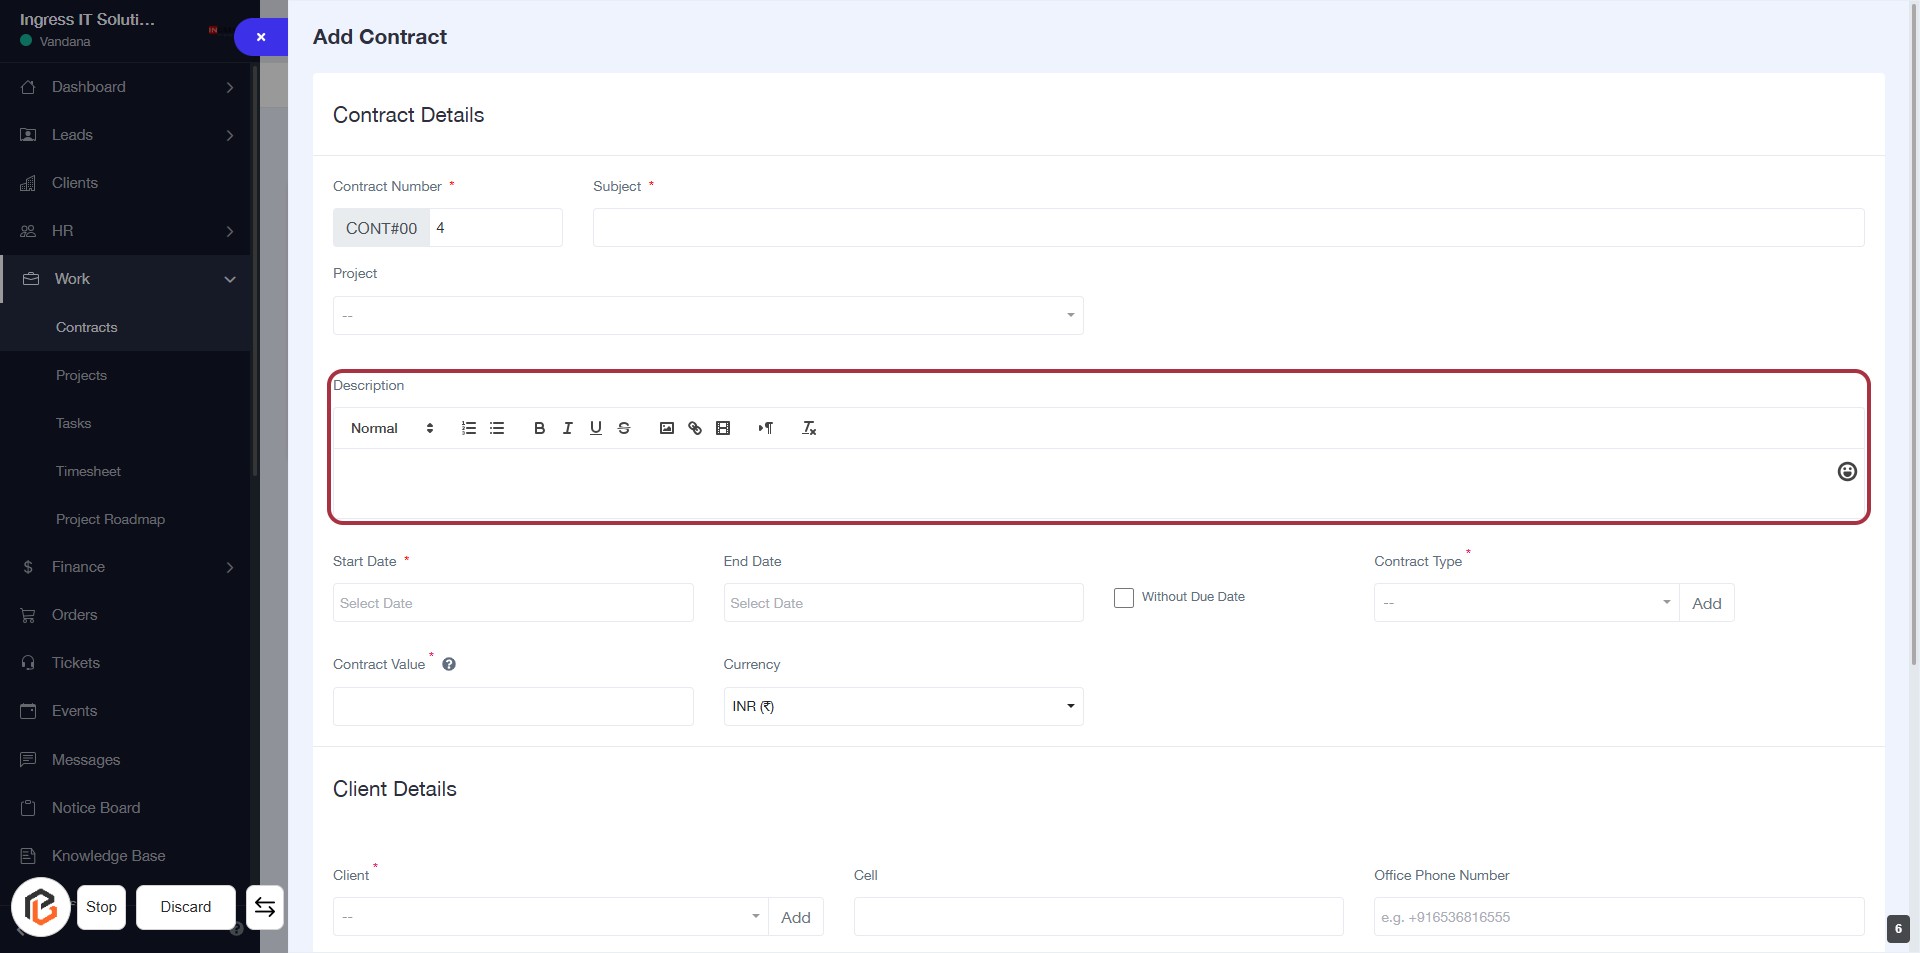
STEP 7: Click "Description" to Add Contract Details
- Click on the "Description" field to begin entering details about the contract.
- Use the formatting options available (Normal, Bold, Italic, etc.) to enhance your text.
- Ensure to provide a comprehensive description for better context.
- Proceed to the next step by selecting the "Start Date."
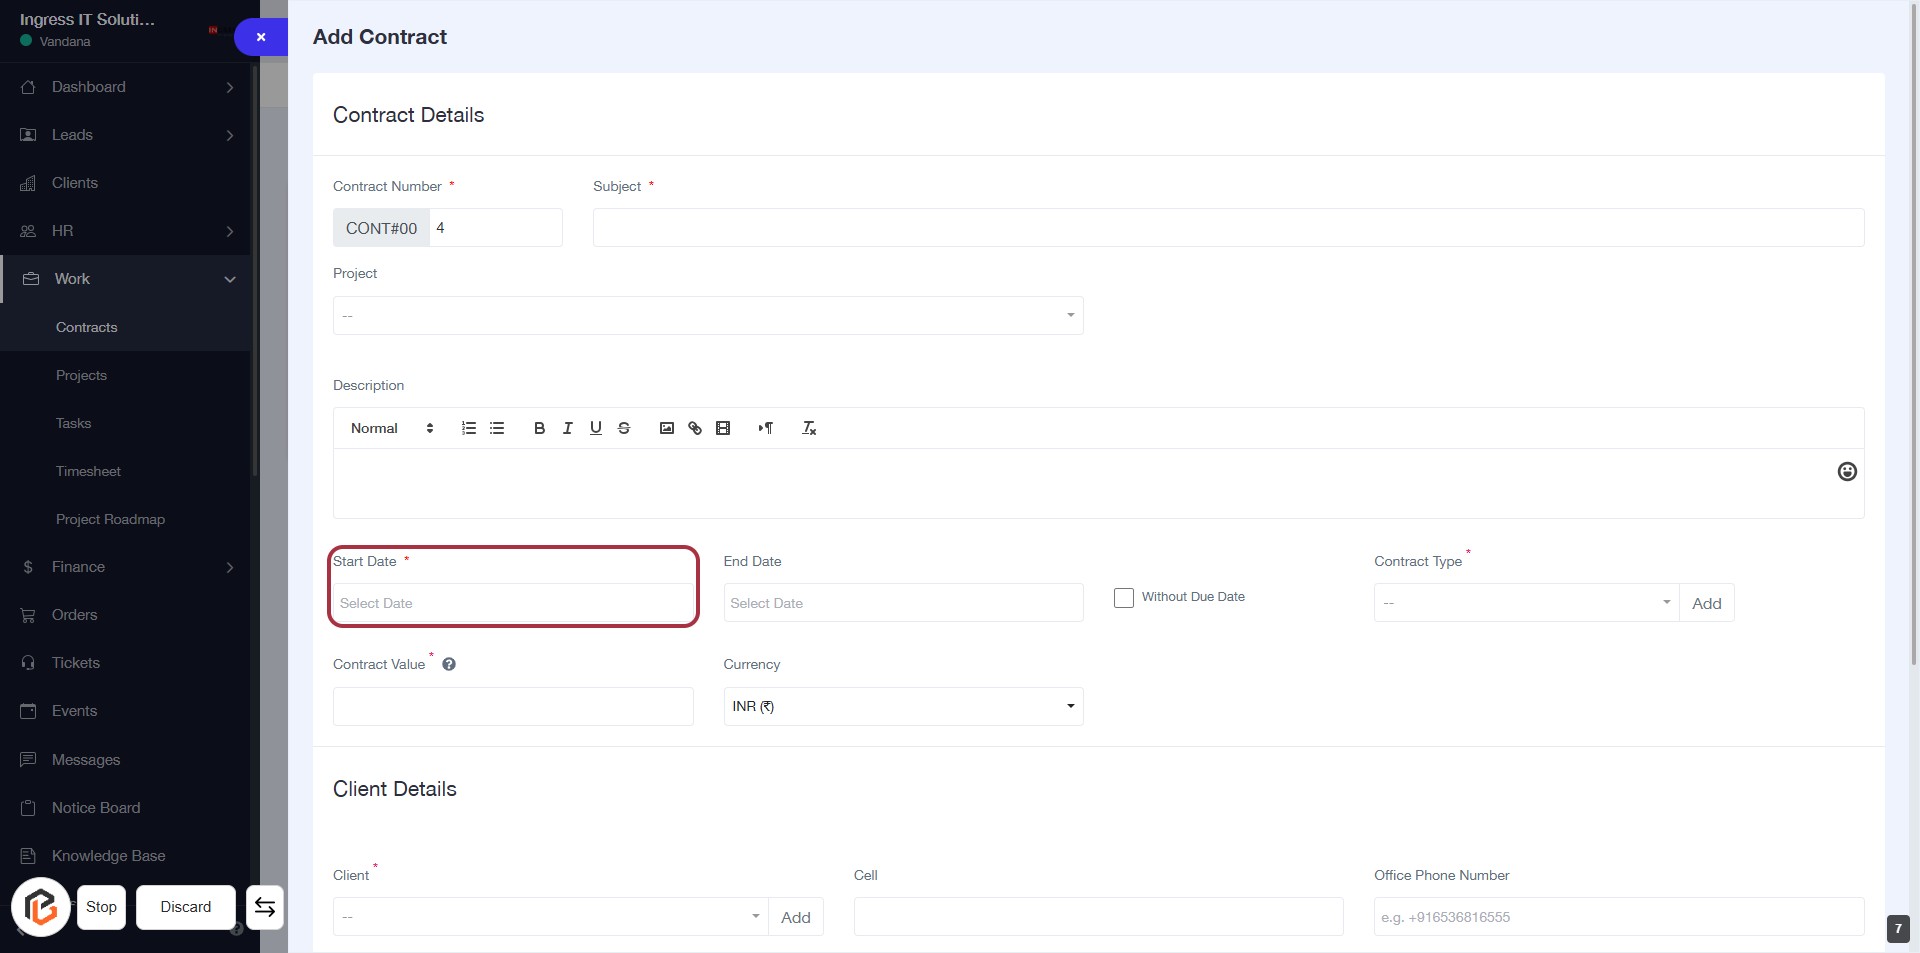
STEP 8: Select "Start Date"
- Click on the "Start Date" field to open the date selection.
- Ensure to select a date as this field is mandatory (indicated by the asterisk *).
- After selecting the date, proceed to the next step to fill in the "End Date".
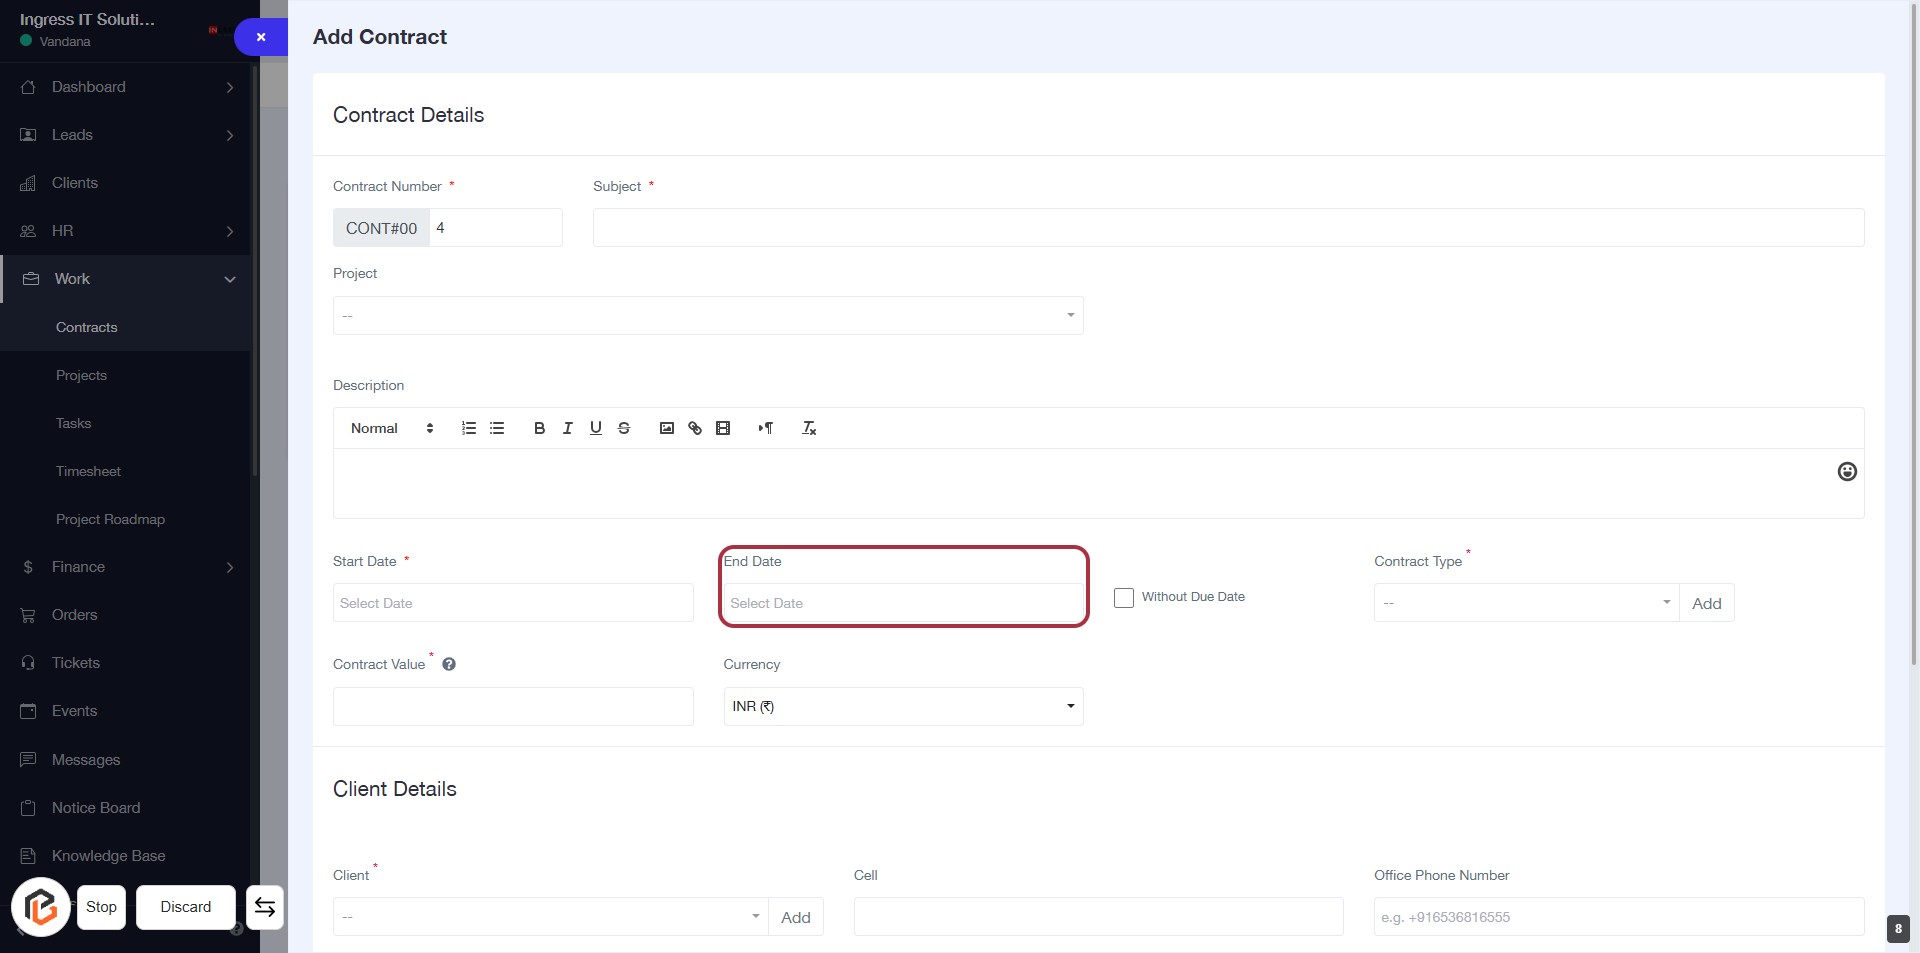
STEP 9: Select "End Date"
- Click on the "End Date" field to open the date selection.
- Ensure the date format aligns with your requirements.
- The field is mandatory, indicated by the asterisk (*).
- After selecting the date, proceed to the next step by clicking "Without Due Date."
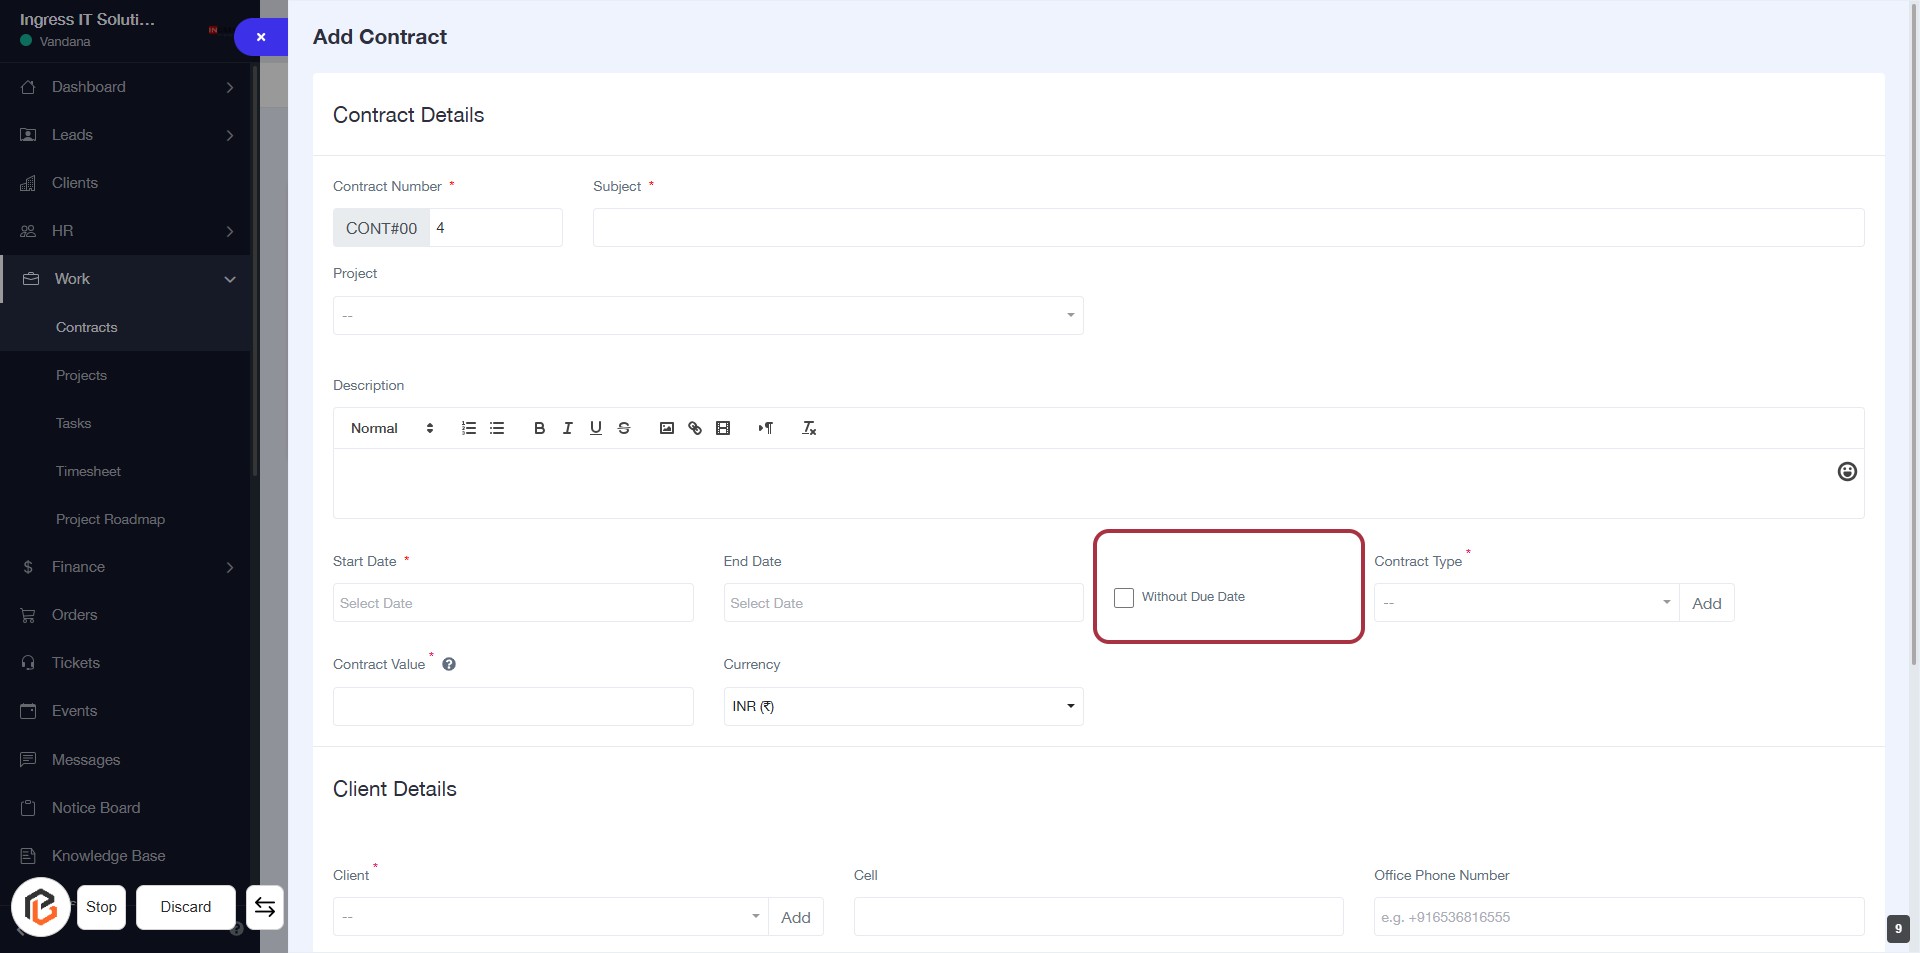
STEP 10: Click on "Without Due Date"
- Click on the checkbox labeled "Without Due Date" to indicate that the contract does not have a due date.
- Ensure that all required fields marked with an asterisk (*) are filled out before proceeding.
- After this action, you can continue to the next step of selecting the "Contract Type."
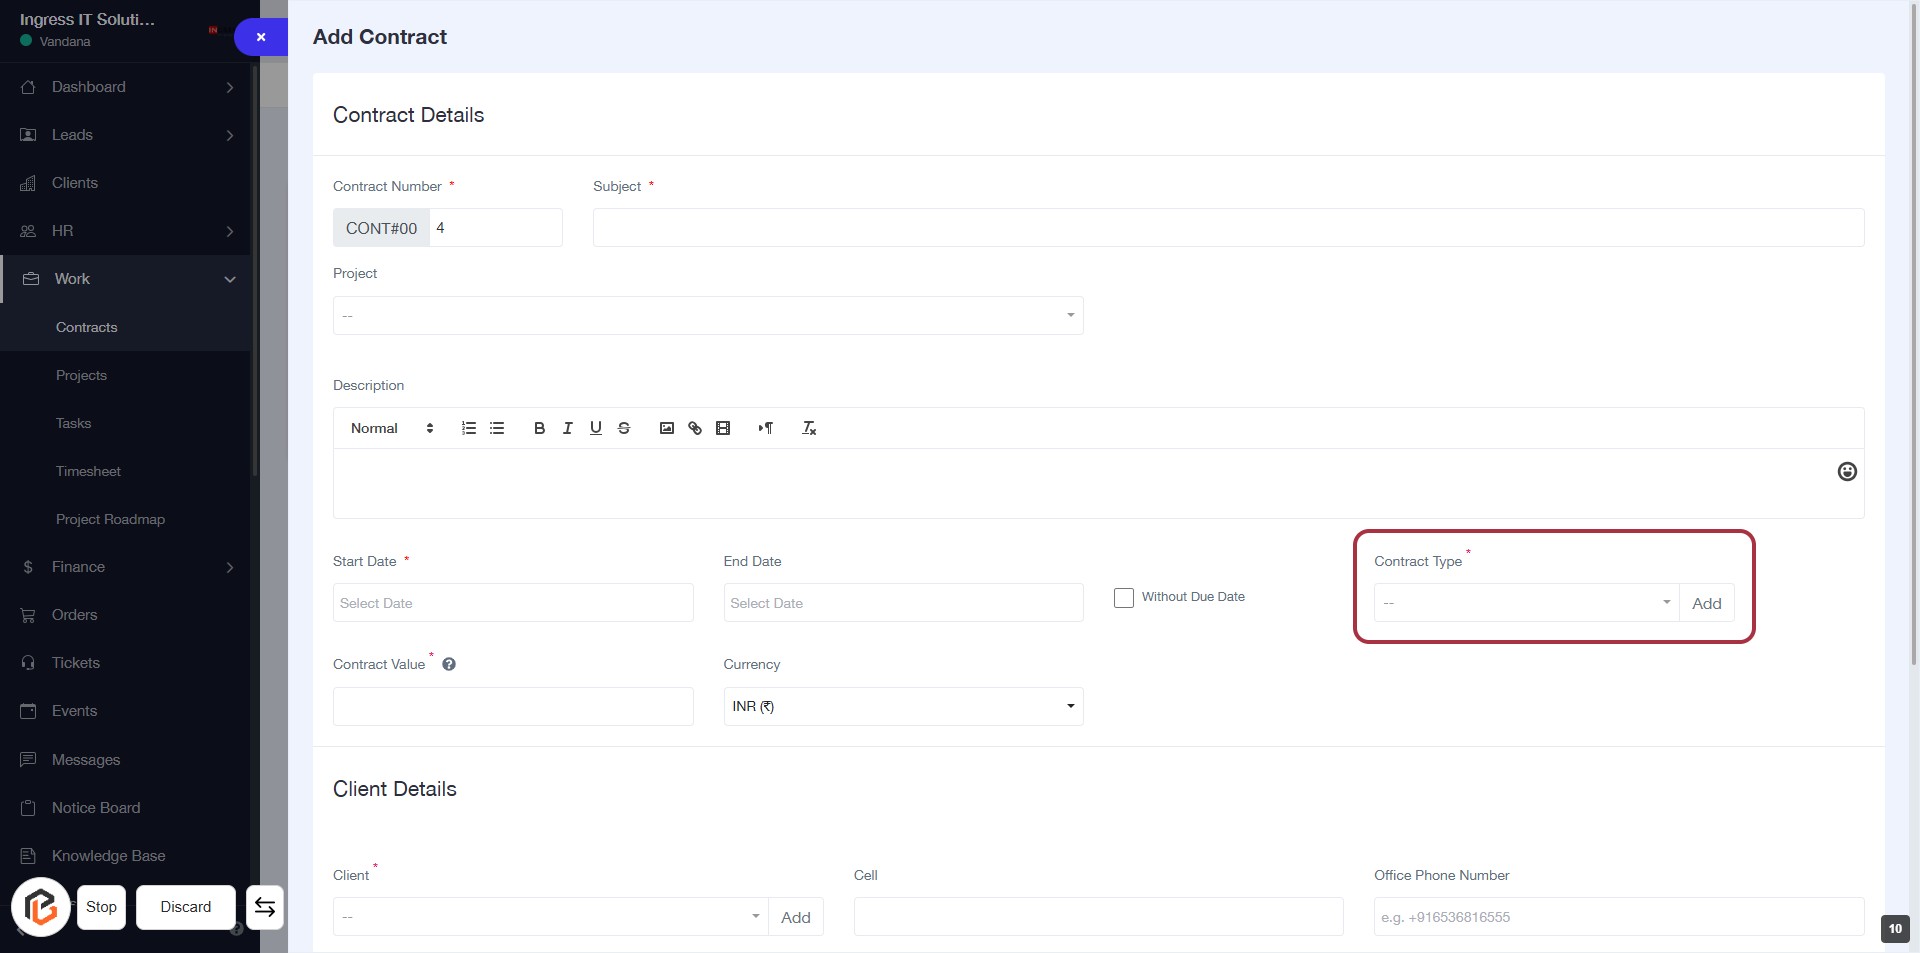
STEP 11: Select "Contract Type"
- Click on the "Contract Type" dropdown to choose the appropriate contract type.
- Ensure that the field marked with an asterisk (*) is filled, as it is required.
- Review other fields in the form for completeness before proceeding.
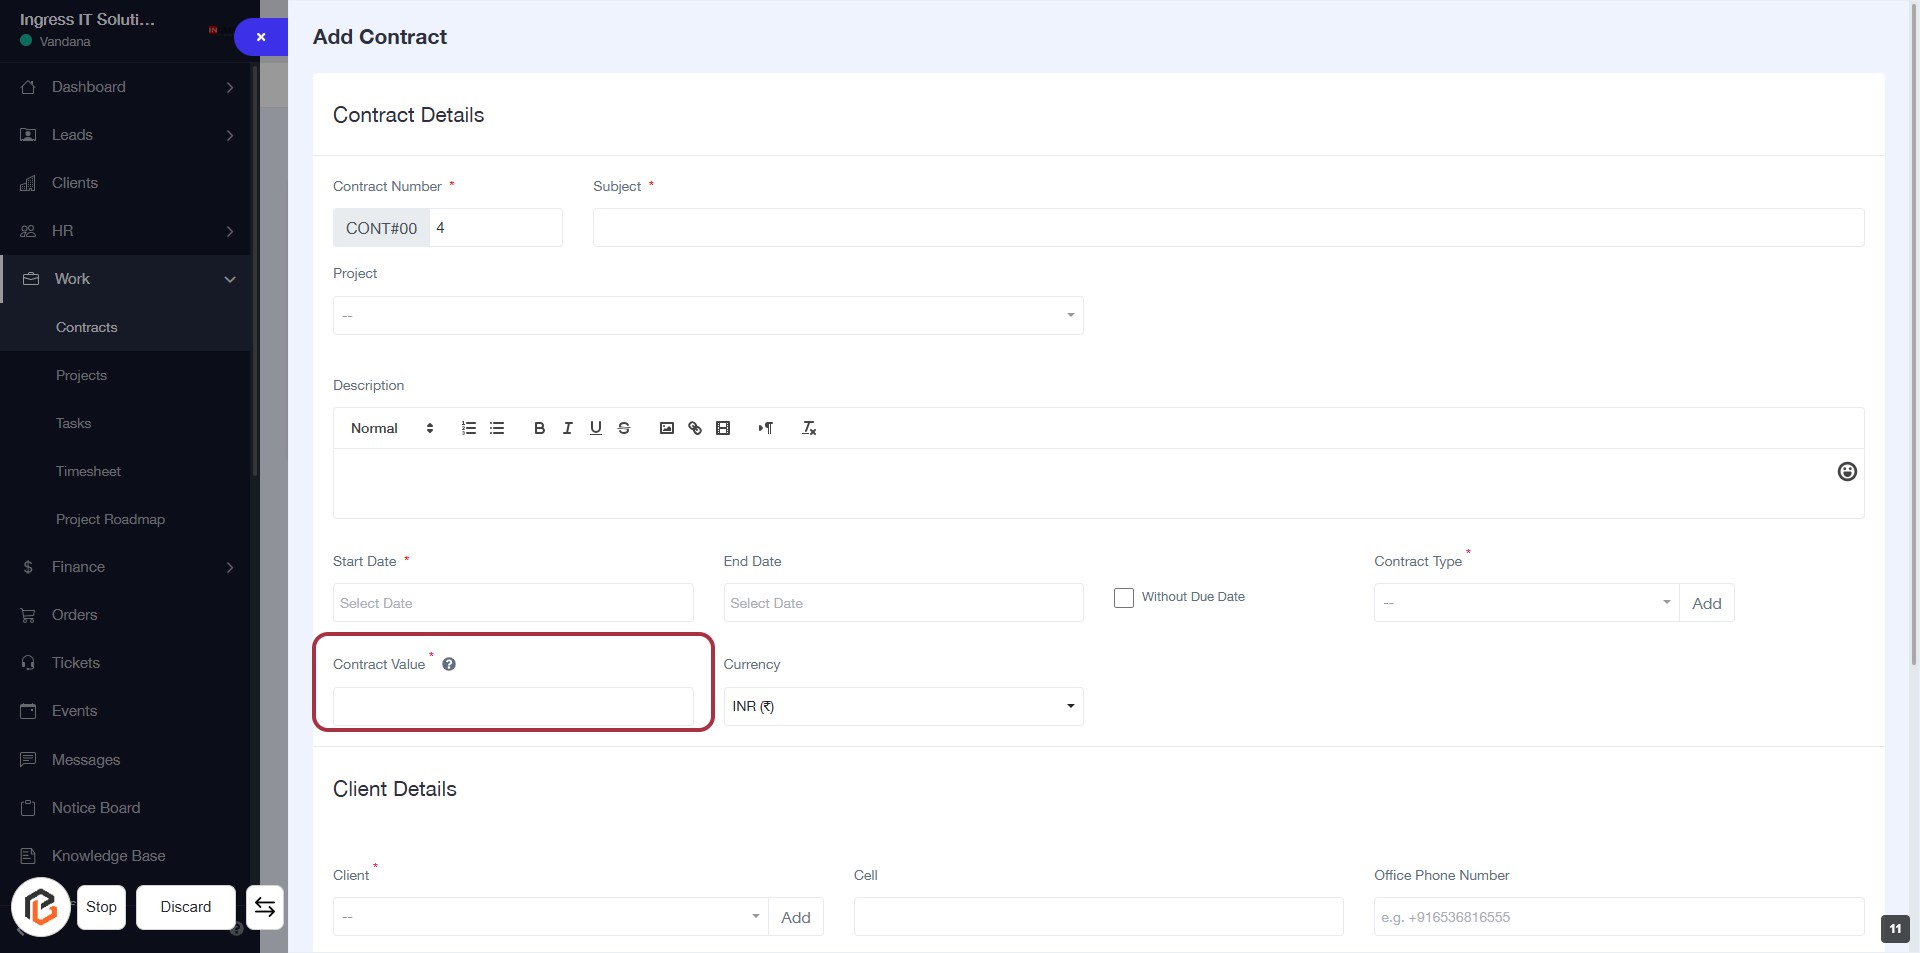
STEP 12: Enter "Contract Value"
- Click on the highlighted area labeled "Contract Value" (marked with a red border).
- Ensure to fill in the required field, indicated by the asterisk (*).
- Input the monetary value associated with the contract.
- Proceed to the next step by selecting "Currency."
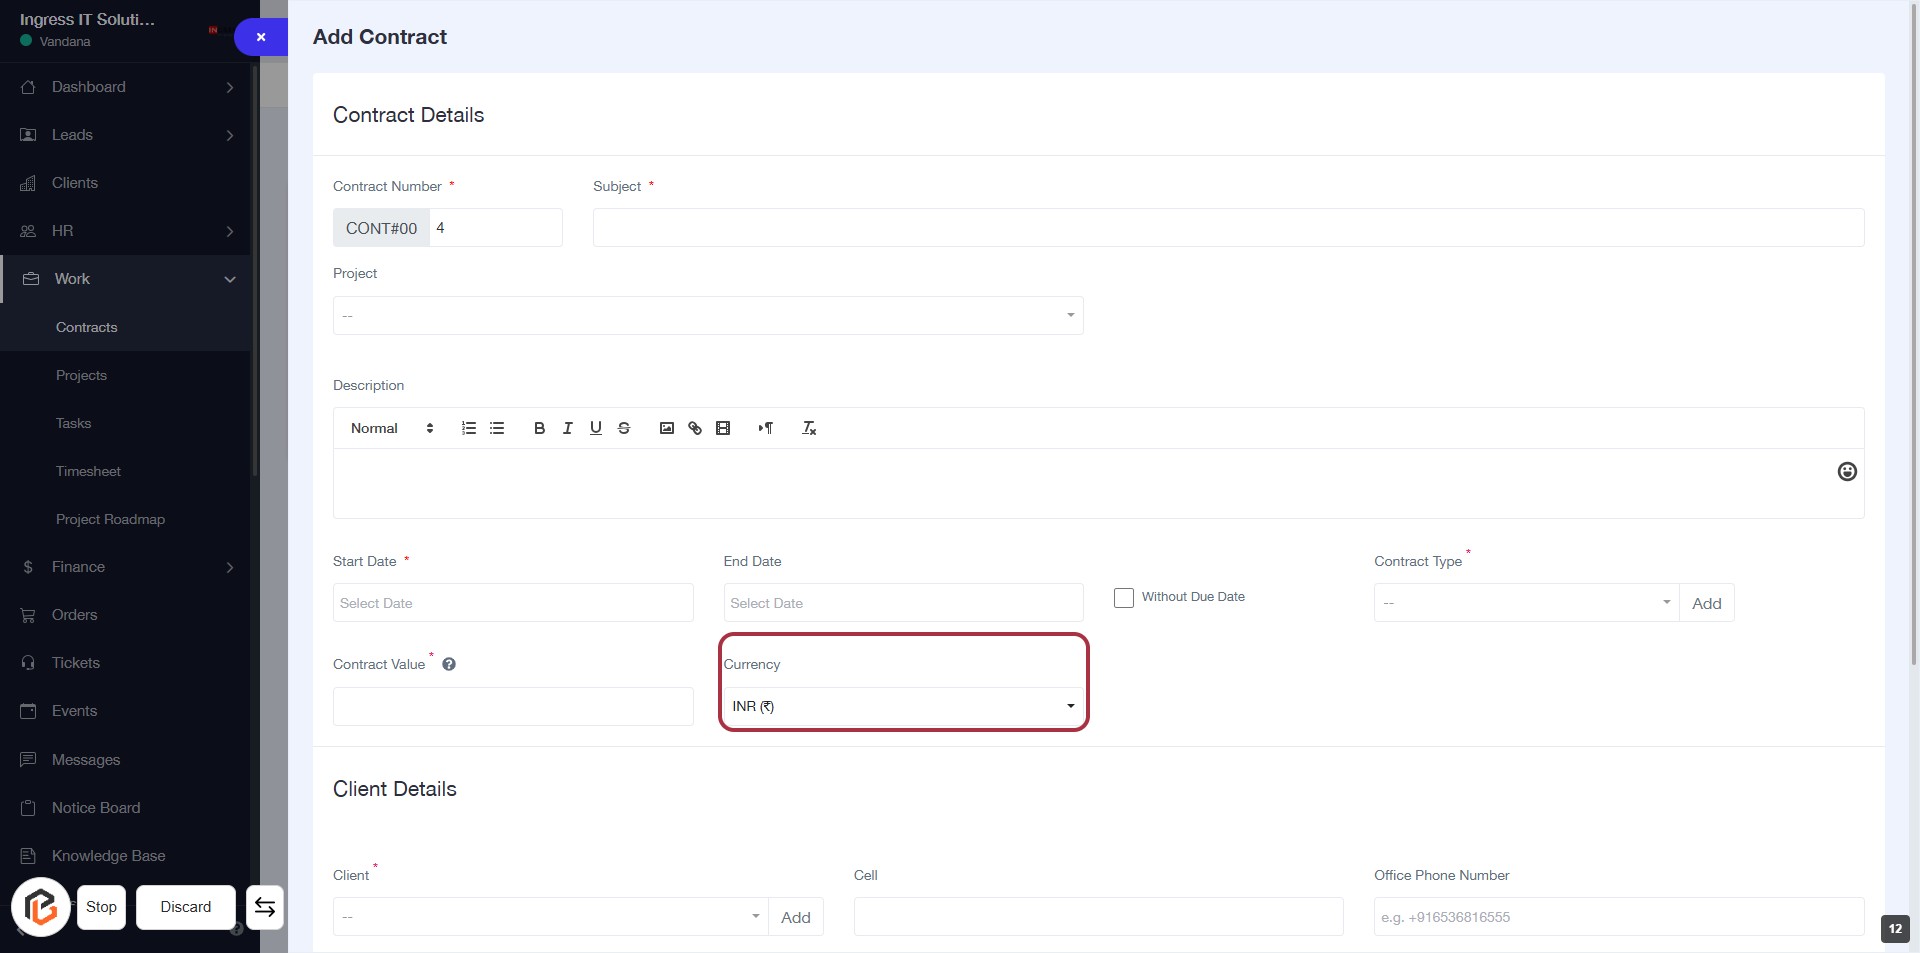
STEP 13: Select "Currency"
- Click on the "Currency" field to choose the appropriate currency for the contract.
- Ensure that you have already entered the "Contract Value" in the previous step.
- Look for any required fields marked with an asterisk (*) to complete the form accurately.
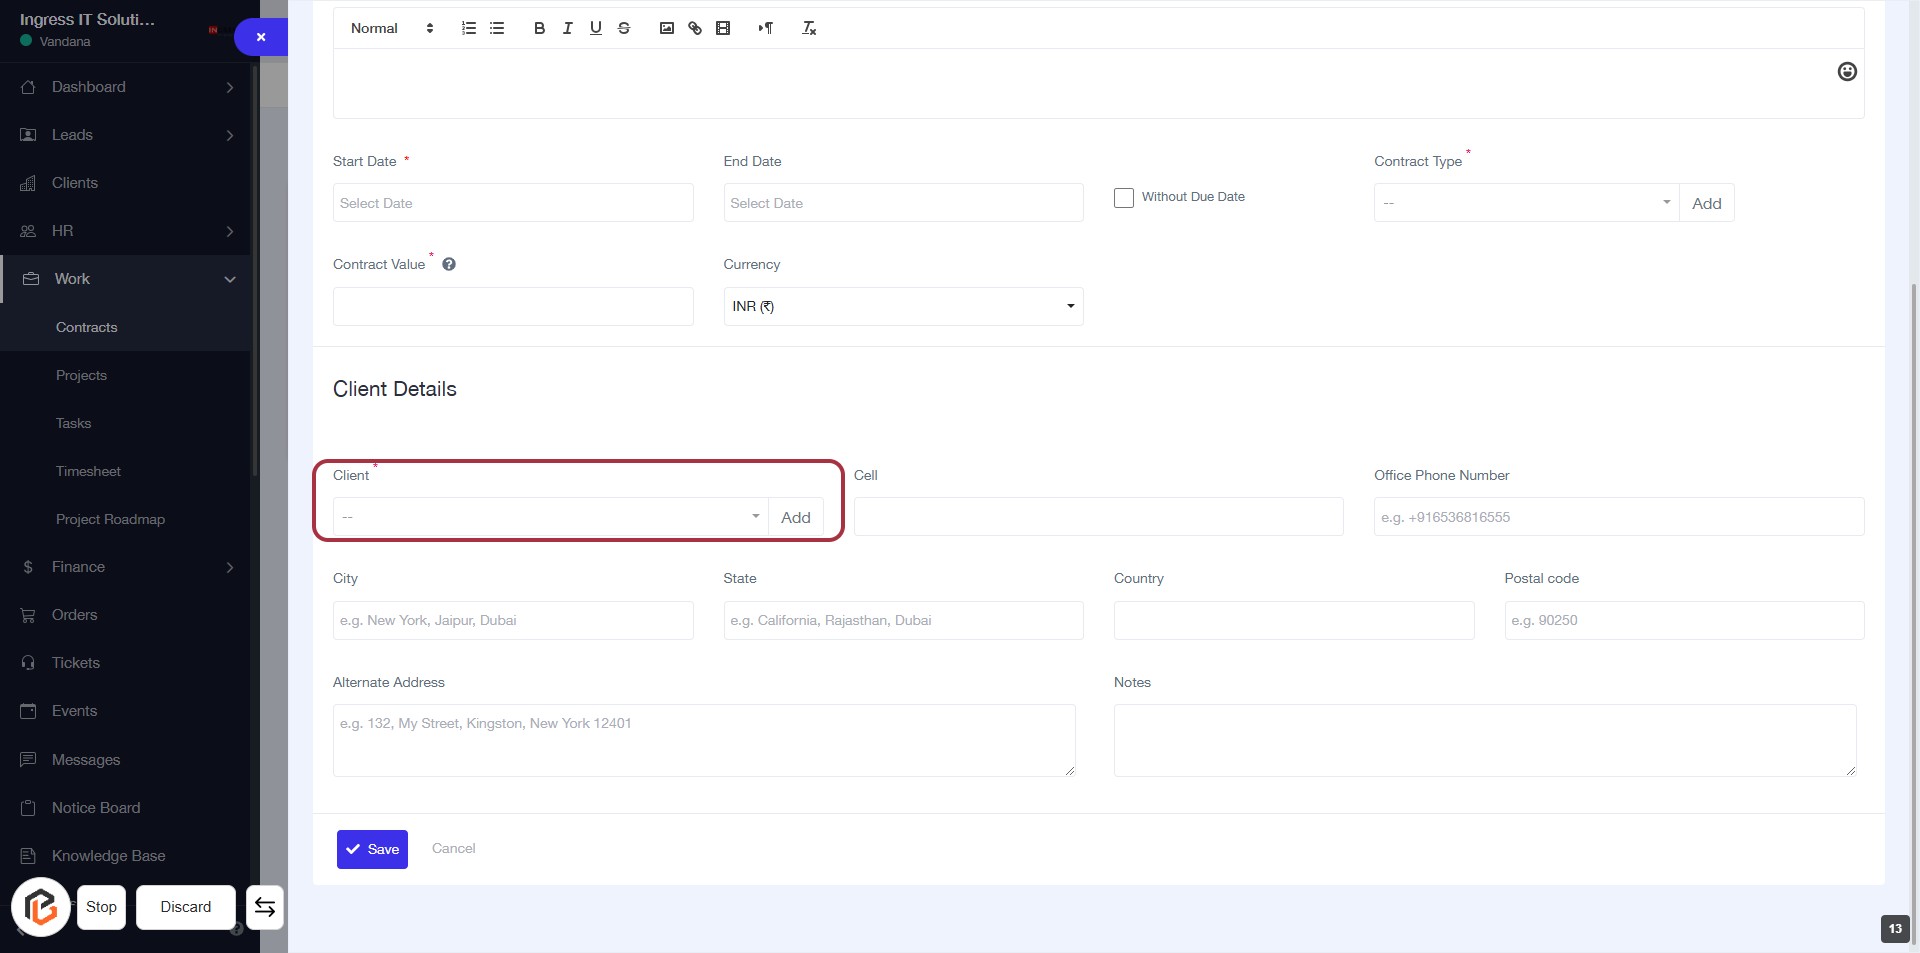
STEP 14: Click "Client" to Add Client Details
- Navigate to the Client Details section.
- Click on the Client field (marked with an asterisk * for required).
- A dropdown will appear; select or add the desired client.
- Ensure to fill in any additional required fields as indicated.
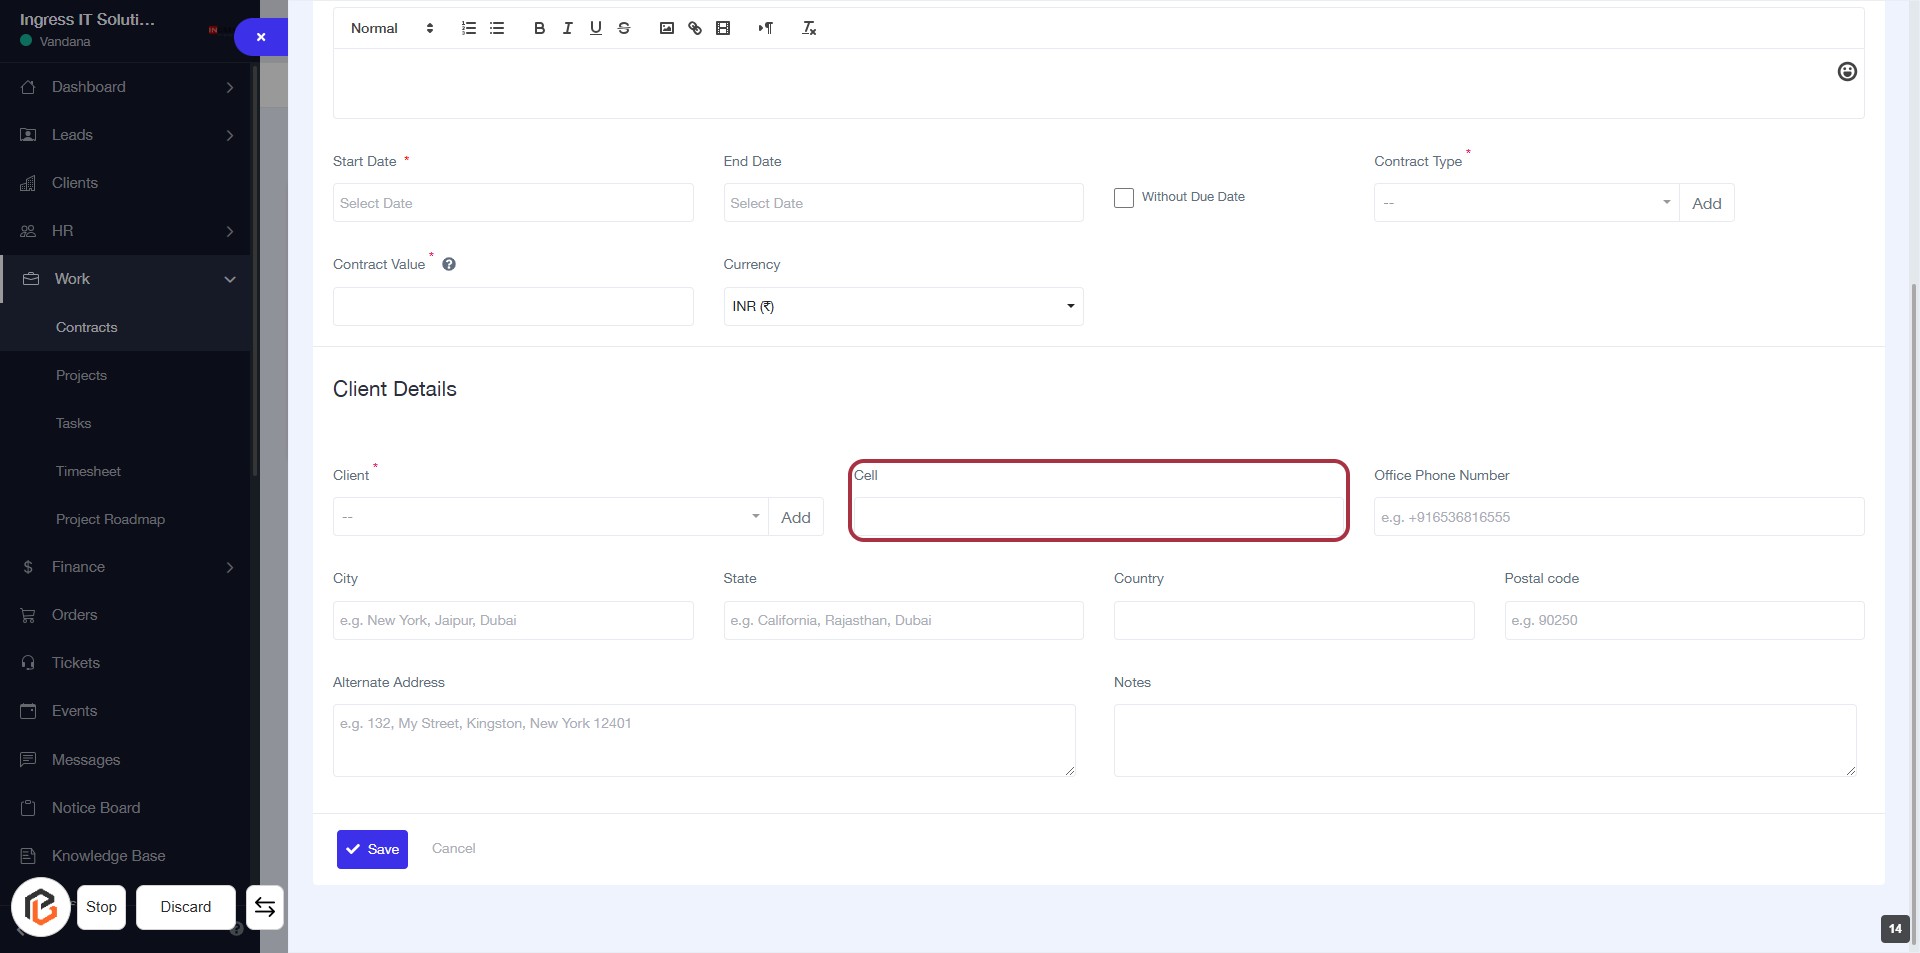
STEP 15: Enter Cell Information in Client Details
- Click on the "Cell" field in the Client Details section.
- Ensure to fill in the required information accurately.
- Look for any fields marked with an asterisk (*) as they are mandatory.
- Proceed to the next step by entering the "Office Phone Number."
STEP 16: Enter Office Phone Number
- Click on the "Office Phone Number" field highlighted in red.
- Input the office phone number in the format provided (e.g., +916368616555).
- Ensure all required fields marked with an asterisk (*) are filled out.
- Proceed to the next step by entering the "City."

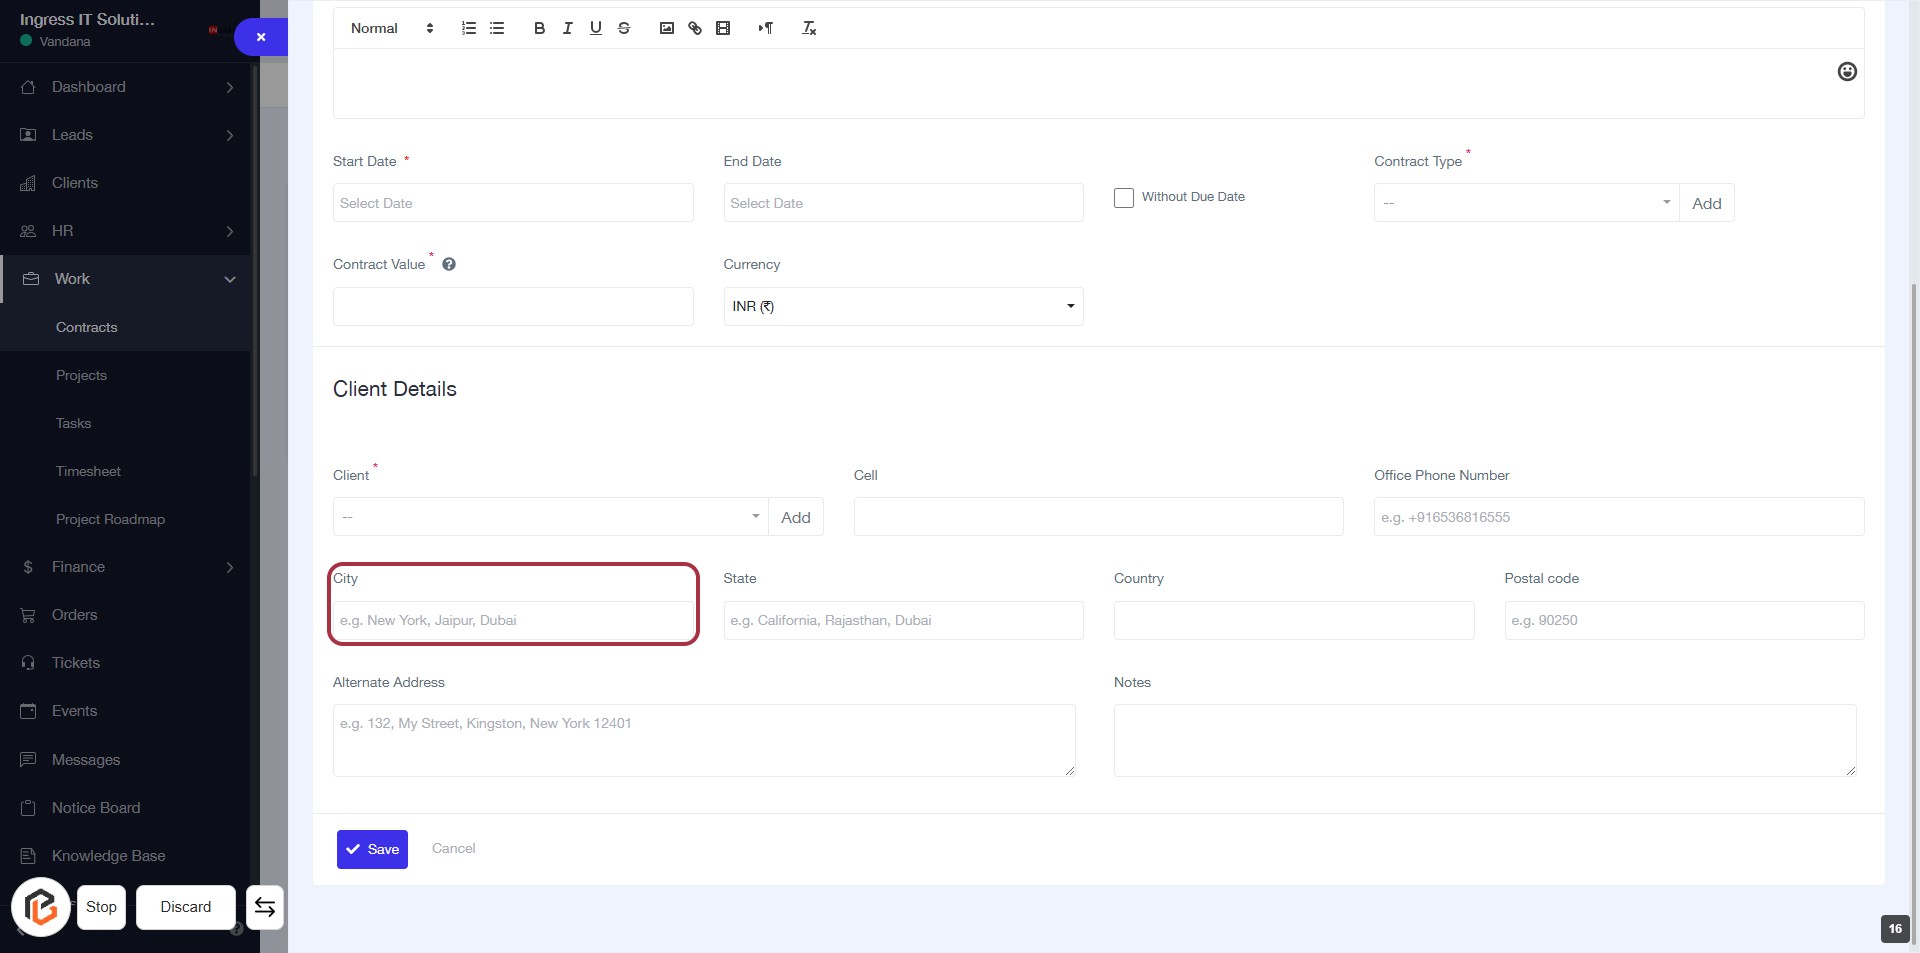
STEP 17: Enter City in Client Details
- Click on the "City" field in the form.
- Input the city name (e.g., New York, Jaipur, Dubai).
- Ensure the field is filled as it may be required (indicated by *).
- Proceed to the next step by entering the "State".
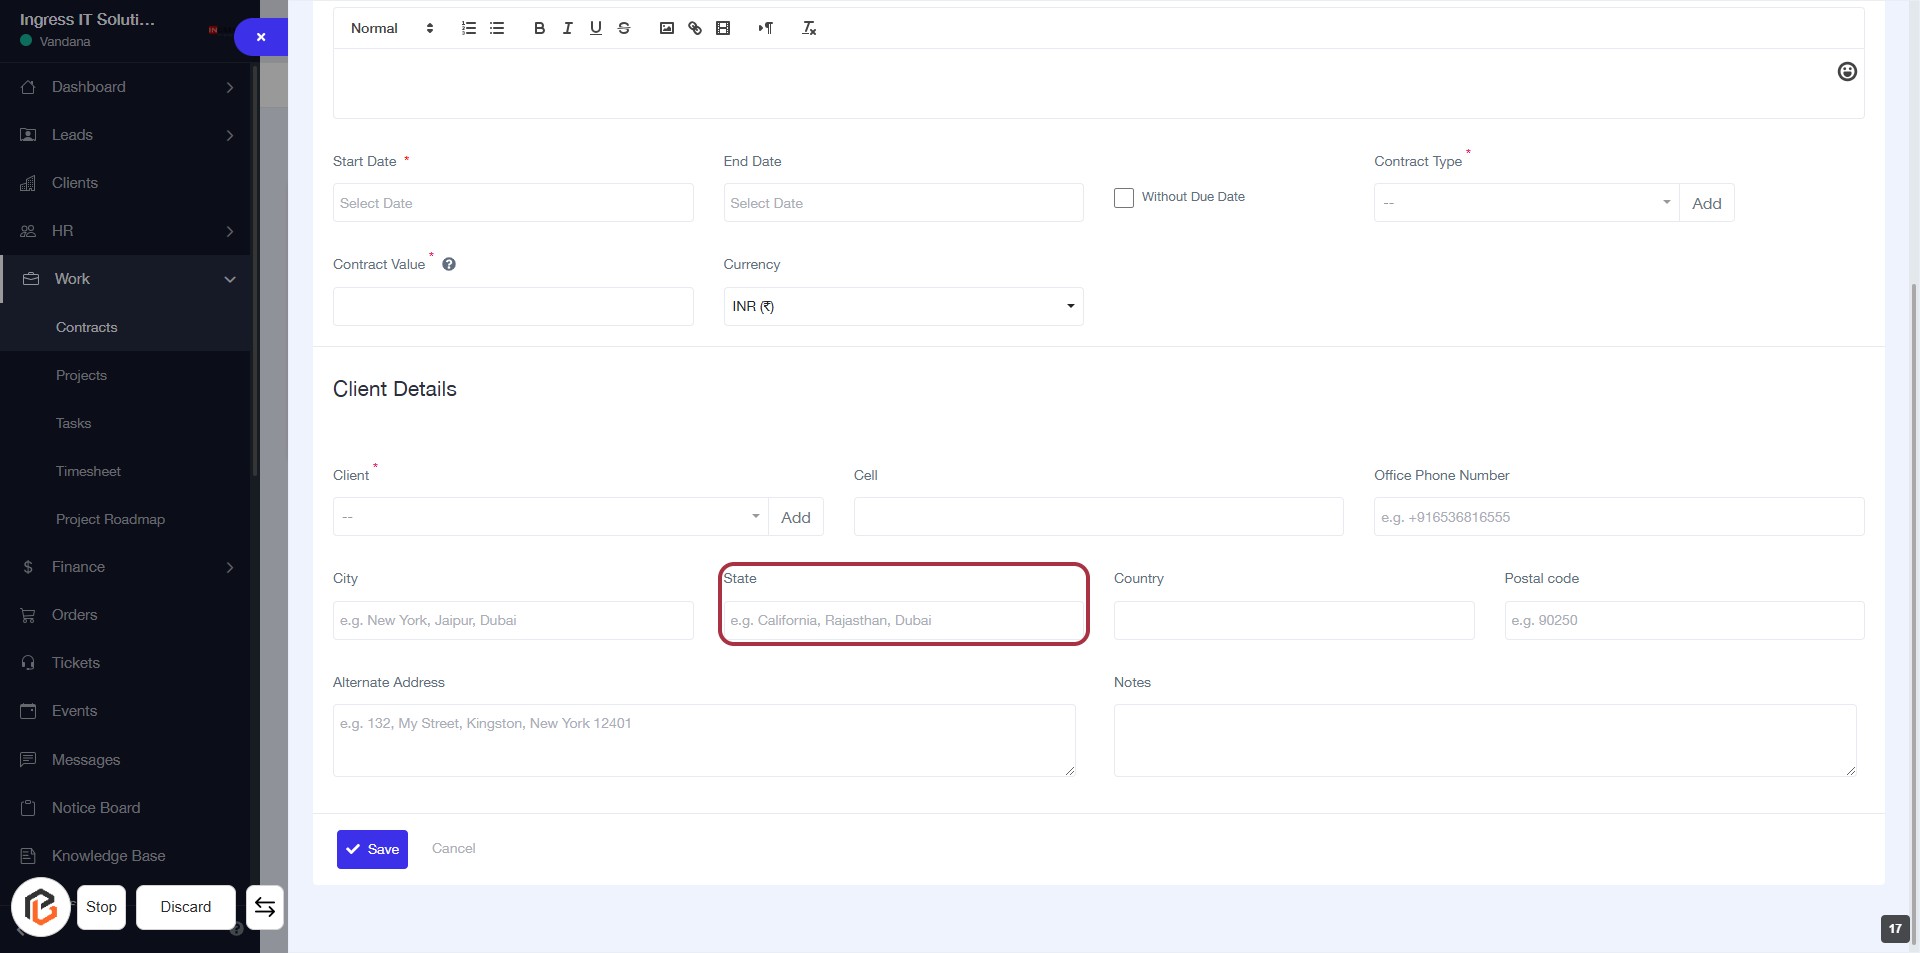
STEP 18: Enter "State"
- Click on the "State" field to input the relevant state information.
- Ensure to provide a valid state name (e.g., California, Rajasthan).
- This field is mandatory; look for the asterisk (*) if applicable.
- After entering the state, proceed to the next step to enter the "Country."
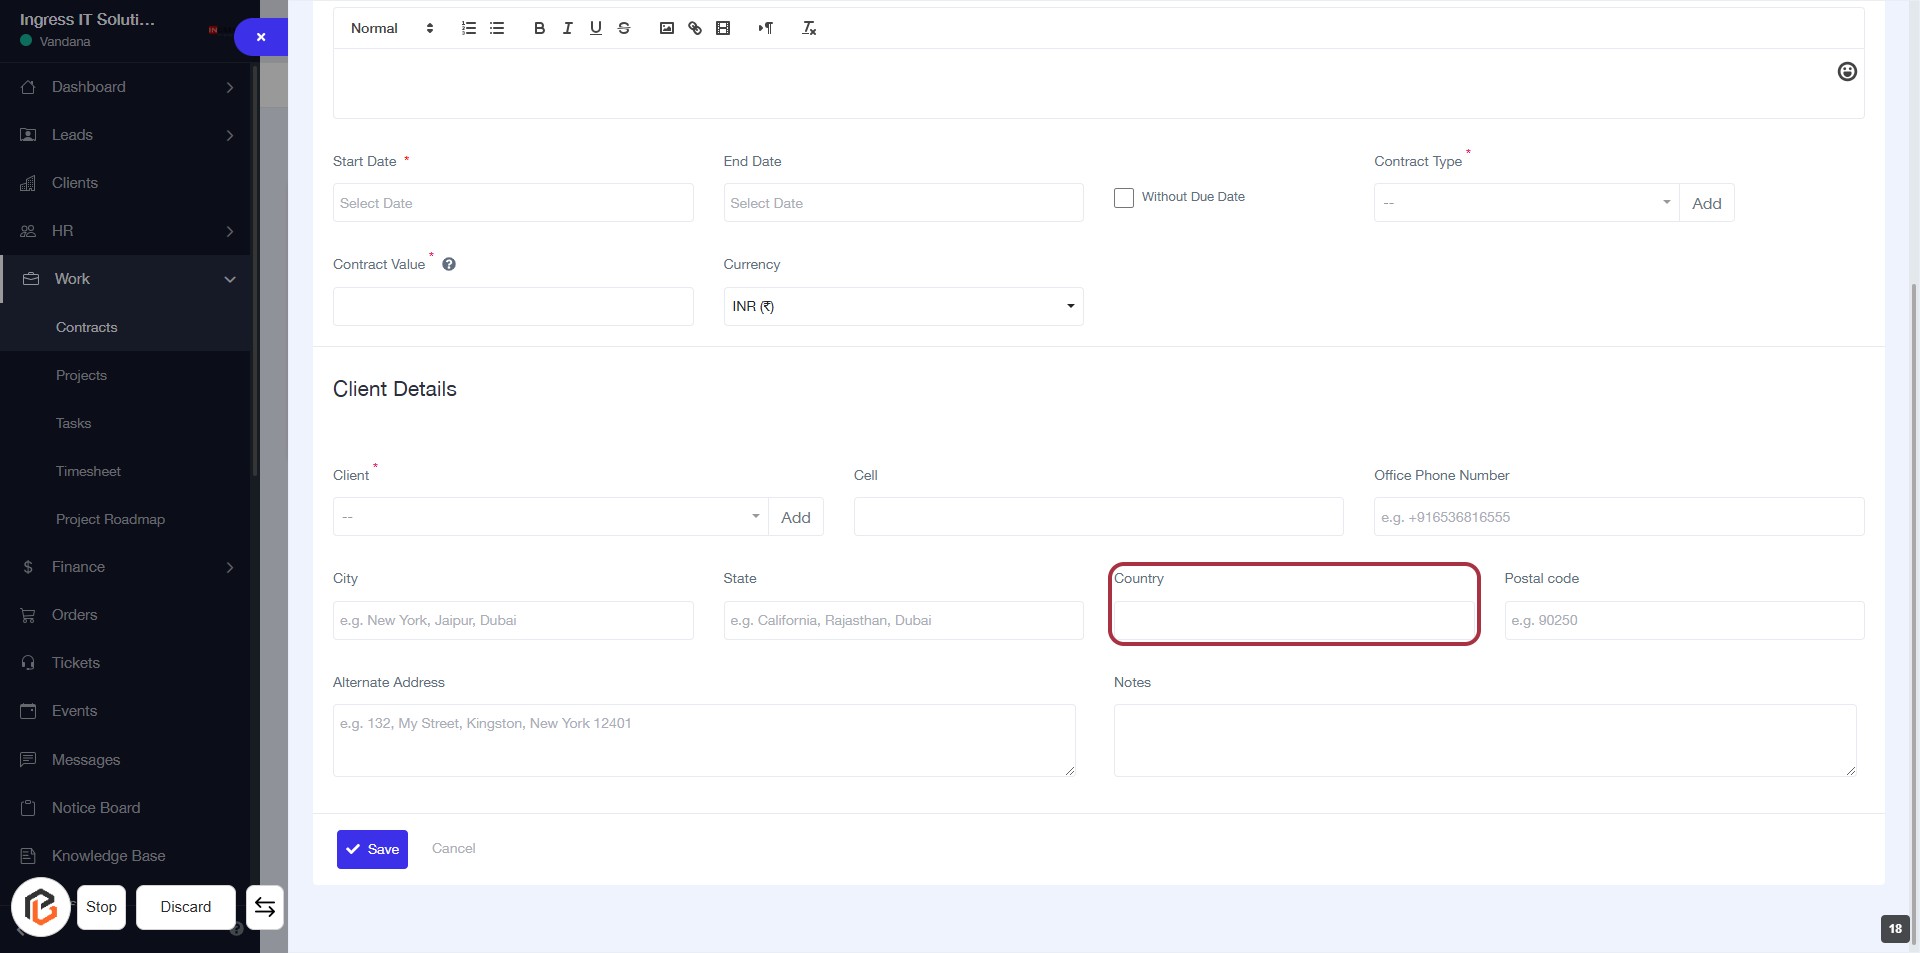
STEP 19: Enter "Country"
- Click on the "Country" field highlighted in red.
- Ensure to fill in the required information.
- The field may accept various country names; check for any dropdown options.
- After entering, proceed to the next step by entering the "Postal code."
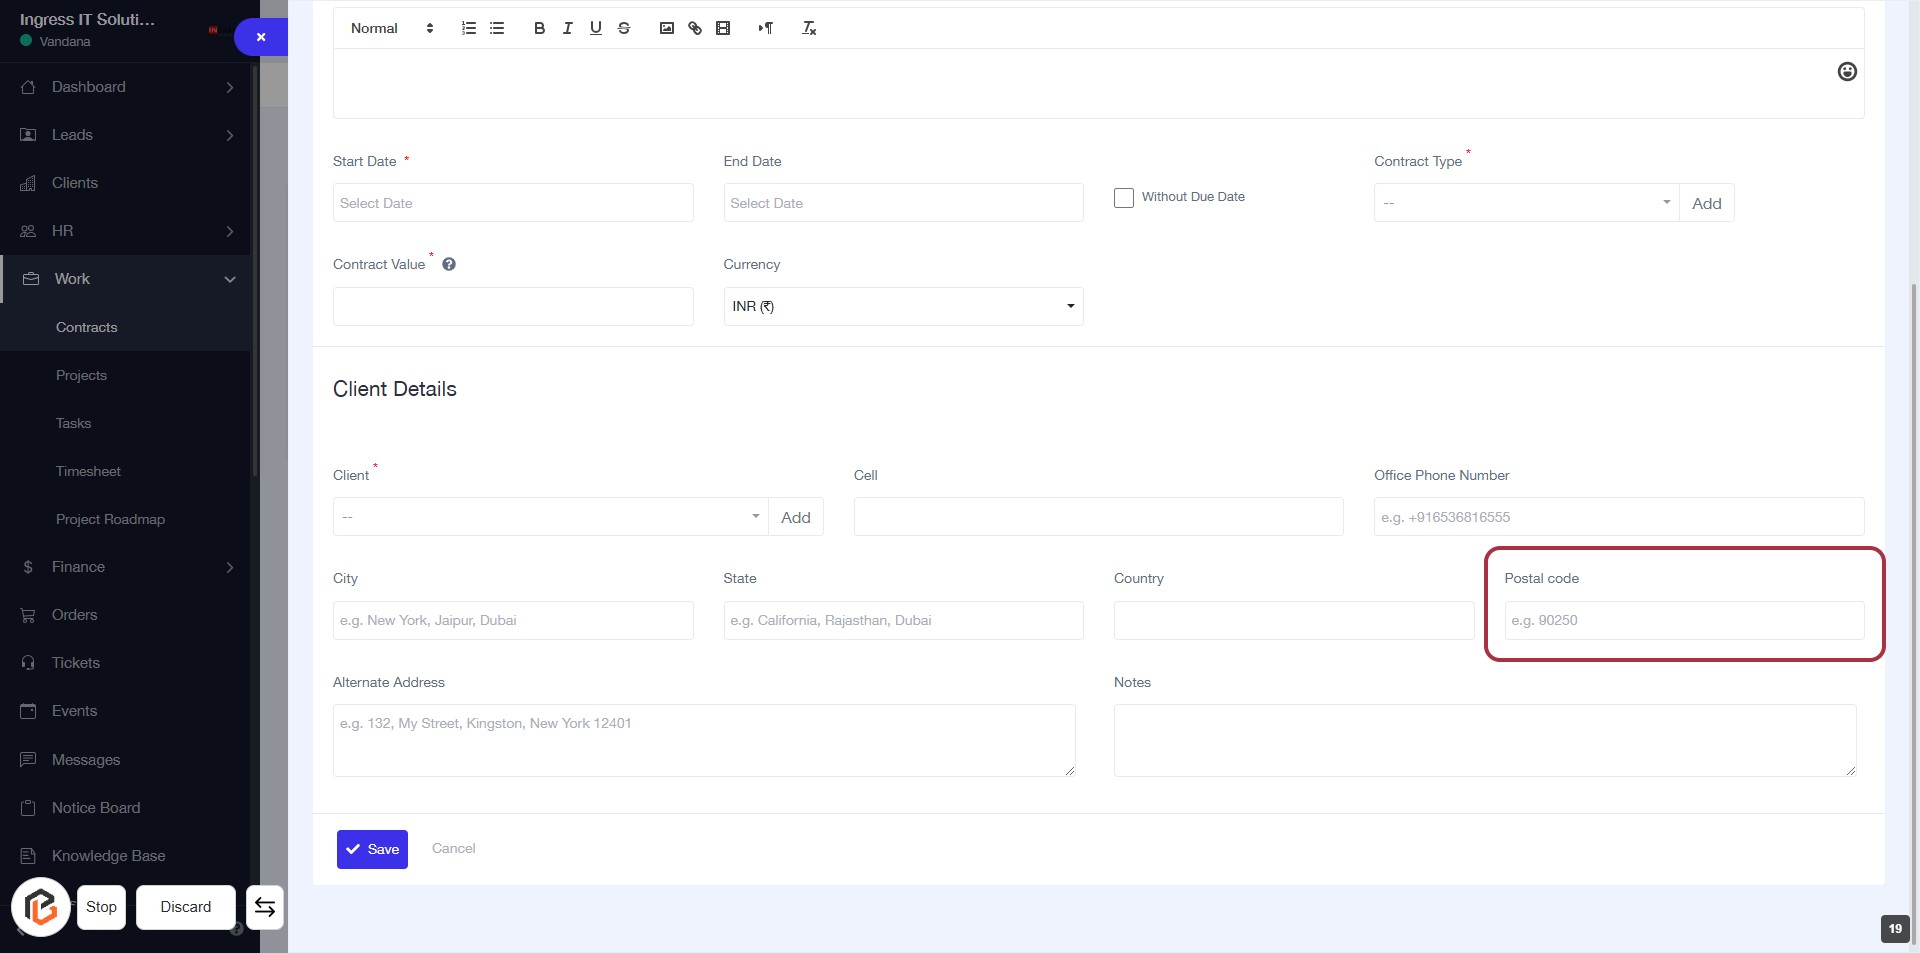
STEP 20: Enter "Postal Code"
- Click on the "Postal code" field highlighted in red.
- Ensure the "Country" field is filled out before entering the postal code.
- Input the postal code in the format specified (e.g., 90250).
- Verify that all required fields marked with an asterisk (*) are completed before proceeding.
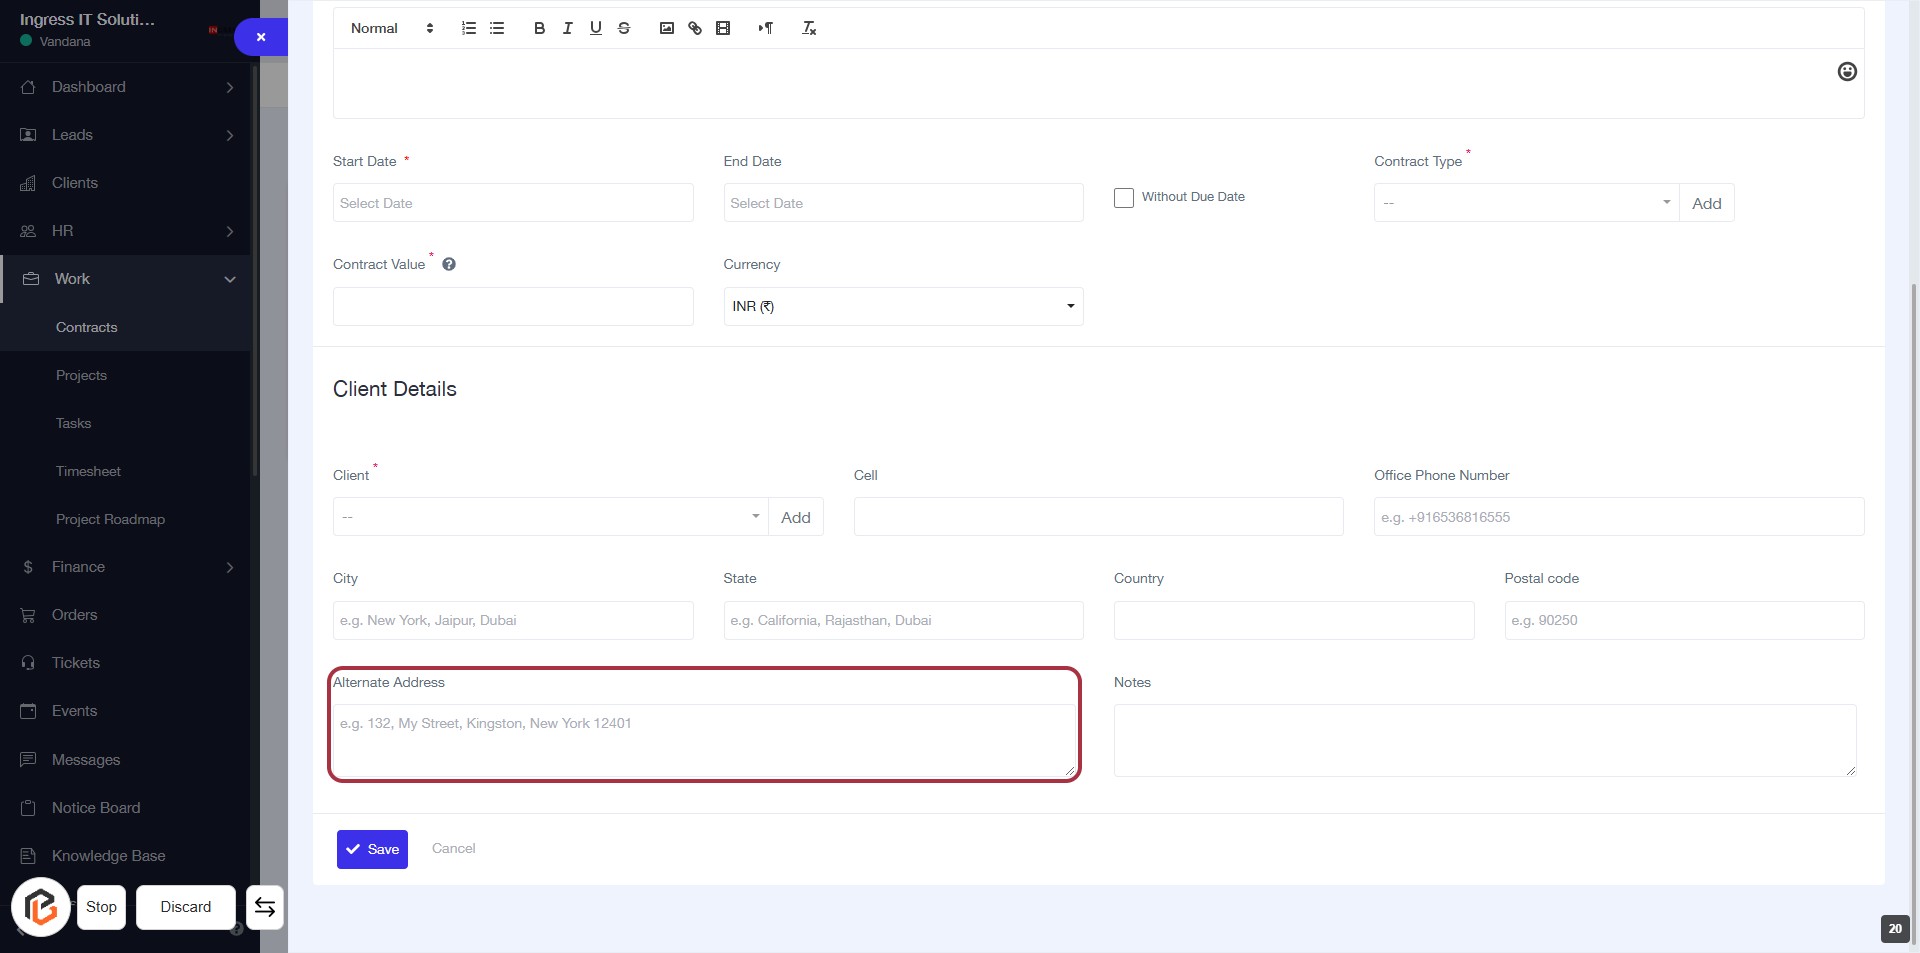
STEP 21: Enter "Alternate Address"
- Click on the Alternate Address field to input the secondary address.
- Ensure to fill in the address details as required.
- Look for any asterisks (*) indicating mandatory fields.
- Review the entered information before proceeding to the next step.
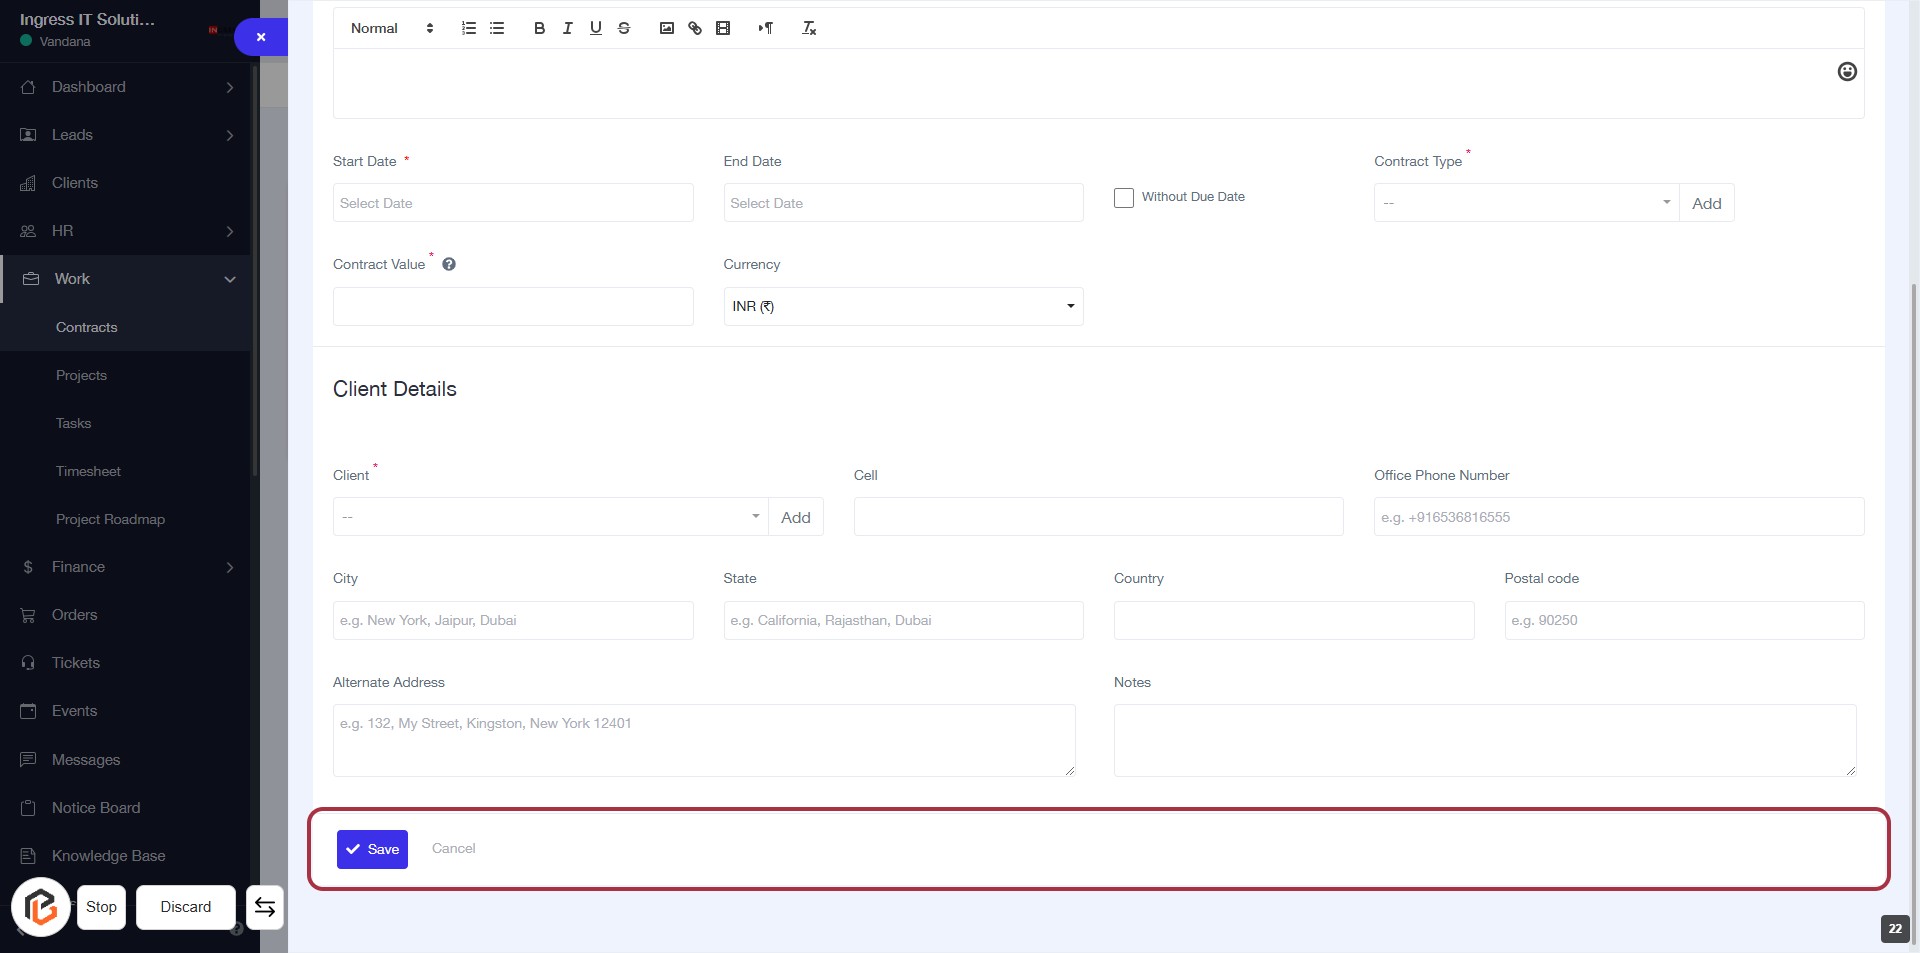
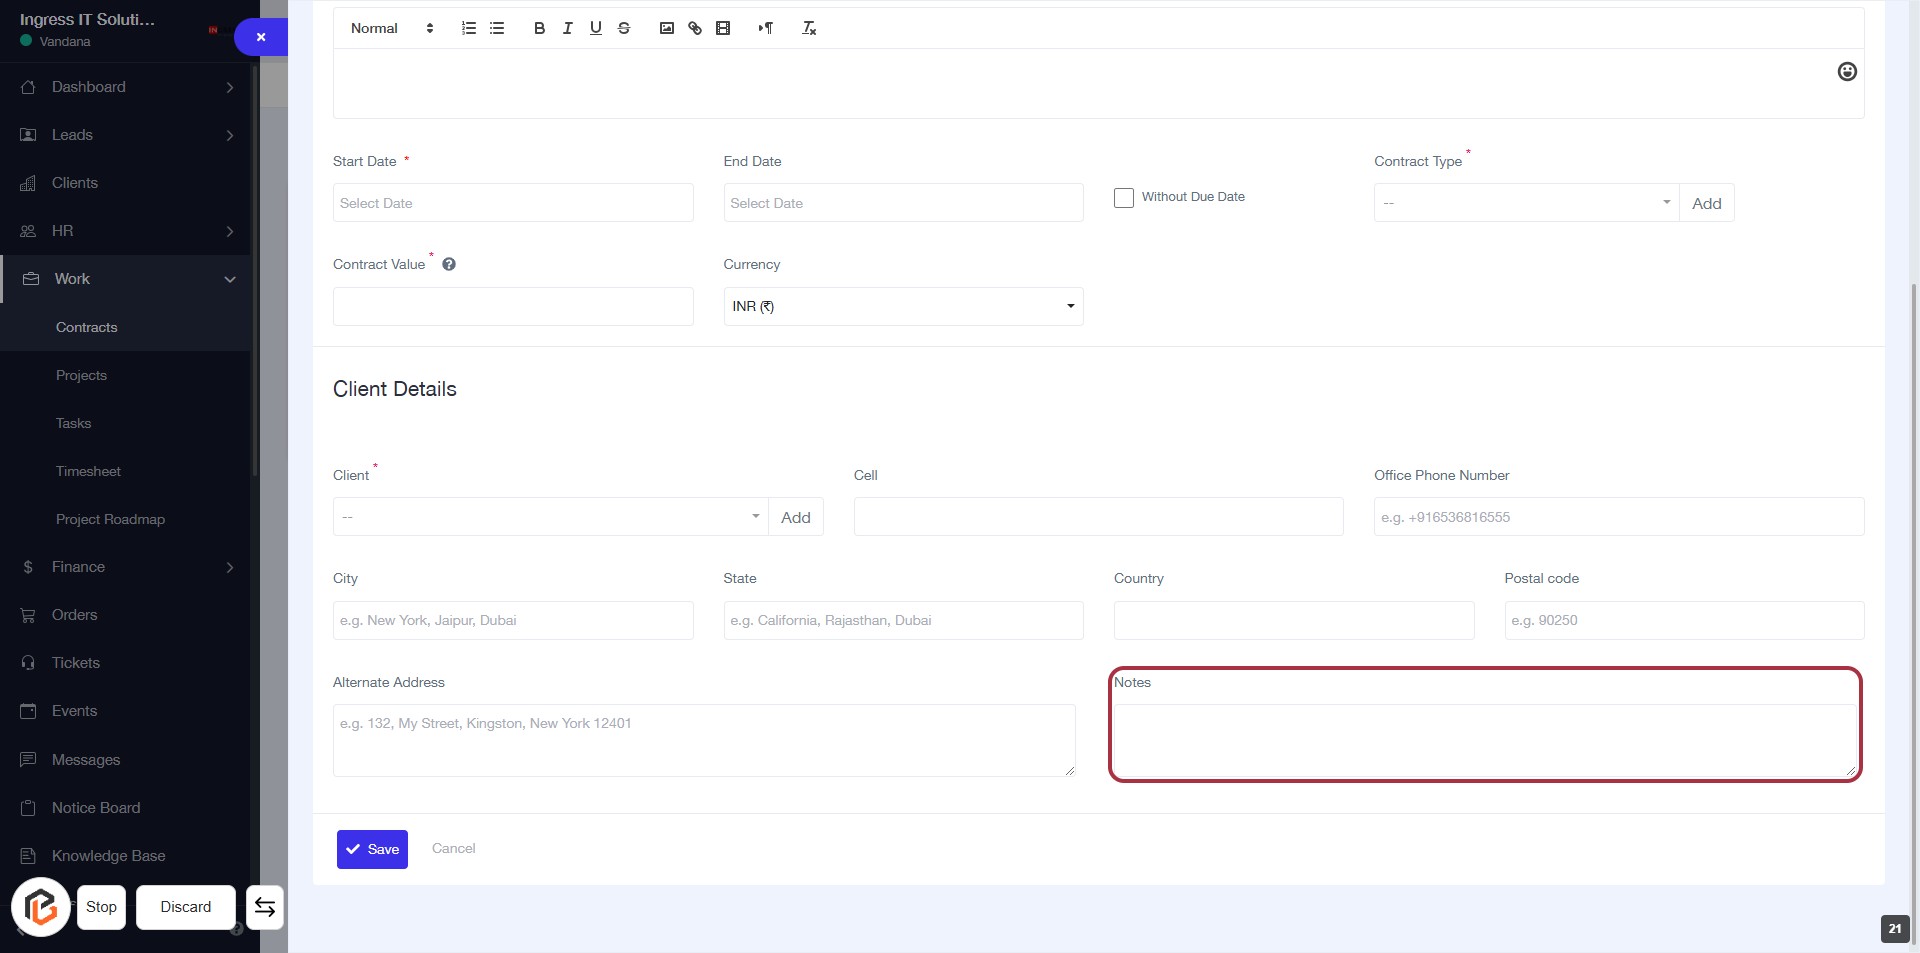
STEP 22: Click on "Notes" to Add Contextual Information
- Locate the "Notes" section highlighted in red.
- Click on the "Notes" area to begin entering your text.
- Provide any relevant information or context that may assist in understanding the contract.
- Ensure to fill in any required fields marked with an asterisk (*) before proceeding.
STEP 23: Click on "Save" to Finalize Your Contract
- Ensure all required fields marked with * are filled out.
- Review the details entered in the form.
- Click the Save button at the bottom of the form to save your contract.
- If you wish to cancel, click the Cancel button instead.