Step-by-Step Guide to Creating and Managing Projects in Your Dashboard
27 mins read · Updated 29 Sep, 2025
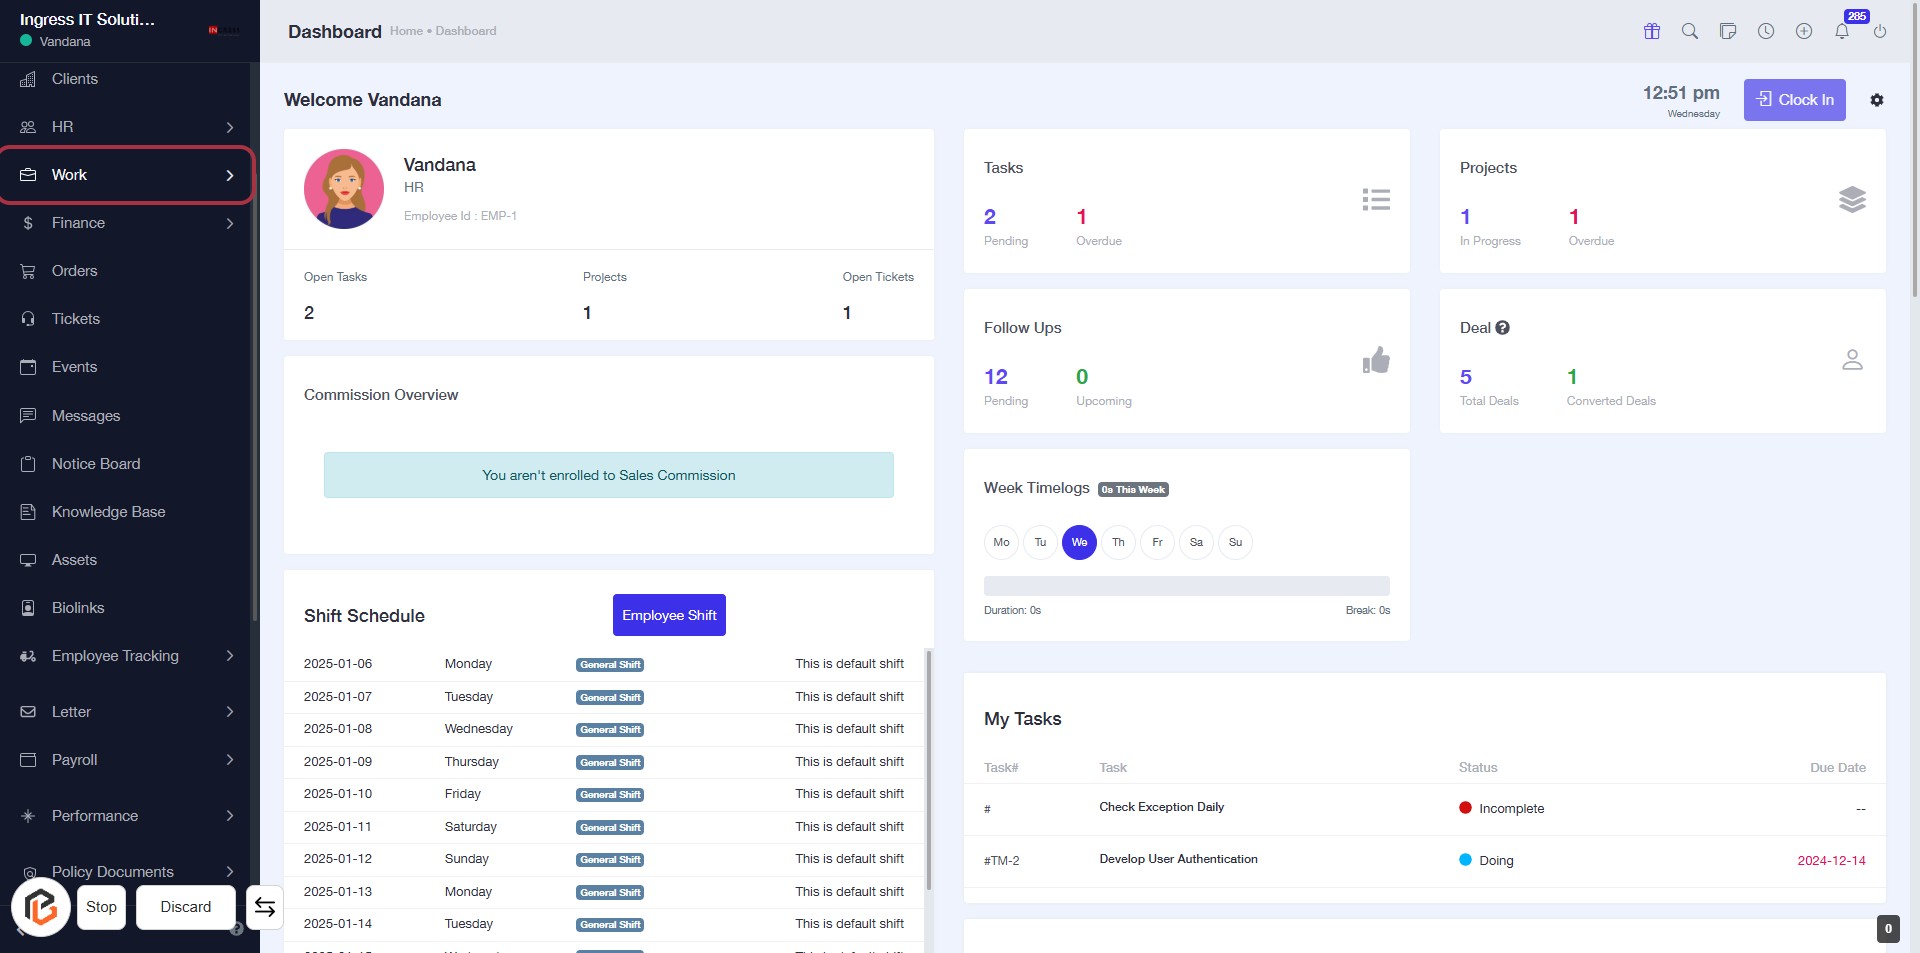
STEP 1: Click on "Work" to Access Your Dashboard
- Navigate to the sidebar menu on the left.
- Click on the Work link to view your work-related tasks and projects.
- Ensure you are on the Dashboard page to see your current status and updates.
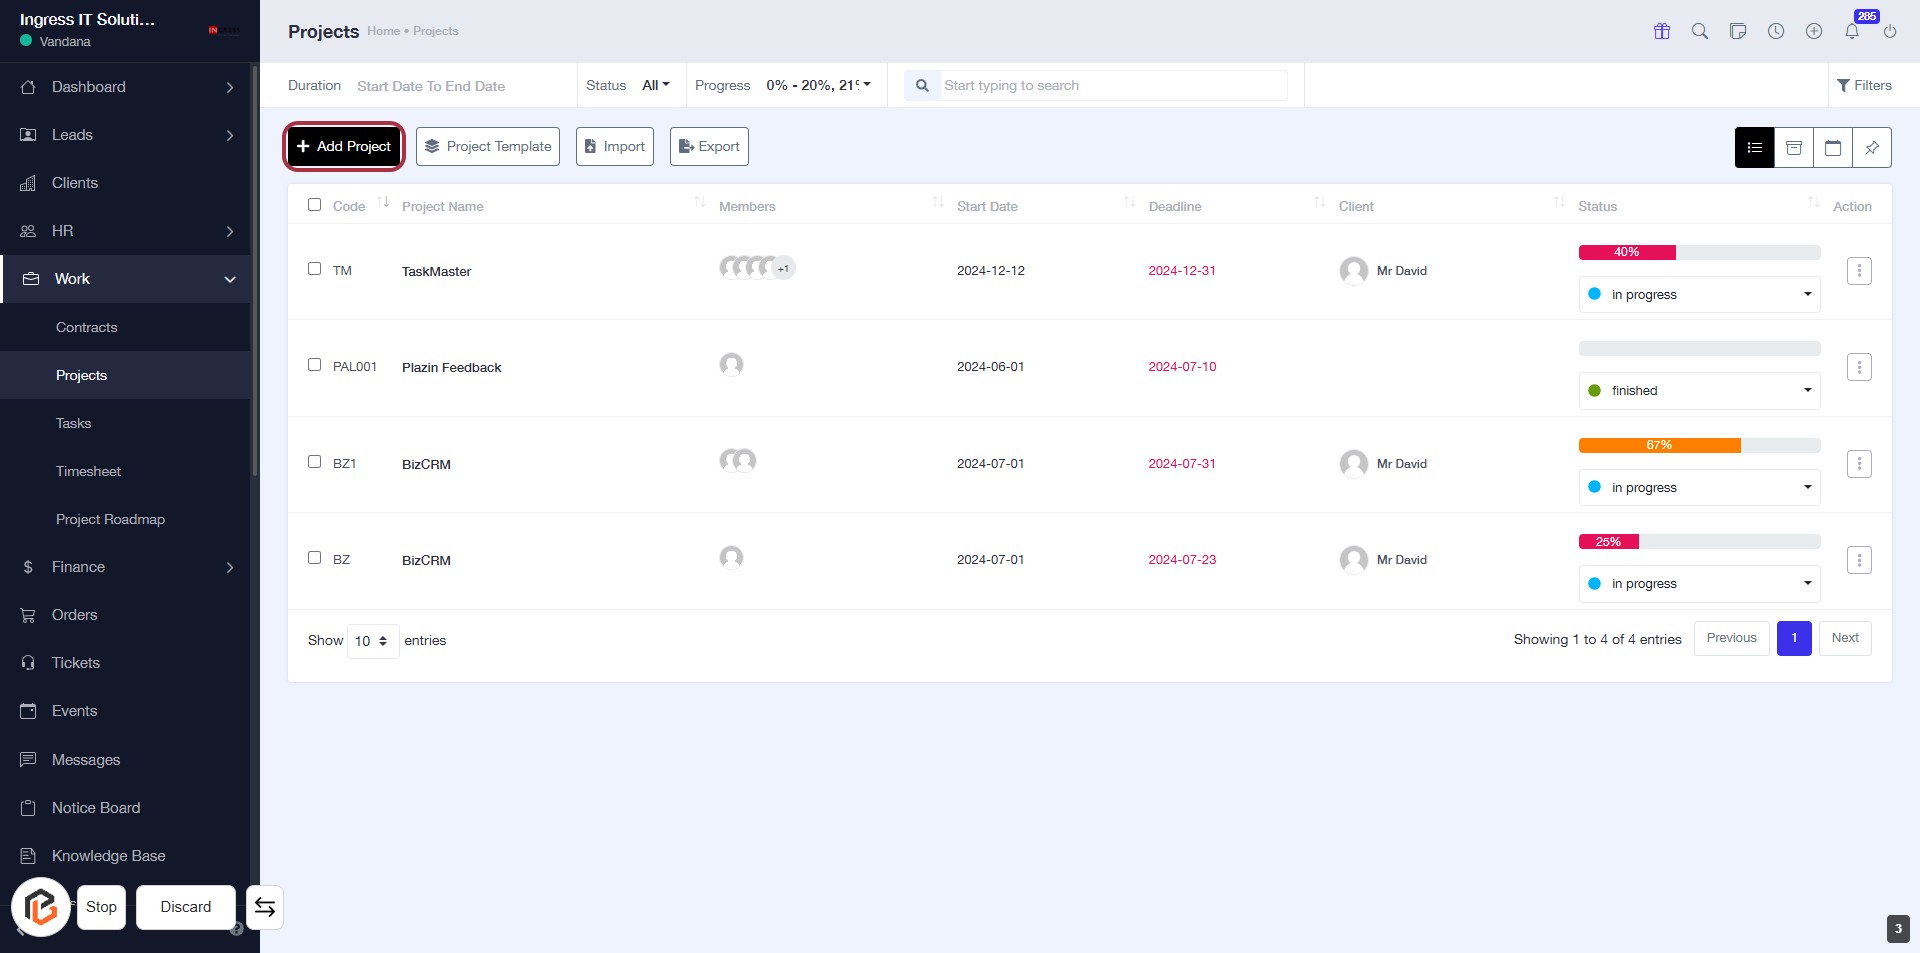
STEP 2: Click on "Projects" to Access Project Overview
- Navigate to the left sidebar and locate the "Projects" option.
- Click on the "Projects" link to view your project details.
- Ensure you are on the dashboard to access the project overview effectively.
- After clicking, you will be directed to the project management section where you can manage your projects.

STEP 3: Click on "Add Project" to Begin Project Creation
- Navigate to the "Projects" page.
- Click on the Add Project link located at the top left of the project list.
- This action will initiate the project creation process.
- Ensure to fill in all required fields marked with an asterisk (*) in the next step.
STEP 4: Enter "Short Code" for the Project
- Click on the "Short Code" field in the project details form.
- Input a unique short code for the project (this is a required field).
- Ensure the short code is distinct to avoid confusion with other projects.
- Review other fields for completion before proceeding to the next step.
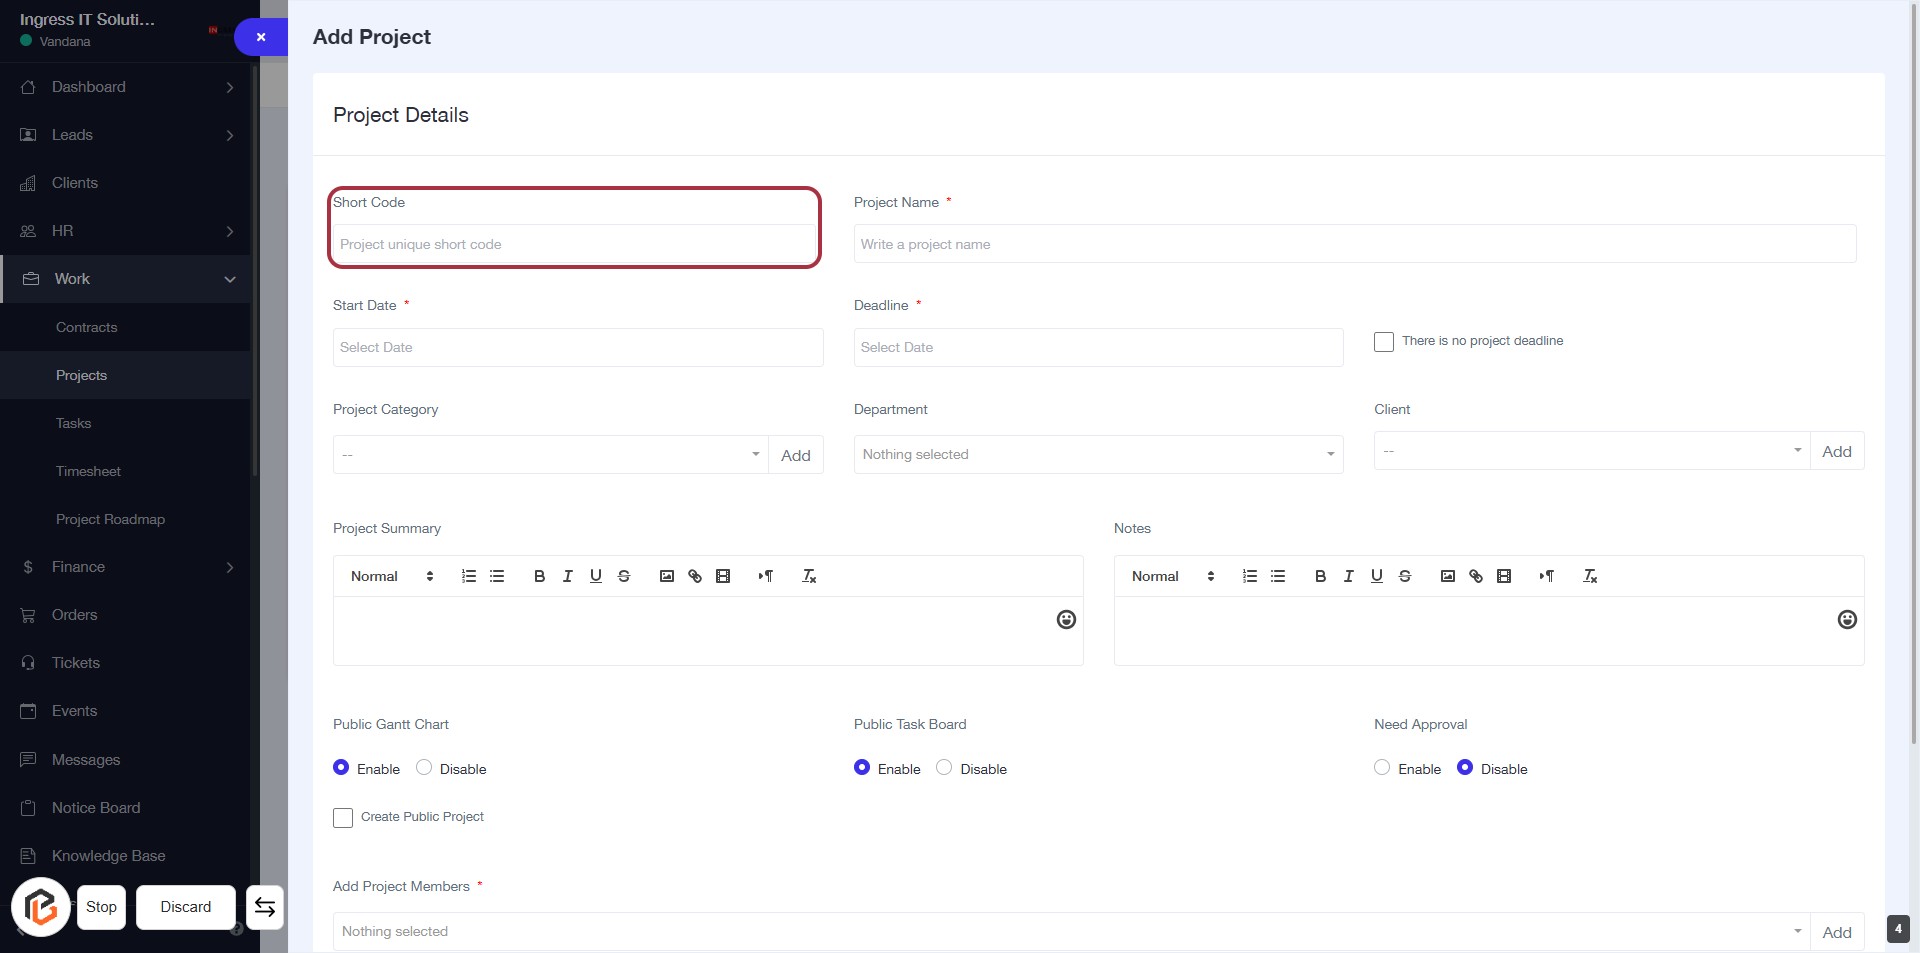
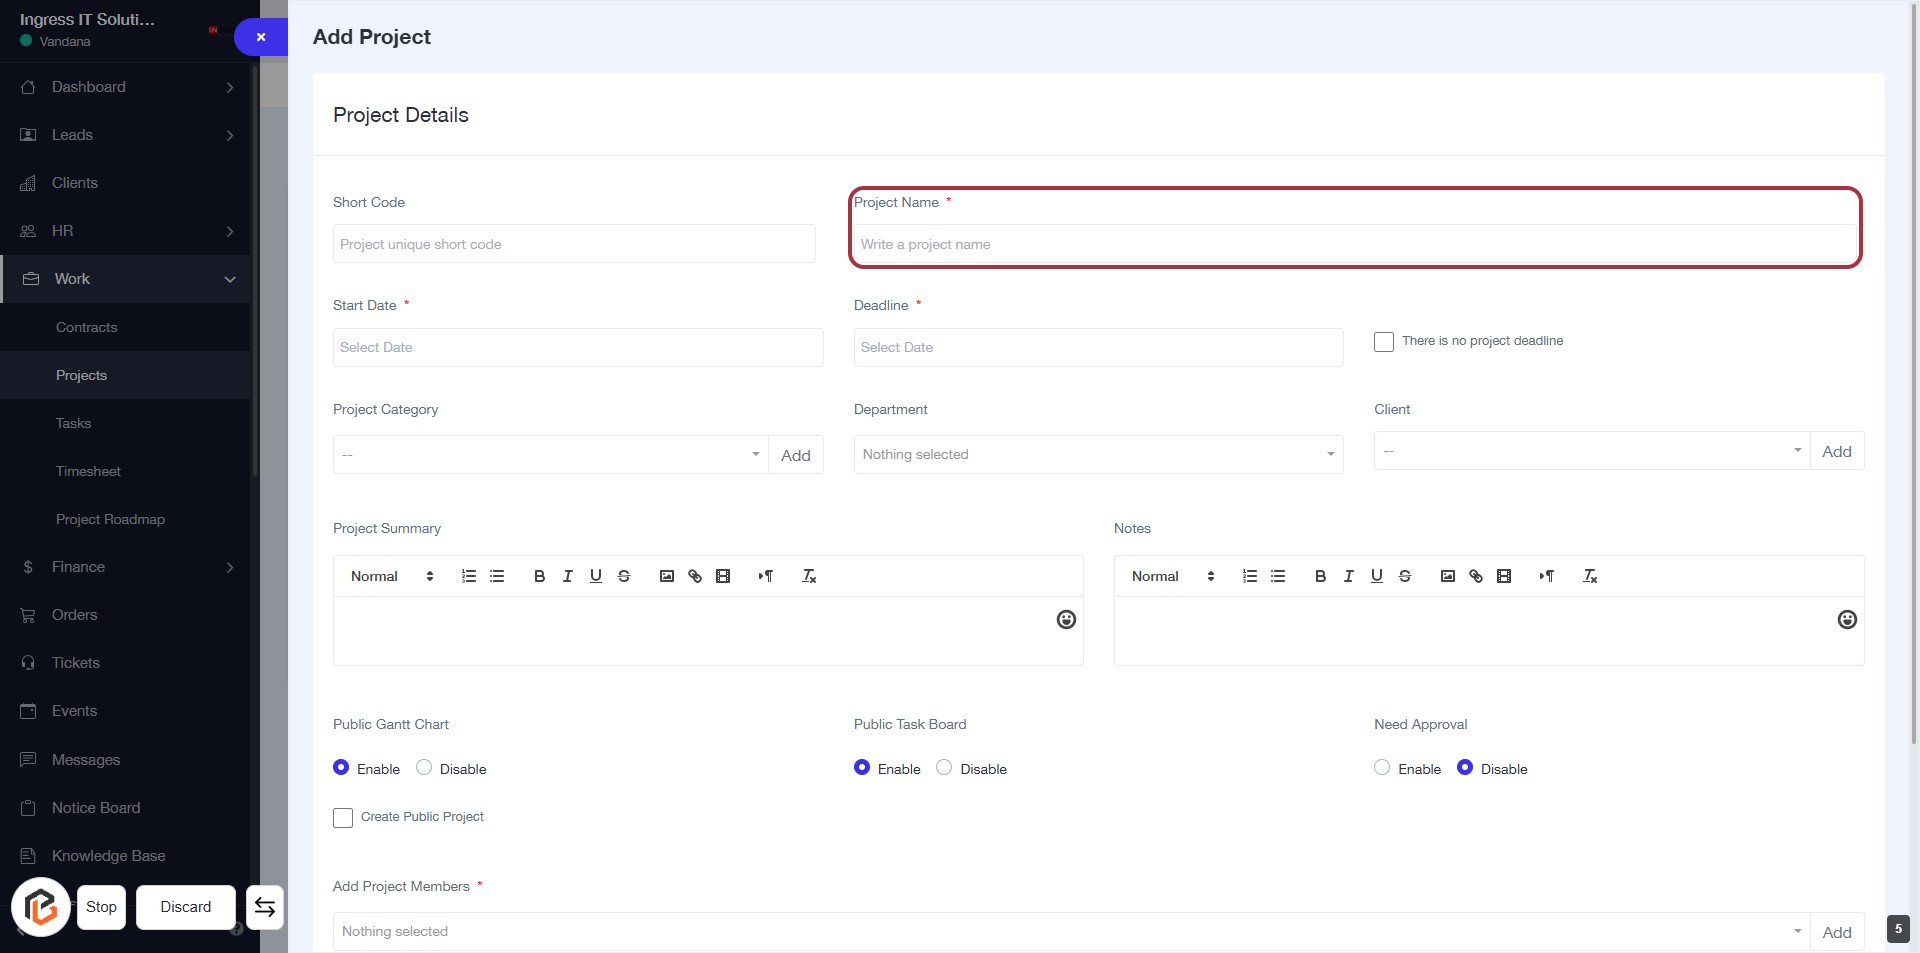
STEP 5: Enter "Project Name"
- Click on the "Project Name" field (highlighted in red).
- Enter the desired name for your project (this field is mandatory, indicated by the asterisk).
- Ensure the name is descriptive to reflect the project's purpose.
- Proceed to the next step by selecting the "Start Date."
STEP 6: Select "Start Date"
- Click on the "Start Date" field (marked with an asterisk) to initiate the date selection.
- Ensure to choose a valid start date for your project.
- After selecting the date, proceed to the next step by selecting the "Deadline" field.

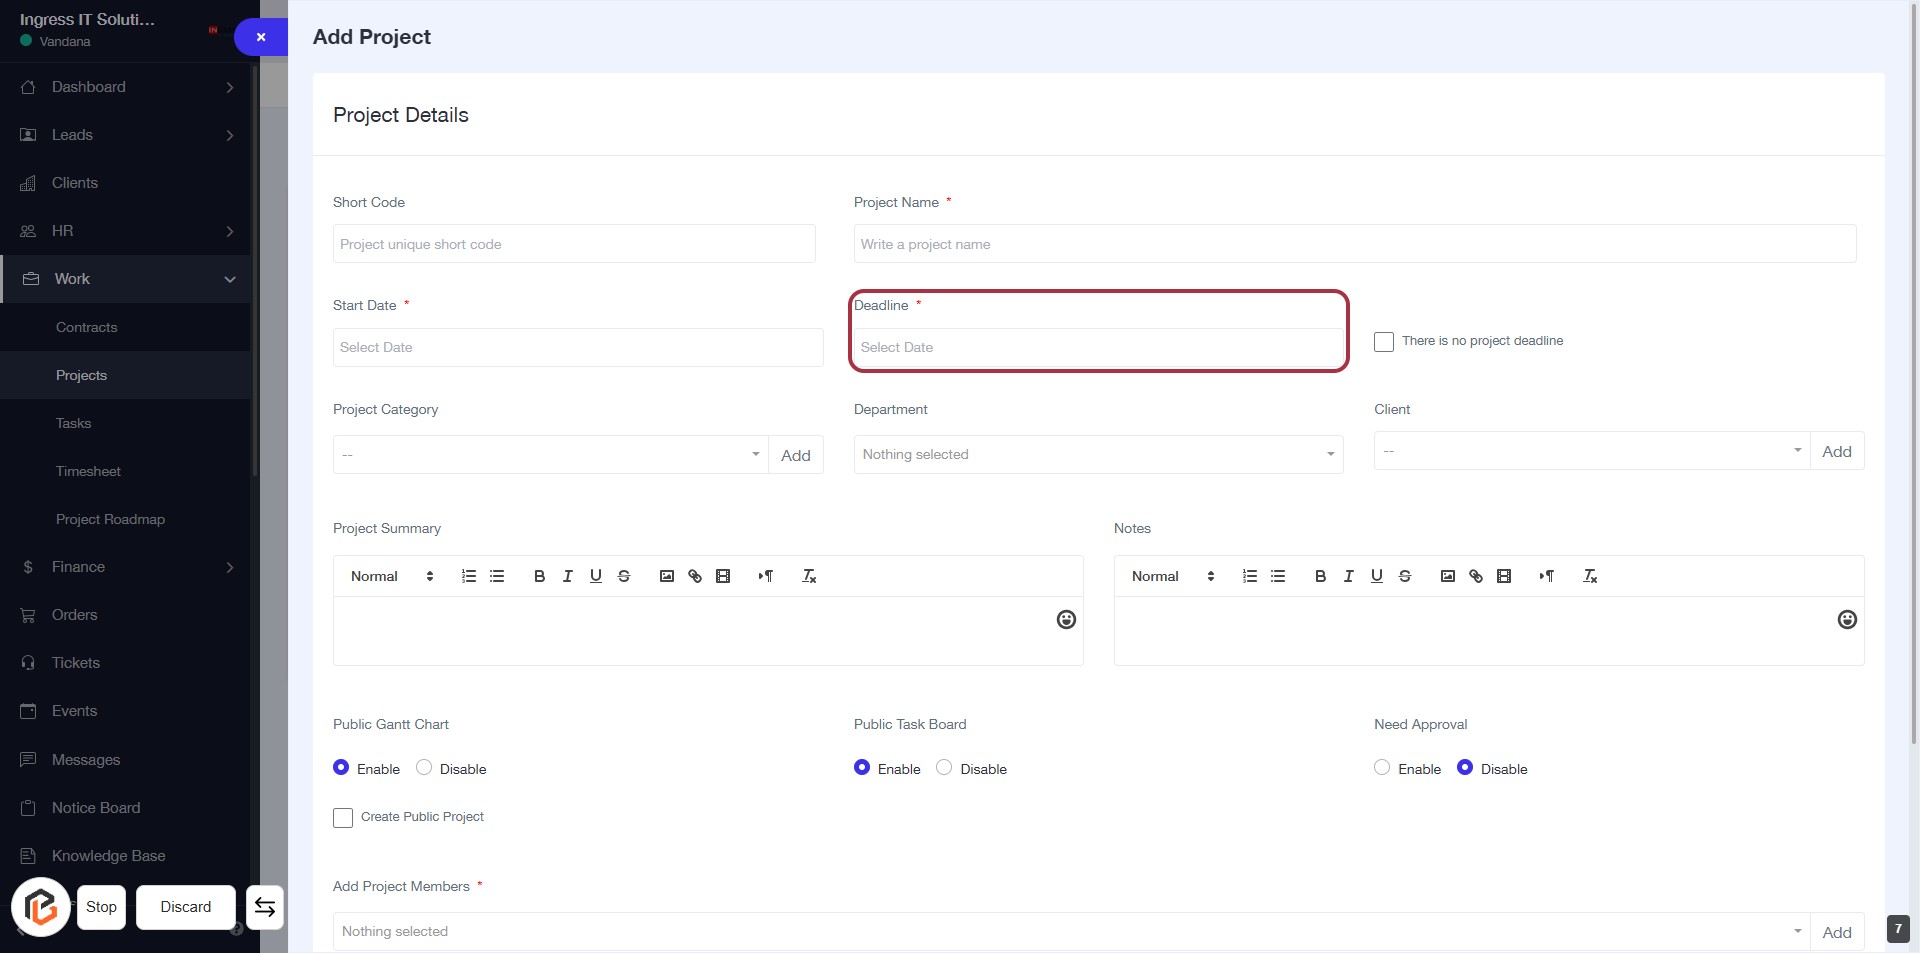
STEP 7: Select "Deadline"
- Click on the "Deadline" field to open the date selection.
- Ensure to fill in the required information marked with an asterisk (*).
- Review other fields such as "Project Name," "Start Date," and "Department" for completeness.
- Proceed to the next step by clicking on "There is no project deadline" if applicable.
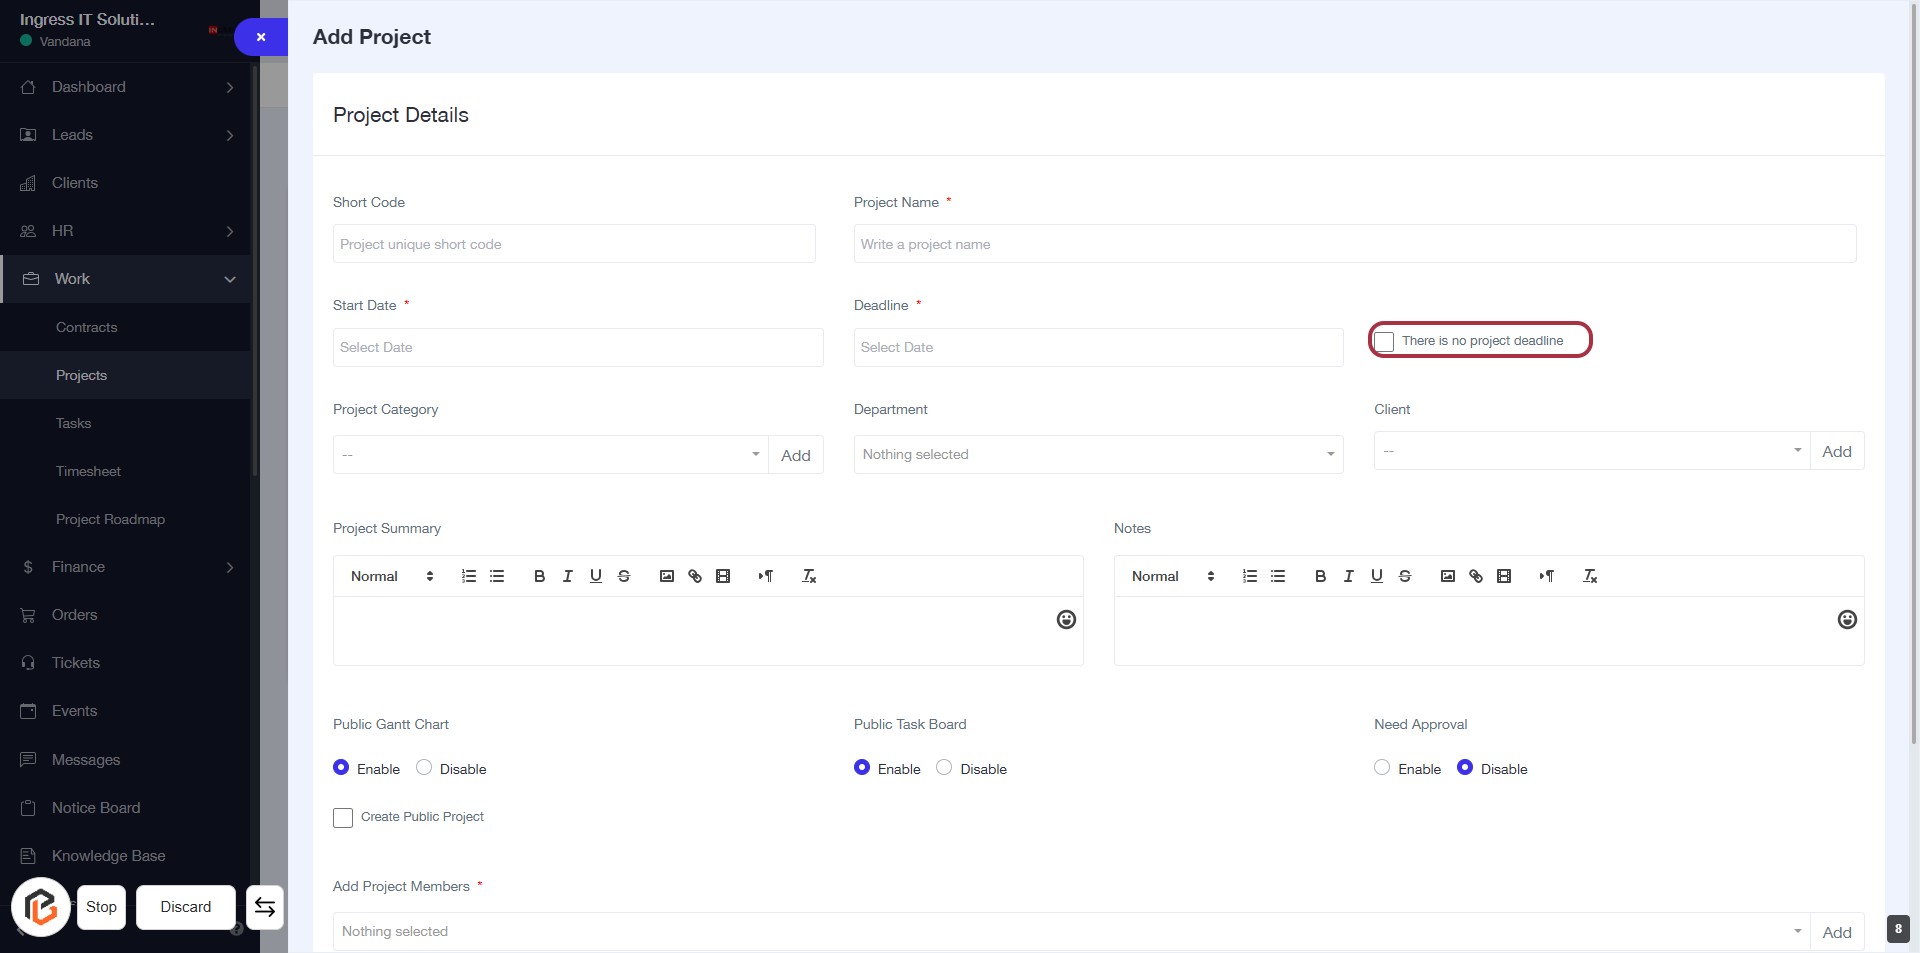
STEP 8: Click on "There is no project deadline"
- Click on the checkbox labeled "There is no project deadline" to indicate that the project does not have a deadline.
- Ensure that other required fields, such as Project Name and Start Date, are filled out before proceeding.
- Review the form for any additional optional inputs marked with an asterisk (*).
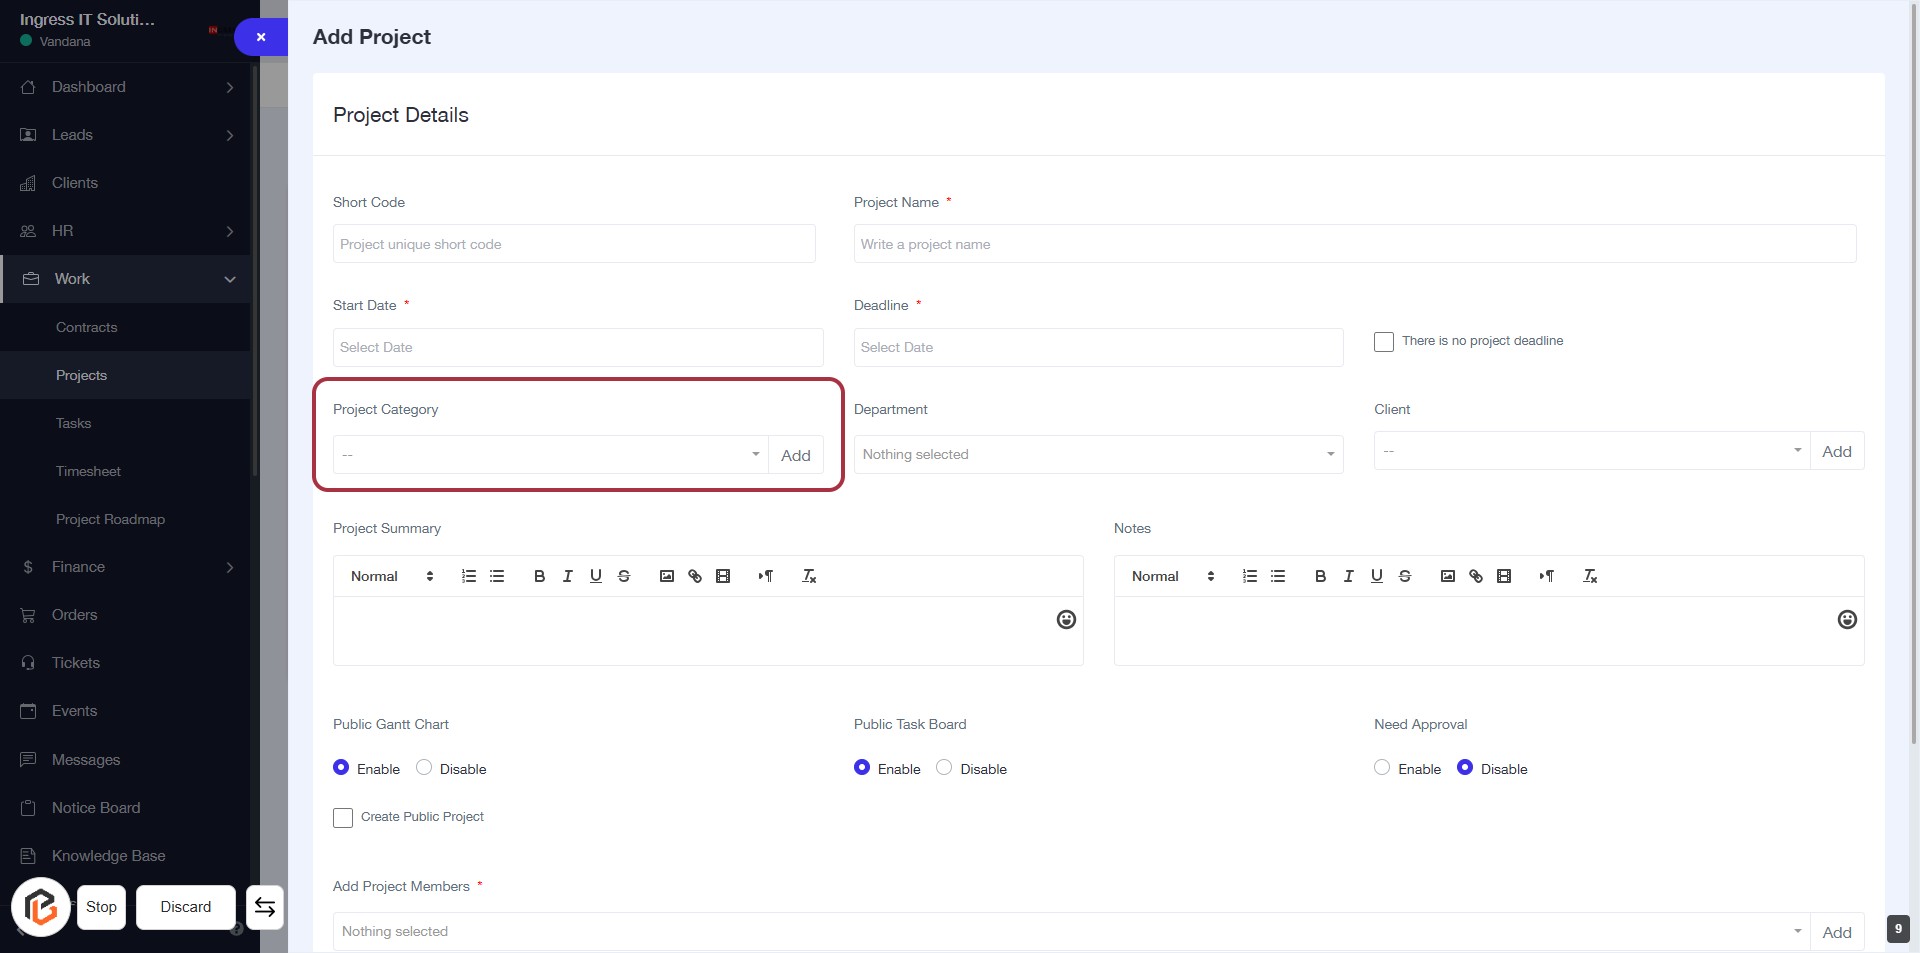
STEP 9: Click on "Project Category"
- Locate the "Project Category" section in the form.
- Click on the area to open the dropdown menu.
- Select the appropriate category from the list.
- Ensure all required fields marked with '*' are filled out.
- Proceed to the next step by selecting "Department."
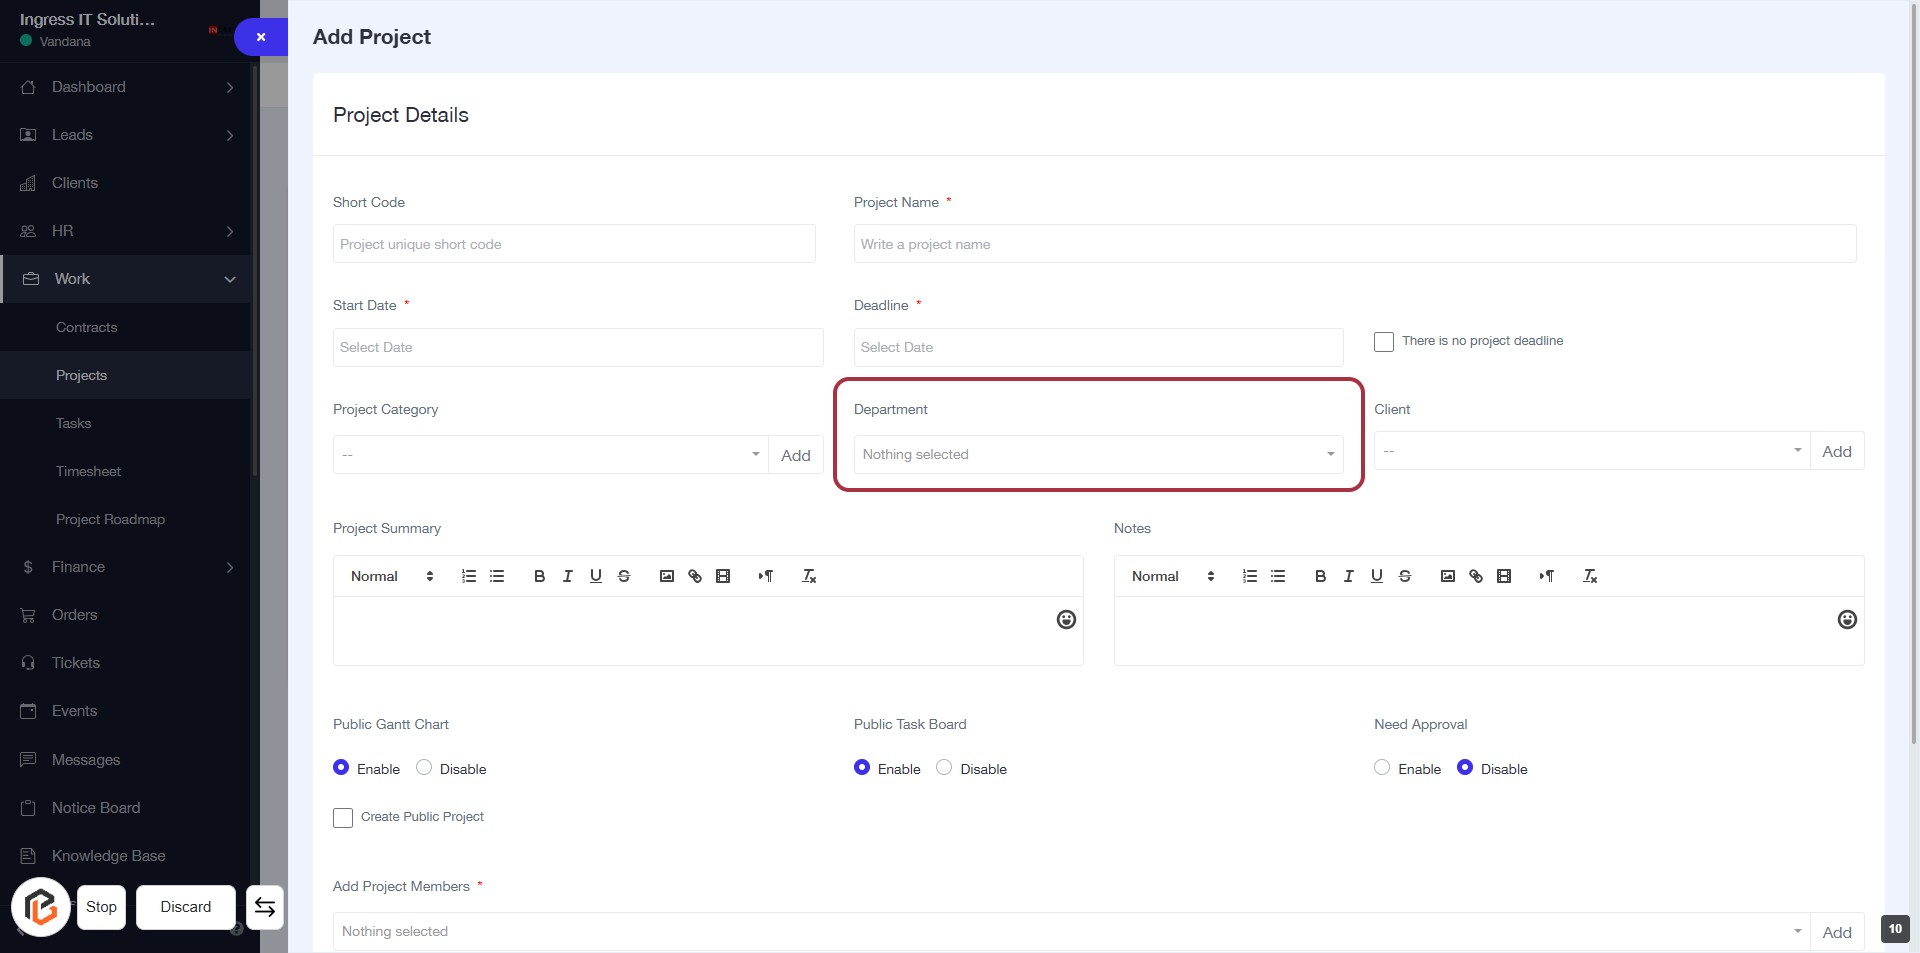
STEP 10: Select "Department"
- Click on the "Department" dropdown to choose a department for the project.
- Ensure that you select a valid department from the list.
- This field is required; look for the asterisk (*) next to the label.
- After selection, proceed to the next step to add a client.
STEP 11: Click "Client" to Add Client Information
- Navigate to the "Client" section in the form.
- Click on the "Client" dropdown to view available options.
- Select the appropriate client from the list or enter a new client name.
- Ensure all required fields marked with an asterisk (*) are completed before proceeding.

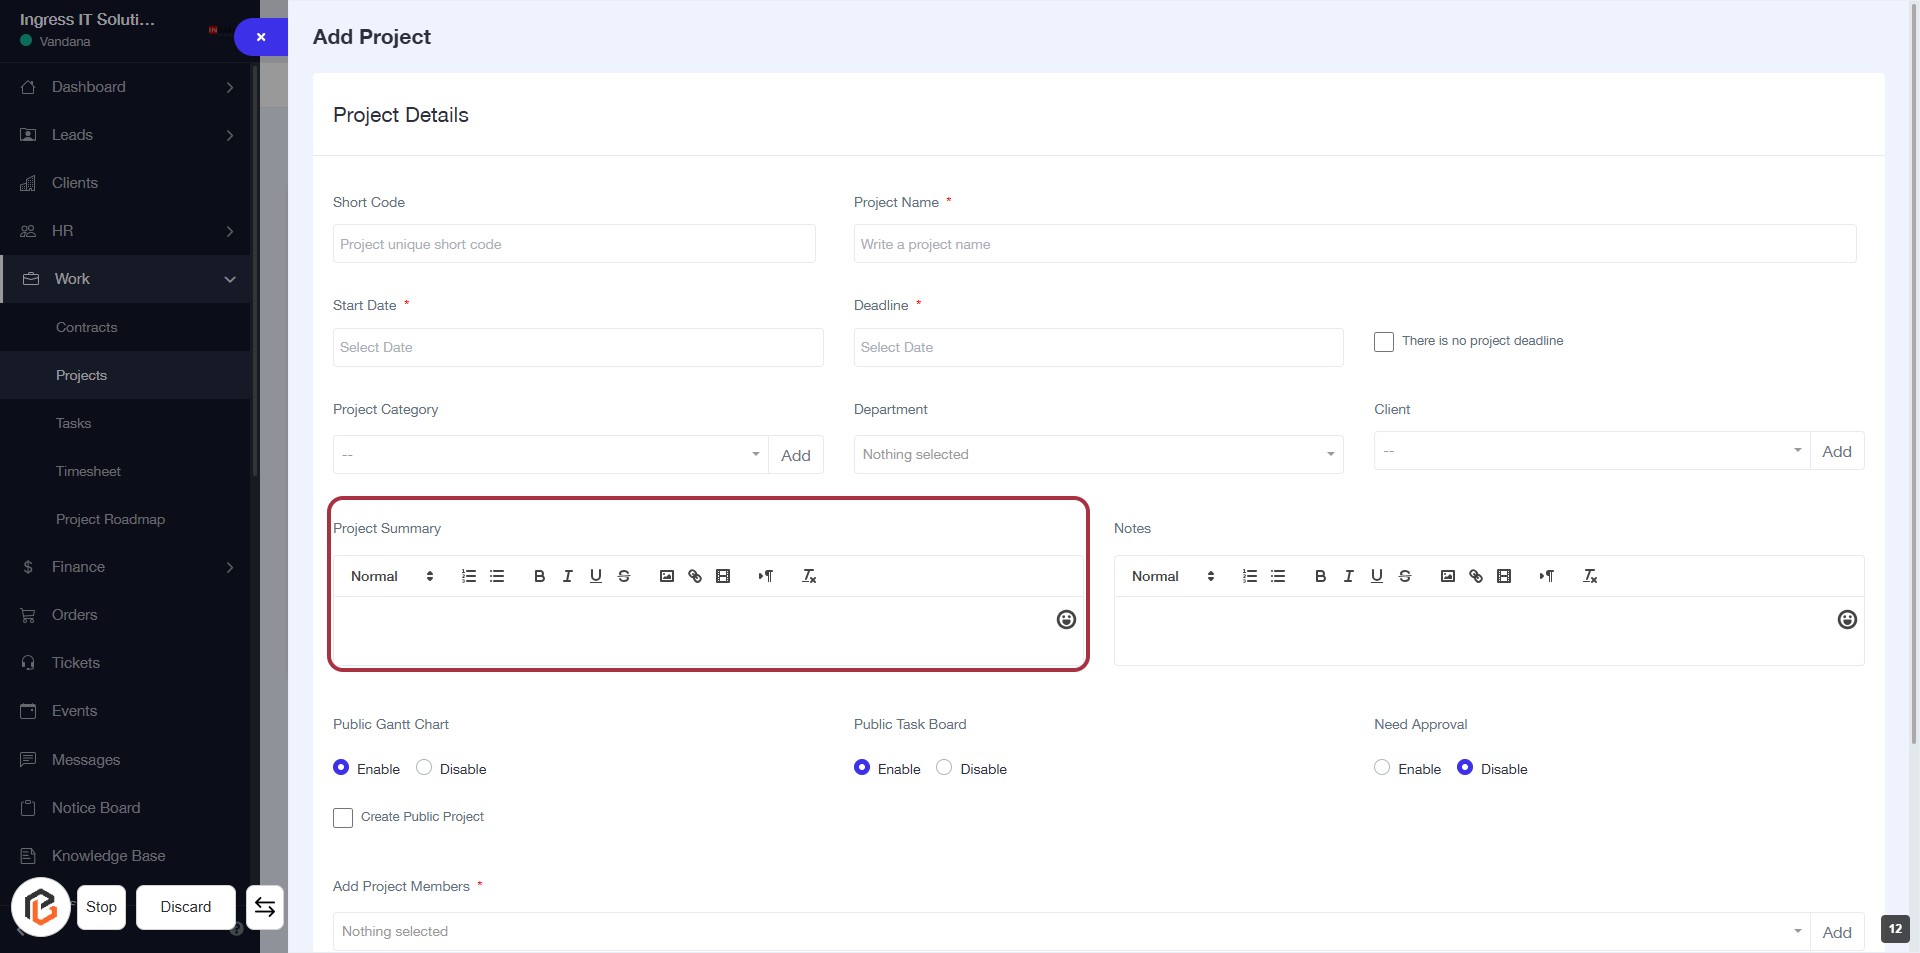
STEP 12: Fill Project Summary
- Click on the "Project Summary" field to enter details about the project.
- Use the text editor to format your summary as needed.
- Ensure all required fields marked with an asterisk (*) are filled out before proceeding.
- Review your input for clarity and completeness.
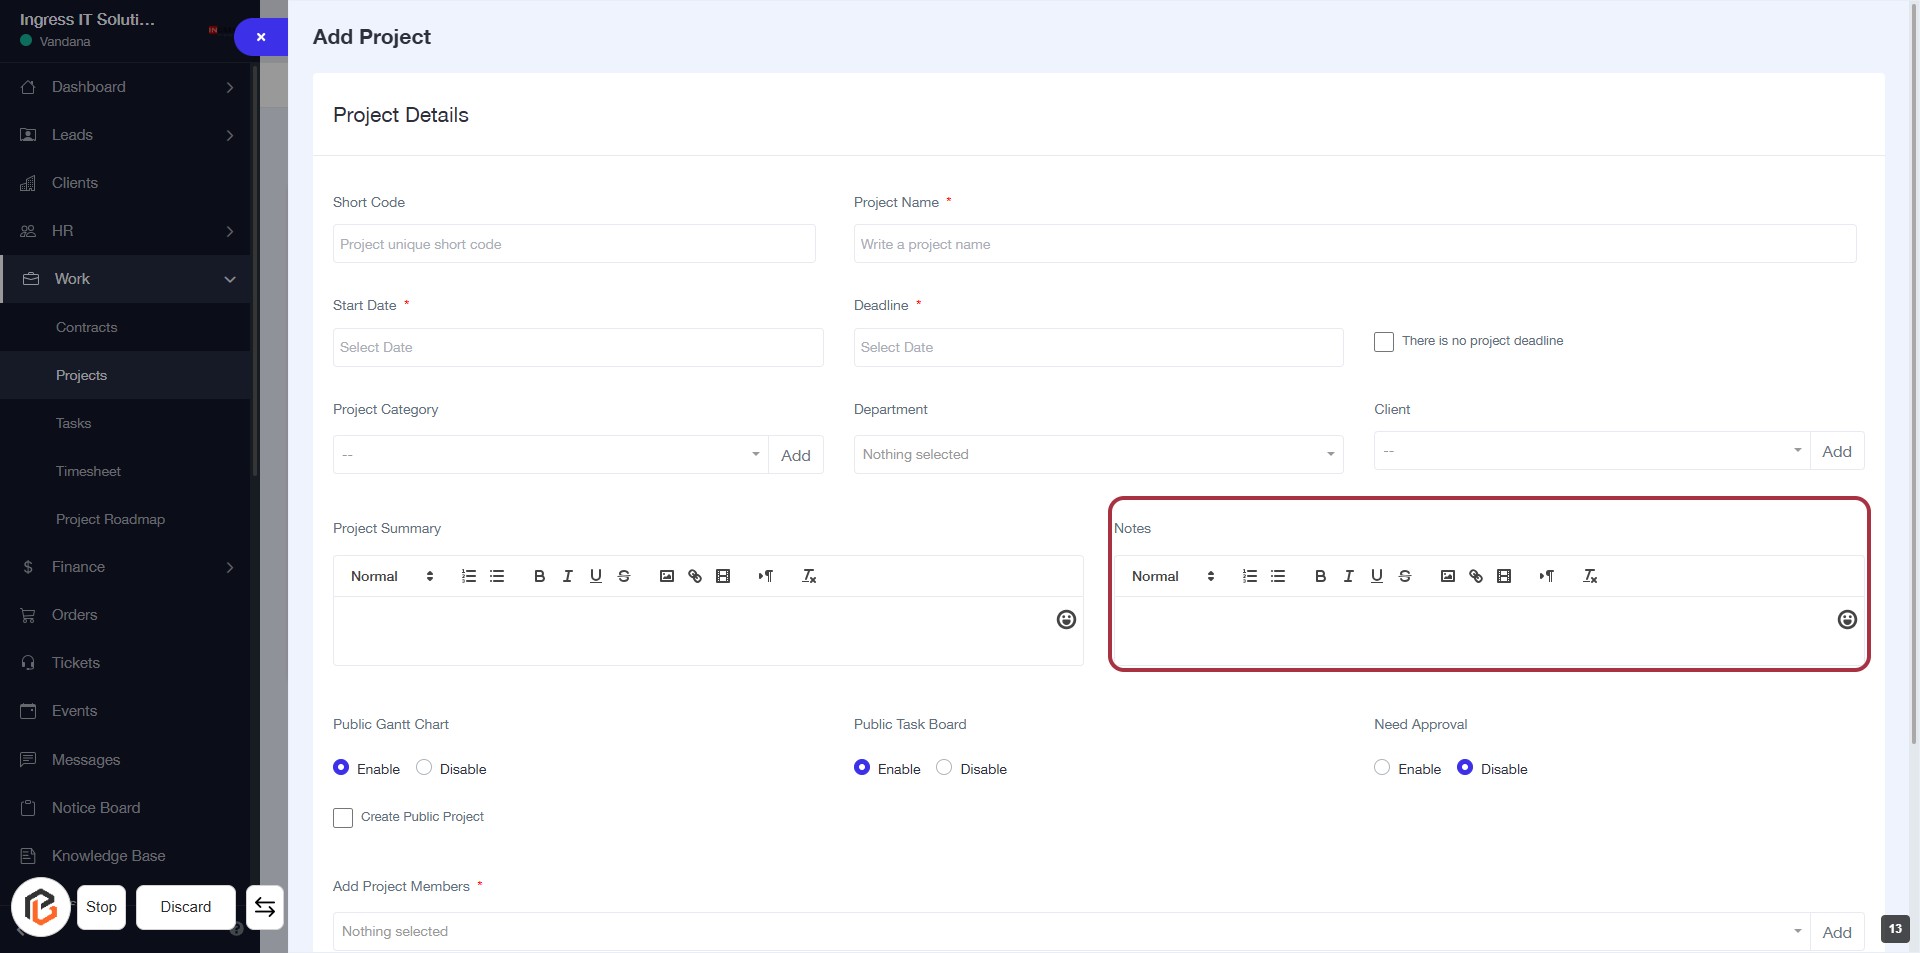
STEP 13: Click "Notes" to Add Contextual Information
- Locate the "Notes" section in the project details form.
- Click on the highlighted area to open the notes editor.
- Enter any relevant notes for context.
- Use formatting options as needed (bold, italic, etc.).
- Ensure all required fields are completed before proceeding.
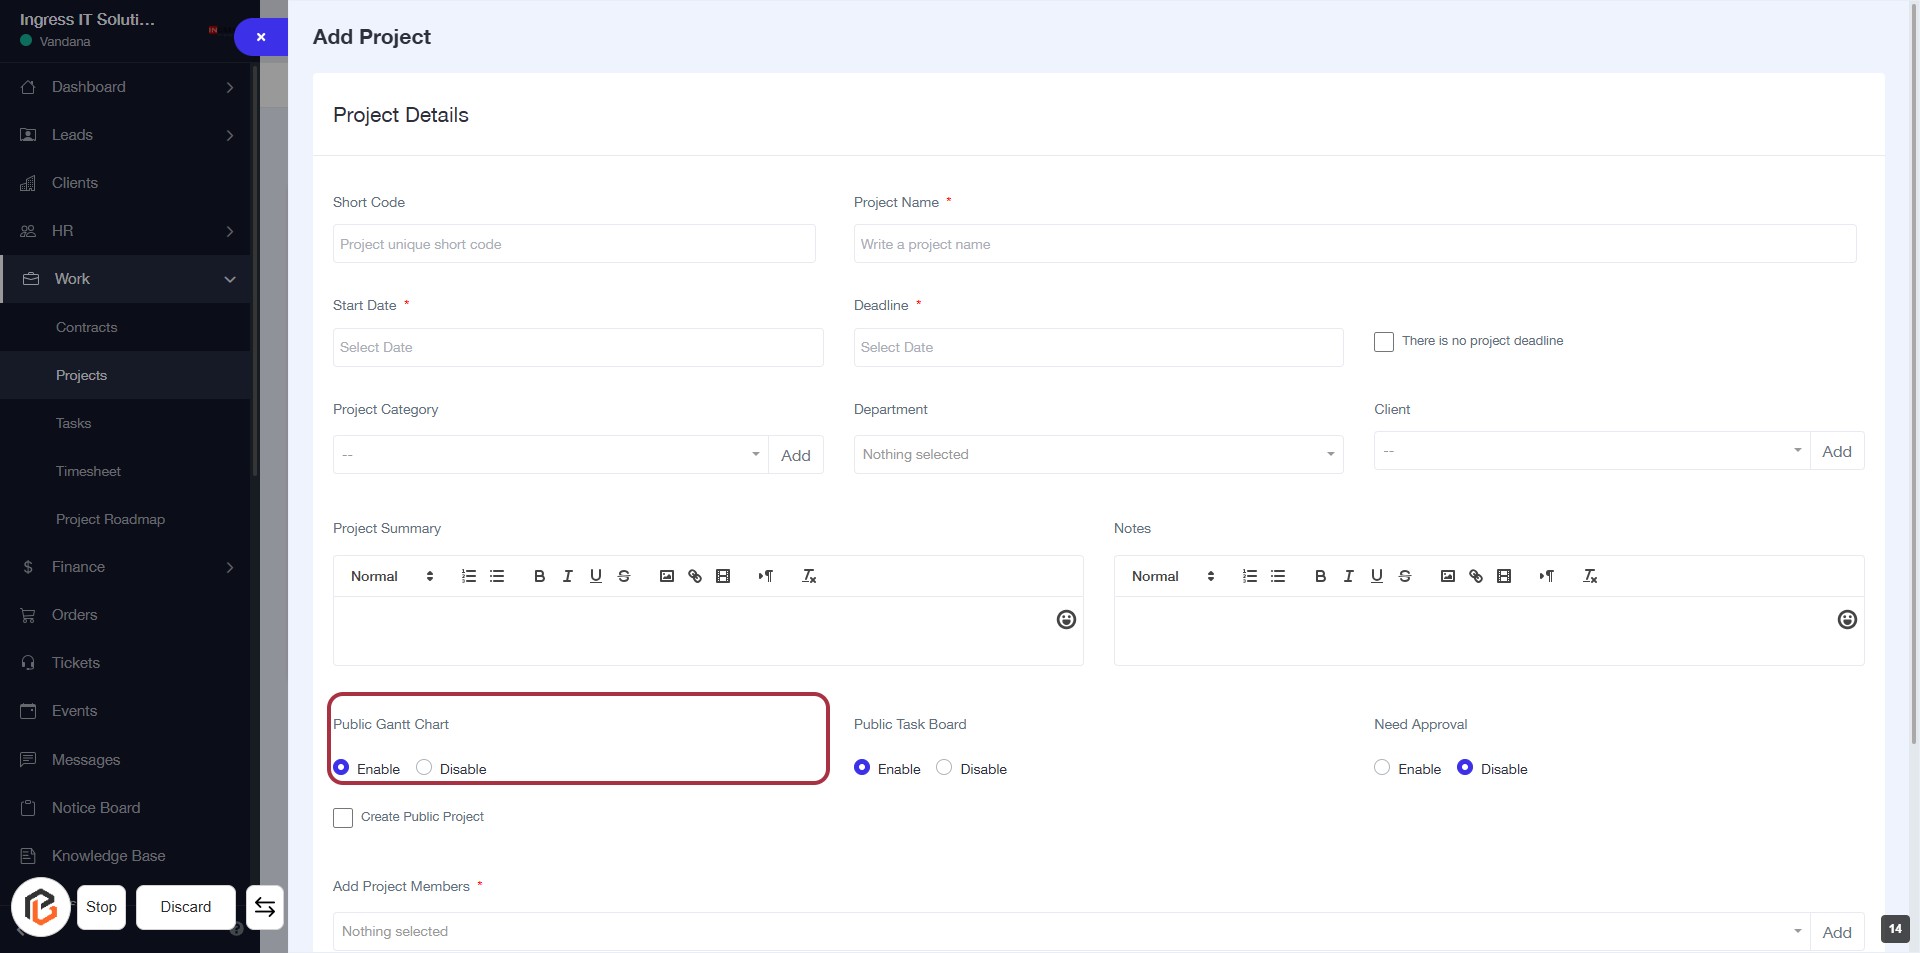
STEP 14: Enable "Public Gantt Chart"
- Click on the Public Gantt Chart option in the project details form.
- Choose between Enable or Disable to set the Gantt chart visibility.
- Ensure all required fields marked with an asterisk (*) are filled out before proceeding.
- Review your selections before moving to the next step.
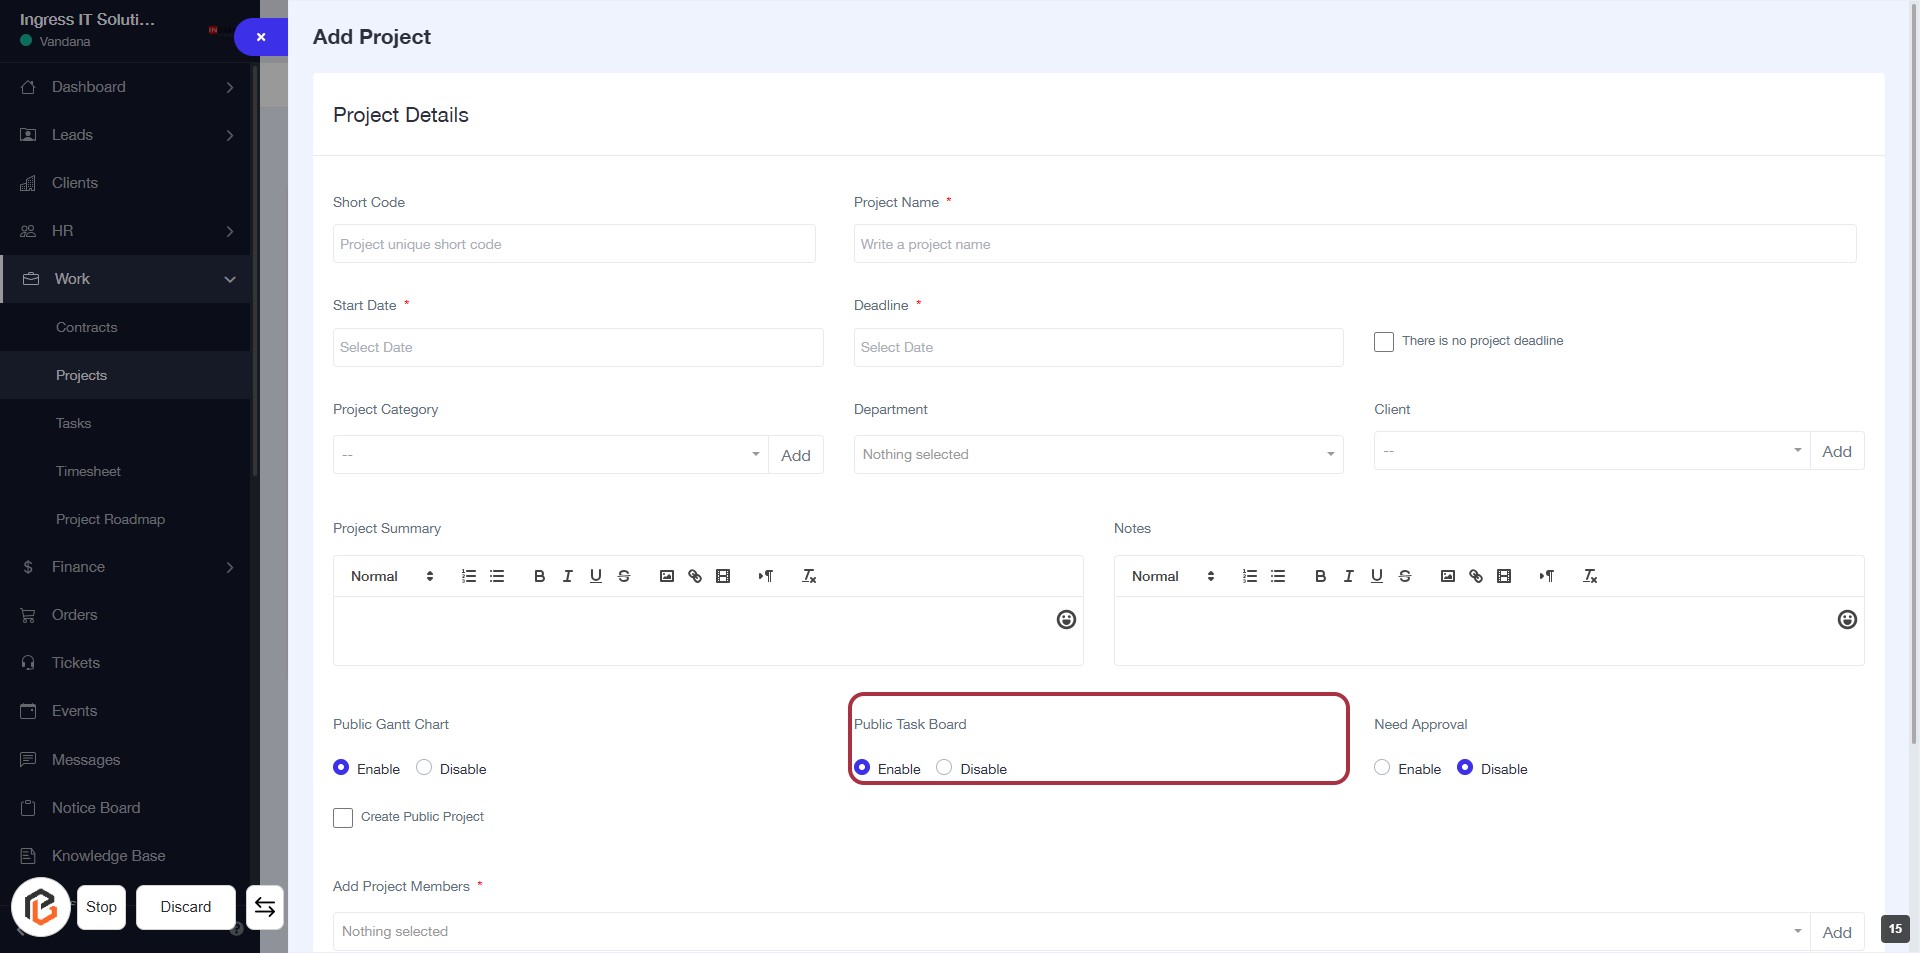
STEP 15: Click to Enable "Public Task Board"
- Locate the "Public Task Board" section highlighted in red.
- Click on the "Enable" option to activate the Public Task Board feature.
- Ensure that the selection is saved before proceeding to the next step.
- Review other project details as needed.
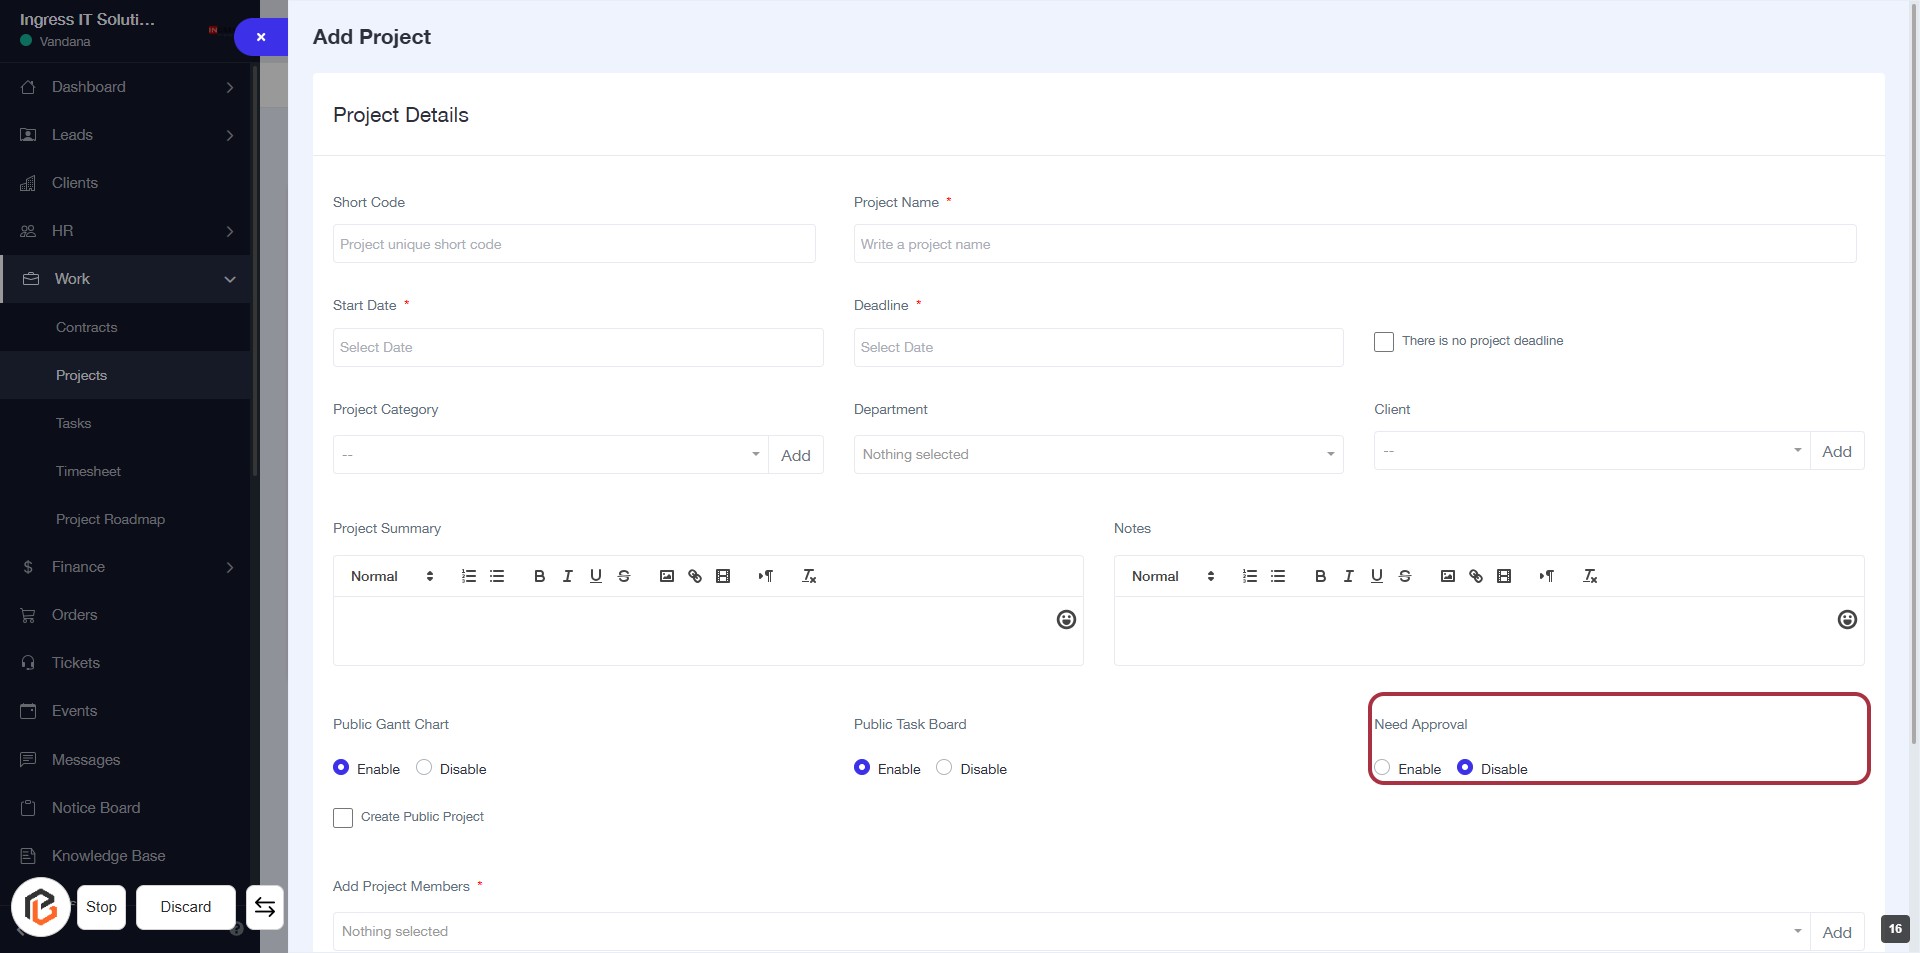
STEP 16: Enable "Need Approval"
- Click on the "Need Approval" section highlighted in red.
- Choose between "Enable" or "Disable" options for project approval.
- Ensure all required fields in the form are filled out before proceeding.
- Review your selections before moving to the next step.
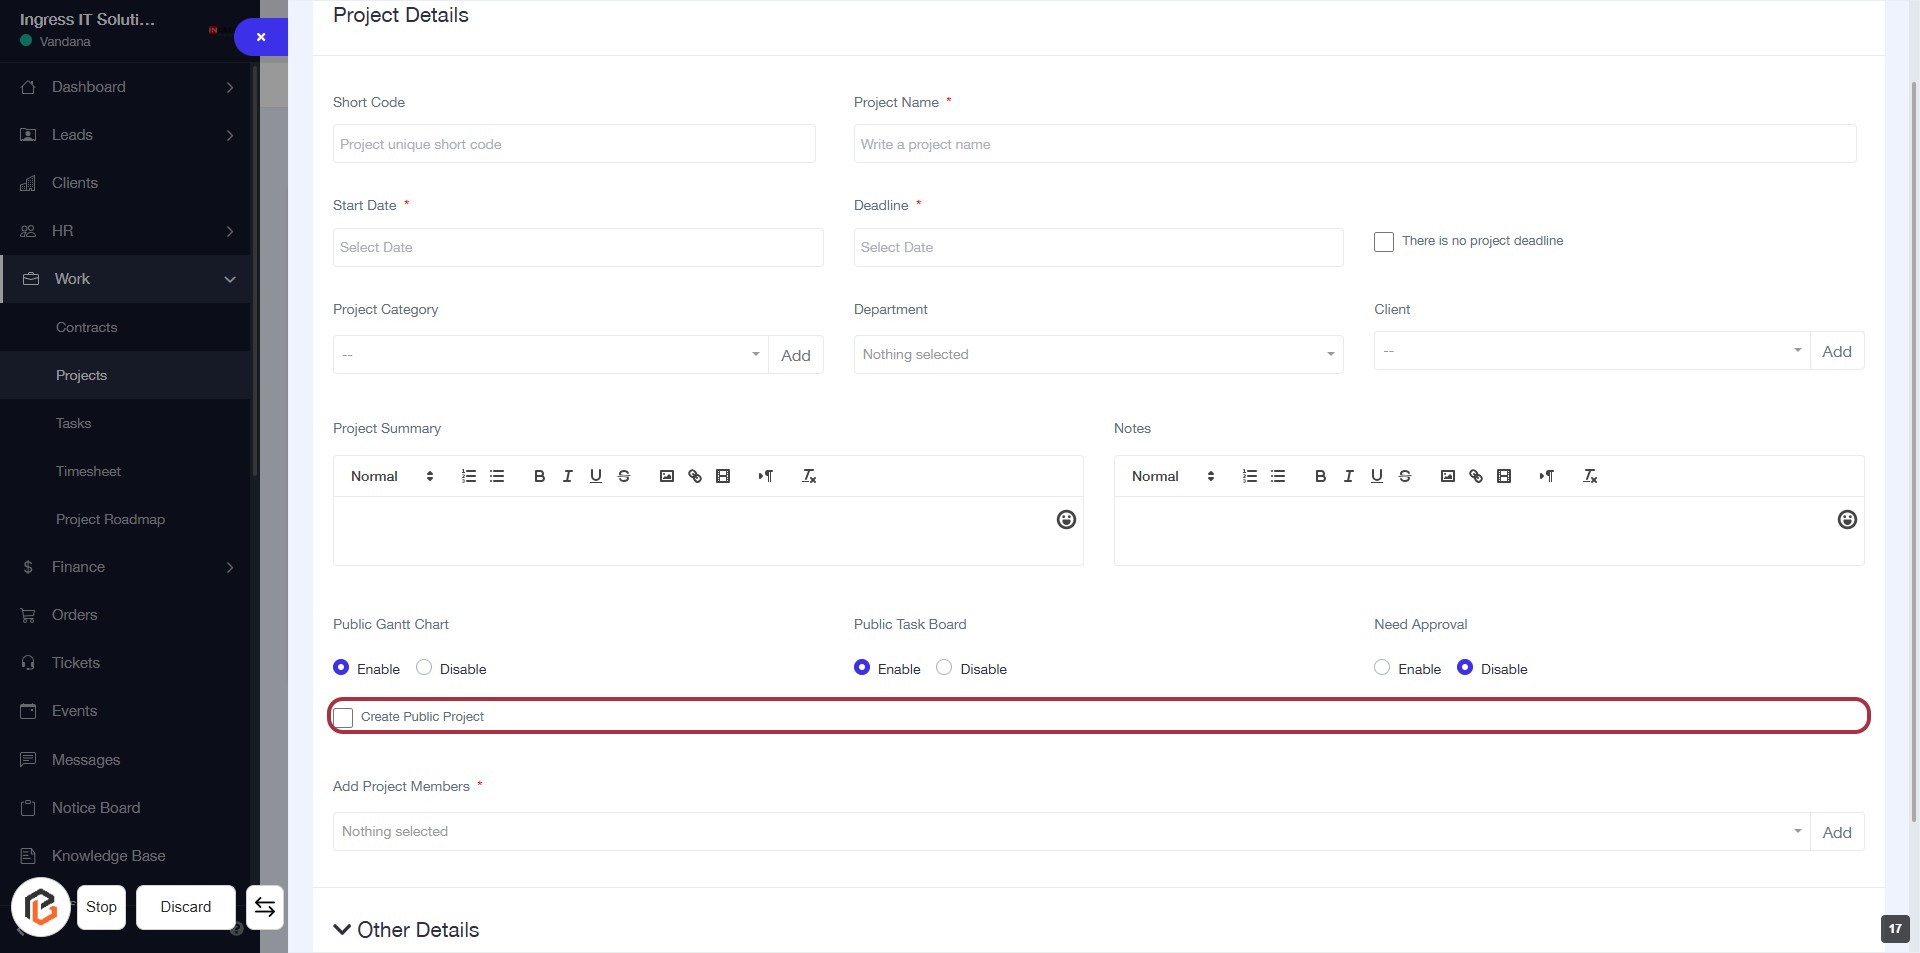
STEP 17: Click on "Create Public Project"
- Locate the "Create Public Project" option highlighted in red.
- Ensure that you have filled out all required fields above this section.
- Click on the "Create Public Project" area to enable this feature for your project.
- Review any additional settings related to public visibility before proceeding.
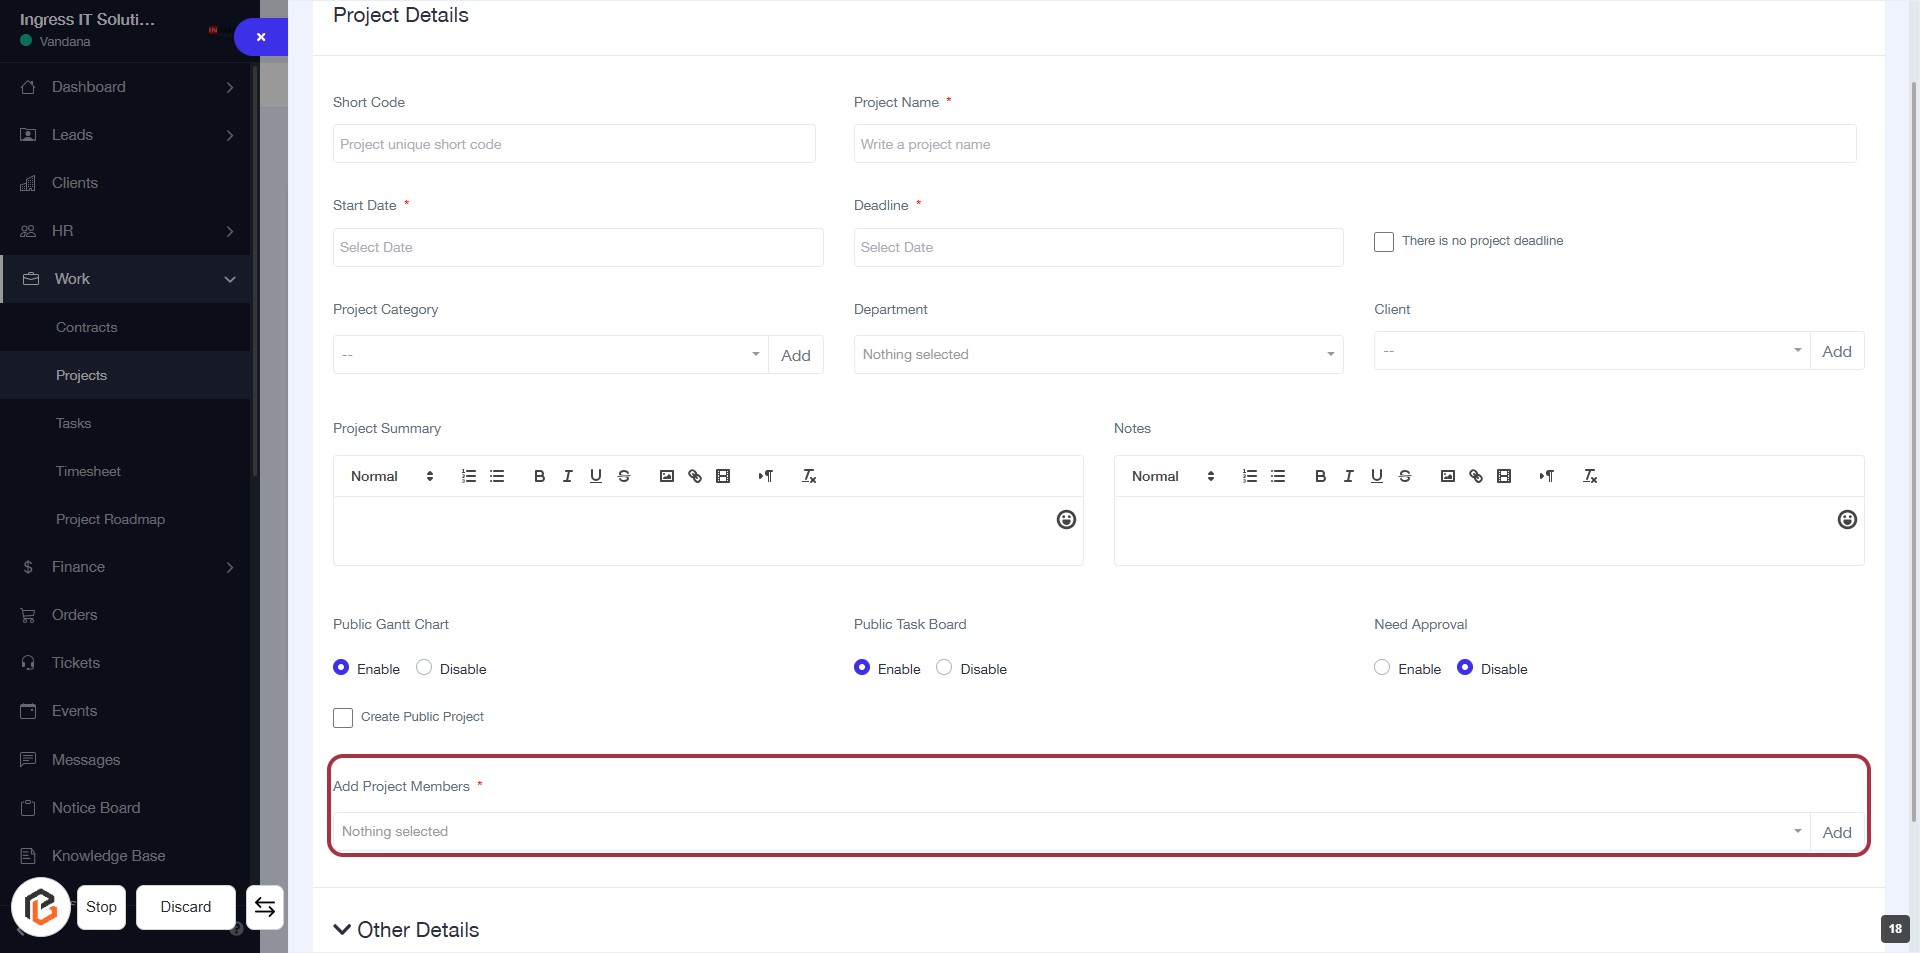
STEP 18: Click on "Add Project Members"
- Navigate to the "Add Project Members" section highlighted in red.
- This field is mandatory (indicated by the asterisk).
- Click to select members from the dropdown list.
- Ensure all required fields above are filled before proceeding.
- After adding members, continue to the next step by clicking "Other Details."
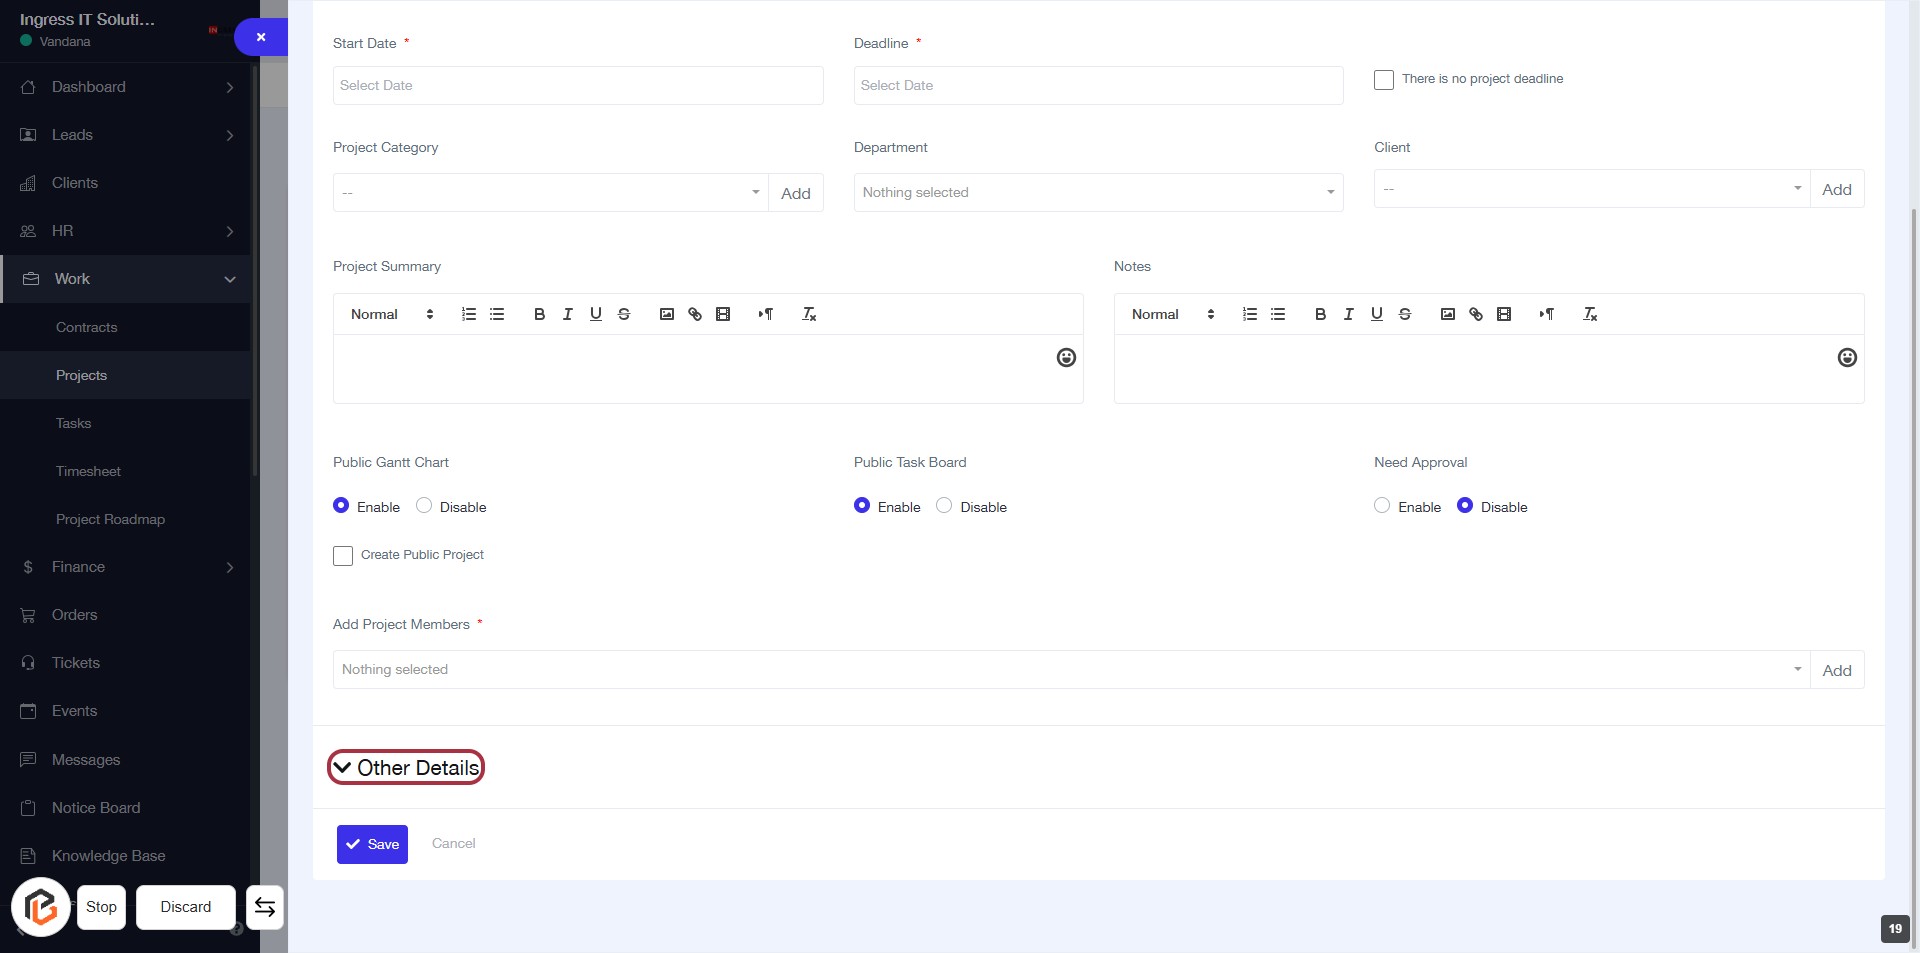
STEP 19: Click on "Other Details"
- Navigate to the "Other Details" section in the project form.
- Click on the highlighted "Other Details" link to expand or access additional information.
- Ensure all required fields marked with an asterisk (*) are filled out before proceeding.
- Review the options available in this section for any additional inputs needed.
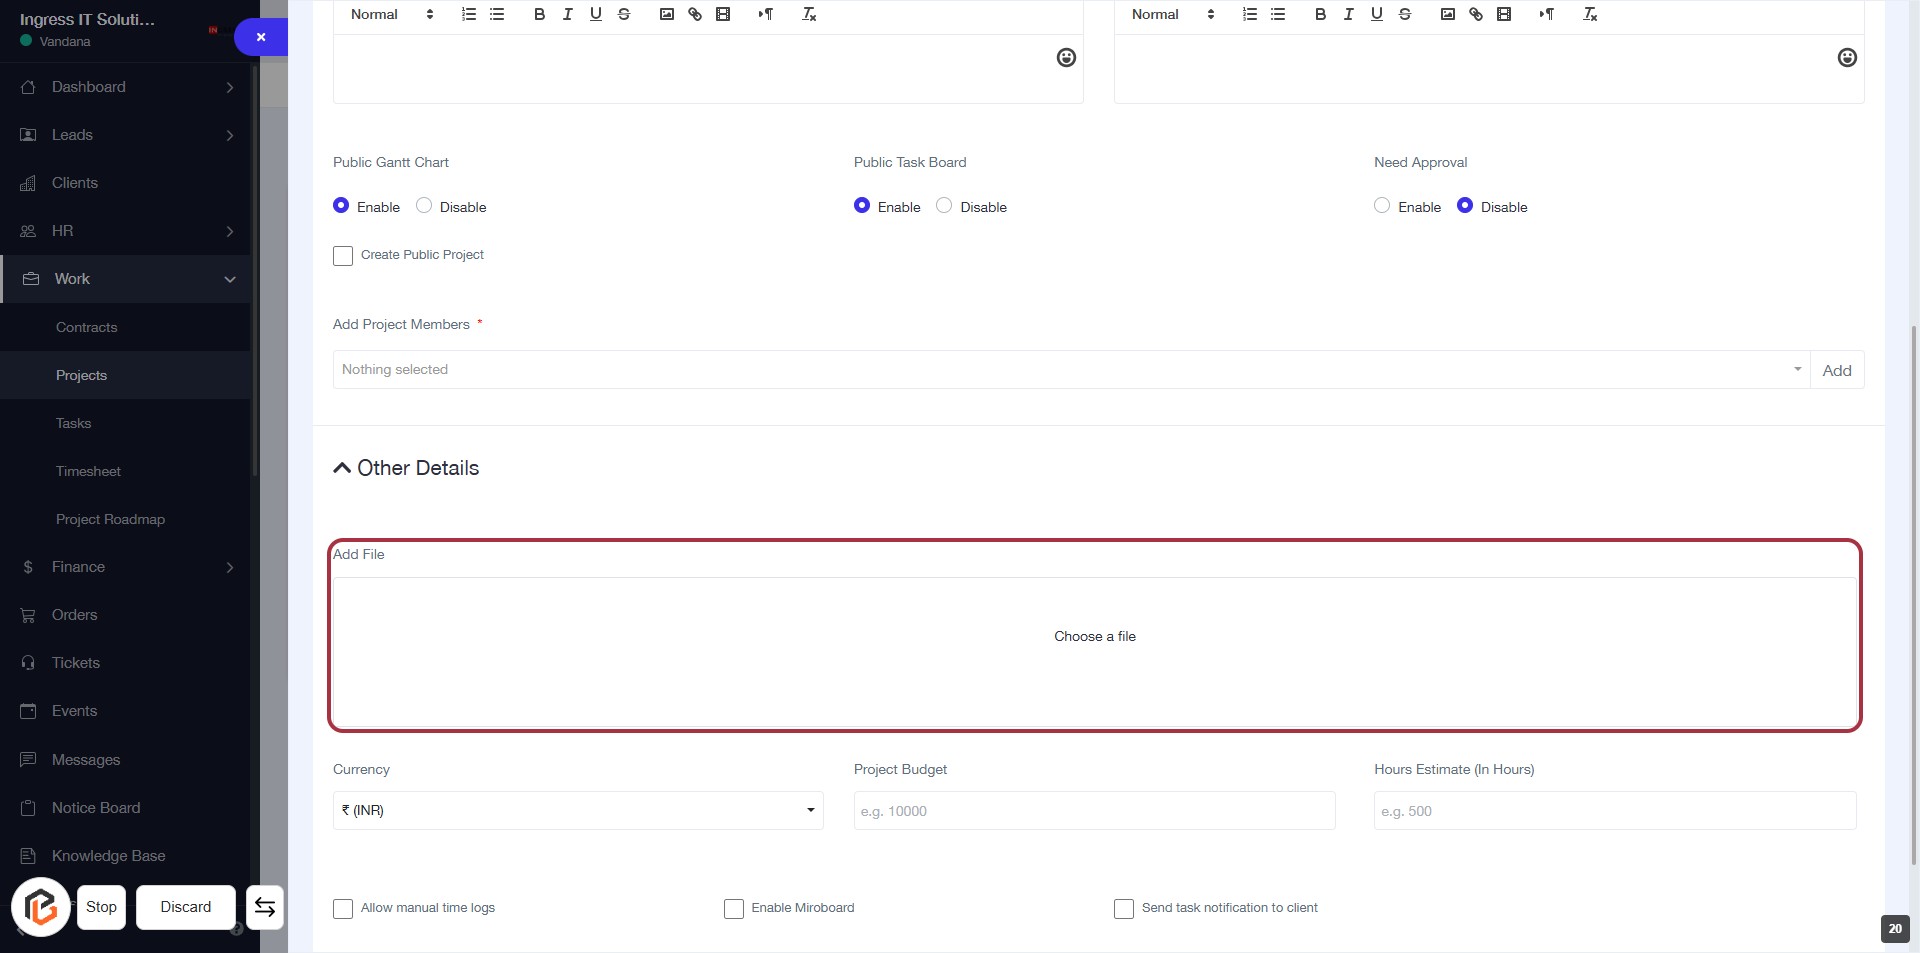
STEP 20: Click on "Add File"
- Navigate to the Other Details section.
- Click on the Add File area to upload a file.
- Ensure the file is selected from your device.
- Look for the Choose a file prompt to confirm the upload.
- Proceed to the next step by selecting the Currency option.
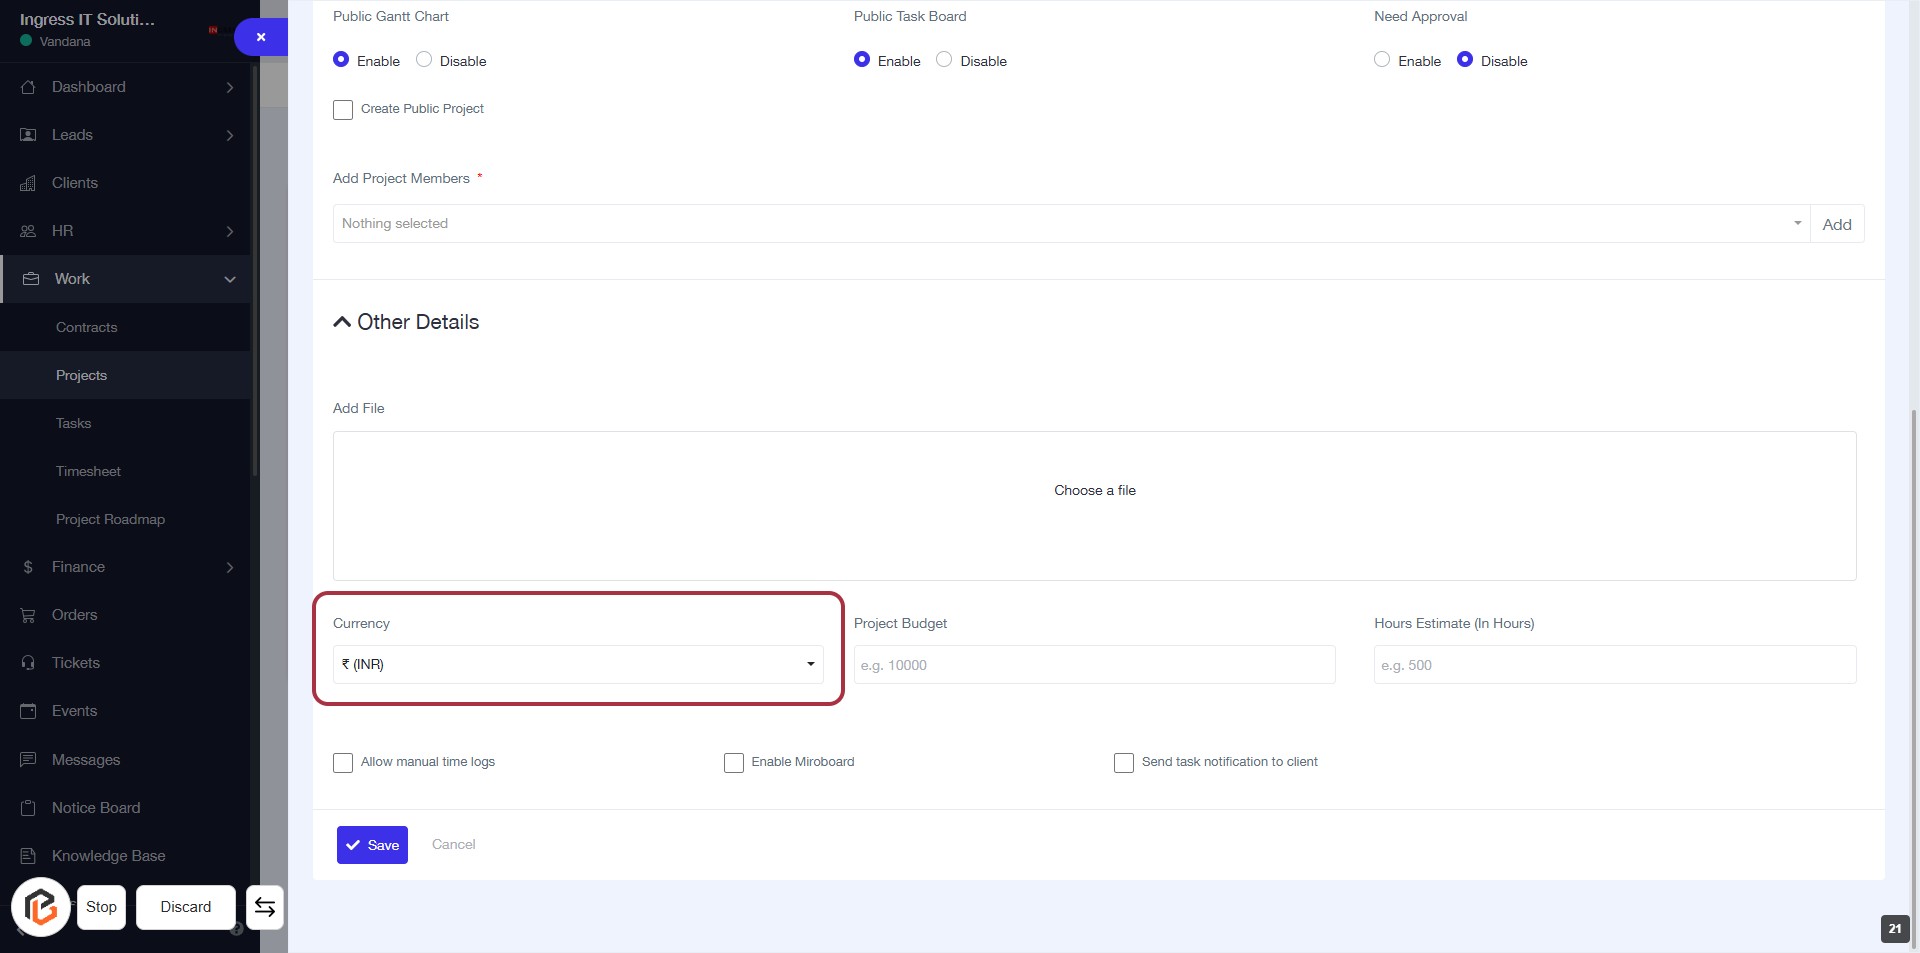
STEP 21: Select "Currency"
- Click on the "Currency" dropdown in the "Other Details" section.
- Choose the appropriate currency from the list.
- Ensure the selection aligns with your project requirements.
- Proceed to the next step by entering the "Project Budget."
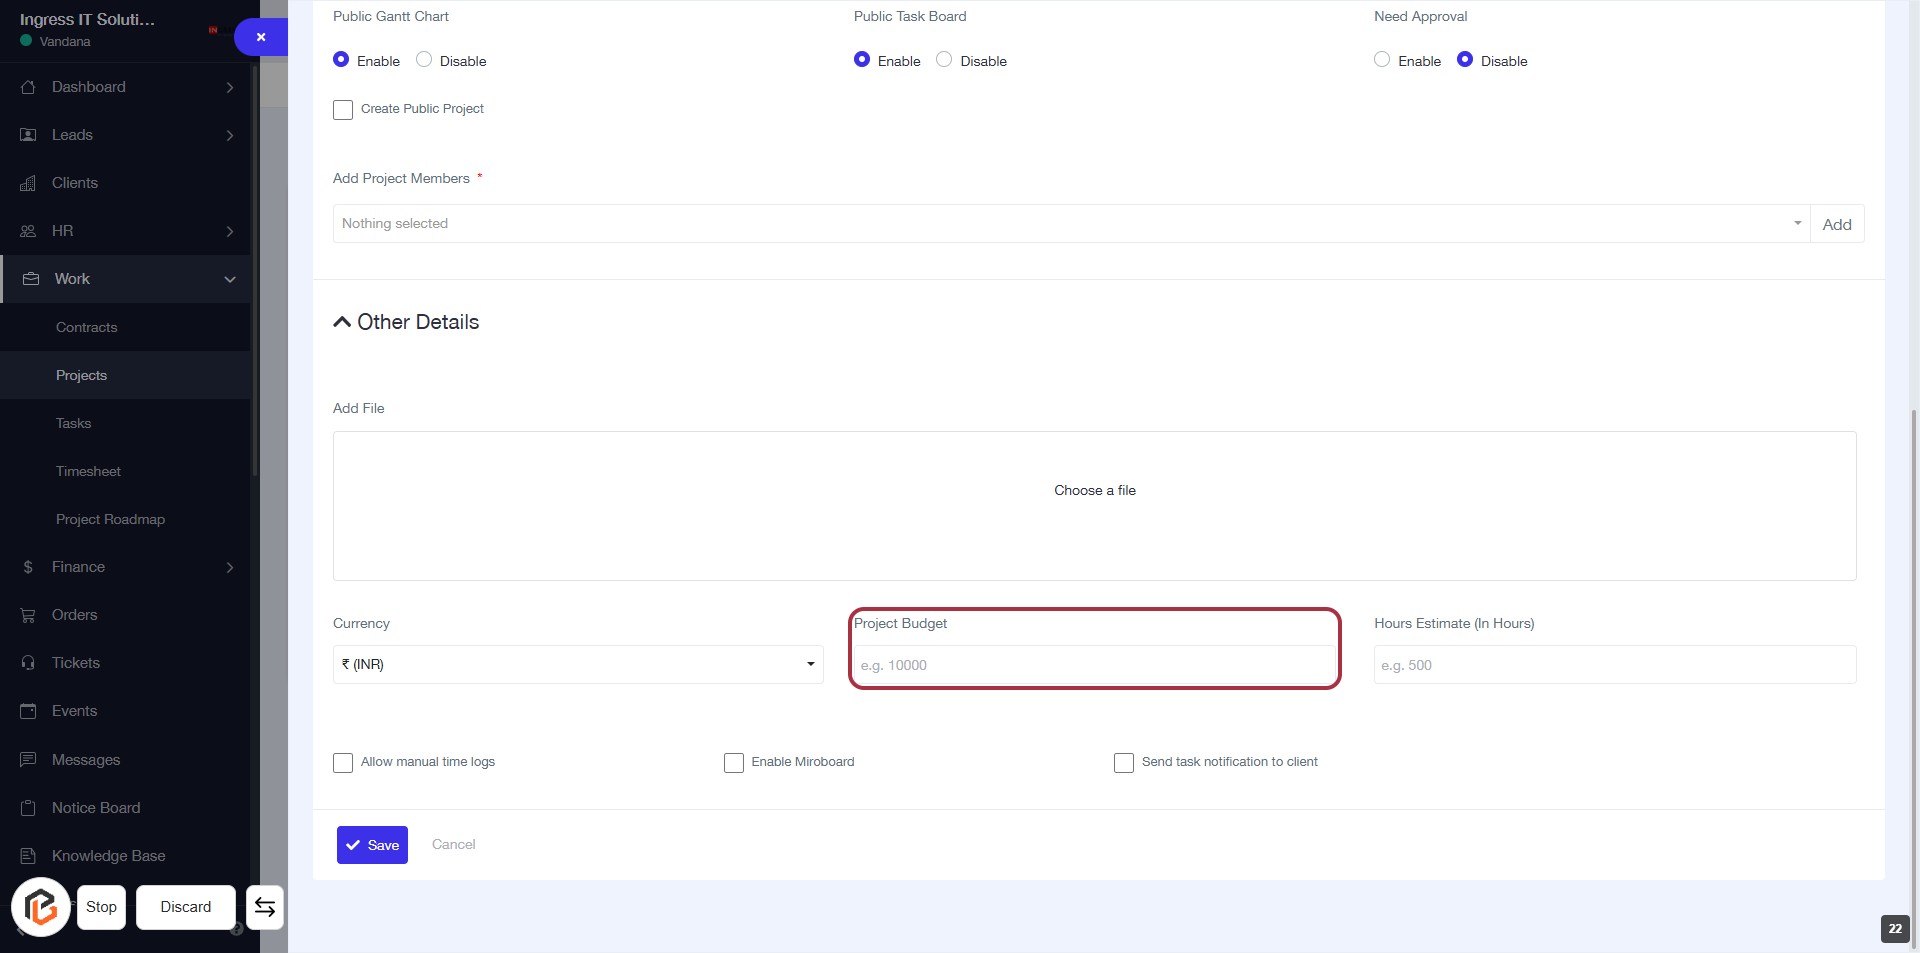
STEP 22: Enter "Project Budget"
- Click on the "Project Budget" field highlighted in red.
- Input the budget amount for your project (e.g., 10000).
- Ensure the currency is set correctly above this field.
- Proceed to the next step by entering the "Hours Estimate (In Hours)".
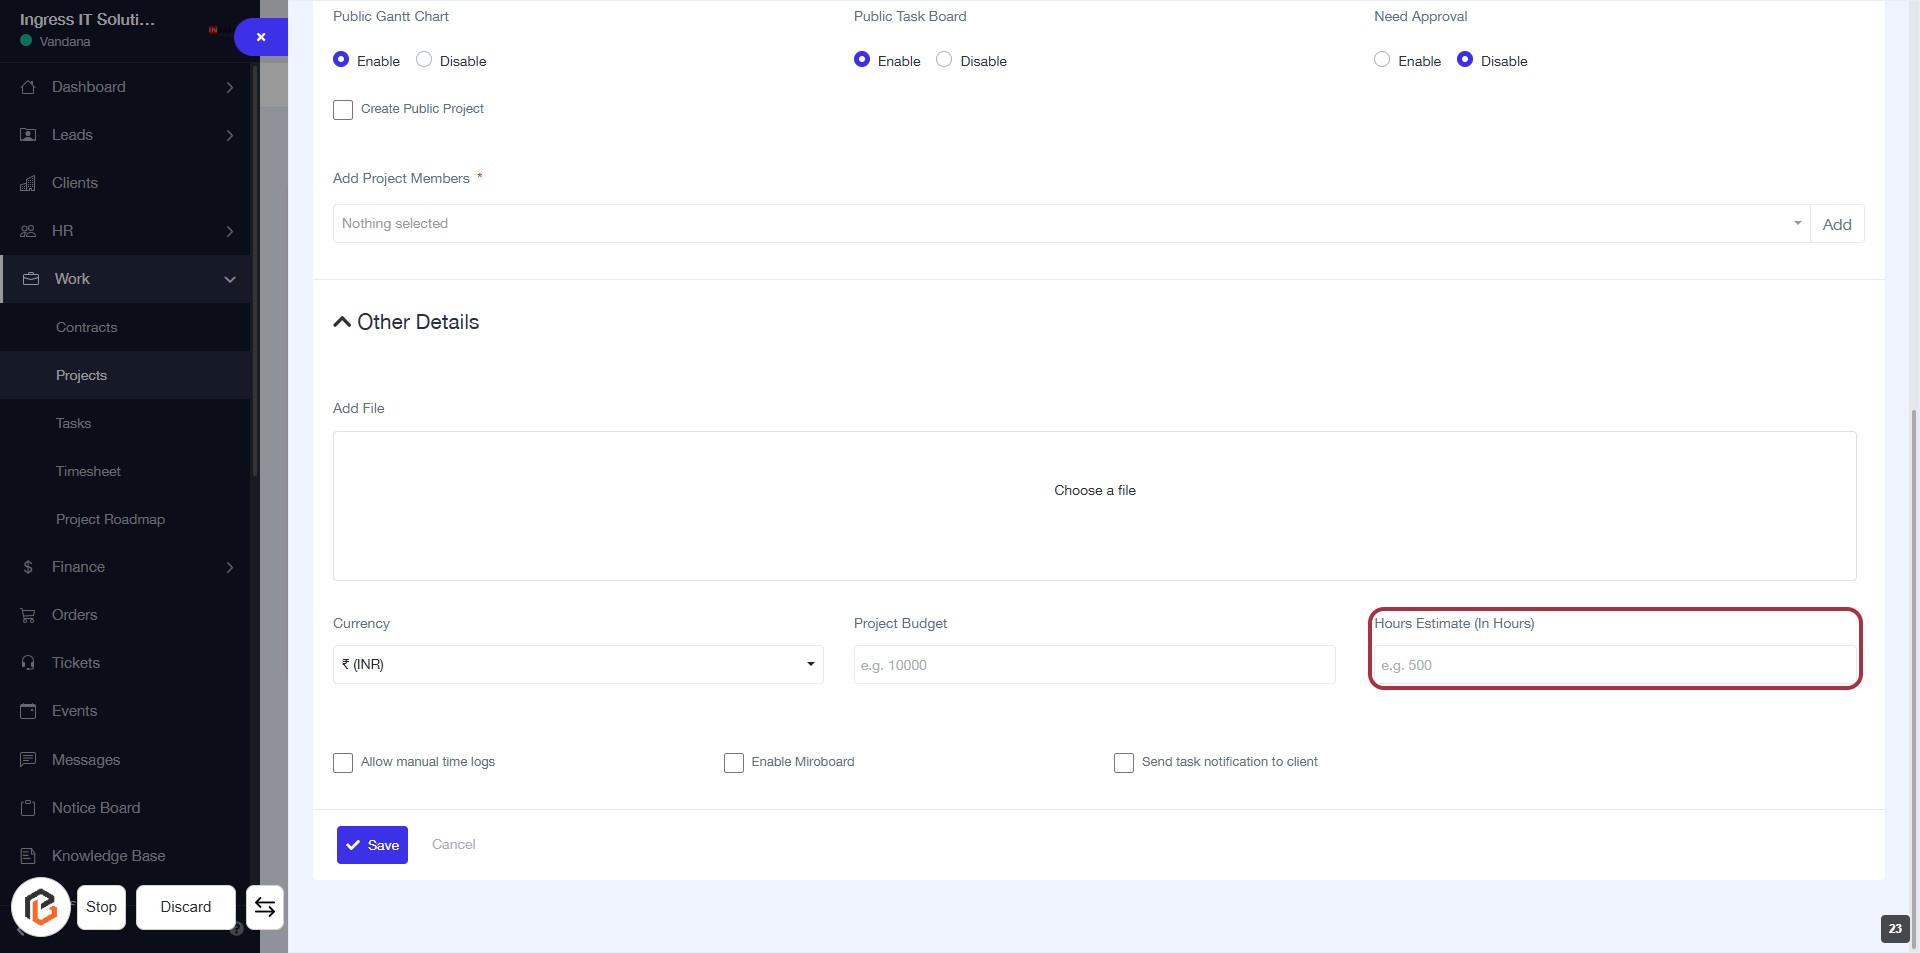
STEP 23: Enter "Hours Estimate (In Hours)"
- Click on the "Hours Estimate (In Hours)" field to input your estimated hours for the project.
- Ensure to fill in the required field marked with an asterisk (*) for accurate project details.
- Review the project budget and other details before proceeding to the next step.
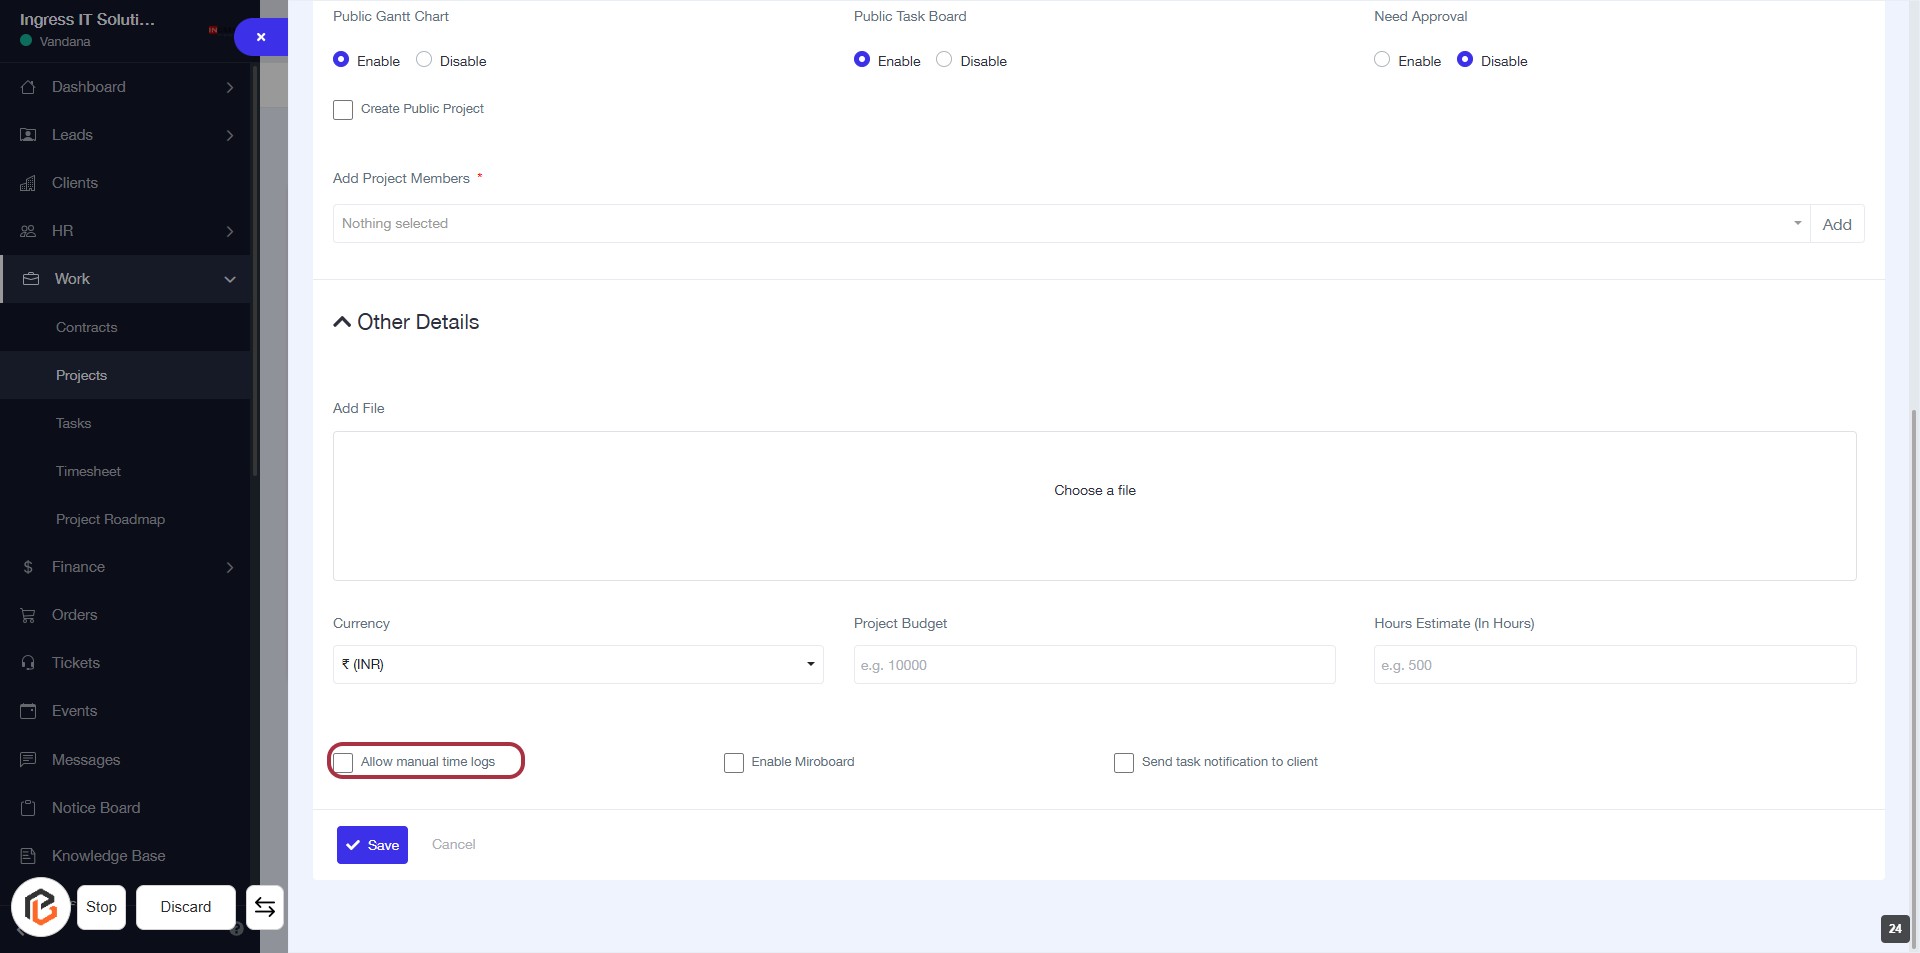
STEP 24: Click on "Allow manual time logs"
- Navigate to the "Other Details" section in the form.
- Locate the checkbox labeled "Allow manual time logs."
- Click on the checkbox to enable manual time logging for the project.
- Ensure that any other required fields are filled out before proceeding to the next step.
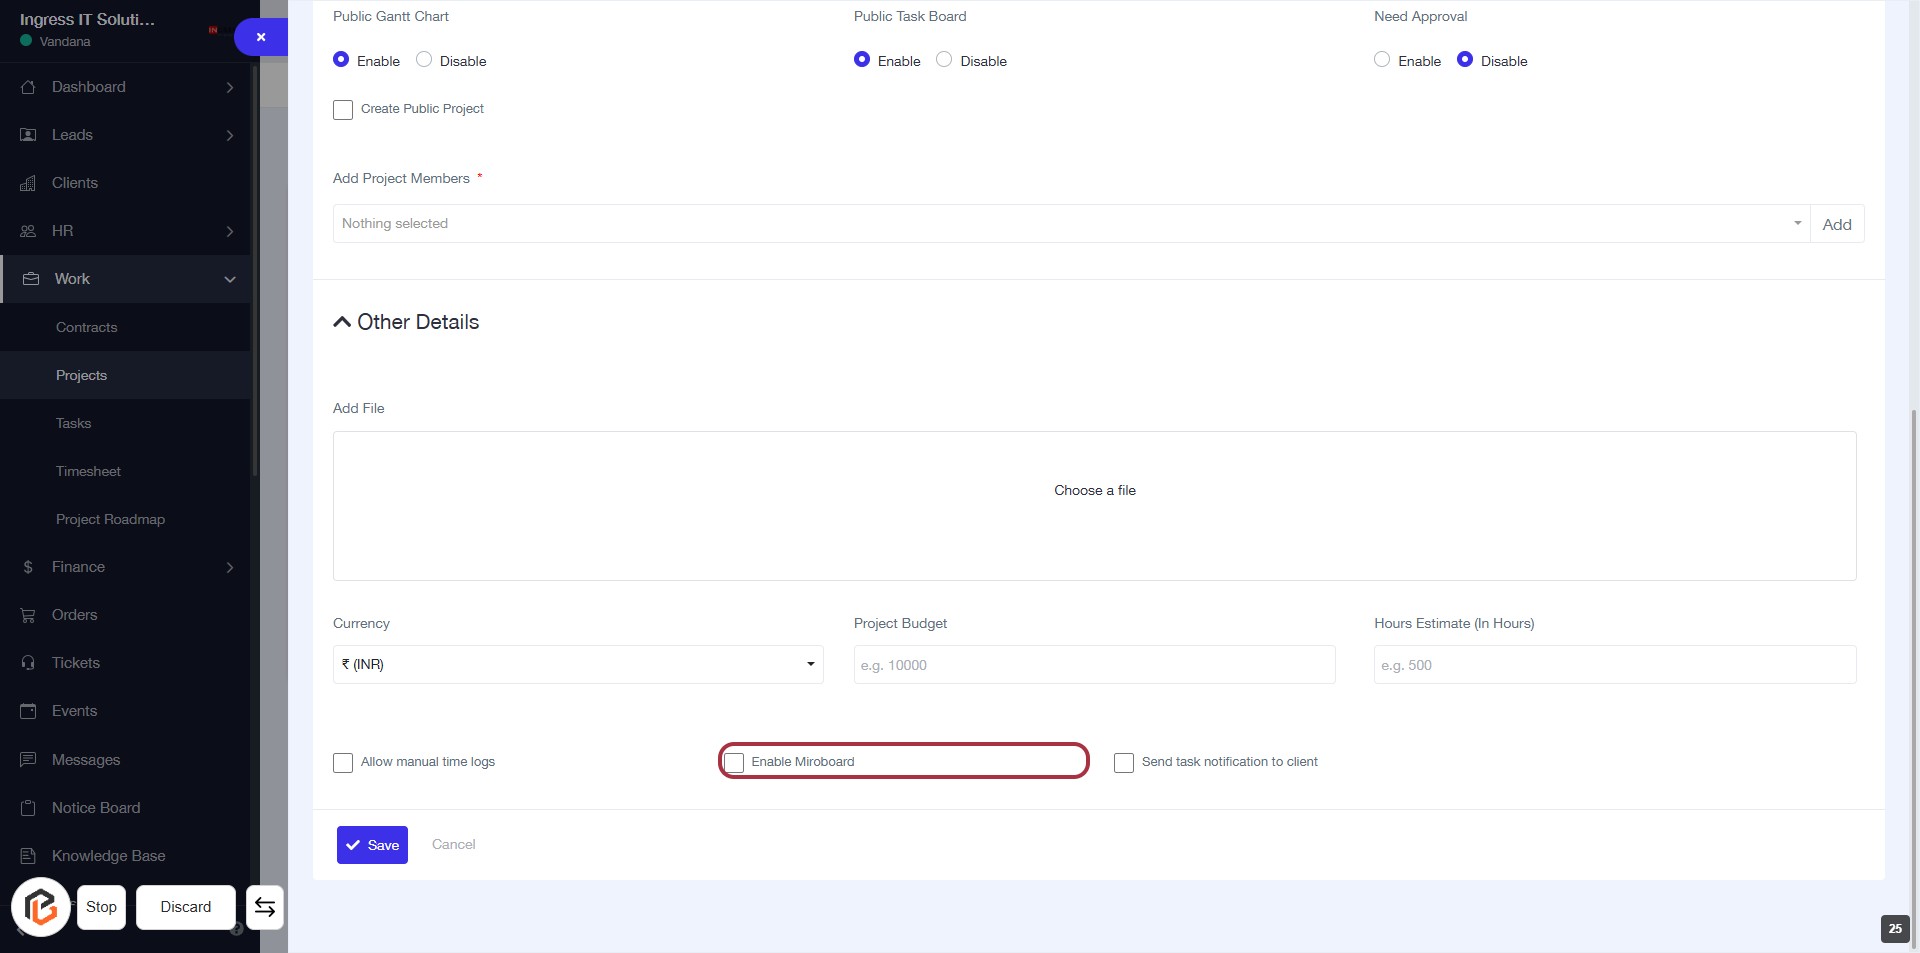
STEP 25: Click on "Enable Miroboard"
- Locate the "Enable Miroboard" checkbox in the "Other Details" section.
- Click on the checkbox to enable the Miroboard feature for your project.
- Ensure all required fields marked with an asterisk (*) are filled out before proceeding.
- After enabling, continue to the next step to enable "Send task notification to client."
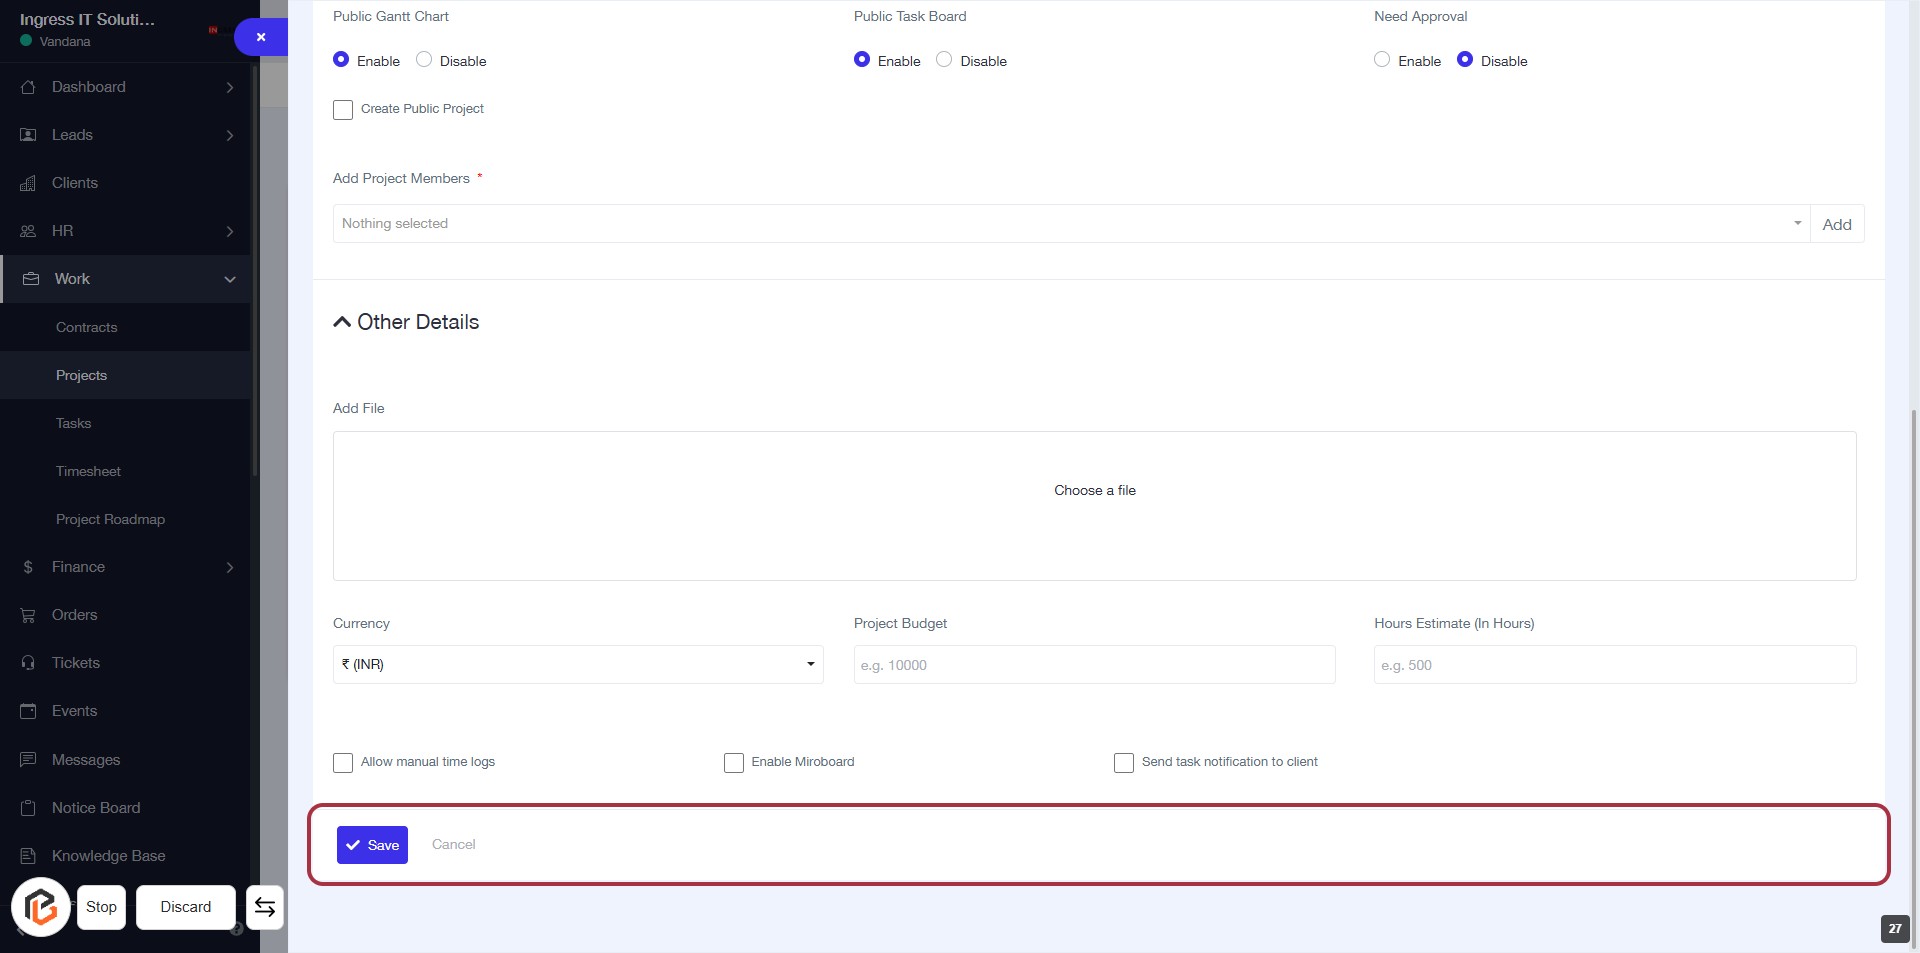
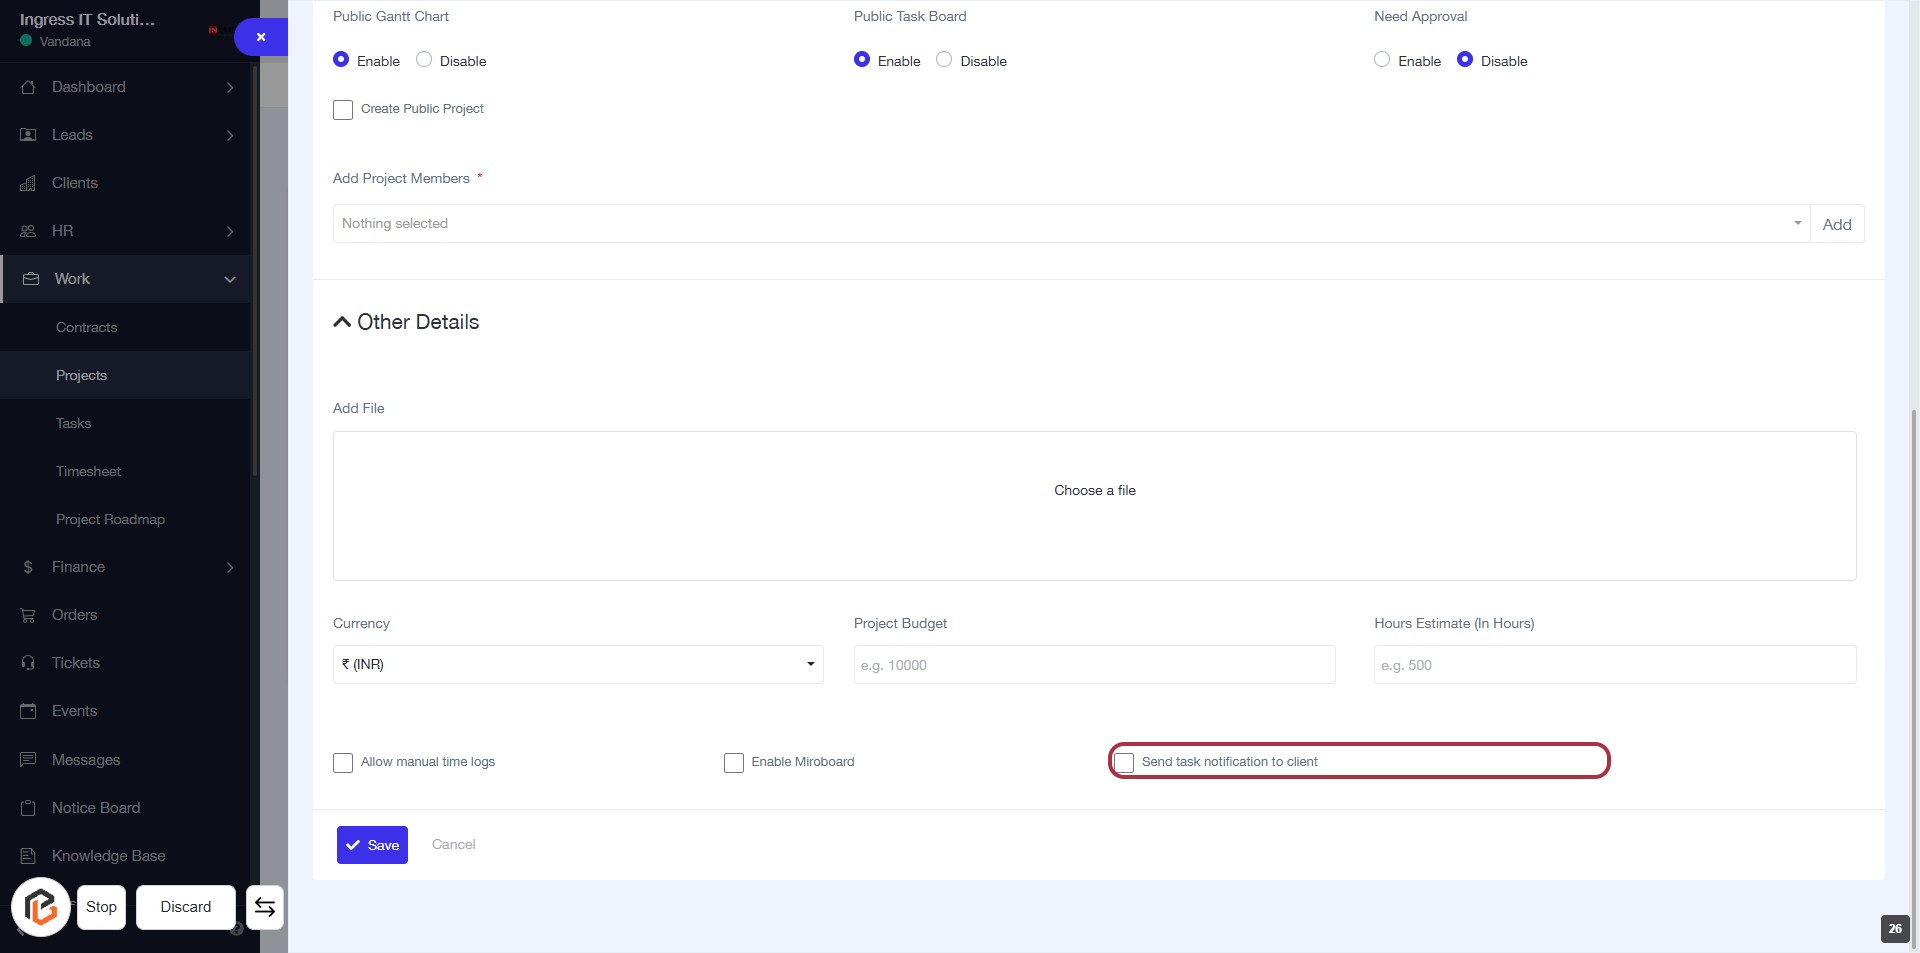
STEP 26: Enable "Send task notification to client"
- Action: Click on the checkbox labeled "Send task notification to client" to enable notifications for the client regarding task updates.
- Location: This option is found under the "Other Details" section of the project creation form.
- Required Inputs: Ensure all other mandatory fields marked with an asterisk (*) are filled out before proceeding.
- Next Step: After enabling the notification, click on the "Save" button to finalize your project settings.
STEP 27: Click on "Save" to Finalize Project Details
- Ensure all required fields marked with * are filled out.
- Review the project details, including budget and hours estimate.
- Click the Save button at the bottom of the form to save your project.
- If needed, you can also click Cancel to discard changes.