Step-by-Step Guide to Creating and Managing Invoices in Your Dashboard
24 mins read · Updated 29 Sep, 2025
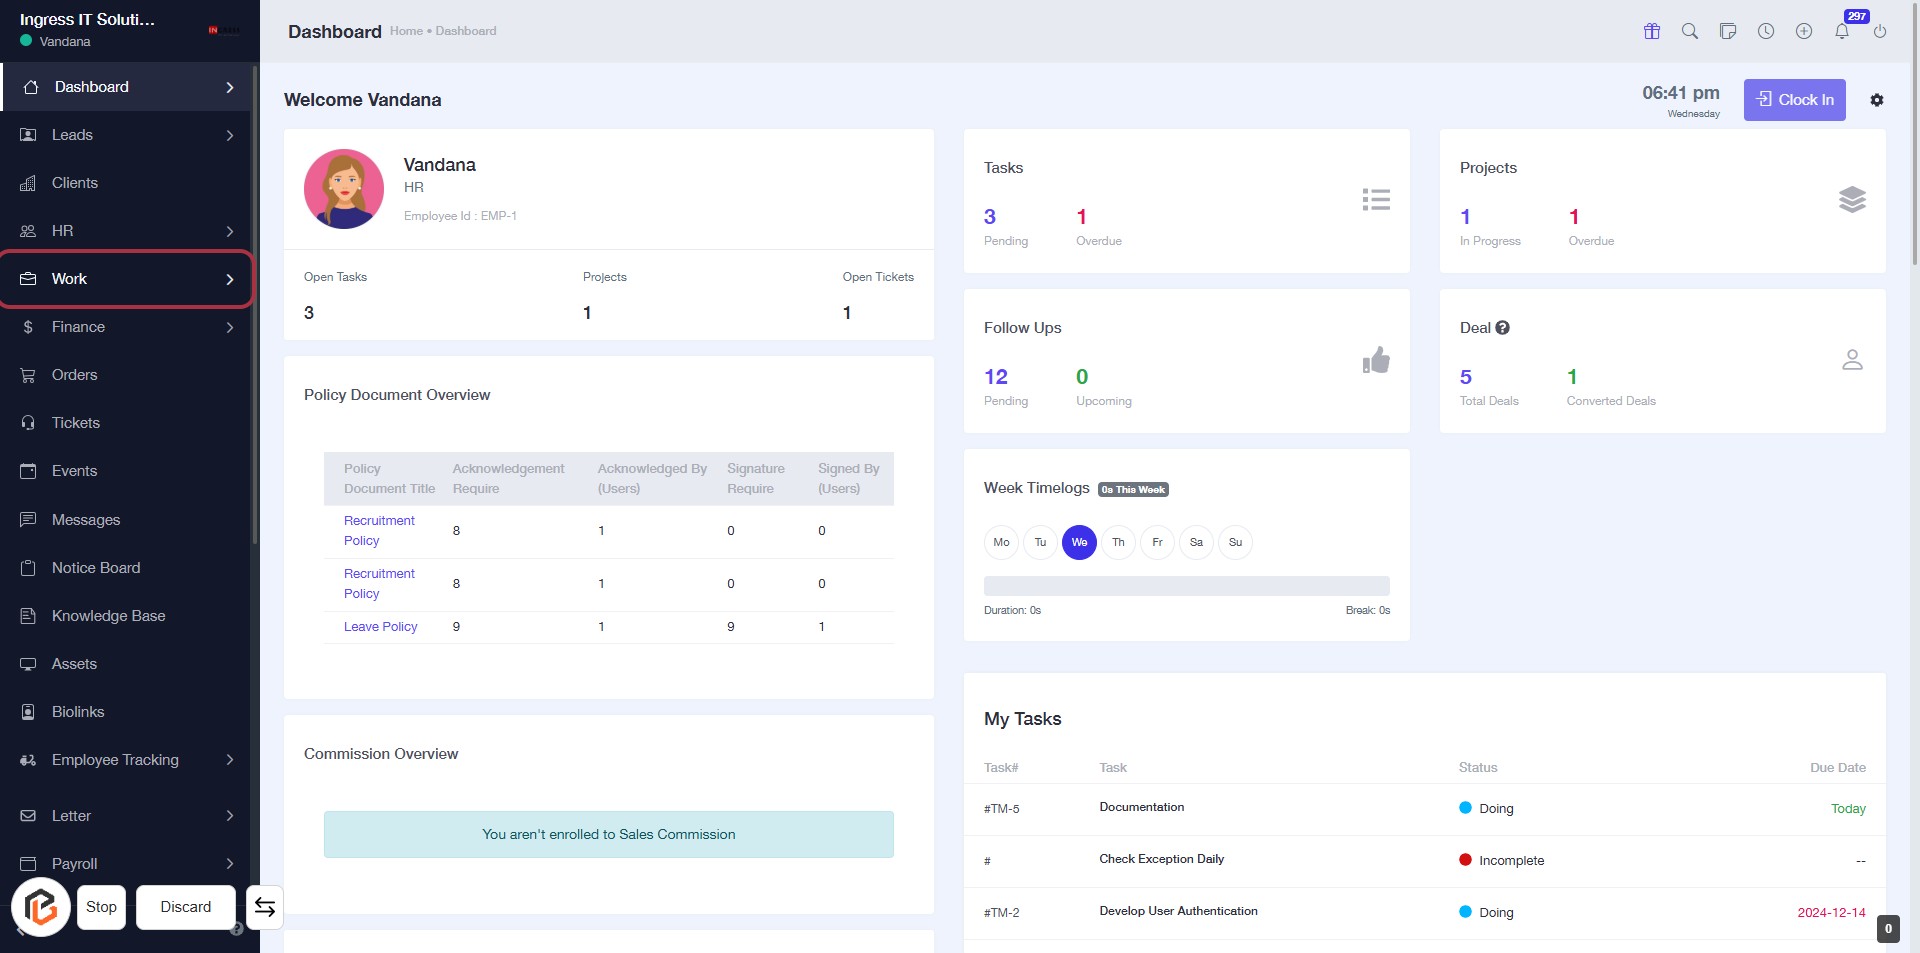
STEP 1: Click on "Work" to Access Your Dashboard
- Navigate to the sidebar menu on the left.
- Locate and click on the "Work" link.
- This will direct you to the Work section of your dashboard, where you can view tasks, projects, and other relevant information.
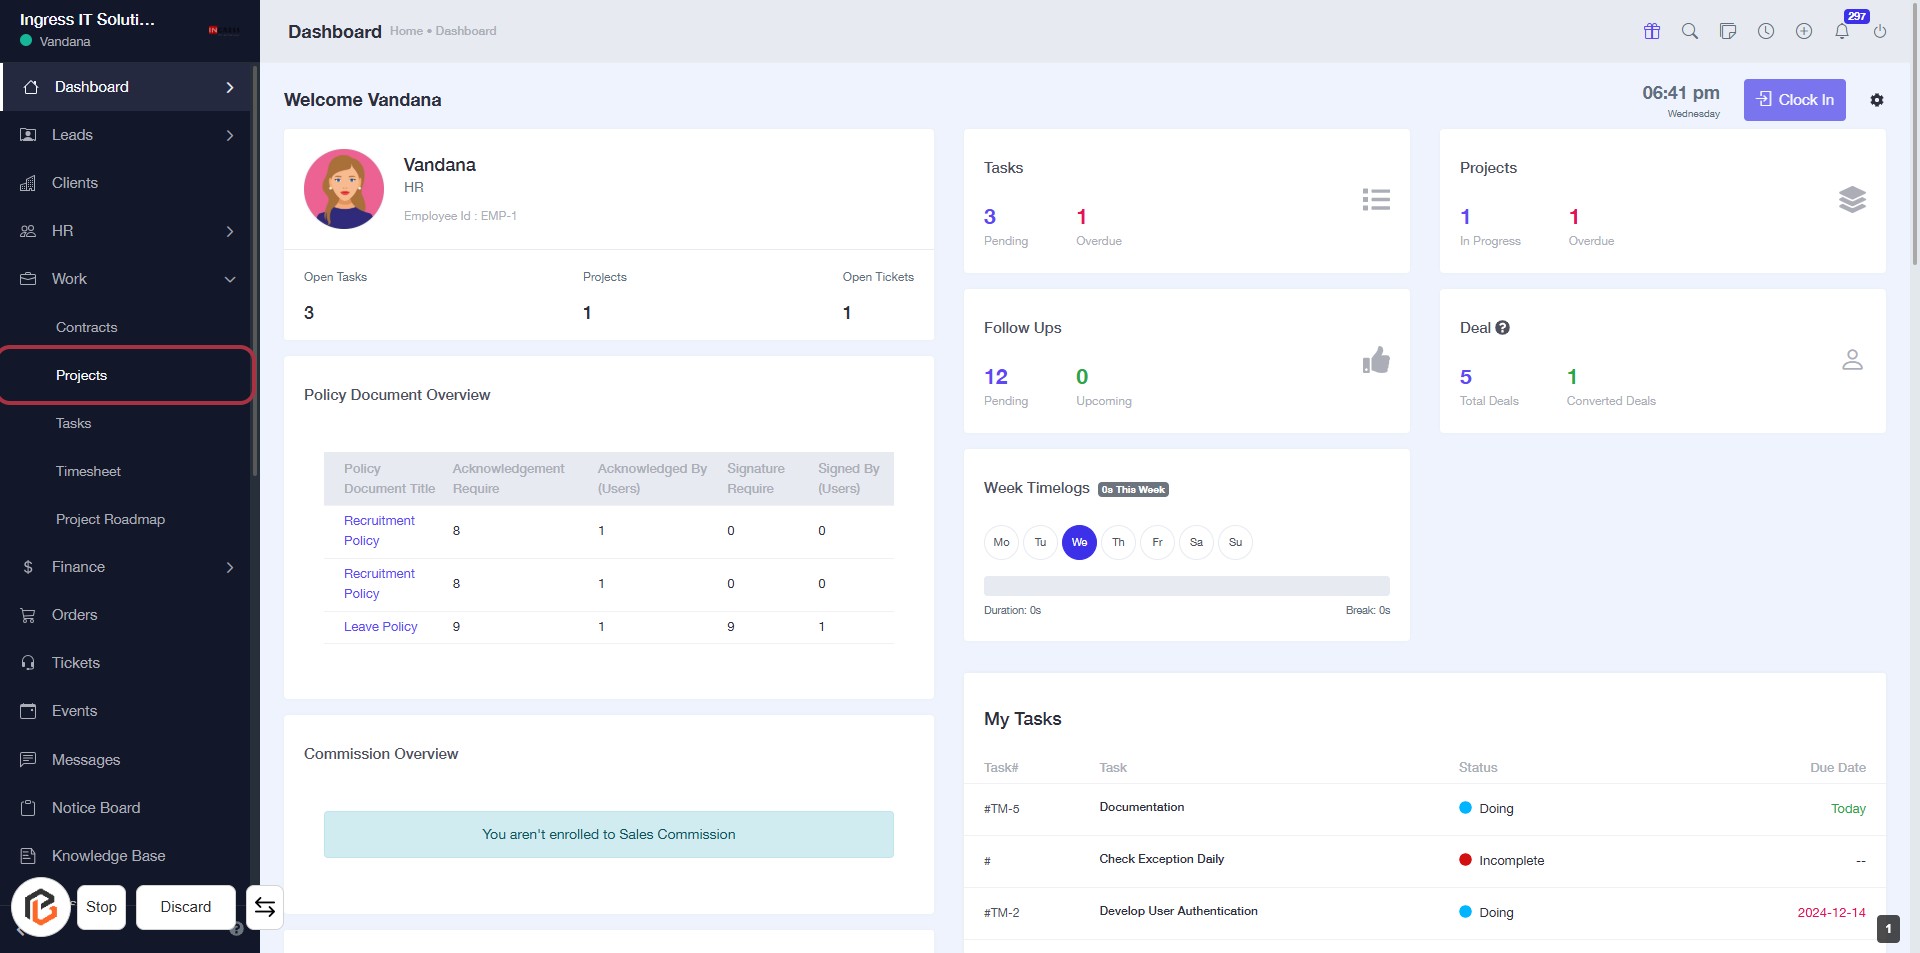
STEP 2: Click on "Projects" to Access Project Overview
- Navigate to the left sidebar of your dashboard.
- Locate and click on the Projects link highlighted in red.
- This will direct you to the Projects section, where you can view project details and statuses.
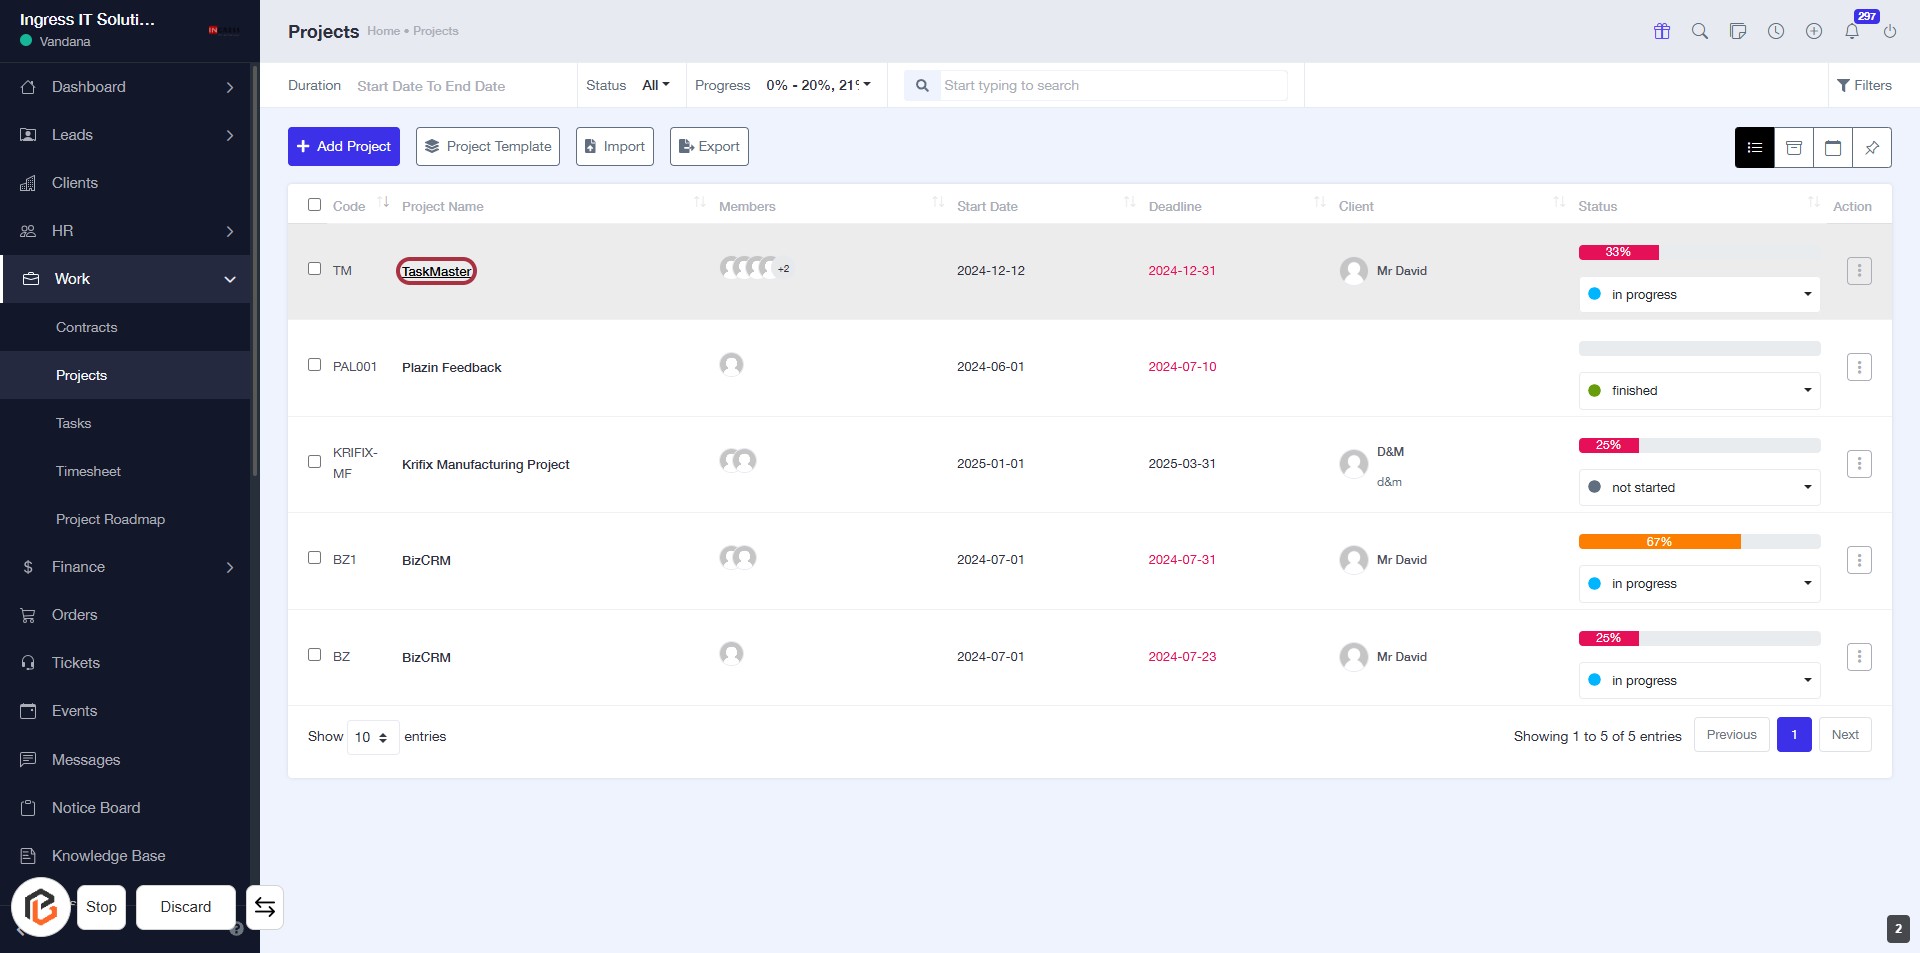
STEP 3: Select "TaskMaster" Project
- Click on the "TaskMaster" link in the project list to view its details.
- Ensure you are on the Projects page to locate the project.
- The project name is highlighted for easy identification.
- After clicking, you will be directed to the project overview for further actions.
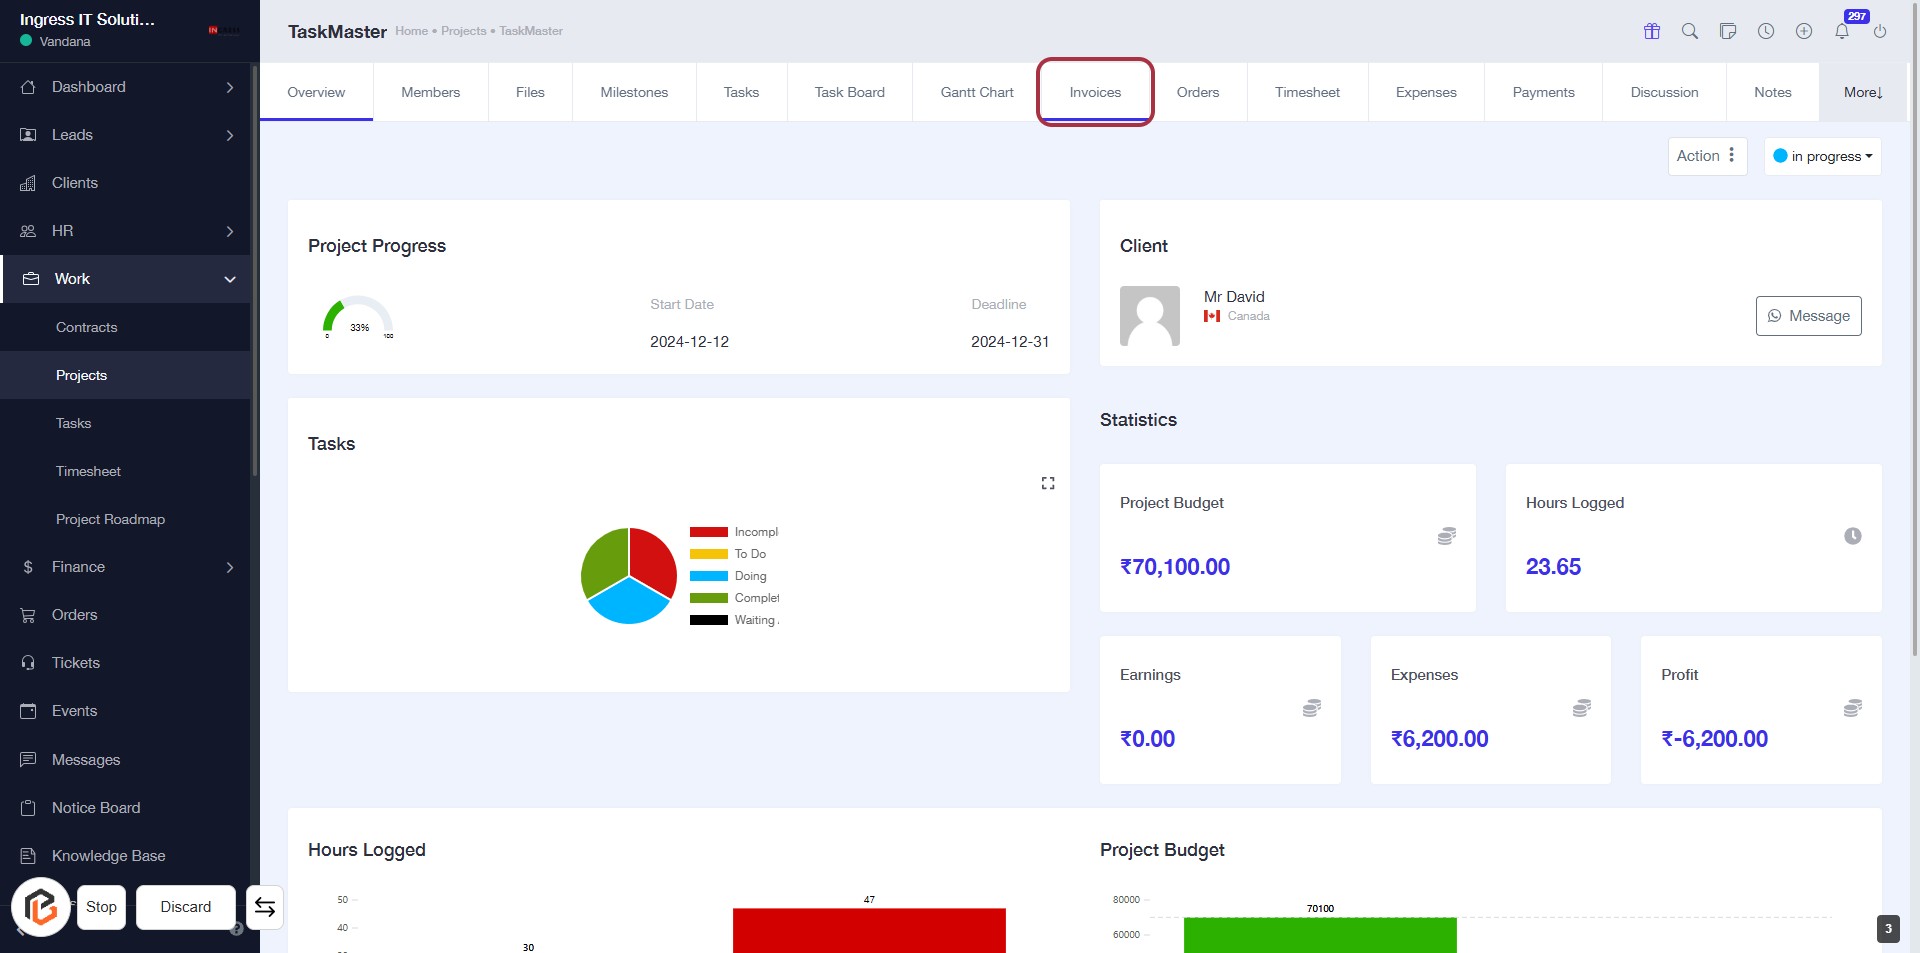
STEP 4: Click on "Invoices"
- Navigate to the "Invoices" tab in the project interface.
- Ensure you are on the correct project page.
- This section allows you to manage and view all invoices related to the selected project.
- Next, proceed to click on "Create Invoice" to initiate the invoice creation process.
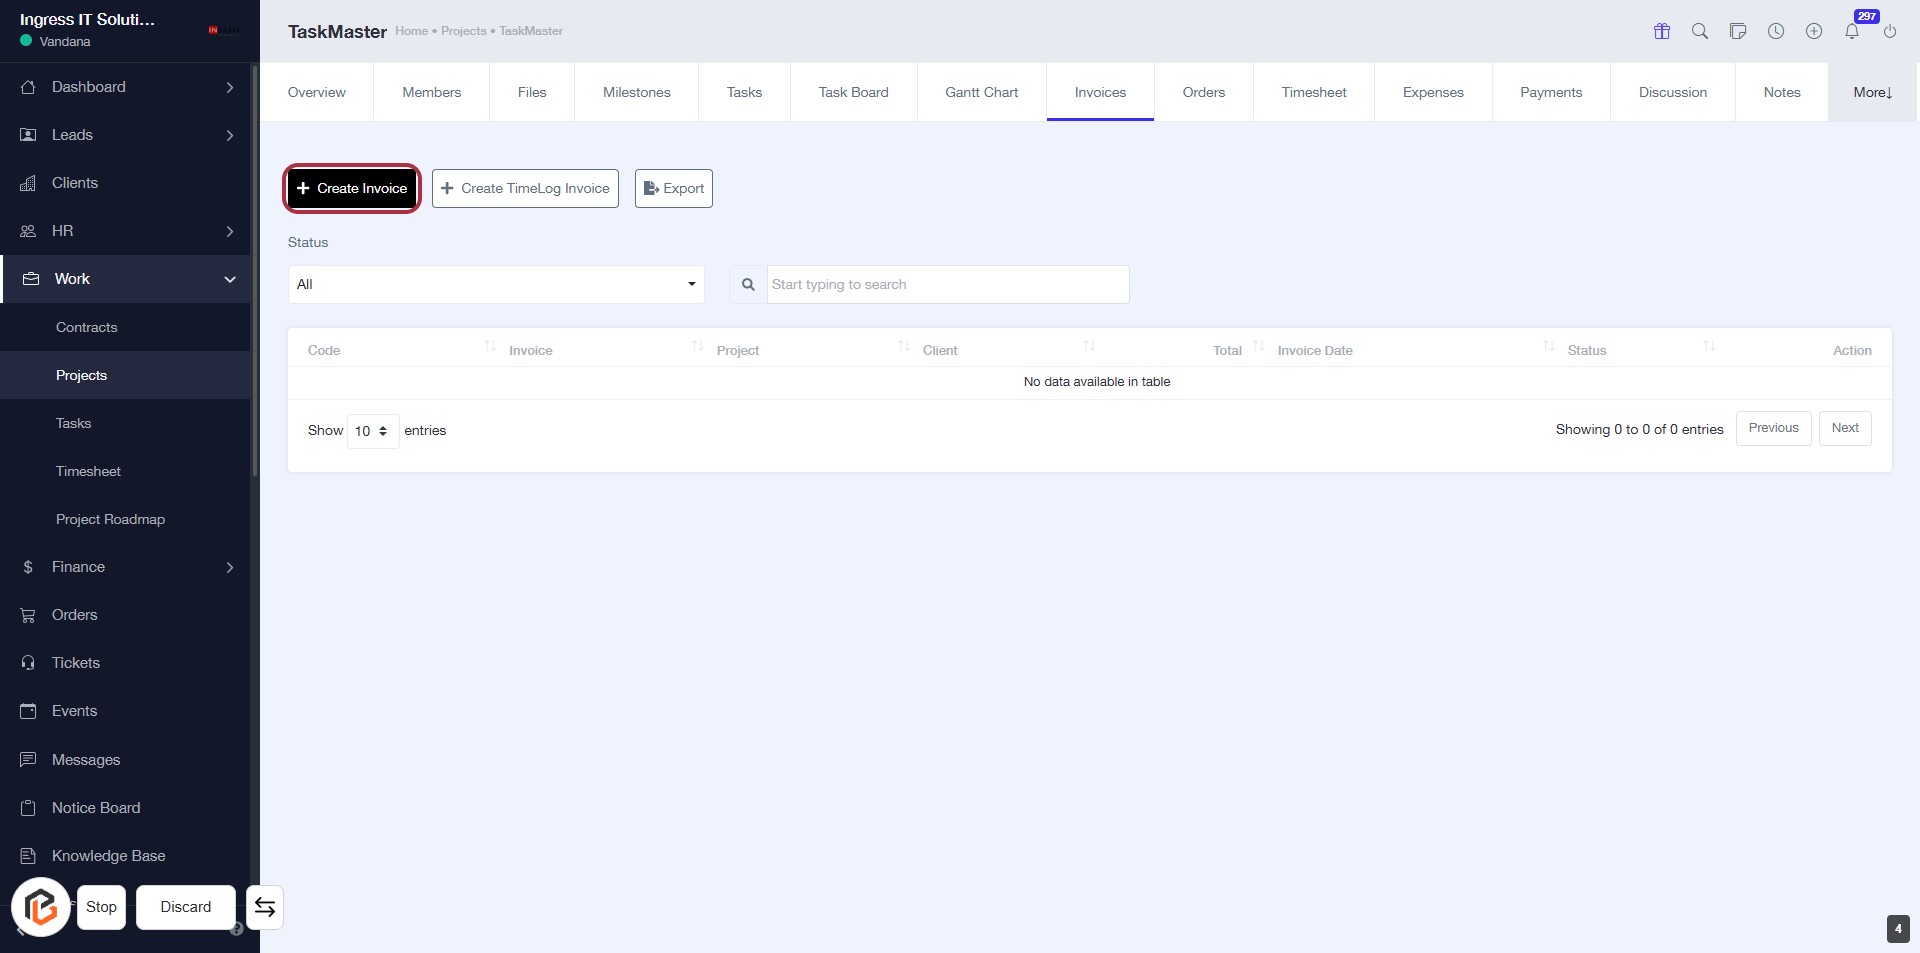
STEP 5: Click on "Create Invoice"
- Navigate to the Invoices tab.
- Locate the Create Invoice button highlighted in red.
- Click on the Create Invoice button to initiate the invoice creation process.
- Ensure all required fields are prepared for the next step, including the Invoice Number.
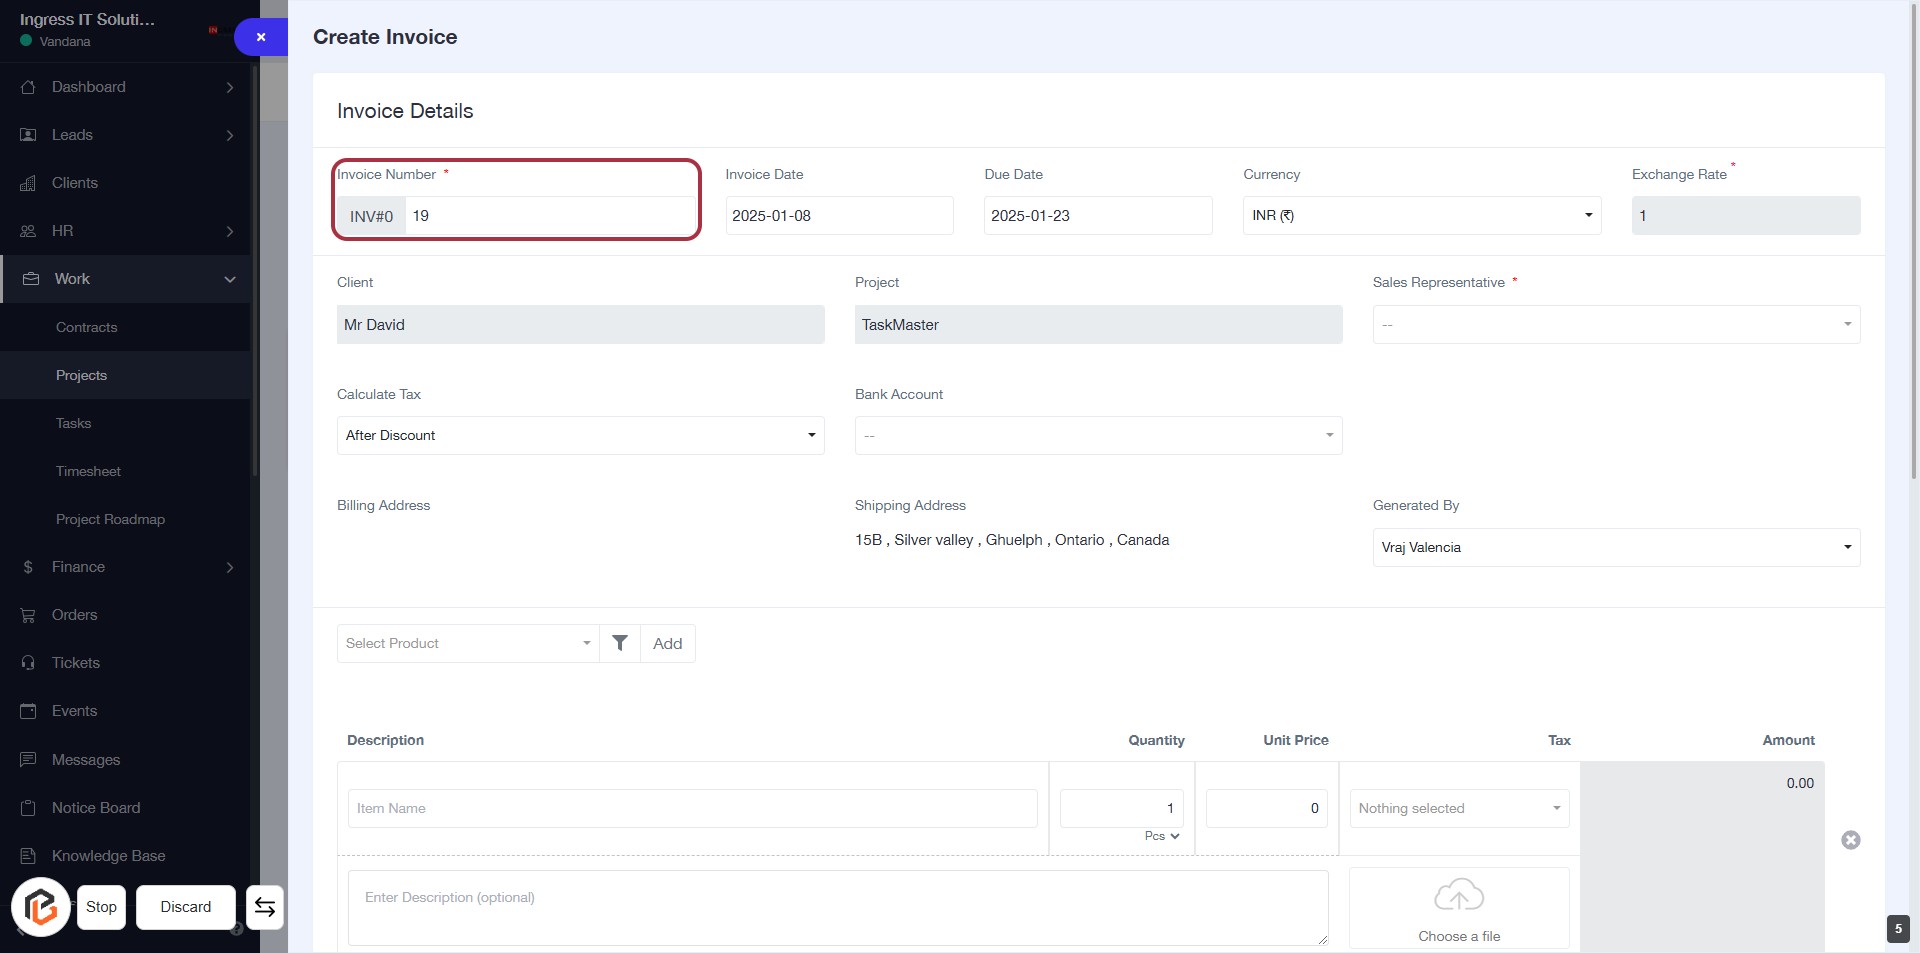
STEP 6: Enter Invoice Number
- Click on the "Invoice Number" field (marked with an asterisk) to make it active.
- Input the desired invoice number.
- Ensure the invoice number is unique and follows your organization's format.
- Proceed to the next step by selecting the "Invoice Date" field.
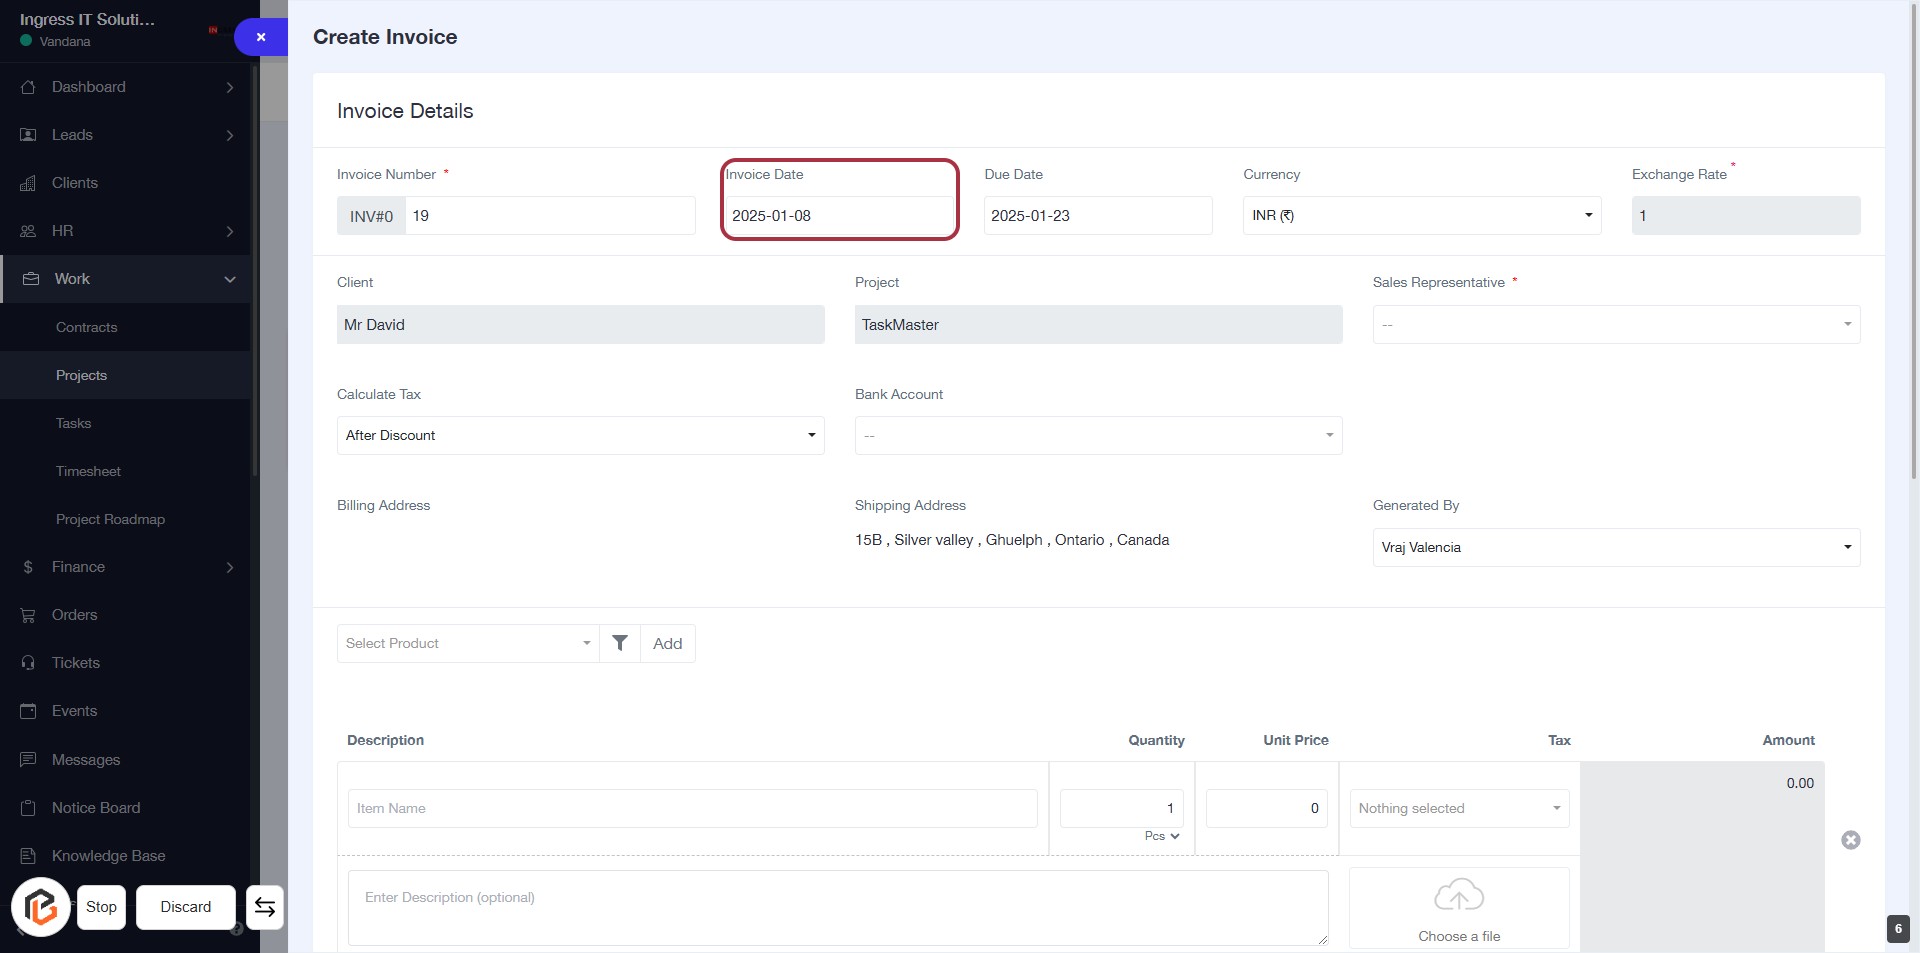
STEP 7: Select Invoice Date
- Click on the "Invoice Date" field to set the date for the invoice.
- Ensure the date format is correct (YYYY-MM-DD).
- Review other required fields marked with an asterisk (*) to complete the invoice details.
- Proceed to the next step by selecting the "Due Date."
STEP 8: Select Due Date
- Click on the "Due Date" field to set the payment deadline for the invoice.
- Ensure the date format is correct (YYYY-MM-DD).
- Review other invoice details for accuracy before proceeding.
- After entering the due date, continue to the next step to select the currency.

STEP 9: Select Currency
- Click on the "Currency" field in the Invoice Details section.
- A dropdown will appear; select your desired currency from the list.
- Ensure that the selected currency is appropriate for the invoice.
- The exchange rate will automatically adjust based on the selected currency.

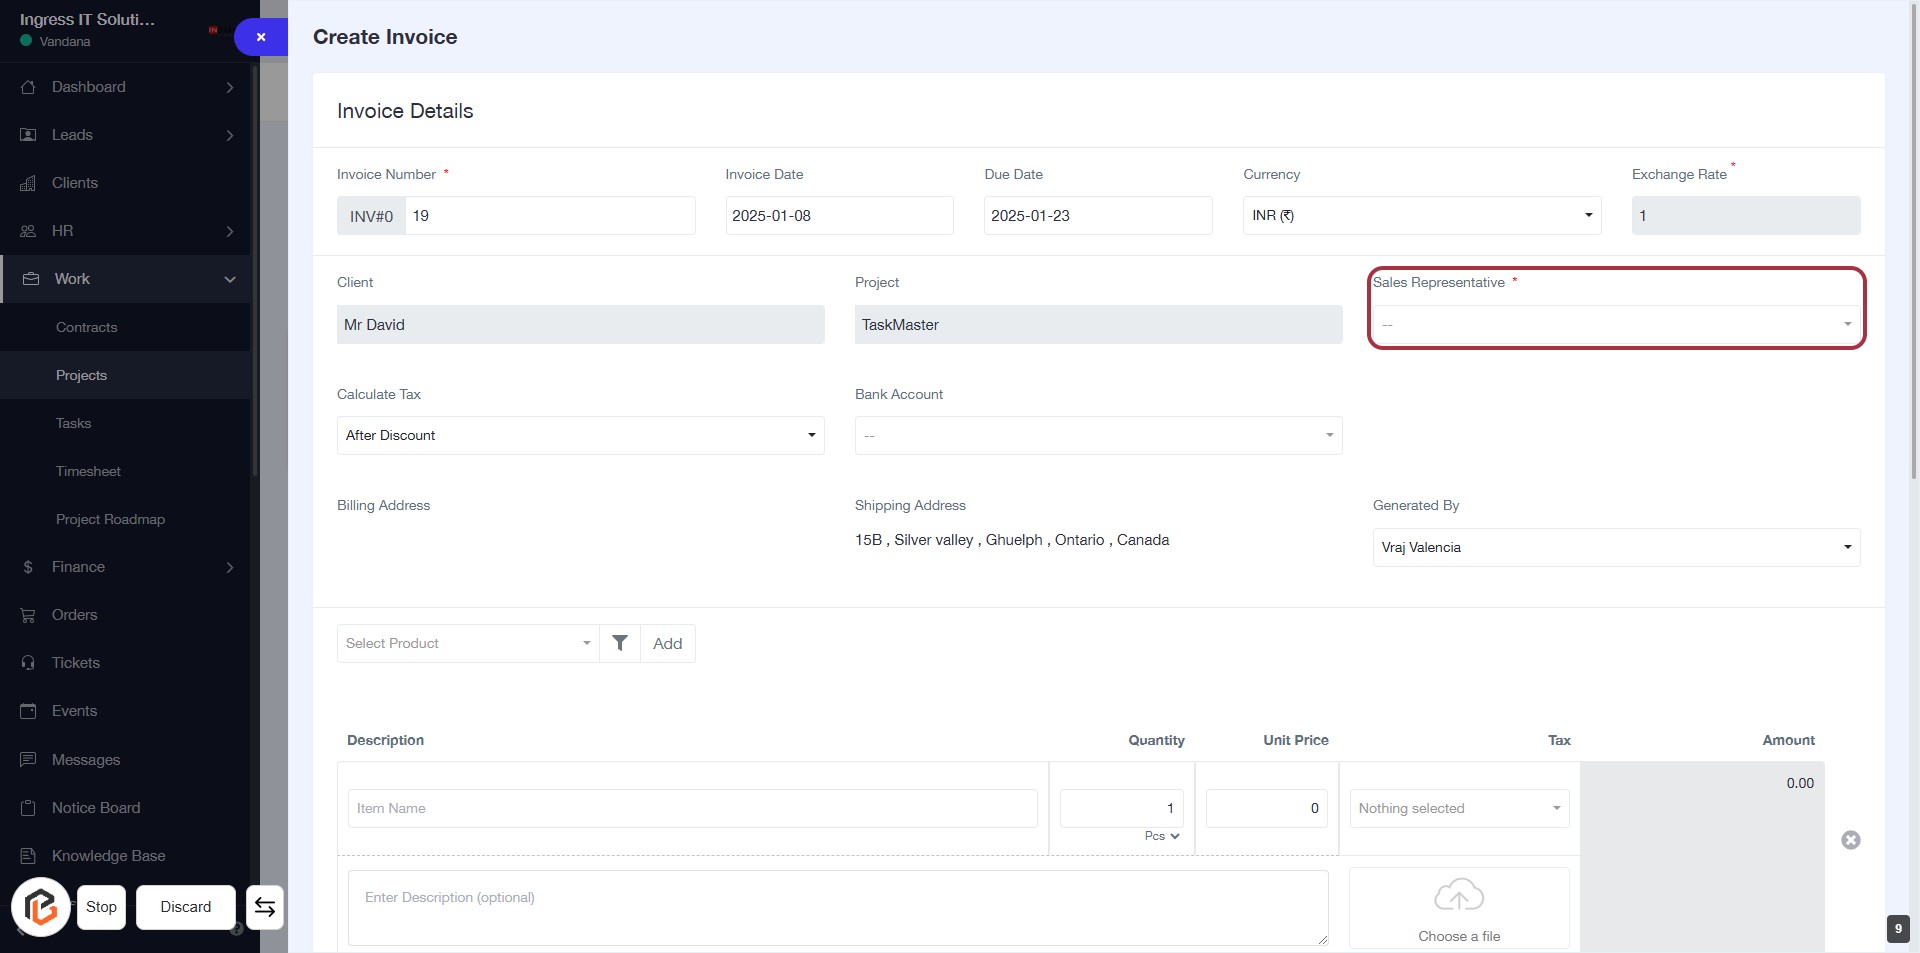
STEP 10: Select Sales Representative
- Click on the "Sales Representative" field highlighted in red.
- Choose the appropriate representative from the dropdown list.
- Ensure the field marked with an asterisk (*) is filled, as it is required.
- Review other invoice details before proceeding to the next step.
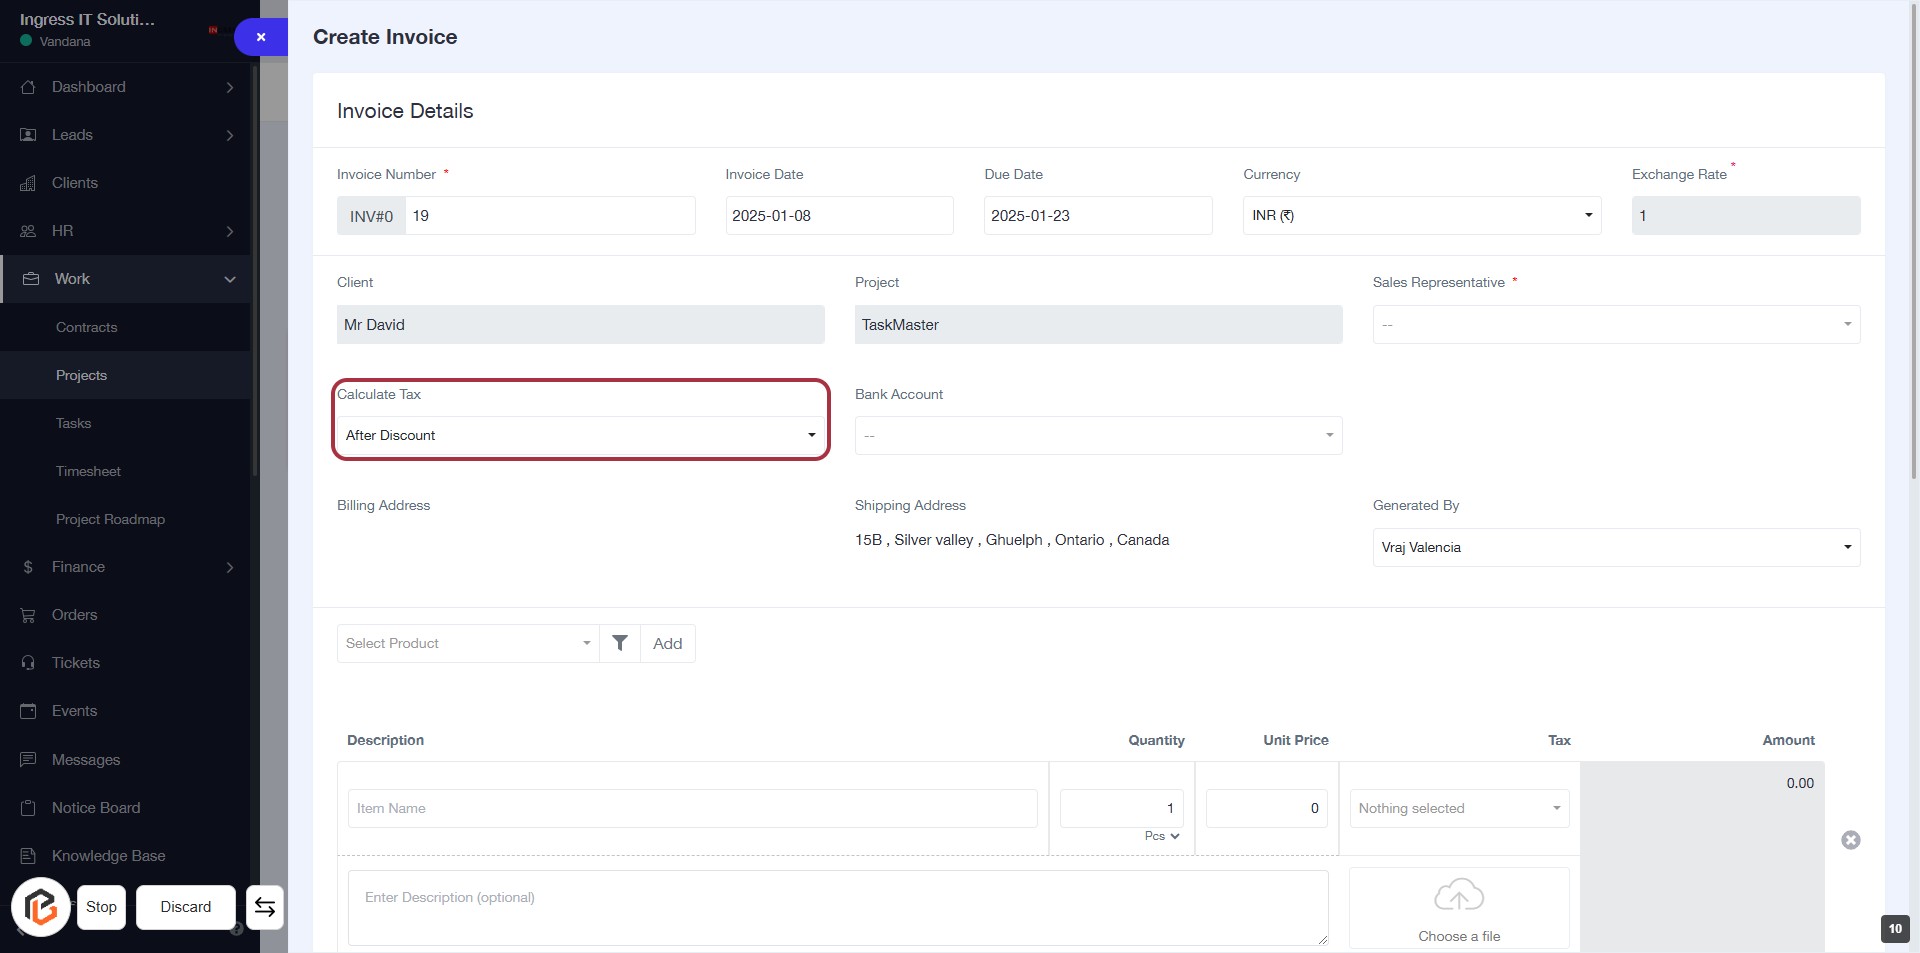
STEP 11: Select "Calculate Tax"
- Click on the "Calculate Tax" dropdown.
- Choose the appropriate option (e.g., "After Discount").
- Ensure all required fields marked with an asterisk (*) are filled out.
- Review your selections before proceeding to the next step.
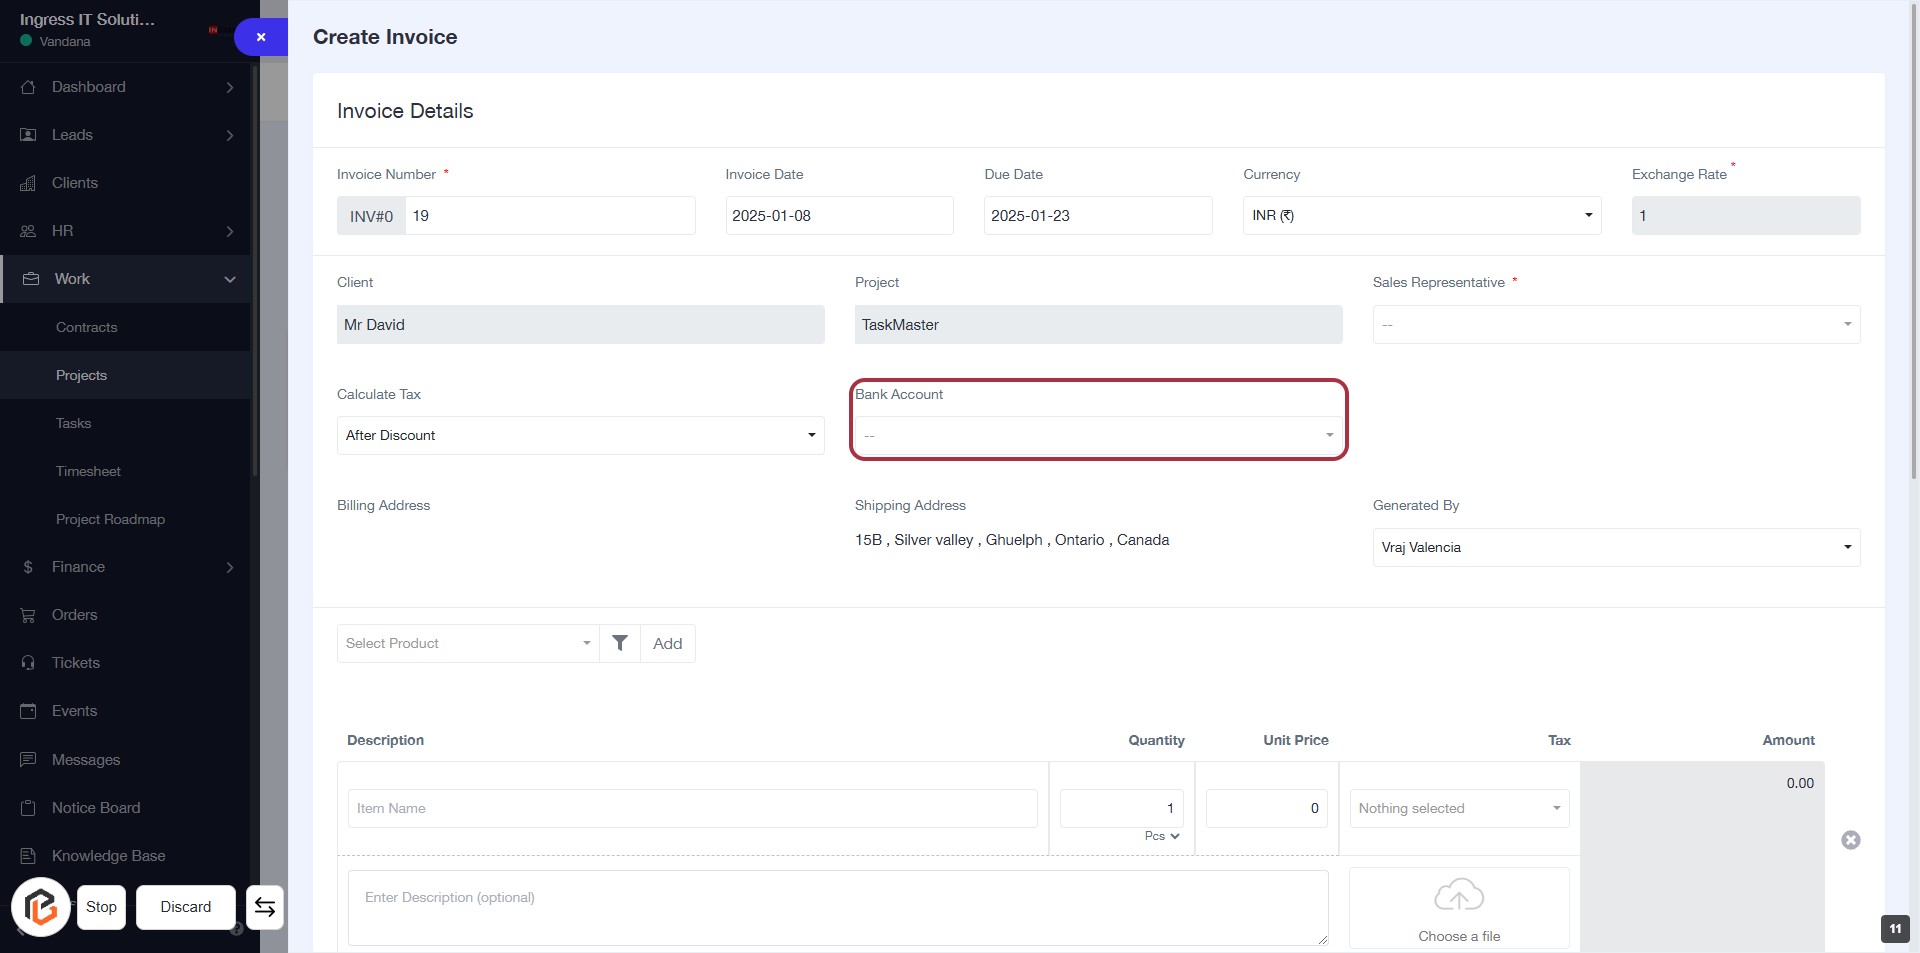
STEP 12: Select Bank Account
- Click on the "Bank Account" field highlighted in red.
- A dropdown will appear; select the appropriate bank account from the list.
- Ensure that all required fields marked with an asterisk (*) are filled out before proceeding.
- After selection, continue to the next step by entering the "Billing Address."
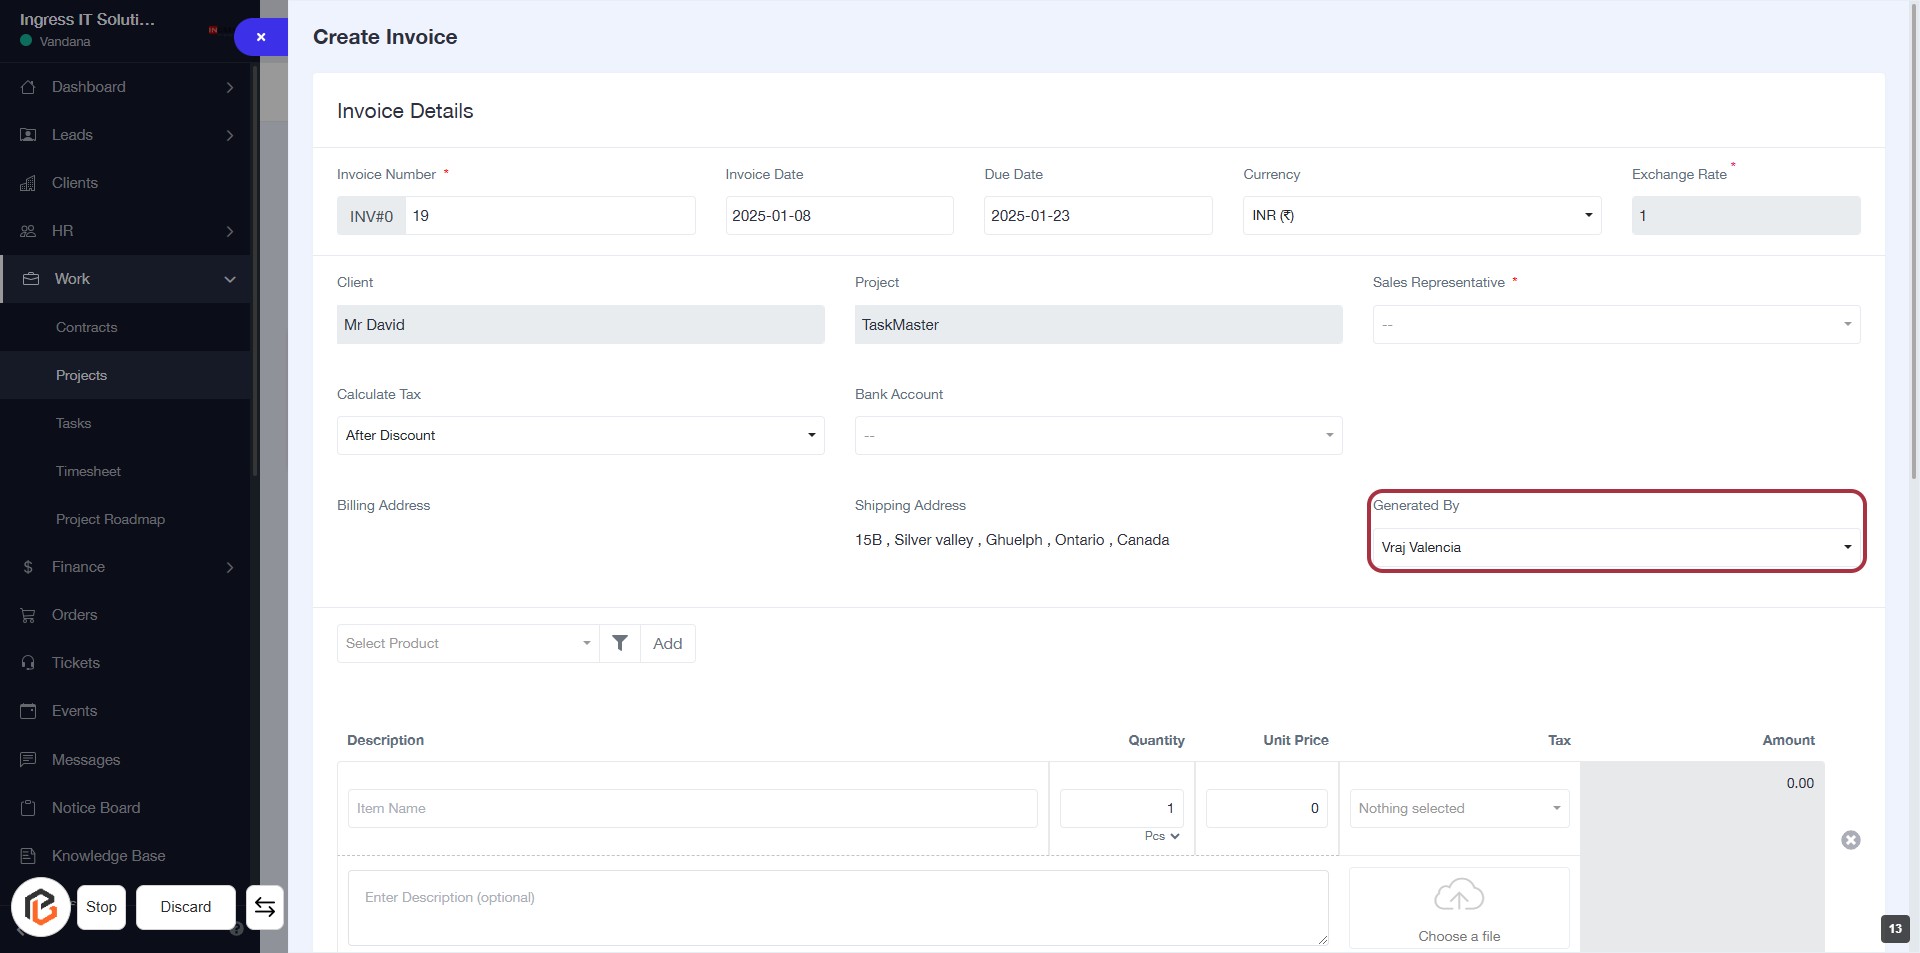
STEP 13: Select "Generated By" from the Invoice Form
- Click on the "Generated By" dropdown to choose the appropriate user.
- Ensure the selection reflects the correct individual responsible for generating the invoice.
- Review other fields in the form for accuracy before proceeding to the next step.
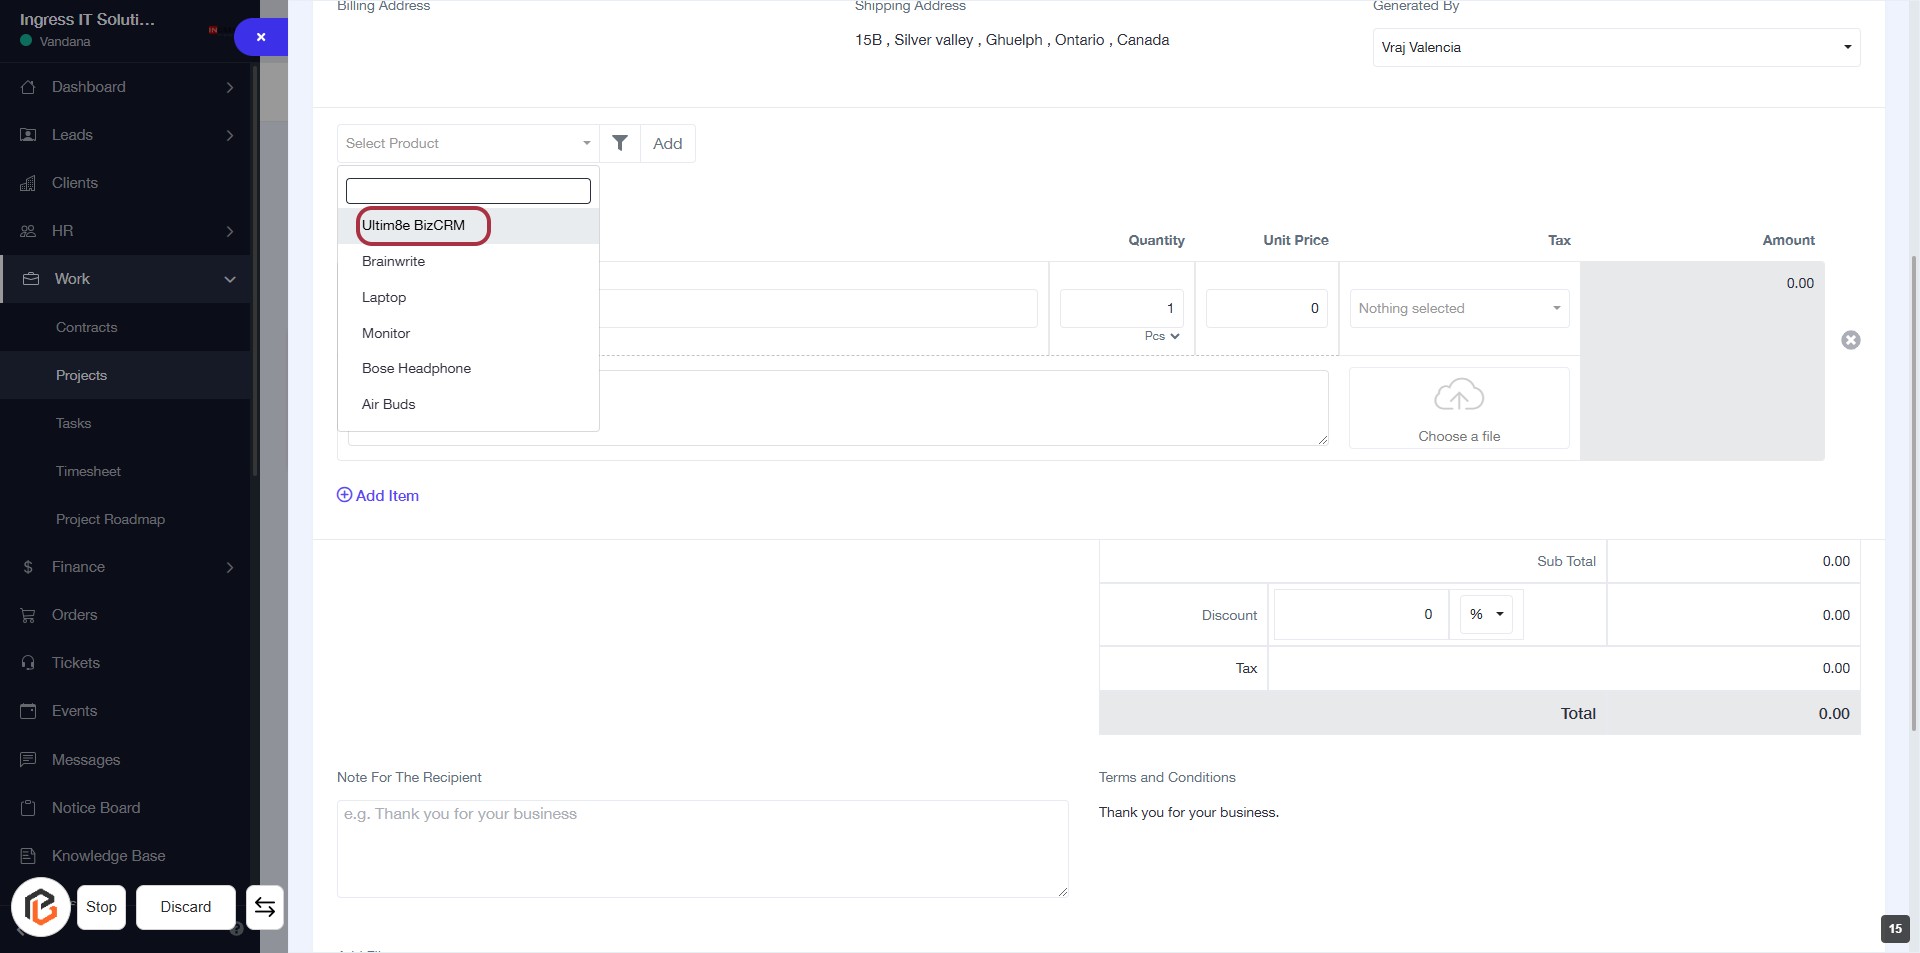
STEP 14: Click on "Select Product" to Choose Ultim8e BizCRM
- Navigate to the "Select Product" dropdown.
- Click on the dropdown to reveal the product options.
- Select "Ultim8e BizCRM" from the list of available products.
- Ensure the product is highlighted before proceeding to the next step.
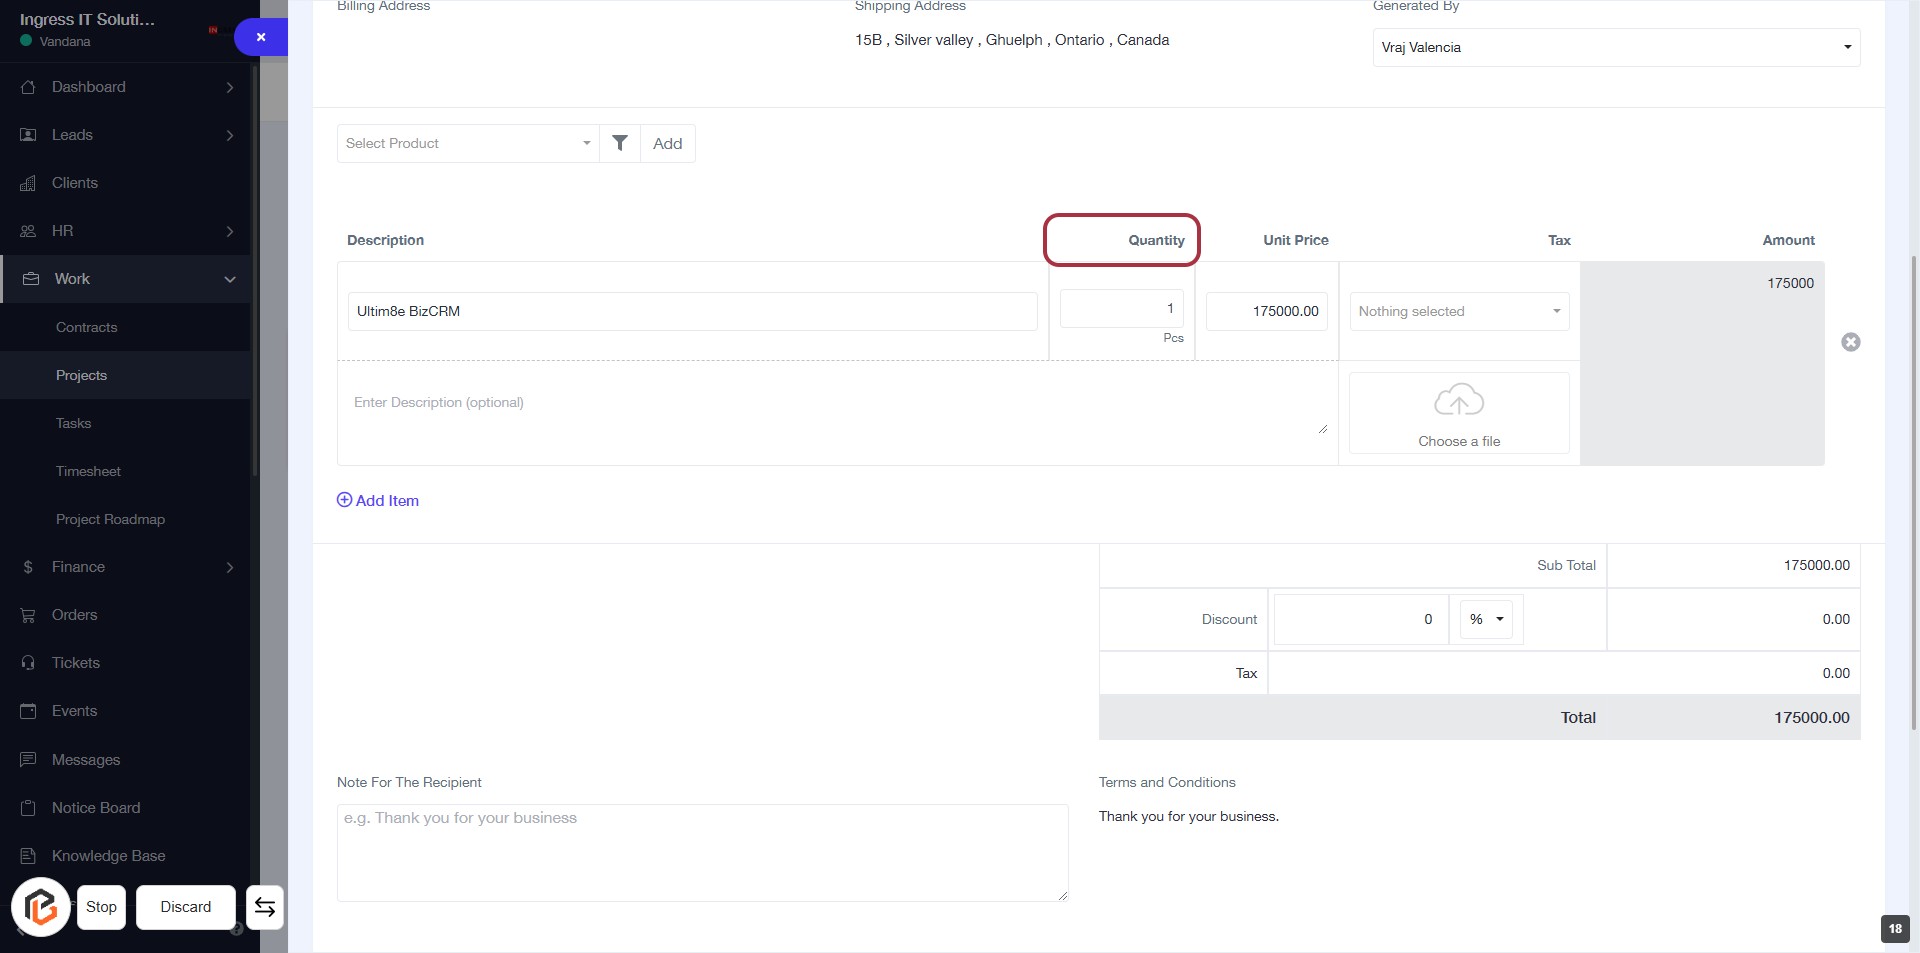
STEP 15: Enter Quantity for Ultim8e BizCRM
- Click on the highlighted "Quantity" field.
- Input the desired quantity for the product.
- Ensure to check for any required fields marked with an asterisk (*).
- Proceed to the next step to enter the "Unit Price".
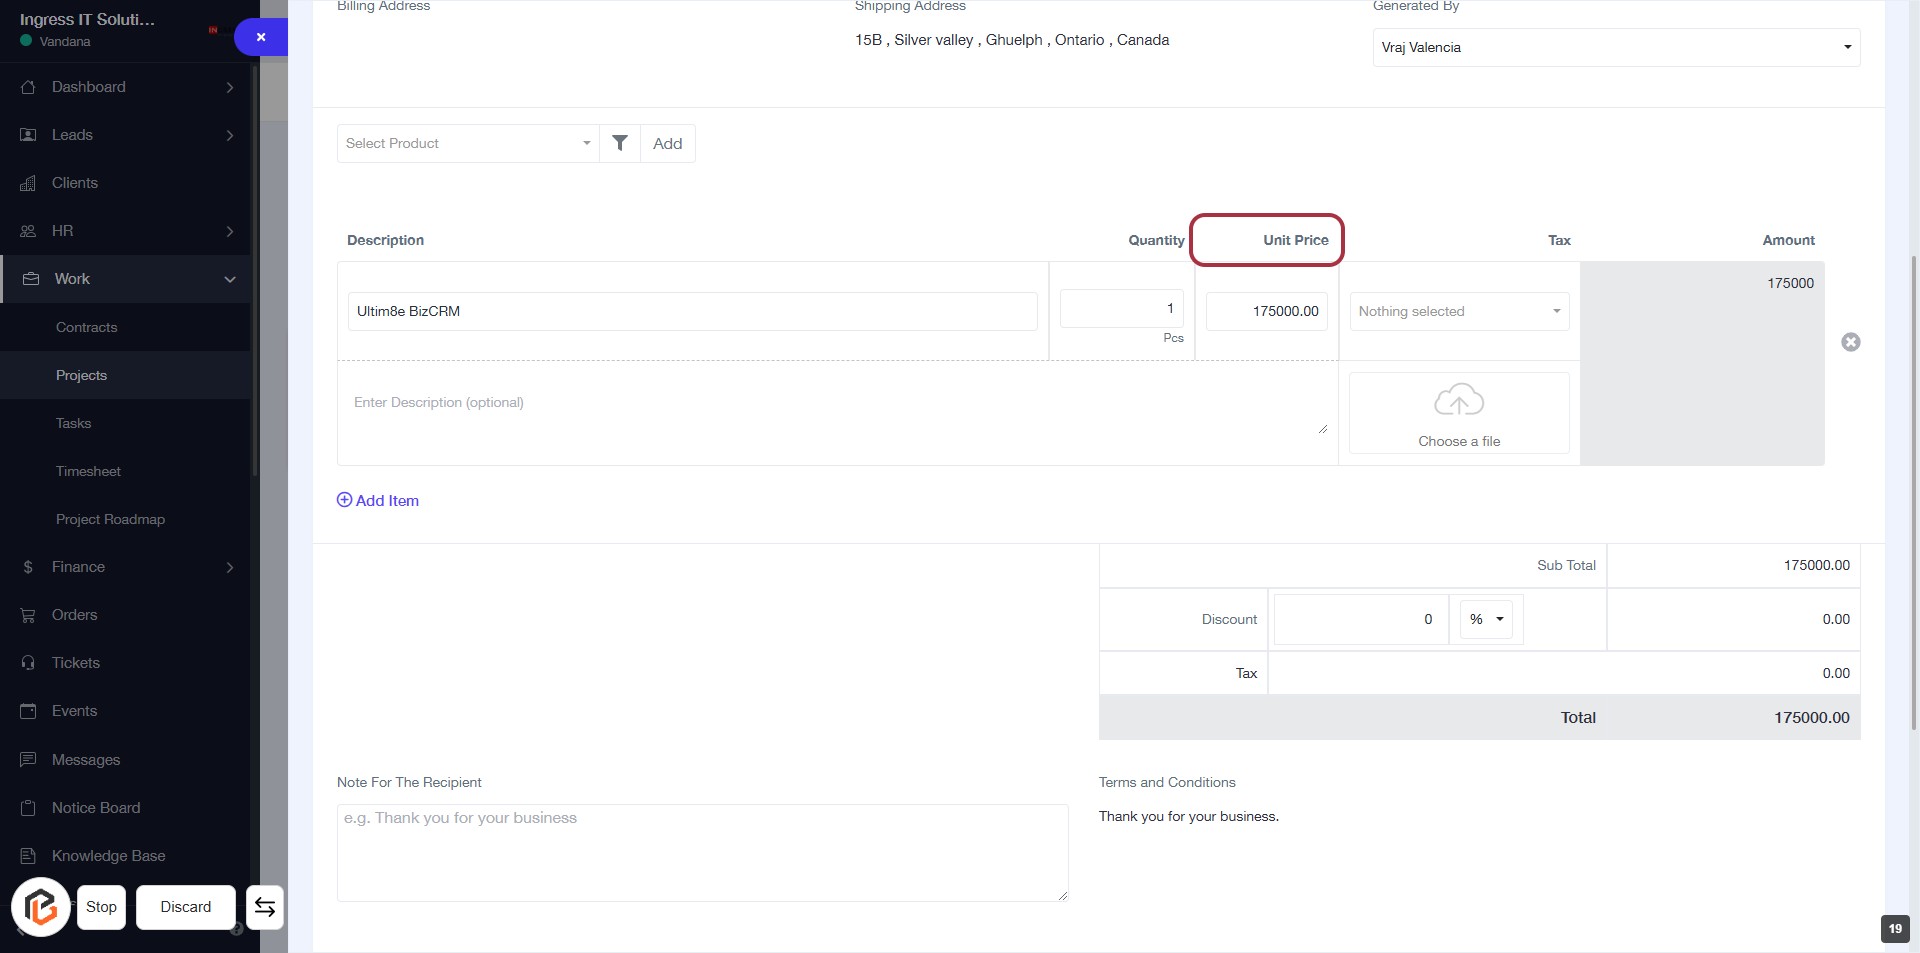
STEP 16: Enter "Unit Price"
- Click on the "Unit Price" field to input the price for the item.
- Ensure the quantity is already filled in the adjacent field.
- Review the total amount calculated based on the unit price and quantity.
- Proceed to the next step to enter the "Tax" information.
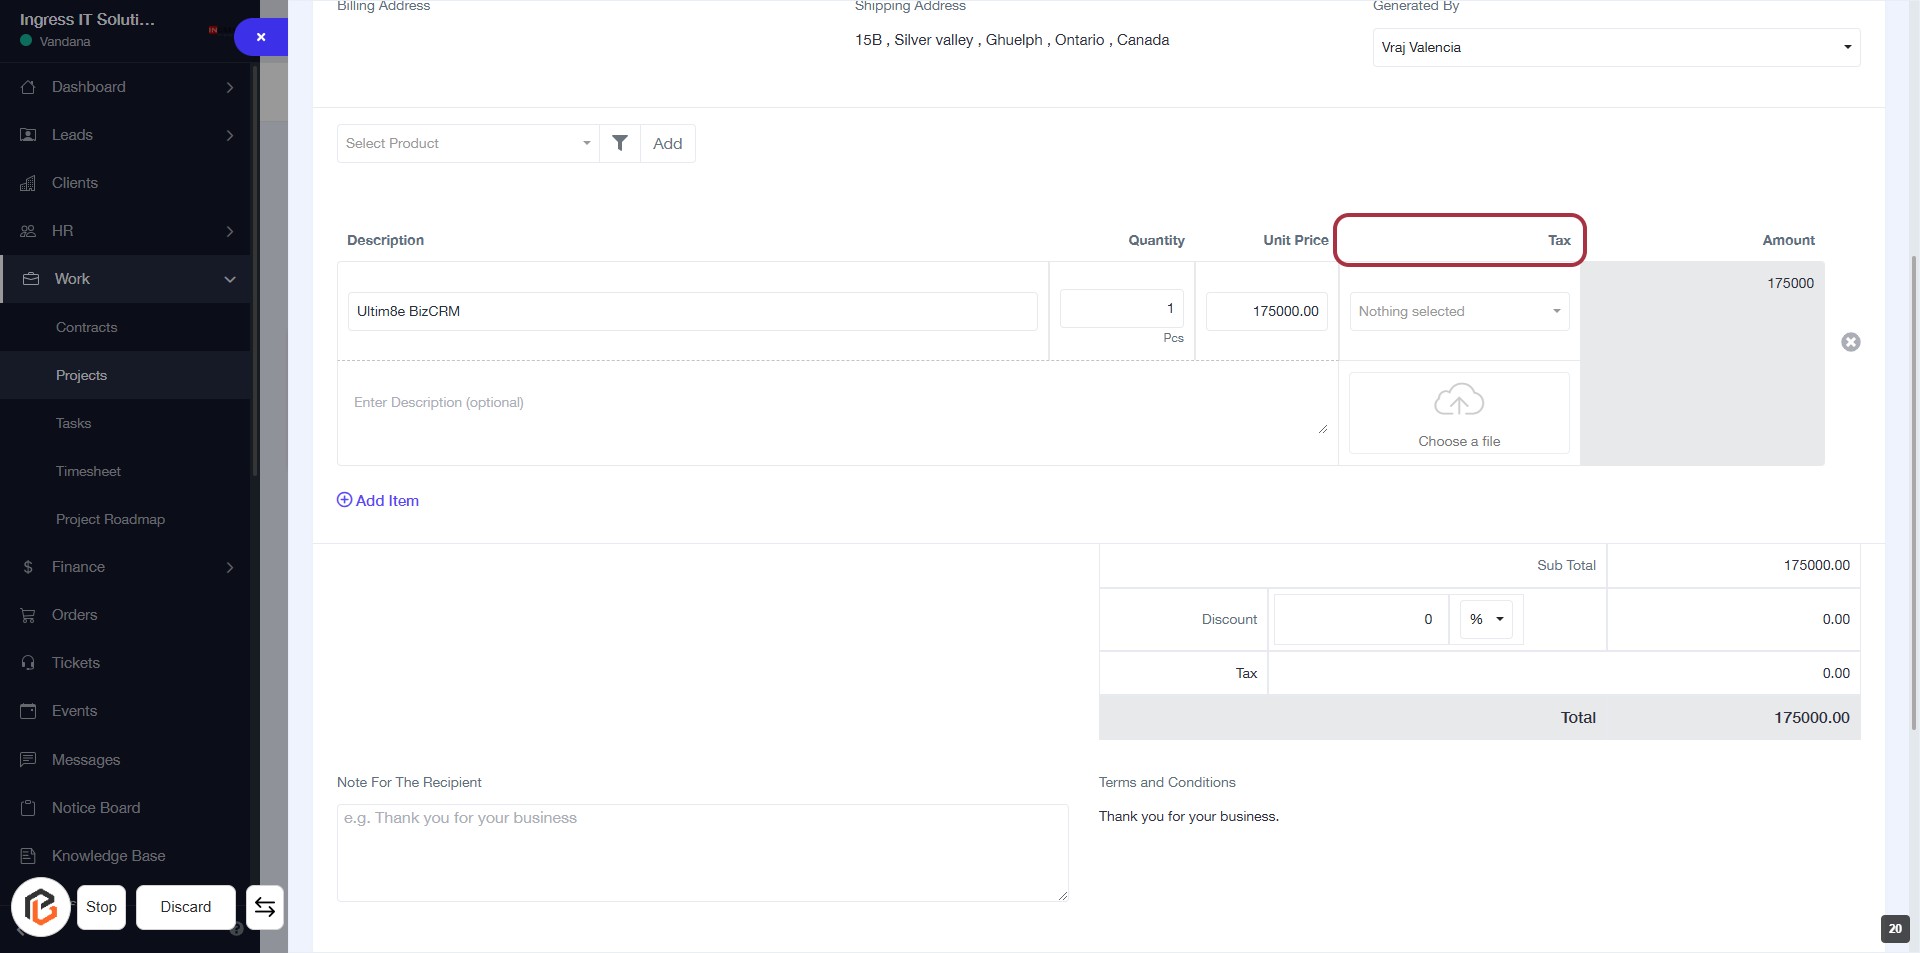
STEP 17: Enter "Tax" Value
- Click on the "Tax" field to input the applicable tax amount.
- Ensure the tax value is correctly calculated based on the unit price and quantity.
- Review any optional fields or notes that may be relevant to the tax entry.
- Proceed to the next step by clicking on "Choose a file" for any necessary attachments.
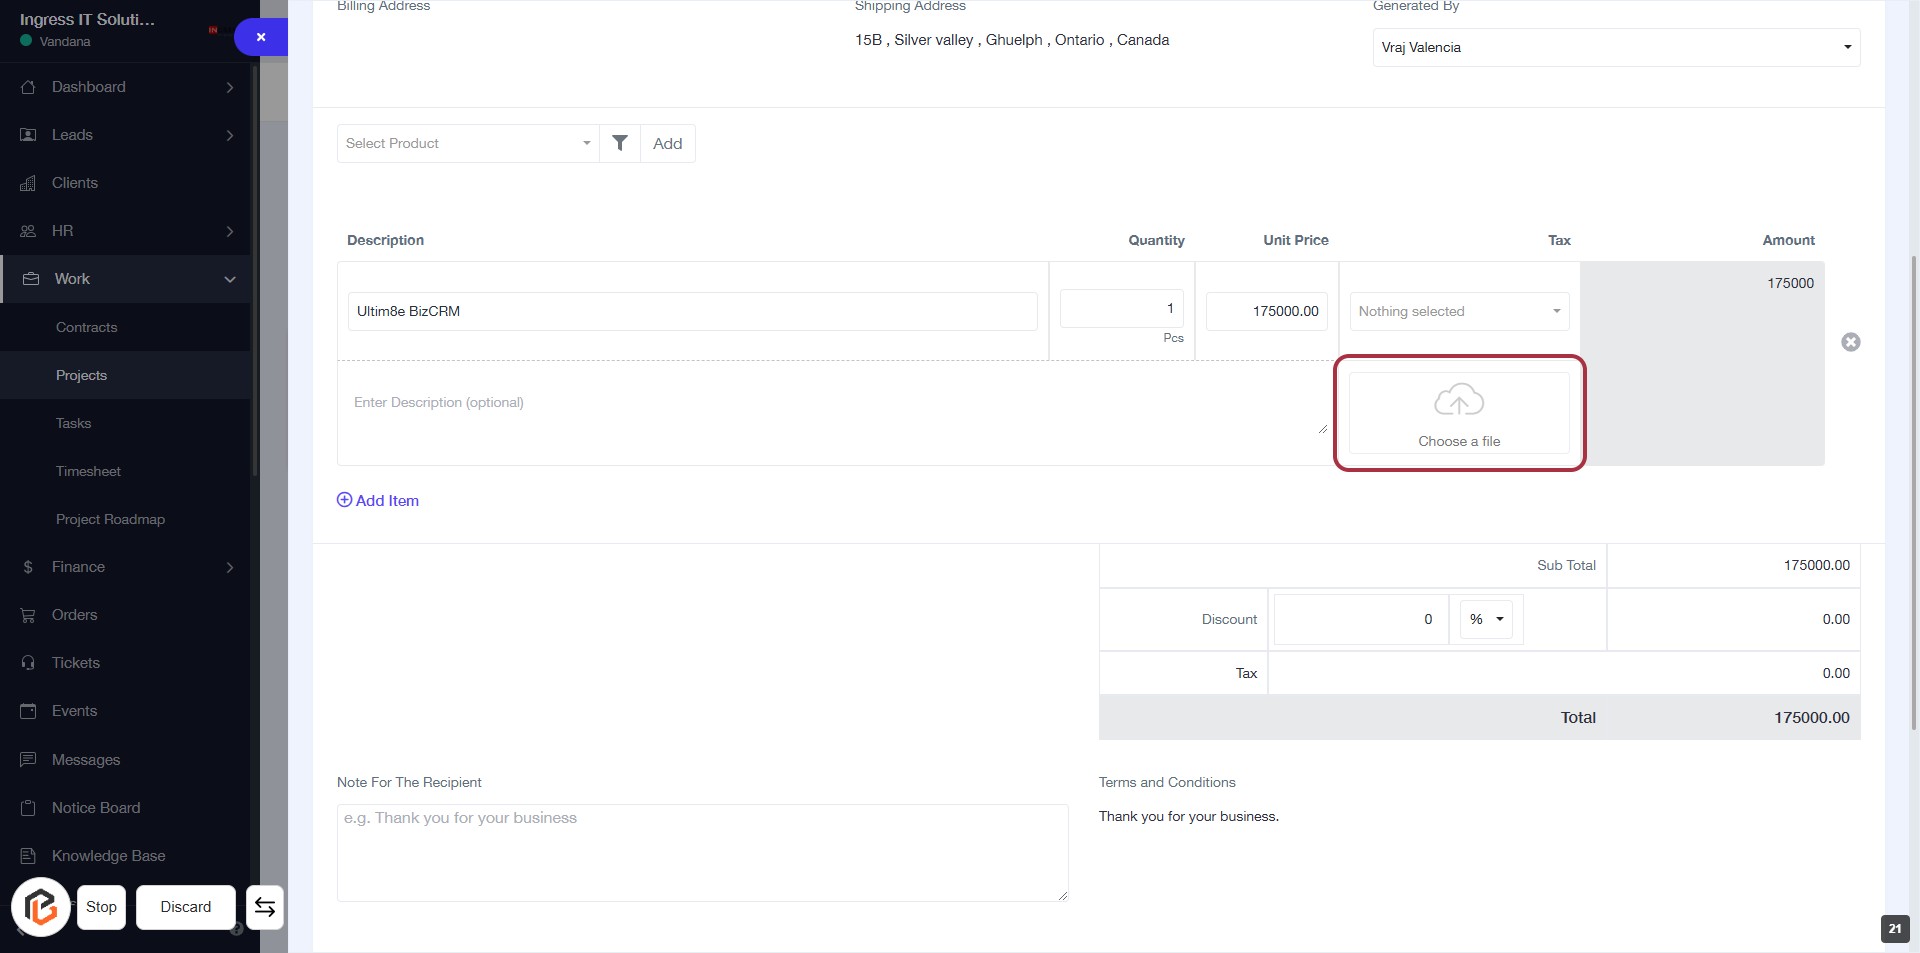
STEP 18: Click on "Choose a file" to Upload Documents
- Locate the "Choose a file" button highlighted in red.
- Click on this button to open the file selection dialog.
- Select the desired file from your device to upload.
- Ensure the file meets any specified requirements (e.g., format, size).
- Proceed to the next step to write a description.
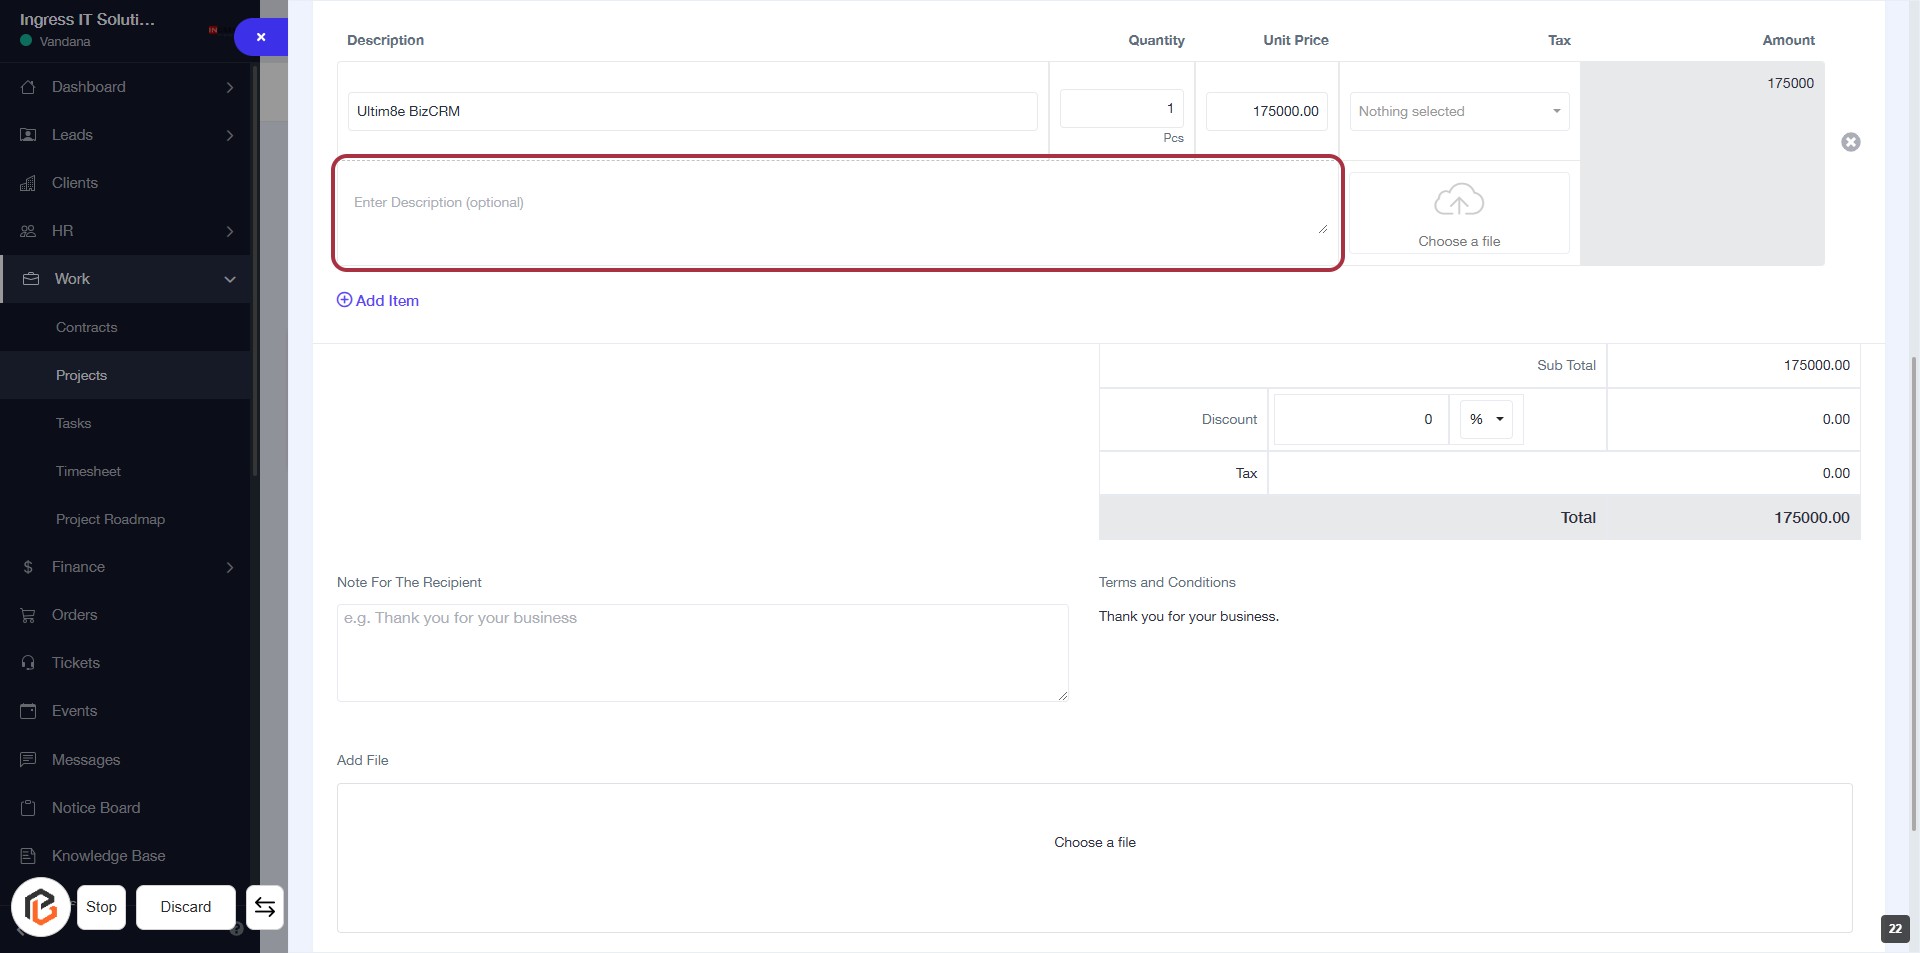
STEP 19: Fill in the Description Field
- Click on the "Description" field in the form.
- Enter a brief description of the invoice (optional).
- Ensure the description is relevant to the invoice details.
- Review the information before proceeding to the next step.
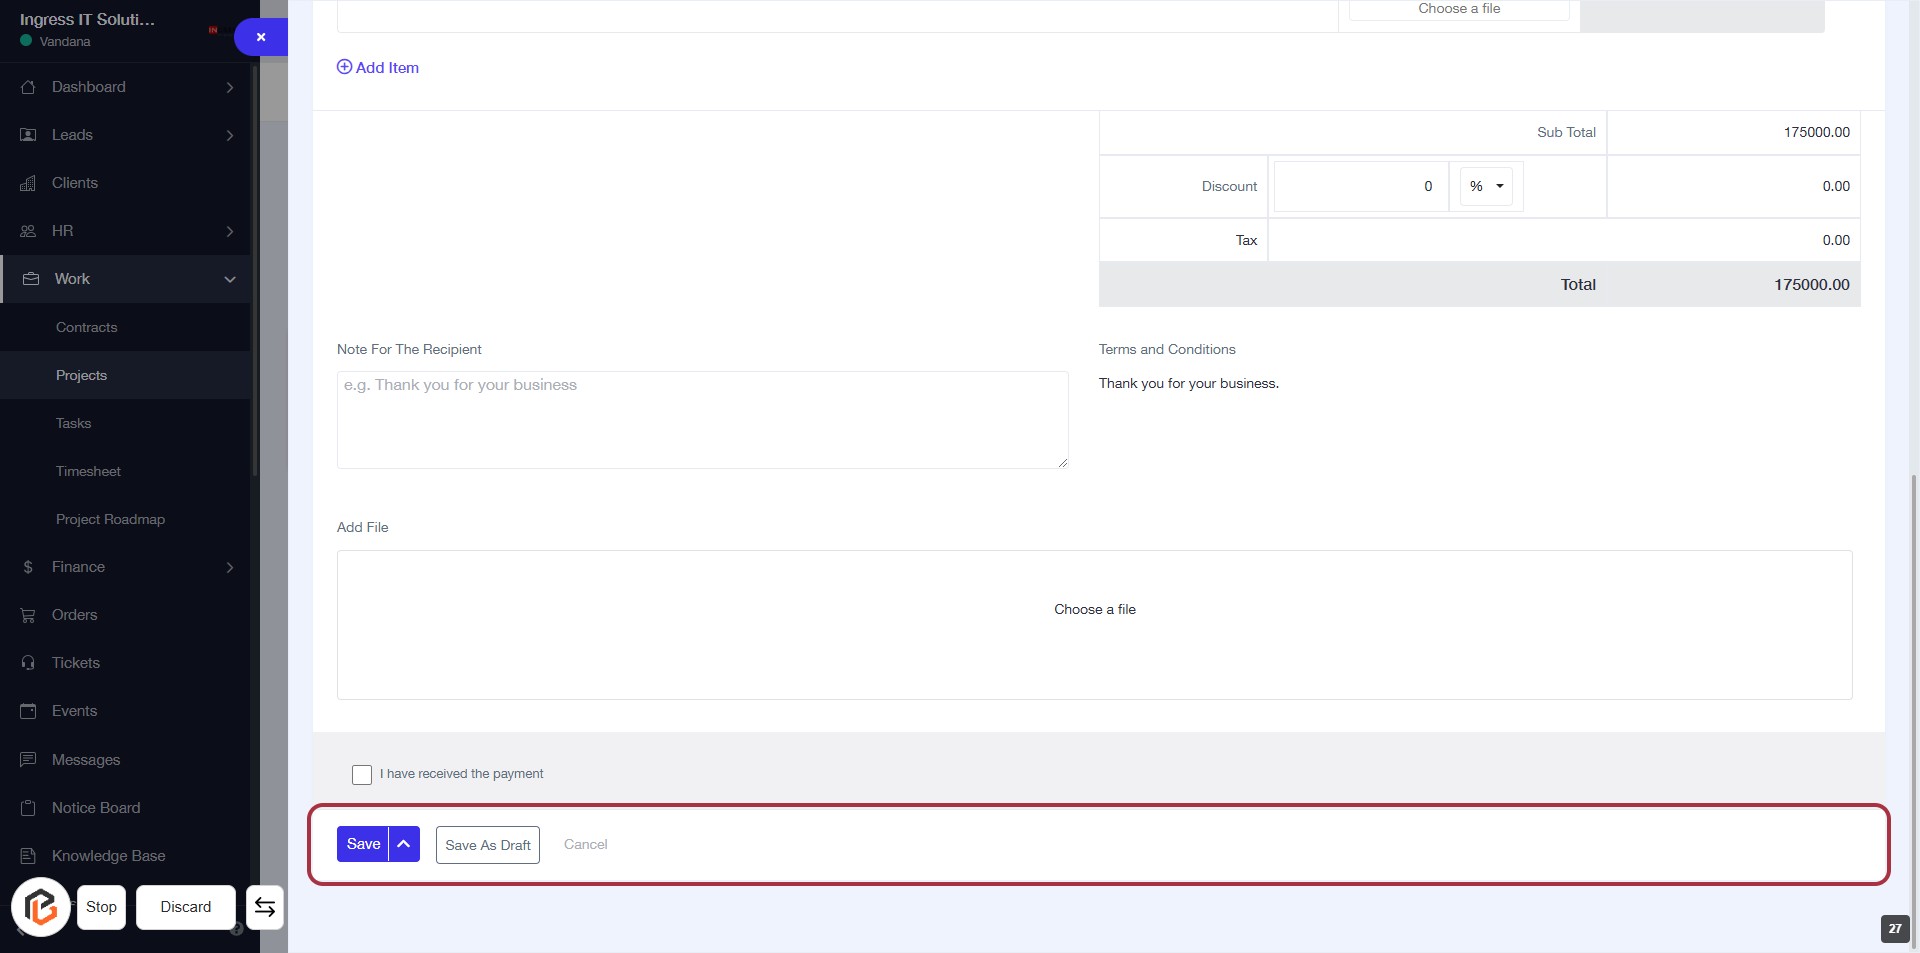
STEP 20: Click on "Add Item"
- Click on the Add Item button to include a new item in your invoice.
- Ensure all required fields are filled out before proceeding.
- Review the item details after adding to confirm accuracy.
- After adding, continue to the next step to write a note for the recipient.

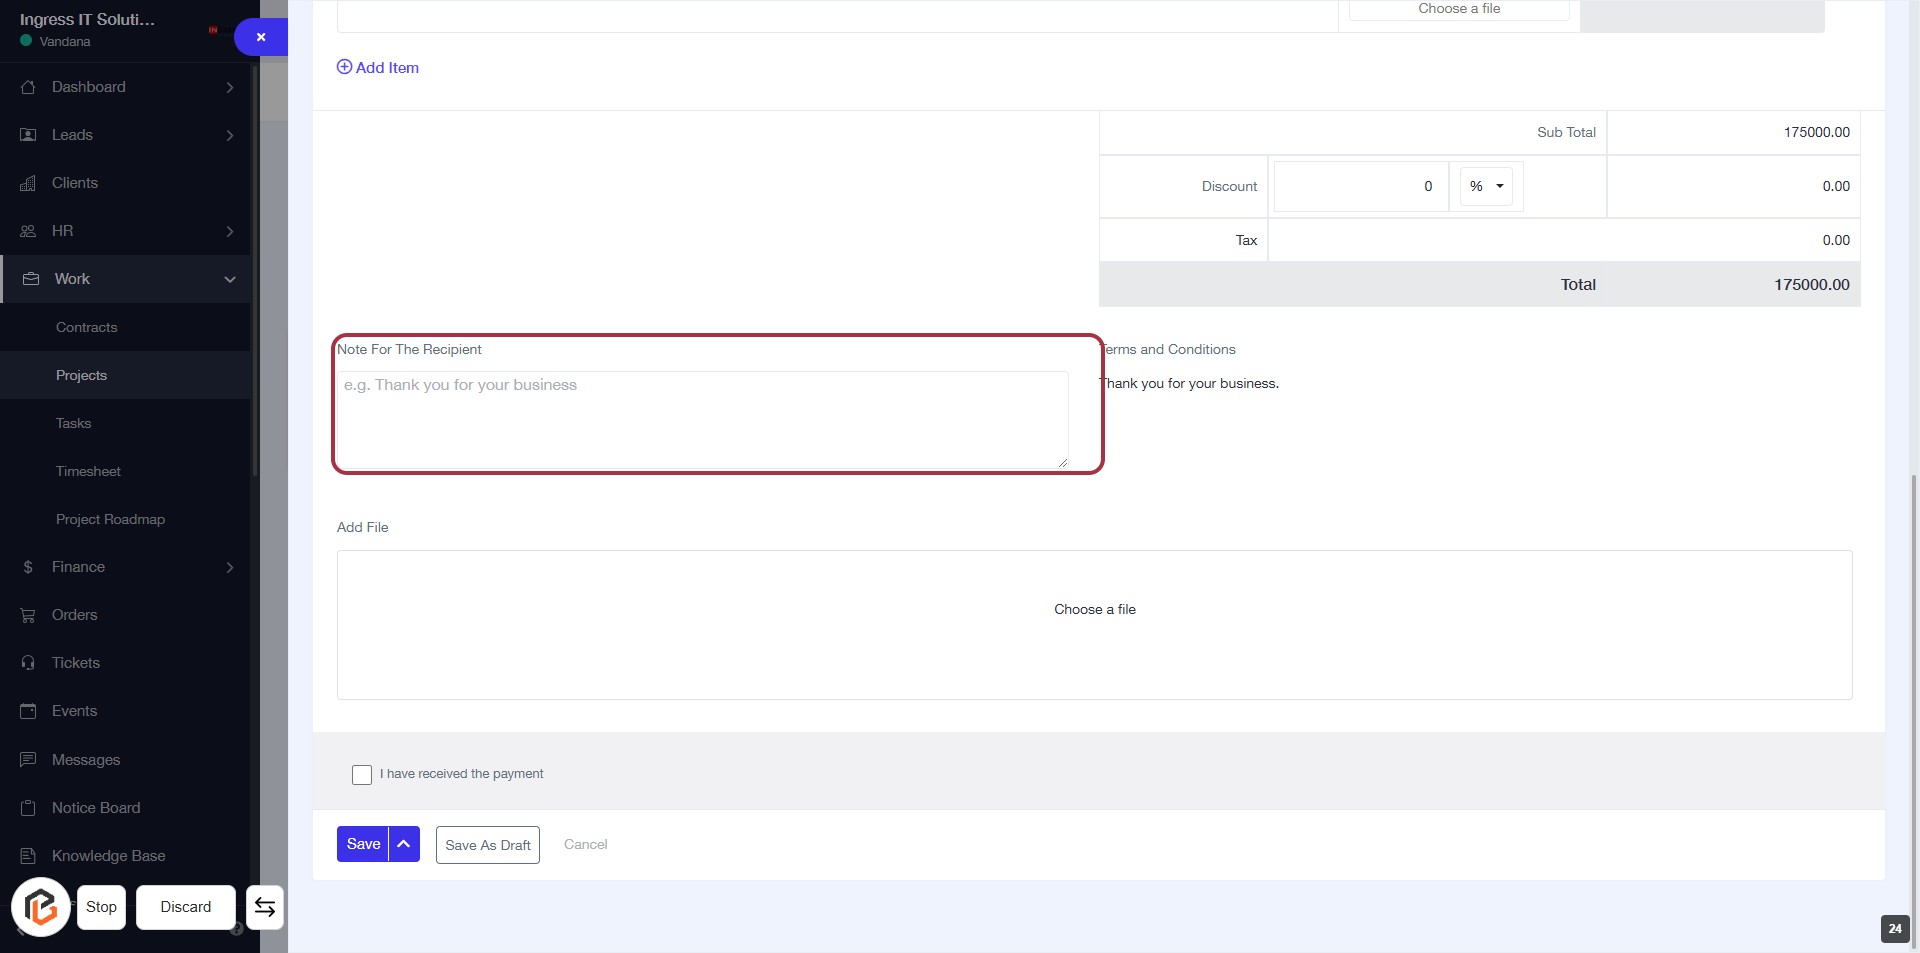
STEP 21: Enter Note for the Recipient
- Click on the "Note For The Recipient" field.
- Type your message (e.g., "Thank you for your business").
- Ensure the note is clear and relevant to the invoice.
- Proceed to the next step by clicking on "Add File" when ready.
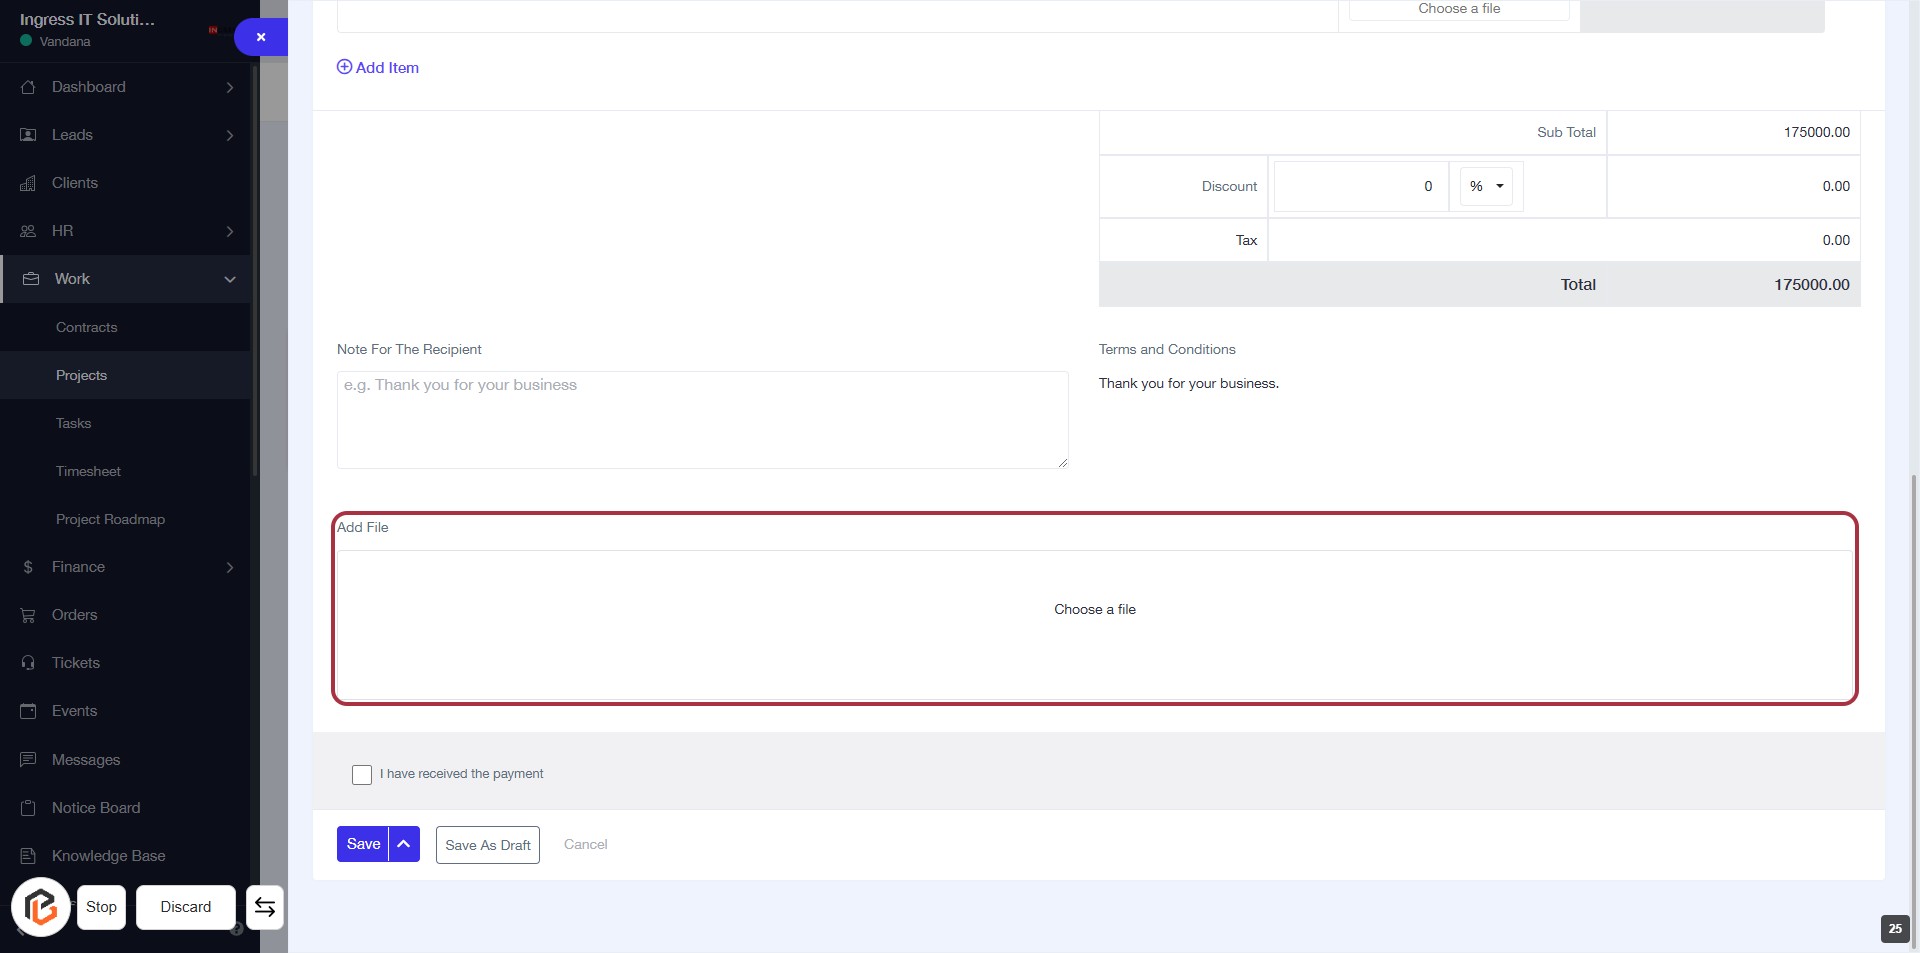
STEP 22: Click on "Add File" to Upload Documents
- Locate the "Add File" section highlighted in red.
- Click on the "Add File" area to initiate the file upload process.
- Ensure you have the necessary documents ready for upload.
- Follow any prompts to select and confirm your file choice.
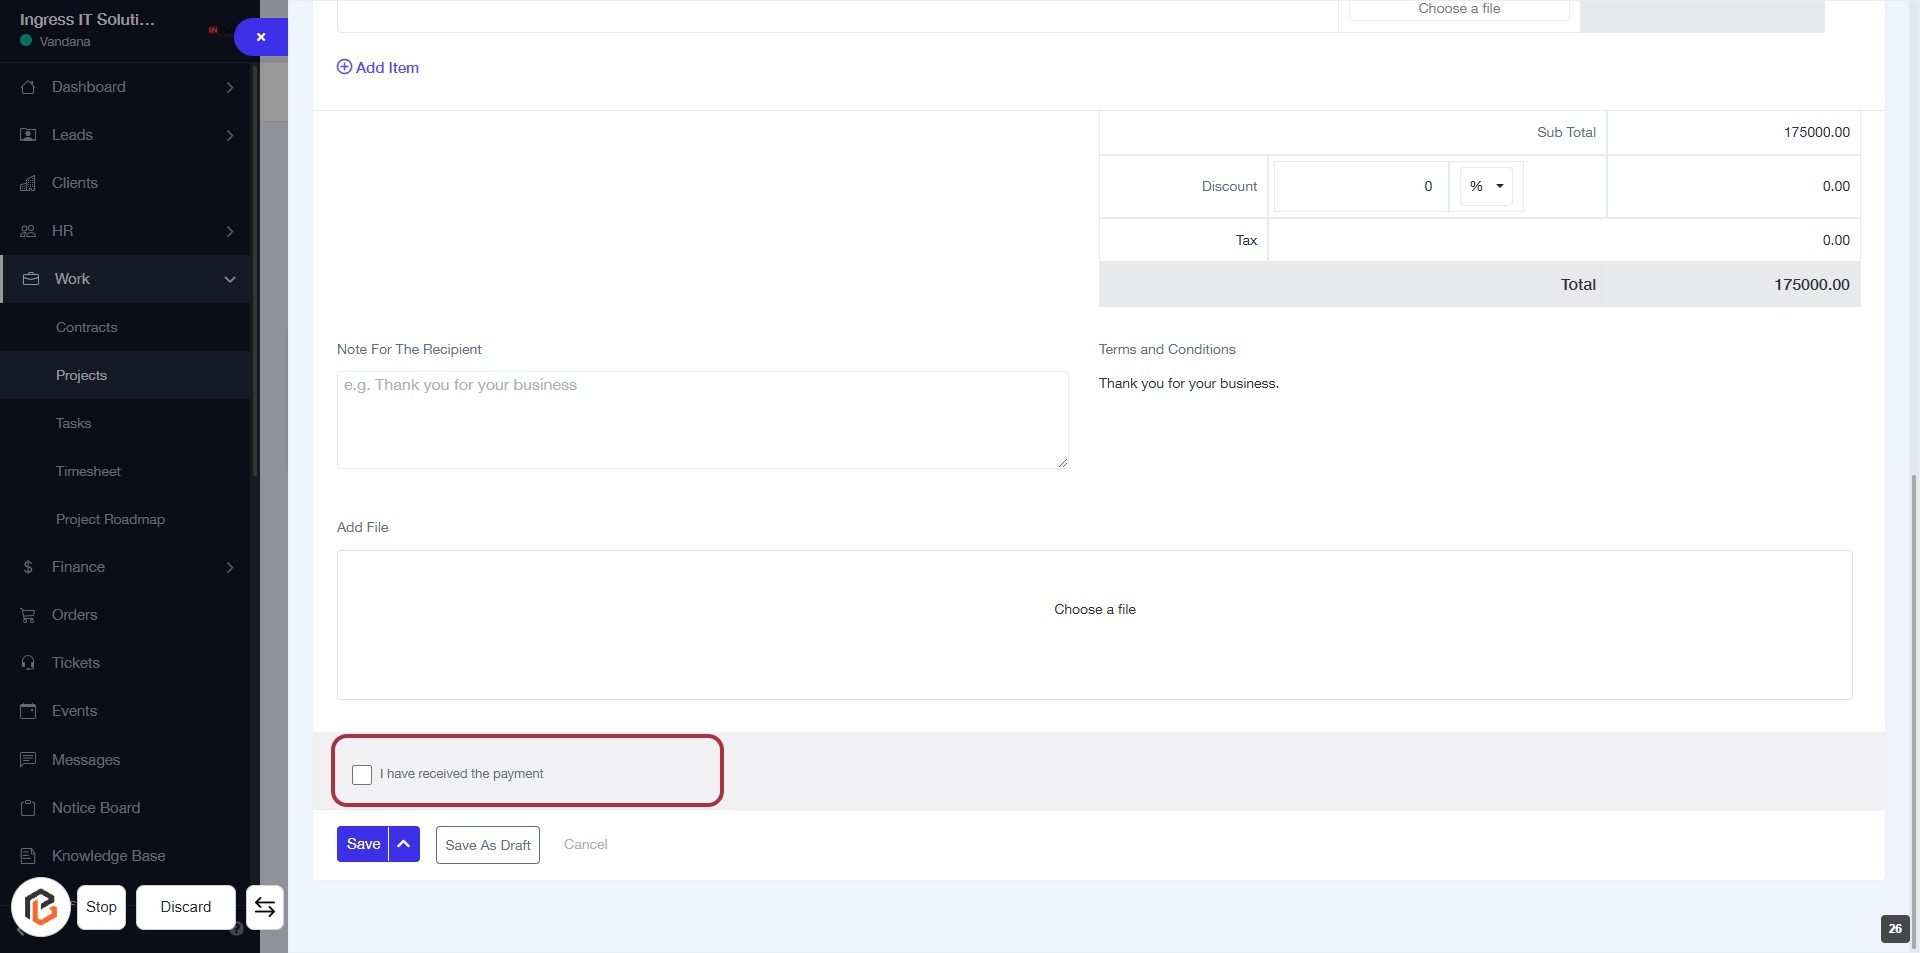
STEP 23: Select "I have received the payment"
- Click on the checkbox labeled "I have received the payment" to confirm the payment status.
- Ensure all required fields in the form are filled out before proceeding.
- Review any optional fields for additional information you may want to include.
- After confirming, proceed to the next step by clicking the "Save" button.
STEP 24: Click "Save" to Finalize Your Invoice
- Ensure all required fields are filled out.
- Review the "Note For The Recipient" and "Terms and Conditions."
- Click the Save button located at the bottom of the form to save your invoice.
- You can also choose to Save As Draft or Cancel if needed.