Step-by-Step Guide to Creating a TimeLog Invoice on Your Dashboard
20 mins read · Updated 29 Sep, 2025
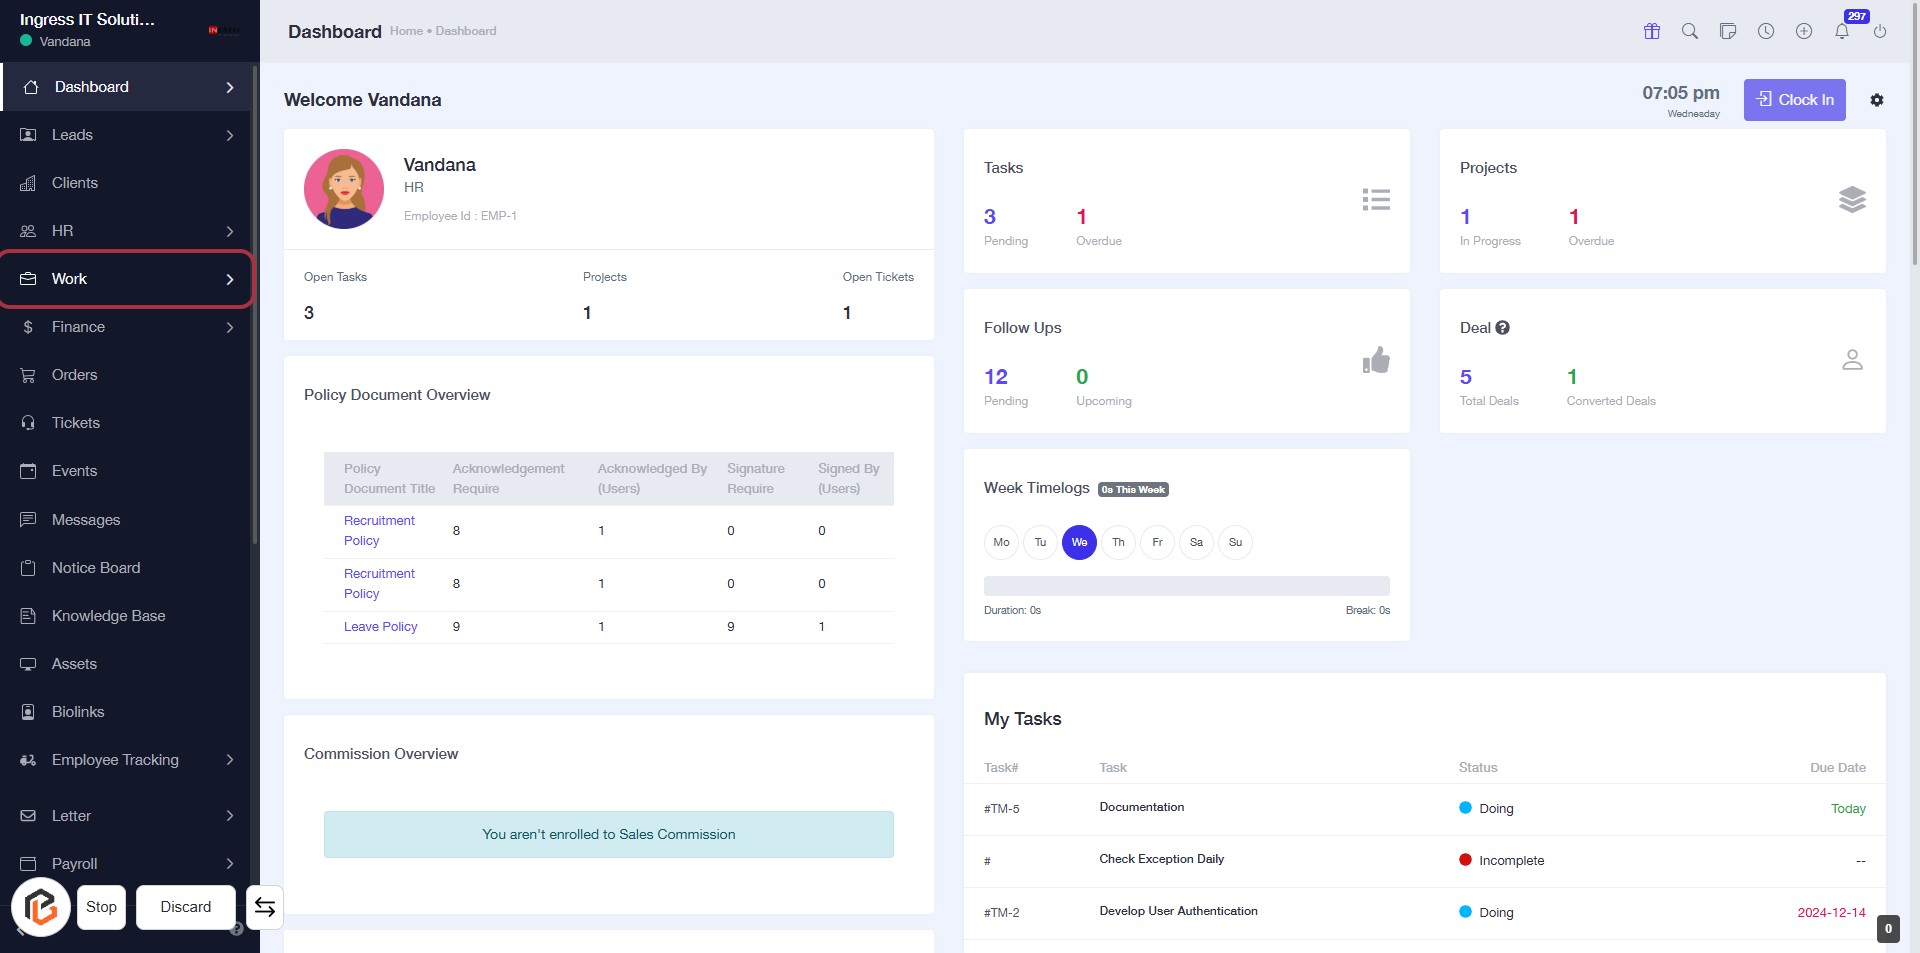
STEP 1: Click on "Work" to Access Your Dashboard
- Navigate to the left sidebar of the dashboard.
- Locate and click on the "Work" link.
- This will direct you to the work-related tasks and projects overview.
- Ensure to check the Policy Document Overview and Commission Overview sections for relevant information.
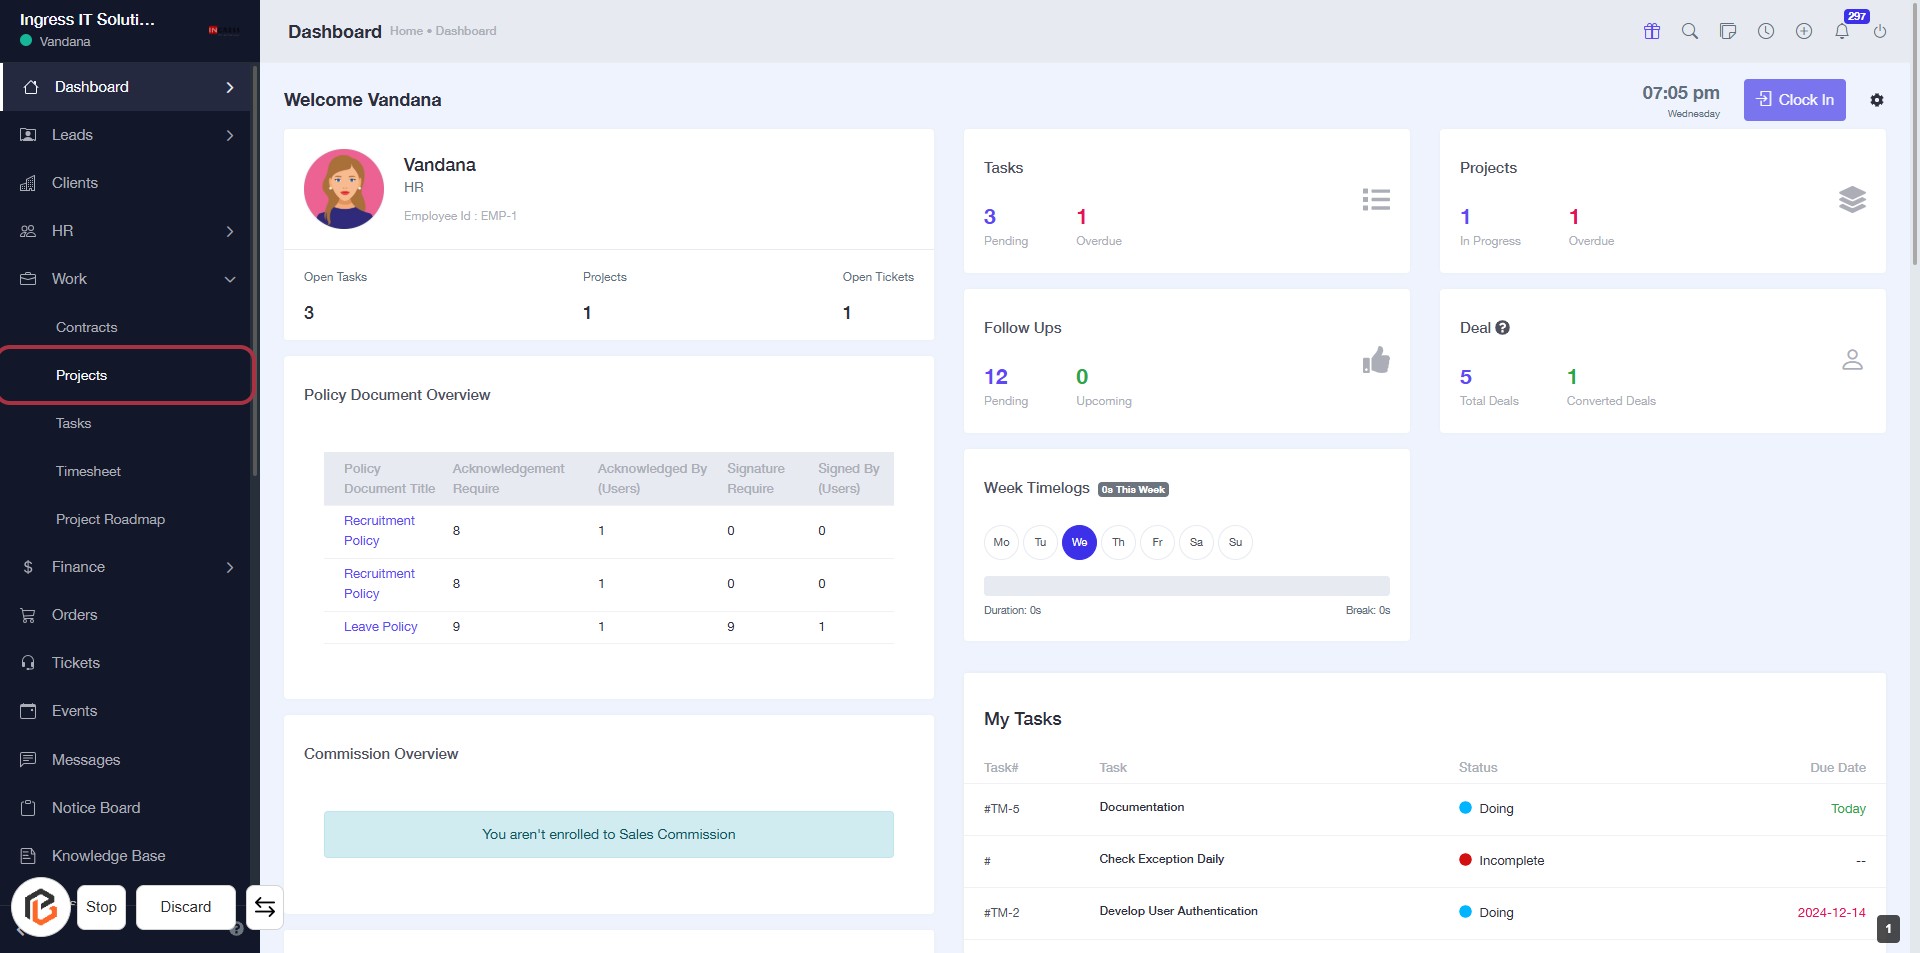
STEP 2: Click on "Projects" to Access Project Overview
- Navigate to the left sidebar and locate the Projects link.
- Click on the Projects link to view the project overview.
- Ensure you have the necessary permissions to access project details.
- Review the displayed project information, including status and deadlines.
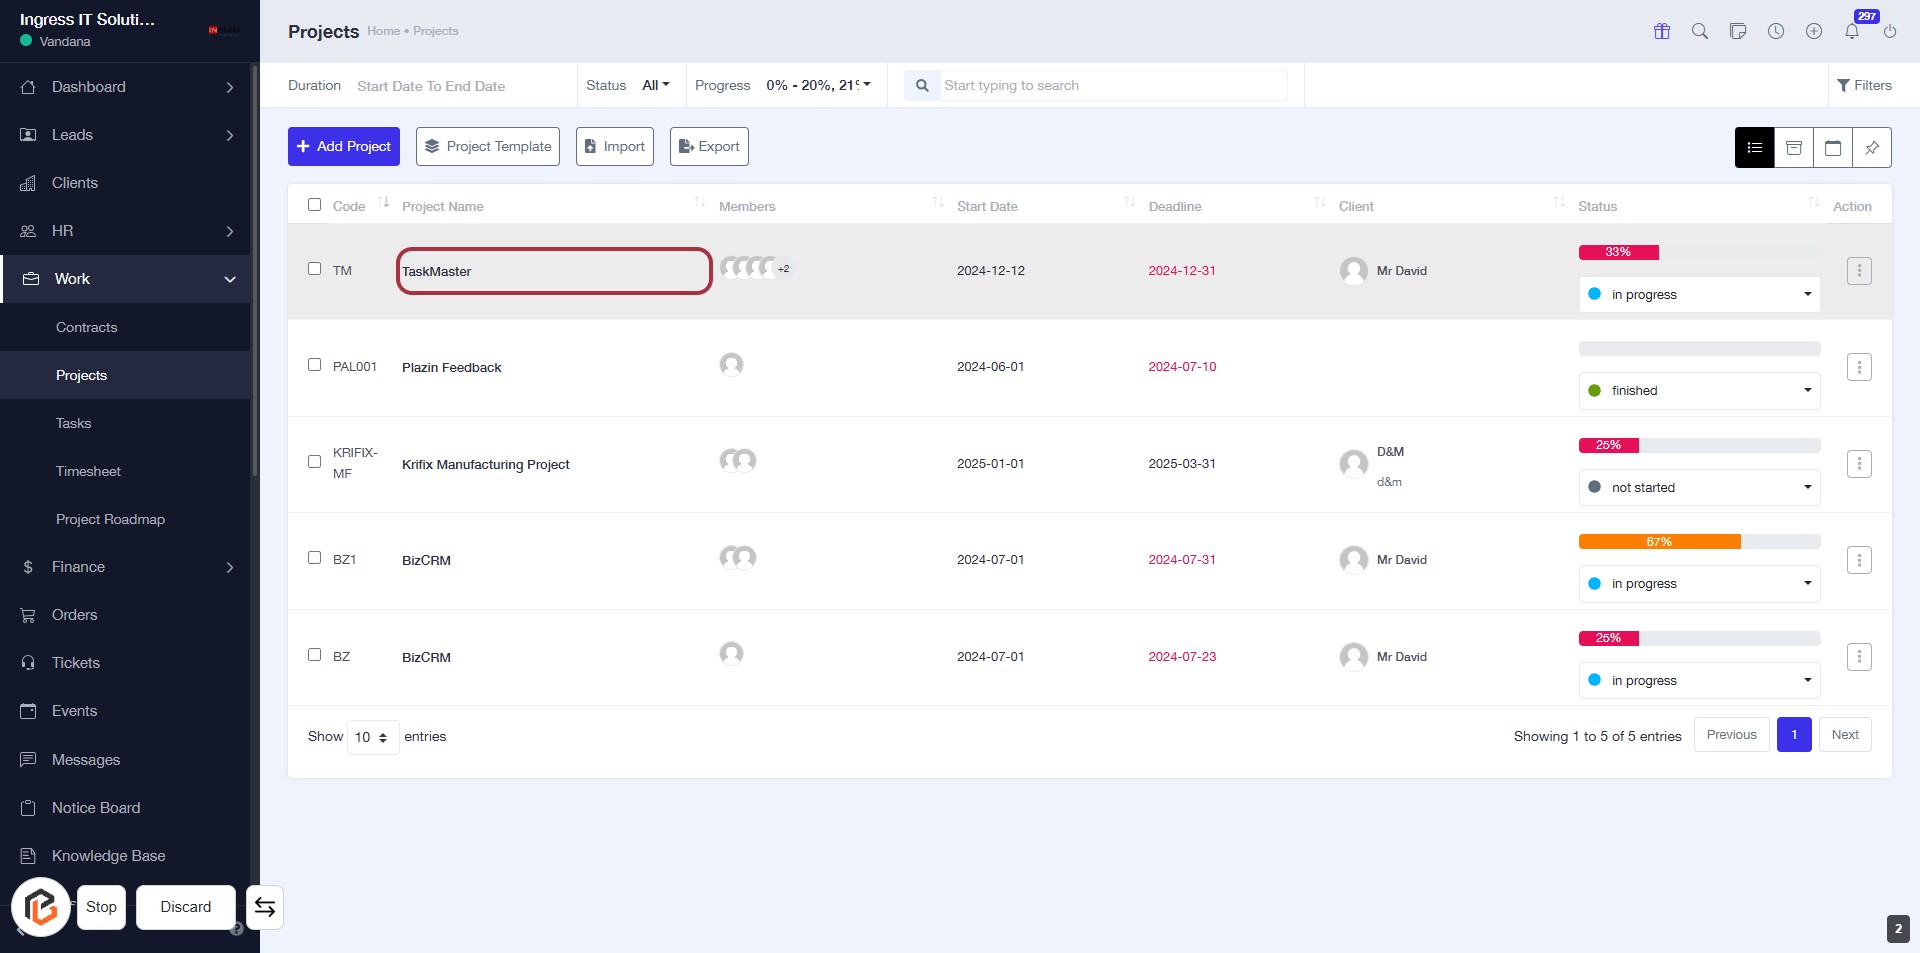
STEP 3: Select "TaskMaster" Project
- Click on the TaskMaster project name in the project list.
- Ensure you are on the Projects page to view the project details.
- This action will allow you to manage or view specific details related to the TaskMaster project.
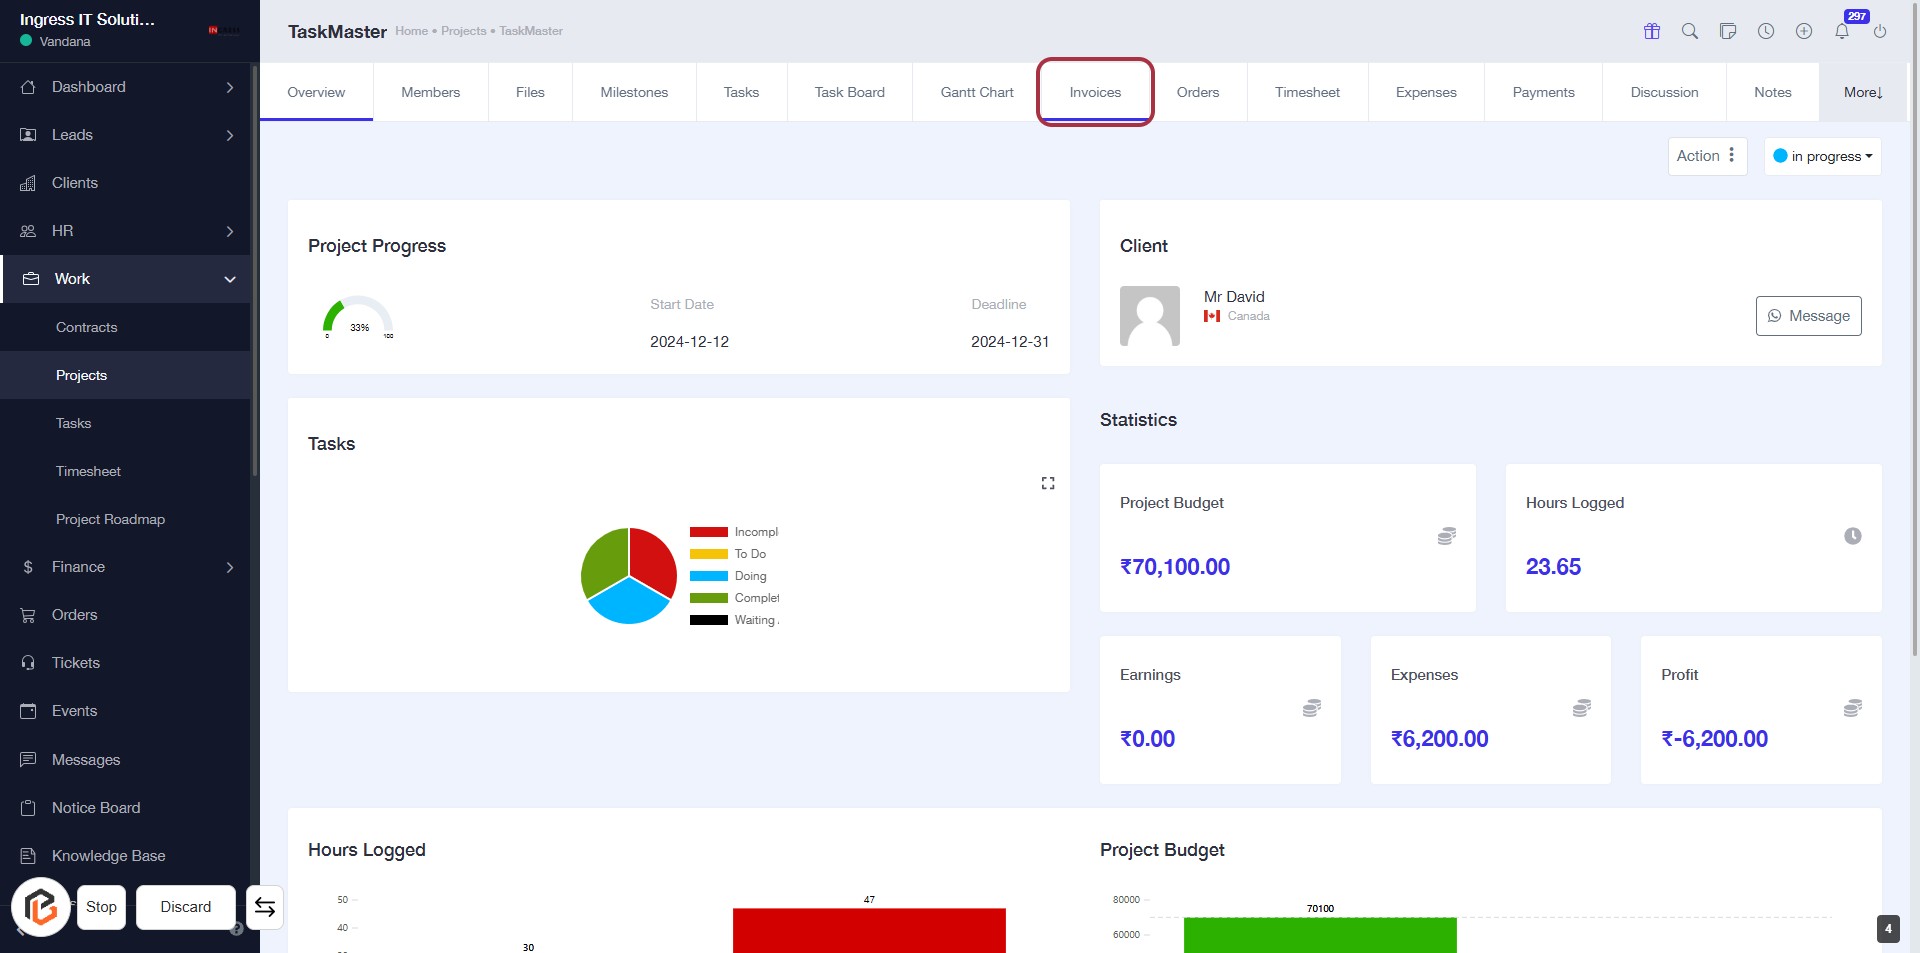
STEP 4: Click on "Invoices"
- Navigate to the "Invoices" section by clicking on the highlighted area.
- Ensure you are on the TaskMaster project page.
- This section provides access to invoice-related functionalities.
- After clicking, proceed to create a TimeLog invoice as indicated in the next step.
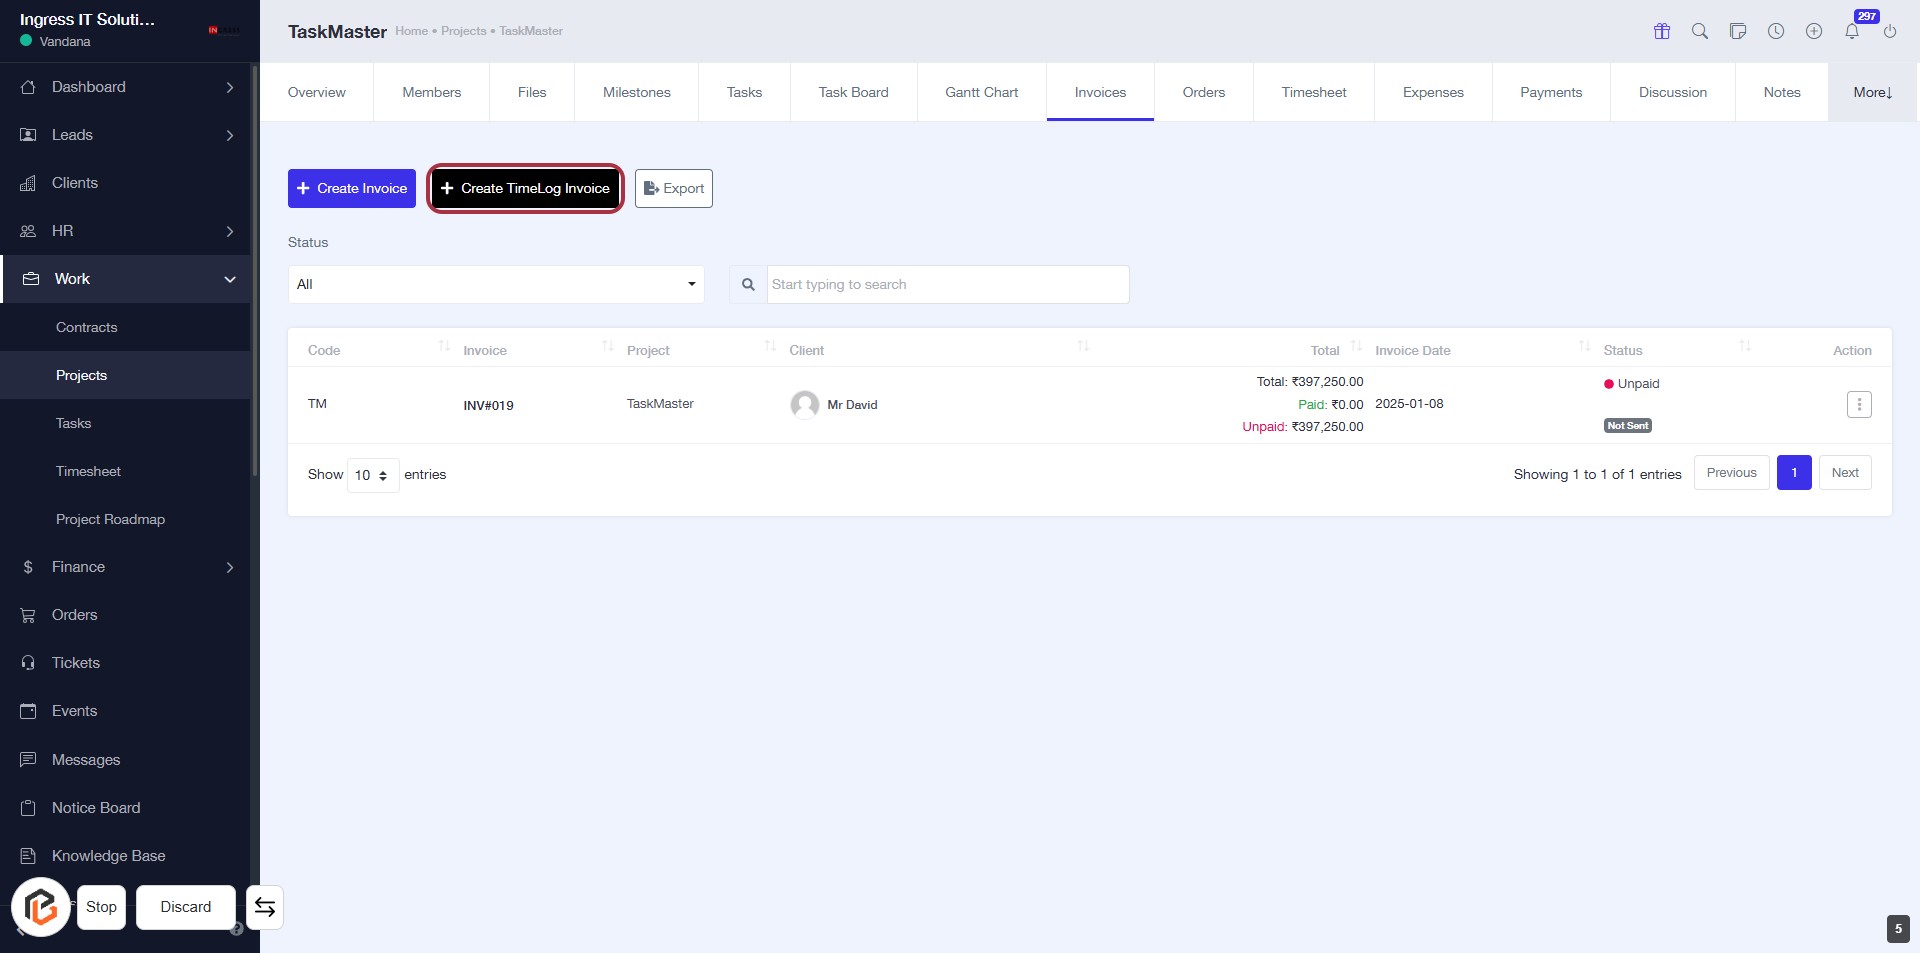
STEP 5: Click on "Create TimeLog Invoice"
- Navigate to the "Invoices" tab.
- Locate the button labeled Create TimeLog Invoice highlighted in the interface.
- Click on the button to initiate the invoice creation process.
- Ensure all required fields are ready for the next step, including the "Invoice Number."
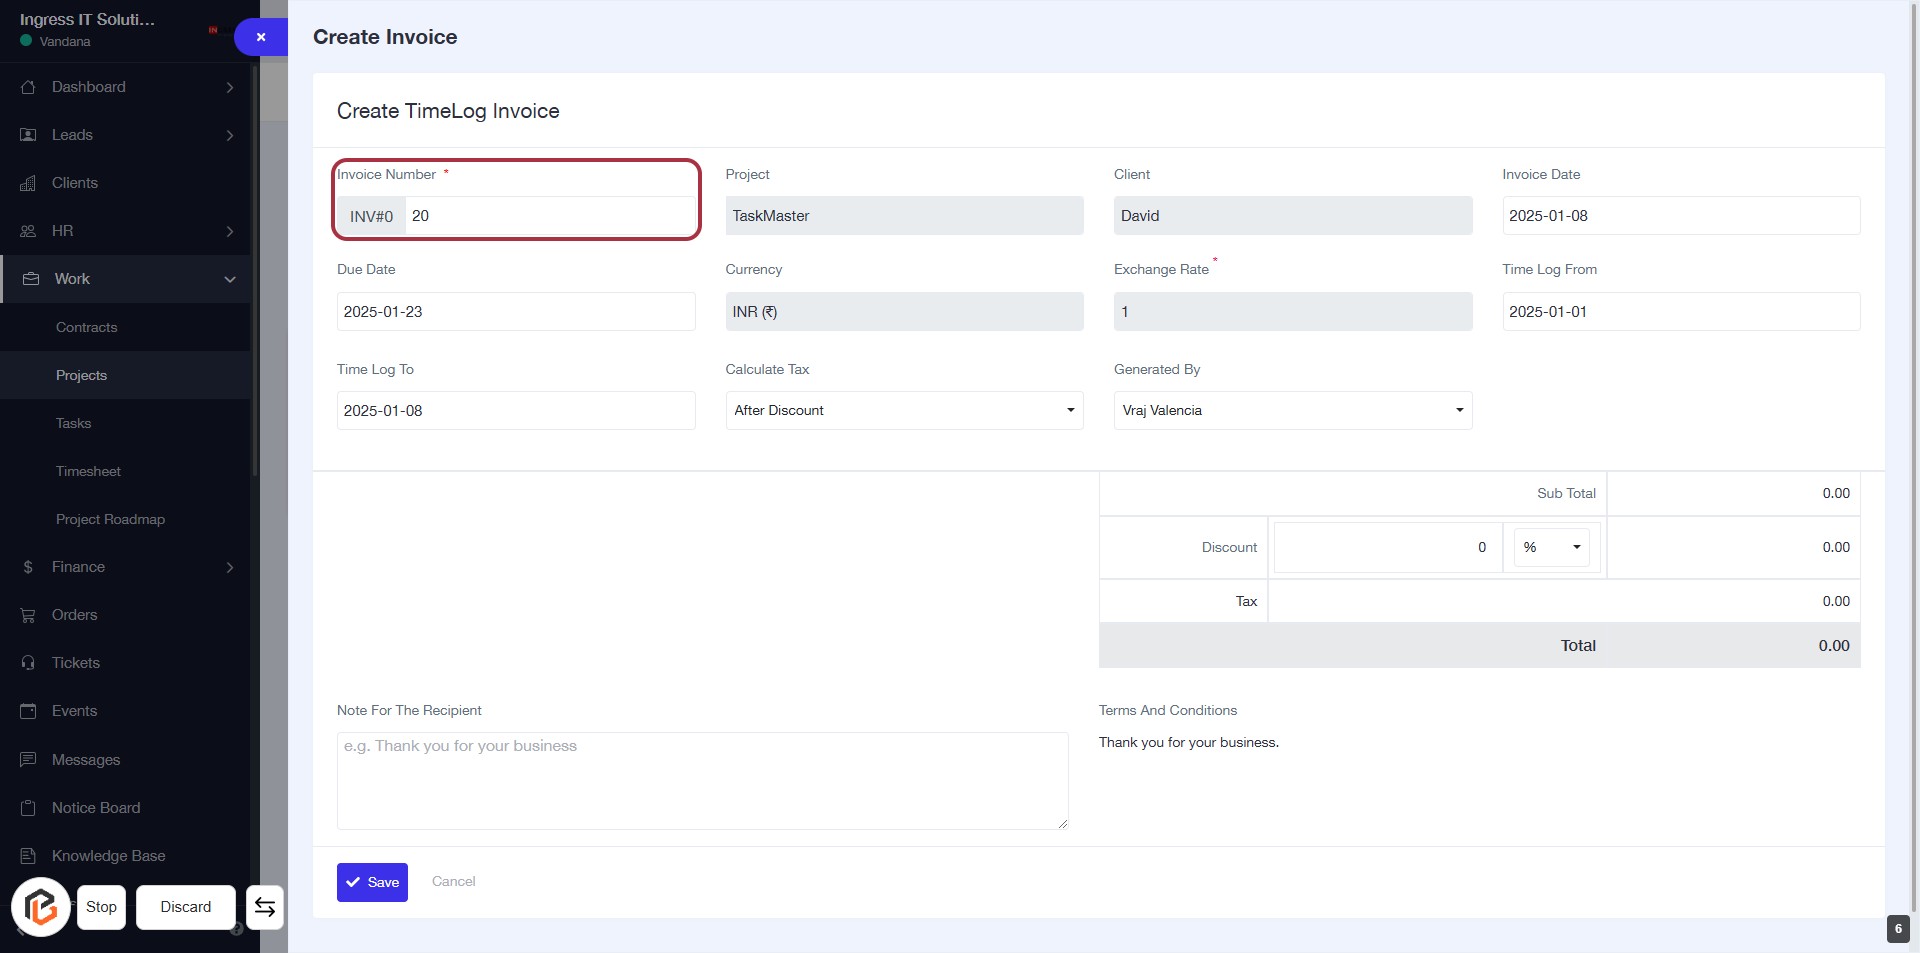
STEP 6: Enter Invoice Number
- Click on the "Invoice Number" field (marked with an asterisk * for required input).
- Enter a unique identifier for the invoice.
- Ensure the number is clear and follows your organization's numbering system.
- Proceed to the next step by selecting "Invoice Date."
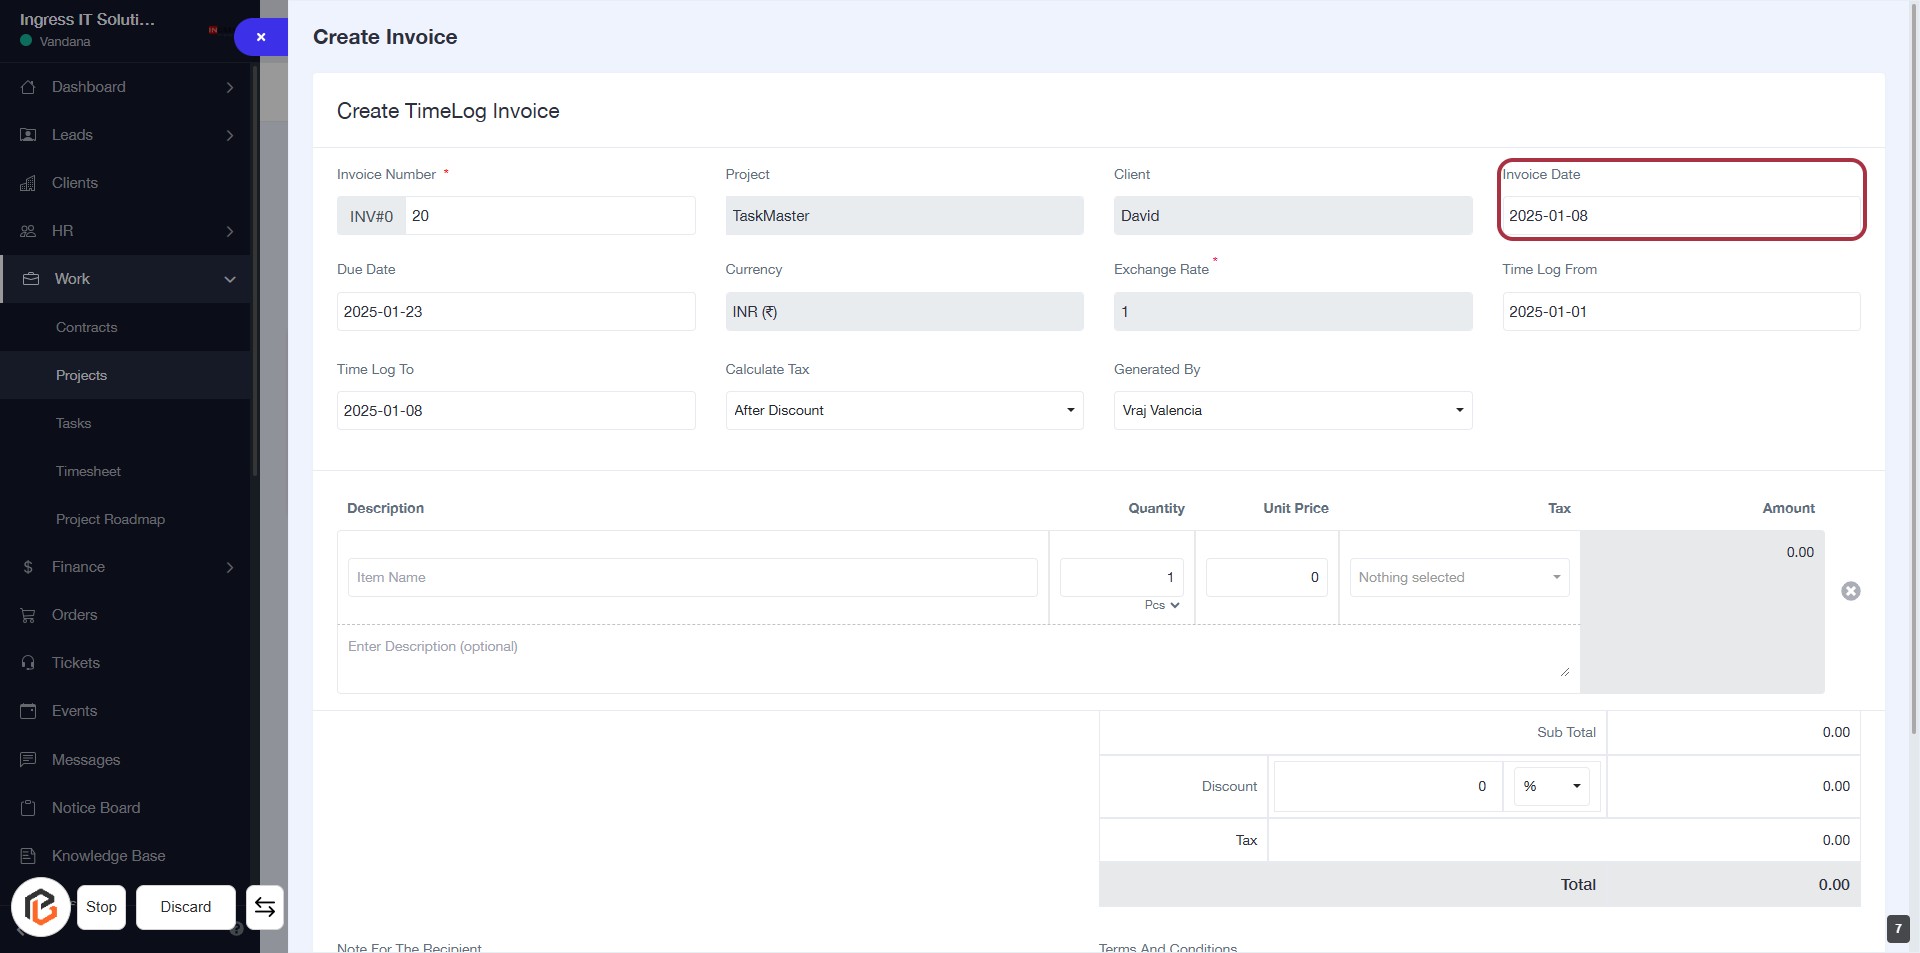
STEP 7: Select Invoice Date
- Click on the "Invoice Date" field to open the date picker.
- Ensure the date format is correct (YYYY-MM-DD).
- Select the desired invoice date from the calendar.
- Verify that the selected date appears correctly in the field.
- Proceed to the next step by selecting the "Due Date" field.
STEP 8: Select Due Date
- Click on the "Due Date" field to set the due date for the invoice.
- Ensure the date format is correct (YYYY-MM-DD).
- Review other required fields marked with an asterisk (*) to complete the invoice.
- Proceed to the next step by selecting "Time Log From."

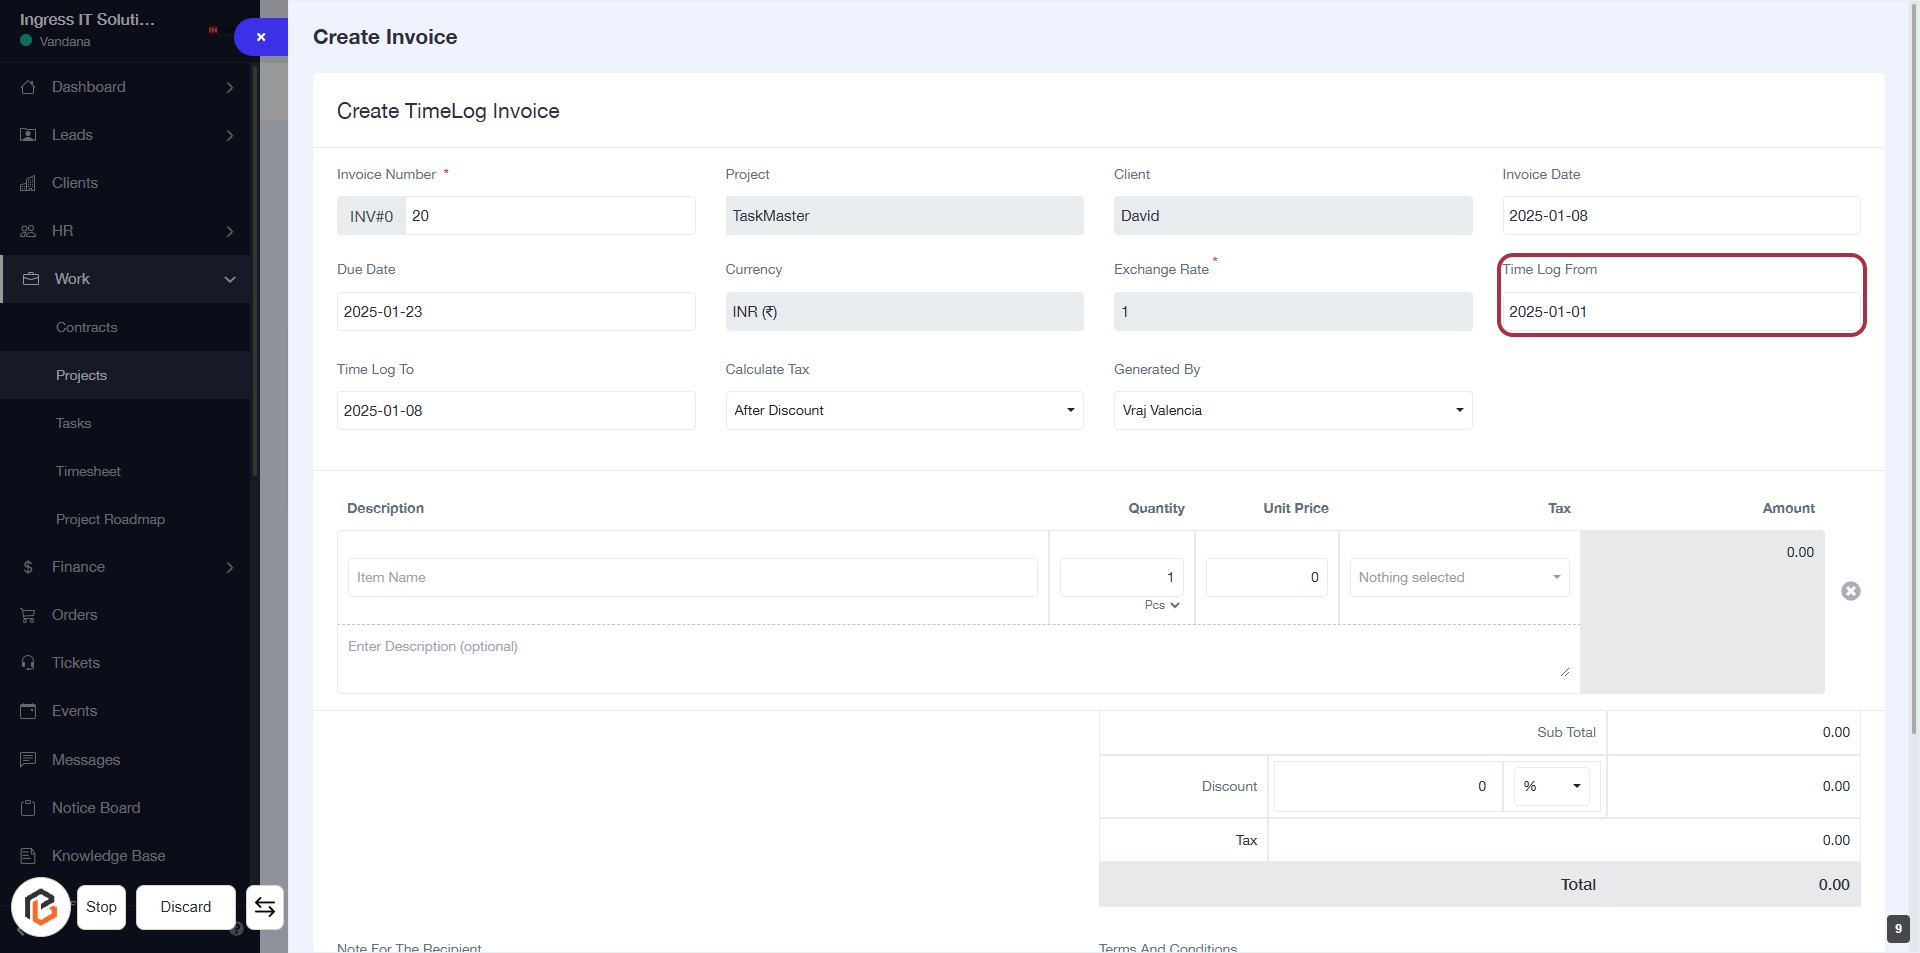
STEP 9: Select "Time Log From"
- Click on the "Time Log From" field to specify the starting date for your time log.
- Ensure the date format is correct (YYYY-MM-DD).
- This field is essential for generating accurate time log invoices.
- Review other fields like Invoice Number, Due Date, and Time Log To for completeness.
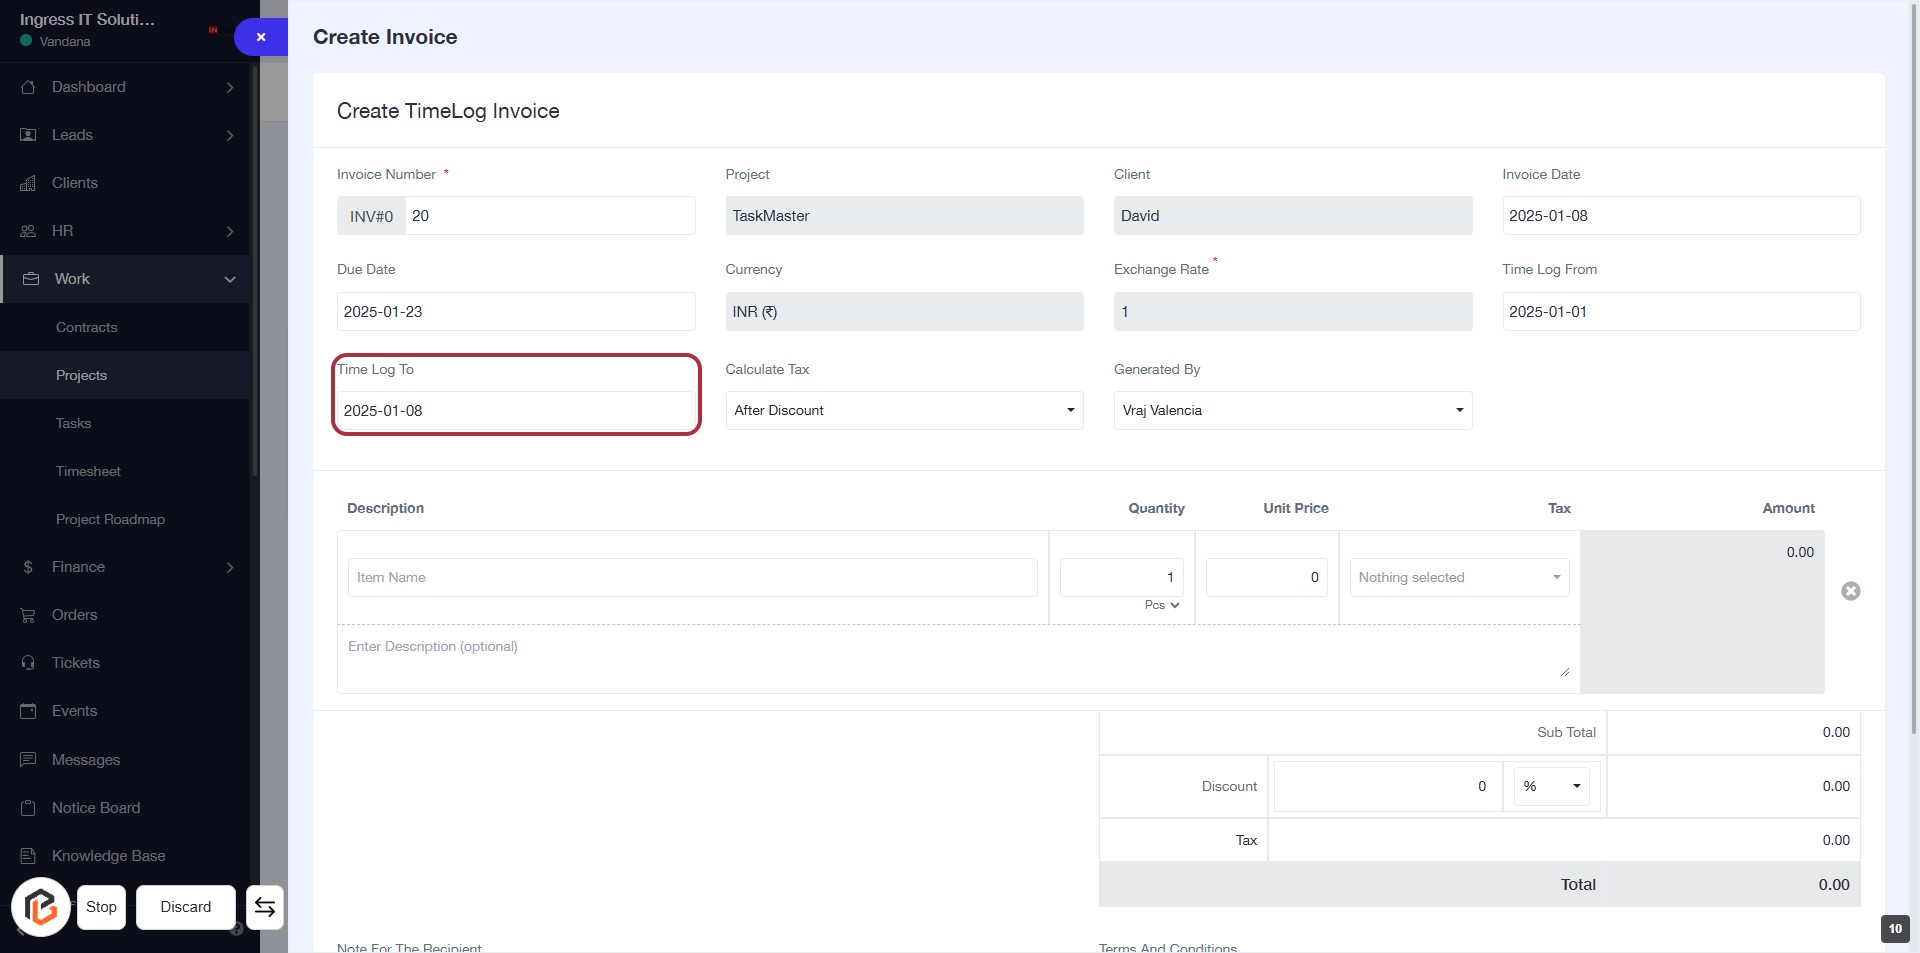
STEP 10: Select "Time Log To"
- Click on the Time Log To field to specify the end date for your time log.
- Ensure the date format is correct (YYYY-MM-DD).
- This field is required; make sure to fill it before proceeding.
- After entering the date, continue to the next step to select Calculate Tax.
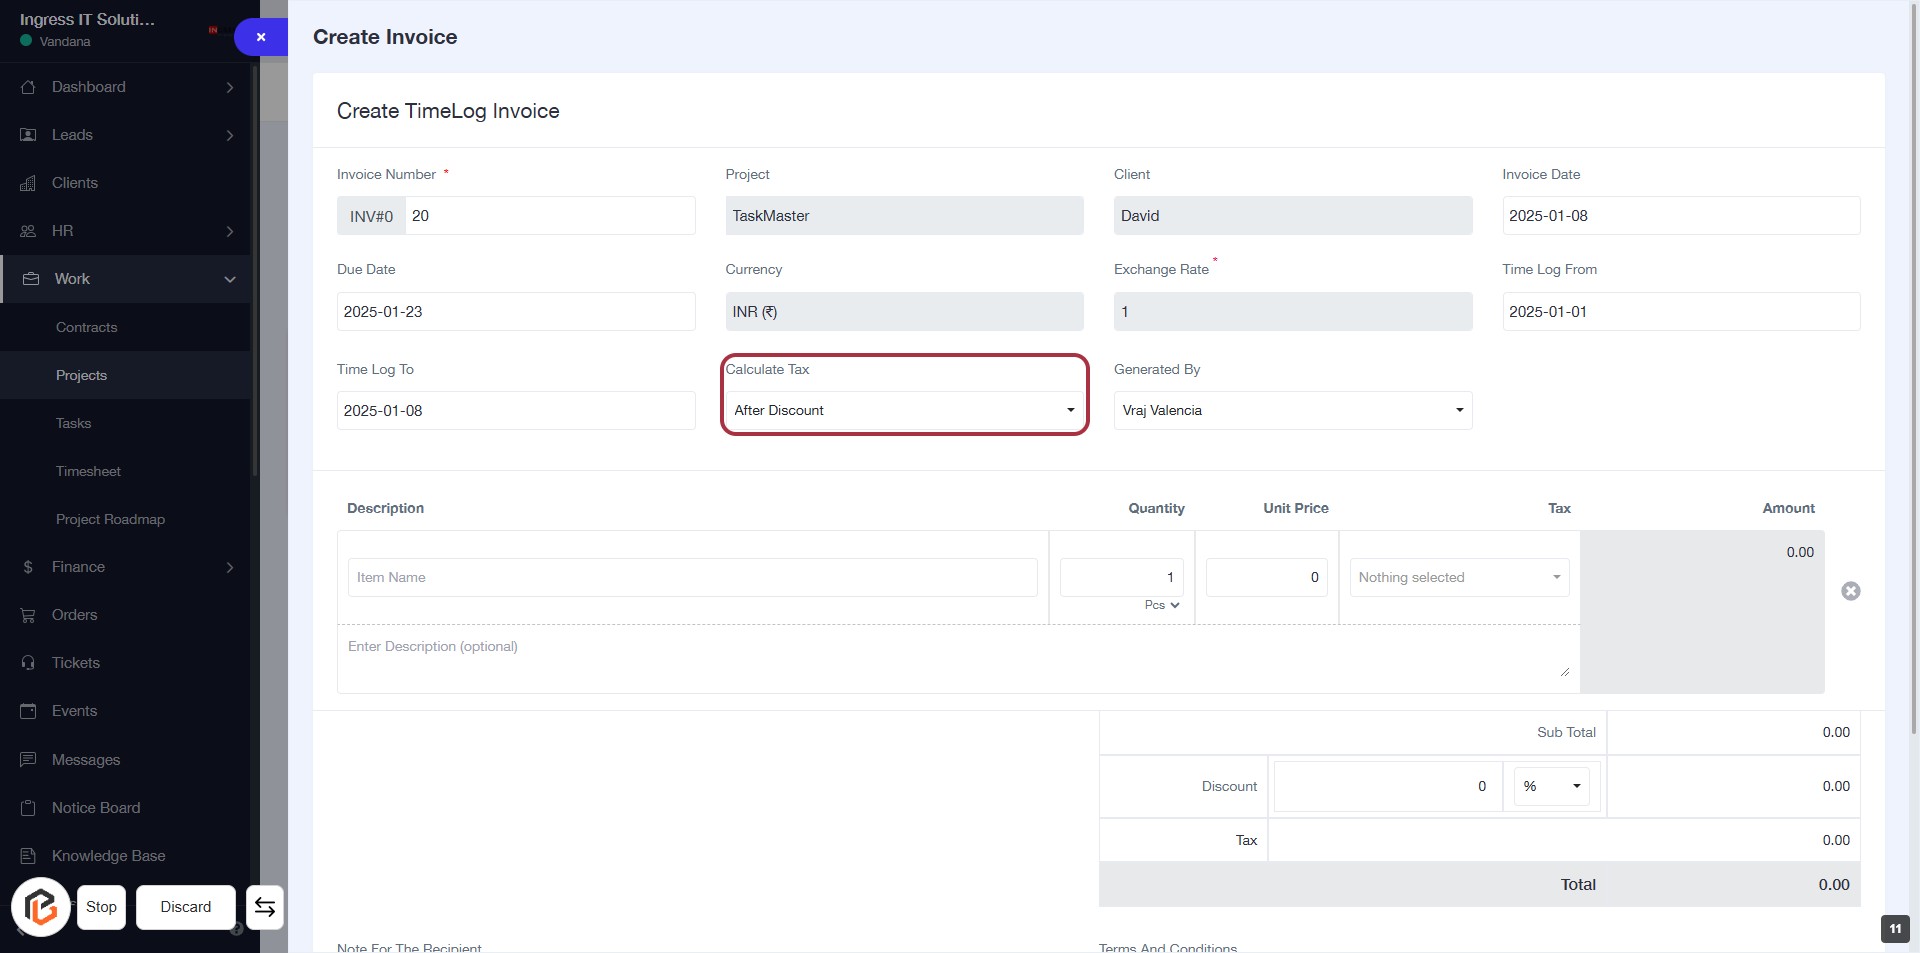
STEP 11: Select "Calculate Tax"
- Click on the "Calculate Tax" dropdown in the invoice form.
- Options may include "Before Discount" or "After Discount."
- Ensure to select the appropriate tax calculation method based on your invoice requirements.
- Proceed to the next step by adding the "Generated By" information.
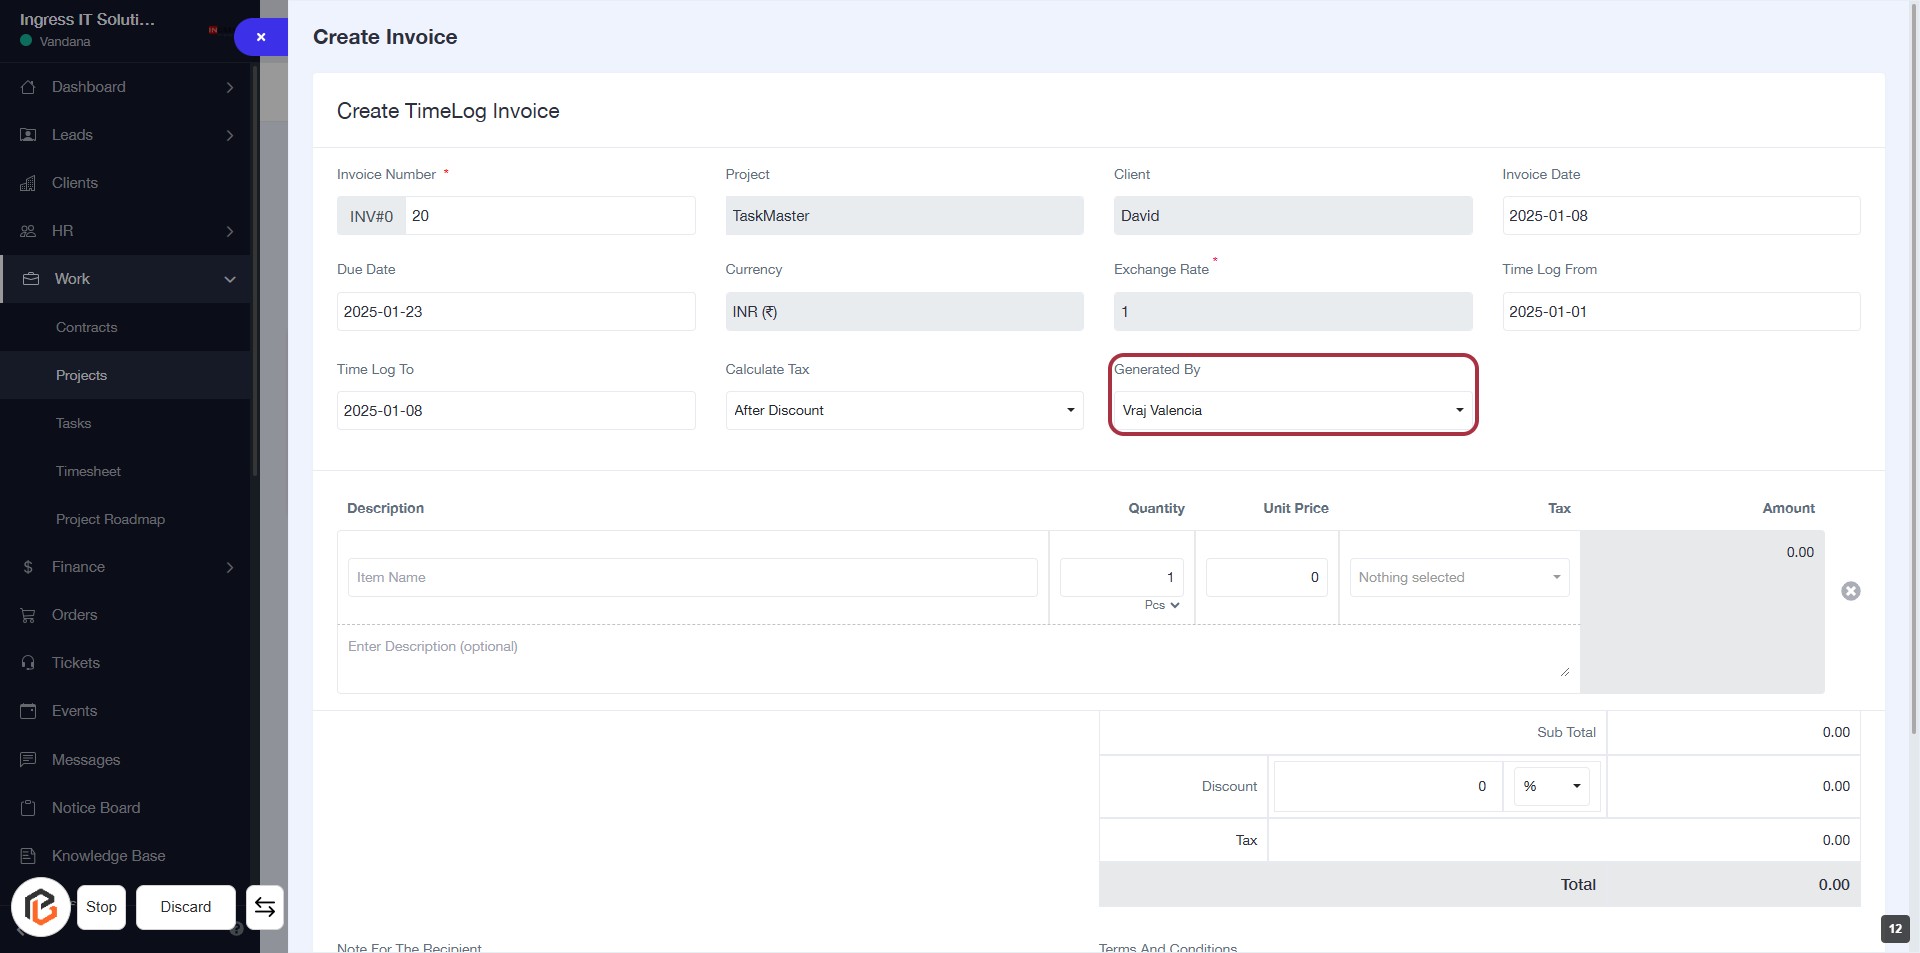
STEP 12: Click "Generated By" to Select the User
- Locate the "Generated By" dropdown in the invoice form.
- Click on the dropdown to view available options.
- Select the appropriate user from the list to assign the invoice generation.
- Ensure all required fields marked with '*' are filled before proceeding.
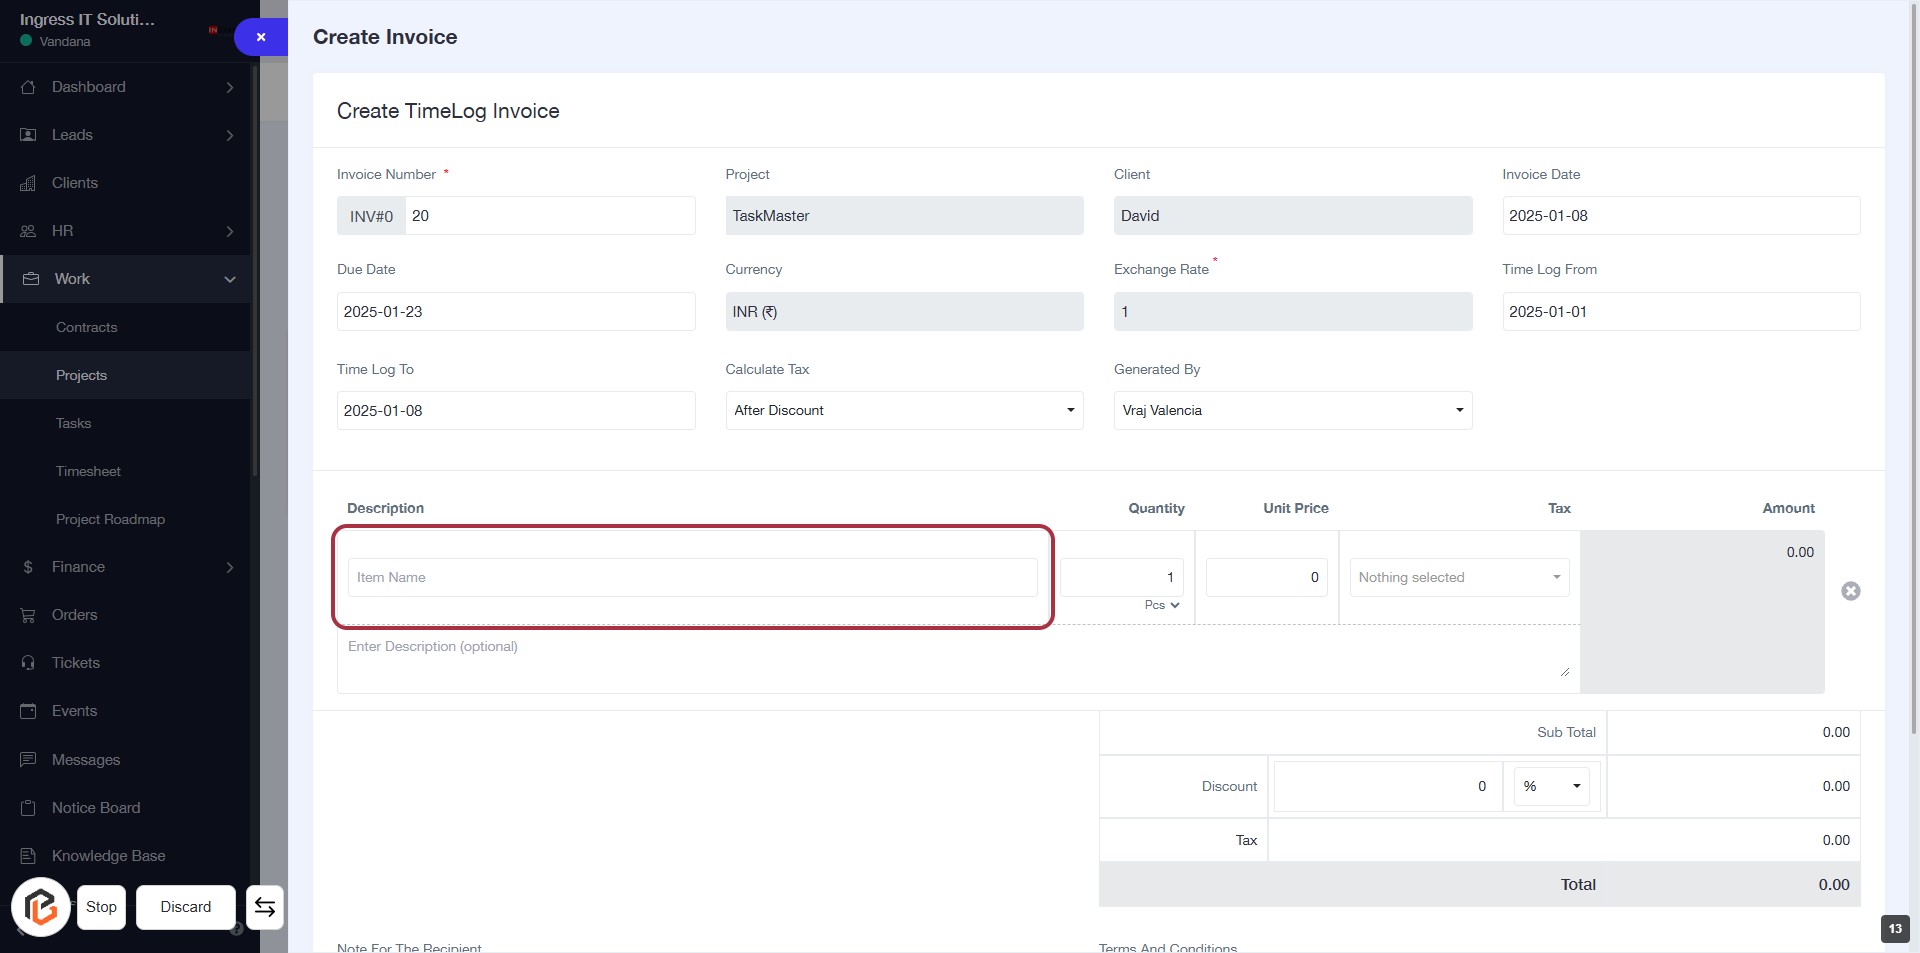
STEP 13: Enter Item Name
- Click on the "Item Name" field in the Description section.
- Input the name of the item you wish to add to the invoice.
- Ensure the field is filled as it is required for invoice processing.
- After entering the item name, proceed to the next step to enter the quantity.
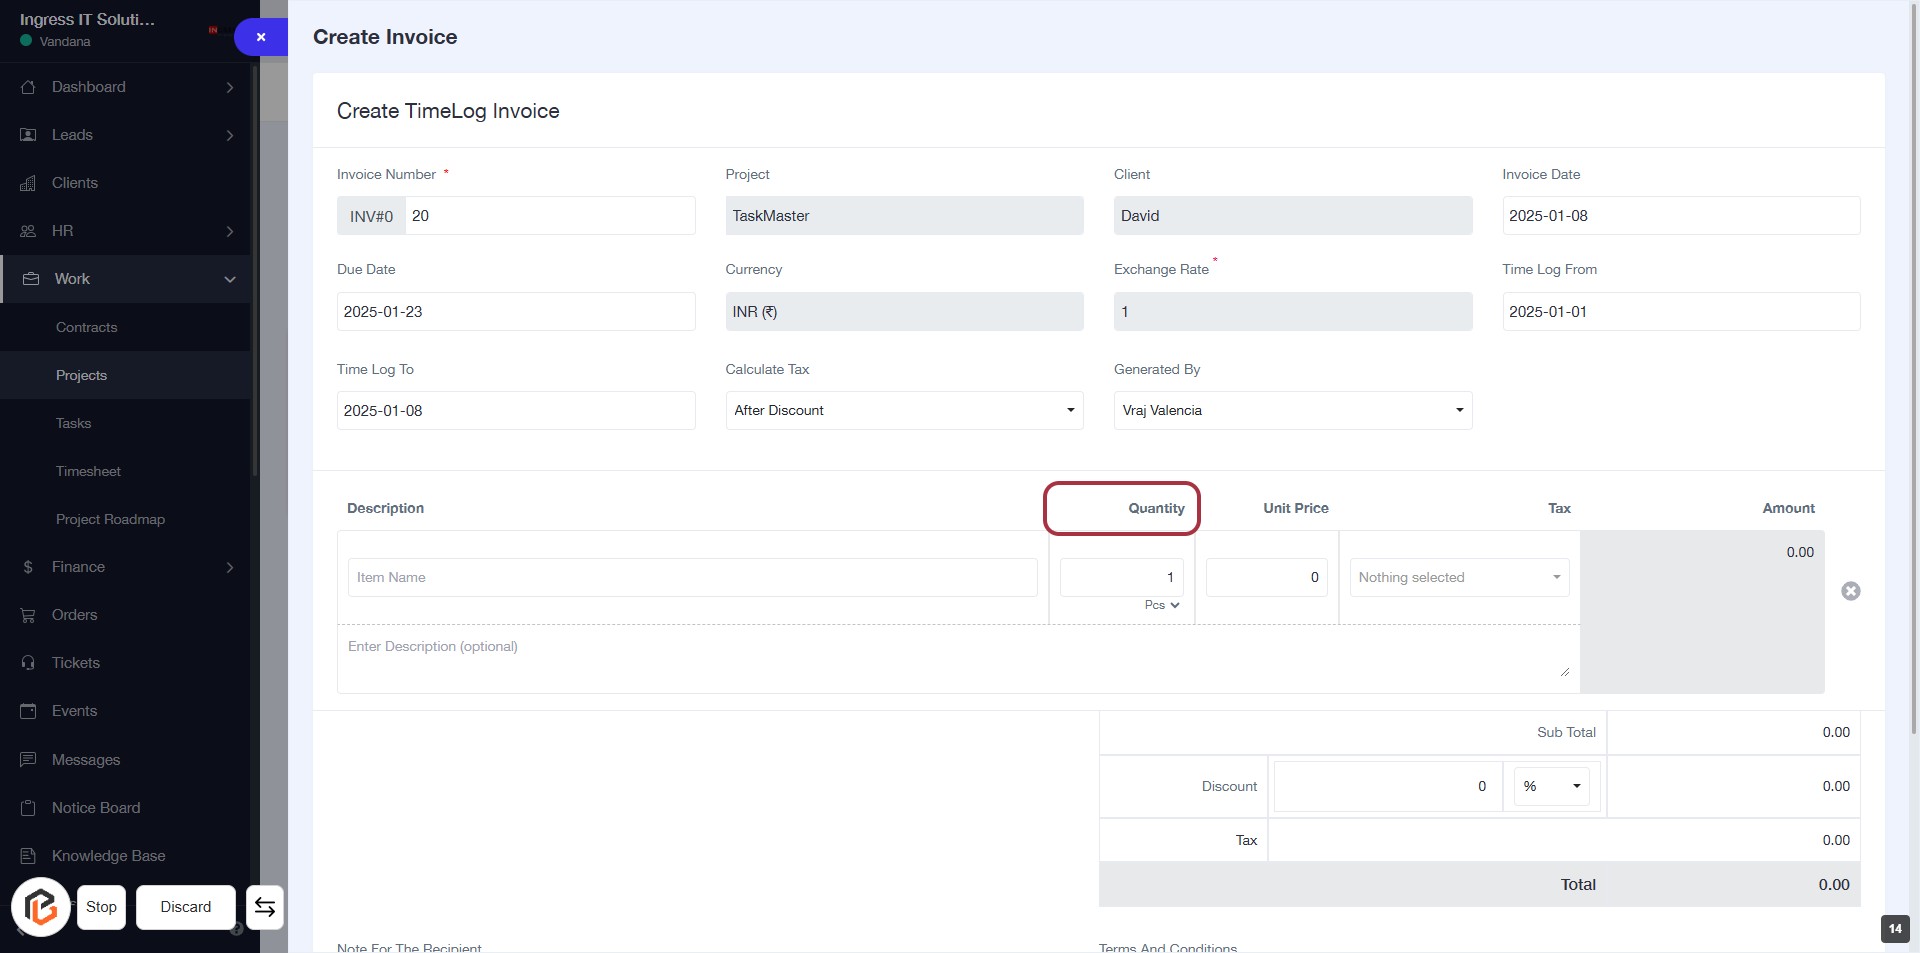
STEP 14: Enter Quantity for Invoice
- Click on the "Quantity" field highlighted in red.
- Input the desired quantity for the item.
- Ensure that any required fields marked with an asterisk (*) are filled out.
- Review the information before proceeding to the next step.
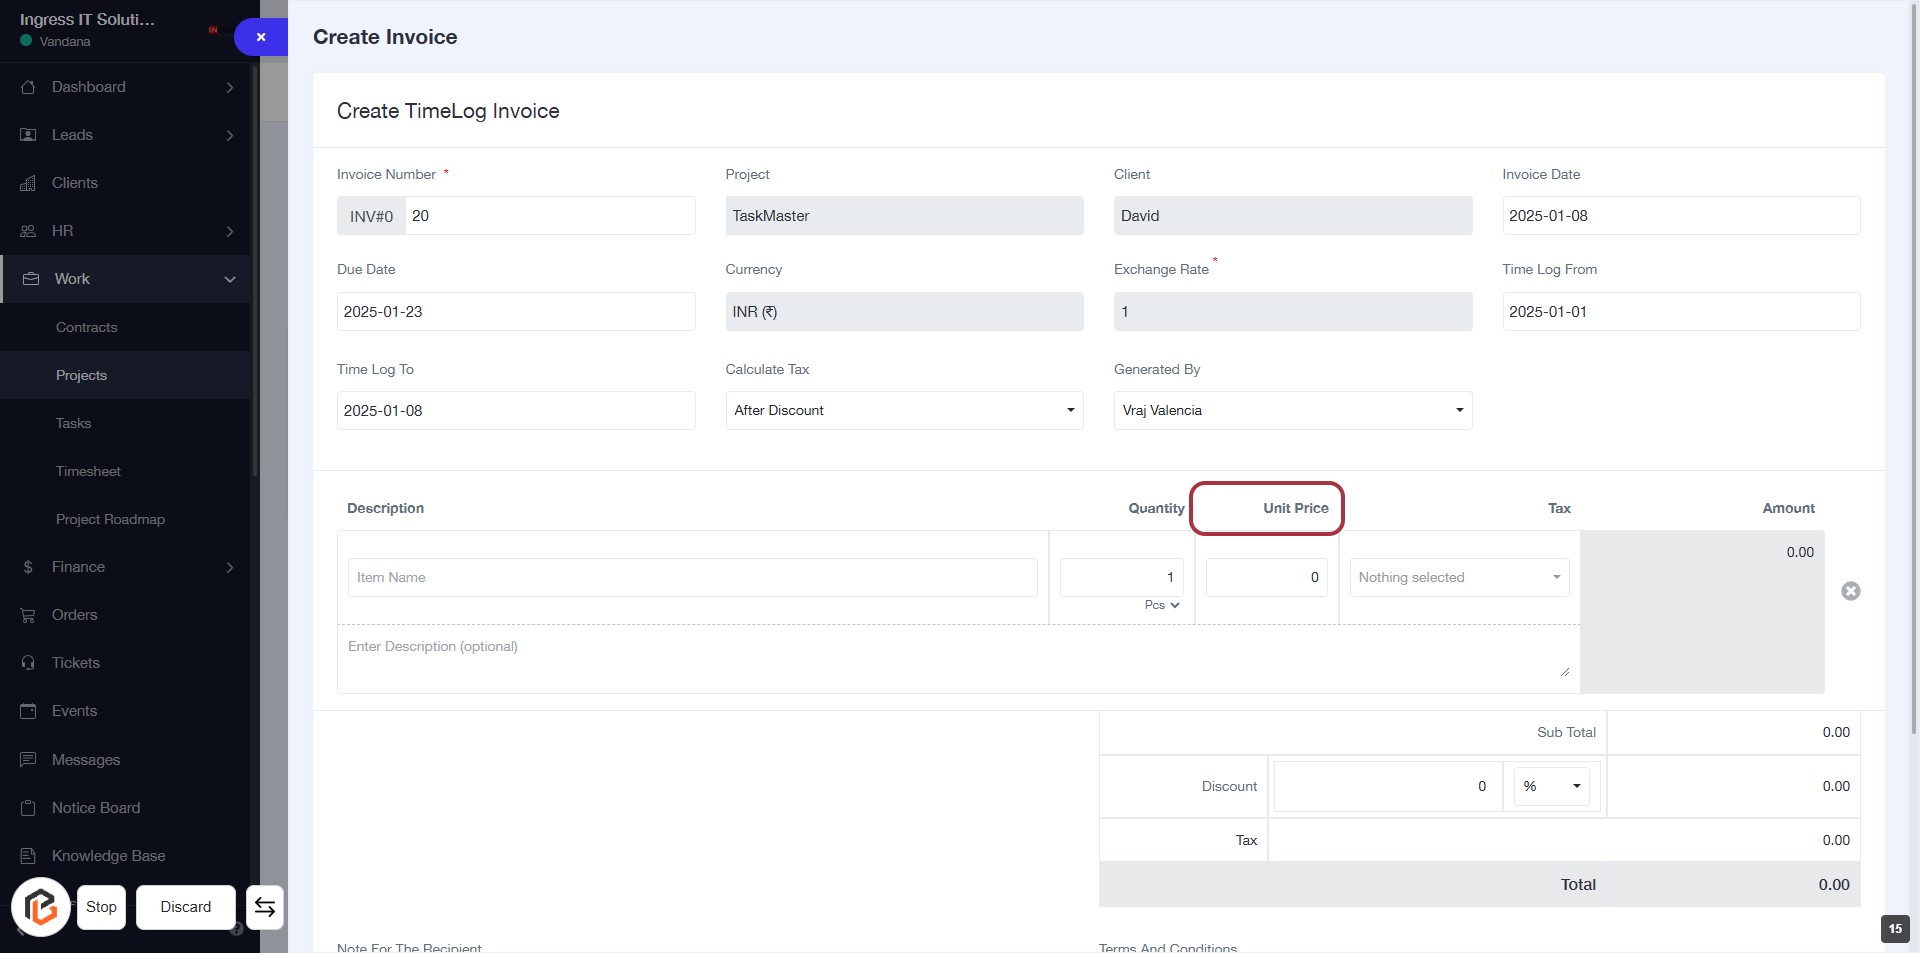
STEP 15: Enter "Unit Price"
- Click on the "Unit Price" field in the invoice form.
- Ensure you have filled in the previous fields: Invoice Number, Project, Client, and Quantity.
- The "Unit Price" field is essential for calculating the total amount.
- After entering the unit price, proceed to the next step to select "Tax."
STEP 16: Select "Tax"
- Click on the "Tax" field in the invoice form.
- Ensure that the "Unit Price" is already entered.
- The highlighted area indicates where to select the applicable tax.
- Look for any dropdown options that may appear after clicking.
- Proceed to the next step to write the "Description."

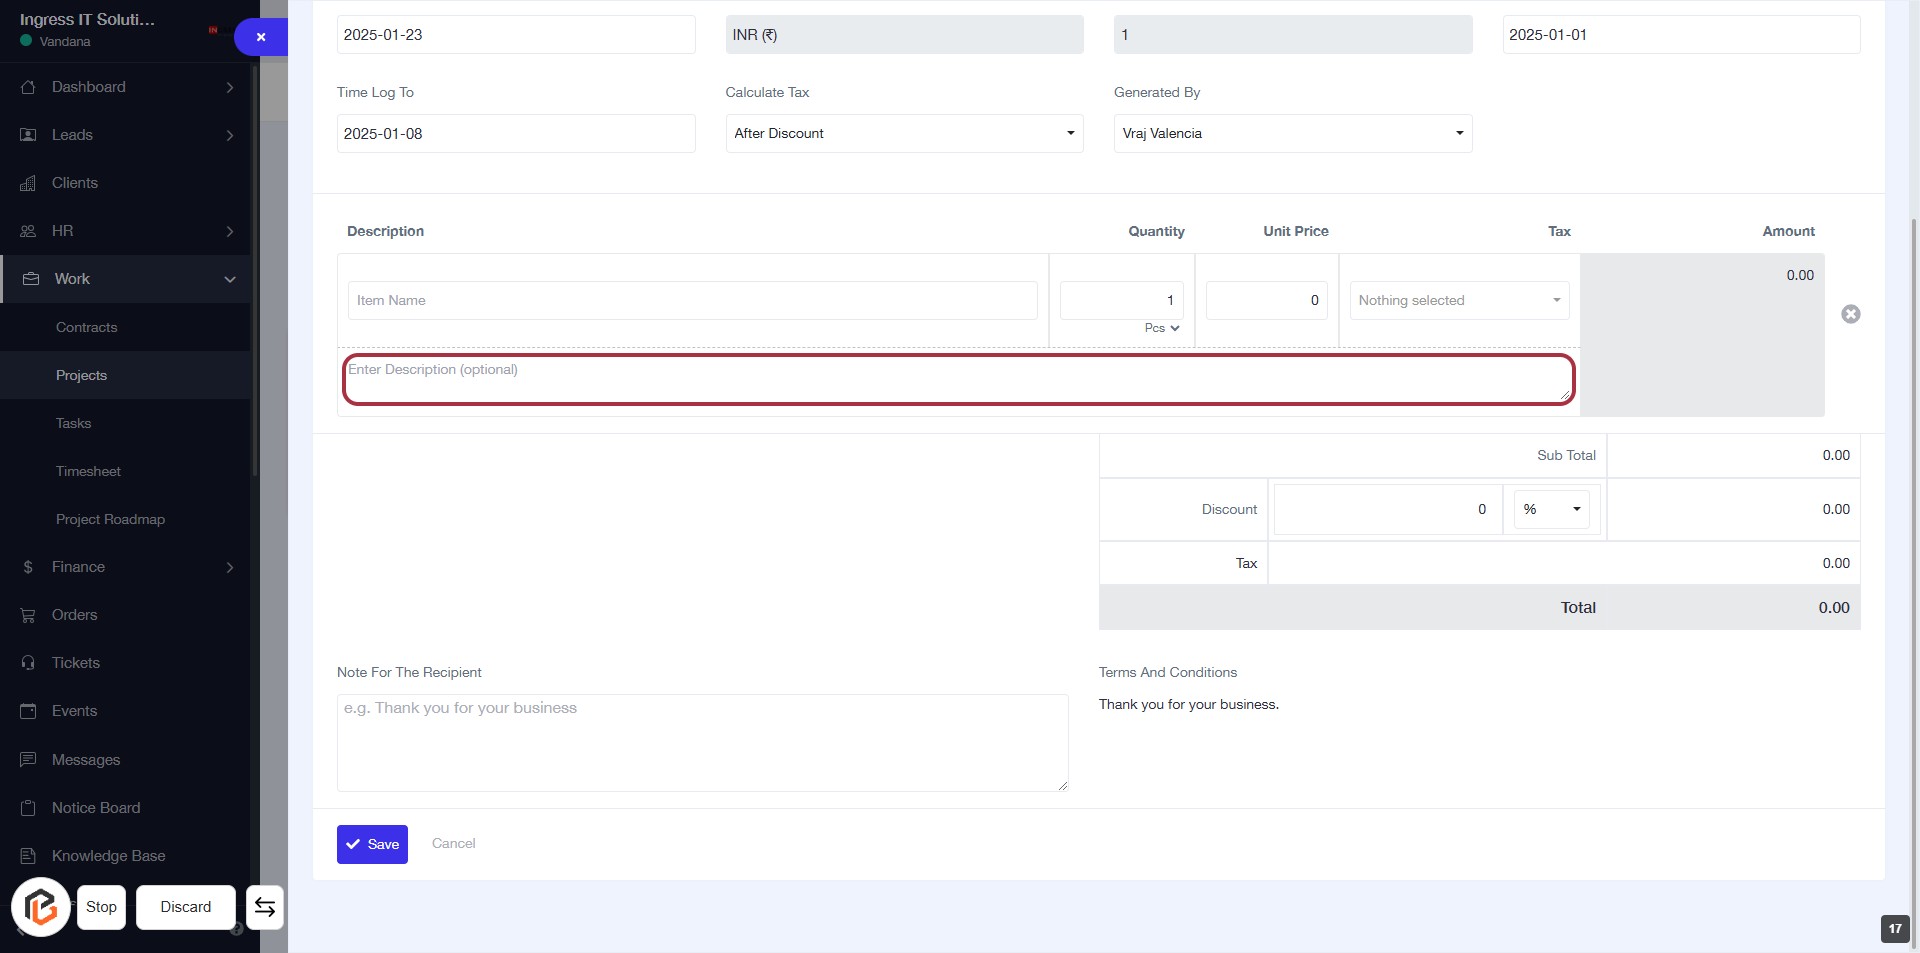
STEP 17: Fill "Description" in the Invoice Form
- Click on the Description textarea highlighted in red.
- Enter any relevant details about the item (this field is optional).
- Ensure to review other fields like Item Name, Quantity, and Unit Price for accuracy.
- Proceed to the next step by adding a Discount if applicable.
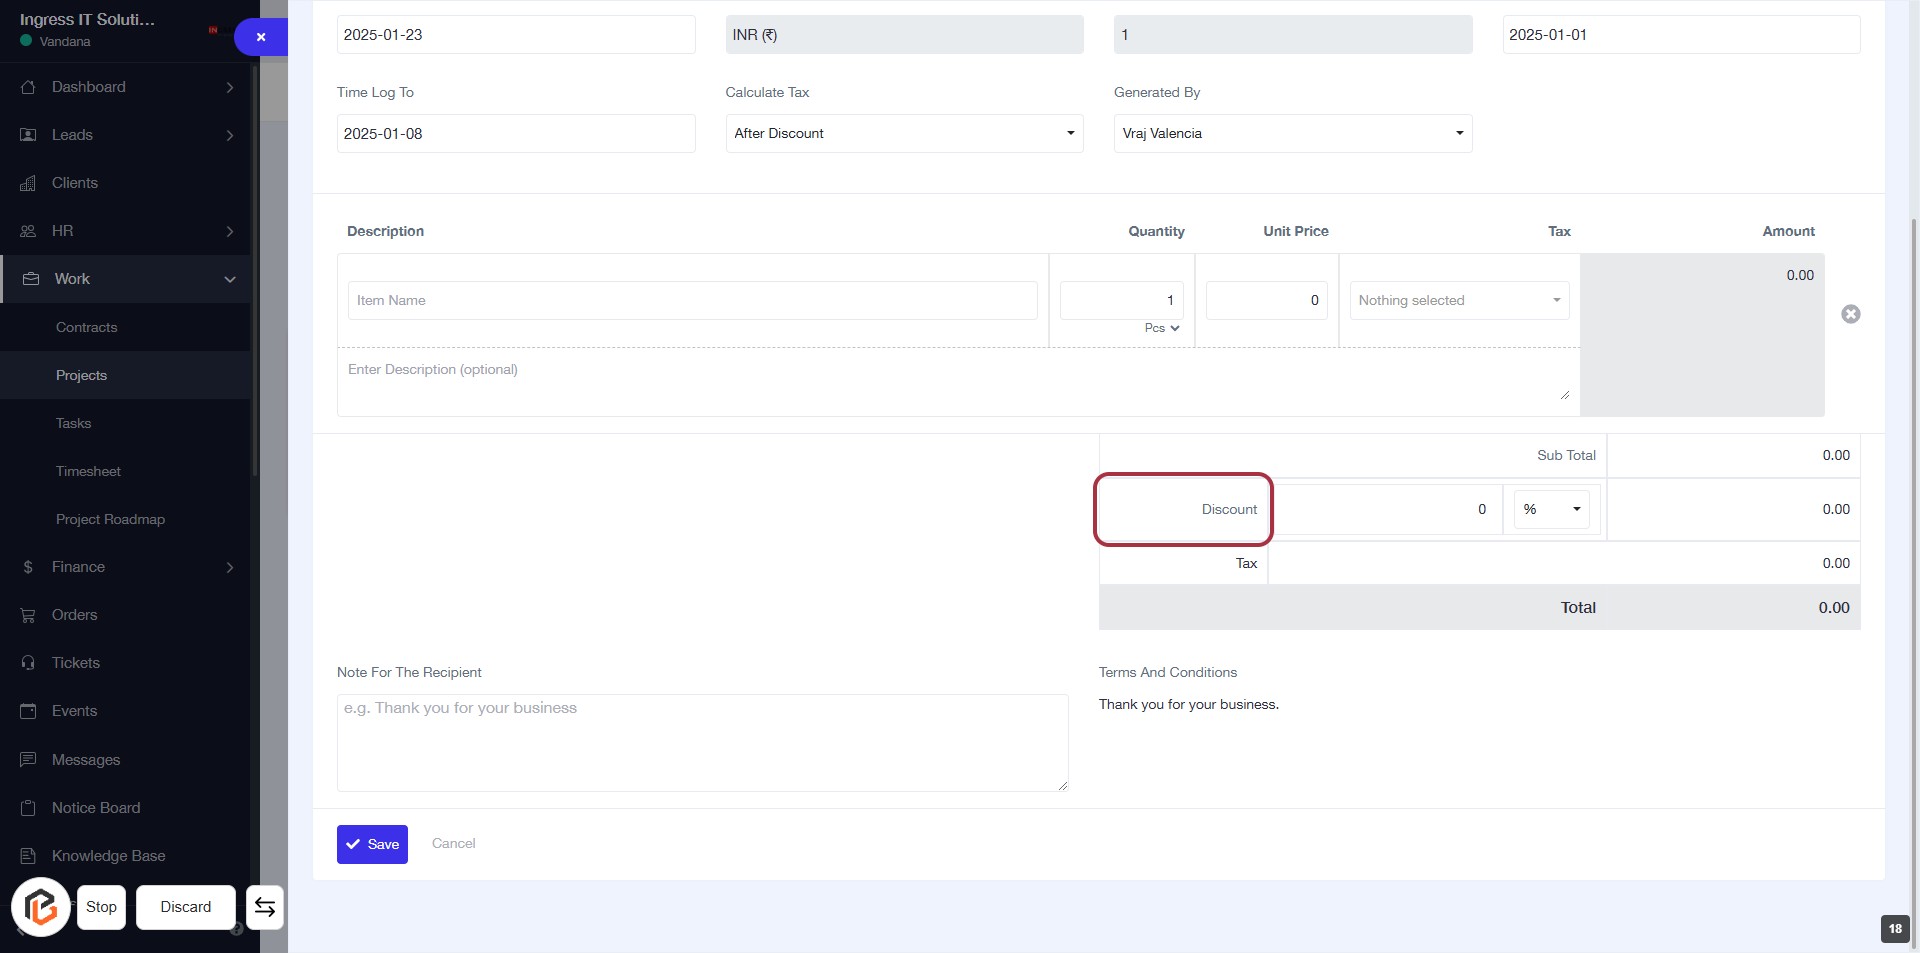
STEP 18: Click on "Discount" to Apply Discount in Invoice Form
- Locate the "Discount" section highlighted in red.
- Click on the "Discount" area to input the discount amount or percentage.
- Ensure all other required fields are filled out before proceeding.
- Review the total amount after applying the discount.
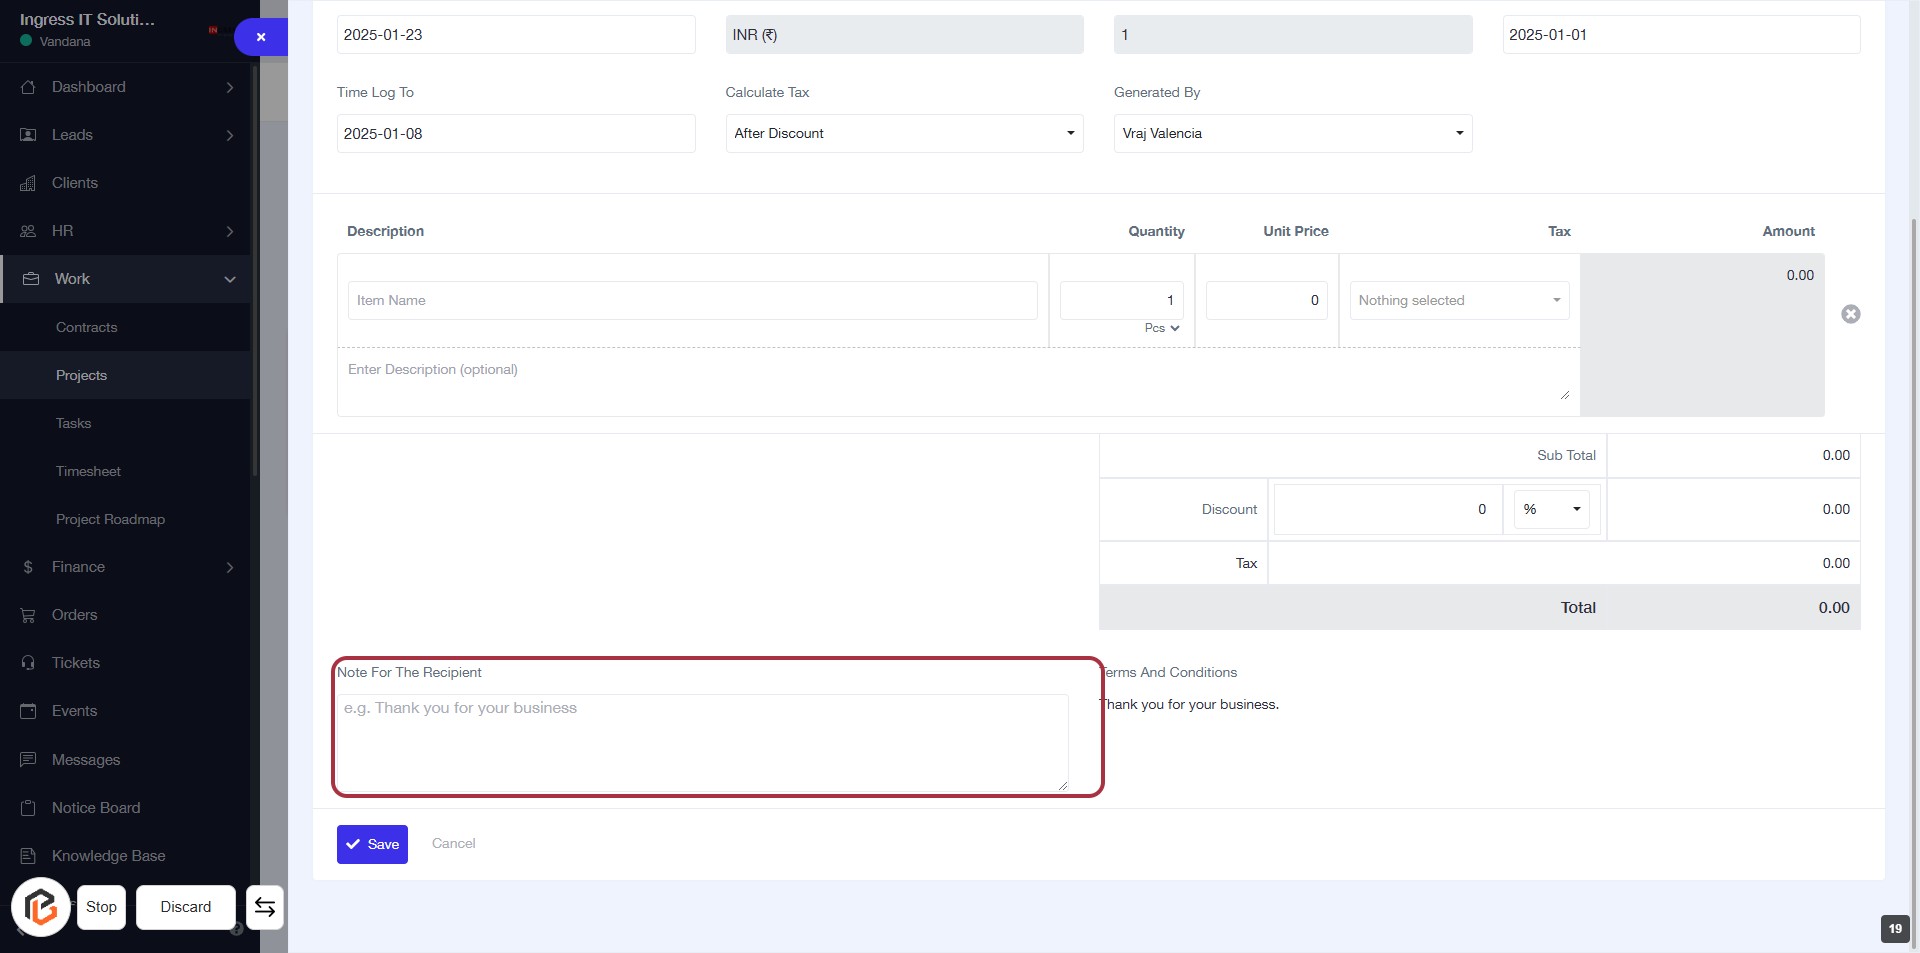
STEP 19: Click on "Note for the Recipient" Field
- Locate the "Note for the Recipient" section highlighted in red.
- Click on the field to activate it.
- Enter your message for the recipient (optional).
- Ensure the note is clear and relevant to the invoice context.
- Proceed to the next step by clicking the "Save" button.
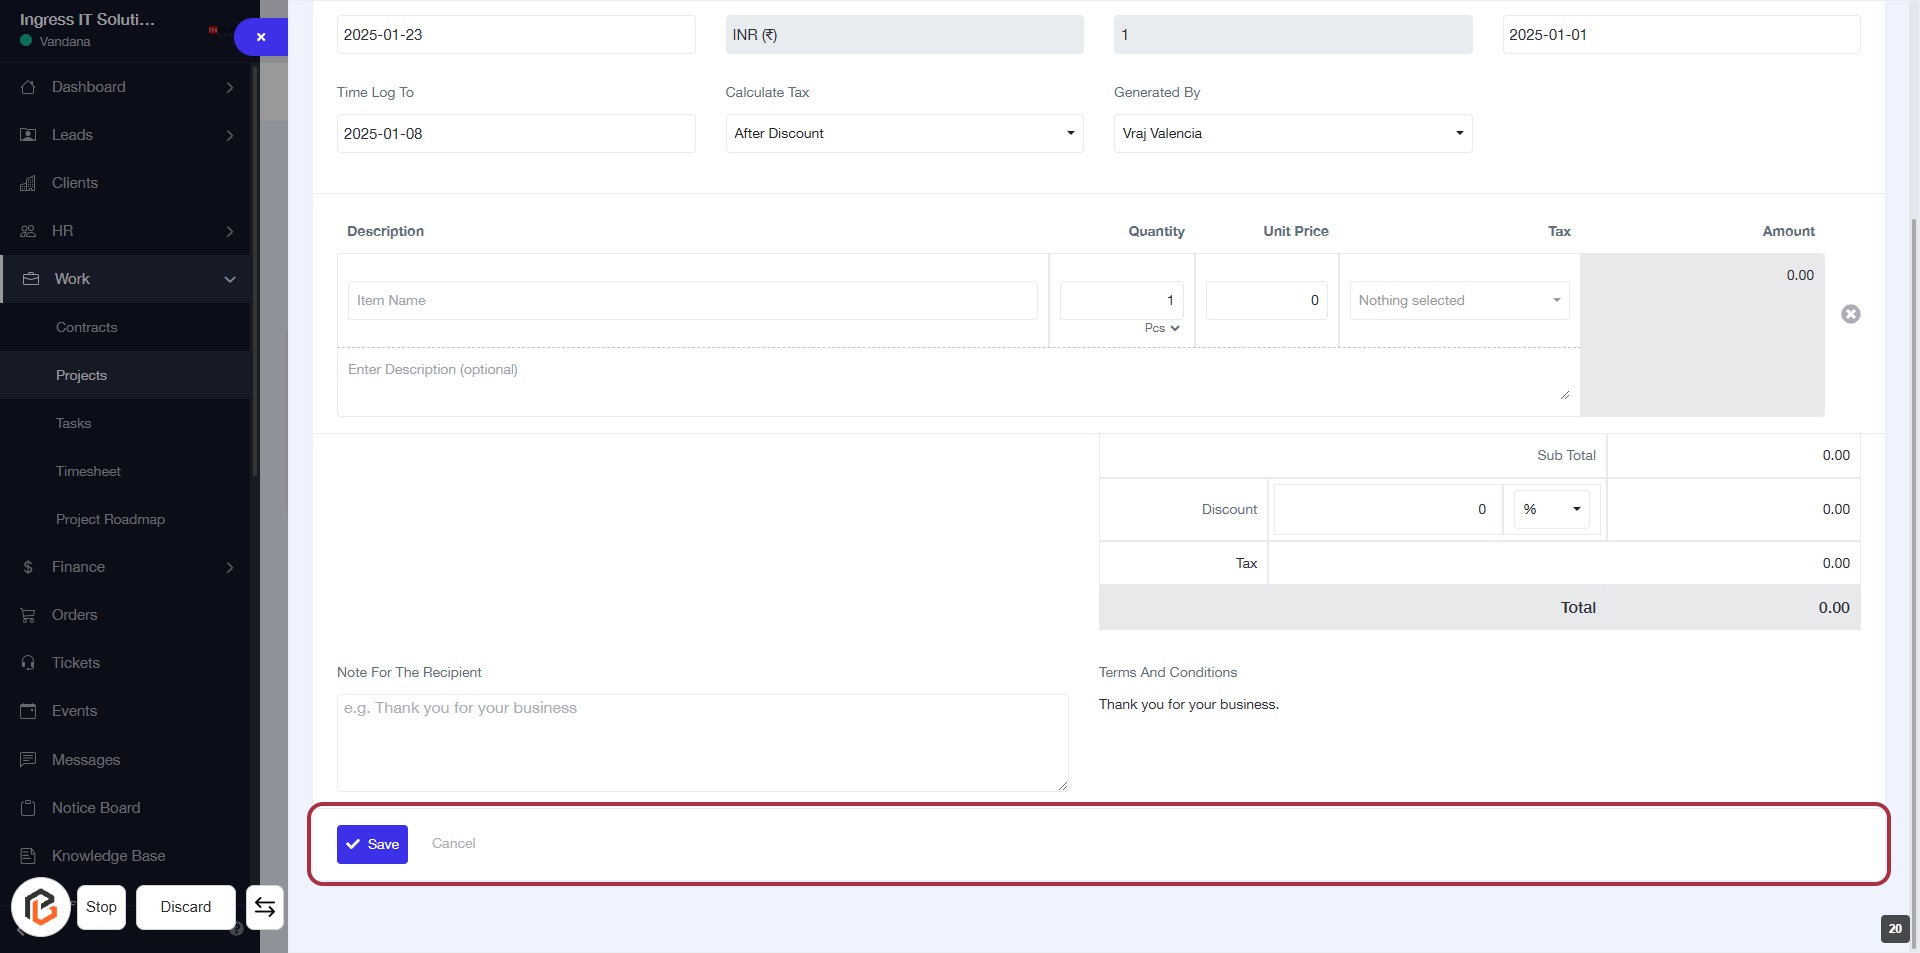
STEP 20: Click on "Save" Button to Finalize Your Entry
- Ensure all required fields are filled out, including "Description" and "Note For The Recipient."
- Review the details for accuracy.
- Click the Save button located at the bottom of the form to save your entries.
- If needed, you can also click Cancel to discard changes.