Step-by-Step Guide: Editing Tasks and Due Dates in Your Dashboard
6 mins read · Updated 29 Sep, 2025
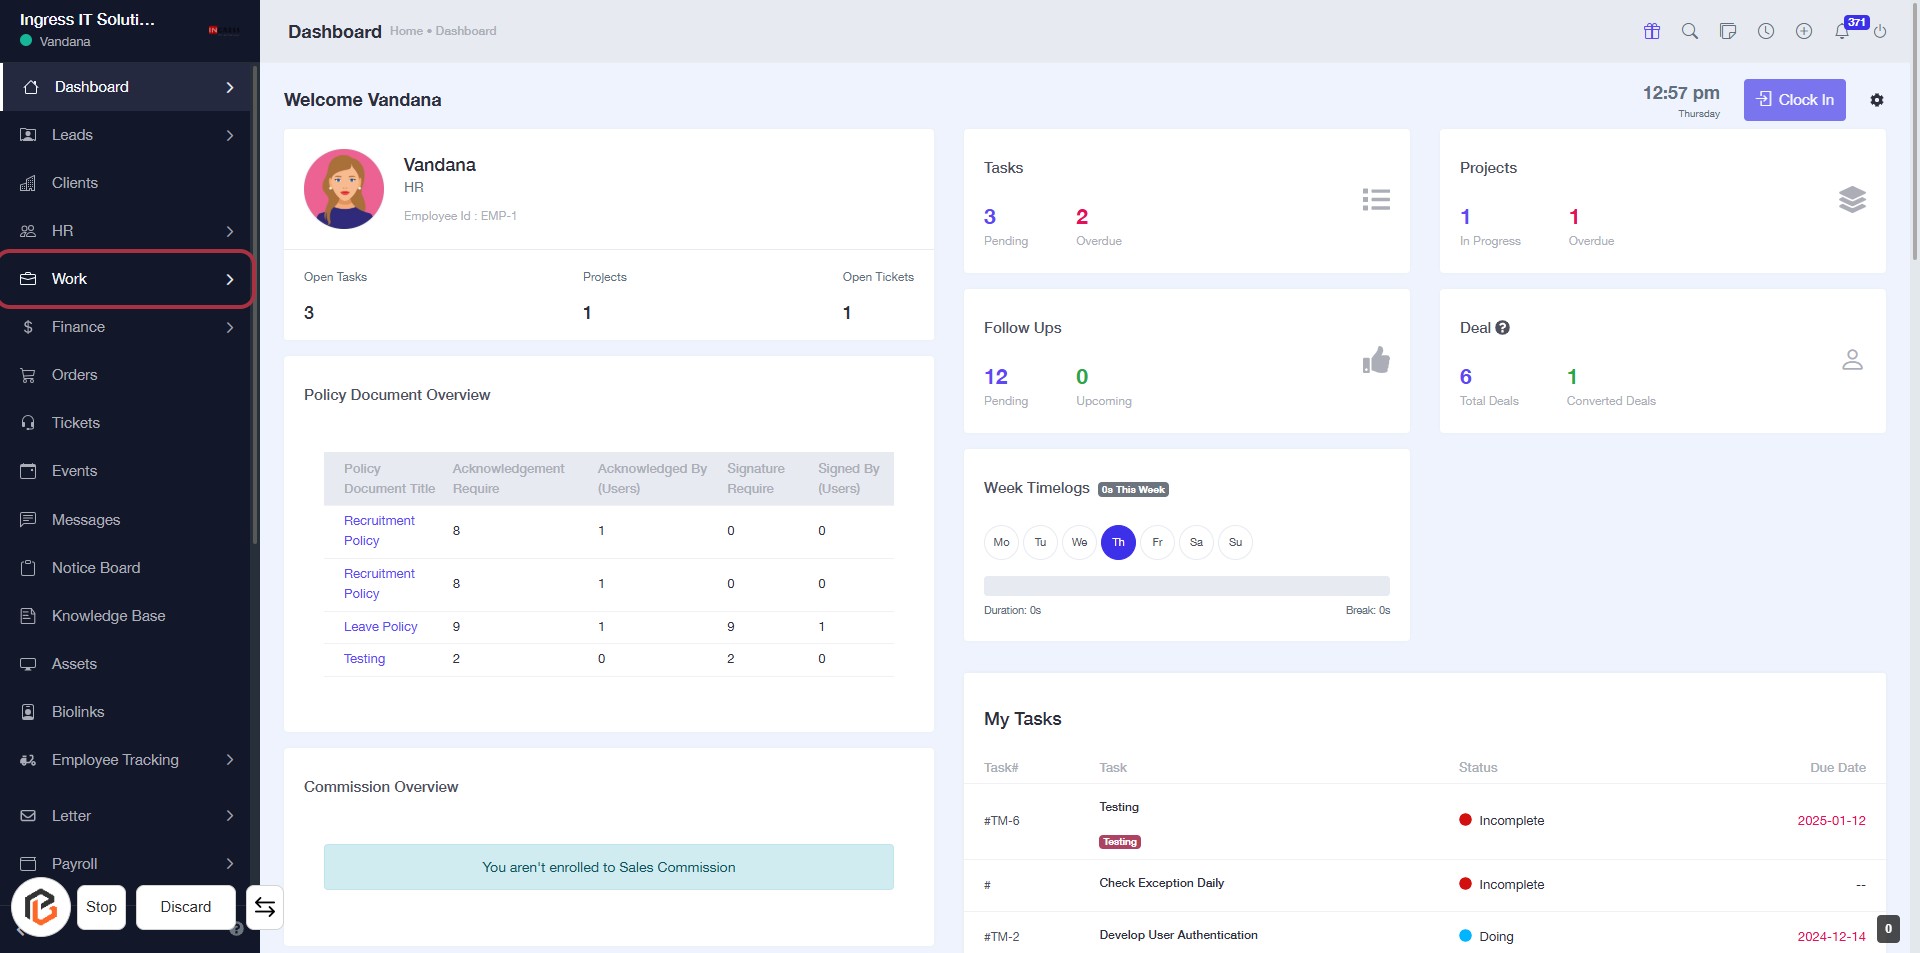
STEP 1: Click on "Work" to Access Your Dashboard
- Navigate to the left sidebar of the dashboard.
- Click on the "Work" link to view your work-related tasks and projects.
- Ensure you check the "Policy Document Overview" and "Commission Overview" sections for relevant information.
- After this step, proceed to the "Tasks" section for further details.
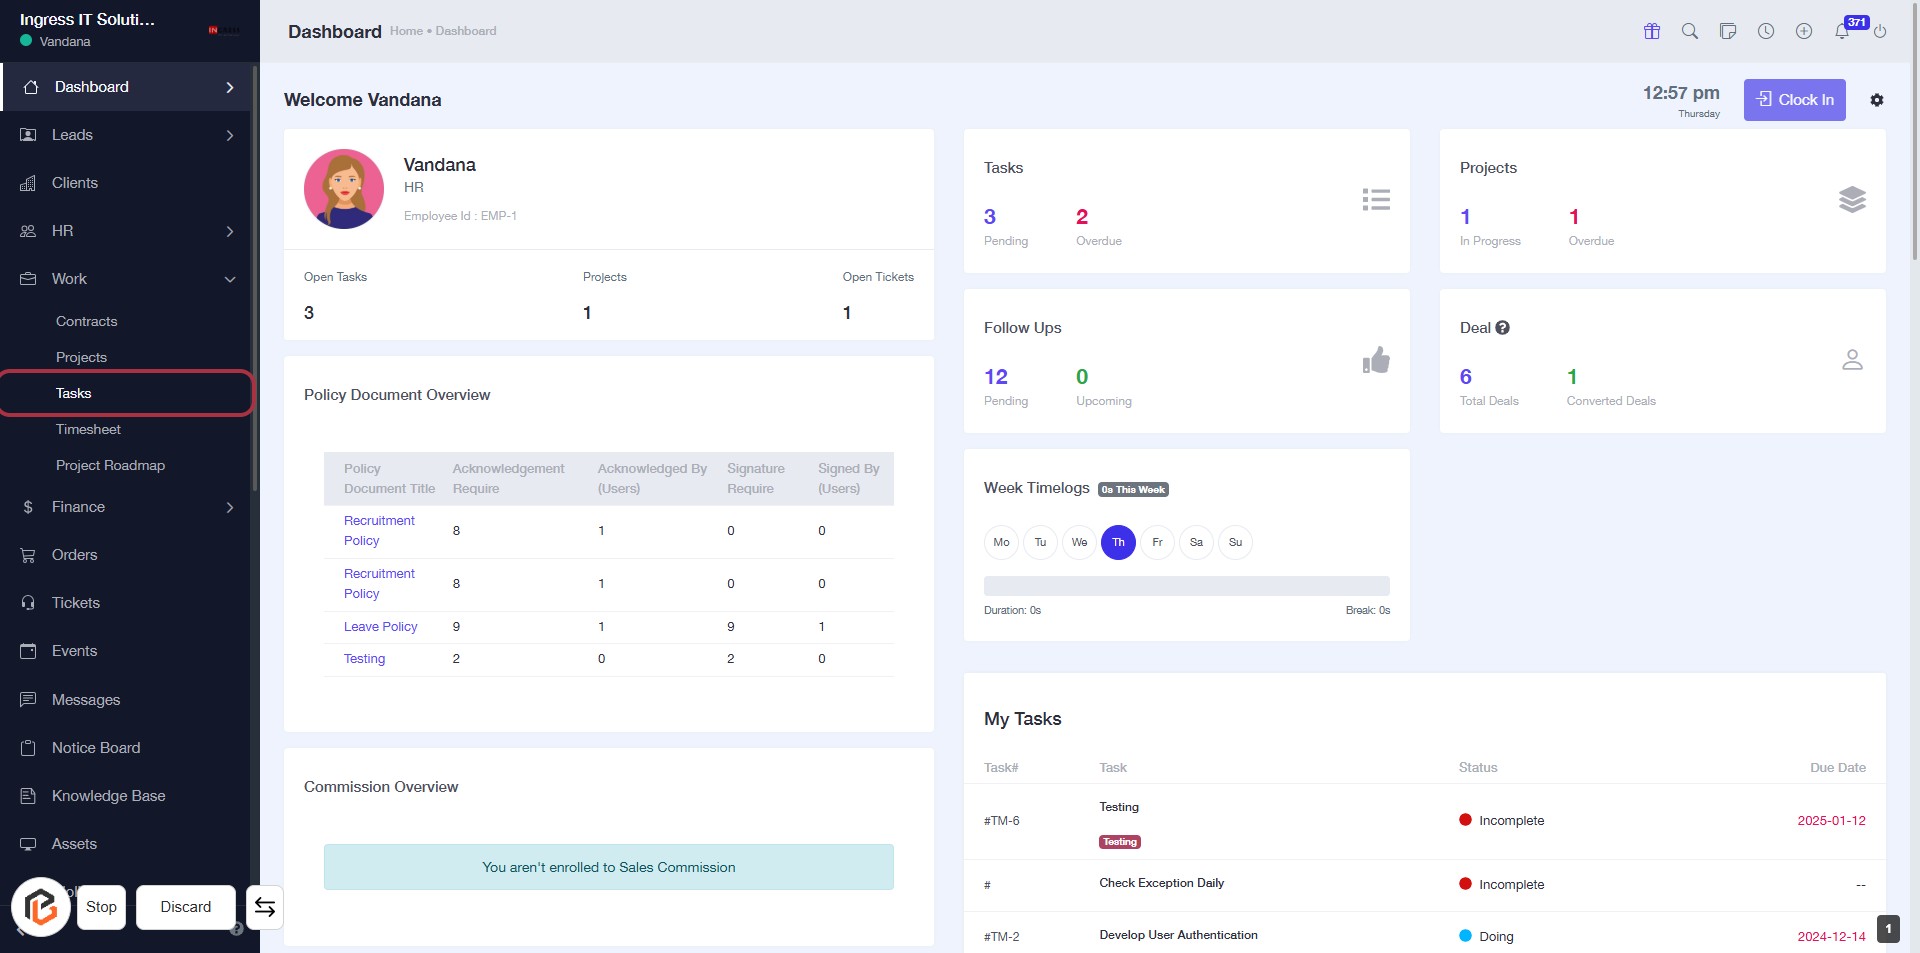
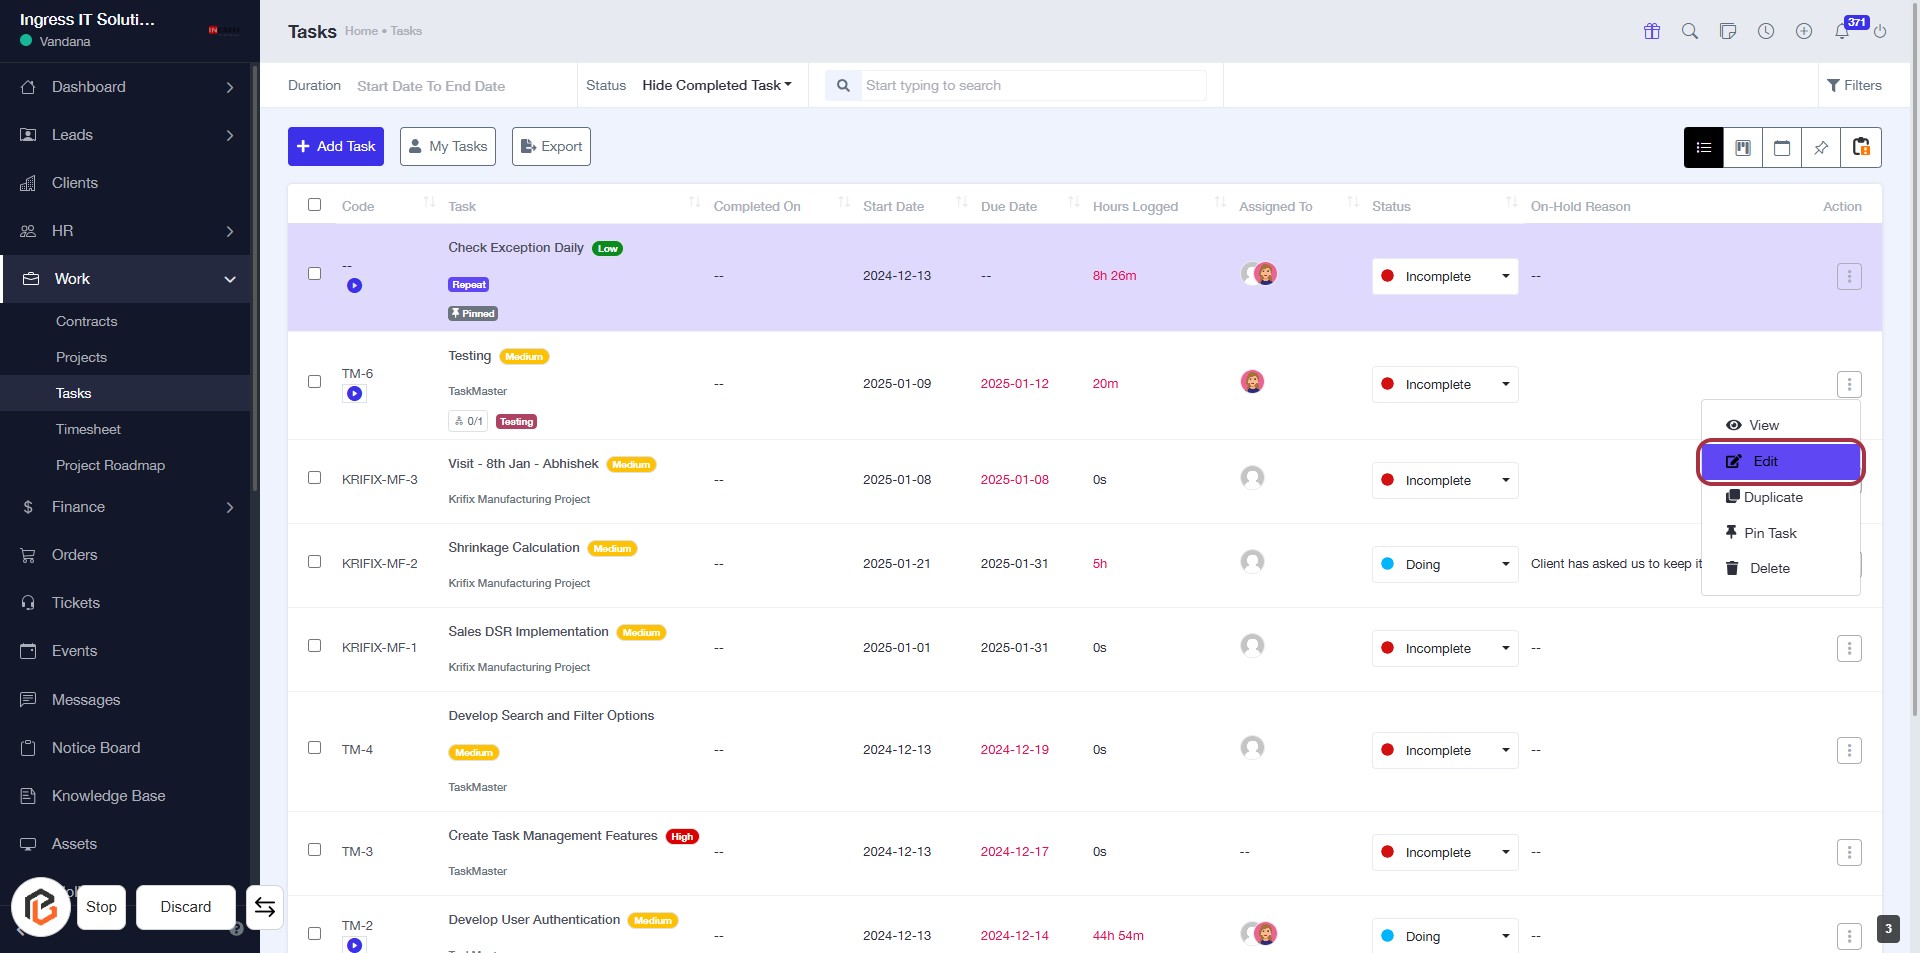
STEP 2: Click on "Tasks" to Access Your Task Overview
- Locate the "Tasks" link in the sidebar menu.
- Click on the "Tasks" link to view your task overview.
- Ensure you are on the dashboard page to access this feature.
- Review the displayed tasks and their statuses for further actions.
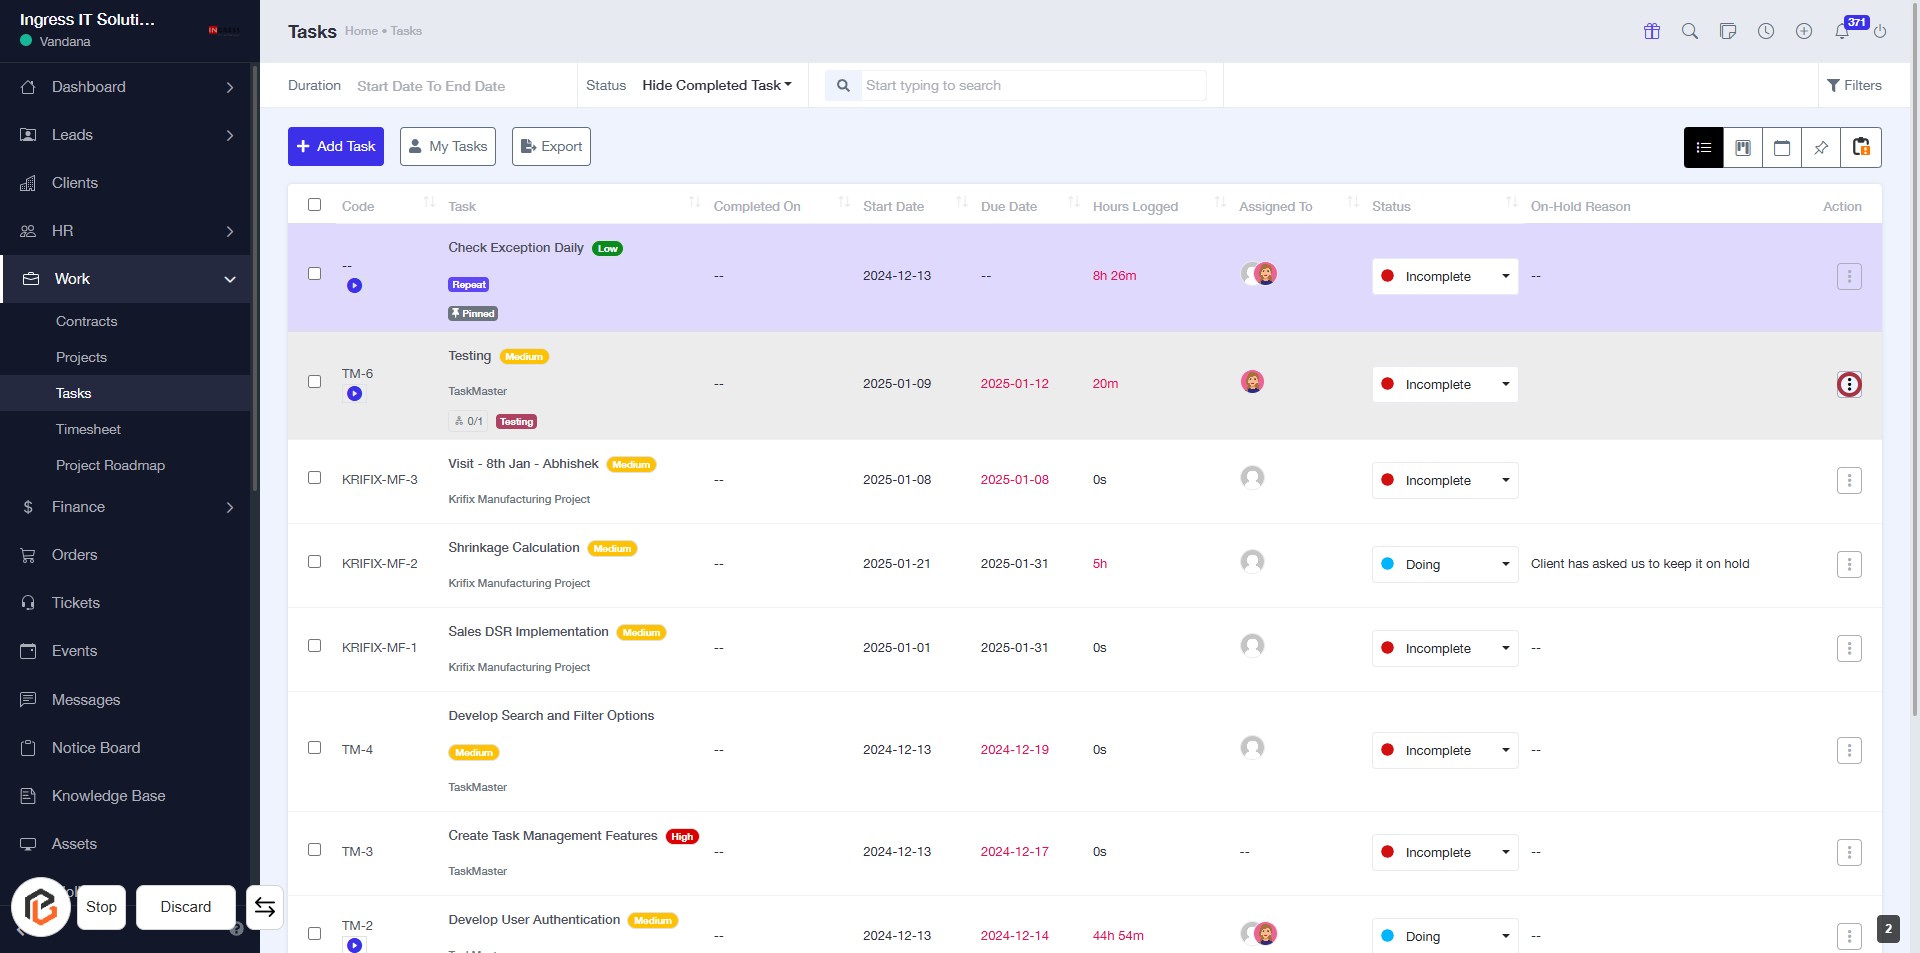
STEP 3: Click on "Options Button" to Access Task Actions
- Locate the "Options" button represented by an icon in the action column of the task table.
- Click on the icon to reveal available actions for the selected task.
- Ensure you are on the correct task row before clicking.
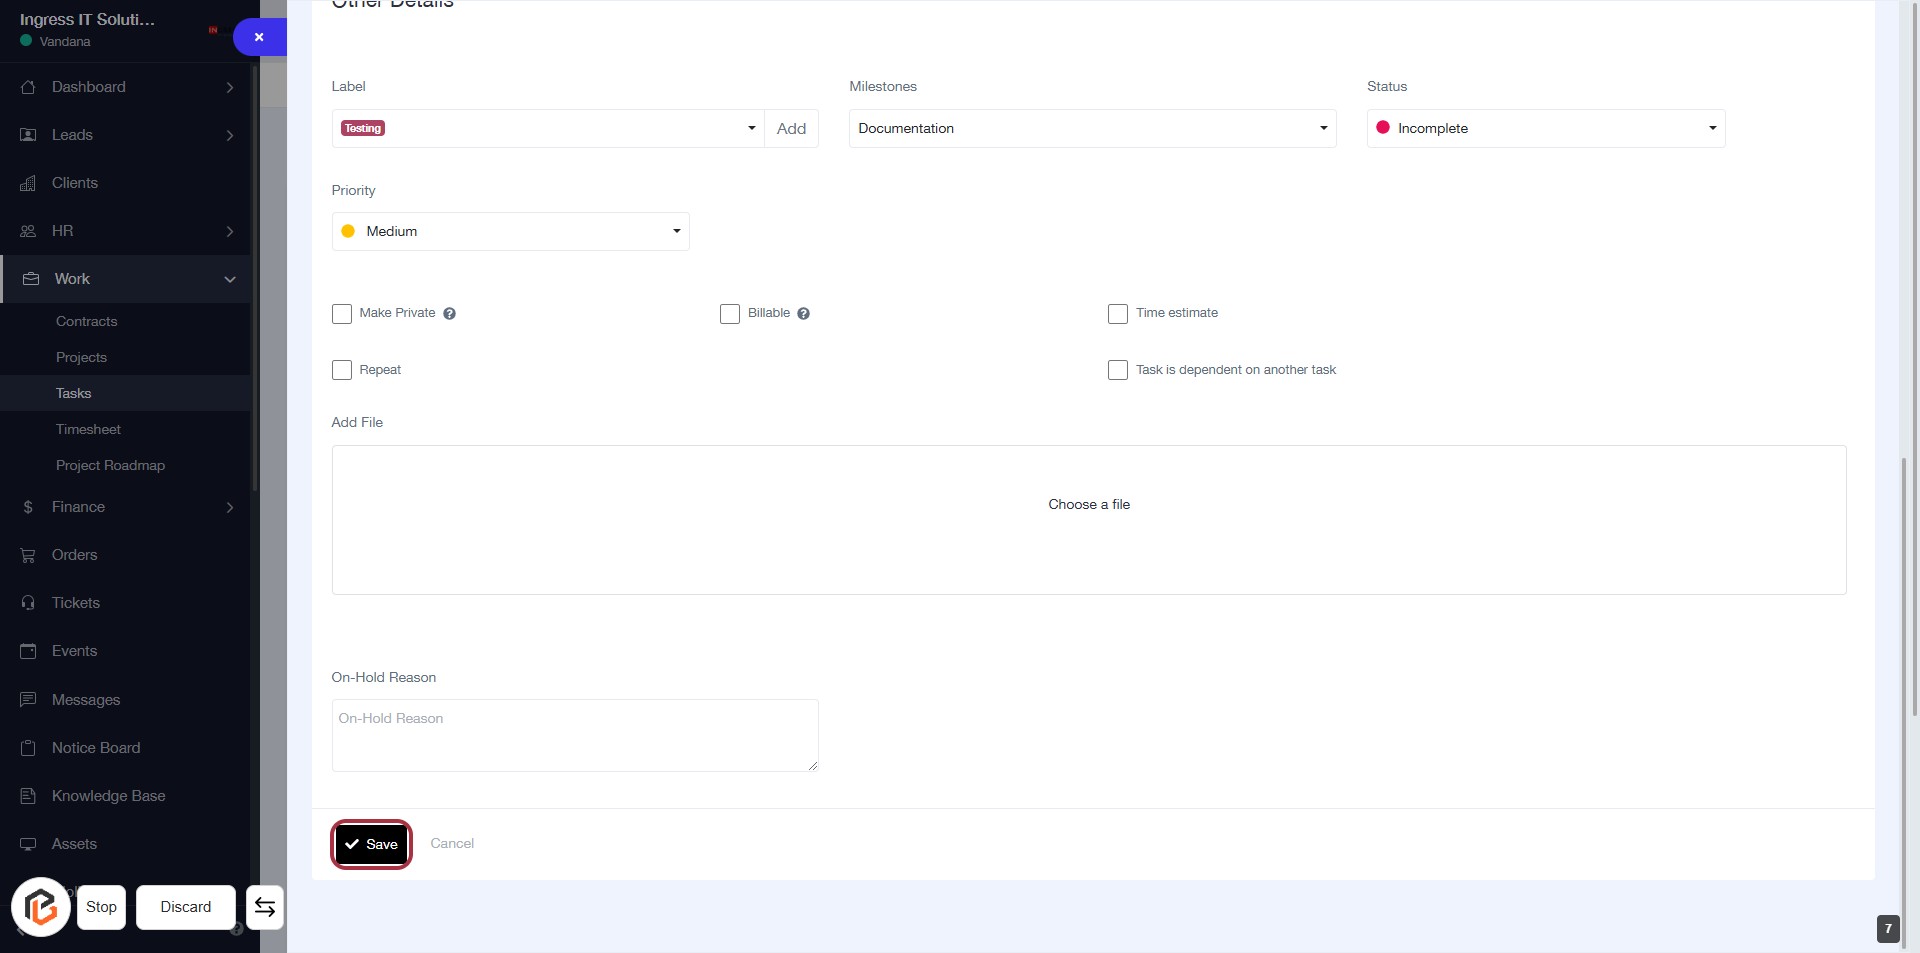
STEP 4: Click on "Edit" to Modify Task Details
- Locate the "Edit" option in the action column of the task list.
- Click on "Edit" to open the task modification interface.
- Ensure you have the necessary permissions to edit the task.
- Proceed to the next step to edit the "Due Date" as needed.
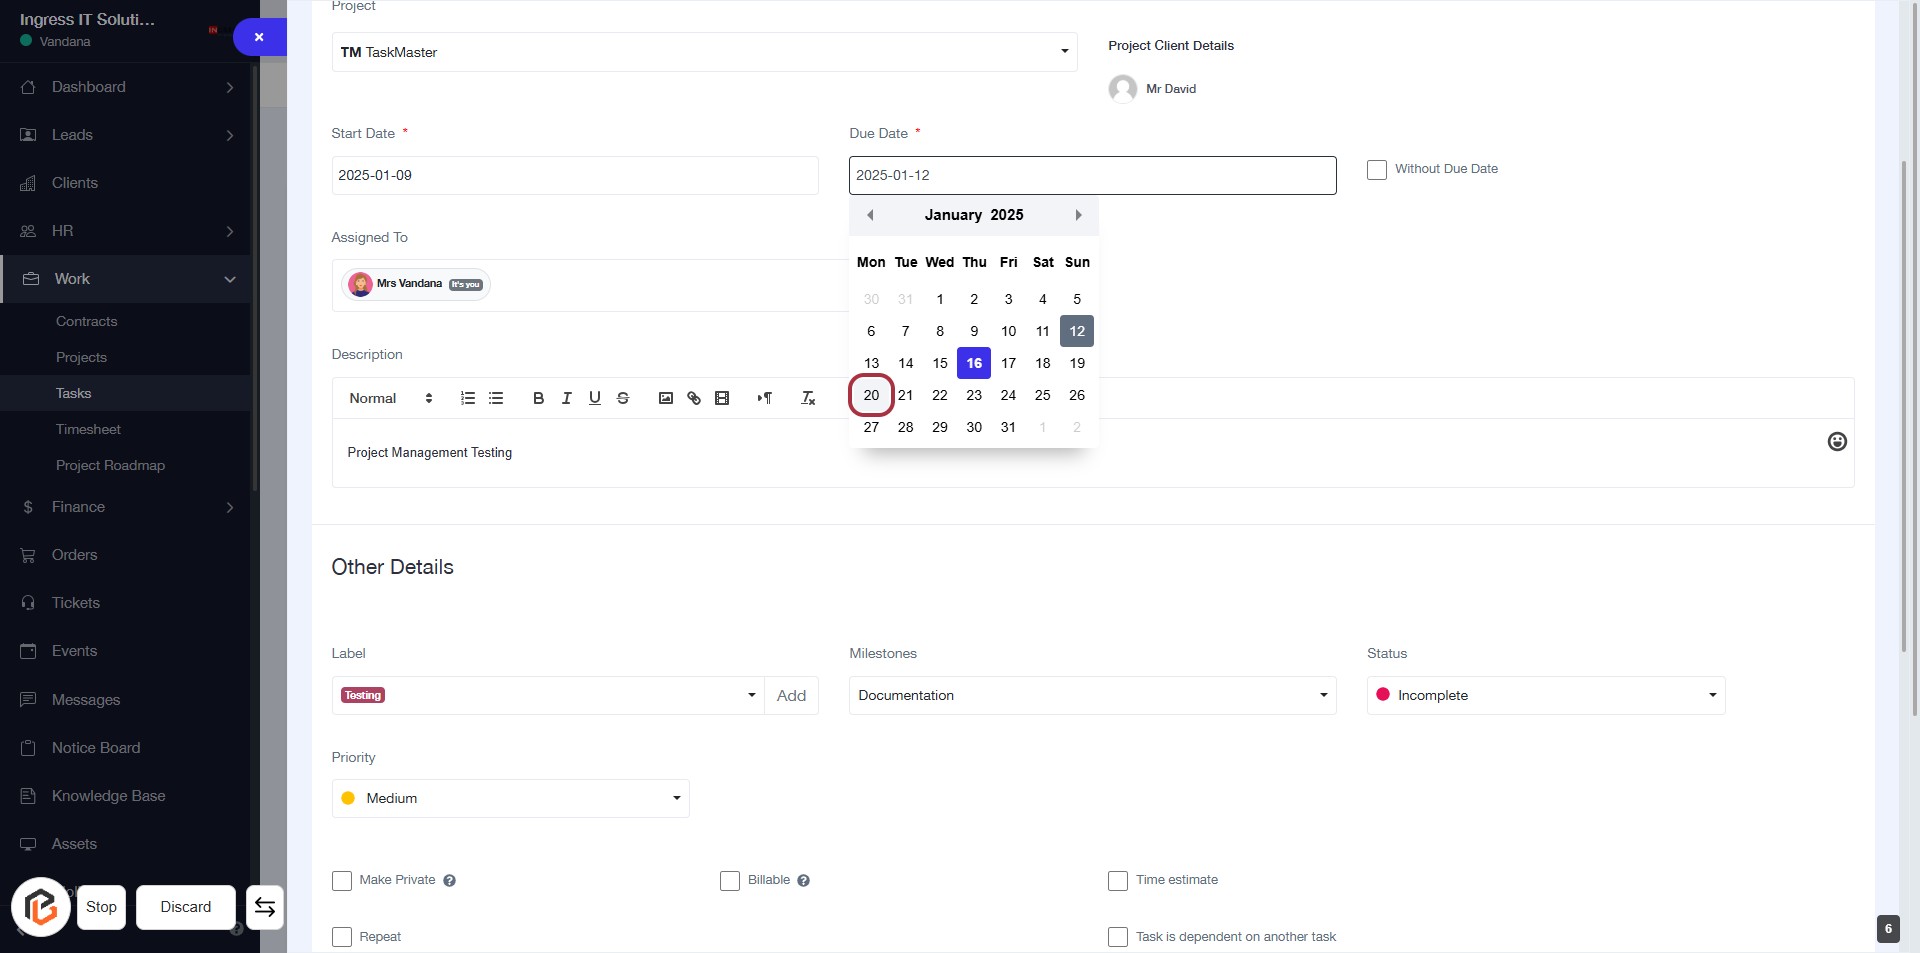
STEP 5: Click on "Due Date" to Edit the Task Deadline
- Locate the "Due Date" field in the task form.
- Click on the calendar icon or directly on the date field.
- Select the desired due date (e.g., January 20, 2025) from the calendar.
- Ensure the date is correctly displayed in the field.
- Proceed to the next step by clicking the "Save Button."
STEP 6: Click on "Save" to Finalize Task Details
- Ensure all required fields are filled, indicated by an asterisk (*).
- Review the task details such as Label, Priority, Milestones, and Status.
- Click the Save button located at the bottom of the form to save your changes.
- Confirm that the task is now updated in your task list.