Complete Guide to Managing Projects and Orders in the Dashboard
16 mins read · Updated 29 Sep, 2025
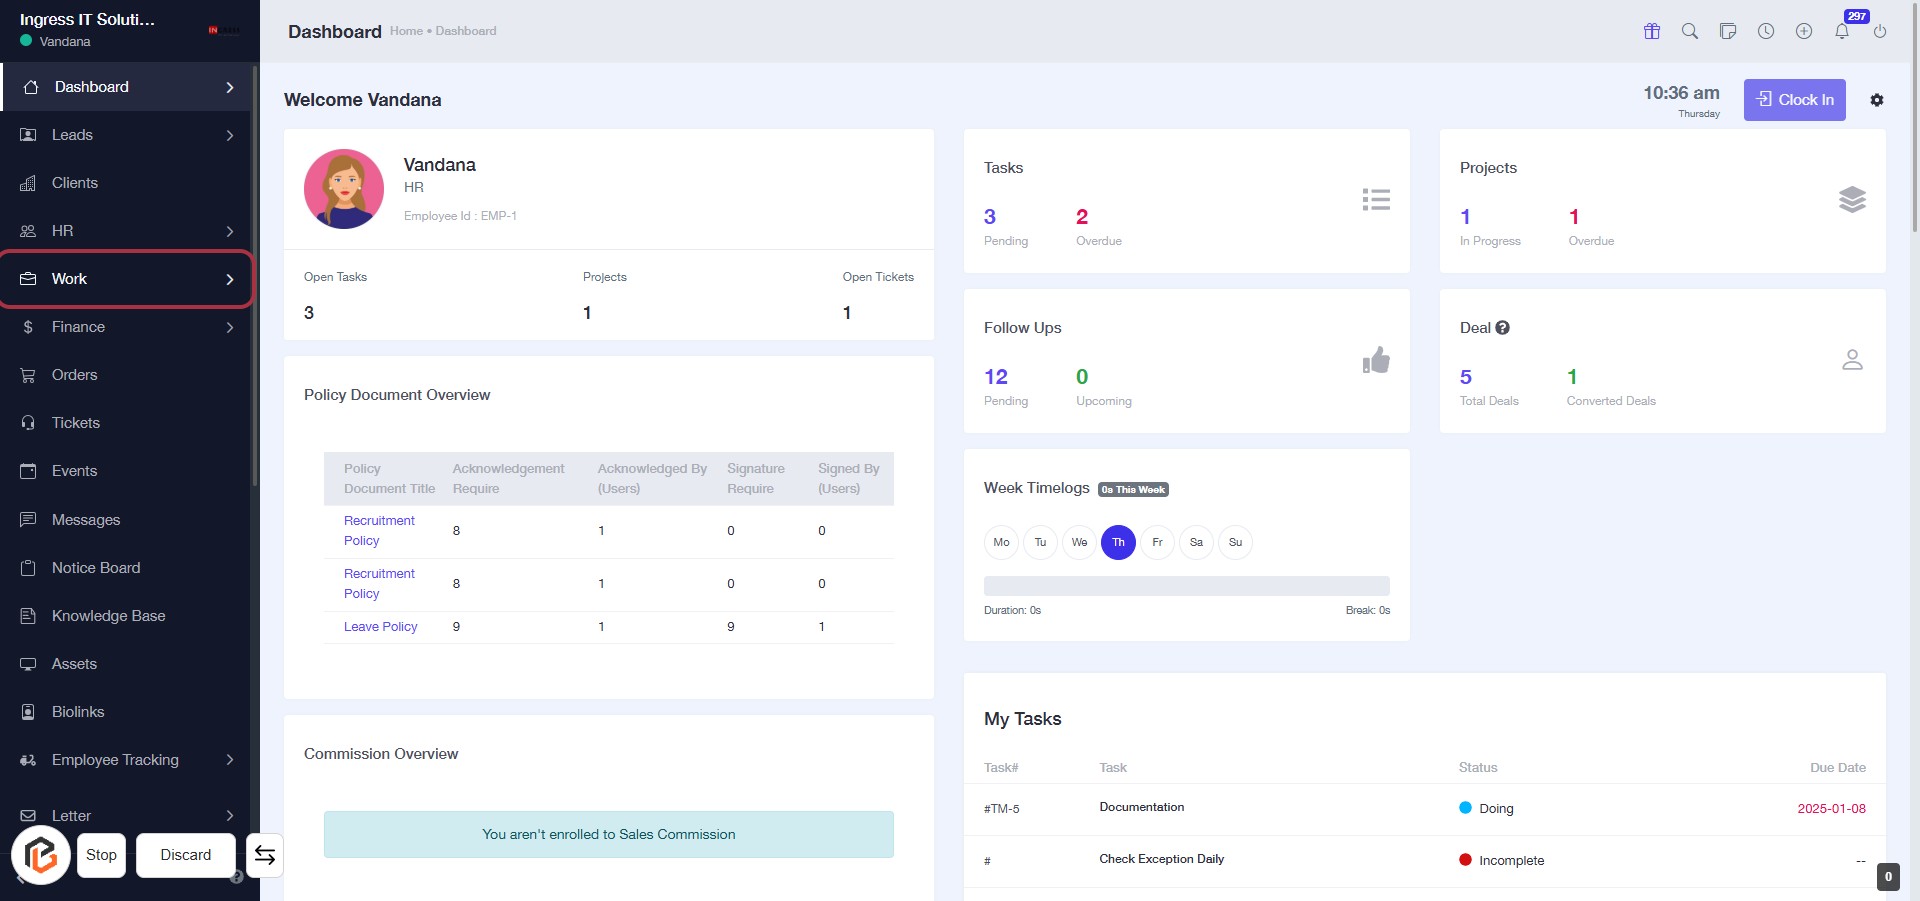
STEP 1: Click on "Work" to Access Your Dashboard
- Navigate to the left sidebar of the dashboard.
- Click on the Work link to view your tasks and projects.
- Ensure you check the Policy Document Overview and Commission Overview sections for relevant information.
- After this step, proceed to the Projects section for further details.
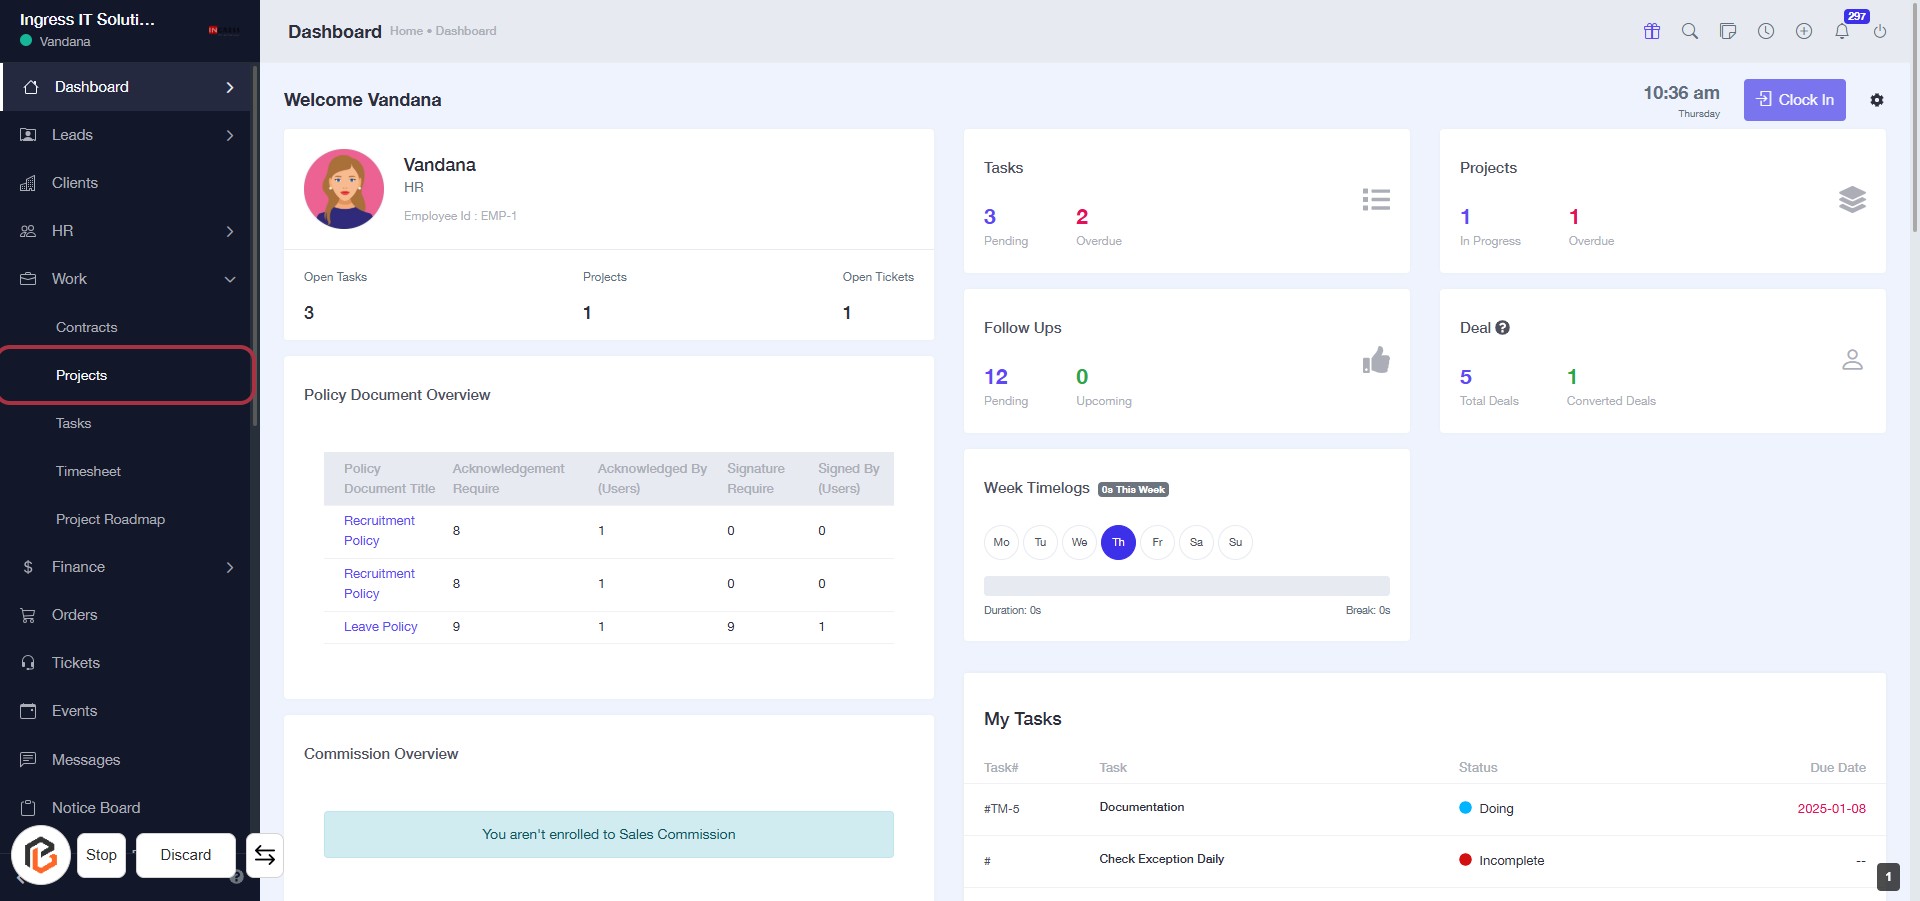
STEP 2: Click on "Projects" to Access Project Overview
- Navigate to the left sidebar and locate the "Projects" option.
- Click on "Projects" to view the project overview.
- Ensure you have the necessary permissions to access project details.
- Review the project status and any related tasks displayed on the dashboard.
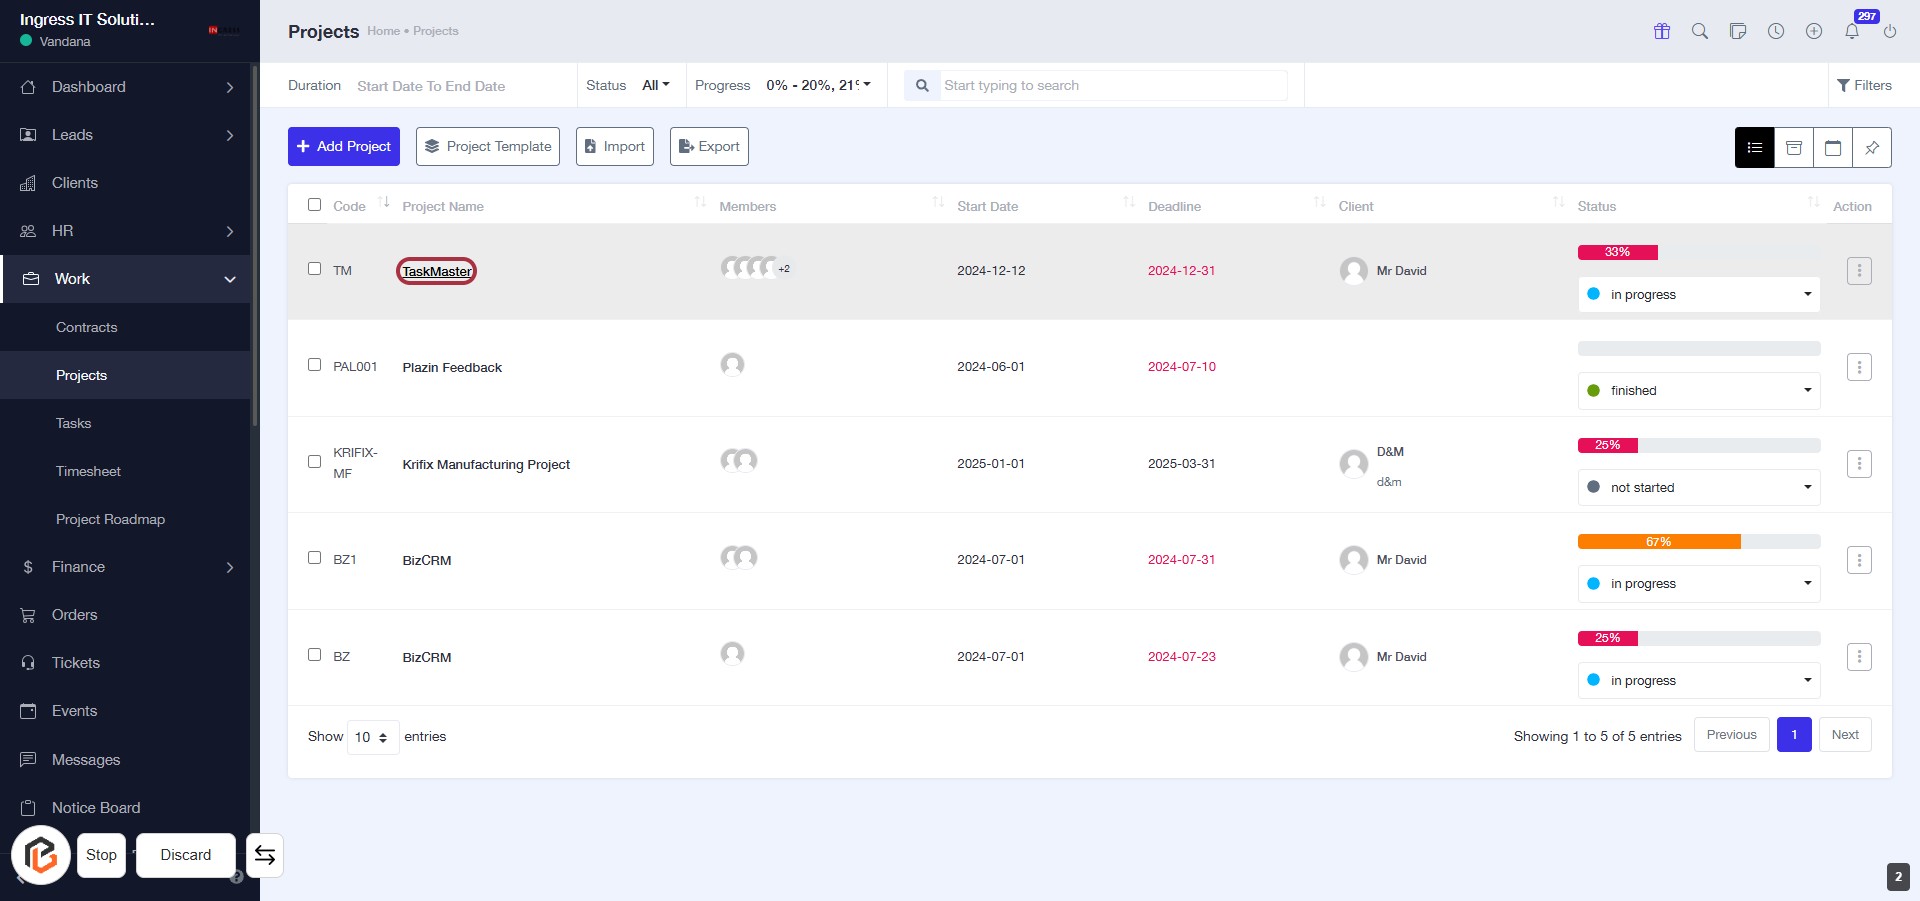
STEP 3: Select "TaskMaster" Project
- Click on the "TaskMaster" link in the project list to view project details.
- Ensure you are on the Projects page to locate the project.
- The project name is highlighted for easy identification.
- Proceed to the next step after accessing the project details.
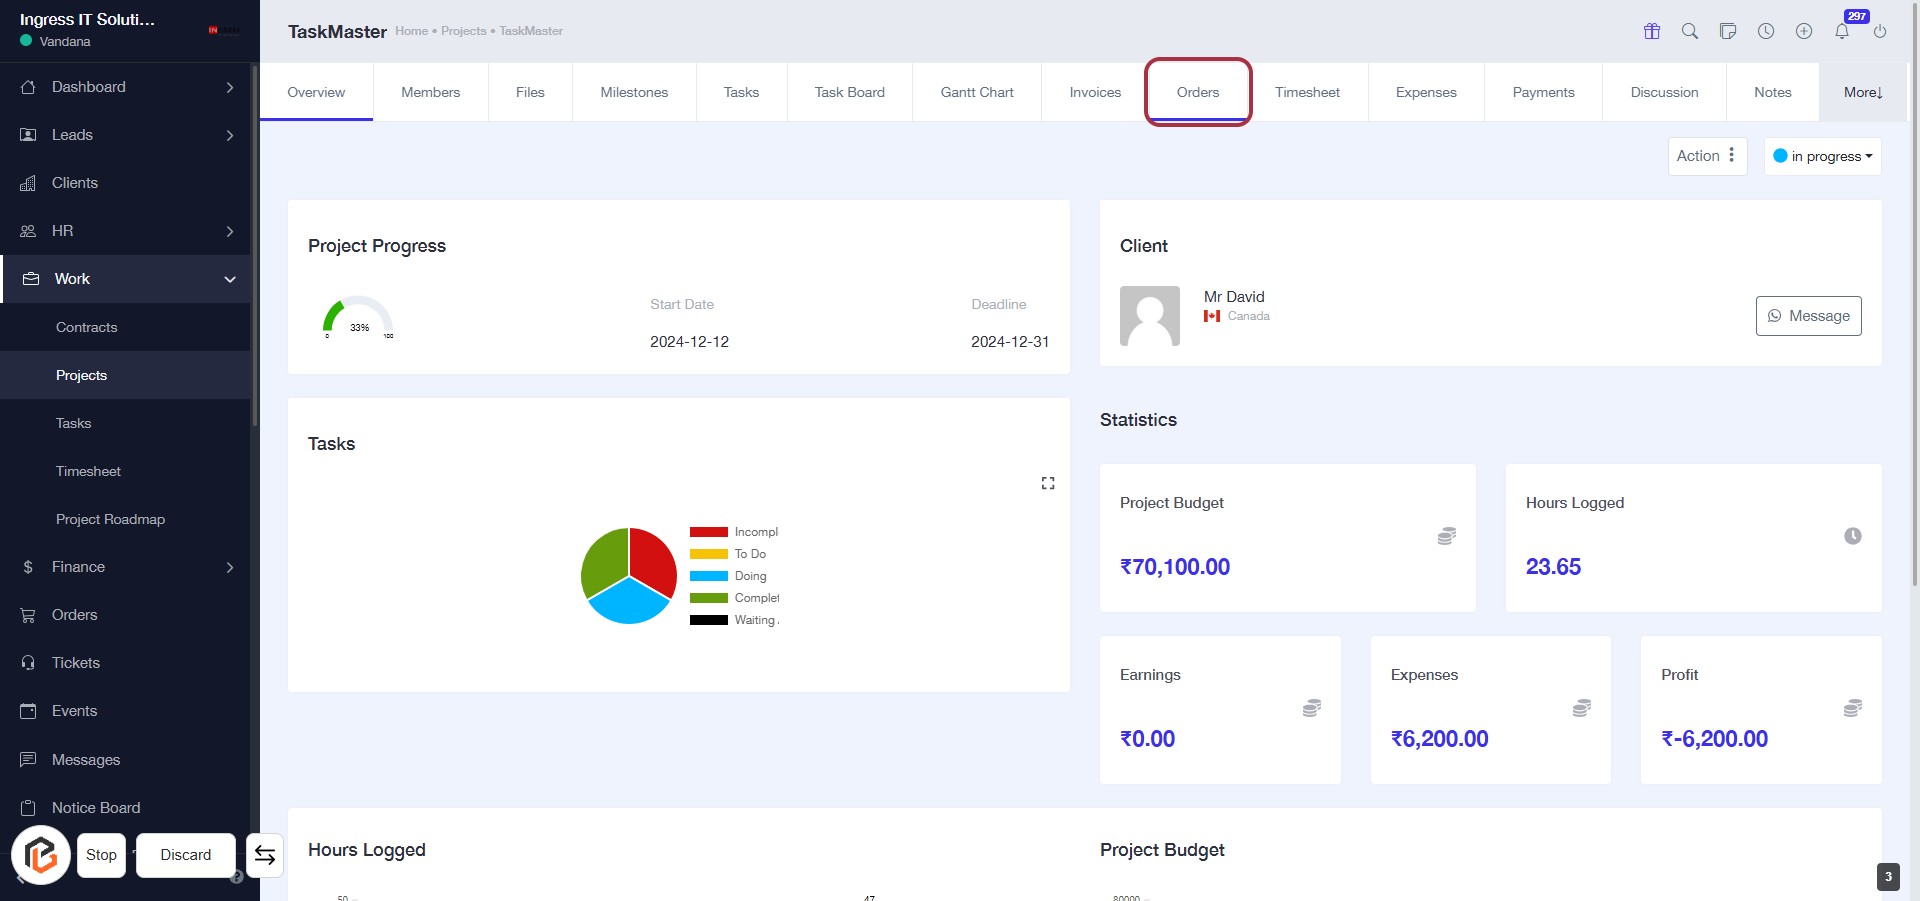
STEP 4: Click on "Orders" to Access Order Management
- Navigate to the "Orders" section by clicking on the highlighted area.
- Ensure you are on the correct project page (TaskMaster).
- Review any existing orders or statistics displayed.
- Prepare to proceed to add a new order in the next step.
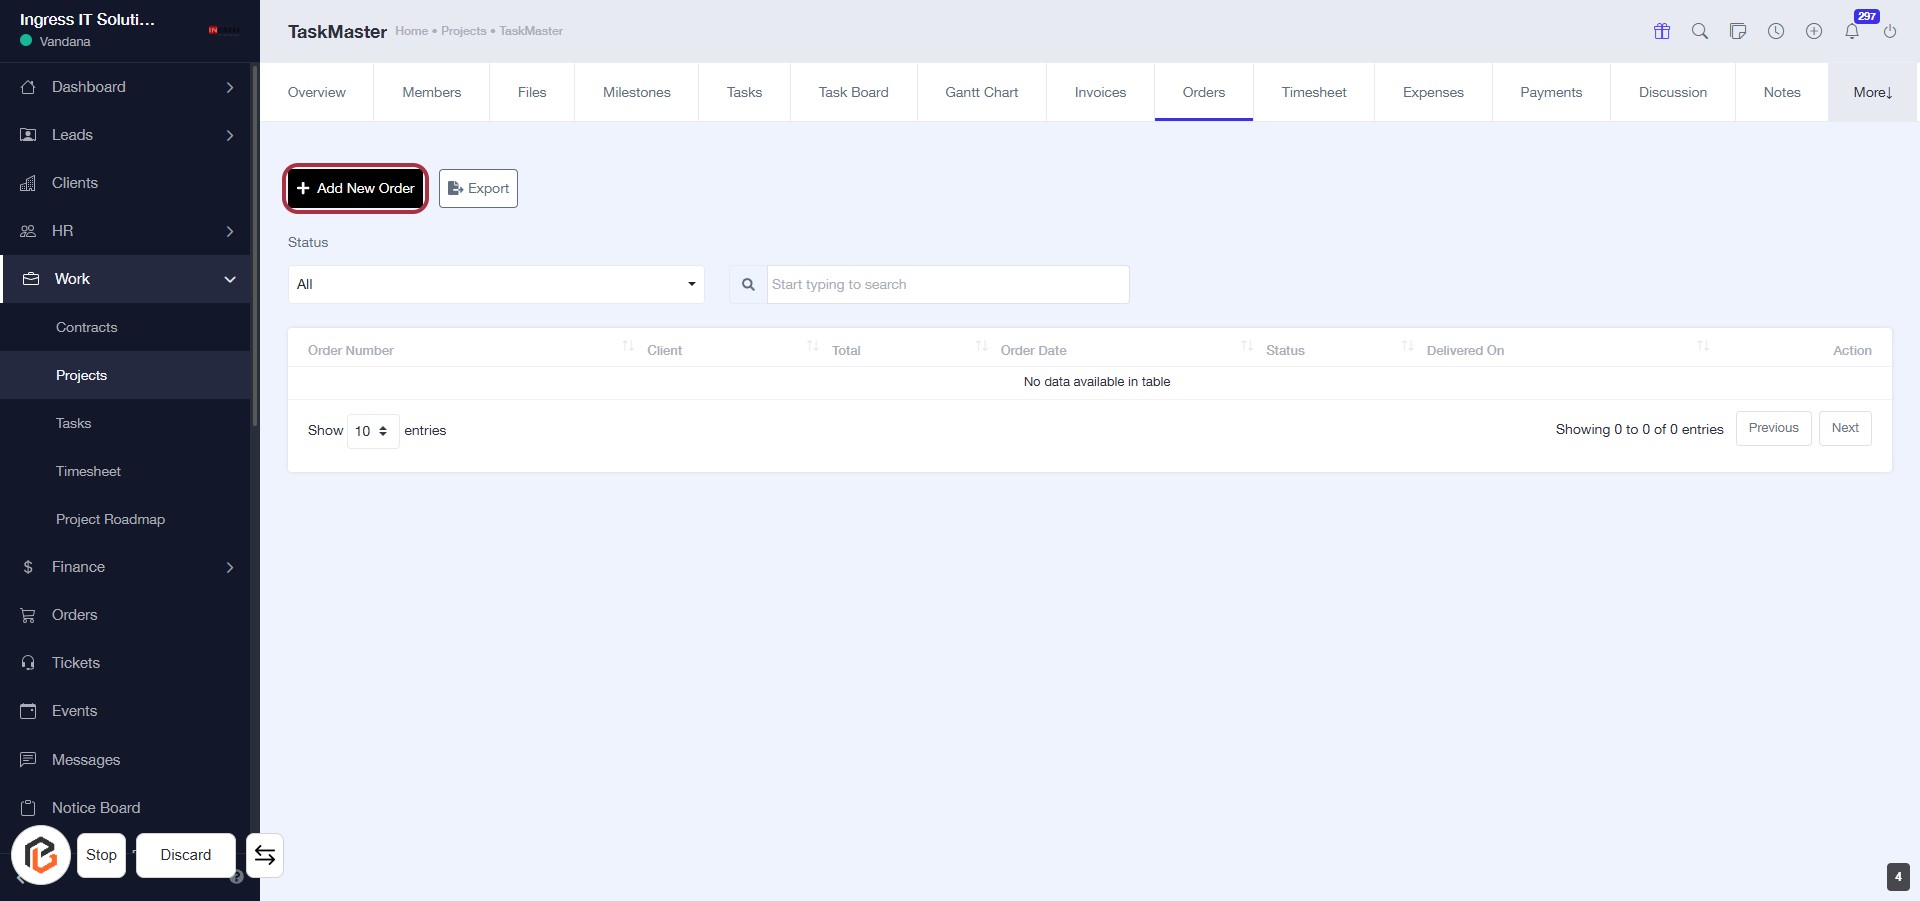
STEP 5: Click on "Add New Order"
- Navigate to the "Orders" section.
- Locate and click the Add New Order button highlighted in red.
- This action will direct you to the order creation form.
- Ensure all required fields are filled in the next step.
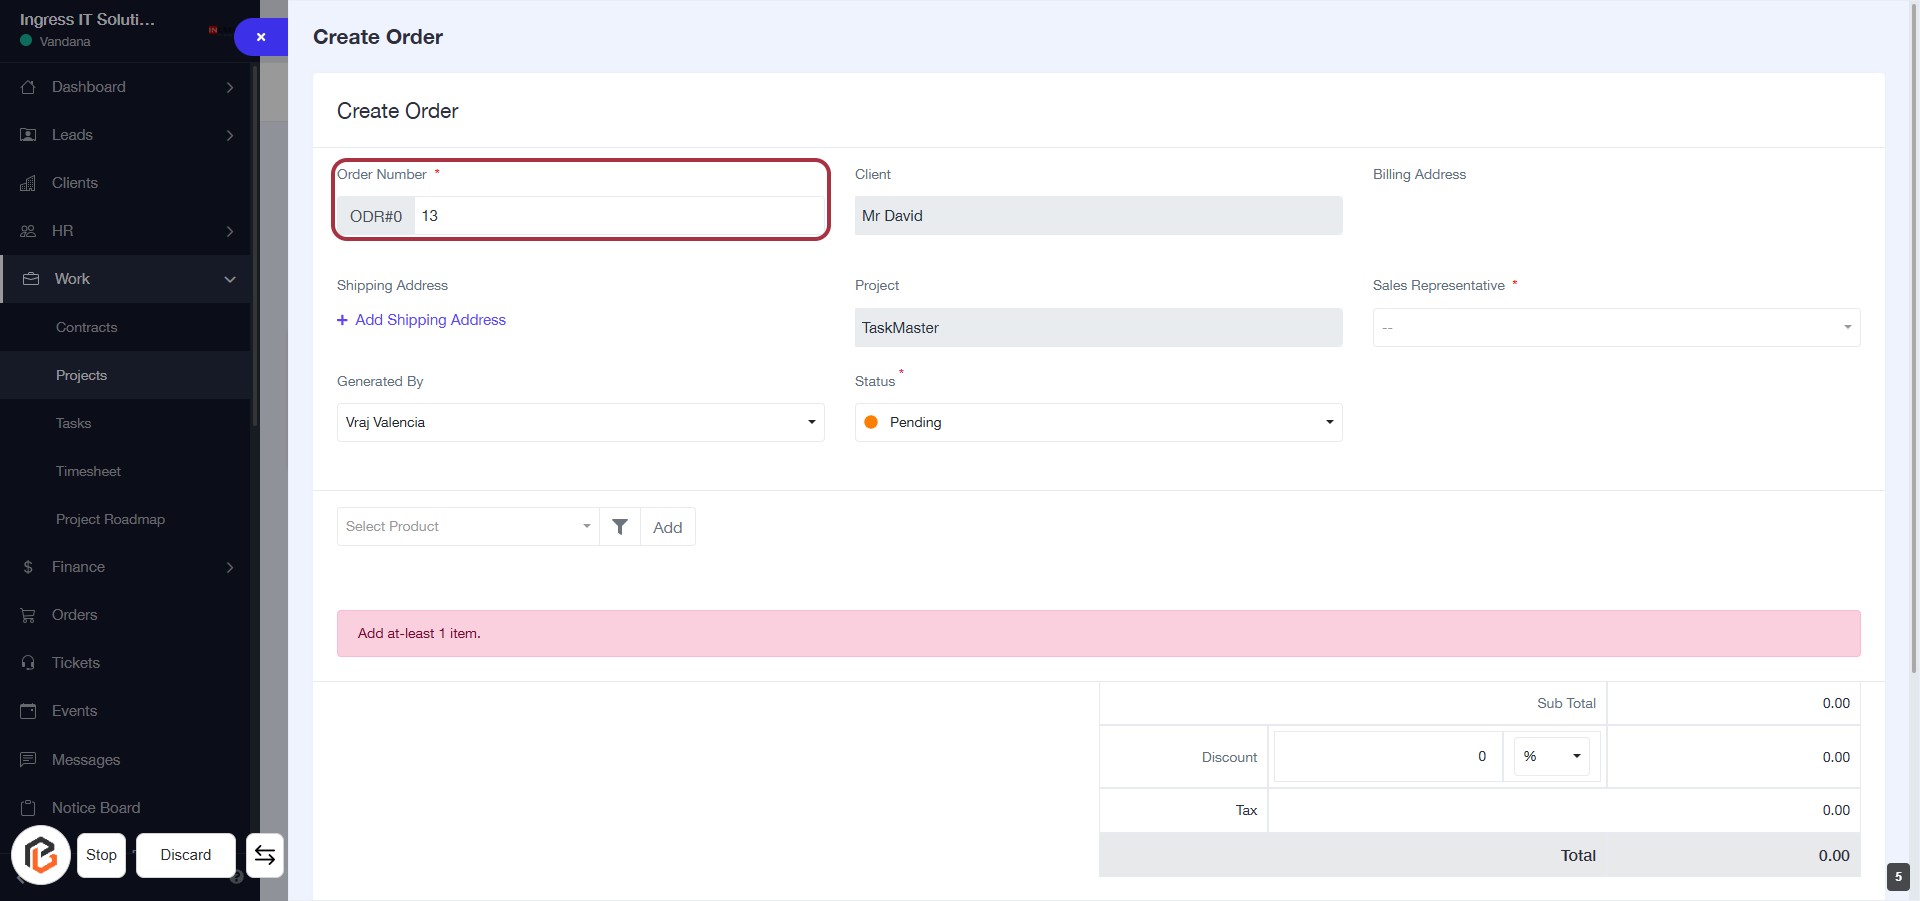
STEP 6: Enter Order Number
- Click on the "Order Number" field (marked with a red border).
- Enter a unique order number (required field).
- Ensure the order number is correctly formatted as per your organization's guidelines.
- Proceed to the next step by adding the "Shipping Address."
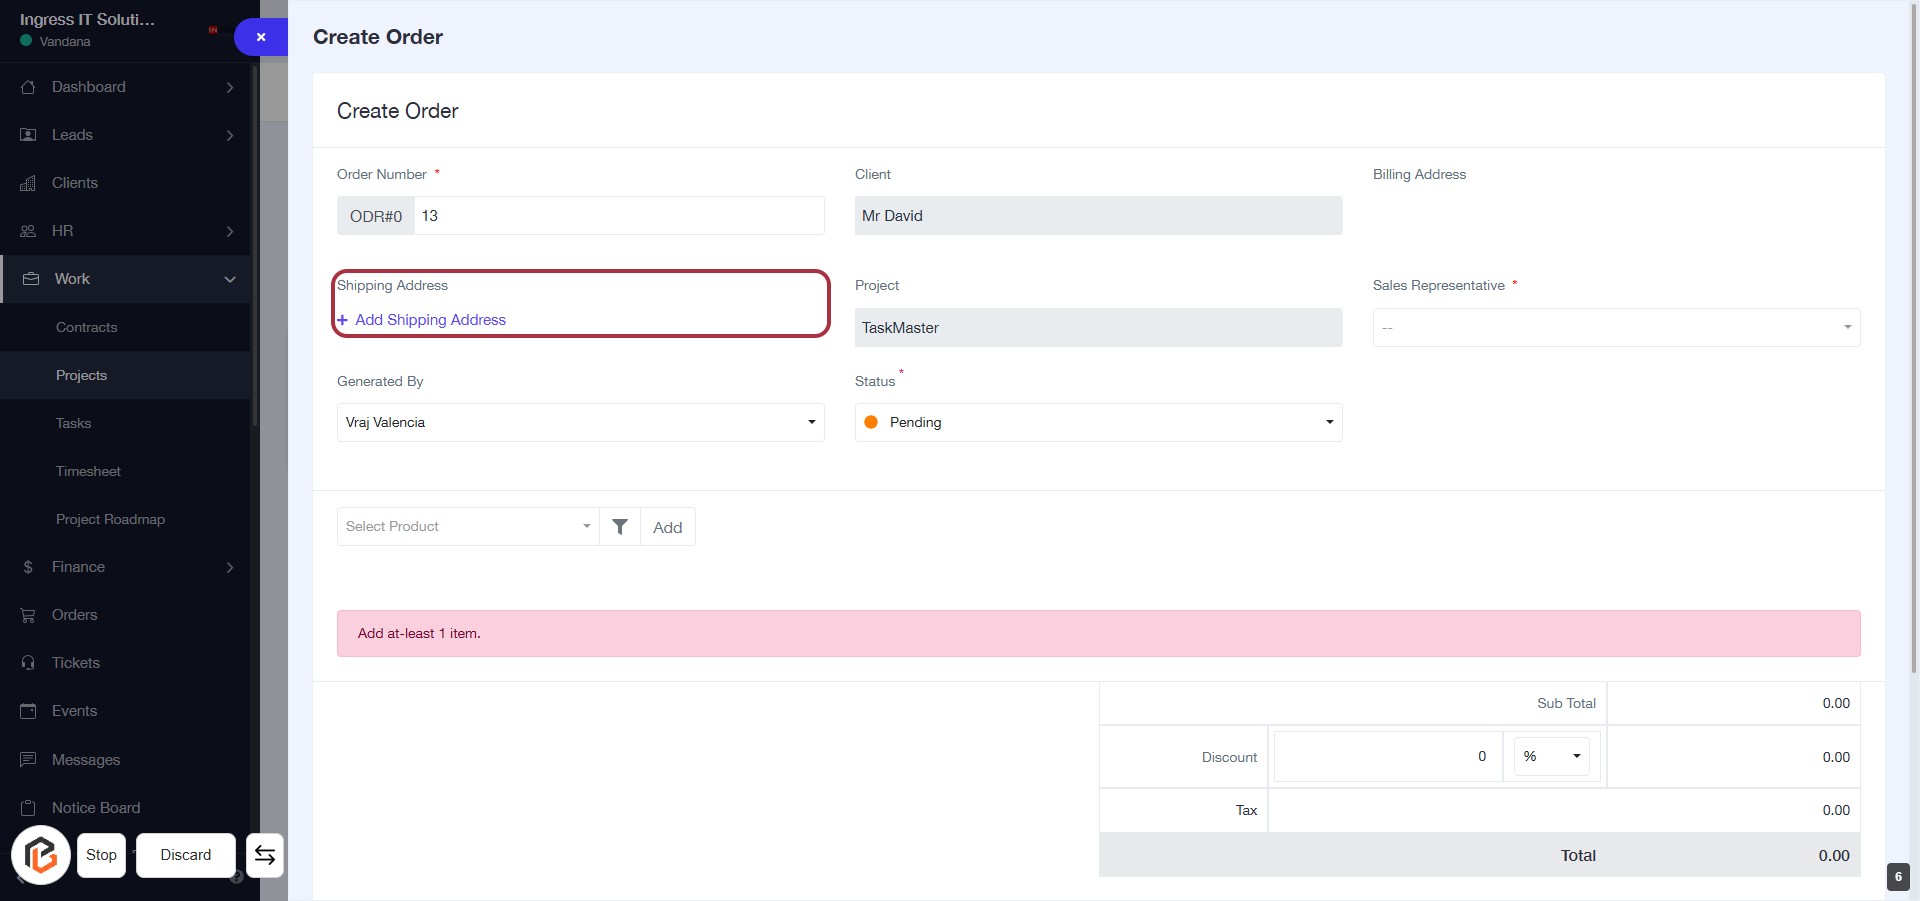
STEP 7: Click "Add Shipping Address"
- Click on the "Add Shipping Address" option highlighted in red.
- Ensure all required fields marked with an asterisk (*) are filled out.
- Review the shipping address details before proceeding.
- After adding the address, continue to the next step to select the Sales Representative.
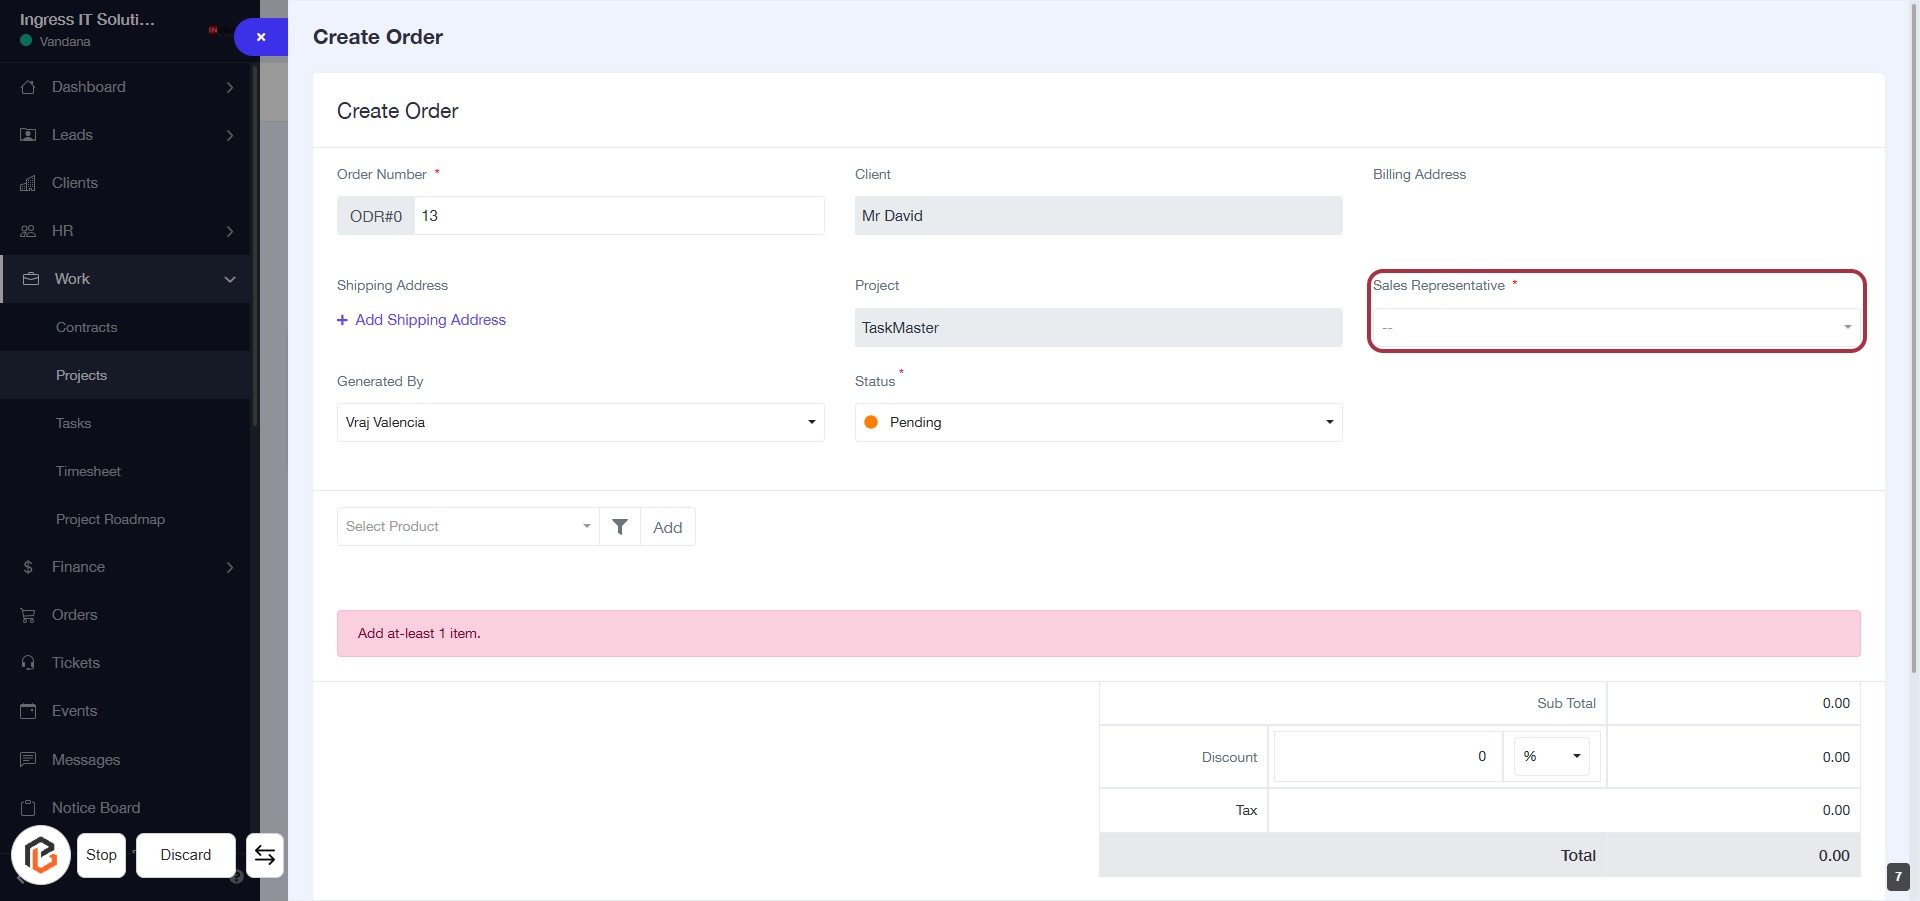
STEP 8: Select "Sales Representative"
- Click on the "Sales Representative" field highlighted in red.
- Choose a representative from the dropdown list (indicated by the asterisk * as a required field).
- Ensure all other required fields are filled out before proceeding.
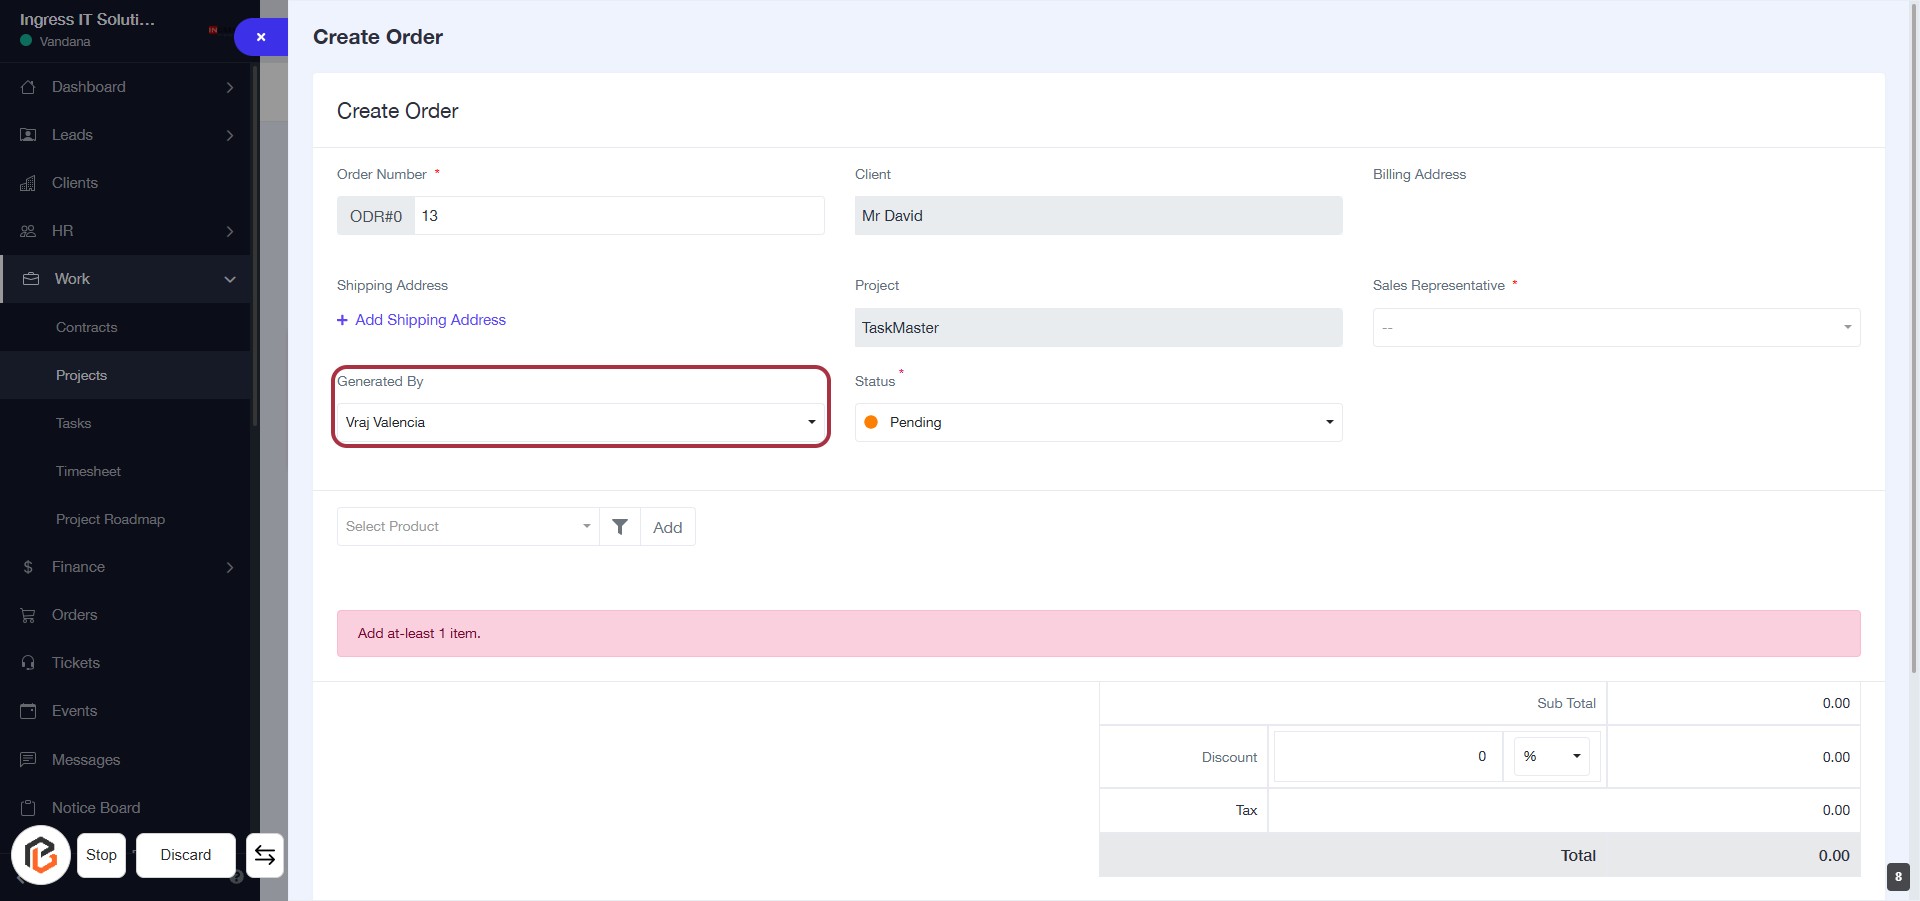
STEP 9: Select "Generated By"
- Click on the "Generated By" field to view the available options.
- Choose the appropriate name from the dropdown list.
- Ensure that the selection aligns with the order details.
- Proceed to the next step by selecting "Status."
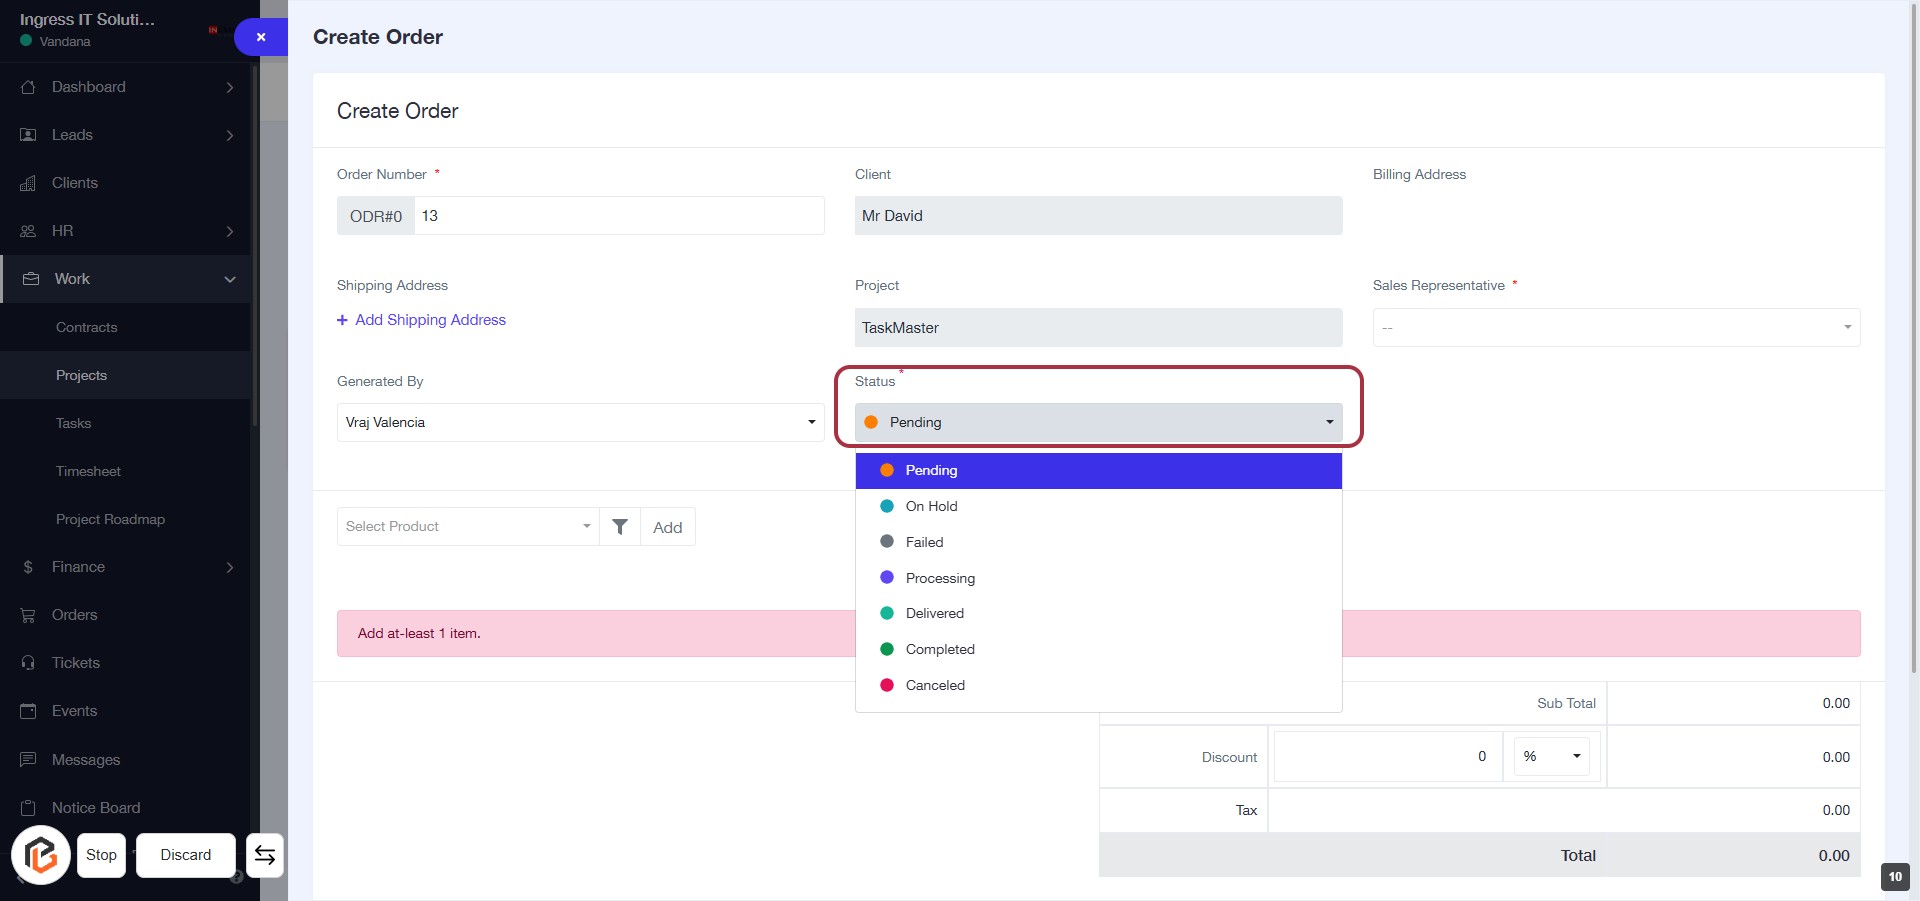
STEP 10: Select "Status"
- Click on the "Status" dropdown menu.
- Choose from the available options:
- Pending
- On Hold
- Failed
- Processing
- Delivered
- Completed
- Canceled
- Ensure to select a status marked with an asterisk (*) as it may be required.
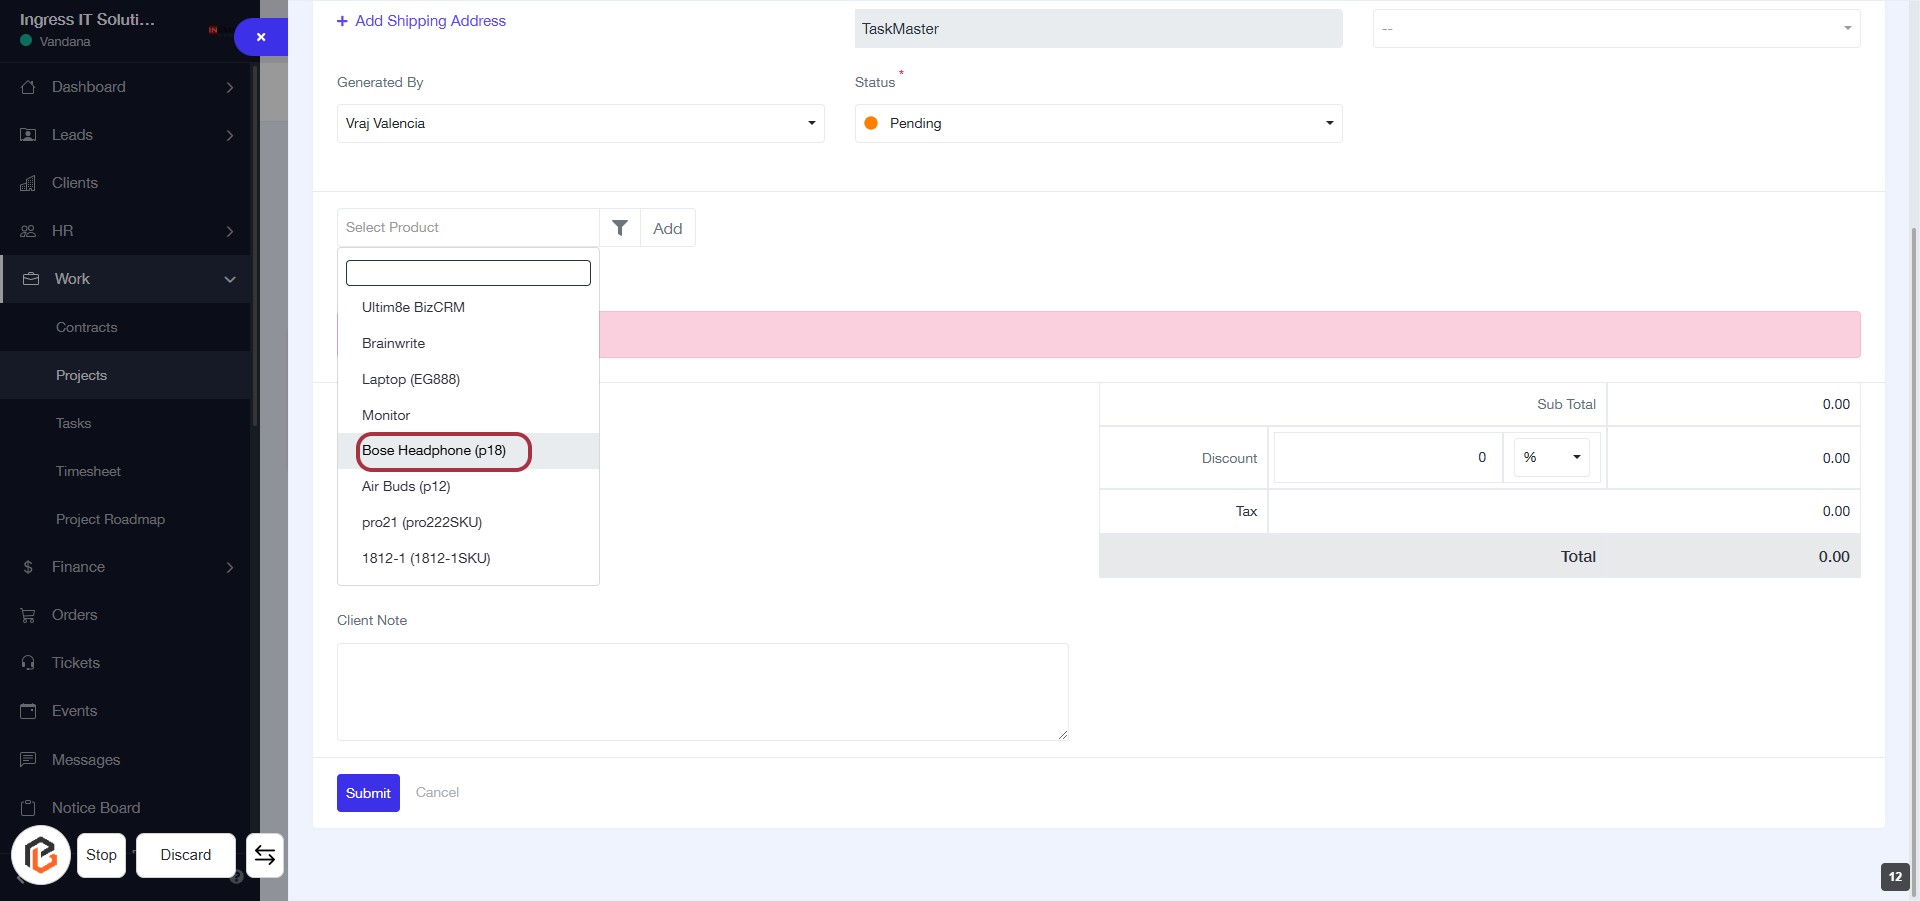
STEP 11: Select "Bose Headphone (p18)"
- Click on the dropdown menu labeled "Select Product."
- Locate and select "Bose Headphone (p18)" from the list.
- Ensure the selection is highlighted before proceeding.
- After selection, you can move on to the next step to add "Quantity."
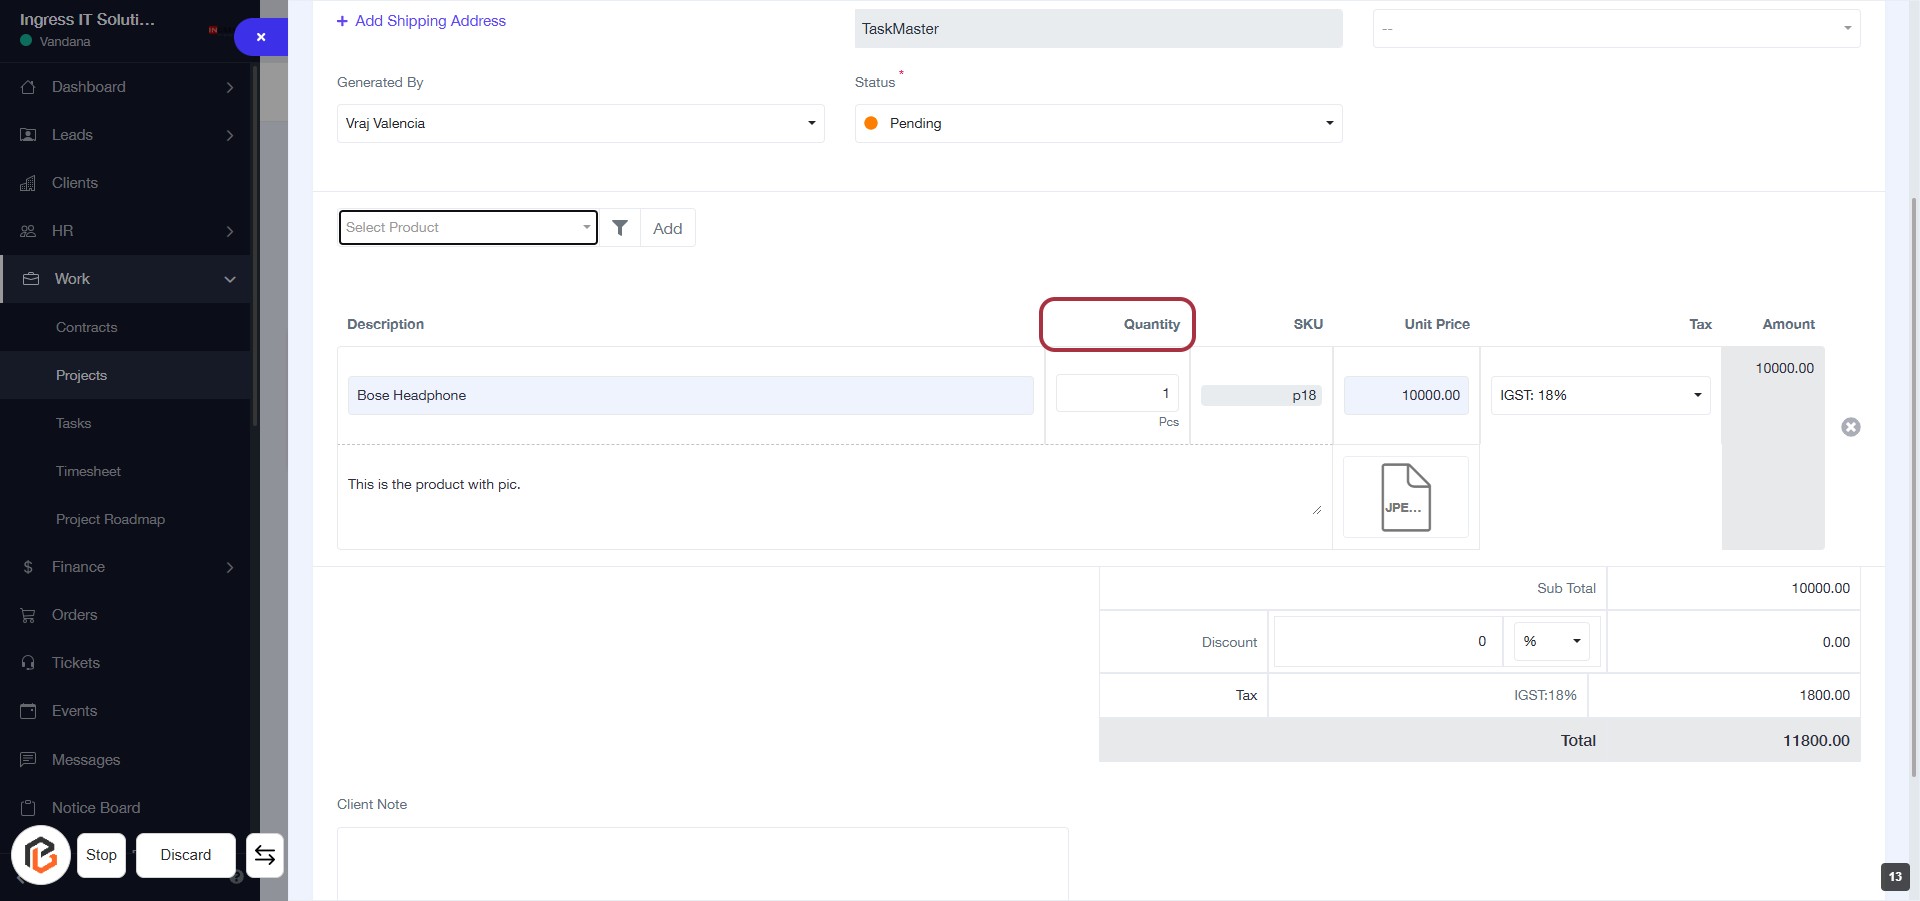
STEP 12: Click on "Quantity" to Update Order Details
- Locate the "Quantity" field in the order form.
- Click on the highlighted area to enter the desired quantity for the Bose Headphone.
- Ensure to fill in any required fields marked with an asterisk (*).
- Proceed to the next step to add "GST" after updating the quantity.
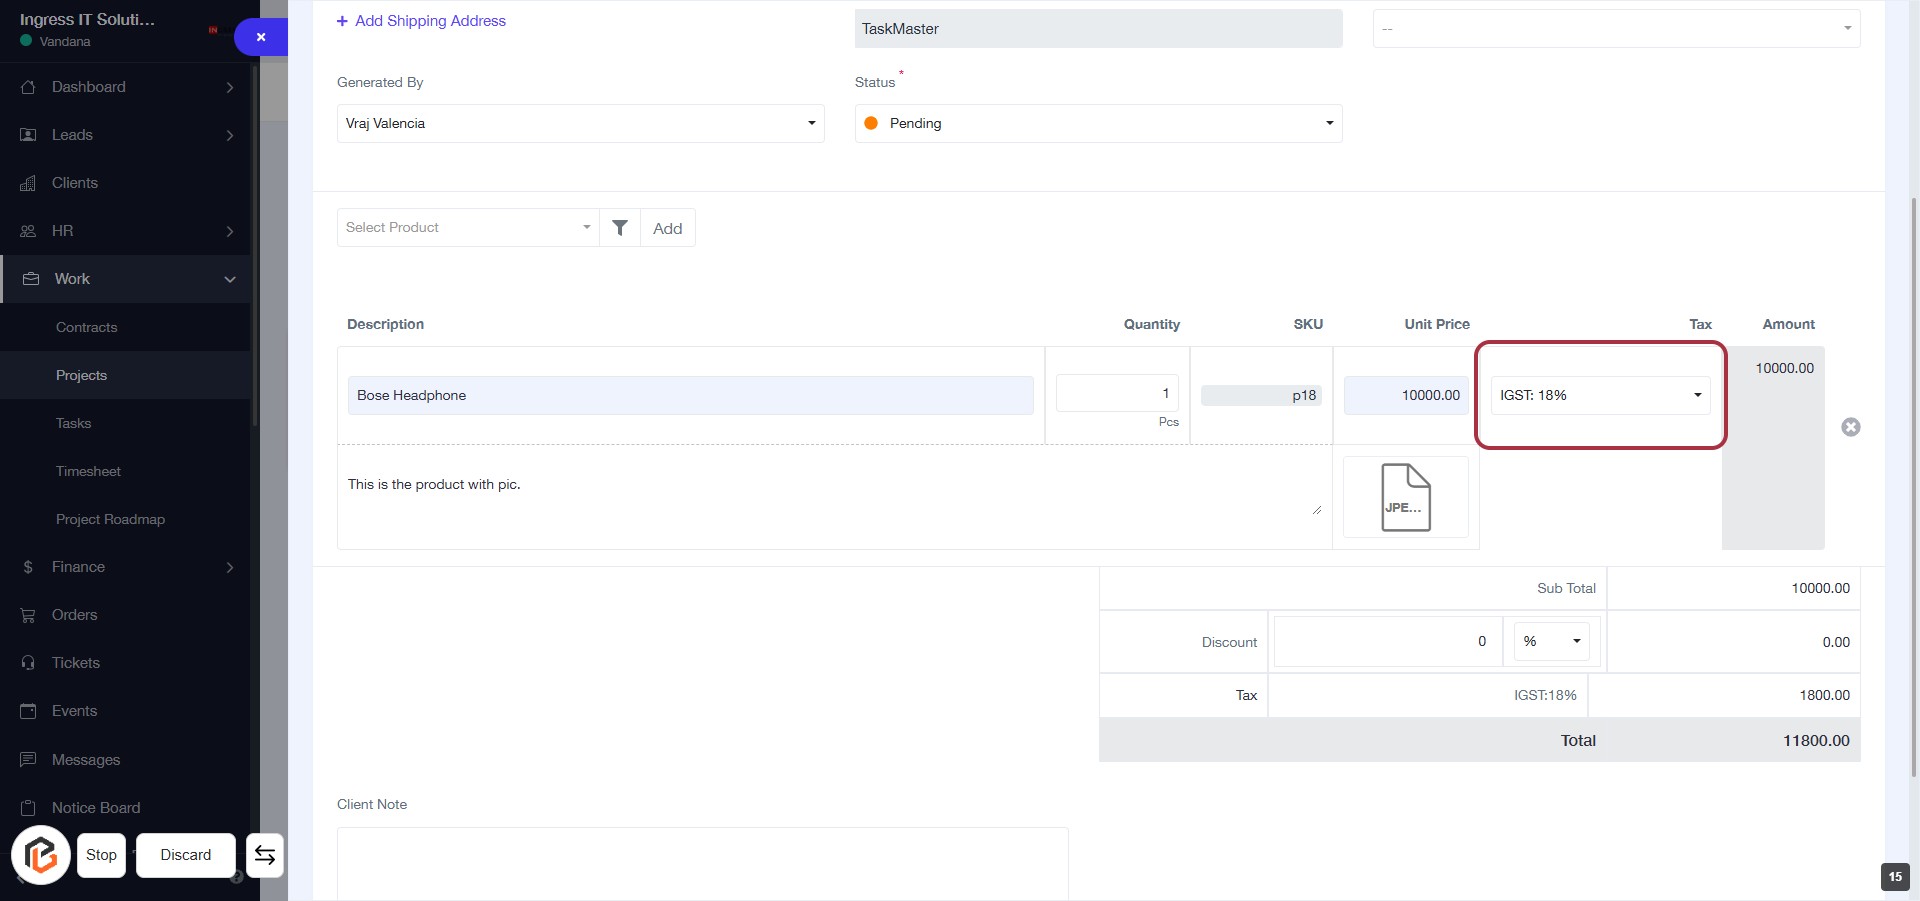
STEP 13: Click on "SGST" to Add Tax Details
- Locate the "SGST:" label in the highlighted area.
- Click on the dropdown next to "Tax" to select the appropriate GST option.
- Ensure to review other tax options available, such as IGST.
- Complete any additional required fields marked with an asterisk (*).
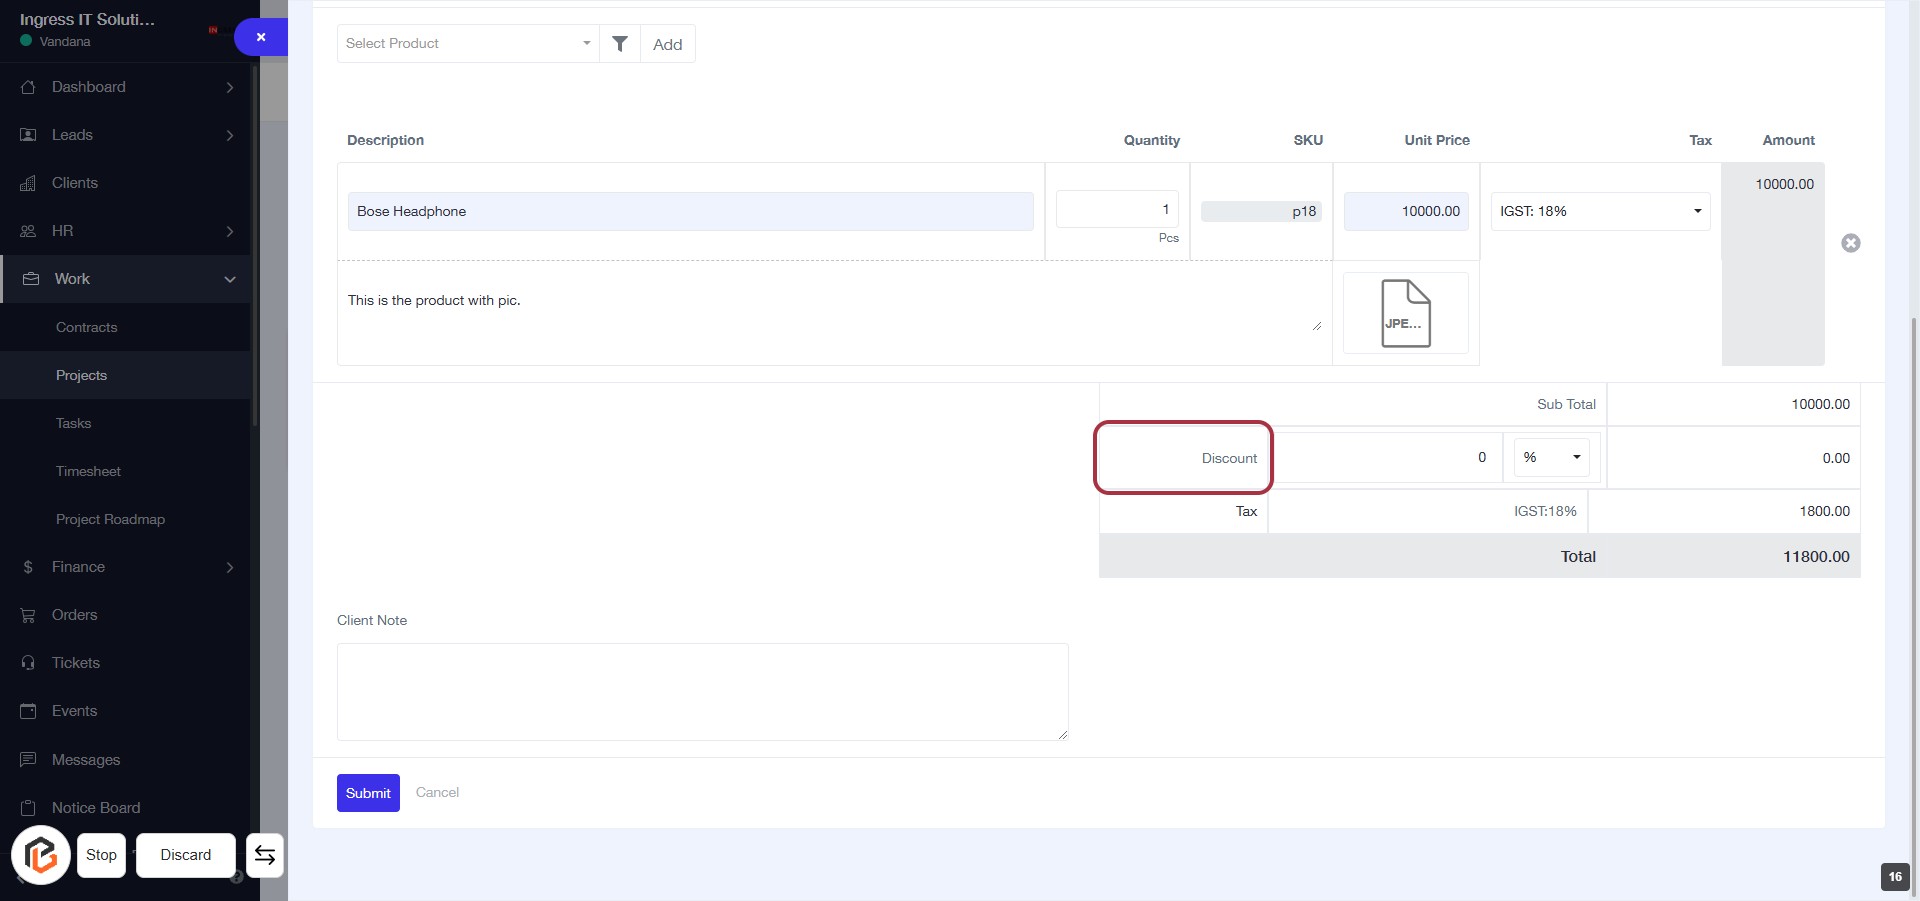
STEP 14: Click on "Discount" to Add Discount Details
- Locate the "Discount" field highlighted in red.
- Click on the "Discount" label to activate the input area.
- Enter the discount amount as needed.
- Ensure to check for any additional required fields marked with an asterisk (*).
- Proceed to the next step by writing the "Client Note."
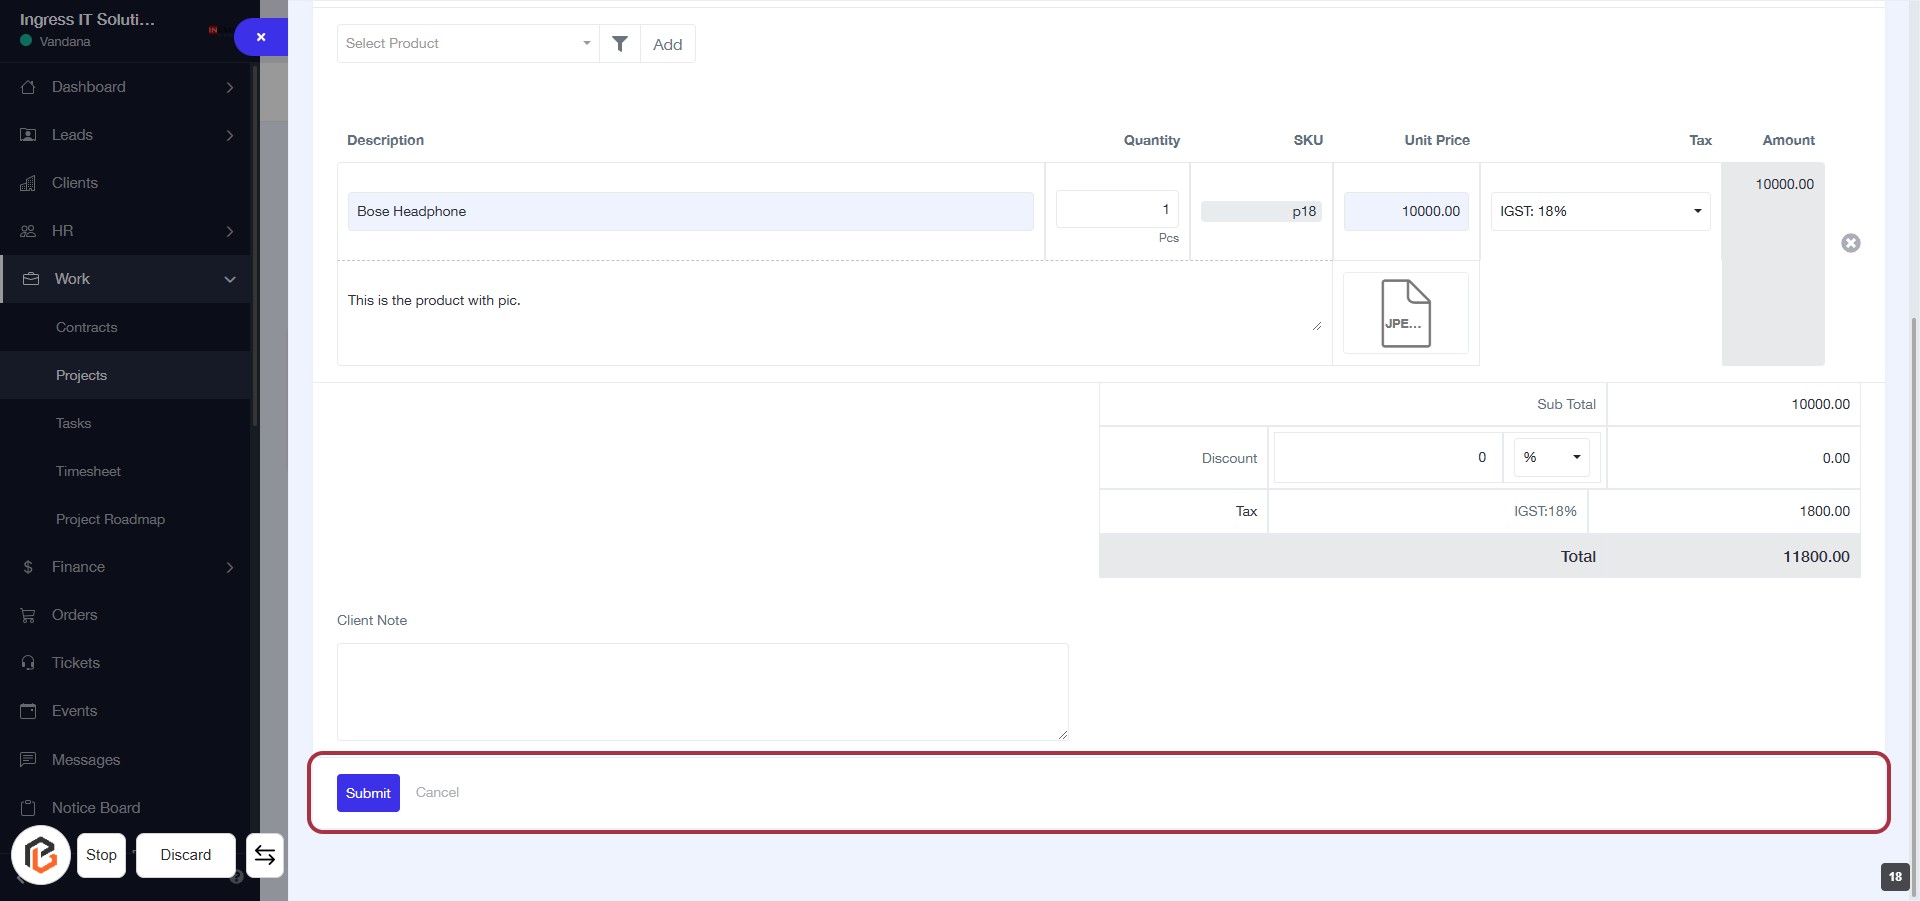
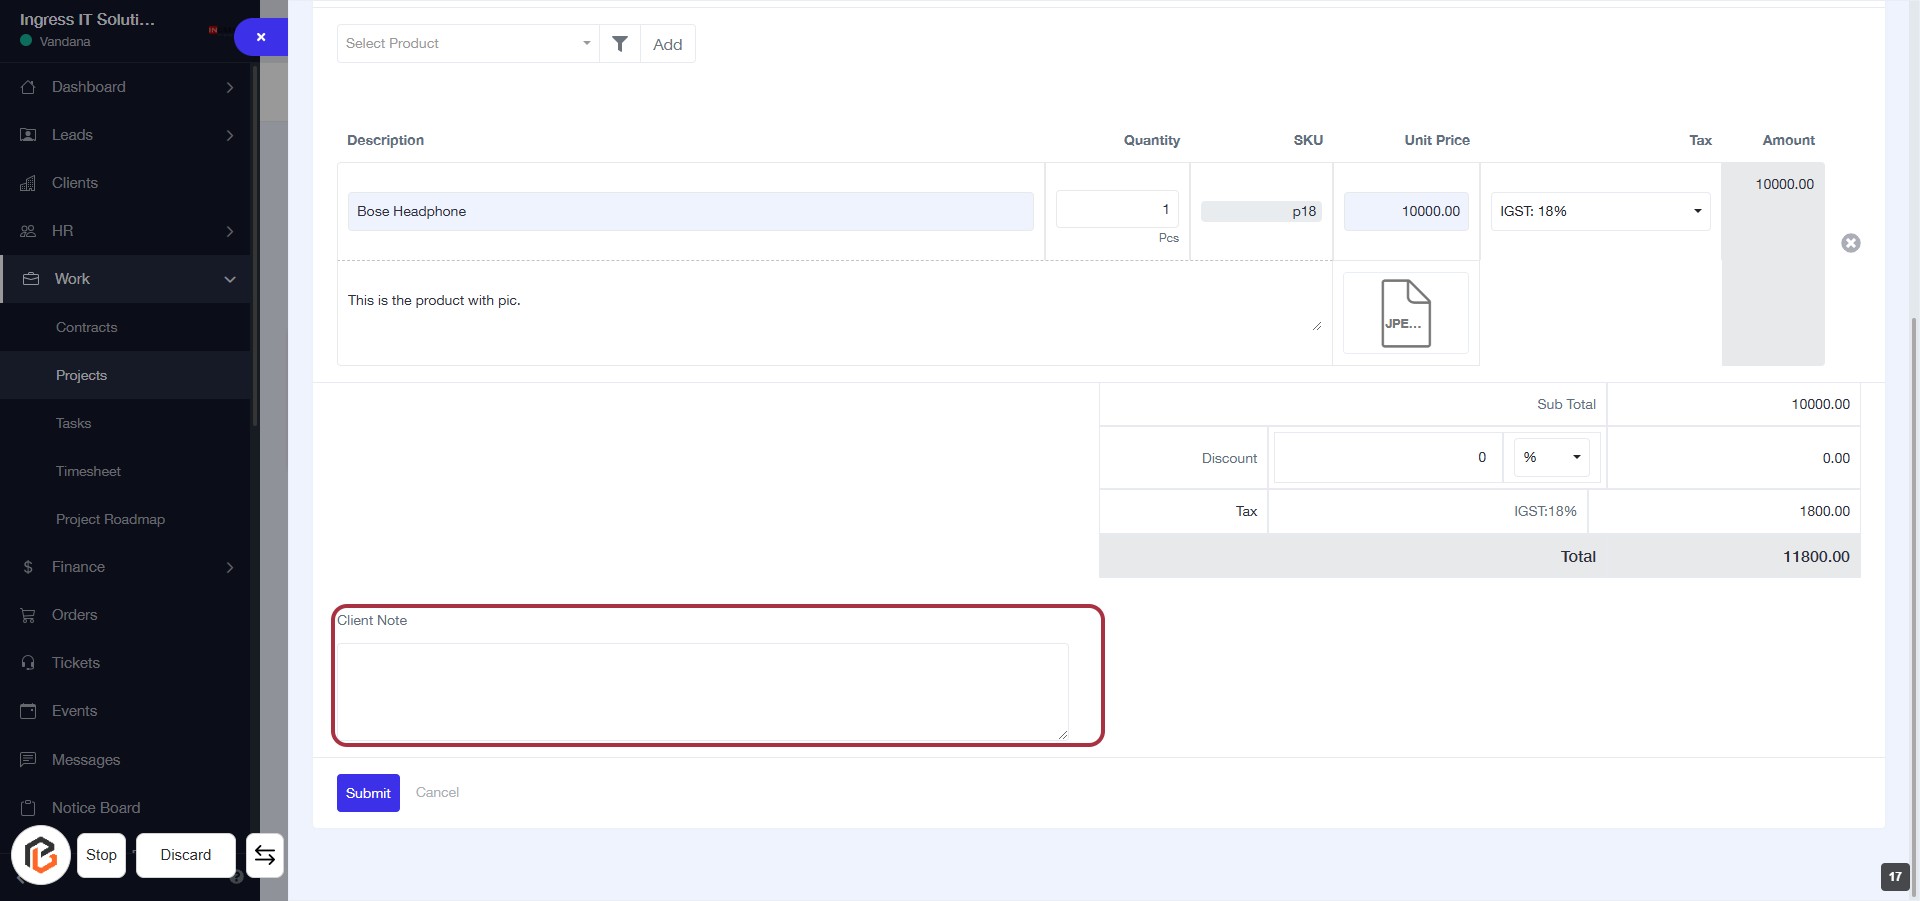
STEP 15: Enter Client Note
- Click on the "Client Note" area to add any relevant notes for the client.
- Ensure to provide any important details that may assist in the order processing.
- This field is optional, but it can enhance communication with the client.
- After entering your note, proceed to the next step by clicking the "Submit" button.
STEP 16: Click on "Submit" to Finalize Your Order
- Ensure all required fields are filled out, including the Client Note.
- Review the order details for accuracy.
- Click the Submit button to finalize your order.
- If needed, you can click Cancel to discard changes.