Step-by-Step Guide to Creating and Submitting Tickets on the Dashboard
16 mins read · Updated 29 Sep, 2025
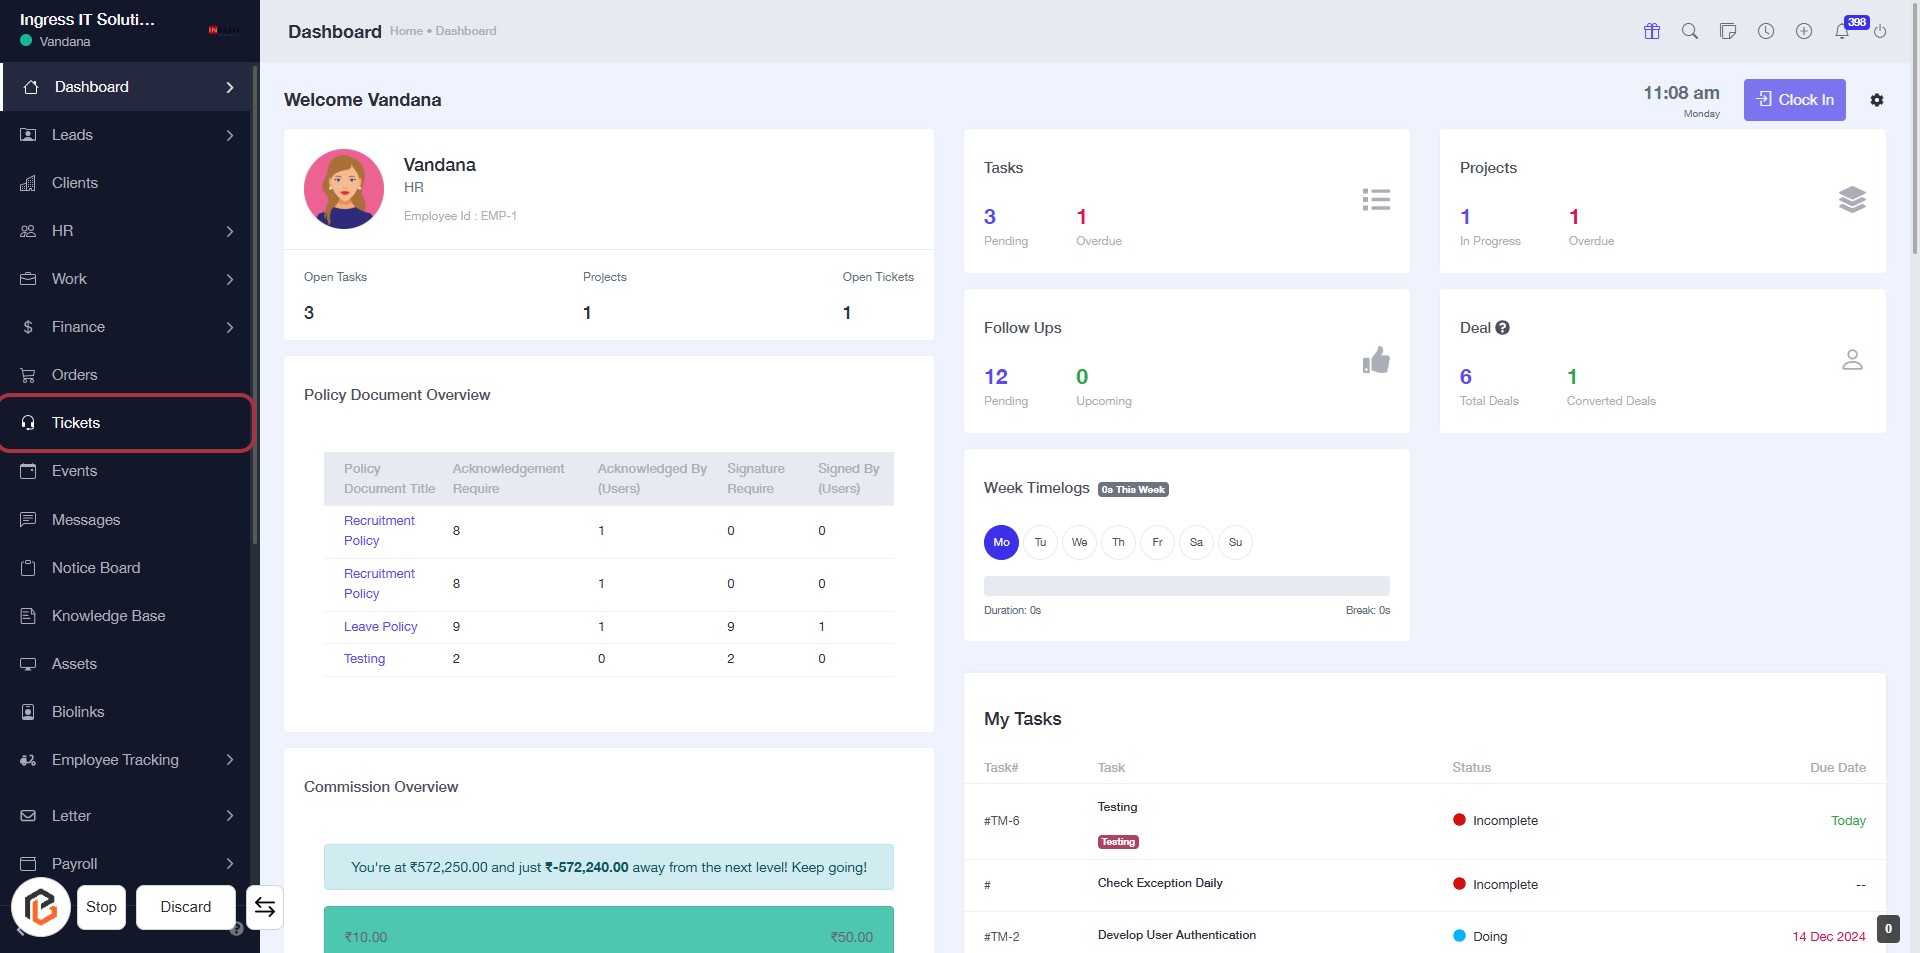
STEP 1: Click on "Tickets" in the Dashboard
- Navigate to the left sidebar of the dashboard.
- Locate and click on the "Tickets" link to access the ticketing section.
- Ensure you are on the Dashboard page to see the Tickets option highlighted.
- After clicking, you will proceed to the next step to create a ticket.
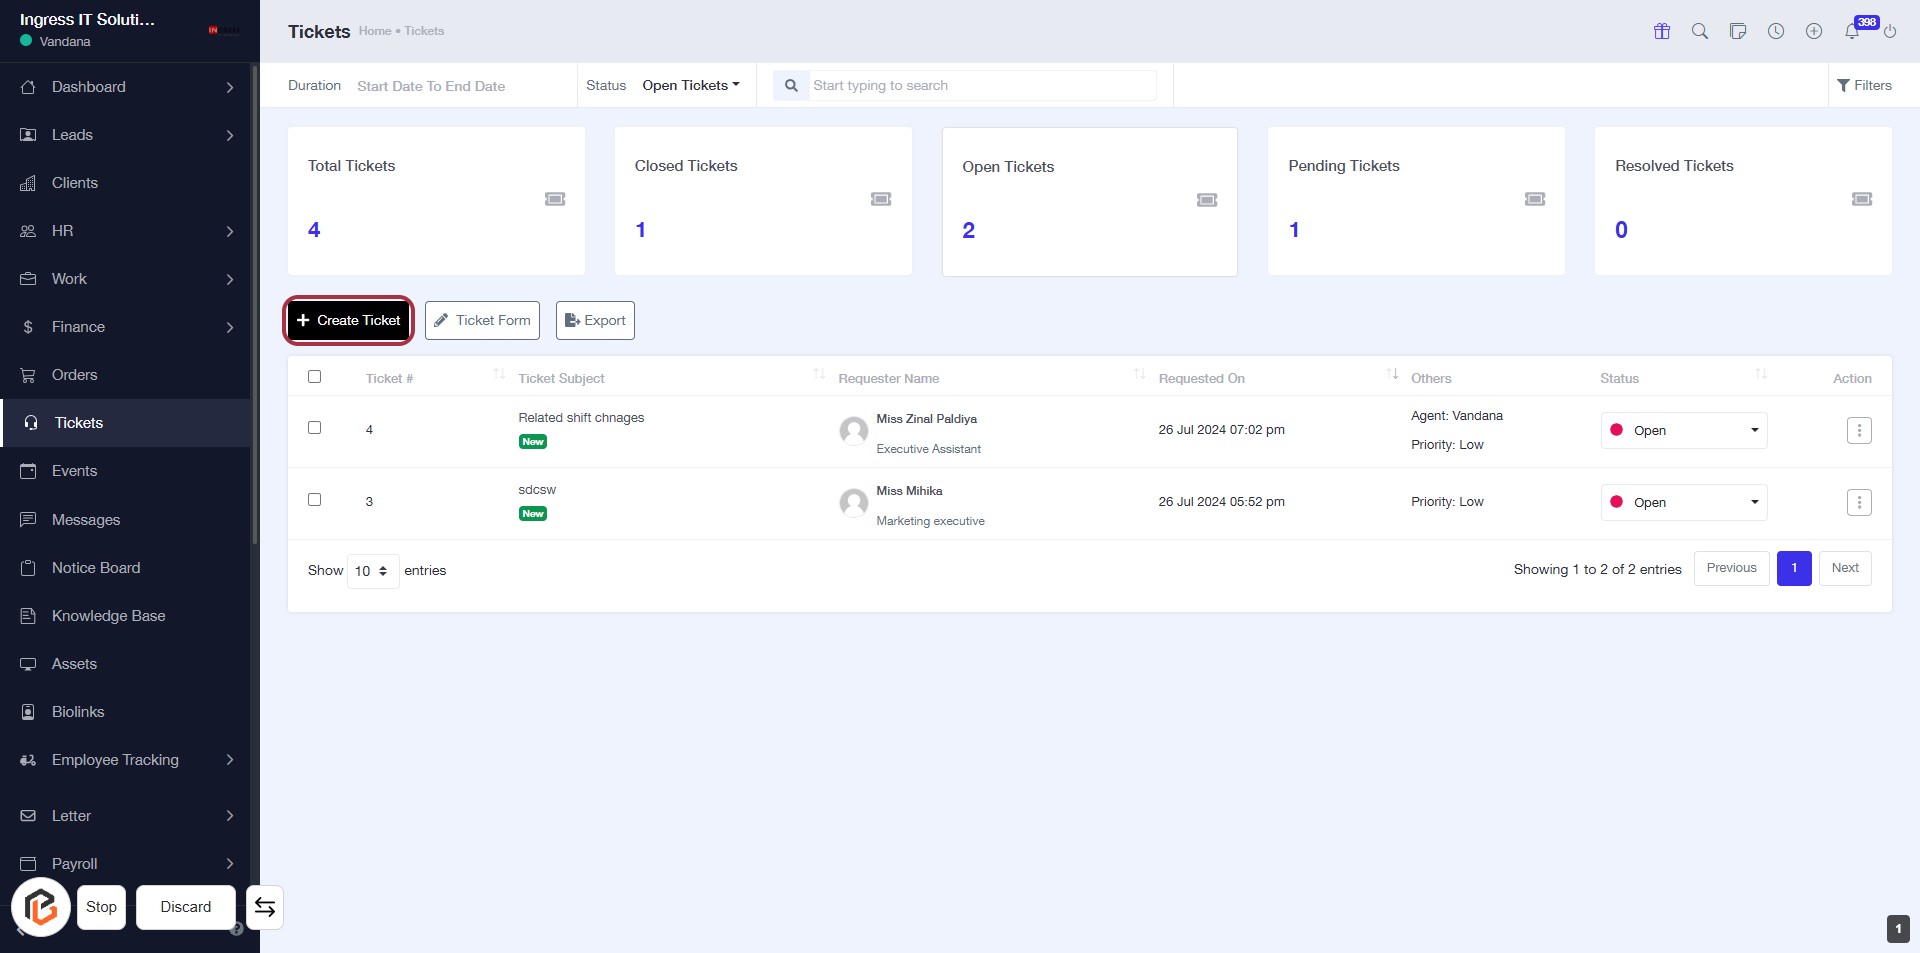
STEP 2: Click on "Create Ticket"
- Navigate to the "Tickets" section in the dashboard.
- Click on the Create Ticket button located in the highlighted area.
- Ensure all required fields marked with an asterisk (*) are filled in the subsequent form.
- Proceed to the next step by selecting the "Requester" after creating the ticket.
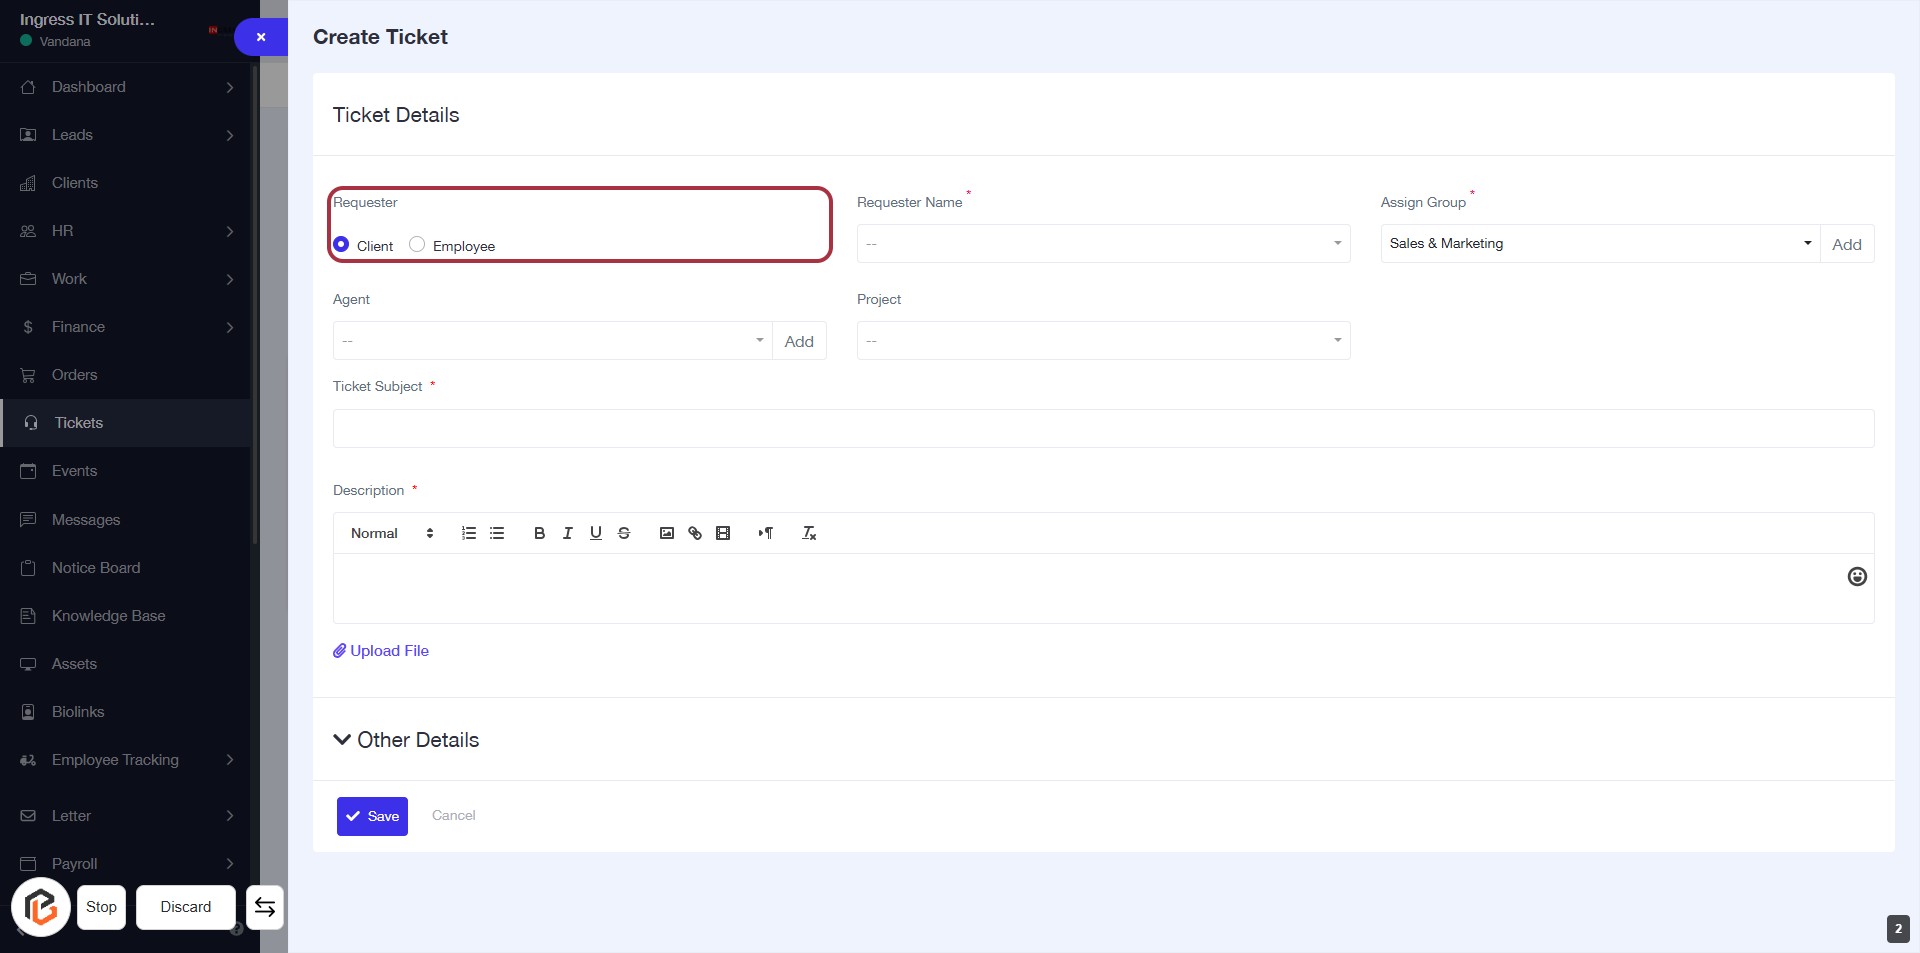
STEP 3: Select "Requester"
- Click on the "Requester" section to choose between "Client" or "Employee."
- Ensure to fill in the "Requester Name" field, marked with an asterisk (*), as it is required.
- Additional fields include "Agent," "Project," "Ticket Subject," and "Description," with some marked as required.
- Proceed to the next step by selecting "Requester Name."
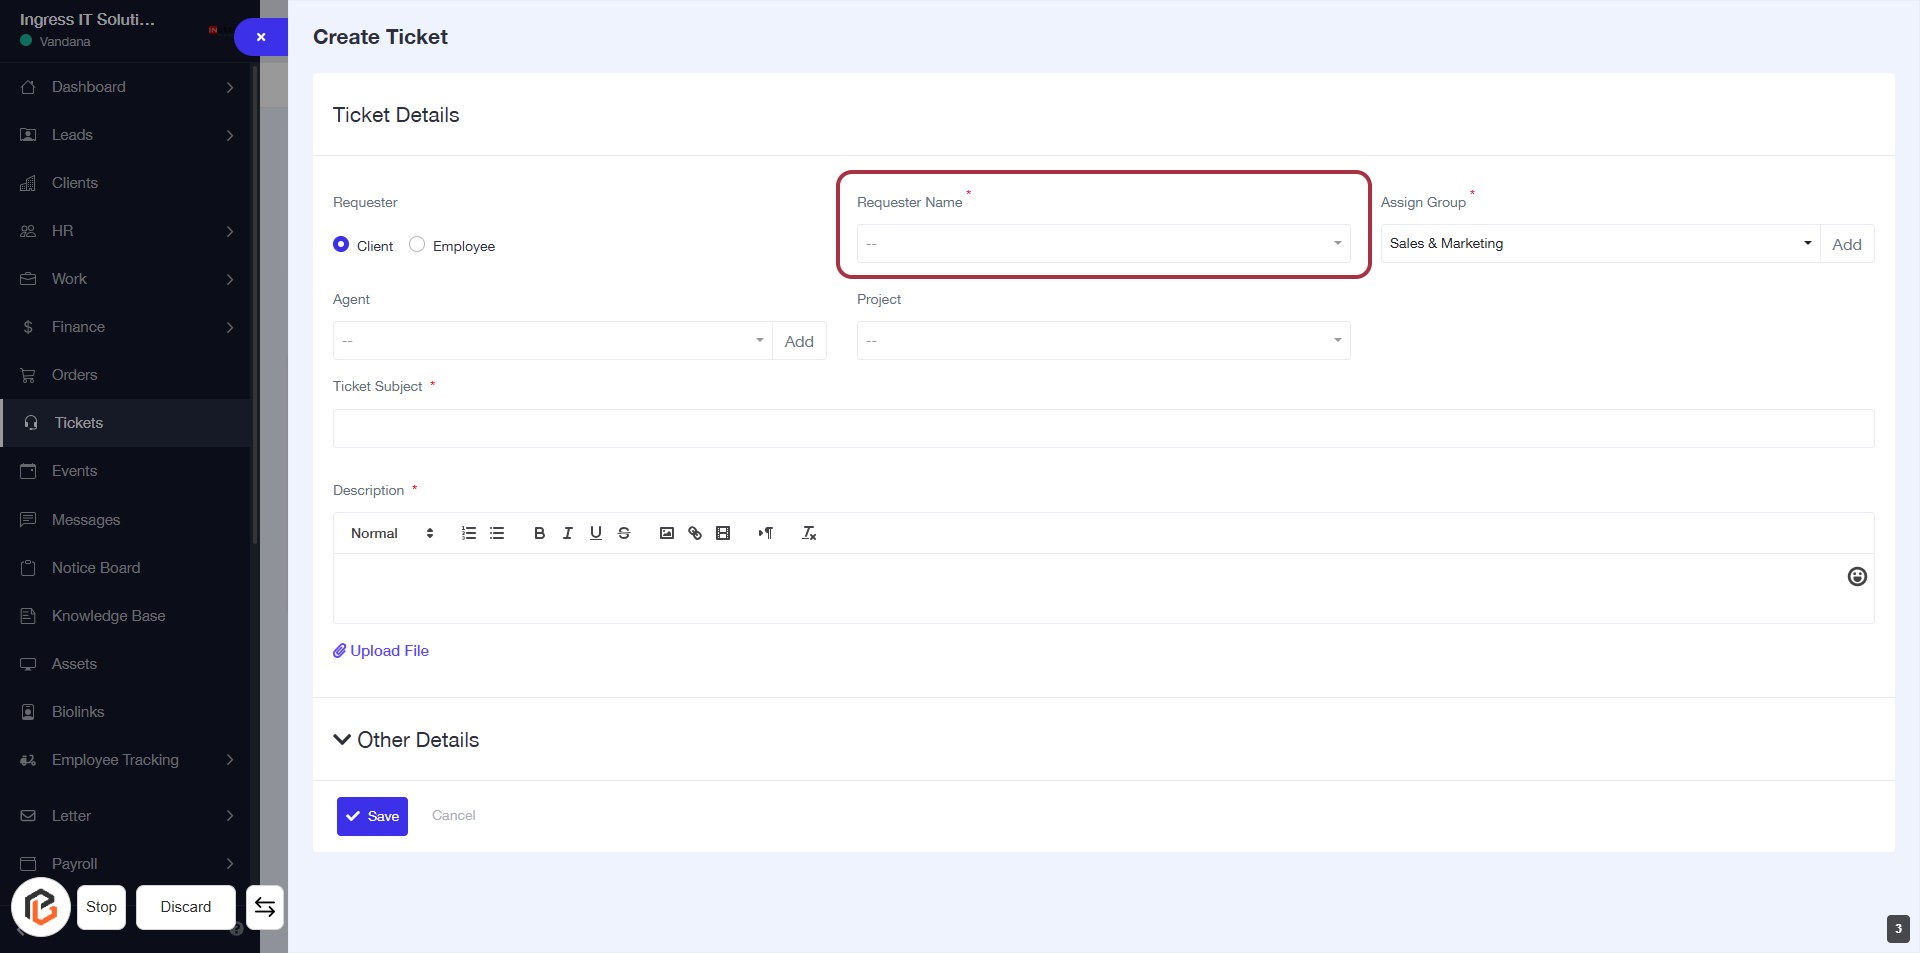
STEP 4: Select "Requester Name"
- Click on the Requester Name field (marked with an asterisk) to input the requester's name.
- Ensure to select a valid requester from the dropdown list.
- The Requester Name is a required field, indicated by the asterisk (*).
- After filling in, proceed to the next step by selecting the Assign Group.
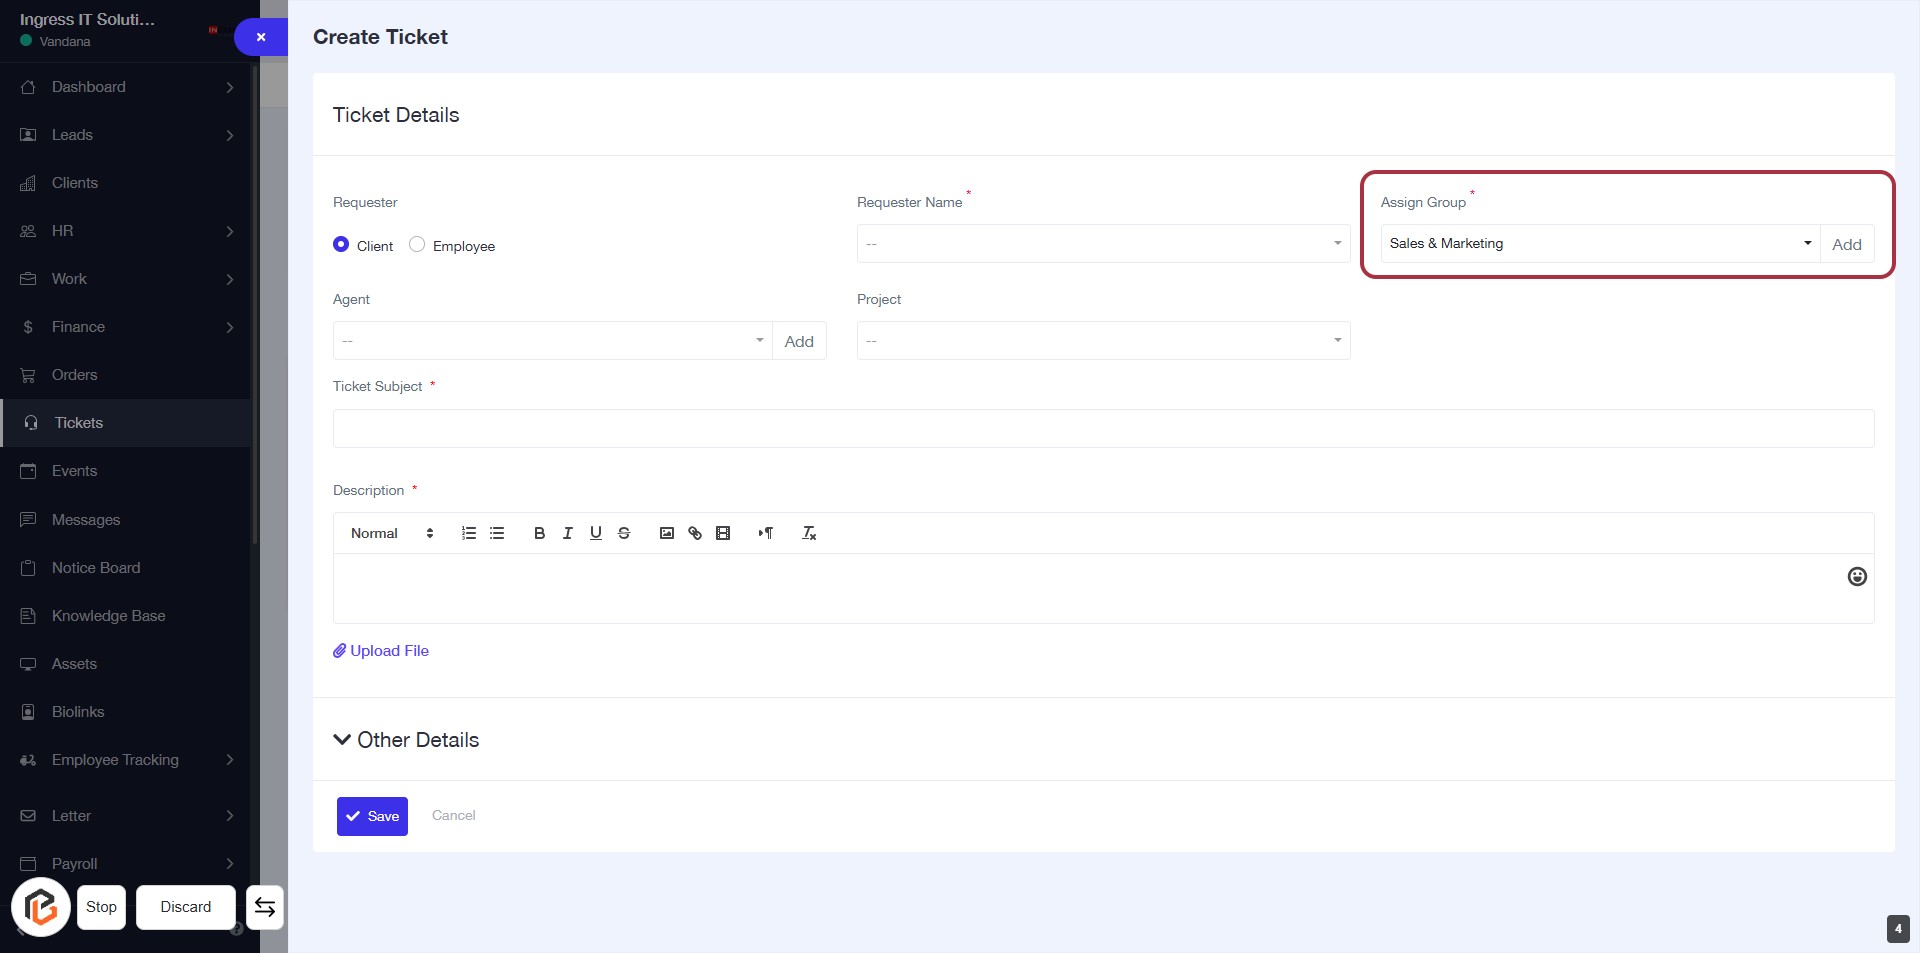
STEP 5: Select "Assign Group"
- Click on the "Assign Group" field (marked with an asterisk) to open the dropdown.
- Choose the appropriate group from the list (e.g., "Sales & Marketing").
- Ensure that this field is filled out as it is mandatory.
- Proceed to the next step by selecting the "Agent" field.
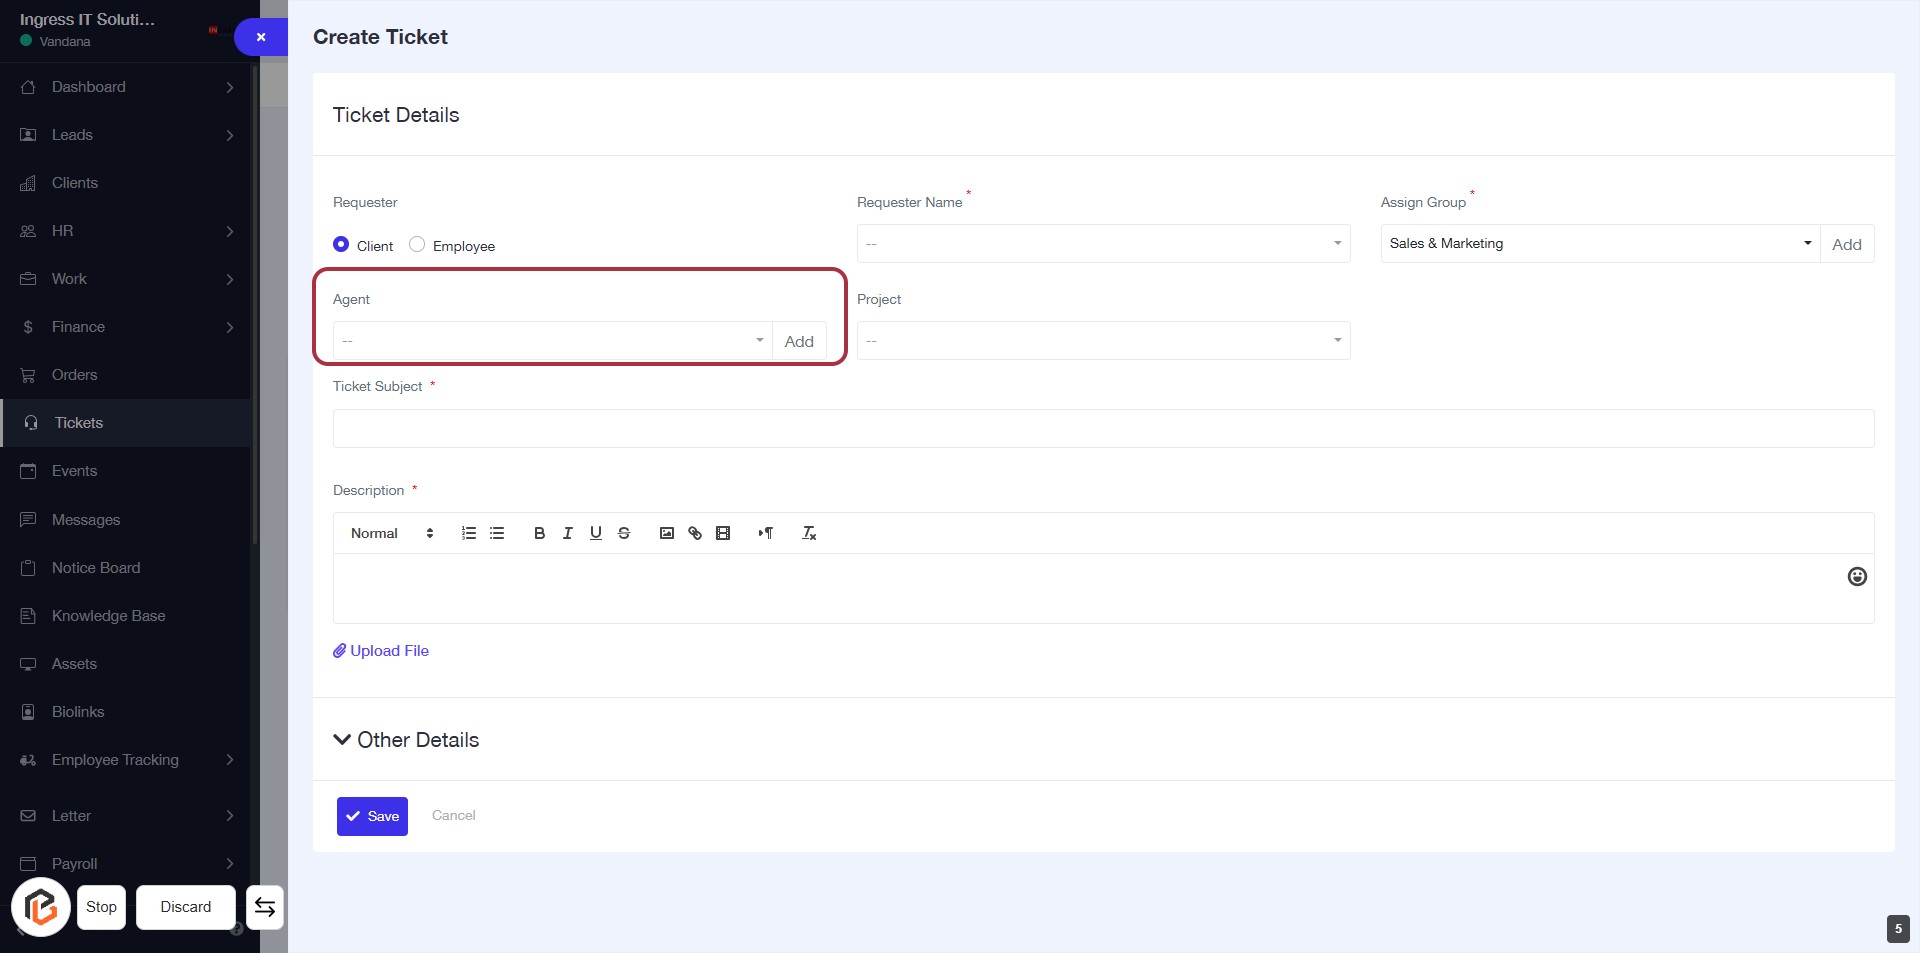
STEP 6: Select "Agent"
- Click on the "Agent" field in the Ticket Details section.
- A dropdown will appear; select the appropriate agent from the list.
- Ensure that the field is filled correctly as it may be required for ticket assignment.
- After selecting, proceed to the next step by selecting "Project."
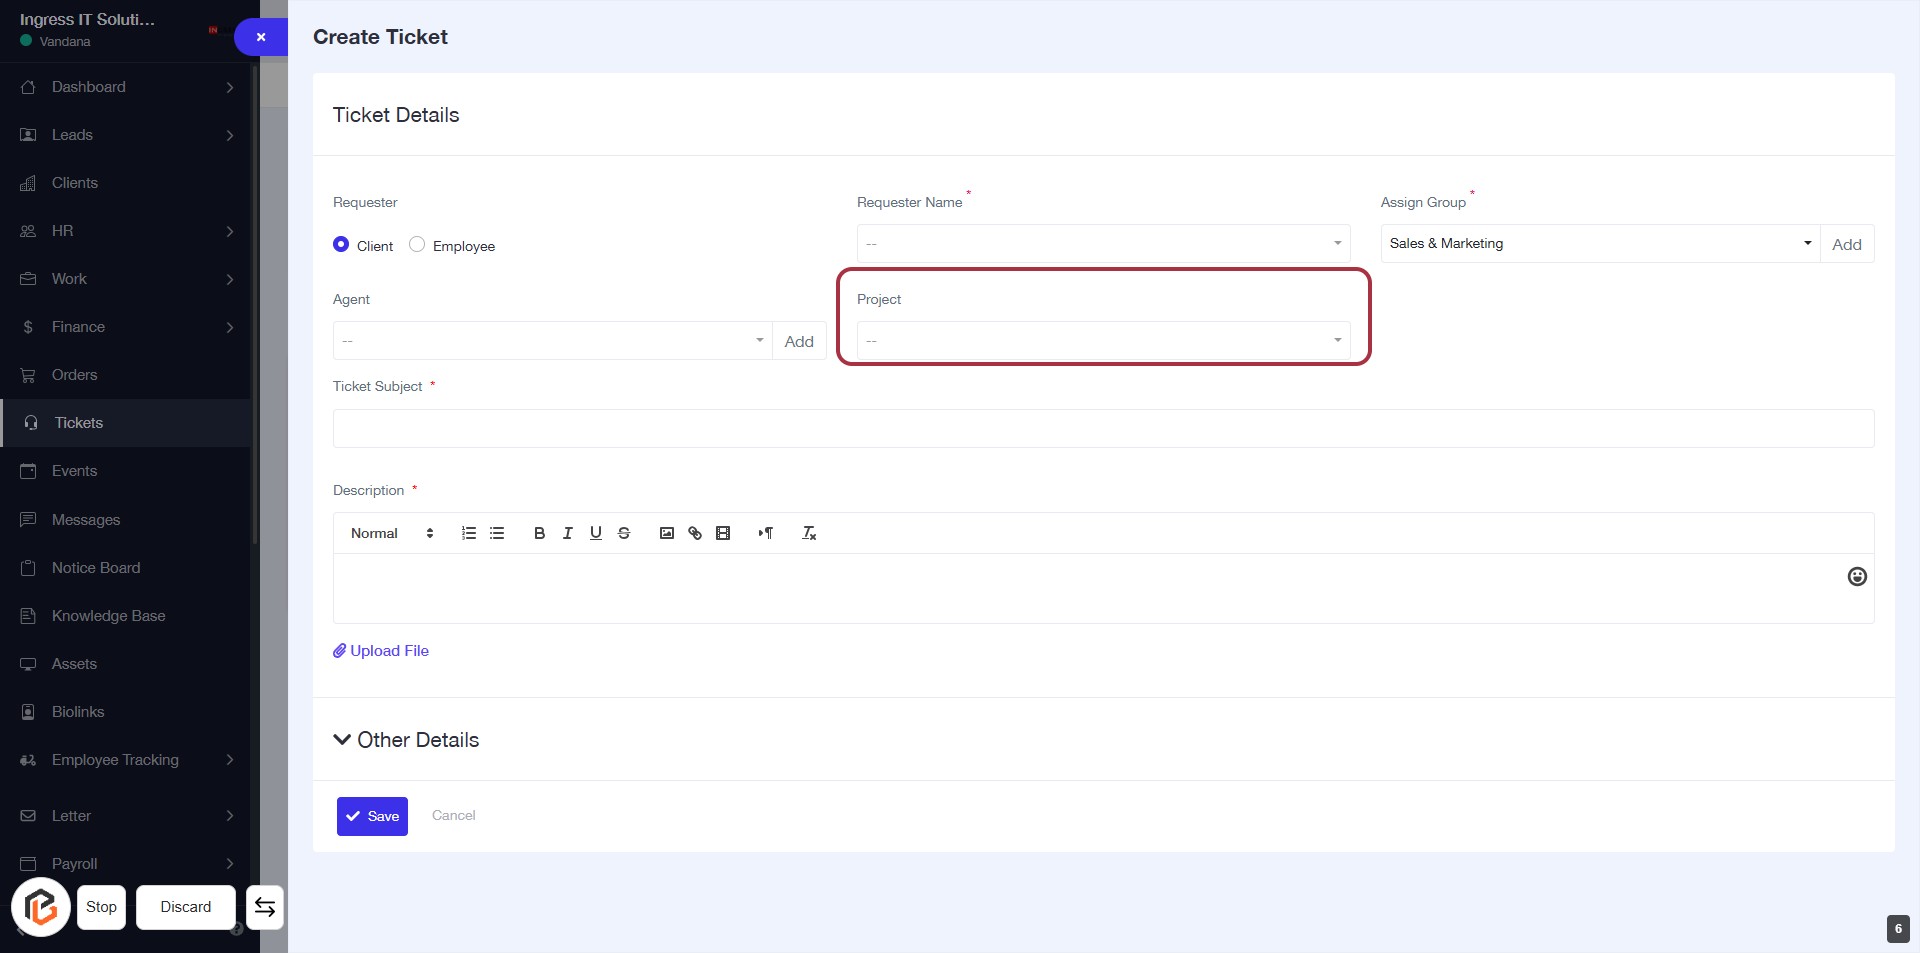
STEP 7: Select "Project"
- Click on the "Project" dropdown in the Ticket Details section.
- Choose the appropriate project from the list.
- Ensure that the selection is made before proceeding to the next step.
- This field is essential for ticket categorization.
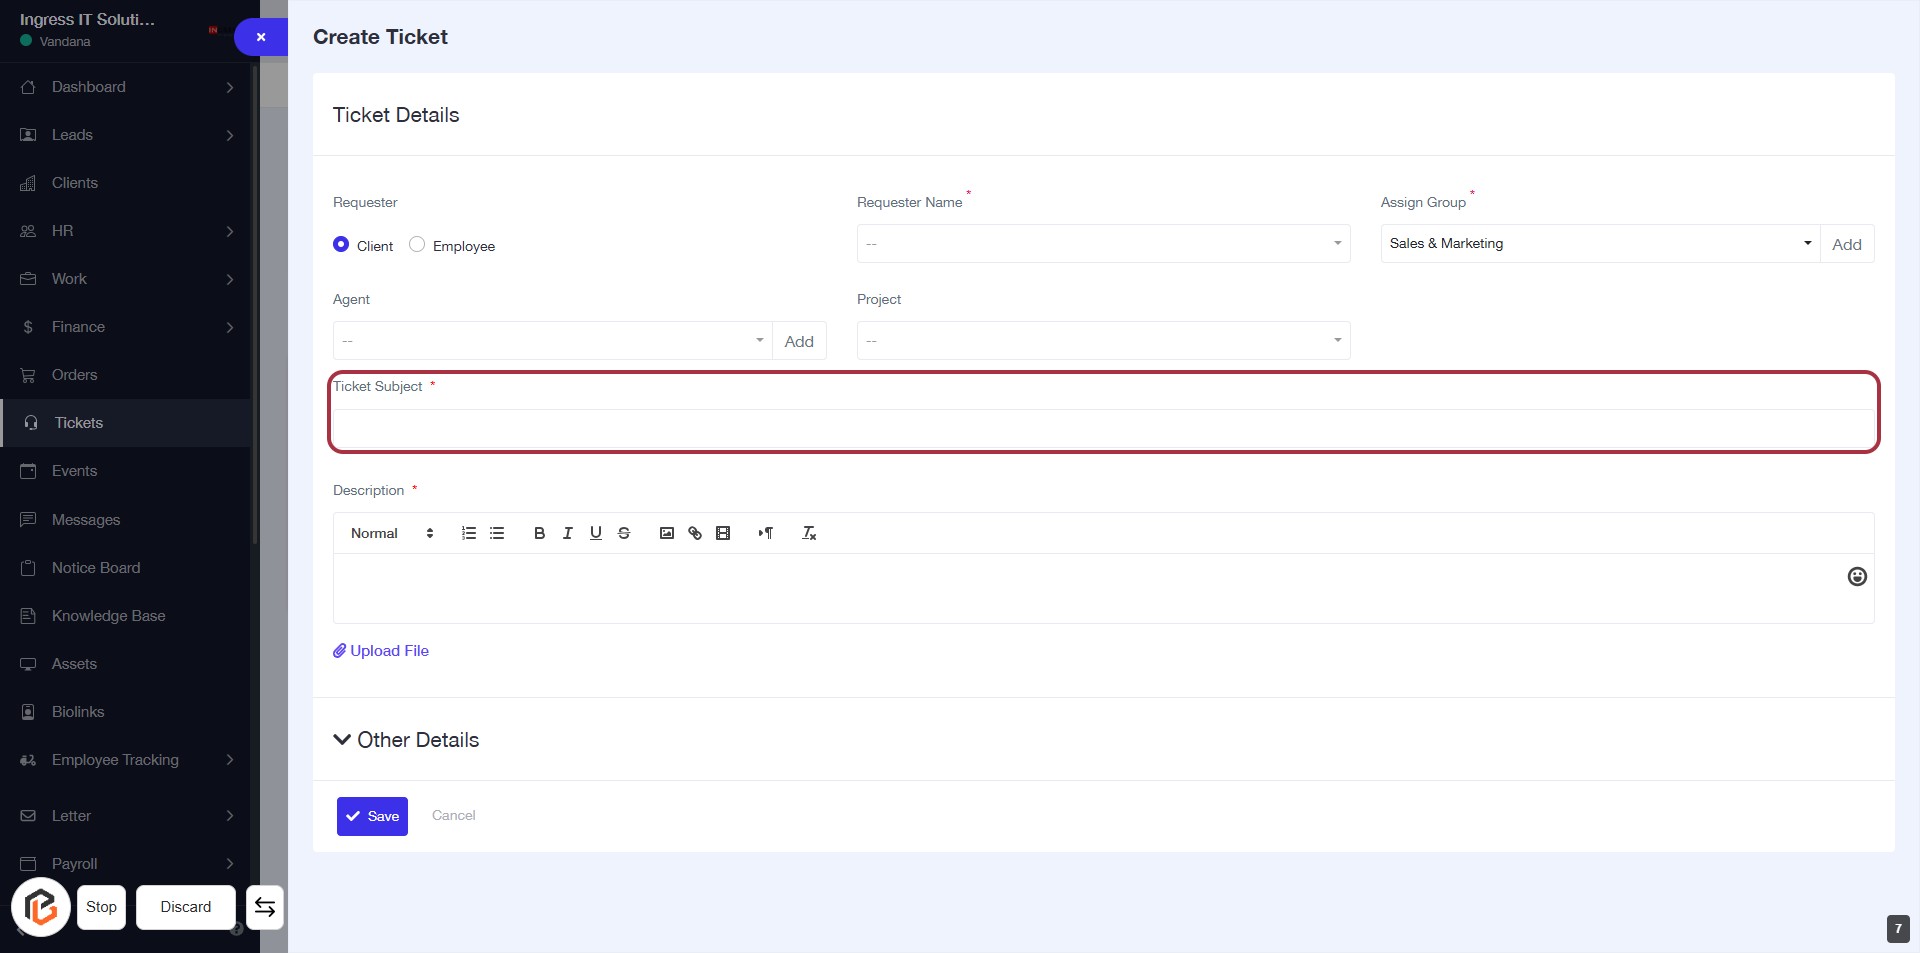
STEP 8: Enter "Ticket Subject"
- Click on the "Ticket Subject" field (marked with an asterisk * indicating it's required).
- Ensure to provide a clear and concise subject for the ticket.
- This field is essential for identifying the purpose of the ticket.
- Proceed to the next step to write the "Description" of the ticket.
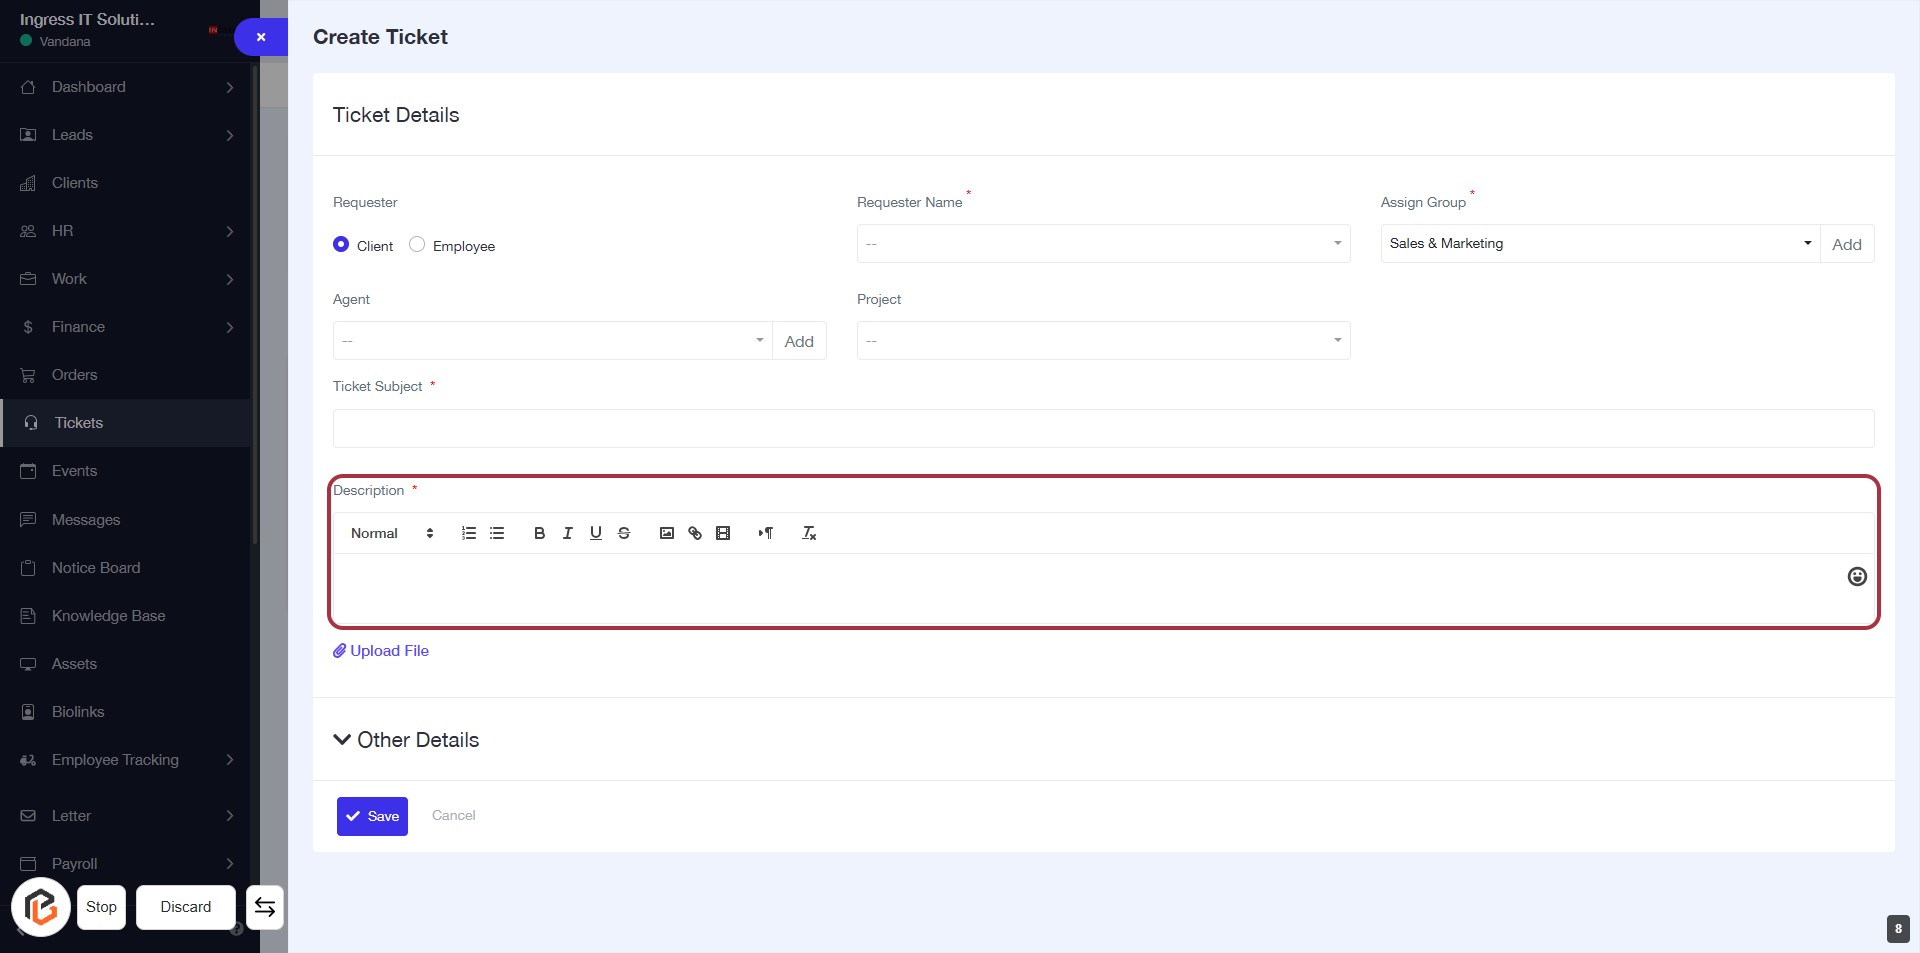
STEP 9: Click on "Description" Field to Enter Details
- Click on the "Description" field to begin entering the ticket details.
- Ensure to provide a comprehensive description as this is a required field (indicated by the asterisk *).
- Utilize formatting options available in the editor for better clarity.
- After completing the description, proceed to the next step by clicking on "Upload File".
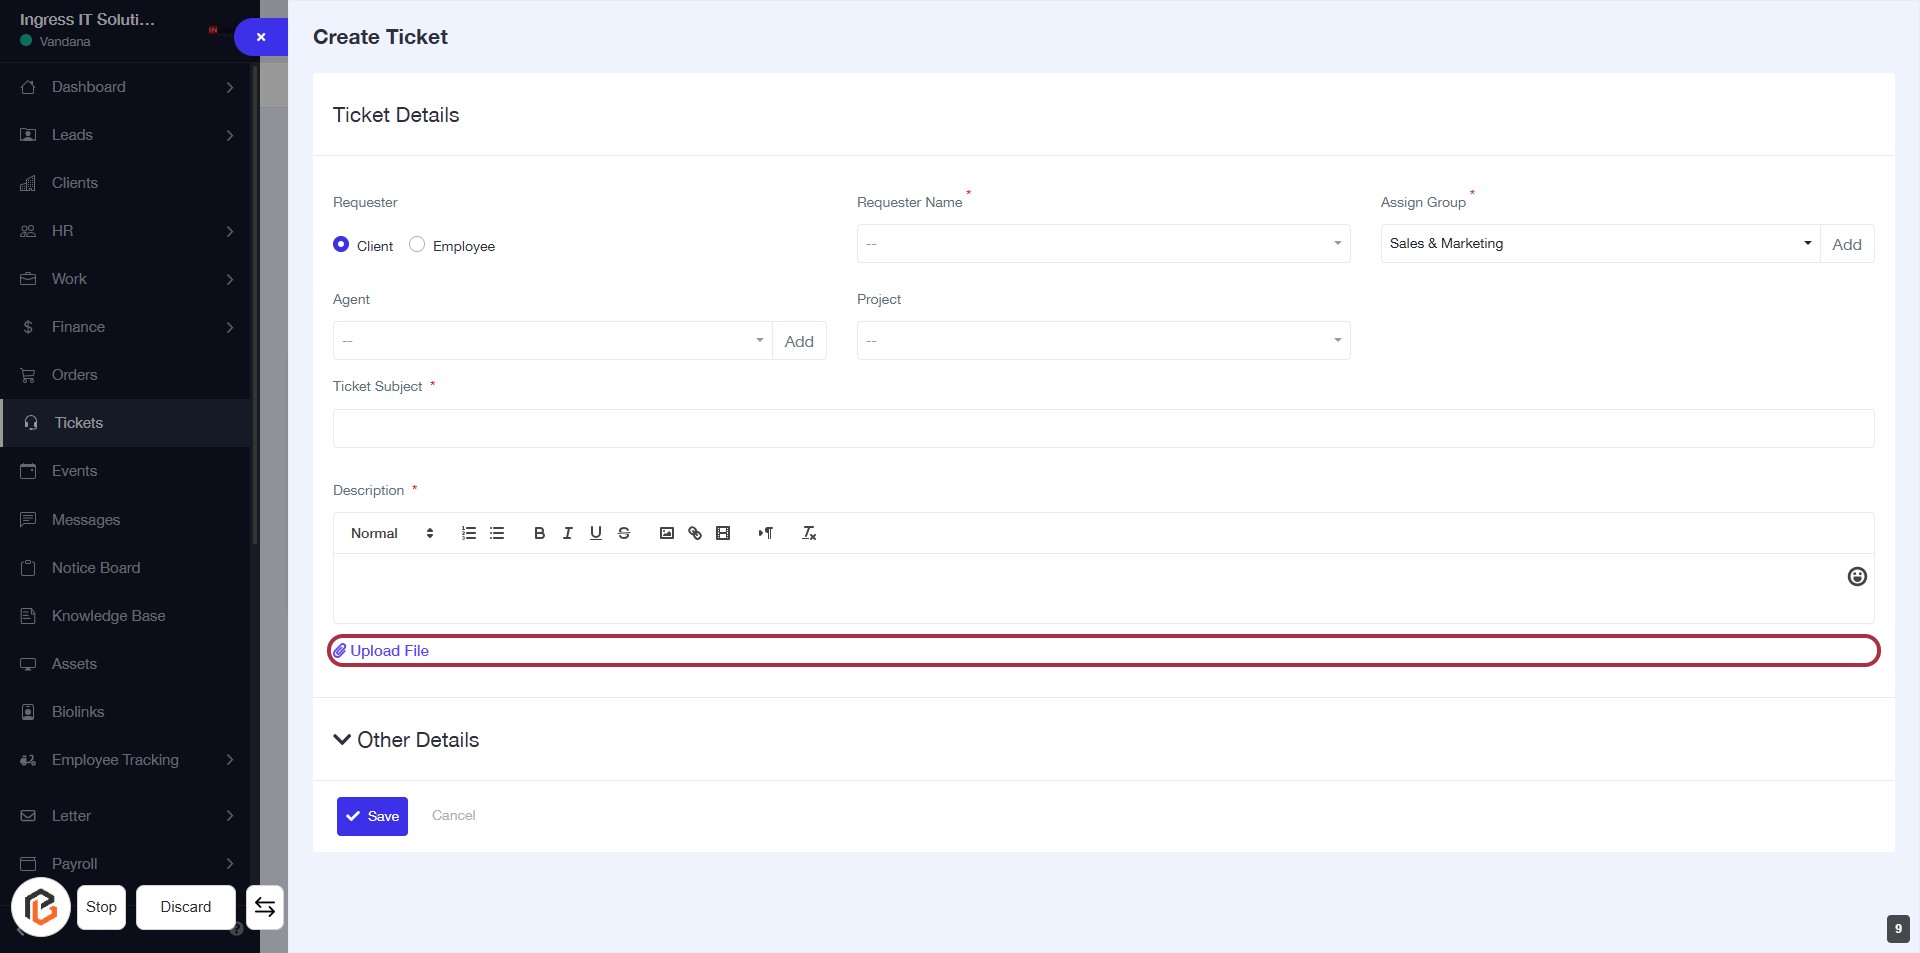
STEP 10: Click on "Upload File"
- Locate the "Upload File" button highlighted in red.
- Click on the button to initiate the file upload process.
- Ensure that any required fields above are filled out before proceeding.
- Follow prompts to select and upload your desired file.
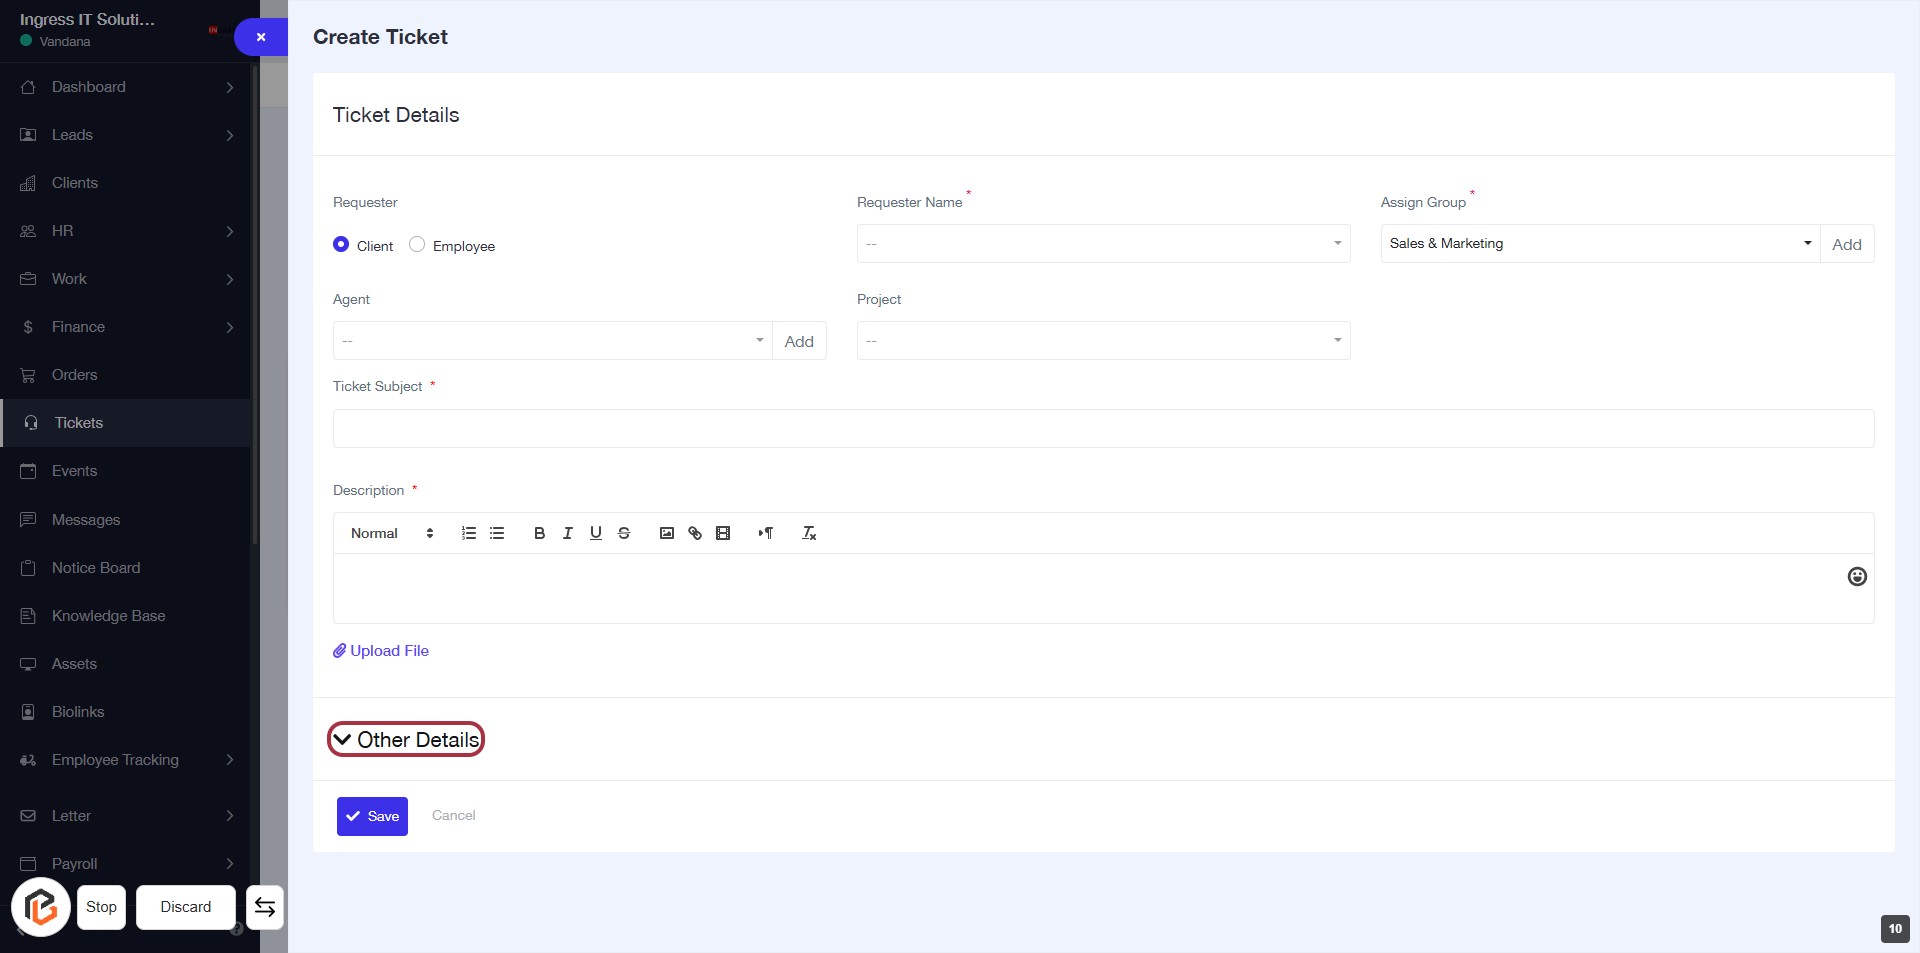
STEP 11: Click on "Other Details"
- Click on the "Other Details" link to expand additional options.
- Ensure all required fields marked with an asterisk (*) are filled out.
- Review any optional fields for further details you may want to include.
- Proceed to the next step by selecting "Priority" after reviewing the details.
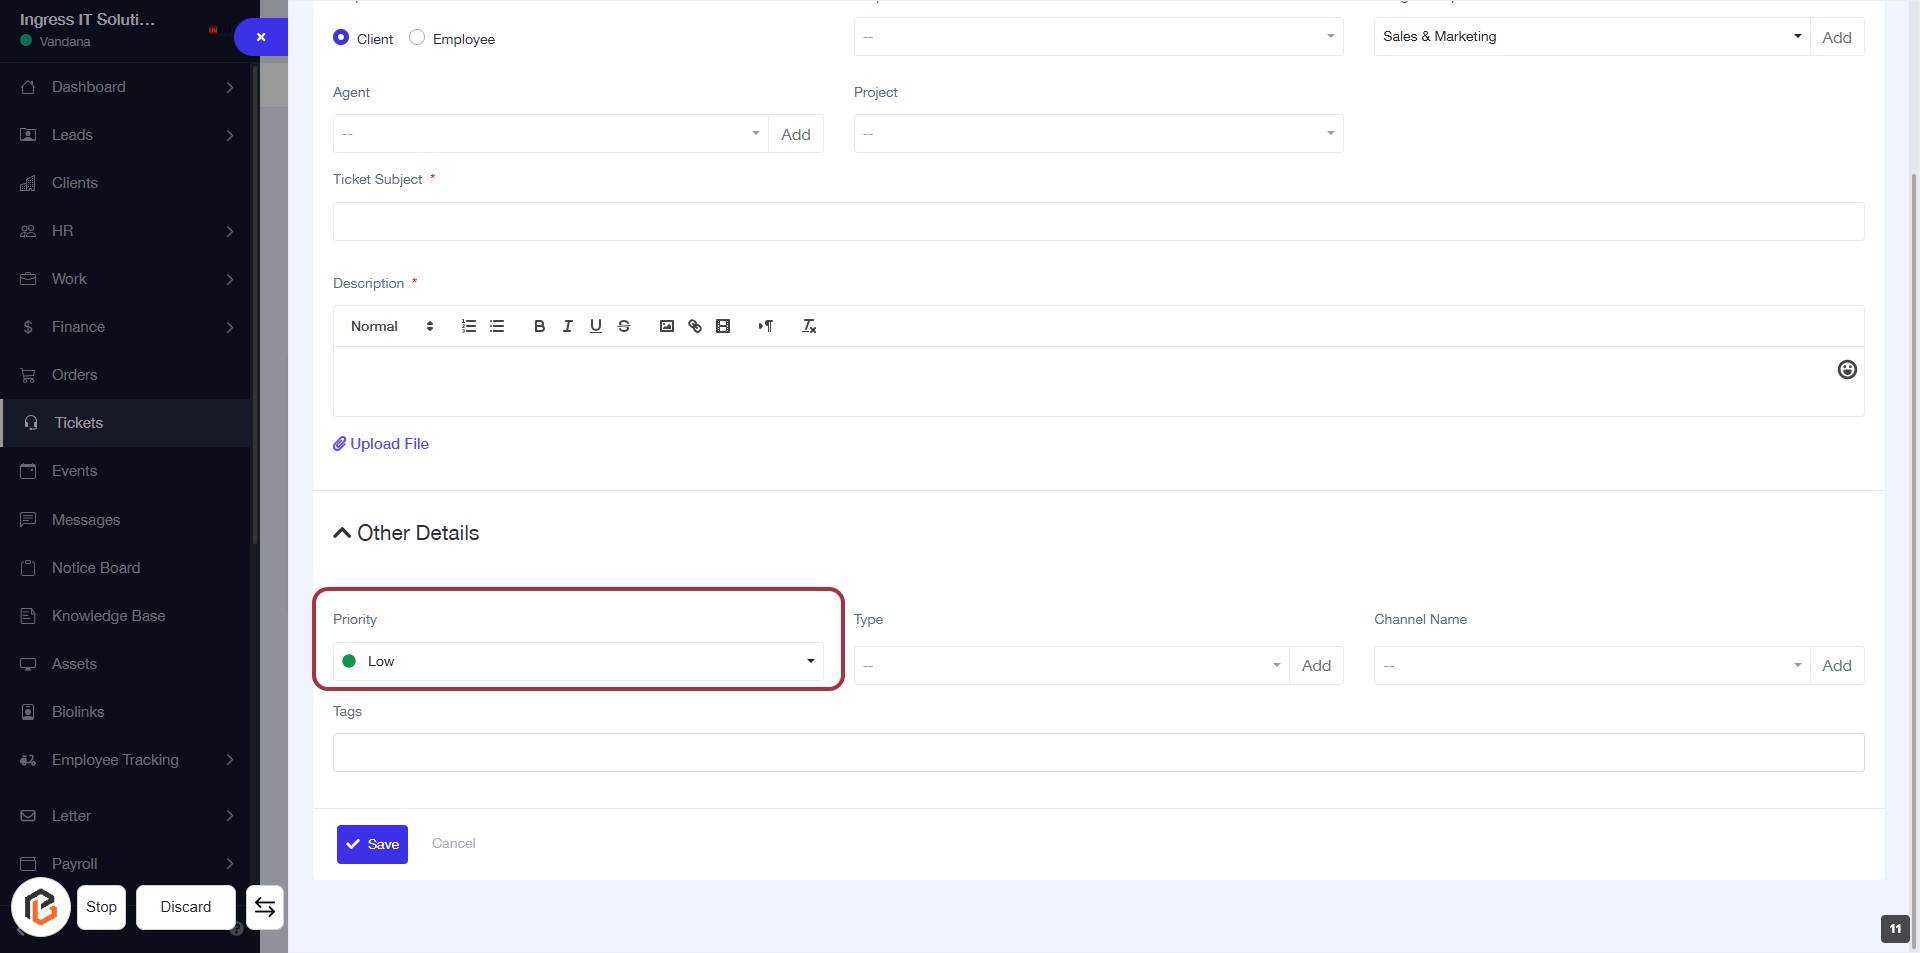
STEP 12: Select "Priority"
- Click on the "Priority" field in the "Other Details" section.
- Choose the desired priority level from the dropdown menu (e.g., Low).
- Ensure to fill in any required fields marked with an asterisk (*).
- Proceed to the next step by selecting "Type".
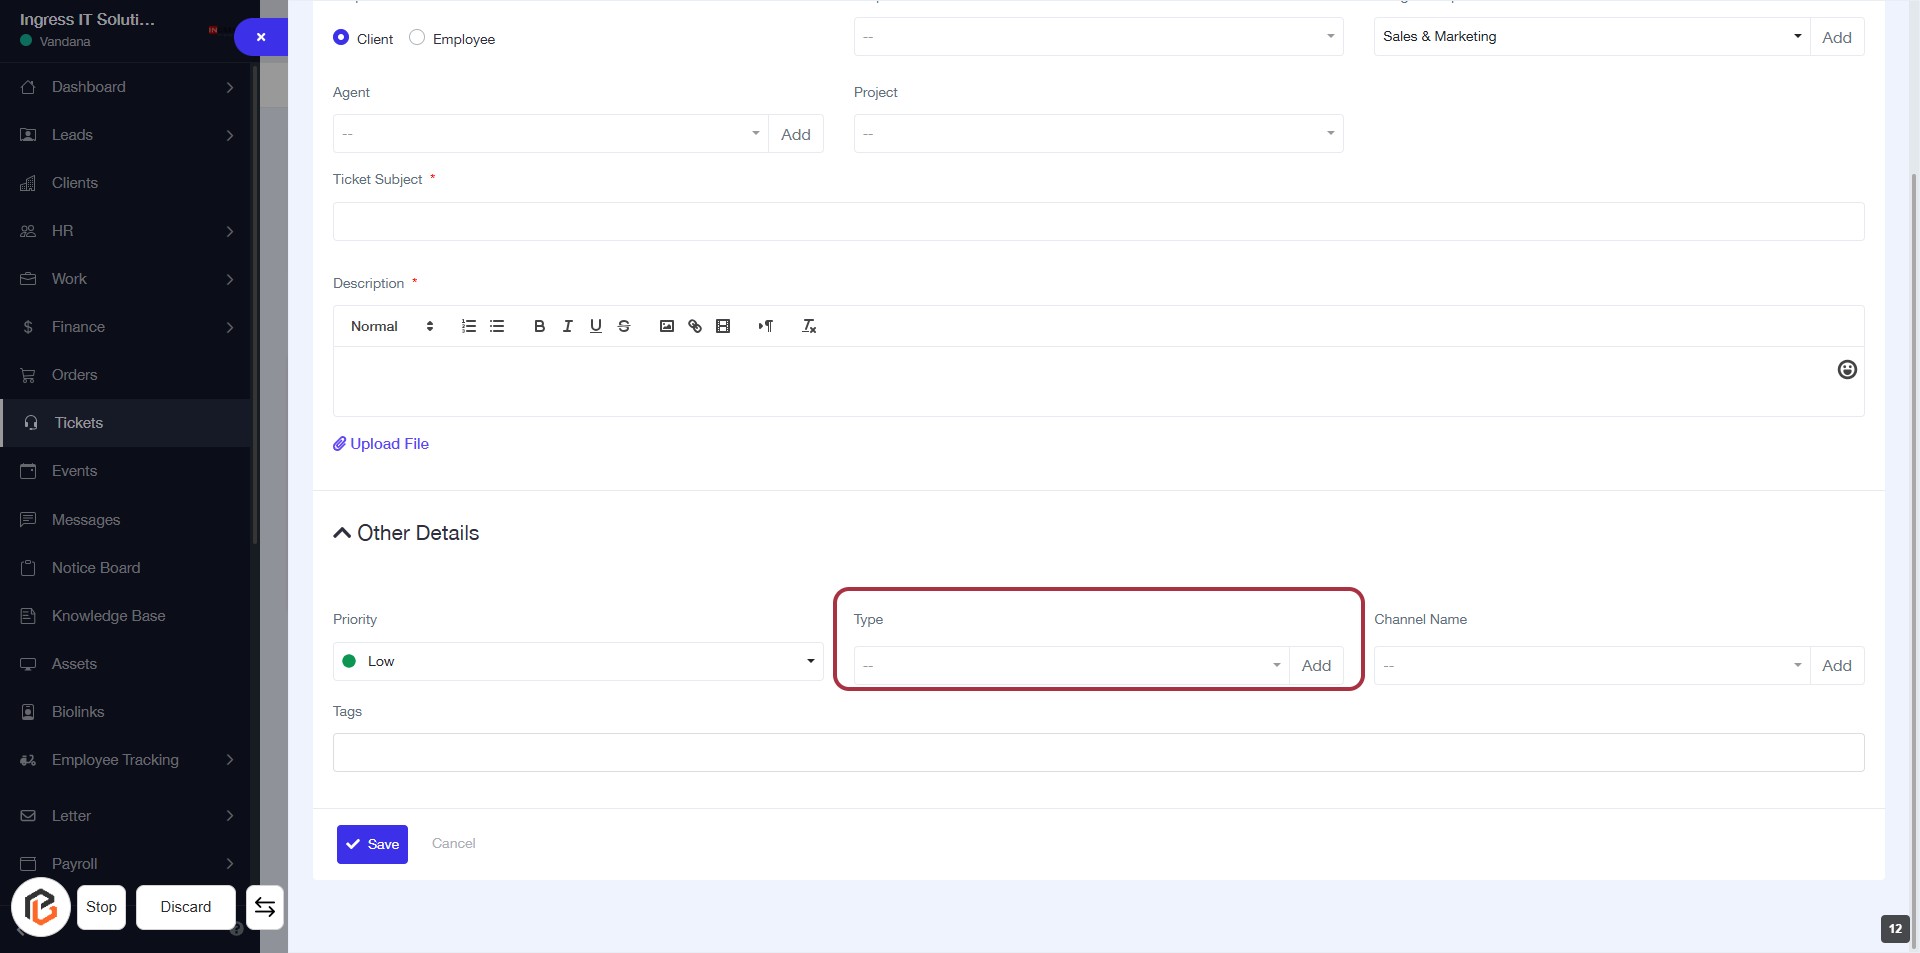
STEP 13: Select "Type"
- Click on the "Type" field in the "Other Details" section.
- Ensure to choose the appropriate type from the dropdown menu.
- The field is mandatory, indicated by the absence of an asterisk (*).
- After selecting, proceed to the next step to add "Channel Name."
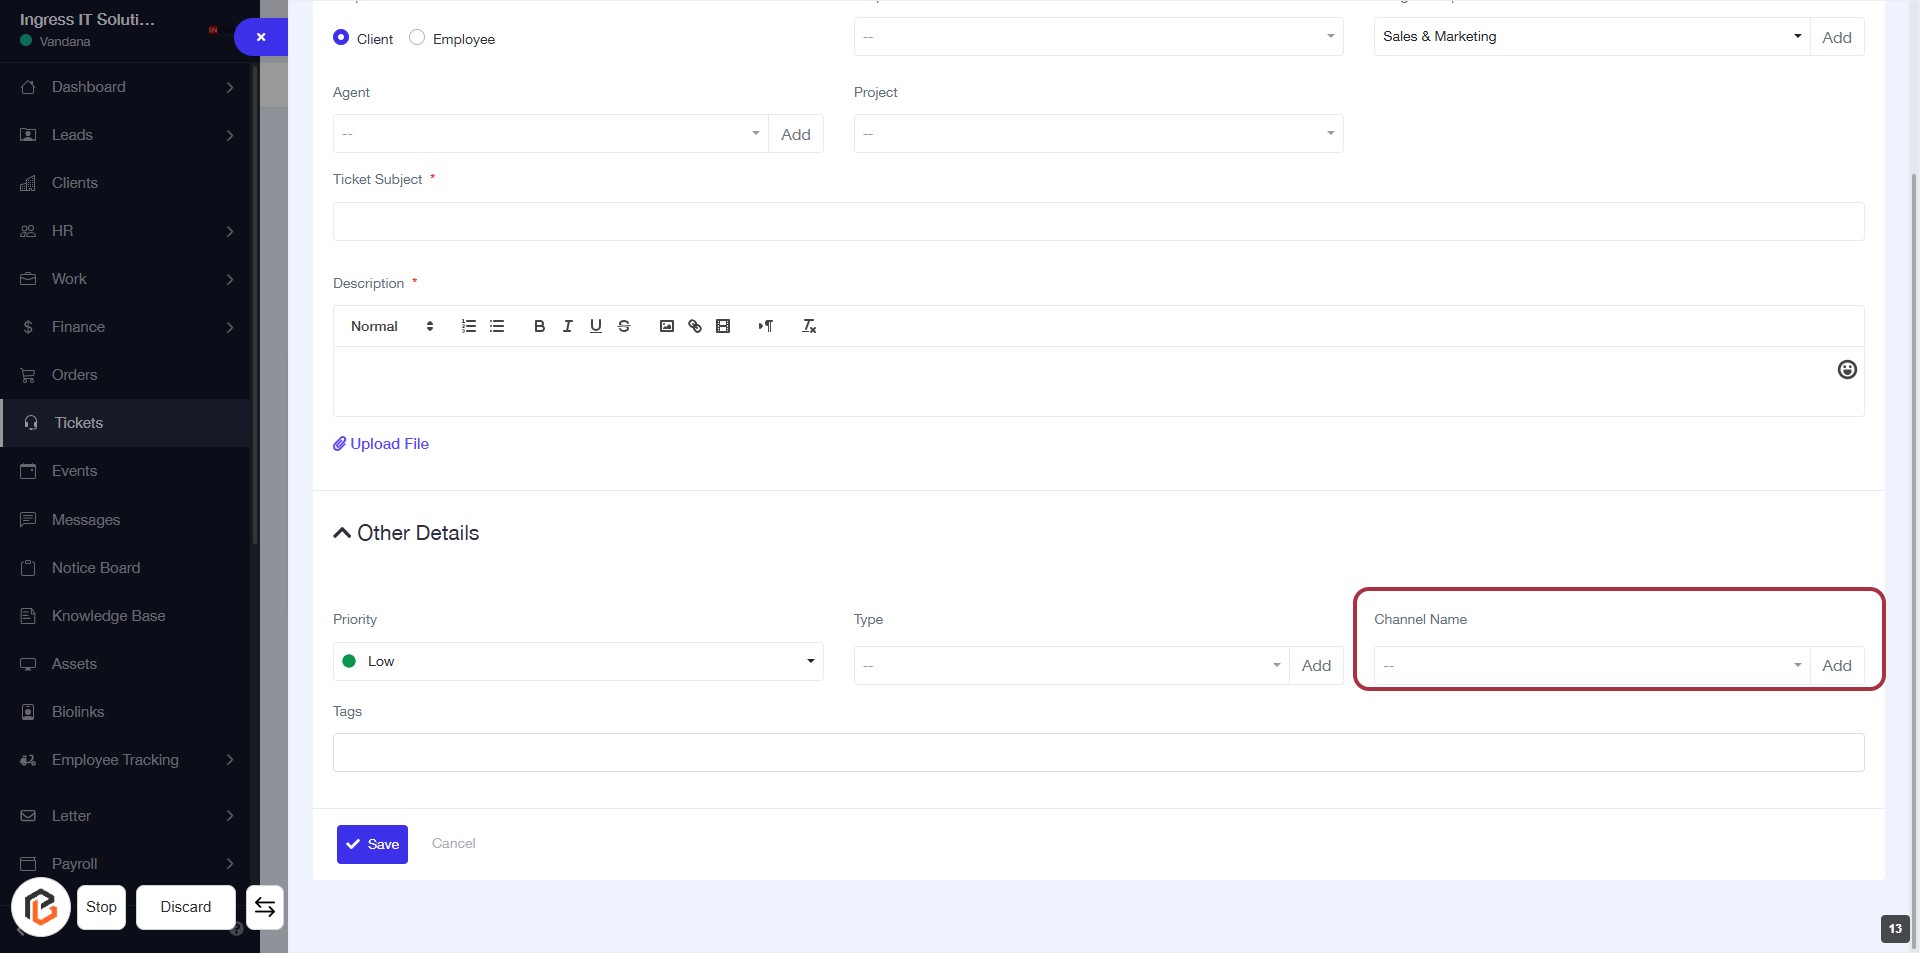
STEP 14: Click "Channel Name" to Add Details
- Navigate to the "Other Details" section in the form.
- Click on the "Channel Name" area highlighted in red.
- A dropdown will appear; select the appropriate channel from the list.
- If needed, click "Add" to include the selected channel in your ticket.
- Ensure all required fields are filled before proceeding to the next step.
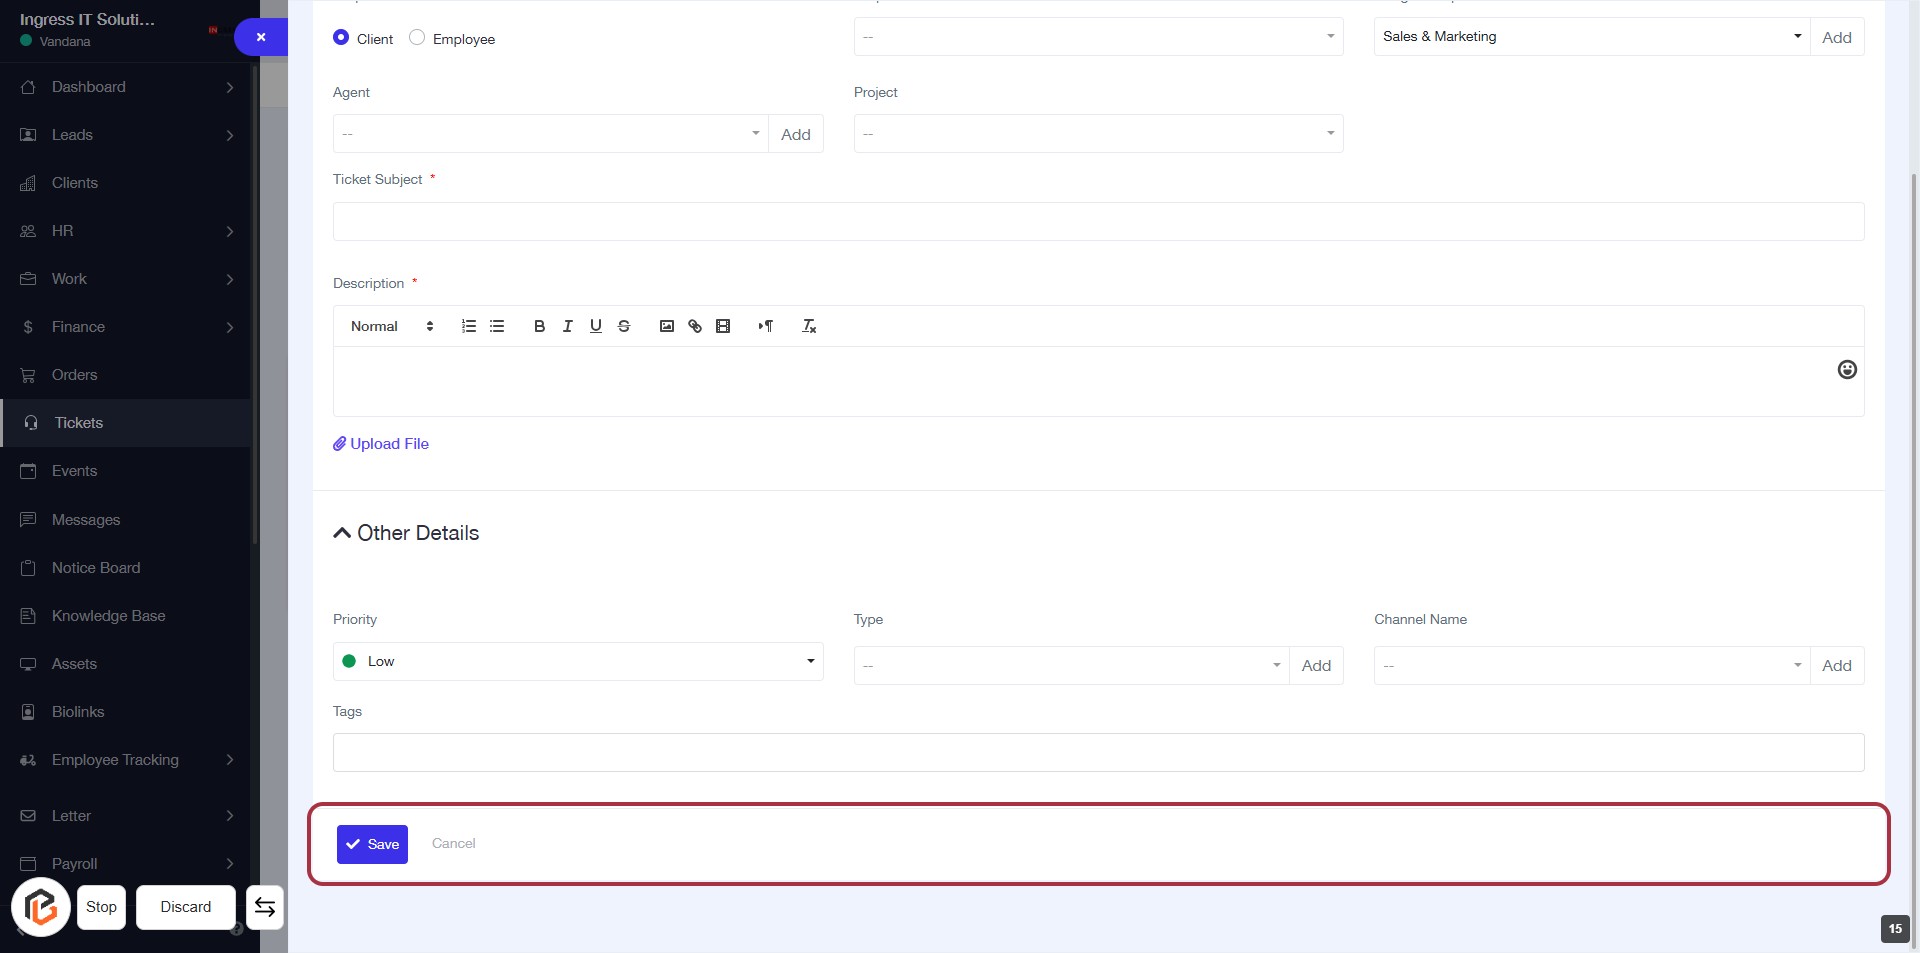
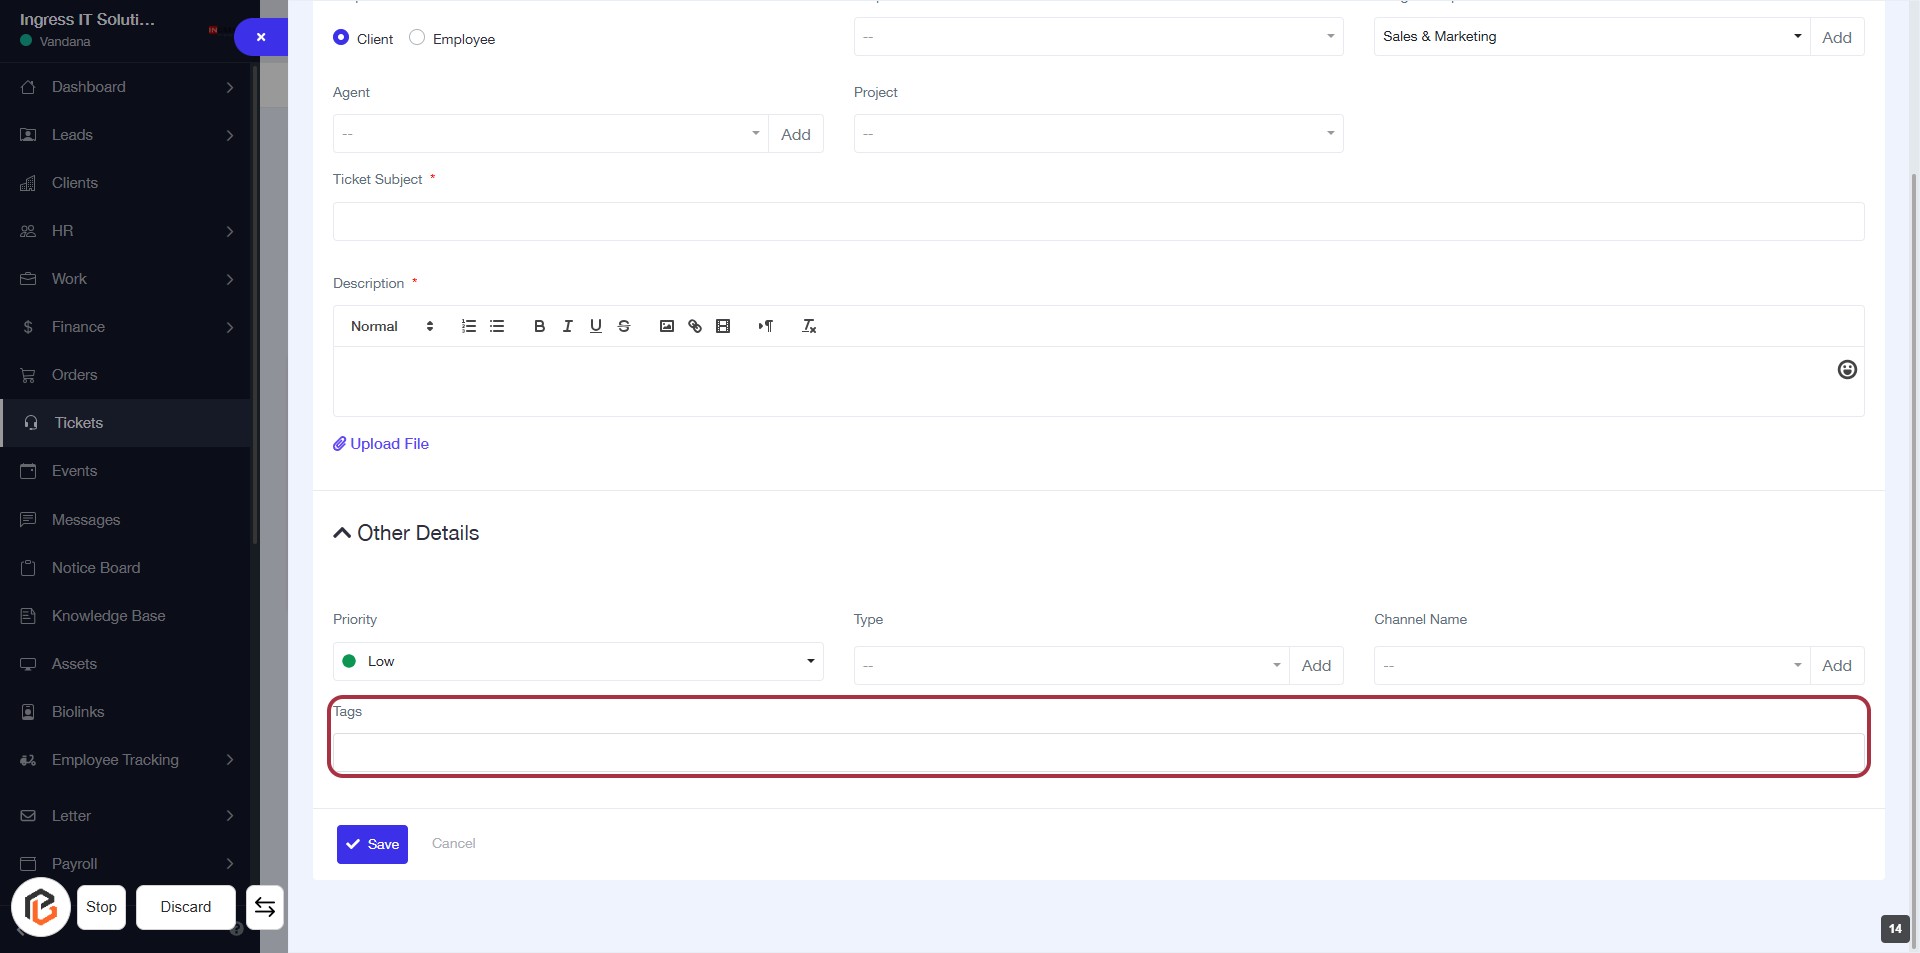
STEP 15: Click on "Tags" to Add Contextual Information
- Locate the "Tags" section highlighted in red.
- Click on the "Tags" area to enter relevant tags for better context.
- Ensure to fill in any required fields marked with an asterisk (*).
- Review your entries before proceeding to the next step.
STEP 16: Click on "Save" to Submit Your Ticket
- Ensure all required fields marked with '*' are filled out.
- Review the details entered in the form.
- Click the Save button located at the bottom of the form to submit your ticket.
- If you wish to cancel, click the Cancel button next to it.