Step-by-Step Guide to Updating Your Business Address Settings in the Dashboard
13 mins read · Updated 29 Sep, 2025
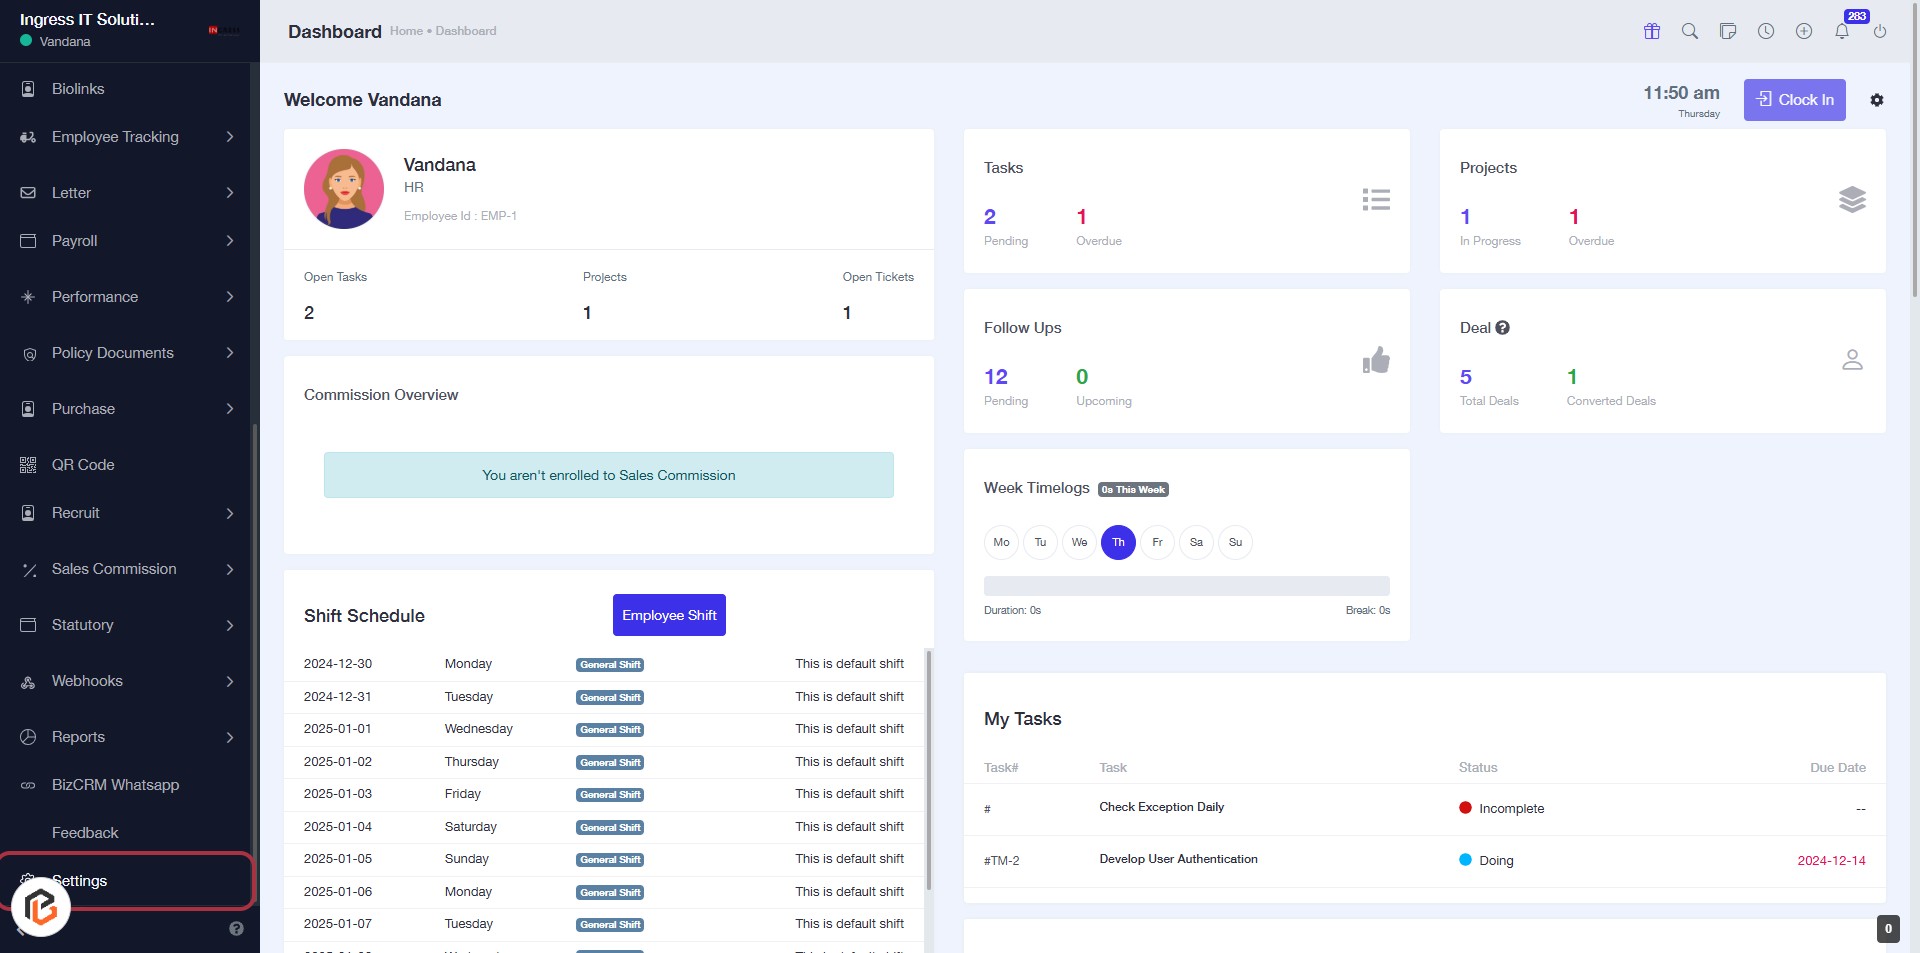
STEP 1: Click on "Settings" in the Dashboard
- Navigate to the left sidebar of the dashboard.
- Locate and click on the Settings option.
- This will direct you to the settings page for further configurations.
Ensure to follow the next step to access the Business Address settings.
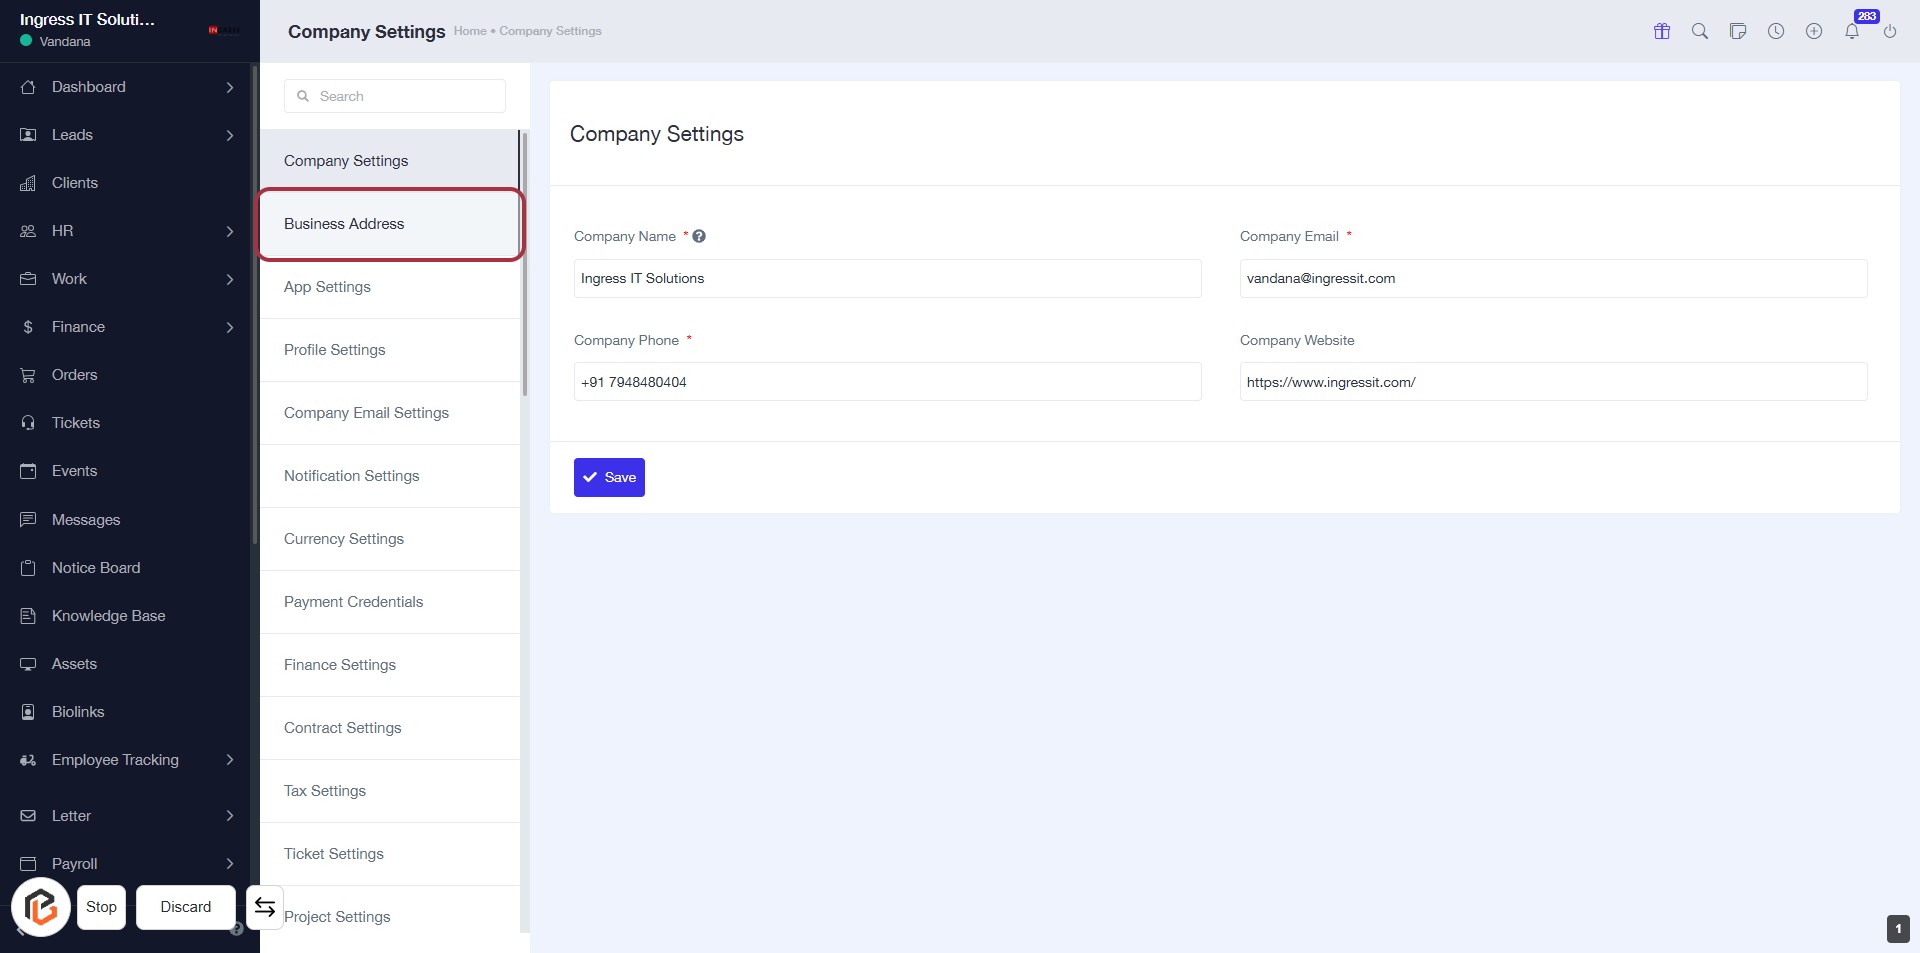
STEP 2: Click on "Business Address"
- Navigate to the Business Address section in the Company Settings.
- Ensure to fill in the required fields marked with an asterisk (*):
- Company Name
- Company Phone
- Company Email
- After entering the information, click Save to apply changes.
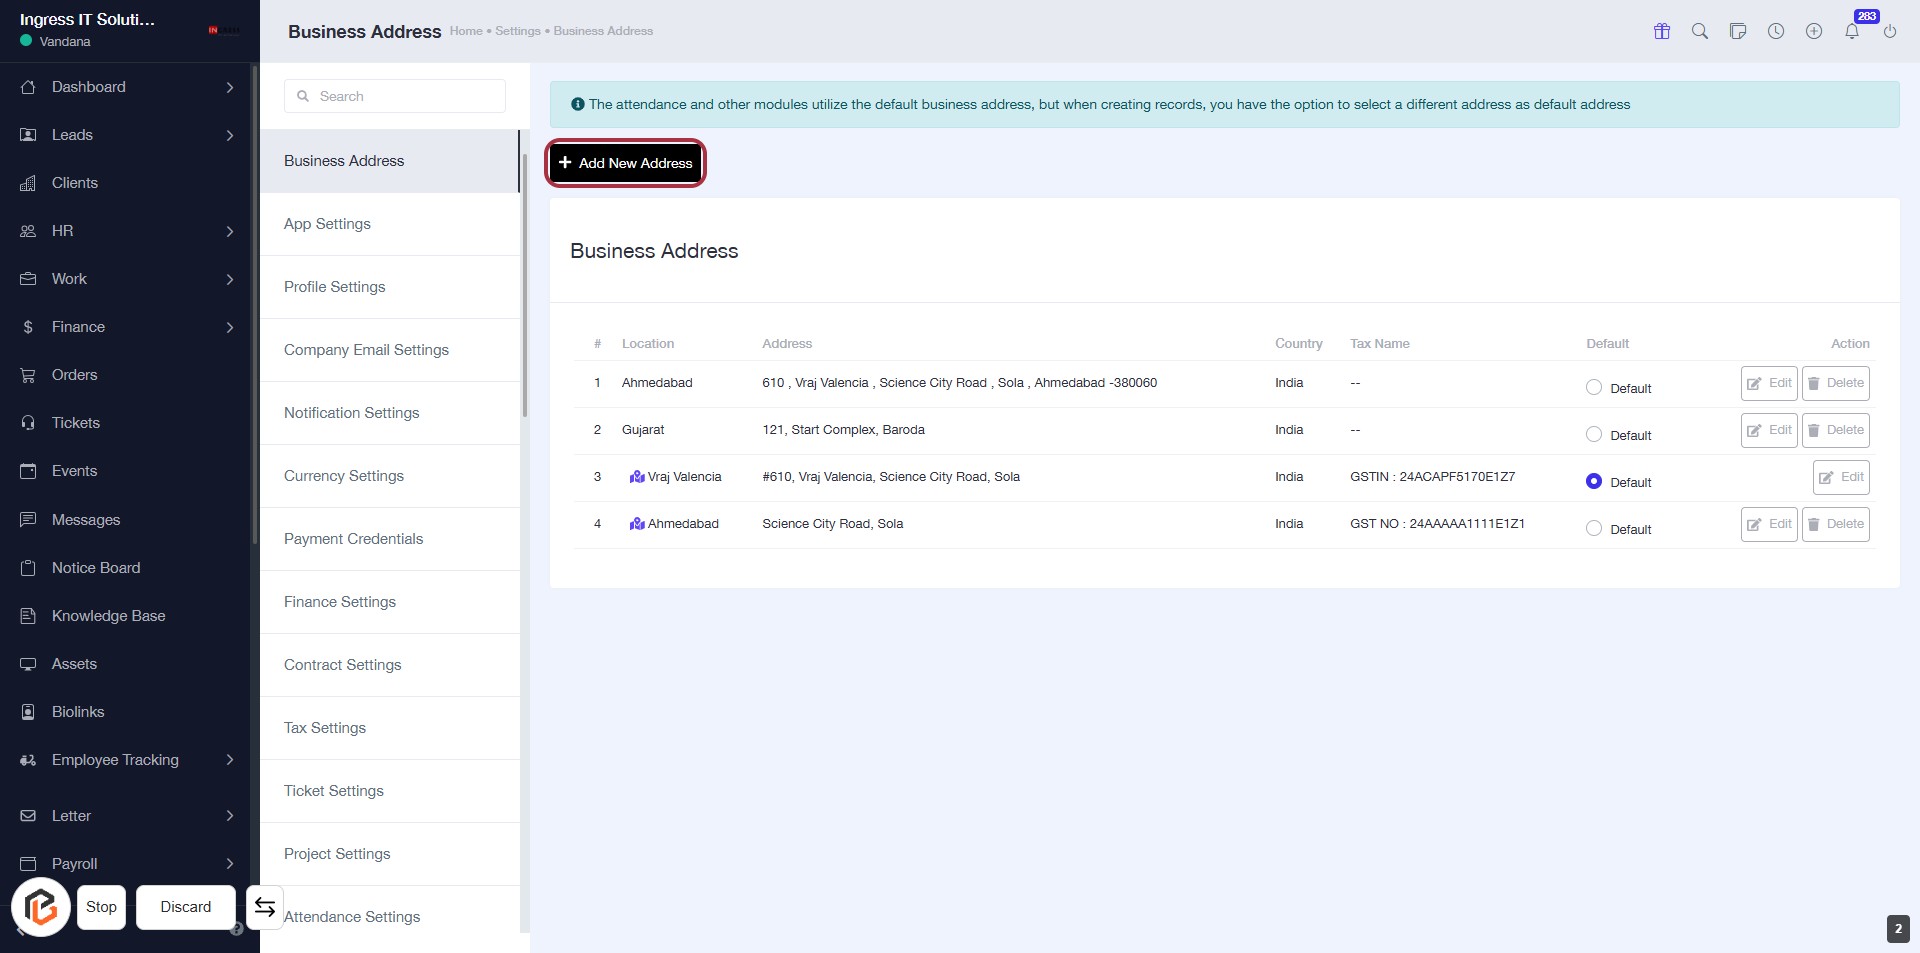
STEP 3: Select "Add New Address"
- Click the Add New Address button located in the Business Address section.
- This action will allow you to input a new business address.
- Ensure to fill in all required fields marked with an asterisk (*).
- After entering the details, proceed to the next step to select the country.
STEP 4: Select "Country"
- Click on the "Country" dropdown.
- Choose your country from the list (e.g., Afghanistan).
- Ensure the selection is made before proceeding to the next step.
- Look for any required fields marked with an asterisk (*).

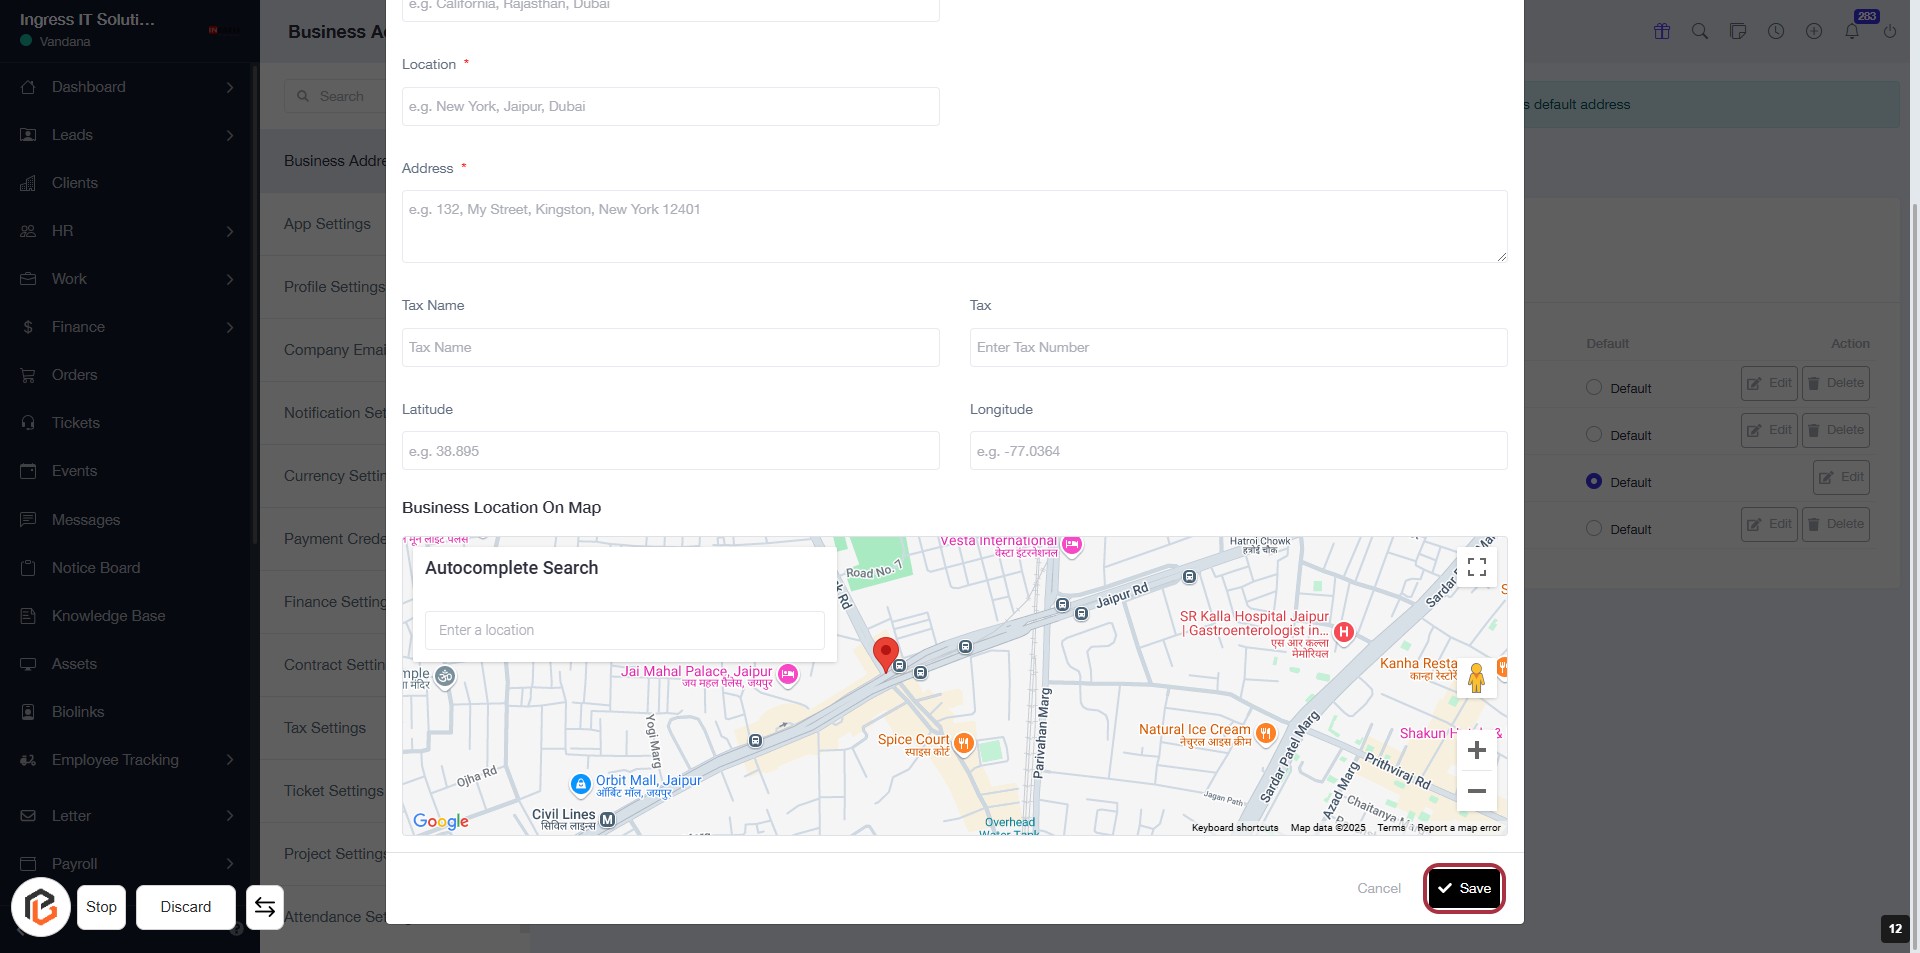
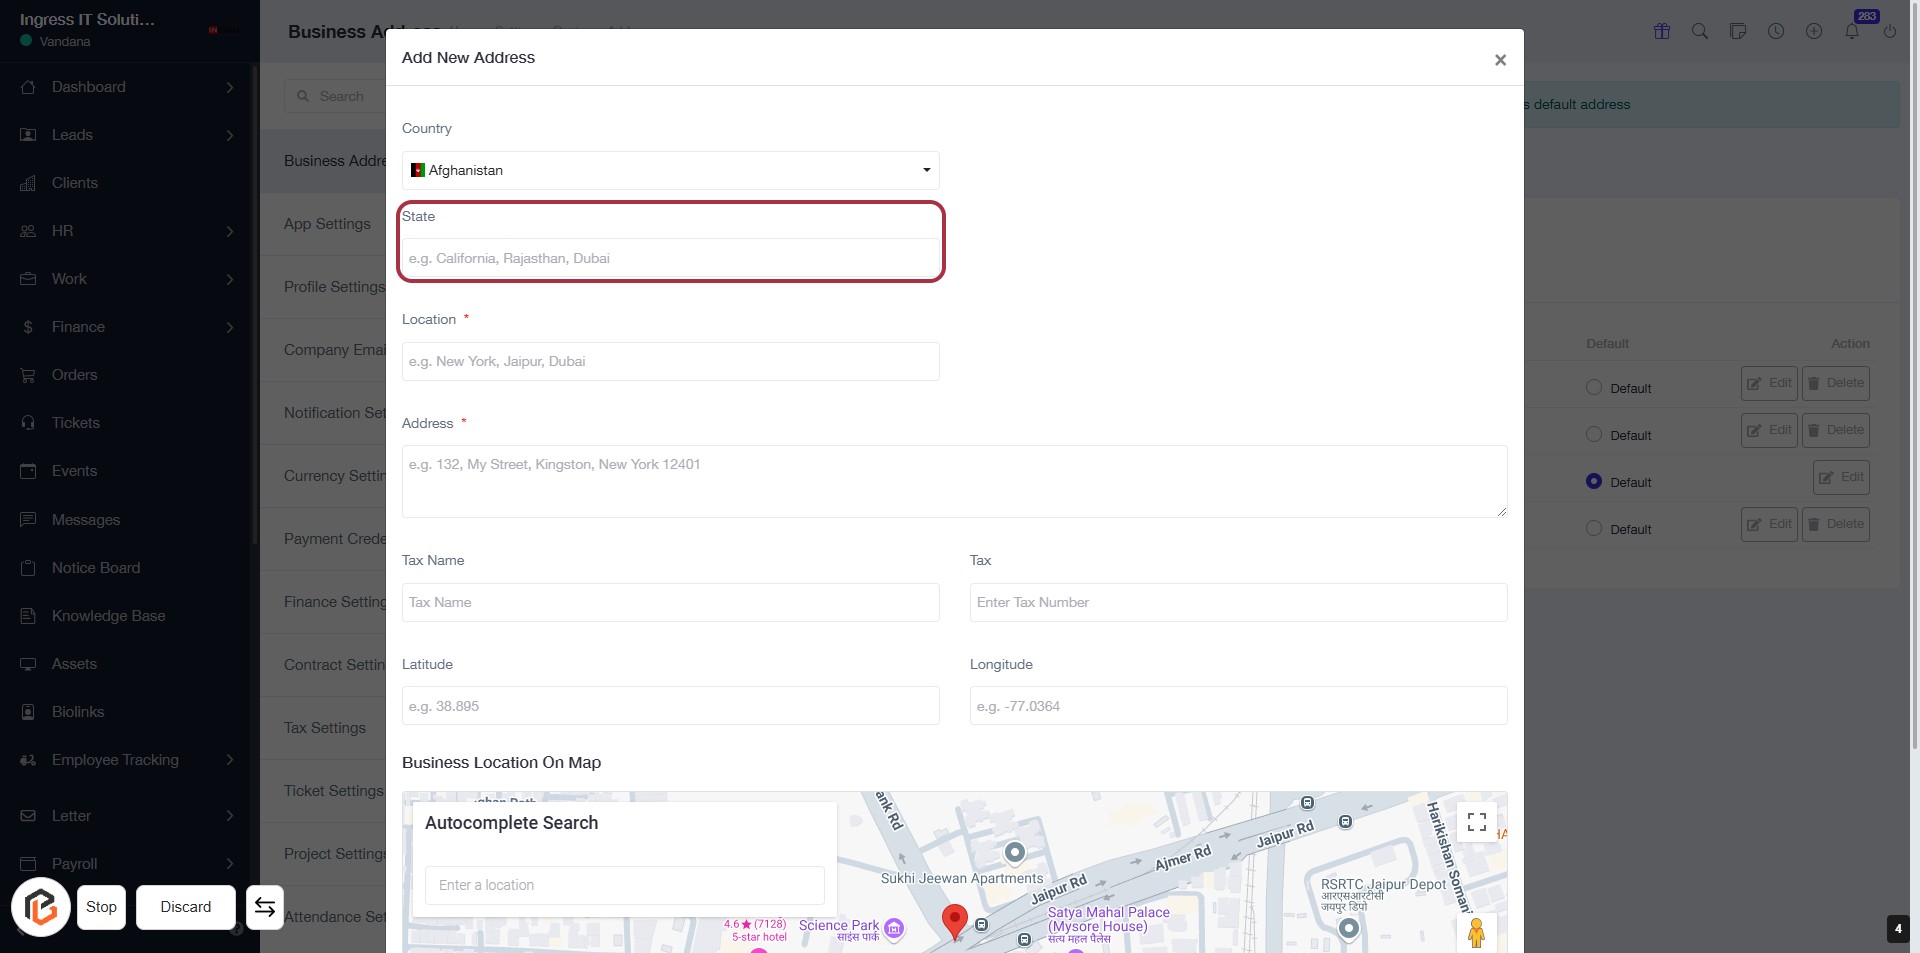
STEP 5: Enter "State"
- Click on the "State" field to input your state.
- Ensure to enter a valid state name (e.g., California, Rajasthan, Dubai).
- This field is required, indicated by the asterisk (*).
- Proceed to the next step by entering your "Location."
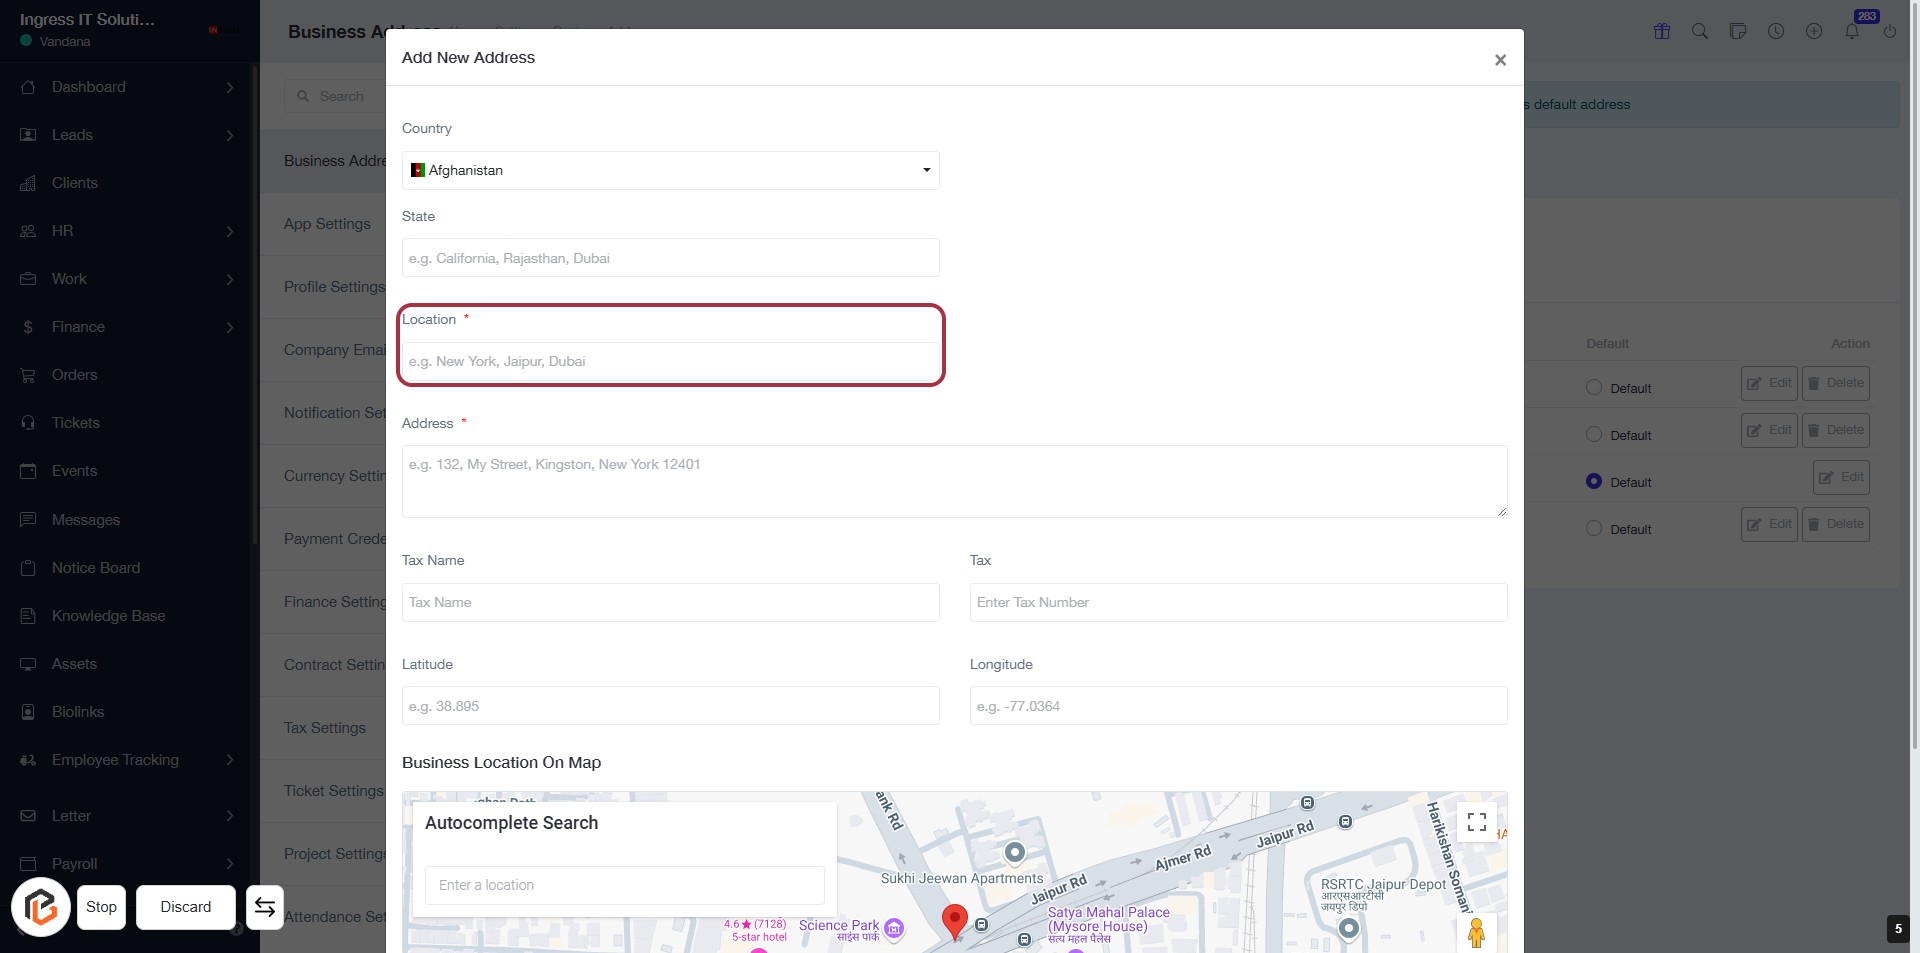
STEP 6: Enter "Location"
- Click on the Location field (marked with an asterisk) to input your desired location.
- Suggested examples include: New York, Jaipur, Dubai.
- Ensure to provide a valid location for accurate address registration.
- After entering, proceed to the next step to Enter "Address".
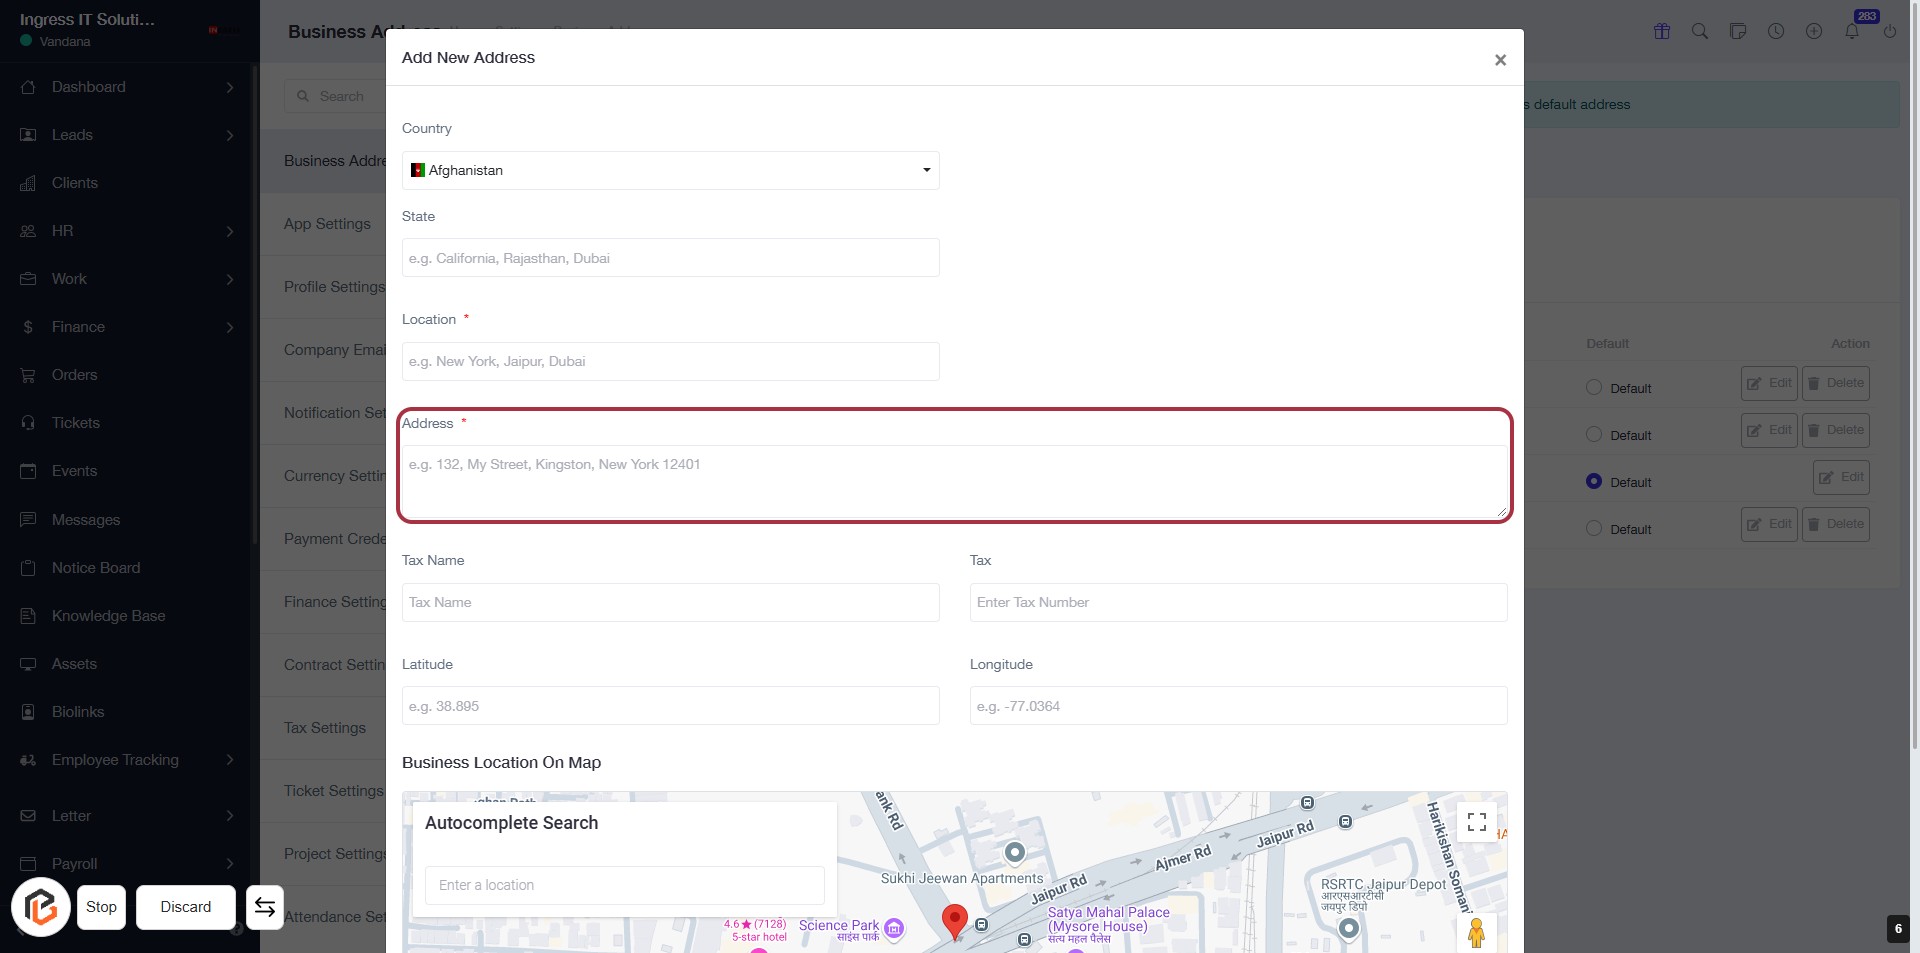
STEP 7: Enter "Address"
- Click on the highlighted area labeled "Address" to input your address.
- Ensure to fill in the required field marked with an asterisk (*).
- Example format: "132, My Street, Kingston, New York 12401".
- Proceed to the next step by entering the "Tax Name".
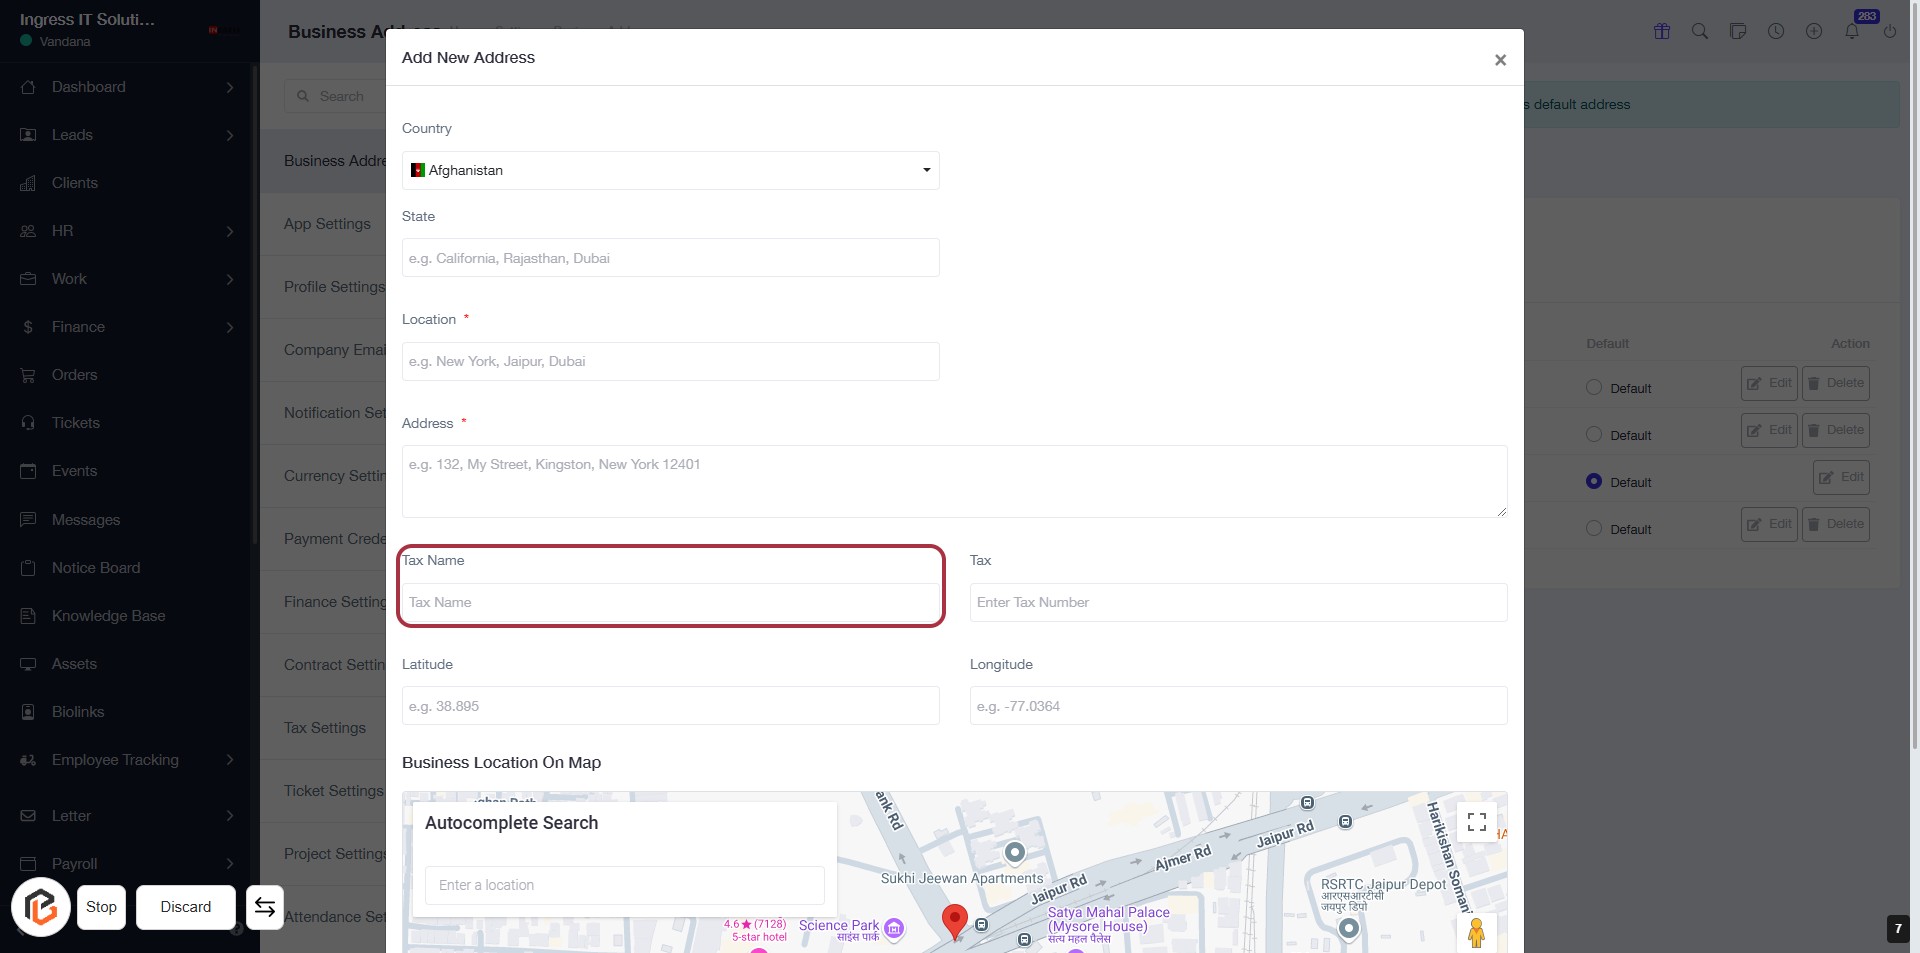
STEP 8: Enter "Tax Name"
- Click on the highlighted area labeled "Tax Name."
- Ensure you fill in the required information accurately.
- Review other fields like Country, State, Location, and Address for completeness.
- Proceed to the next step by entering the "Tax Number."
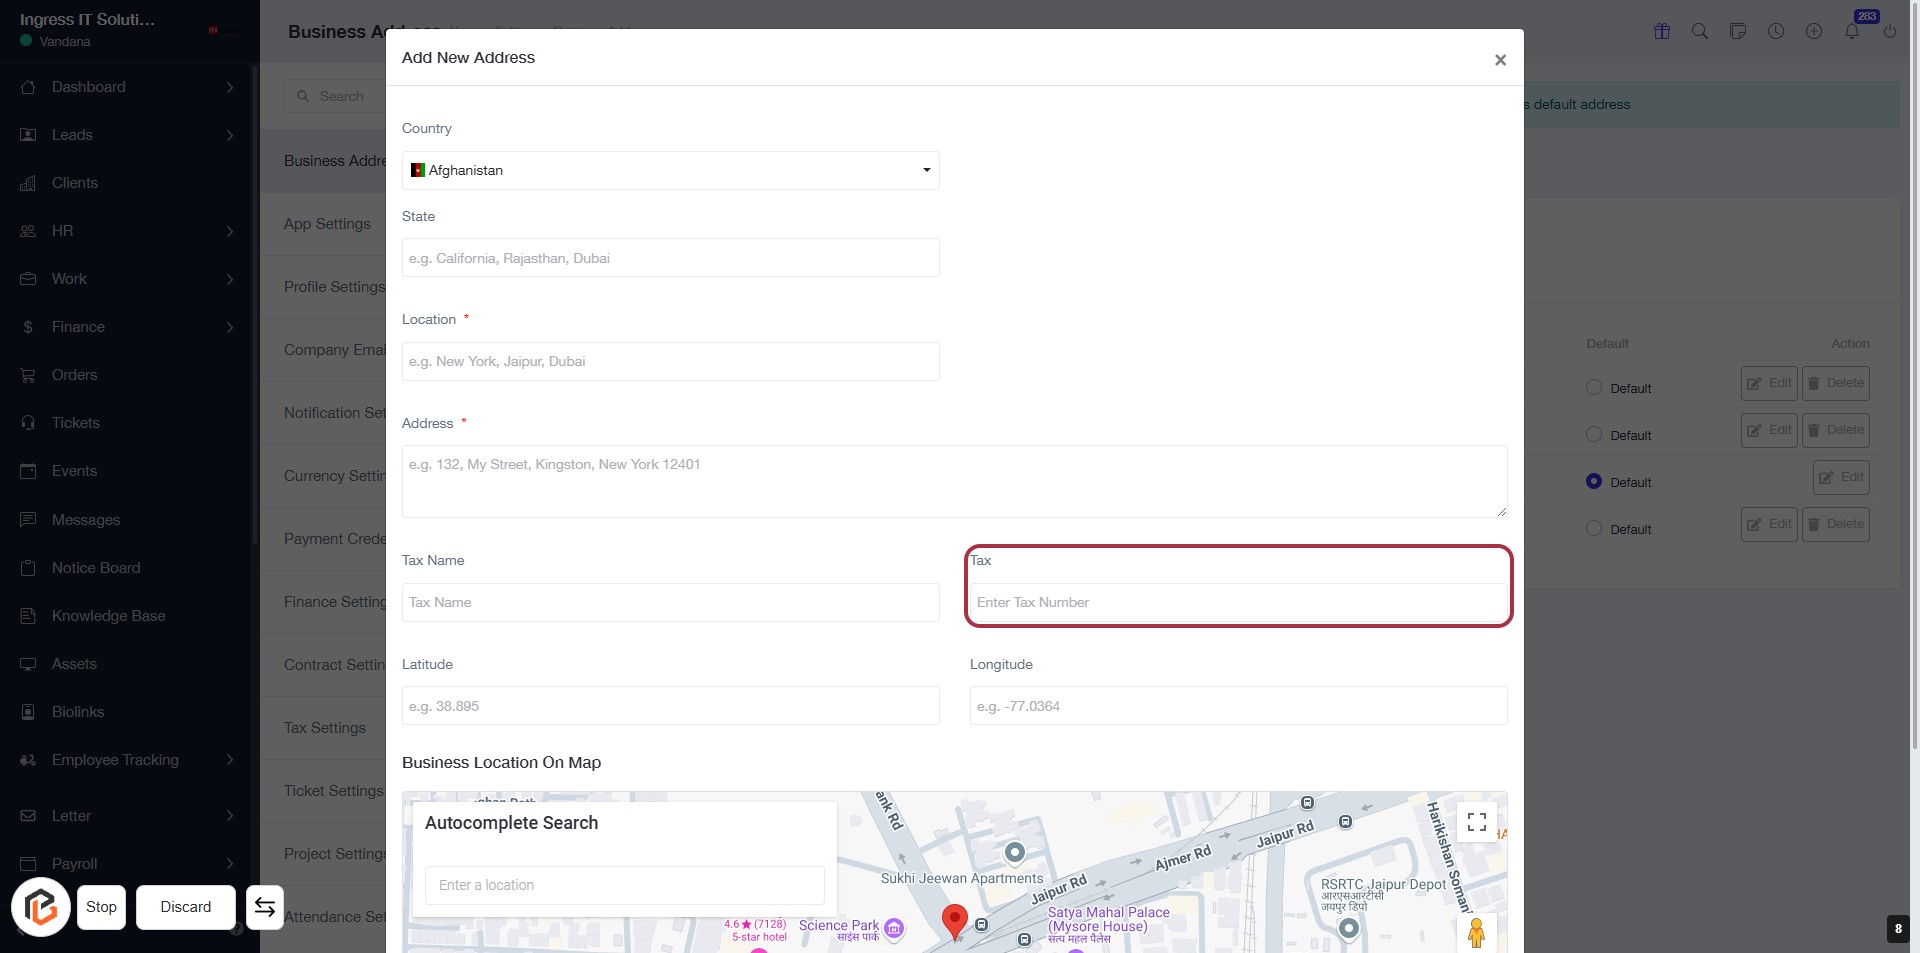
STEP 9: Enter Tax Number
- Click on the highlighted area labeled "Tax" to input your tax number.
- Ensure to fill in the "Enter Tax Number" field.
- Review other required fields: Country, State, Location, Address, Tax Name, Latitude, and Longitude.
- Proceed to the next step by entering the "Latitude."
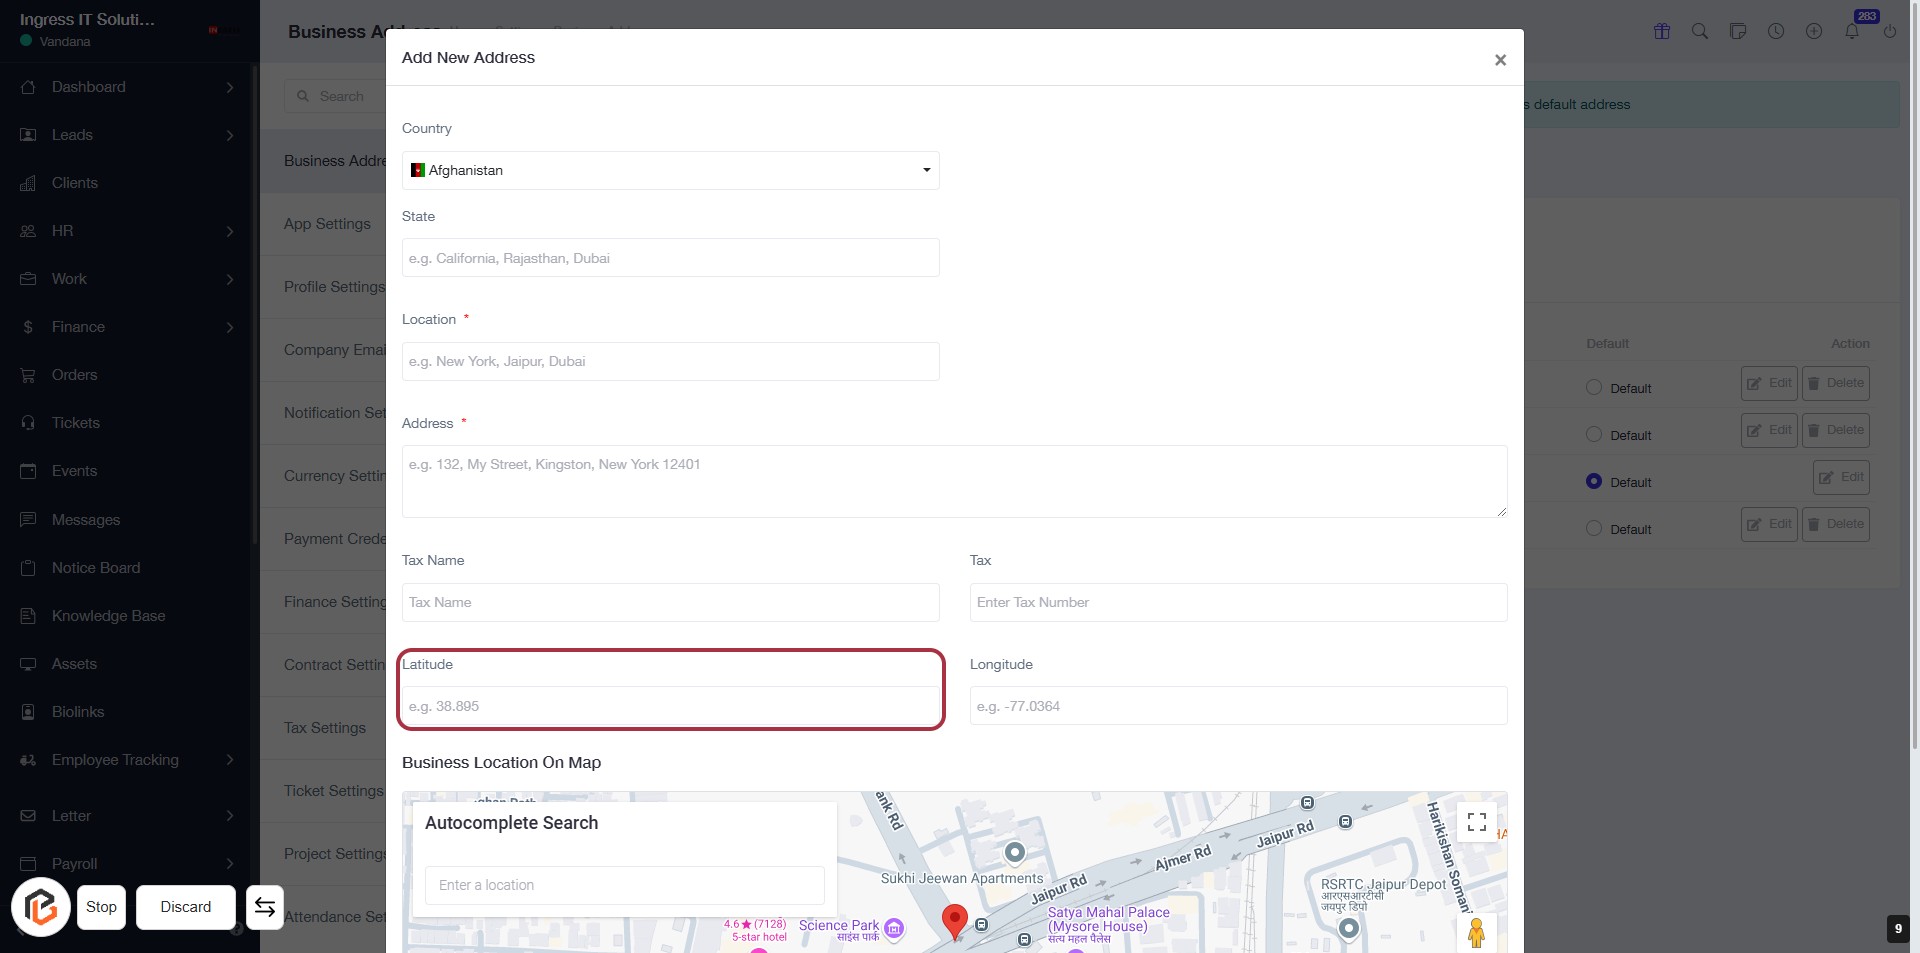
STEP 10: Enter Latitude for Business Address
- Click on the "Latitude" field to input the latitude value.
- Ensure the field is filled with the correct latitude format (e.g., 38.885).
- Review other required fields marked with an asterisk (*) to ensure all necessary information is provided.
- Proceed to the next step by entering the "Longitude."
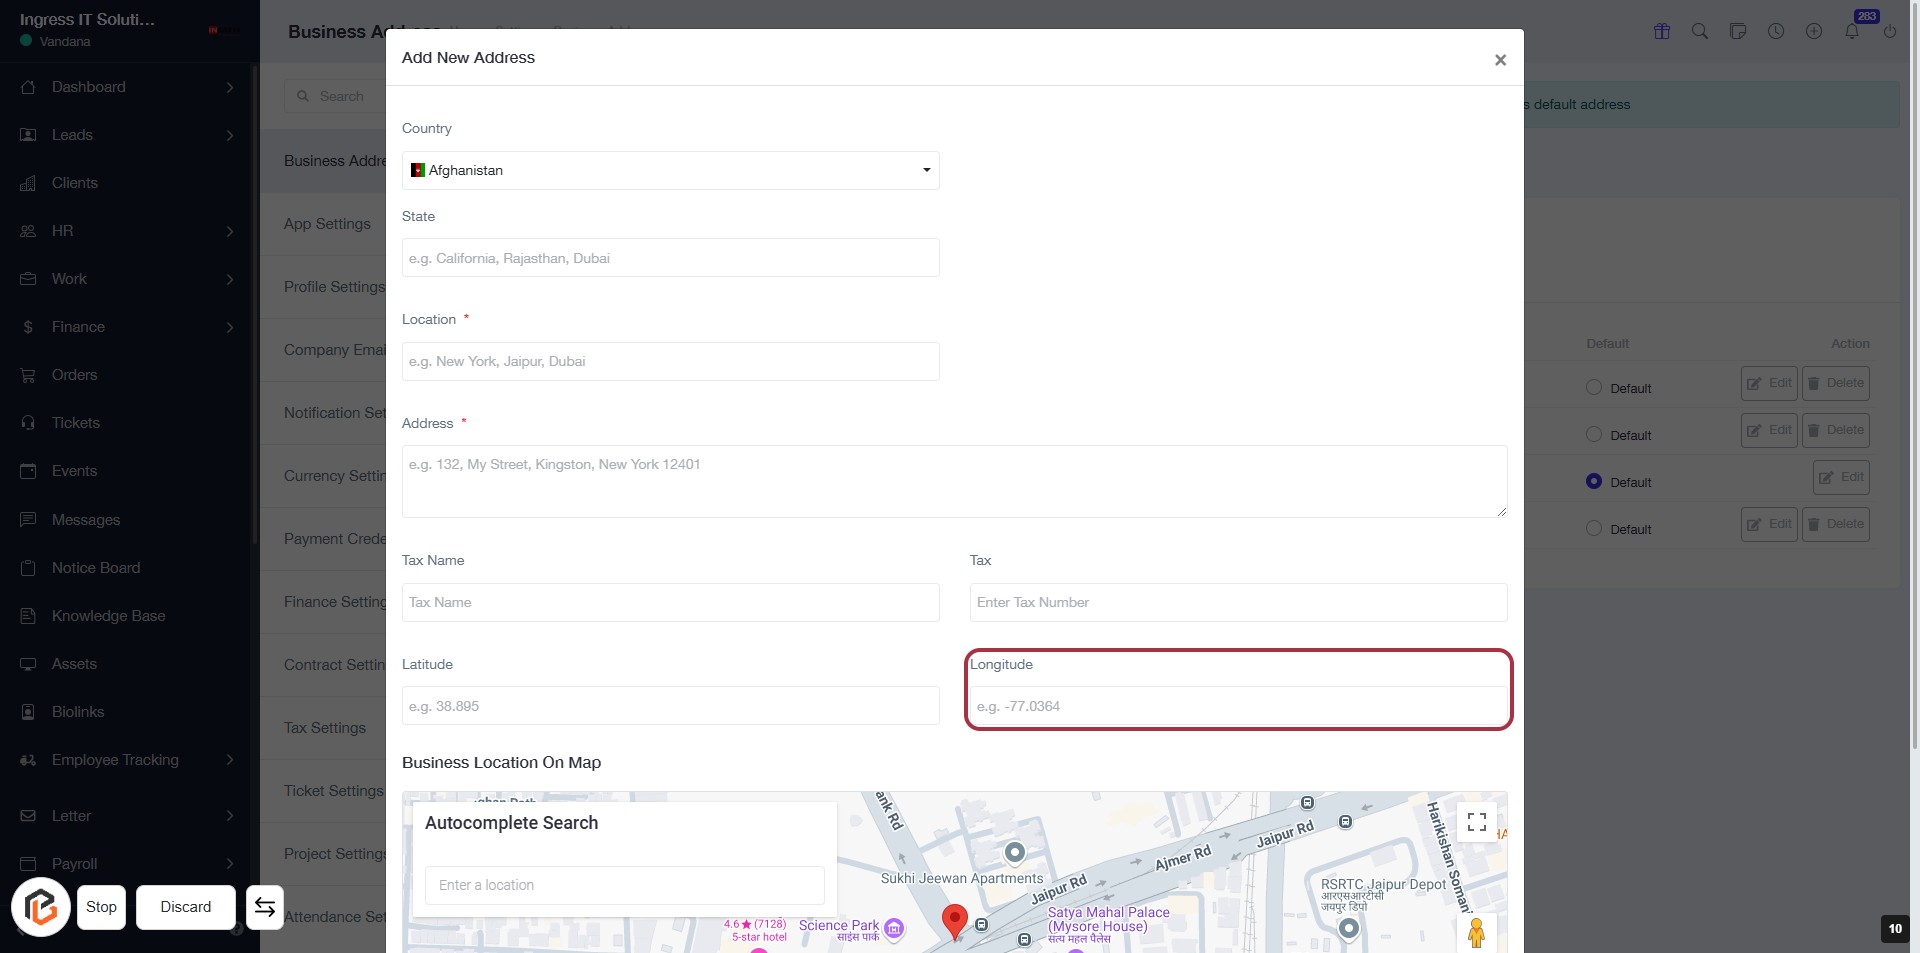
STEP 11: Enter Longitude for Business Address
- Click on the "Longitude" field to input your longitude value.
- Ensure the field is filled with the correct format (e.g., -77.0364).
- Review other required fields marked with an asterisk (*) to ensure all necessary information is provided.
- Proceed to the next step by selecting "Business Location on Map."
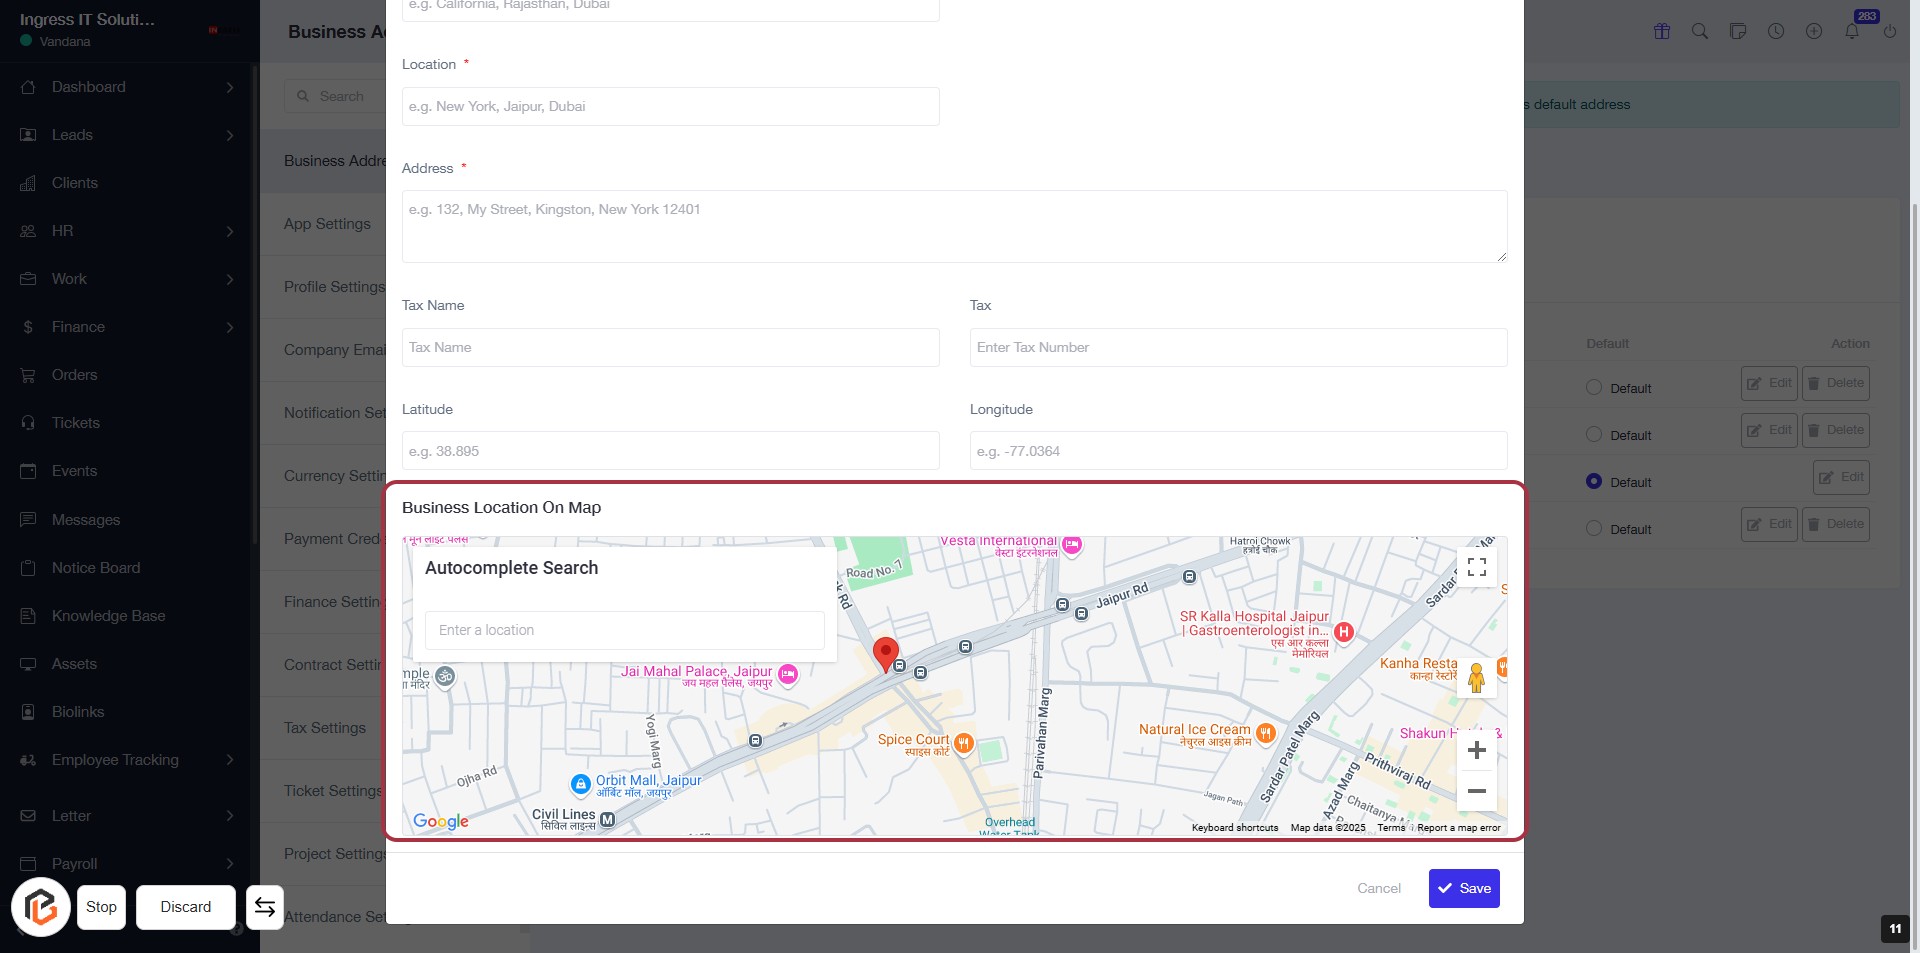
STEP 12: Select Business Location on Map
- Click on the Business Location on Map section to access the map interface.
- Use the Autocomplete Search field to enter your business location.
- Ensure all required fields (Location, Address, Tax Name, Tax, Latitude, Longitude) are filled out.
- Review the map to confirm the selected location is accurate before proceeding.
STEP 13: Click on "Save" to Confirm Business Address
- Ensure all required fields (marked with *) are filled out: Location, Address, Tax Name, Latitude, and Longitude.
- Review the information entered for accuracy.
- Click the Save button located at the bottom right of the form to save your business address settings.