Step-by-Step Guide to Configuring Your Company and GST Settings on the Dashboard
9 mins read · Updated 29 Sep, 2025
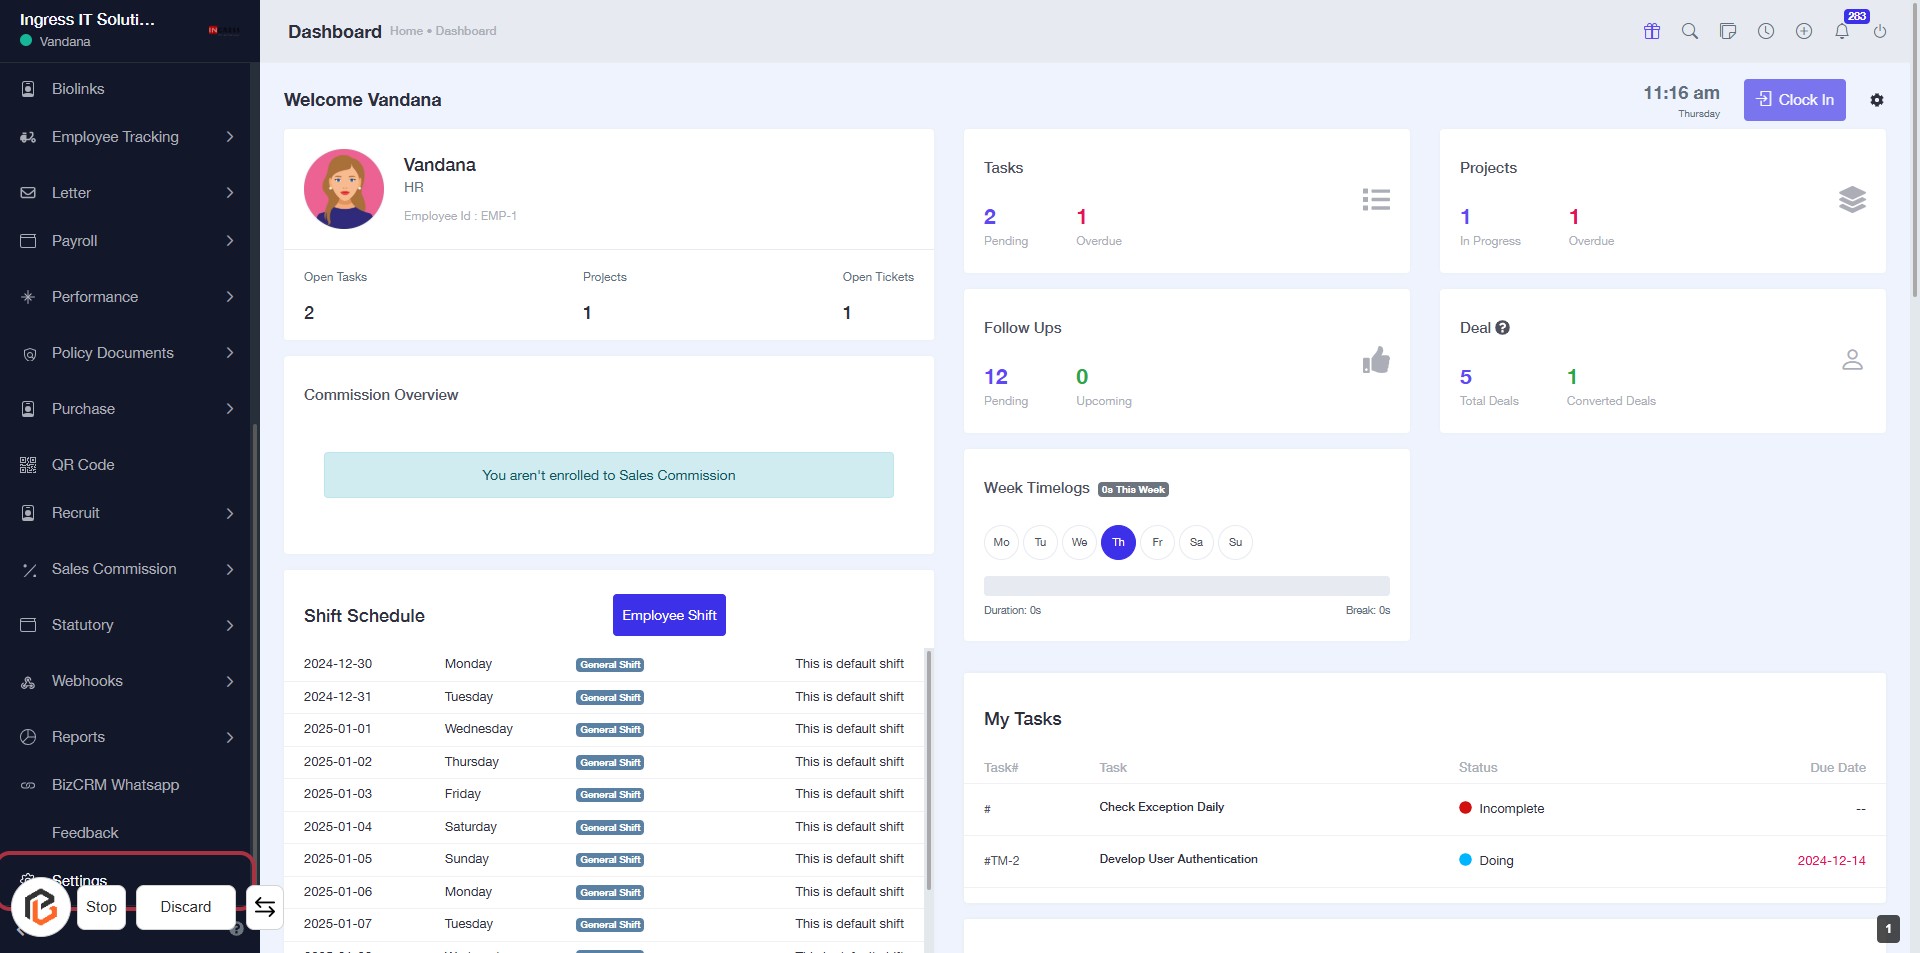
STEP 1: Click on "Settings" to Access Configuration Options
- Navigate to the left sidebar of the dashboard.
- Click on the Settings link to open the settings menu.
- Ensure you are on the correct page before proceeding to the next step.
- This action will lead you to the configuration options for your account.
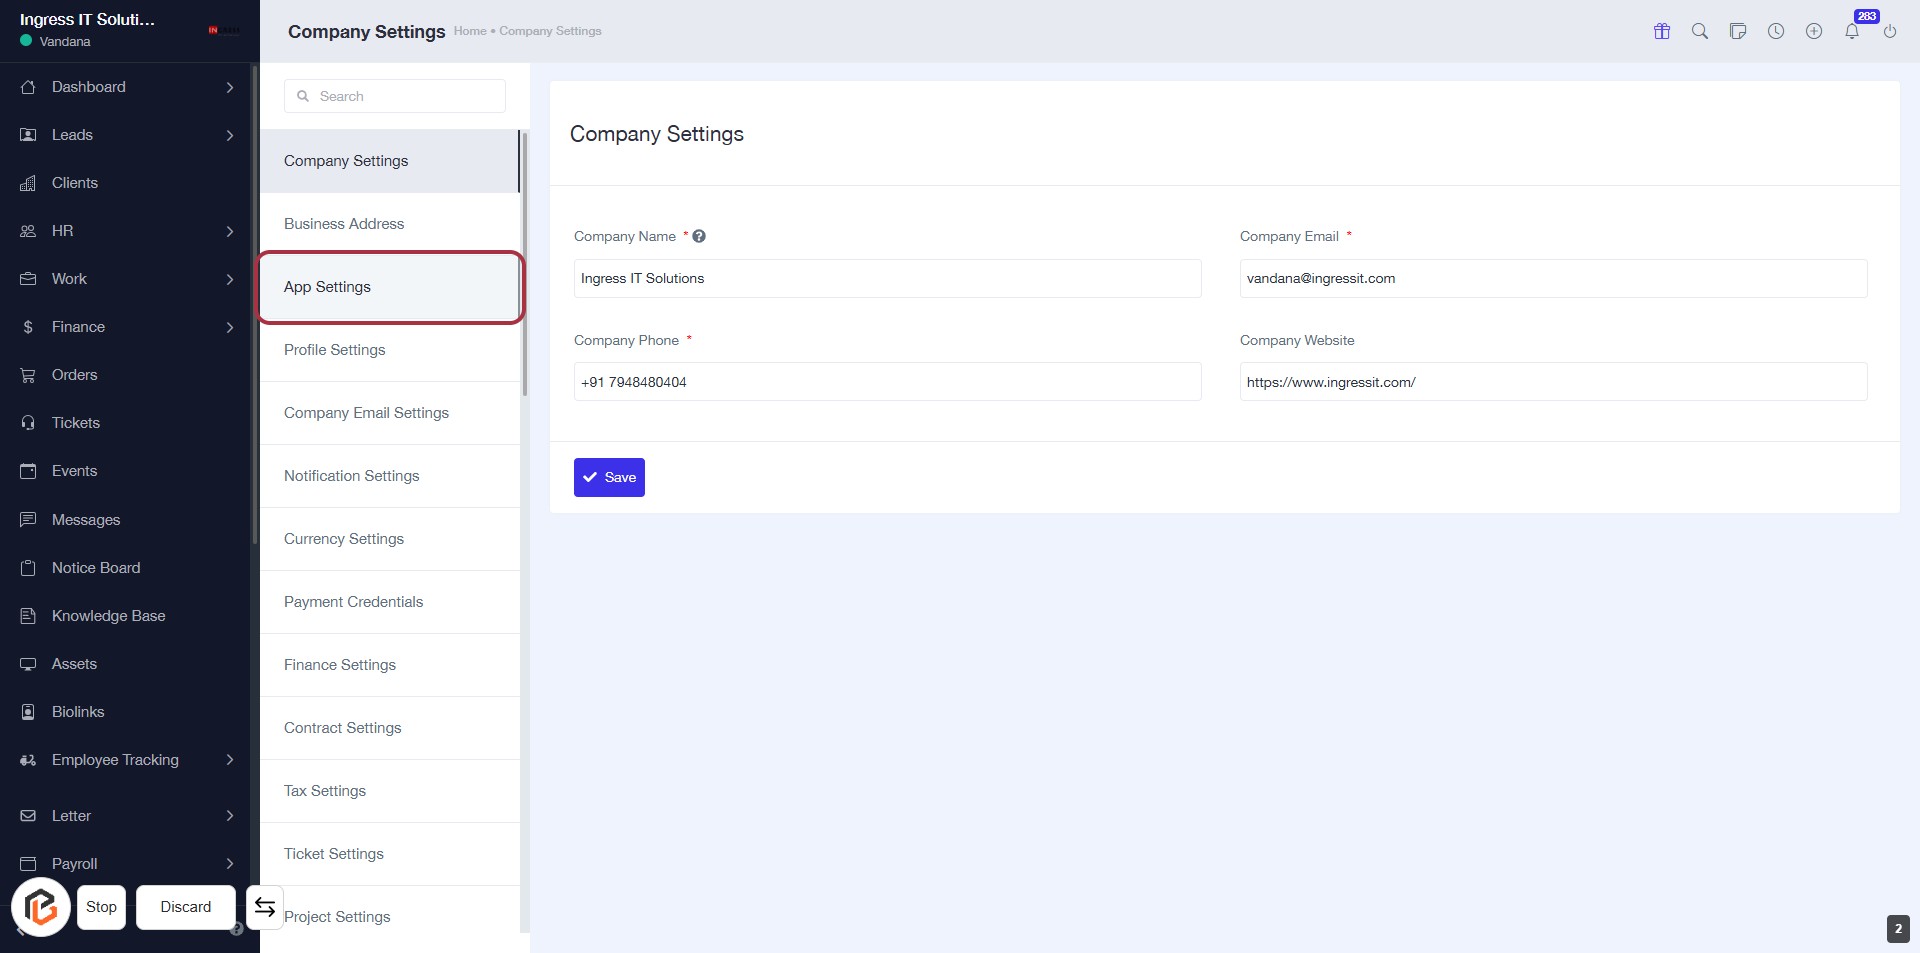
STEP 2: Click on "App Settings" to Access Company Configuration
- Click on the App Settings link in the sidebar.
- Ensure you are on the Company Settings page.
- Fill in the required fields marked with an asterisk (*):
- Company Name
- Company Phone
- Company Email
- Optionally, provide the Company Website.
- Click Save to apply changes.
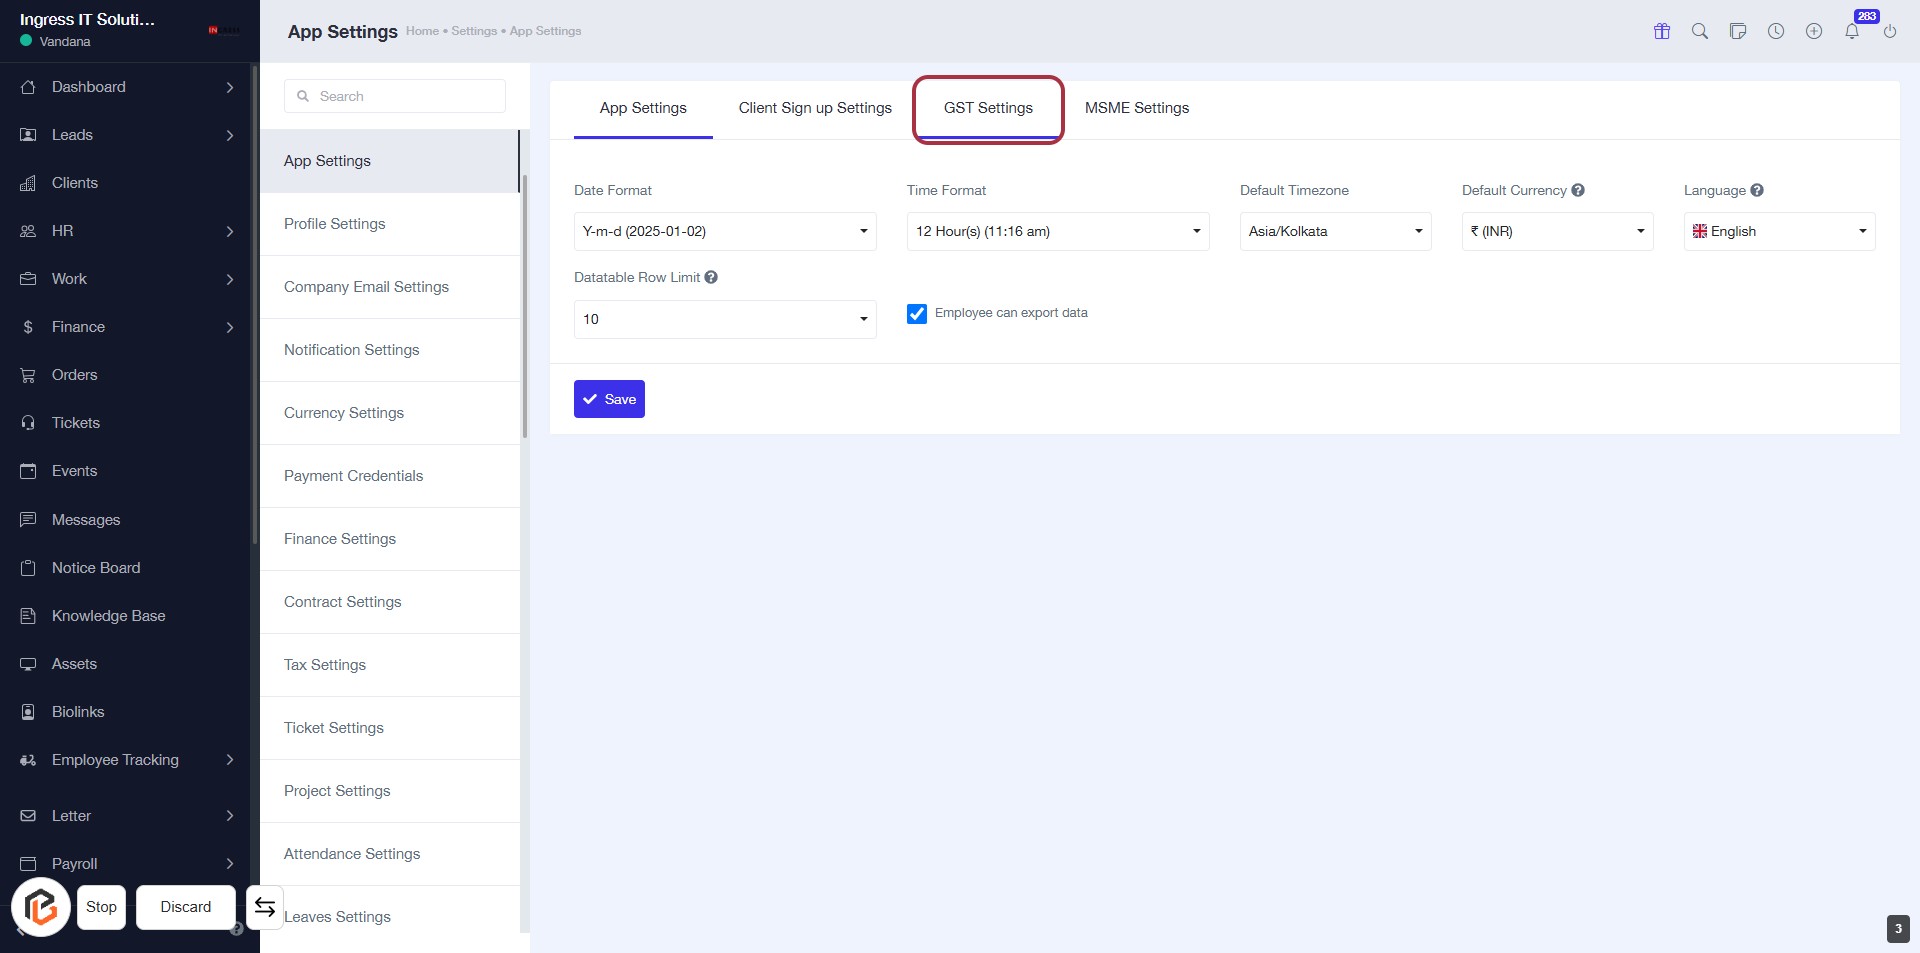
STEP 3: Click on "GST Settings" to Access GST Configuration
- Navigate to the "GST Settings" tab in the App Settings.
- Ensure you review the following input fields:
- Date Format: Choose your preferred date format.
- Time Format: Select the desired time format.
- Datatable Row Limit: Specify the number of rows to display.
- Default Timezone: Set your default timezone.
- Default Currency: Choose your default currency.
- Language: Select your preferred language.
- Click "Save" to apply changes.
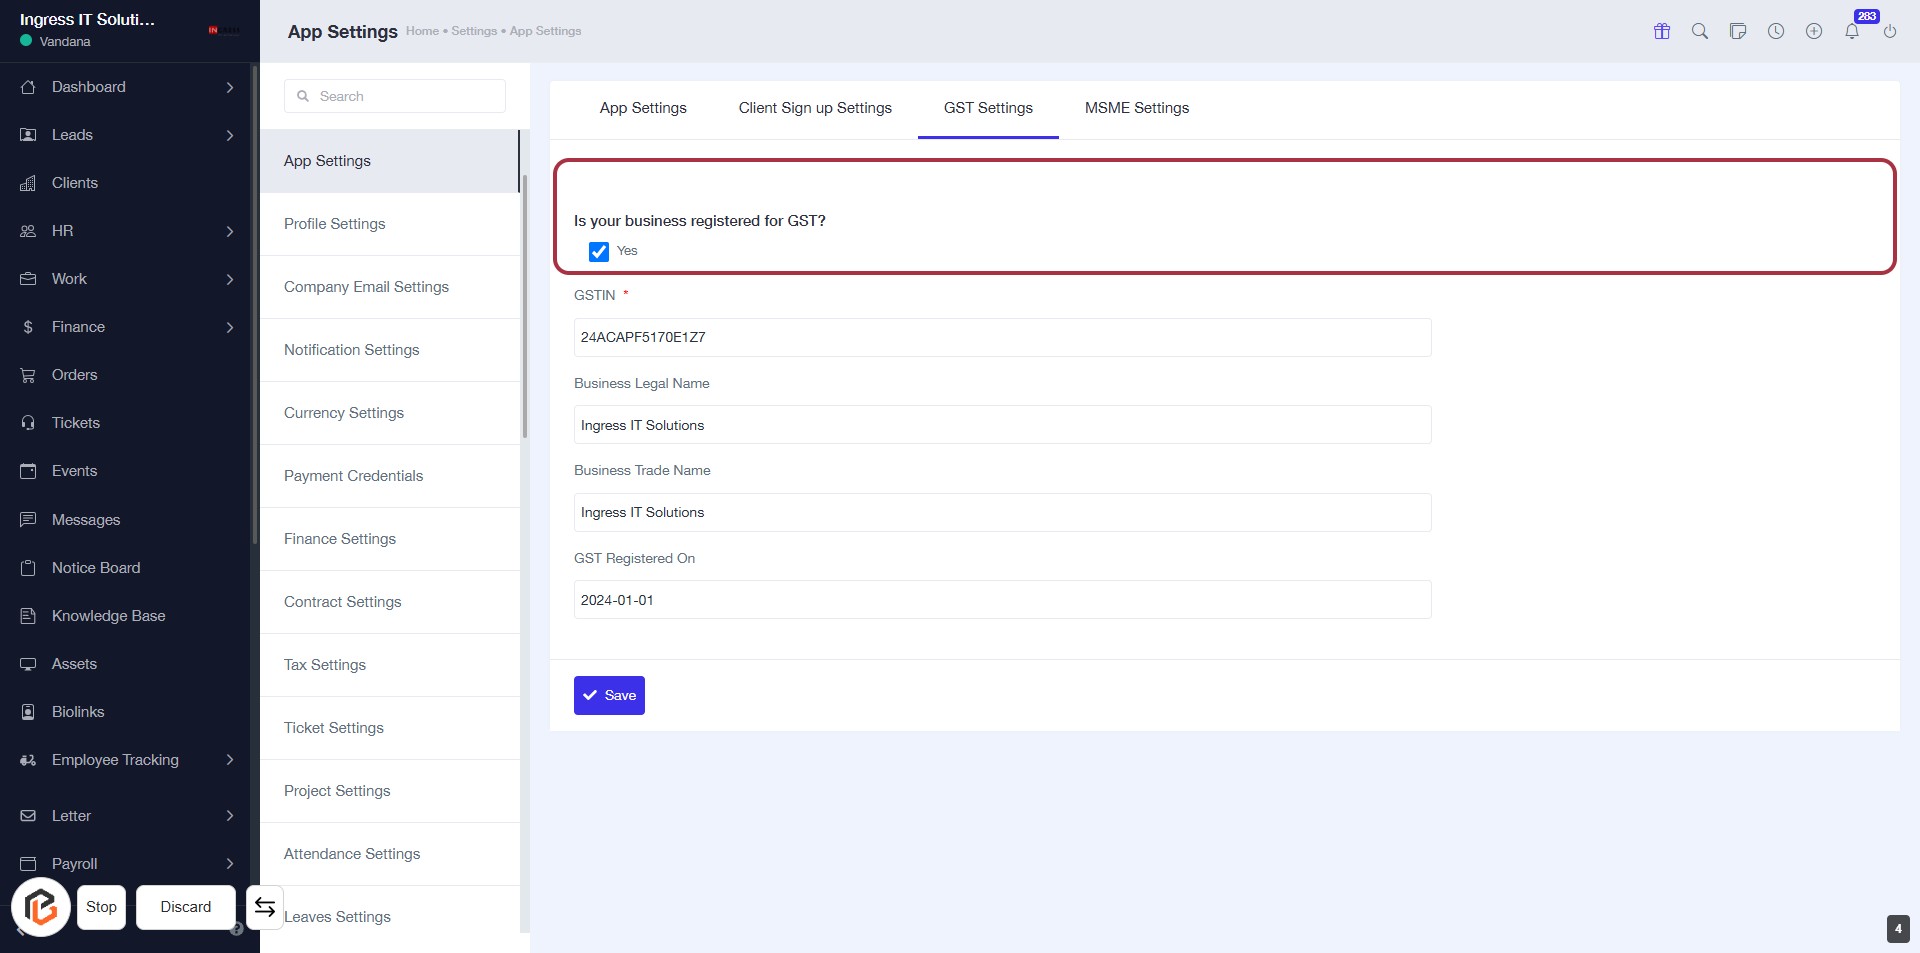
STEP 4: Select "Is your business registered for GST?"
- Click on the option "Is your business registered for GST?" in the highlighted area.
- Ensure to select either "Yes" or "No" based on your business status.
- This selection is crucial for proceeding with GST-related configurations.
- After making your selection, continue to the next step to enter your GSTIN number.
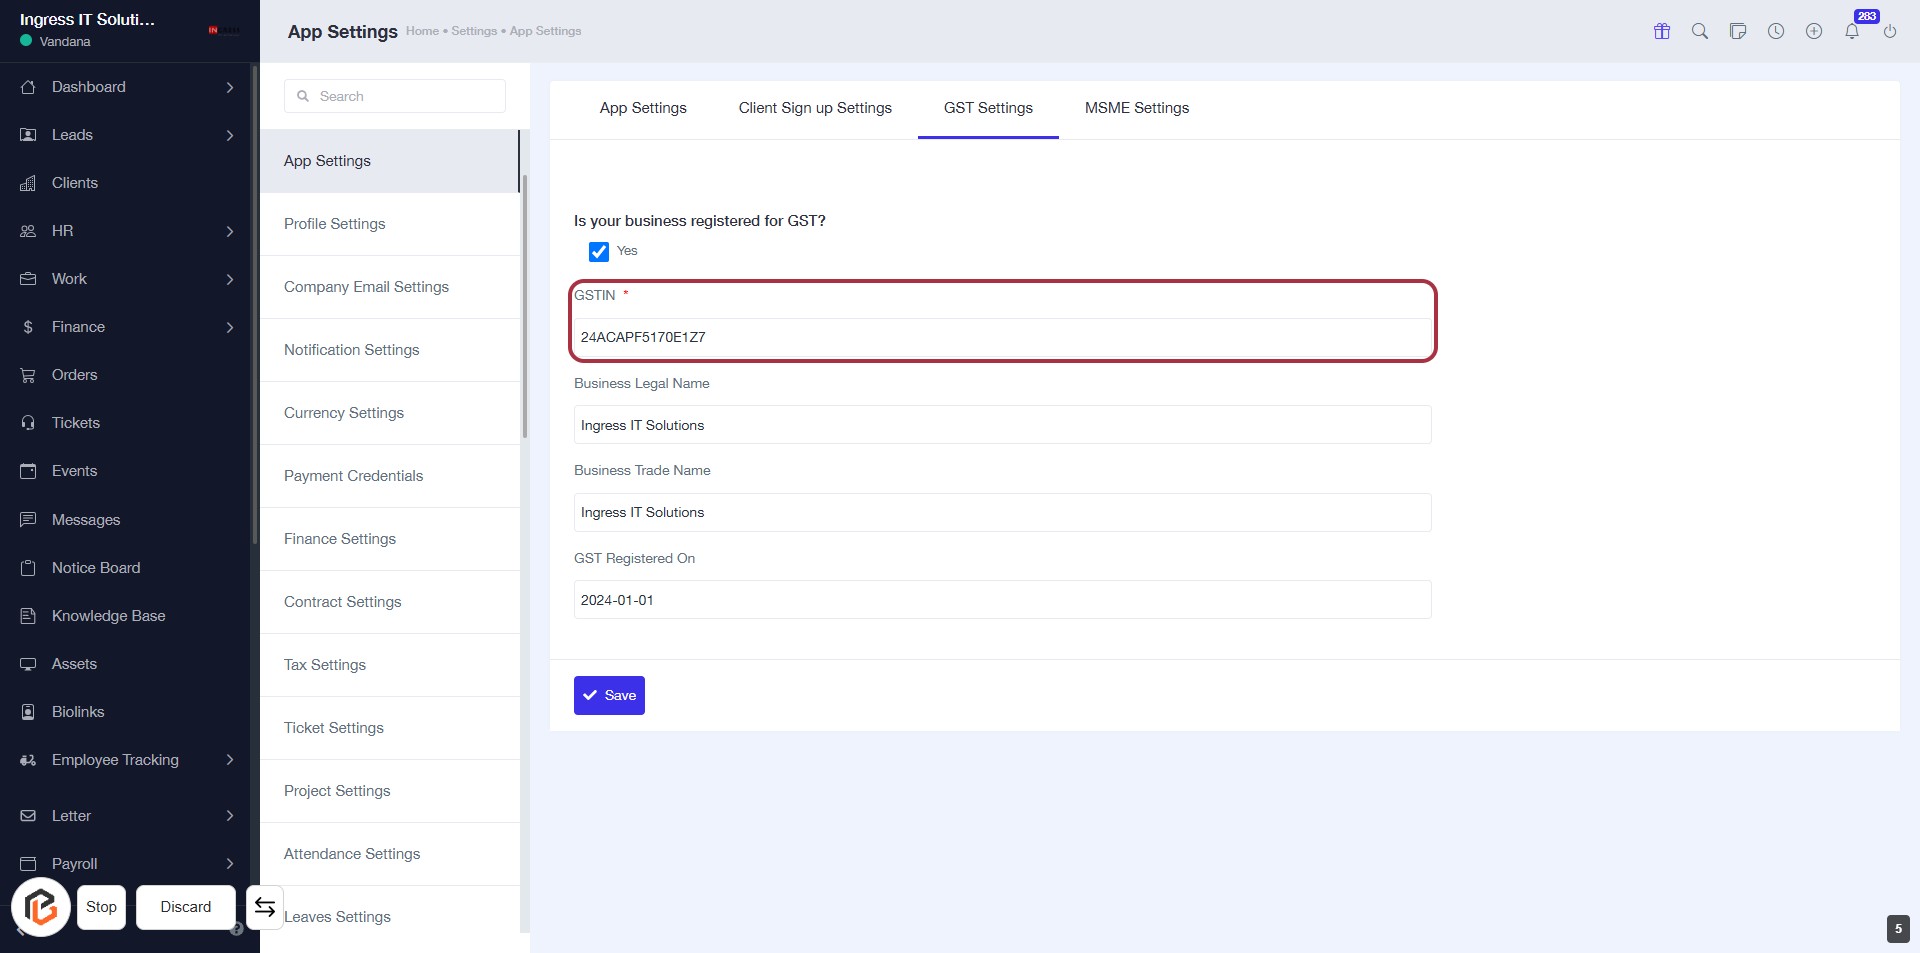
STEP 5: Enter "GSTIN" Number
- Click on the "GSTIN" field (marked with a red border).
- Ensure the field is marked with an asterisk (*) indicating it's required.
- Input your GSTIN number in the provided space.
- Proceed to the next step by entering the "Business Legal Name."
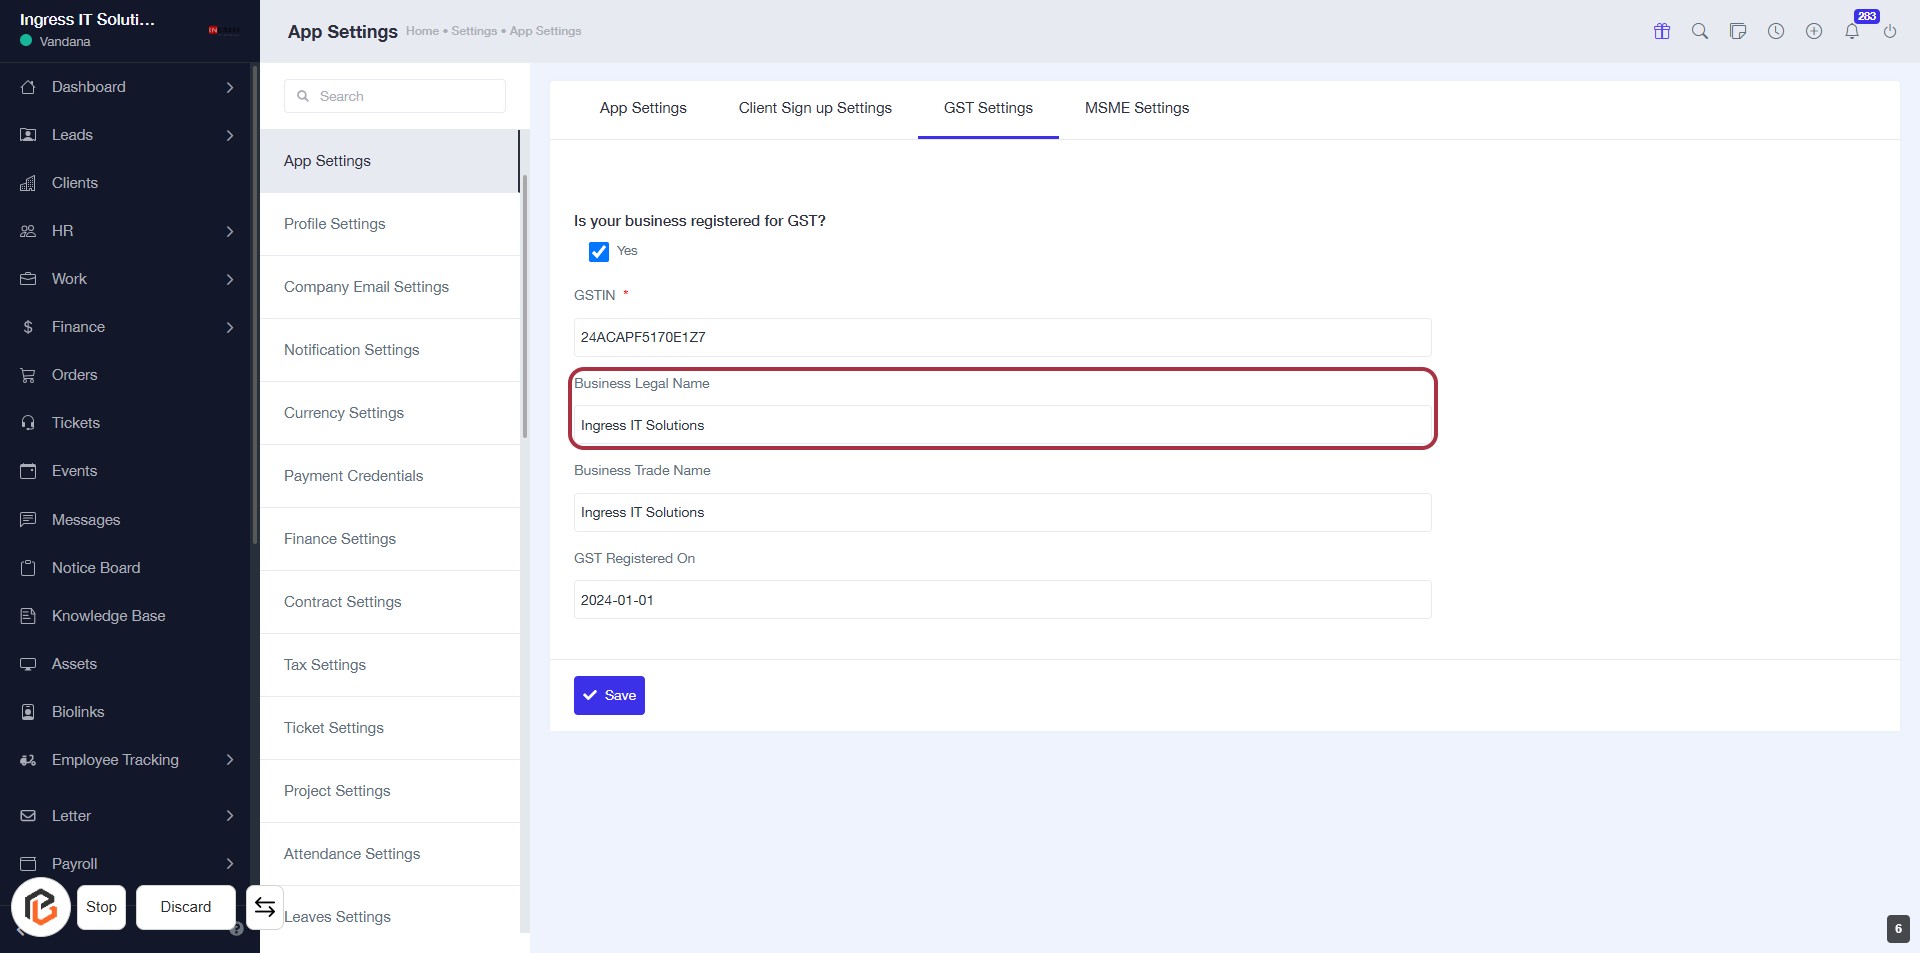
STEP 6: Enter "Business Legal Name"
- Click on the "Business Legal Name" field highlighted in red.
- Ensure the field is empty before entering your business's legal name.
- This field is mandatory, indicated by the asterisk (*).
- After entering the name, proceed to the next step by filling in the "Business Trade Name."
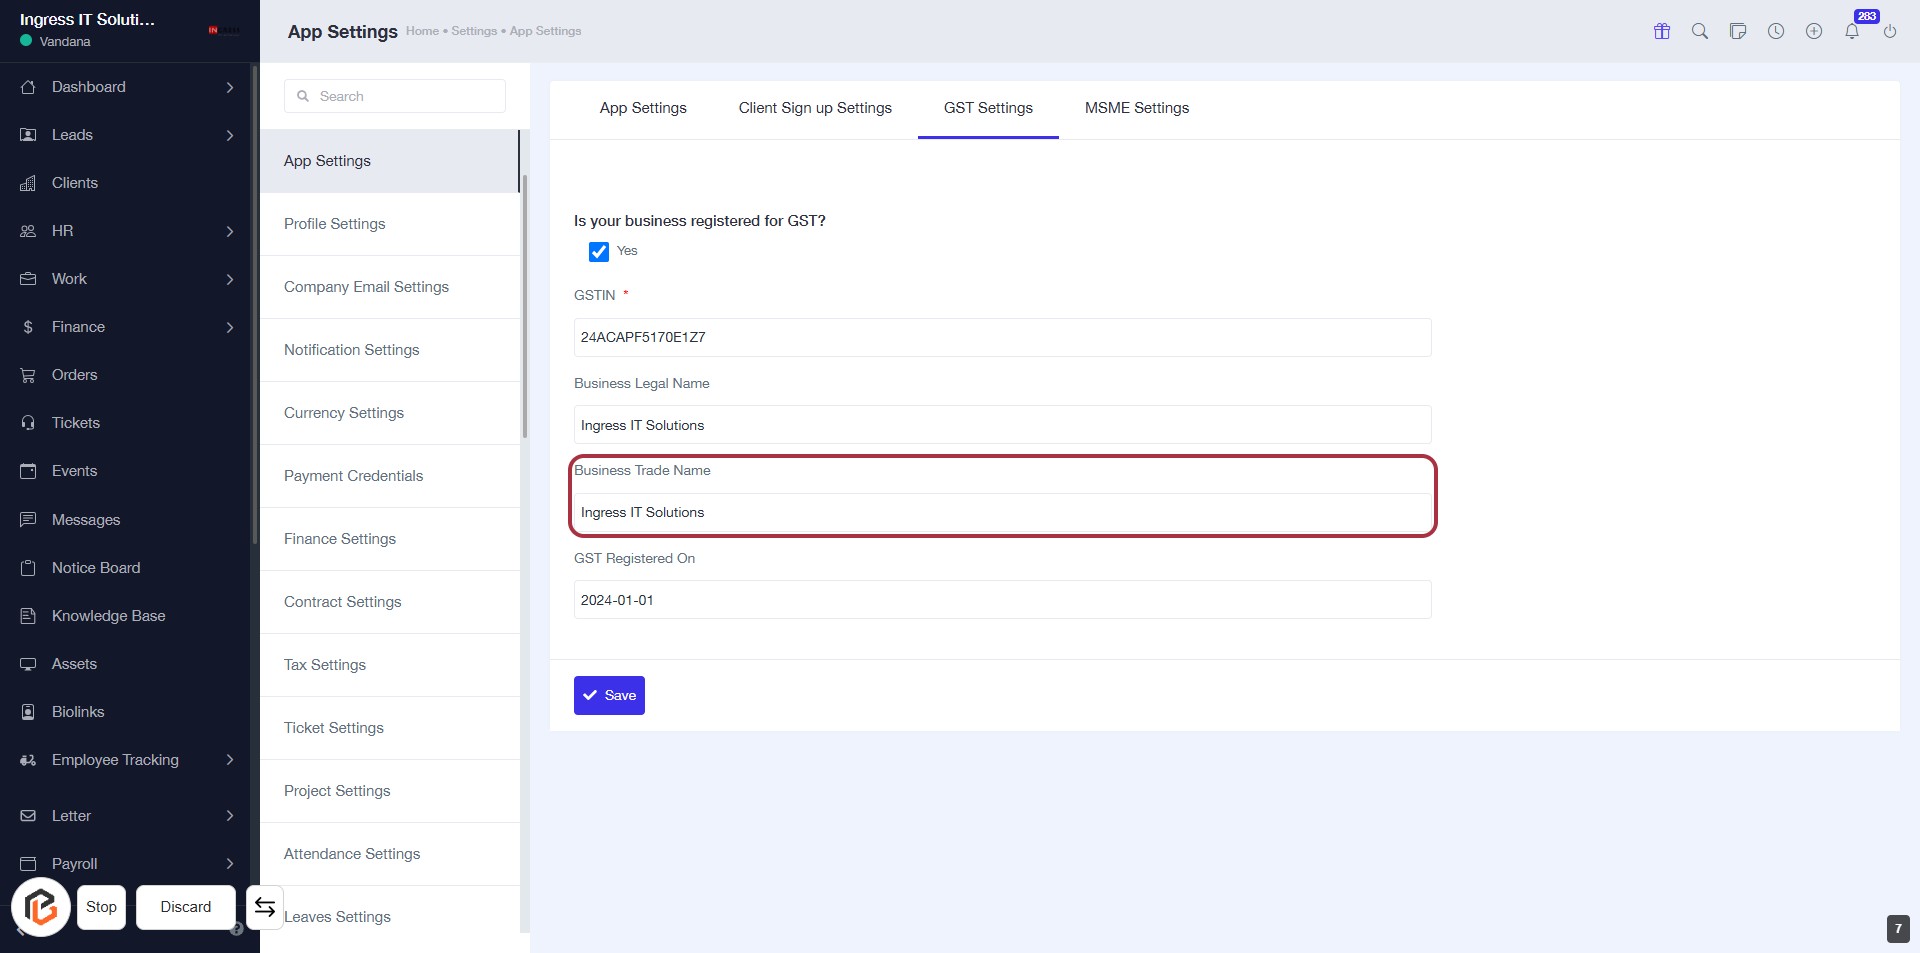
STEP 7: Enter "Business Trade Name"
- Click on the "Business Trade Name" field highlighted in red.
- Input the trade name of your business.
- Ensure all required fields marked with an asterisk (*) are filled out.
- Review your entries before proceeding to the next step.
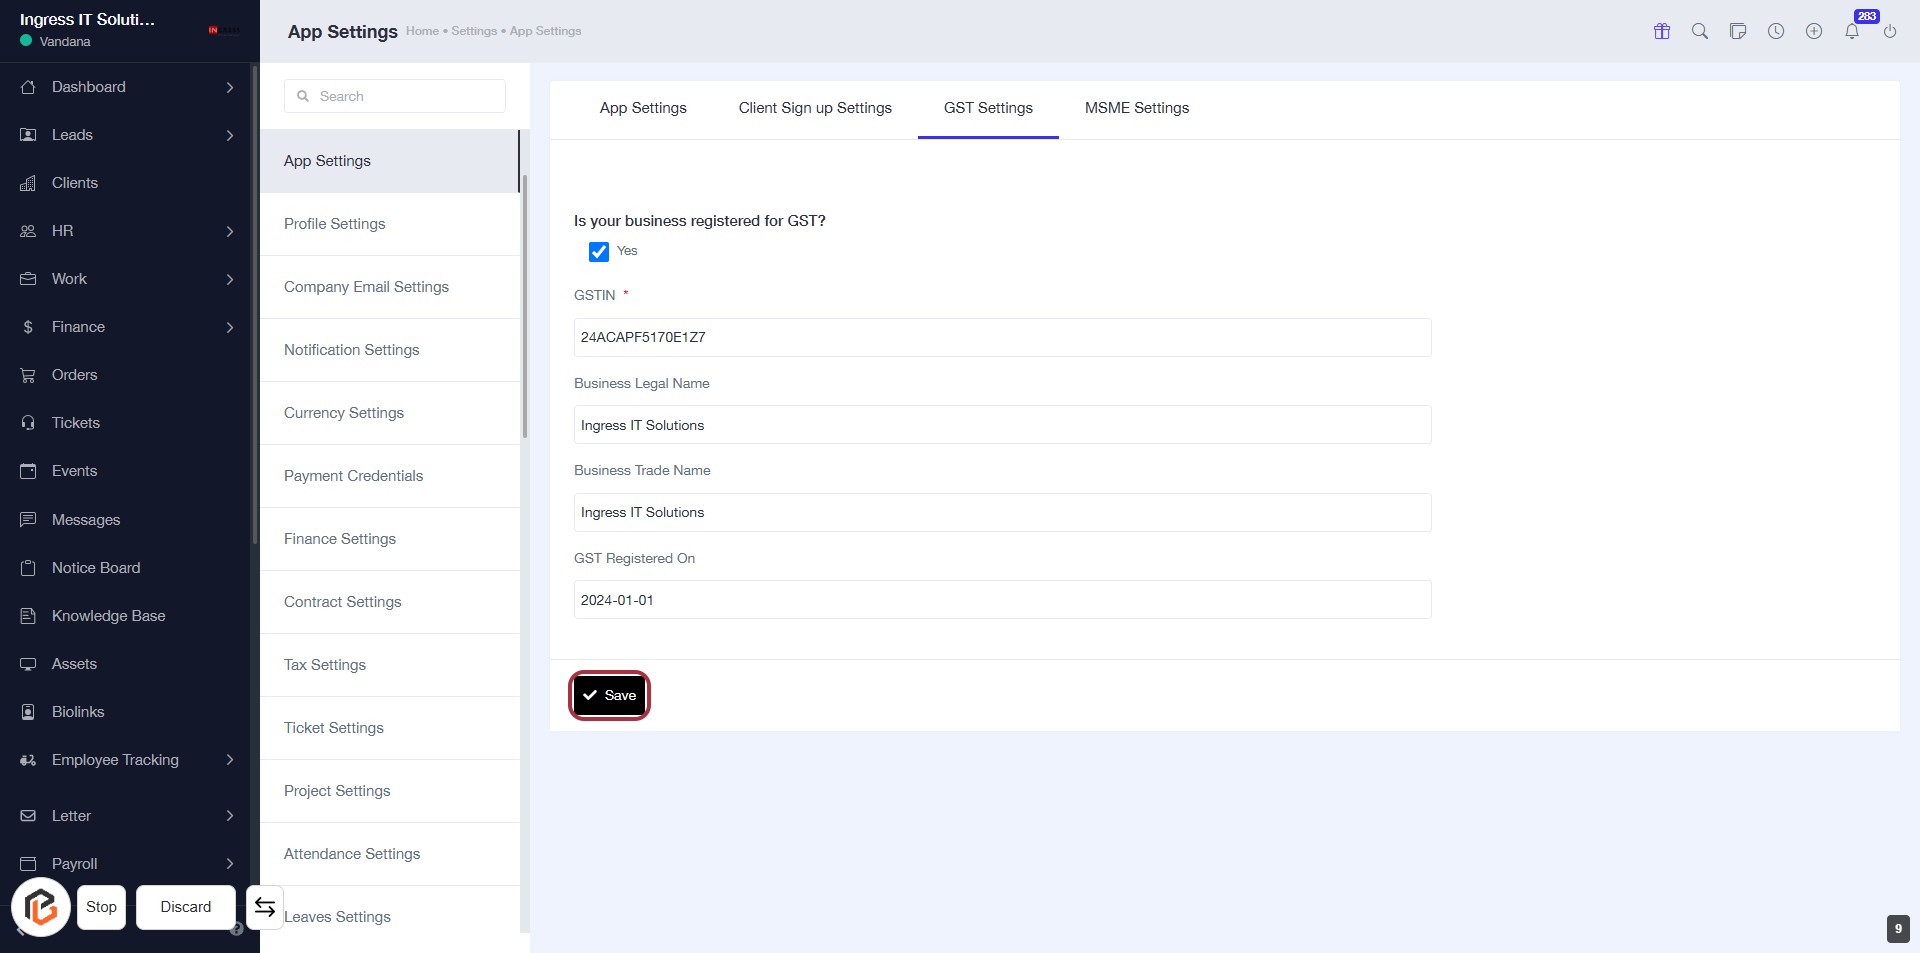
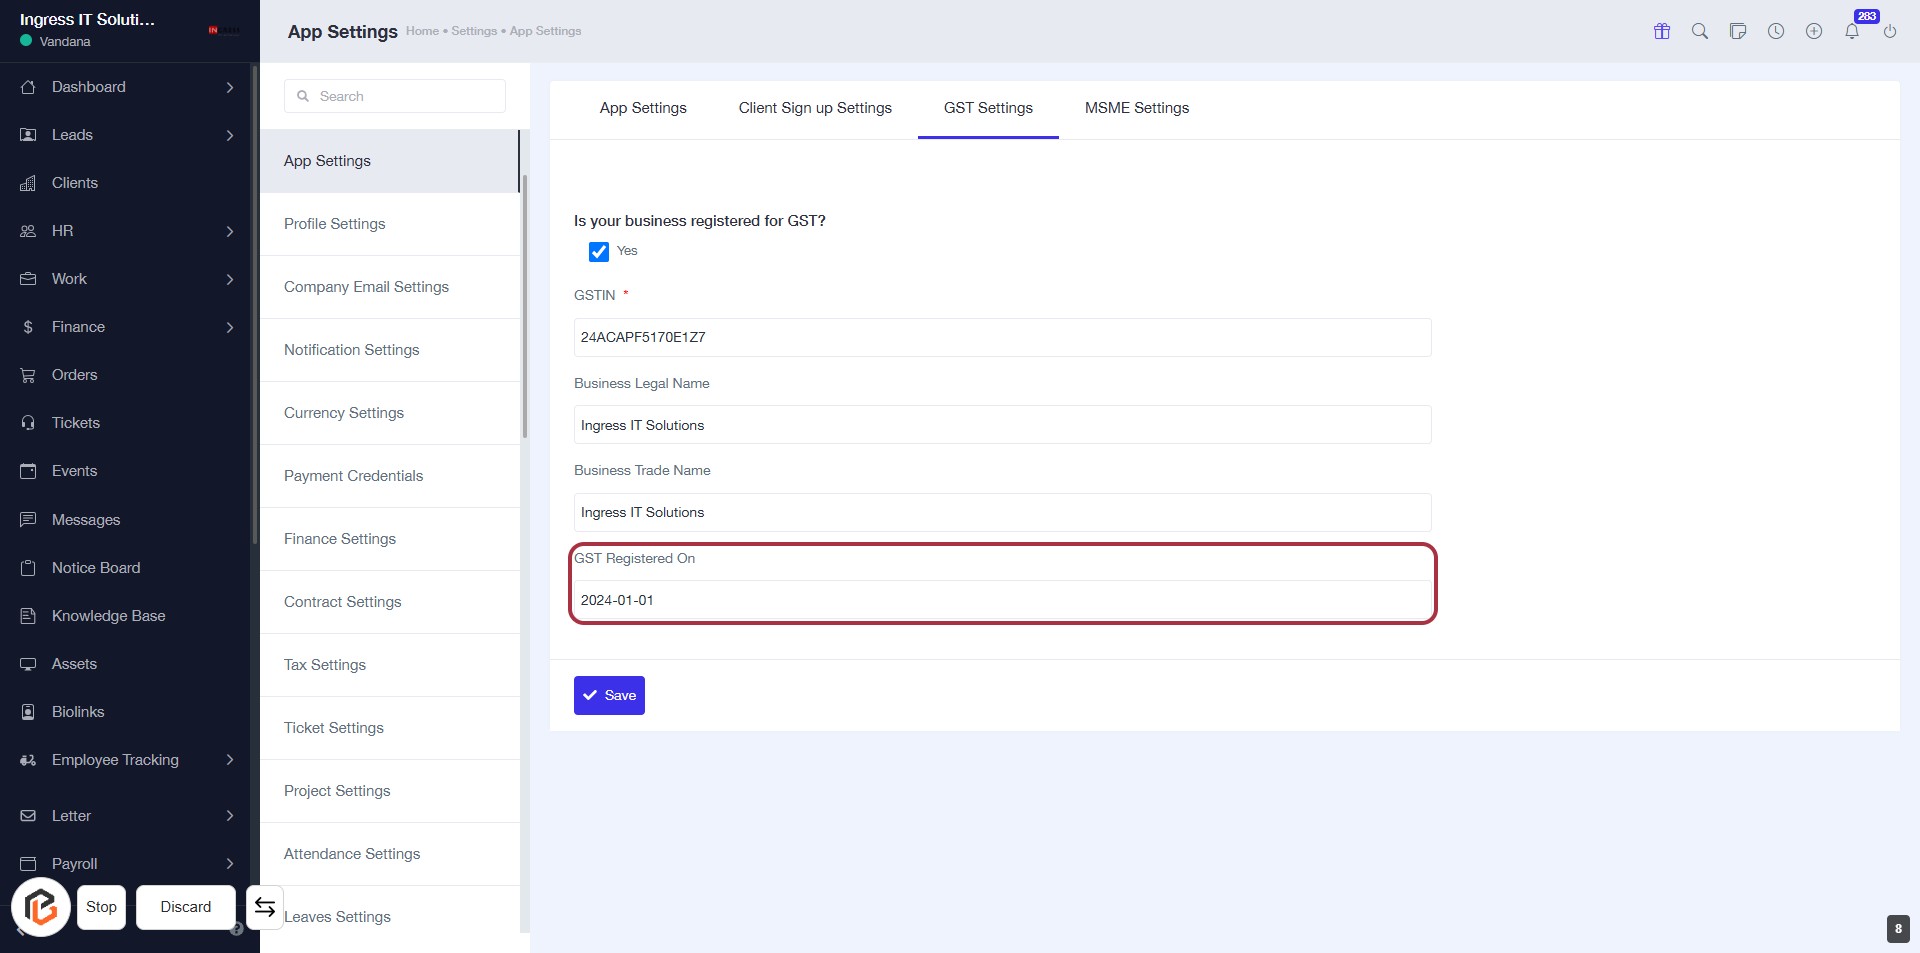
STEP 8: Enter "GST Registered Date"
- Click on the highlighted area labeled "GST Registered On" to input the date.
- Ensure the date format is correct (YYYY-MM-DD).
- Review other fields for completeness, especially those marked with an asterisk (*).
- Proceed to the next step by clicking the "Save" button.
STEP 9: Click on "Save" to Finalize GST Settings
- Ensure all required fields are filled, including GSTIN and GST Registered Date.
- Review the information entered for accuracy.
- Click the Save button at the bottom of the form to save your settings.
- Confirmation of successful saving may appear afterward.