Step-by-Step Guide to Configuring Your Business Address in Dashboard Setting
8 mins read · Updated 29 Sep, 2025
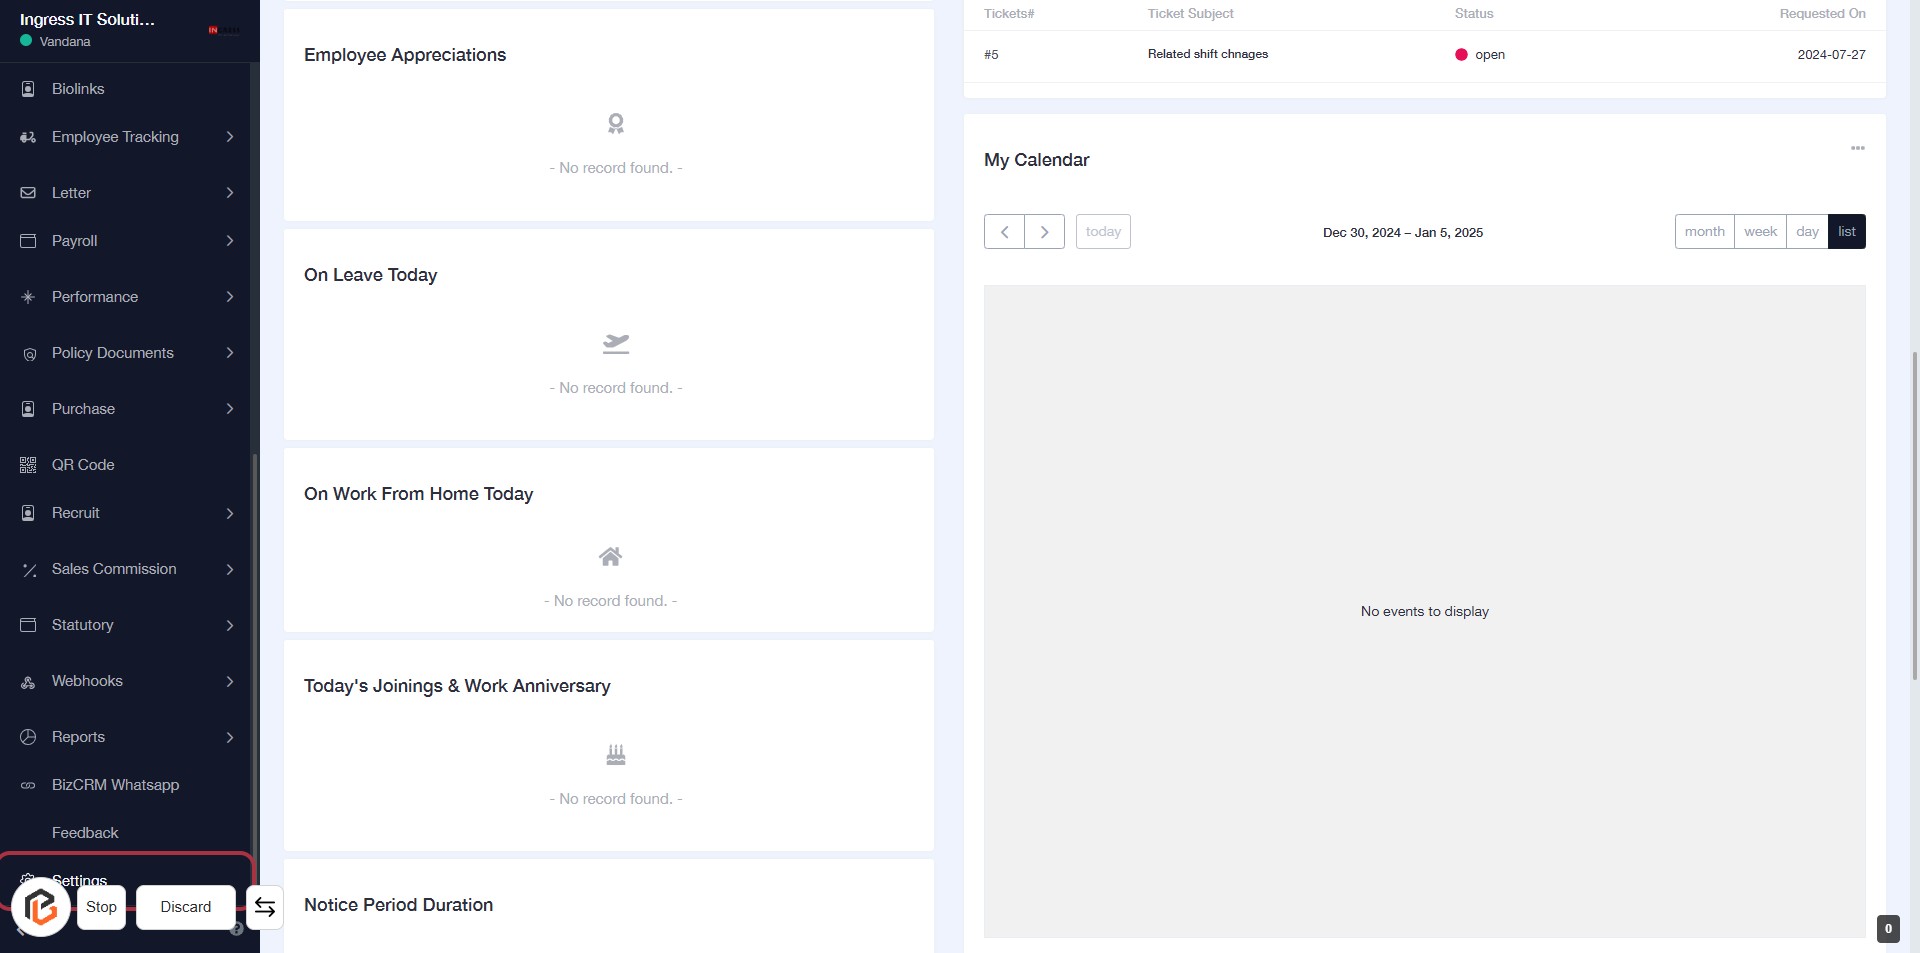
STEP 1: Click on "Settings" to Access Configuration Options
- Navigate to the left sidebar of the dashboard.
- Locate and click on the "Settings" link highlighted in red.
- This action will direct you to the settings configuration page.
- Ensure you review any required fields marked with an asterisk (*) for further actions.
- After completing your adjustments, proceed to the next step by clicking on "Business Address".
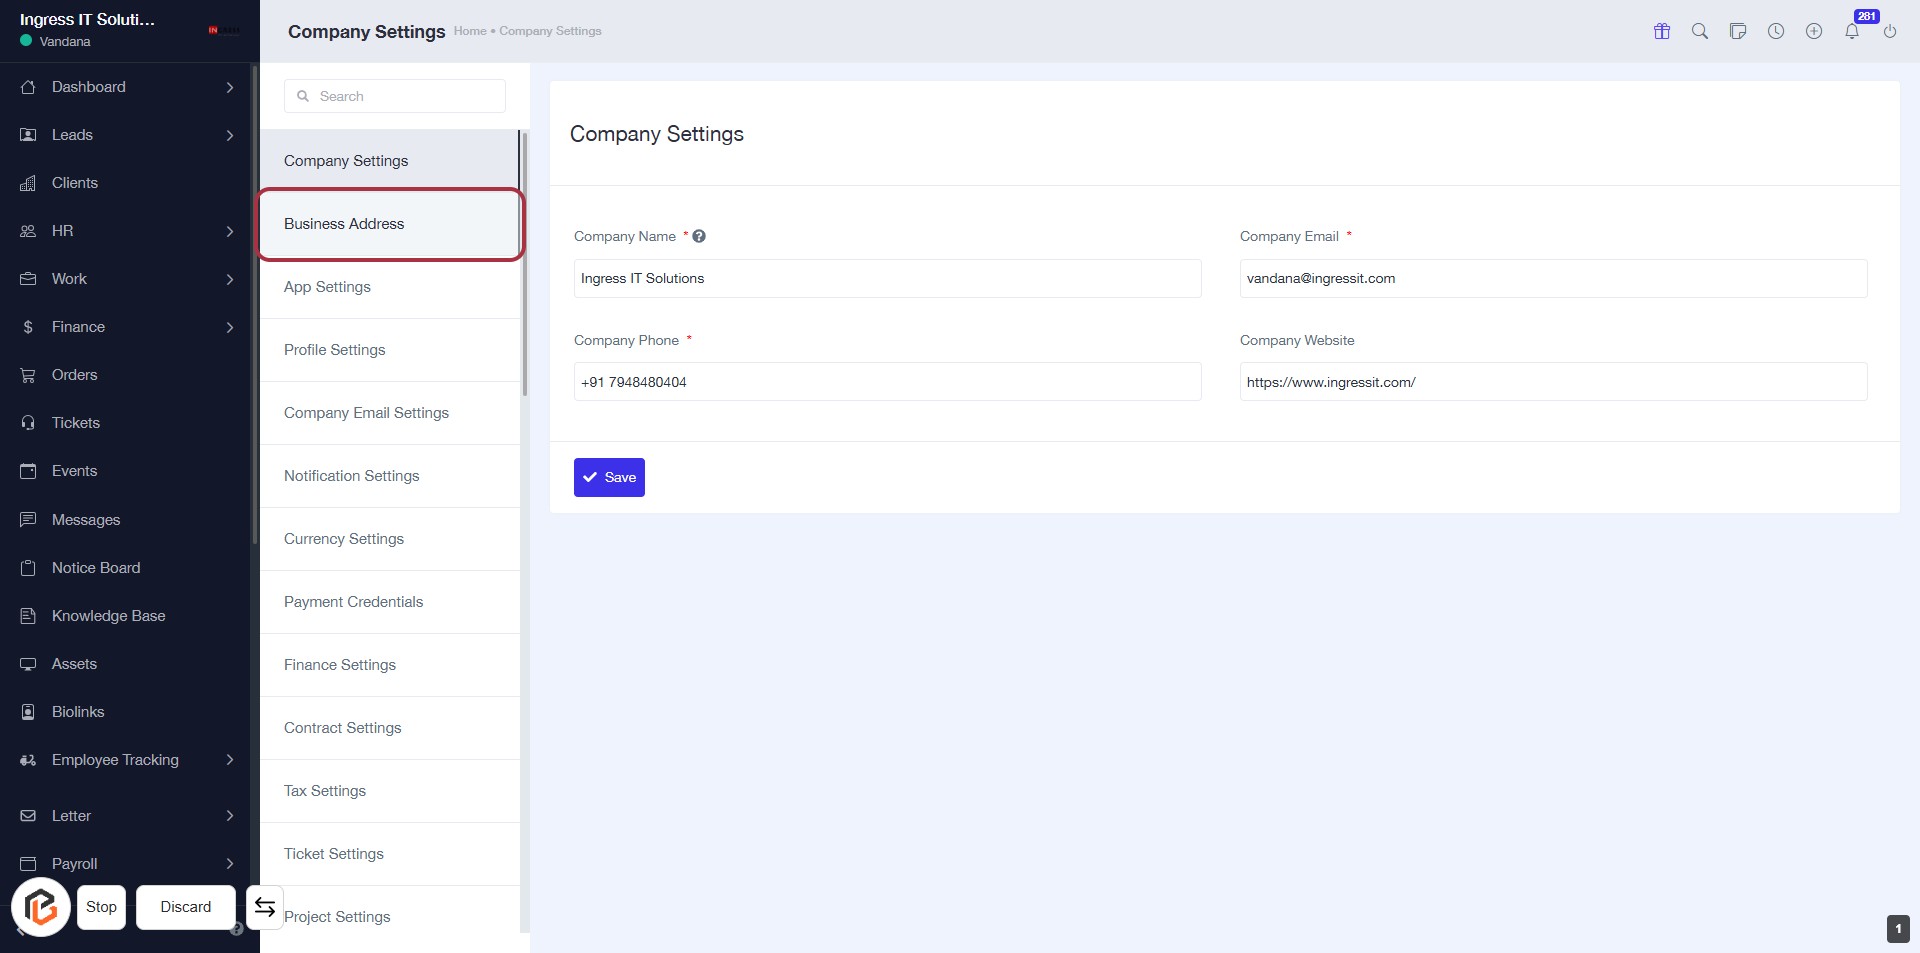
STEP 2: Click on "Business Address" to Access Address Settings
- Navigate to the Business Address section in the settings menu.
- This section allows you to manage your company's address details.
- Required fields include:
- Company Name (*)
- Company Phone (*)
- Company Email (*)
- Company Website
- After entering the information, remember to Save your changes.
- Proceed to the next step by clicking on Add New Address.
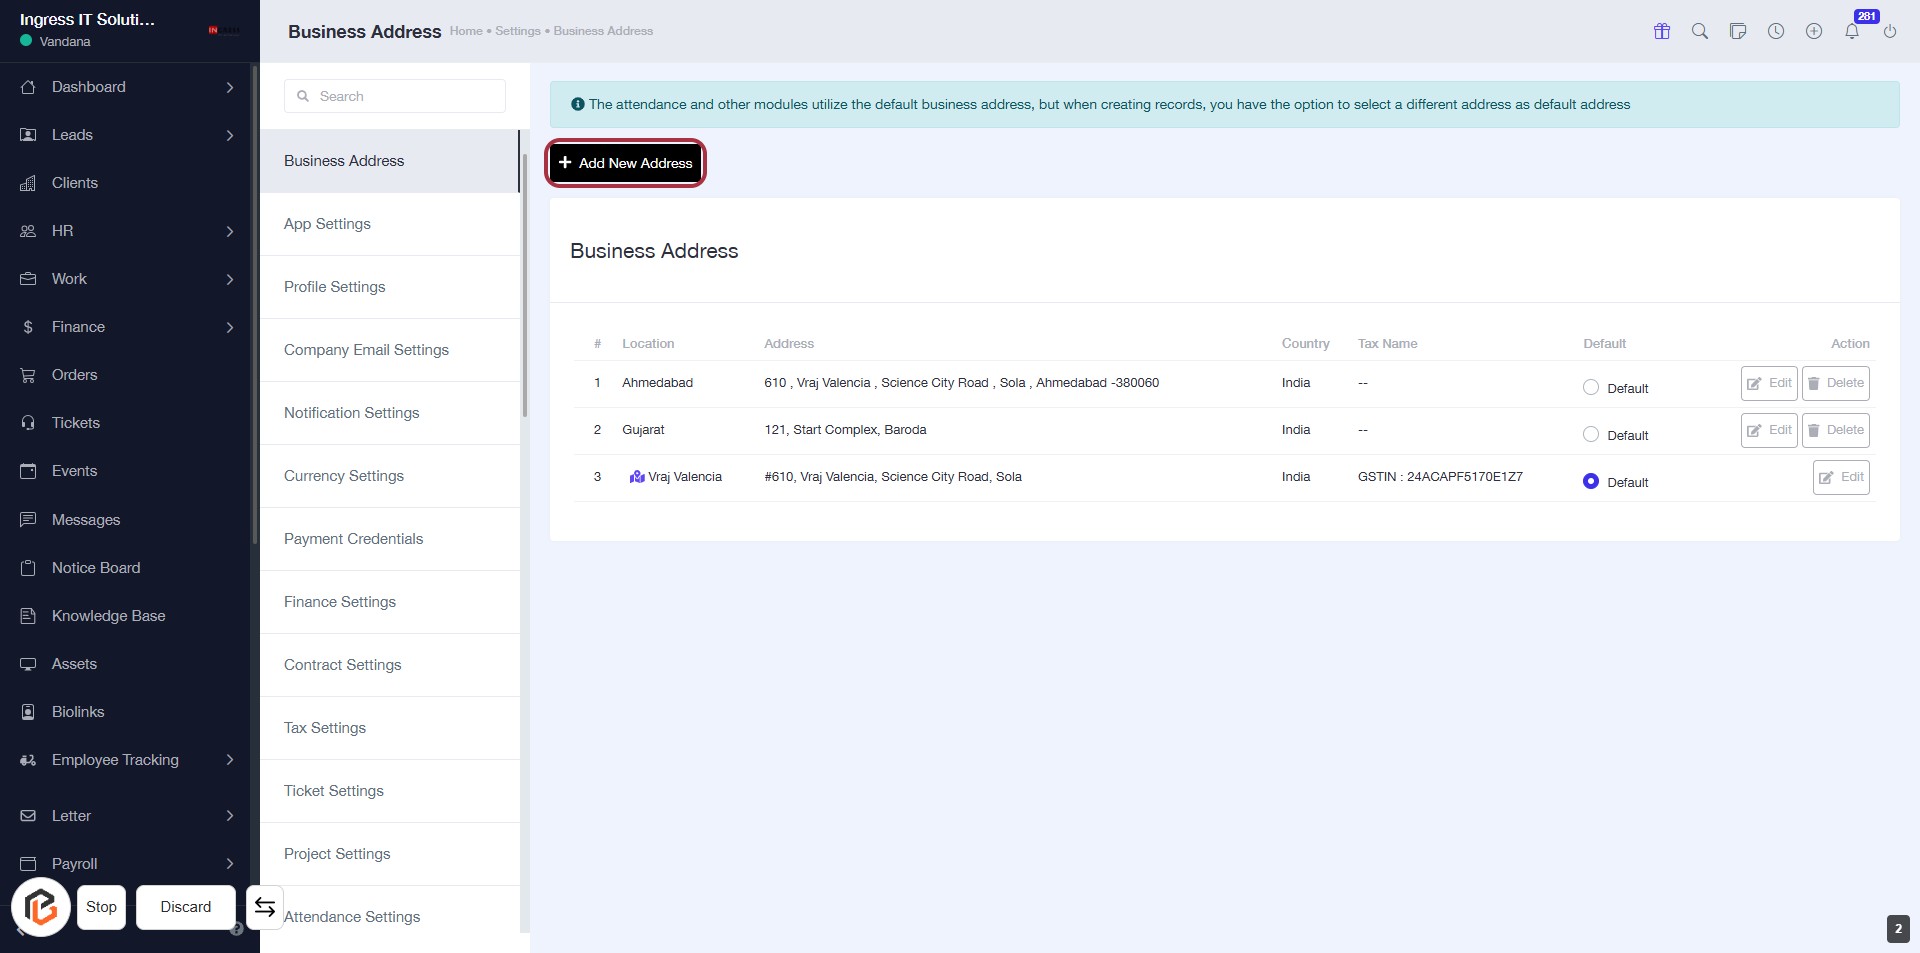
STEP 3: Click on "Add New Address"
- Navigate to the Business Address section.
- Click on the Add New Address button located at the top of the address list.
- This action will allow you to enter a new business address.
- Ensure to fill in all required fields marked with an asterisk (*) in the subsequent form.
- After adding the address, proceed to the next step to fill out the "Country" field.
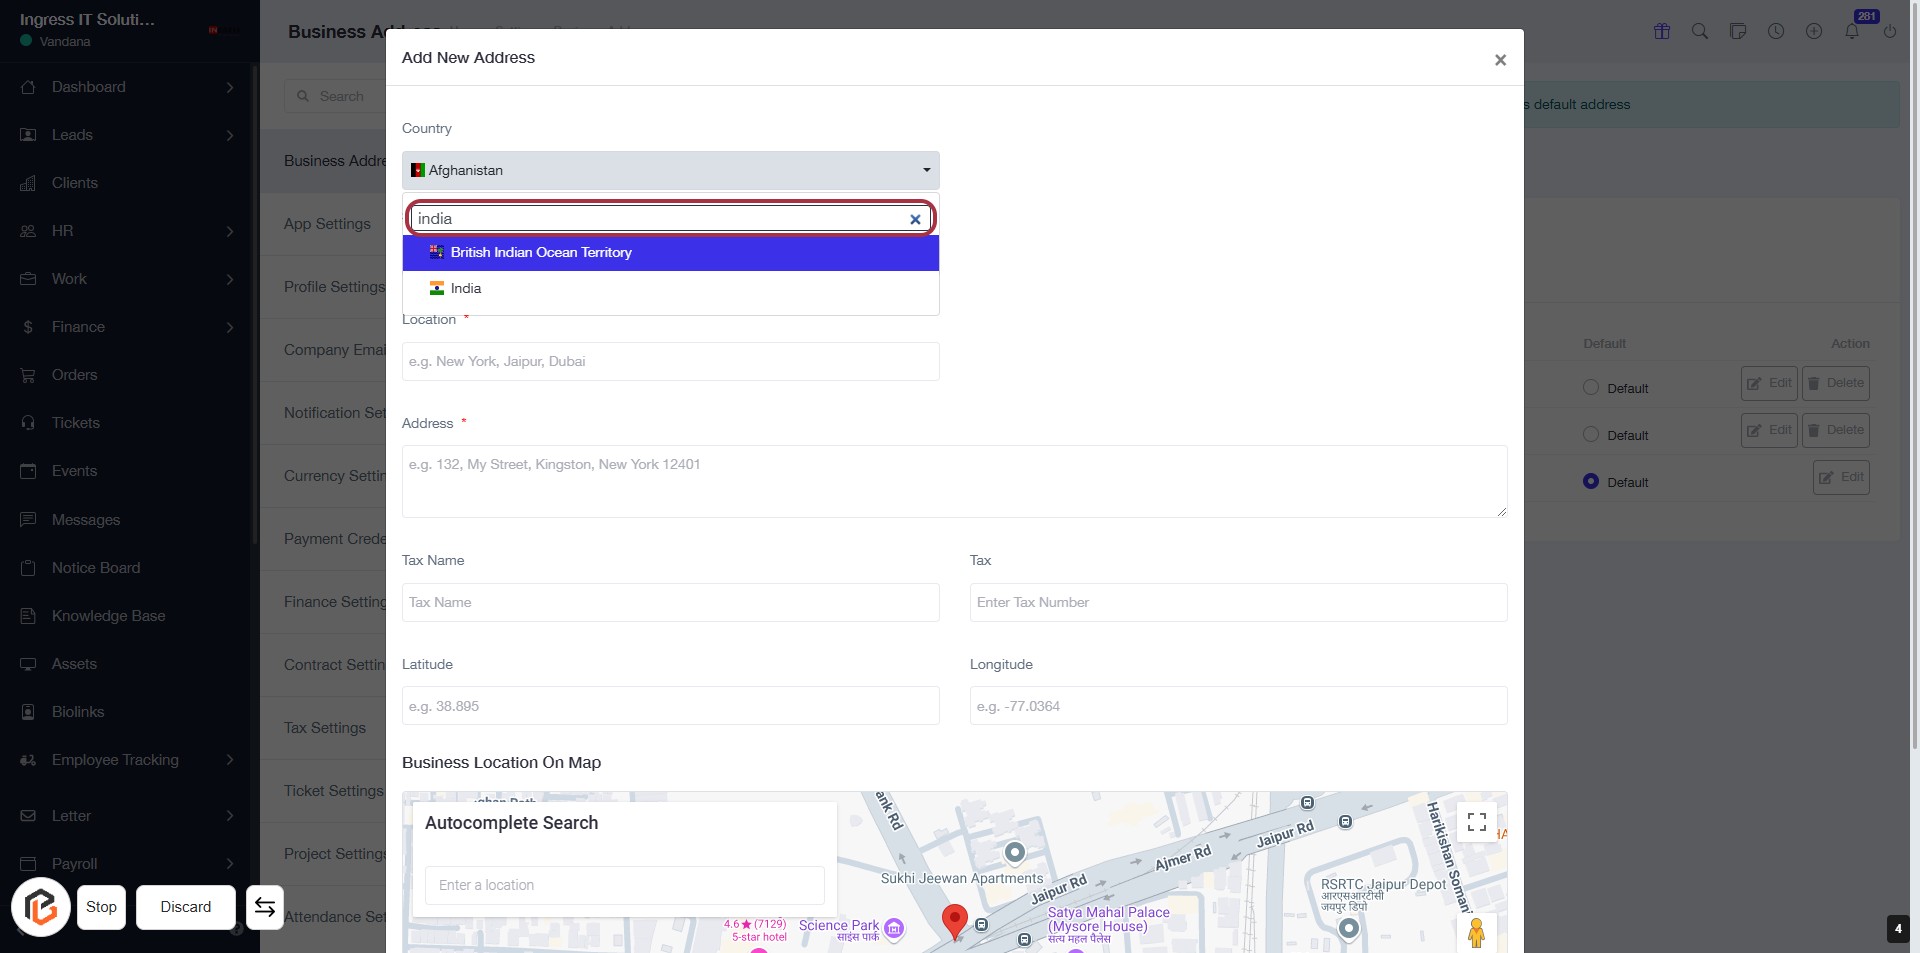
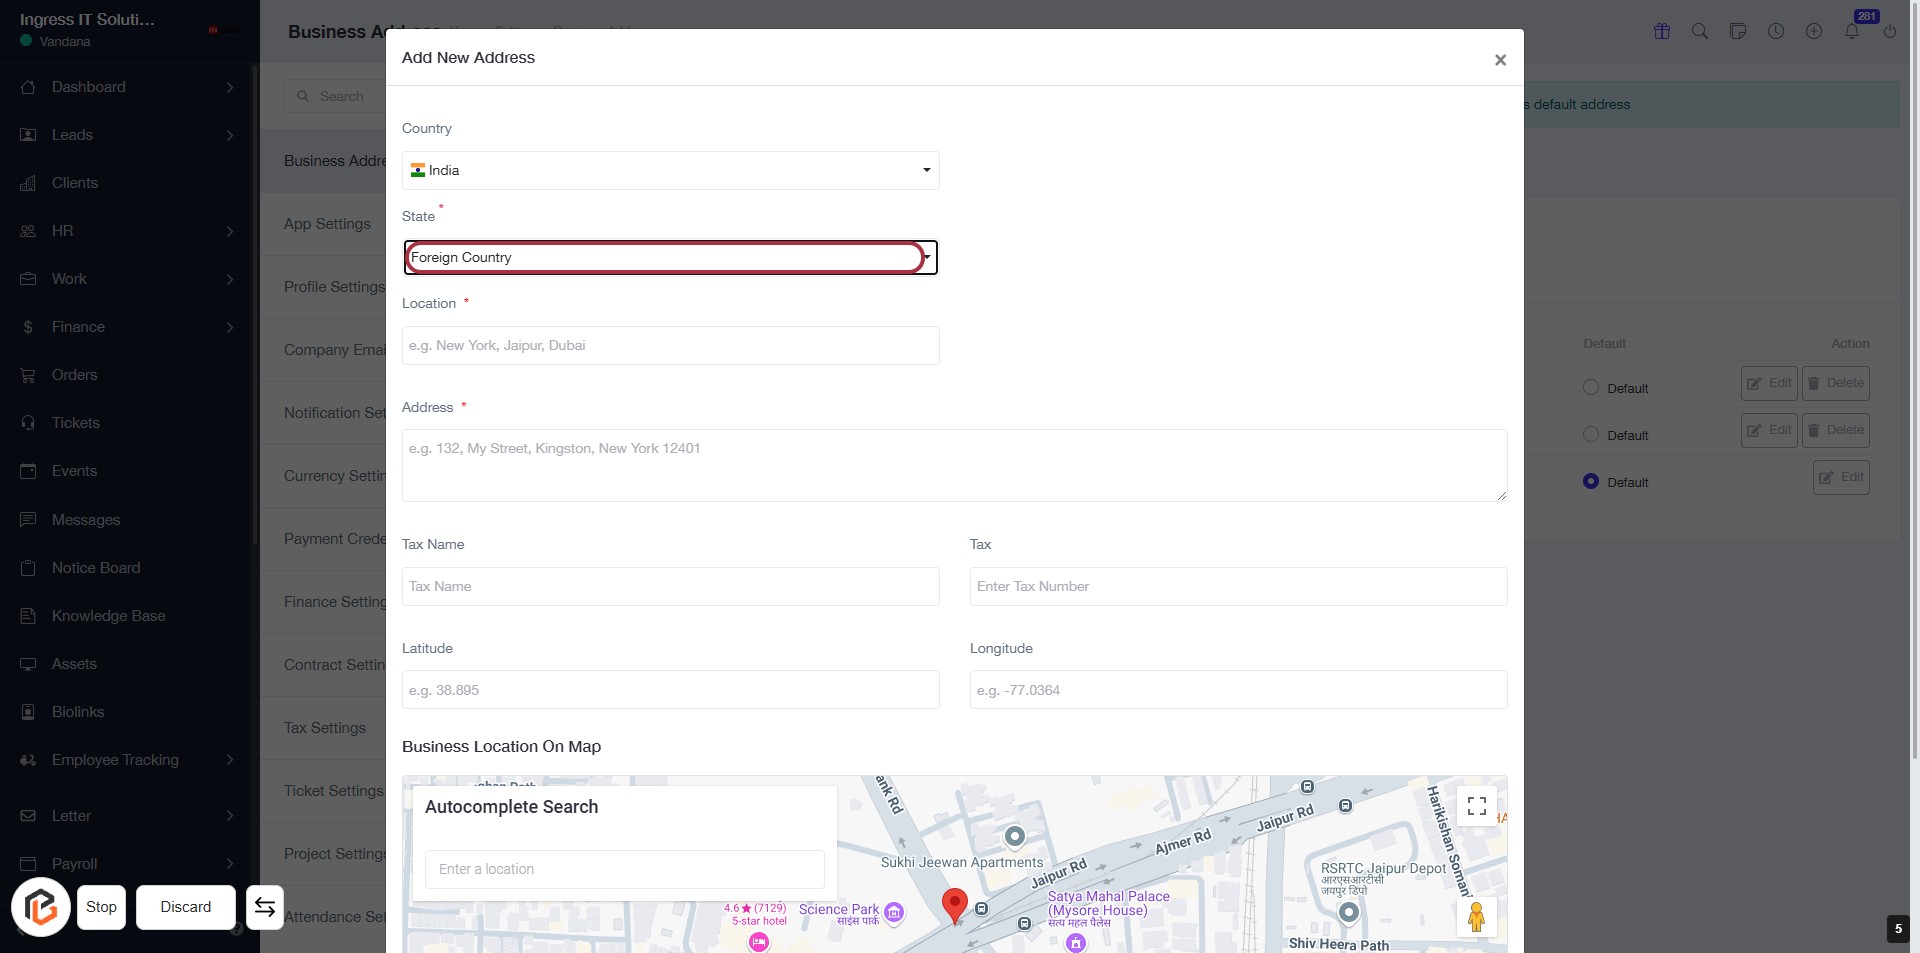
STEP 4: Fill Out the Country Field
- Locate the "Country" input field in the "Add New Address" form.
- Enter the name of the country, e.g., "India".
- Ensure that the country is selected from the dropdown options available.
- Note that this field is required, indicated by the asterisk (*).
- After filling out the country, proceed to the next step by clicking on the "State" field.
STEP 5: Click on "State" to Select Foreign Country
- Action: Click on the "State" field highlighted in red.
- Purpose: This allows you to select a state related to the foreign country you have specified.
- Required Input: Ensure the "Country" field is filled out before proceeding.
- Next Steps: After selecting the state, move on to fill out the "City" and "Address" fields as indicated in the next step.
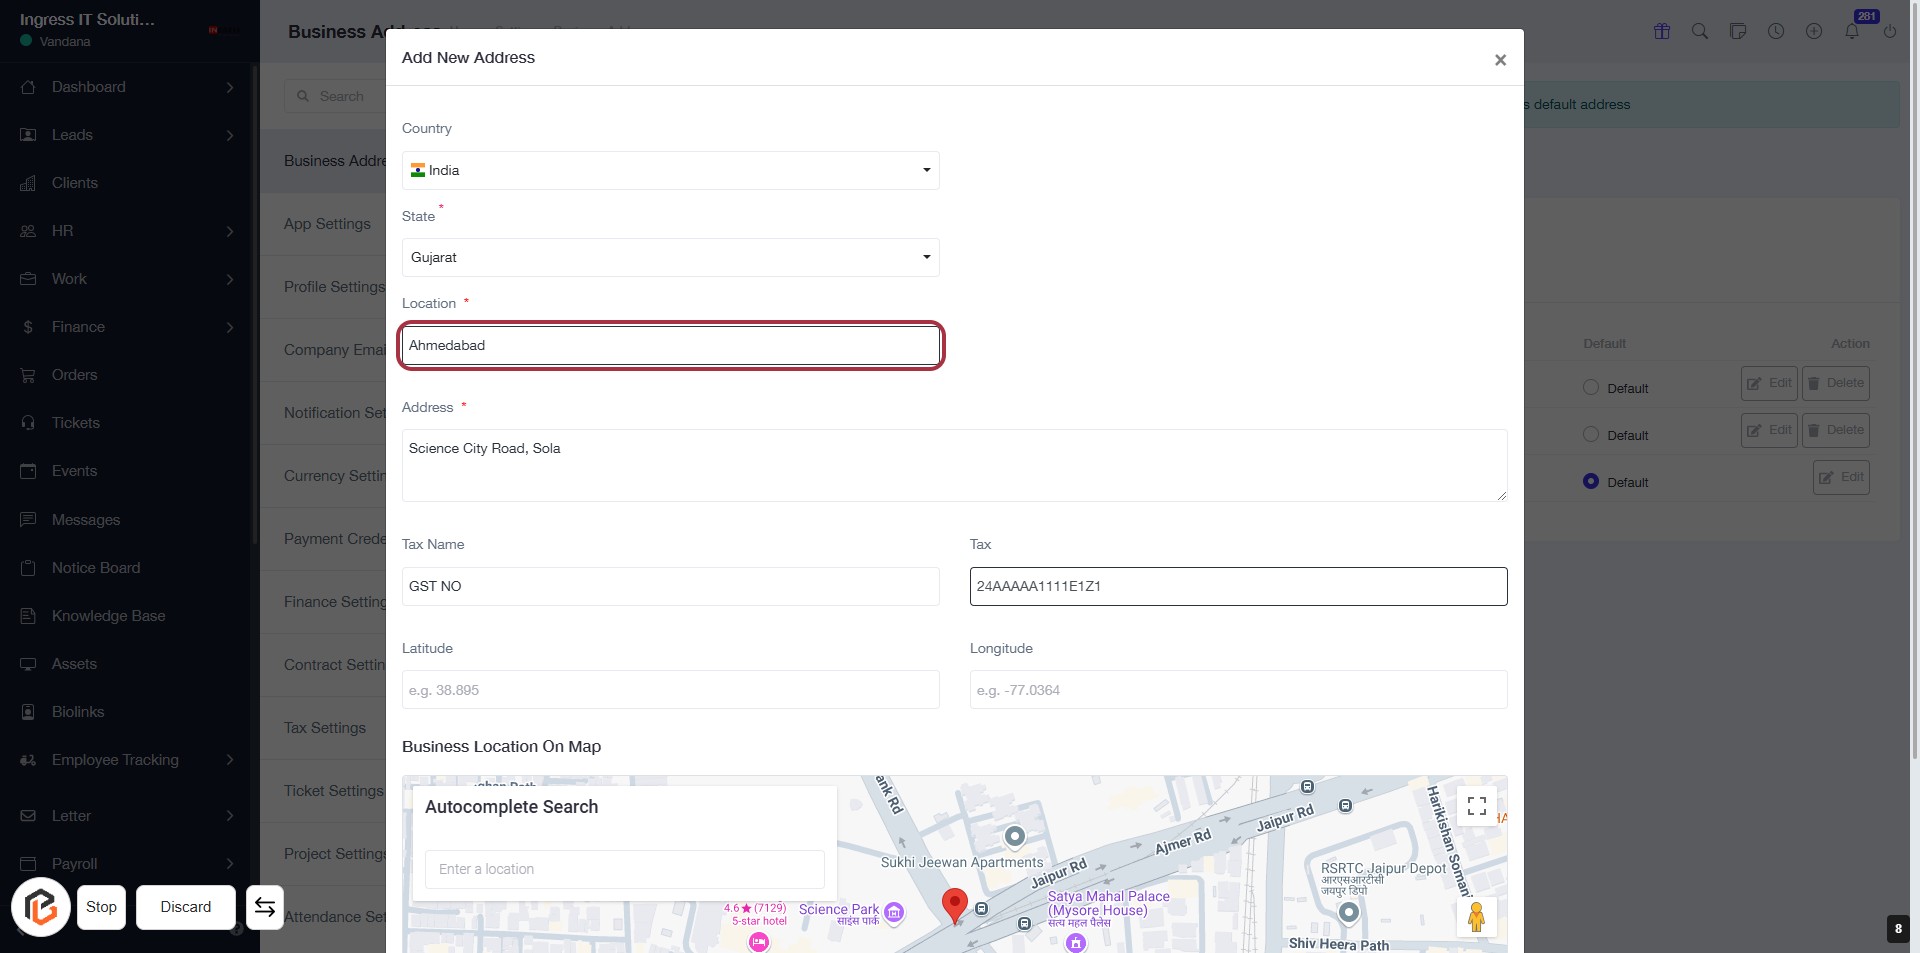
STEP 6: Fill Out Tax Information
- Input Tax Number: Enter the tax number in the highlighted field labeled "Tax."
- Required Fields: Ensure that all mandatory fields marked with an asterisk (*) are filled out.
- Address Details: Confirm that the city and address fields are correctly filled out before proceeding.
- Next Steps: After completing this section, click on the next button to search for your Google location for latitude and longitude.
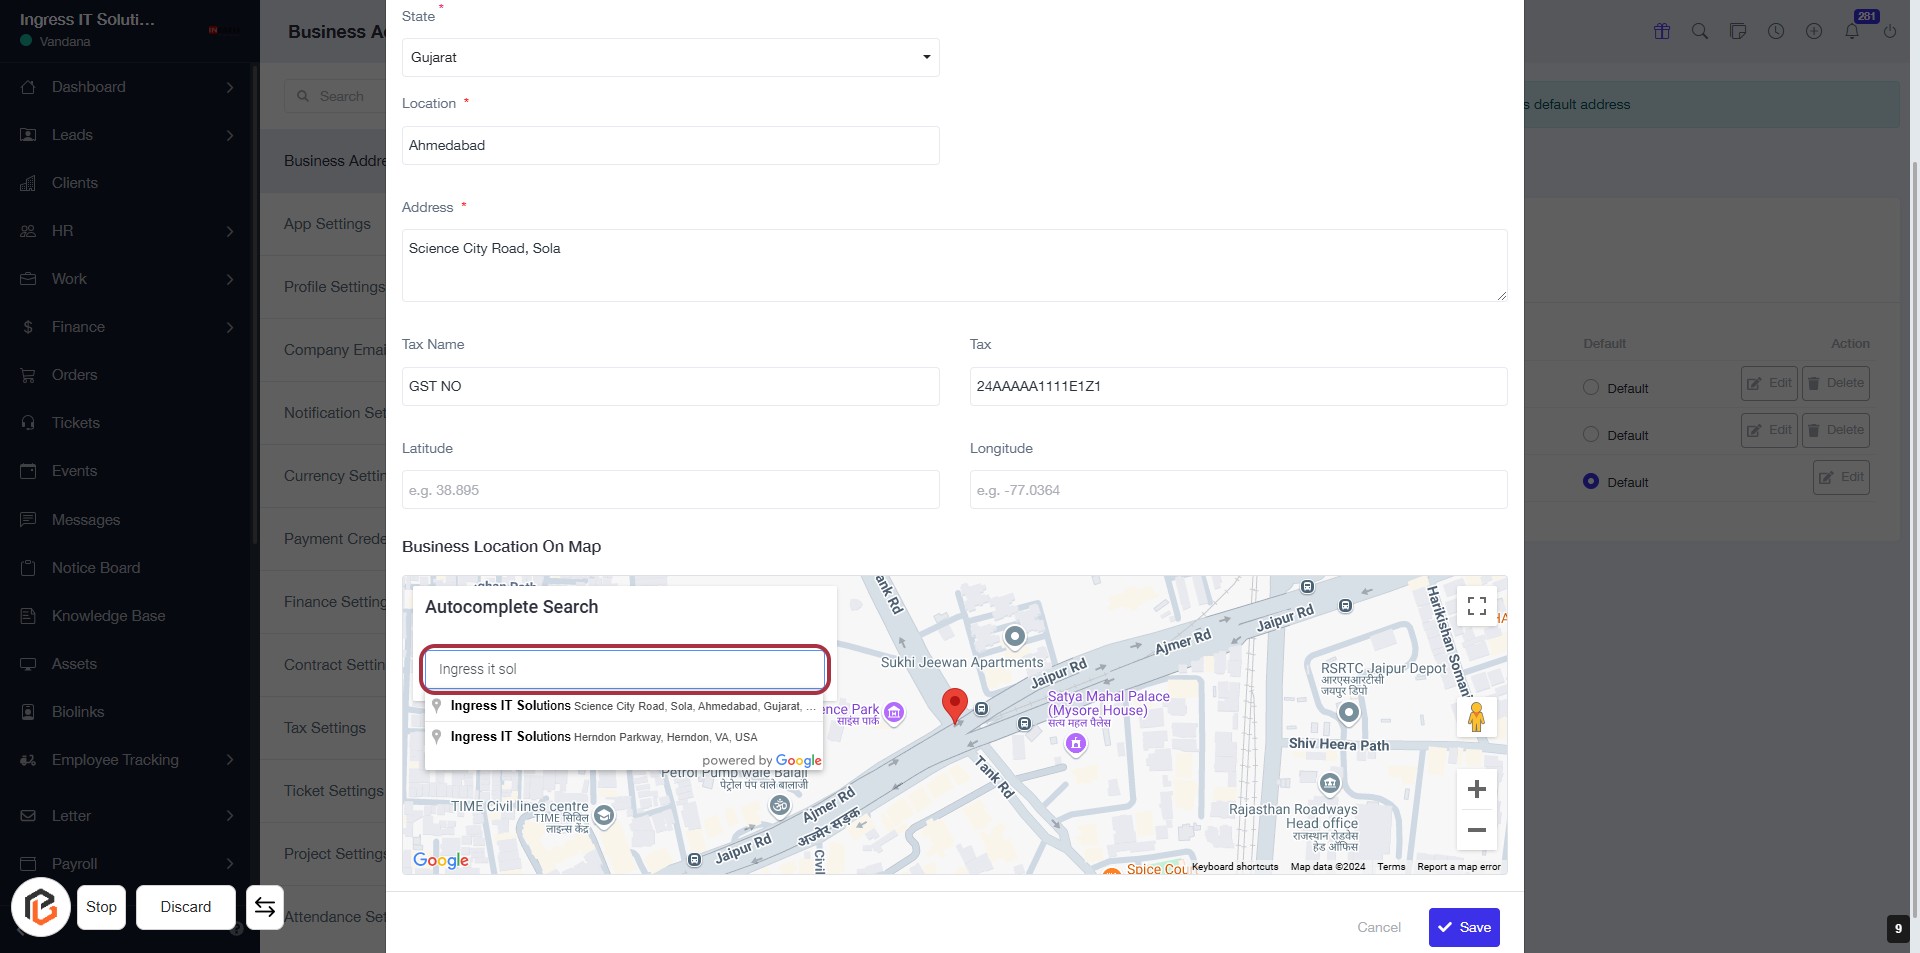
STEP 7: Fill Out Your Business Location Using Autocomplete Search
- Locate the Input Field: Find the "Autocomplete Search" input box highlighted in red.
- Enter Your Business Name: Type "Ingress IT Solutions" or your business name into the input field.
- Select from Suggestions: Choose the correct location from the dropdown suggestions that appear.
- Review Other Fields: Ensure other required fields (State, Location, Address, Tax Name, Tax, Latitude, Longitude) are filled out appropriately.
- Proceed to Save: After confirming all details, click on the "Save" button to finalize your entry.
STEP 8: Click on "Save" to Finalize Your Business Address
- Ensure all required fields are filled out, including Location, Address, Tax Name, Tax, Latitude, and Longitude.
- Review the information for accuracy before proceeding.
- Locate the "Save" button at the bottom right of the form.
- Click on the "Save" button to save your business address settings.
- A confirmation message may appear indicating that your changes have been successfully saved.
