Step-by-Step Guide to Configuring TradeIndia Settings and Lead Management
13 mins read · Updated 29 Sep, 2025
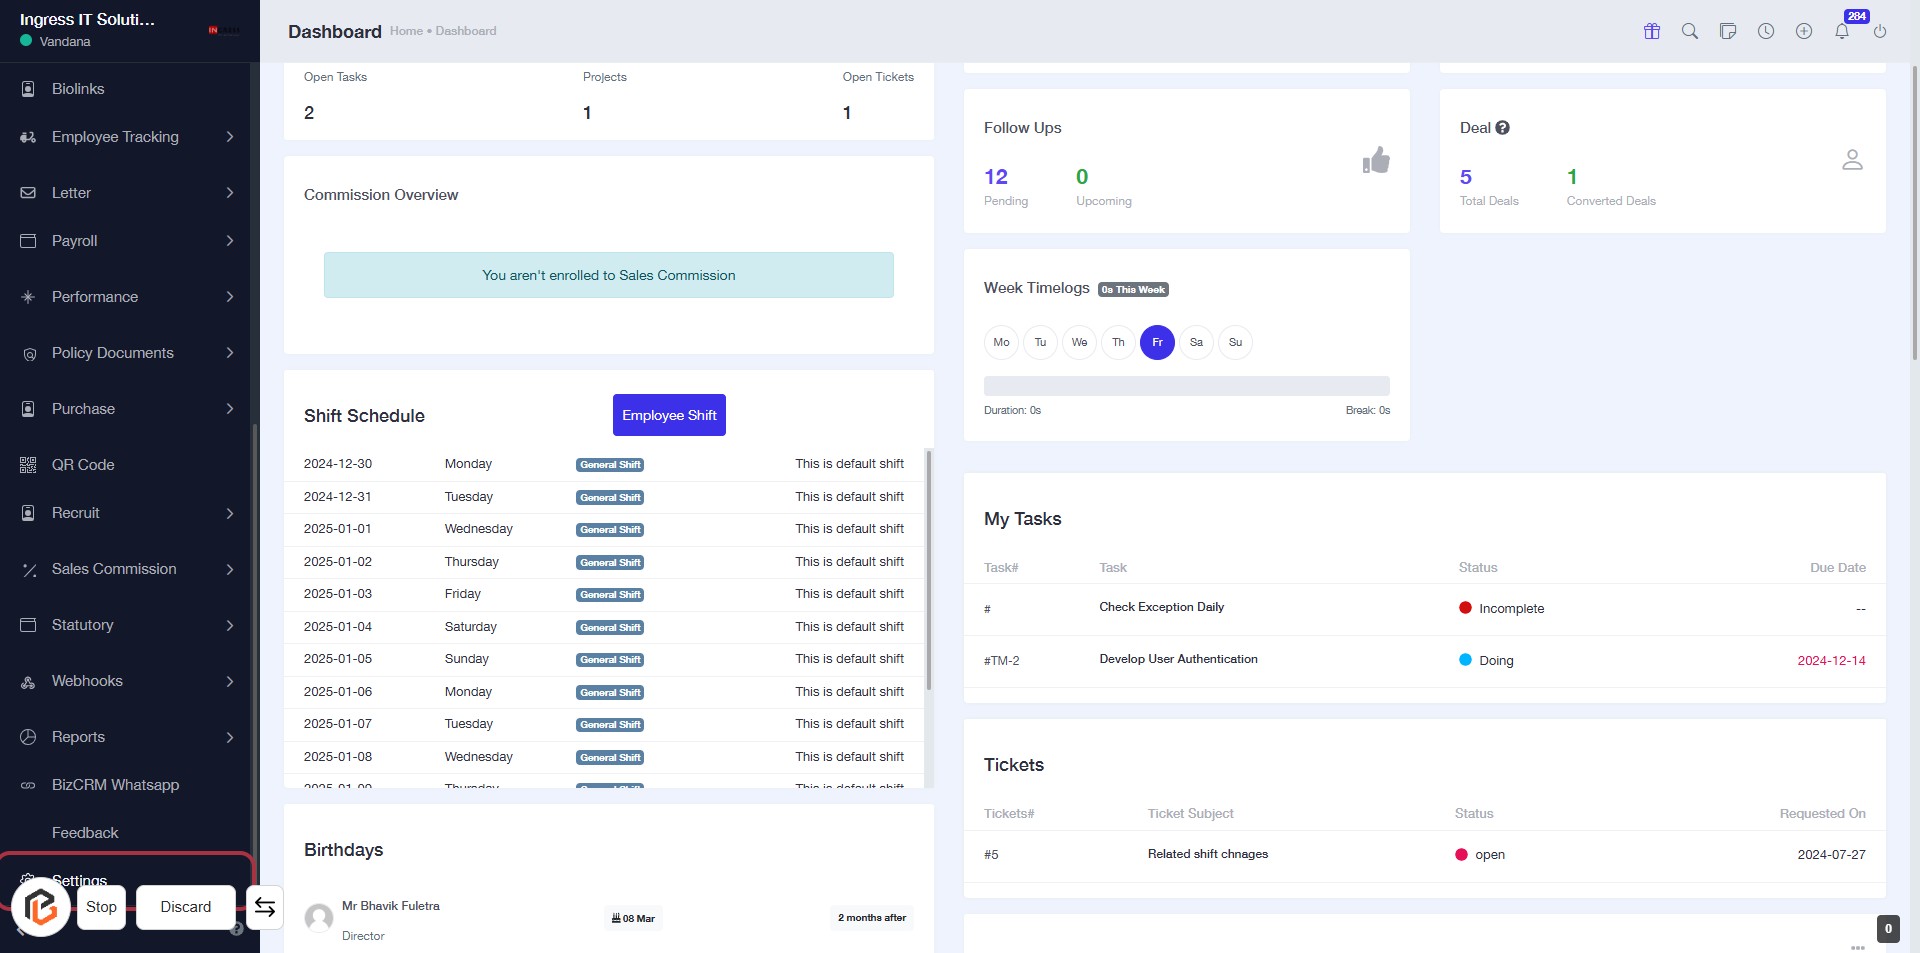
STEP 1: Click on "Settings" to Access Configuration Options
- Navigate to the left sidebar of the dashboard.
- Locate and click on the "Settings" link.
- This action will direct you to the settings configuration page for further adjustments.
- Ensure to review all available options once on the settings page.
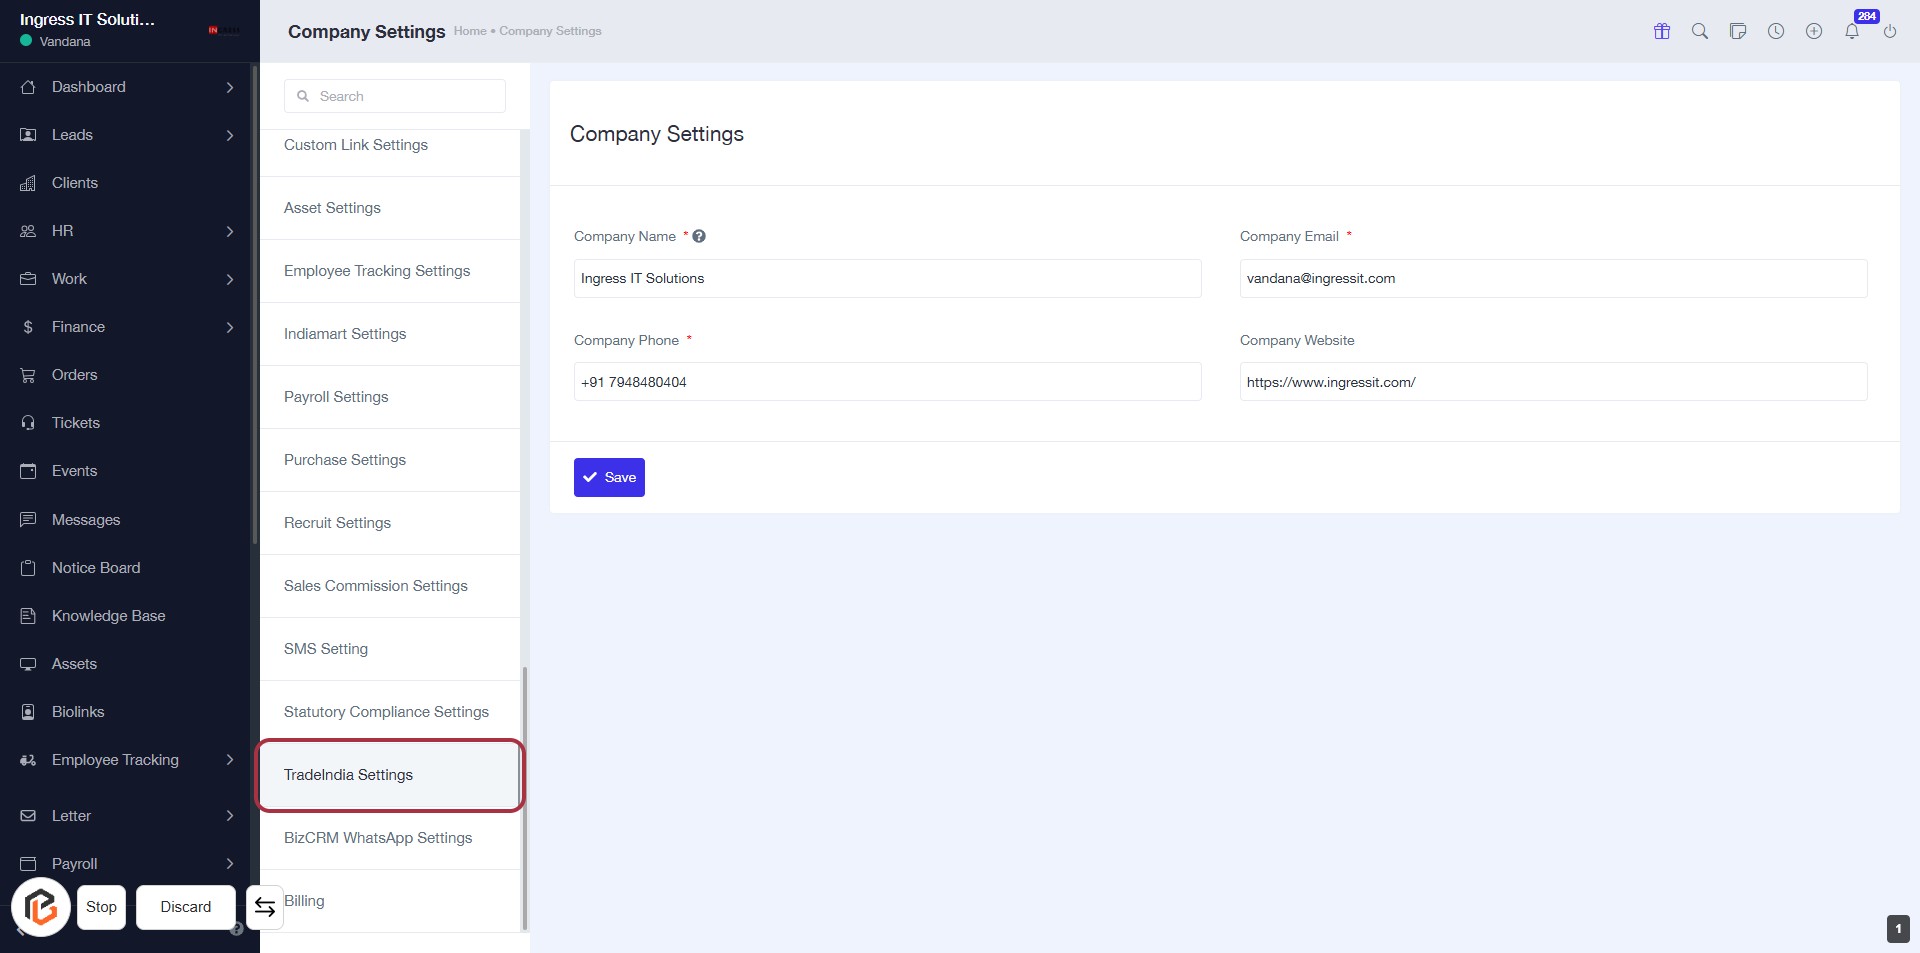
STEP 2: Click on "TradeIndia Settings"
- Navigate to the Company Settings page.
- Click on TradeIndia Settings in the sidebar.
- Ensure you have filled in all required fields marked with an asterisk (*).
- Review any additional settings available in this section.
- Proceed to the next step by selecting TradeIndia Lead Setting.
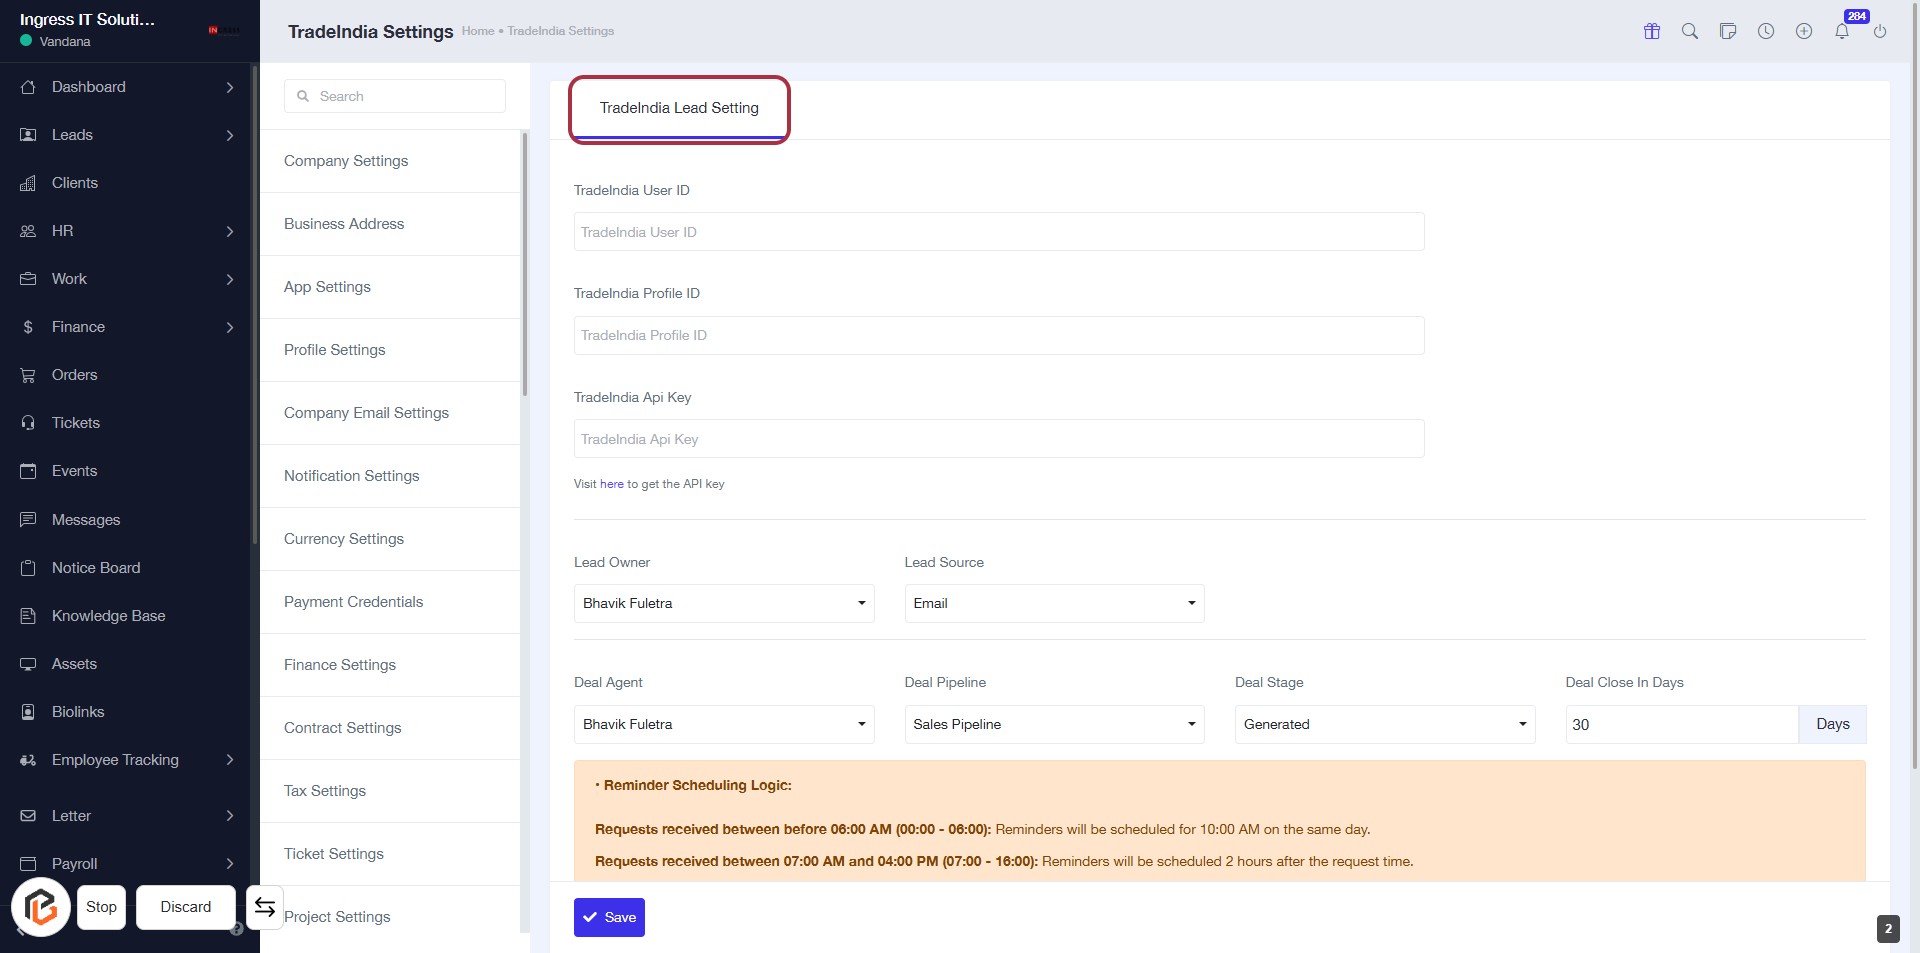
STEP 3: Select "TradeIndia Lead Setting"
- Click on the "TradeIndia Lead Setting" link in the settings menu.
- This will direct you to the TradeIndia settings form.
- Ensure to fill in the required fields such as TradeIndia User ID, Profile ID, and API Key.
- Optional fields include Lead Owner, Lead Source, Deal Agent, Deal Pipeline, Deal Stage, and Deal Close In Days.
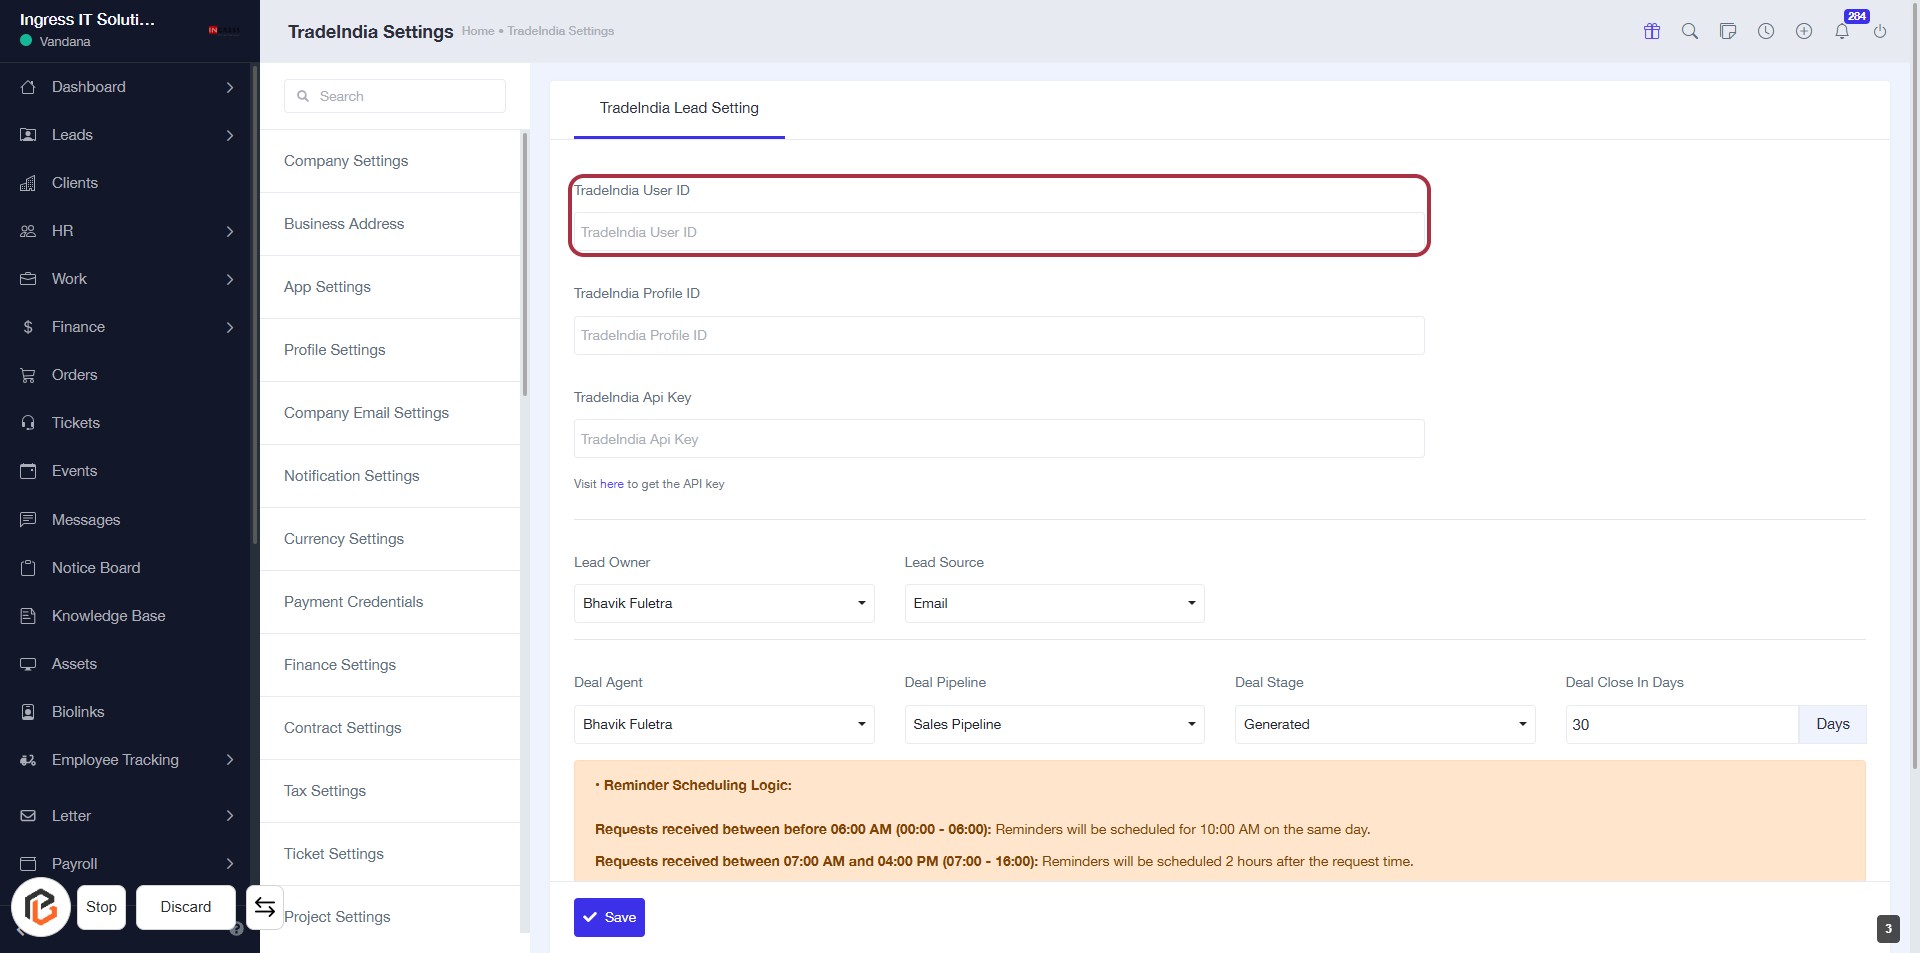
STEP 4: Enter "TradeIndia User ID"
- Click on the highlighted area labeled "TradeIndia User ID."
- Ensure the field is empty before entering your ID.
- This field is required; look for the '*' sign if present.
- After entering, proceed to the next step to fill in "TradeIndia Profile ID."
STEP 5: Enter "TradeIndia Profile ID"
- Click on the "TradeIndia Profile ID" field highlighted in red.
- Ensure to input the correct Profile ID.
- Review other fields for any required information marked with an asterisk (*).
- Proceed to the next step by entering the "TradeIndia Api Key."

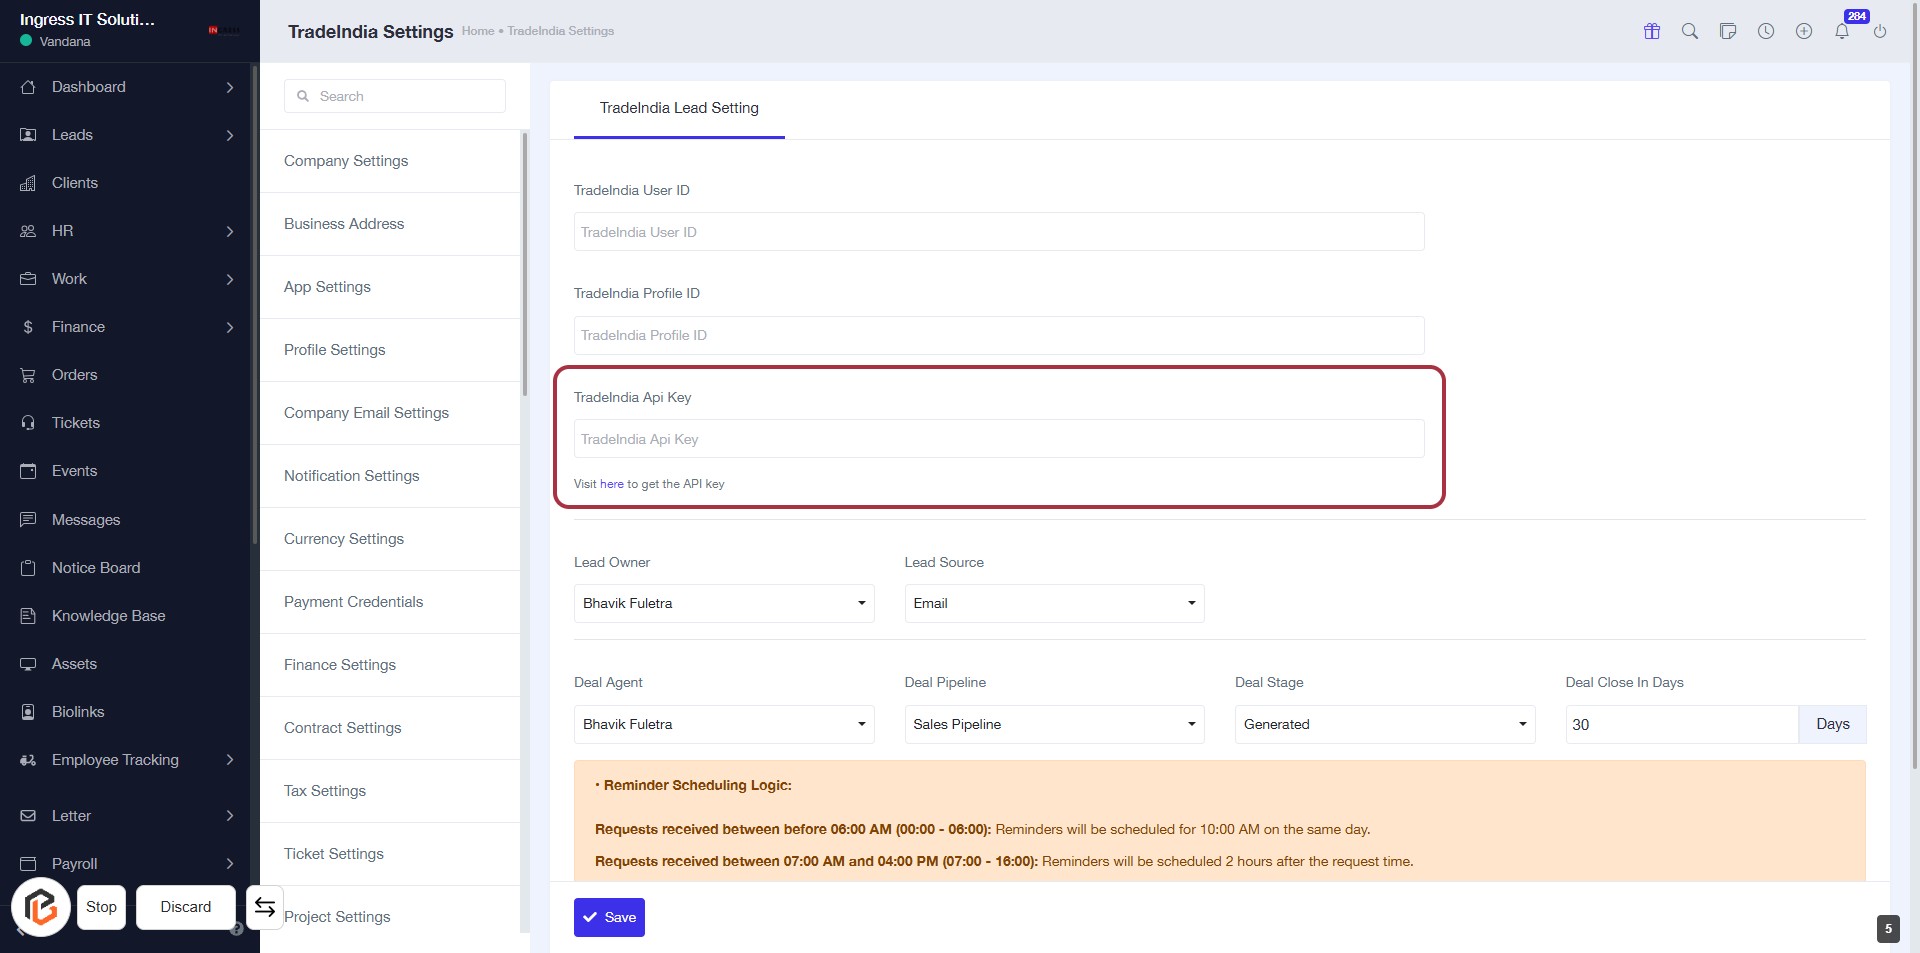
STEP 6: Enter "TradeIndia Api Key"
- Click on the "TradeIndia Api Key" field highlighted in red.
- Input the API key you have obtained.
- Ensure the field is filled correctly as it may be required for further settings.
- Review other fields like "Lead Owner" and "Lead Source" for completeness.
- Save your changes to update the settings.
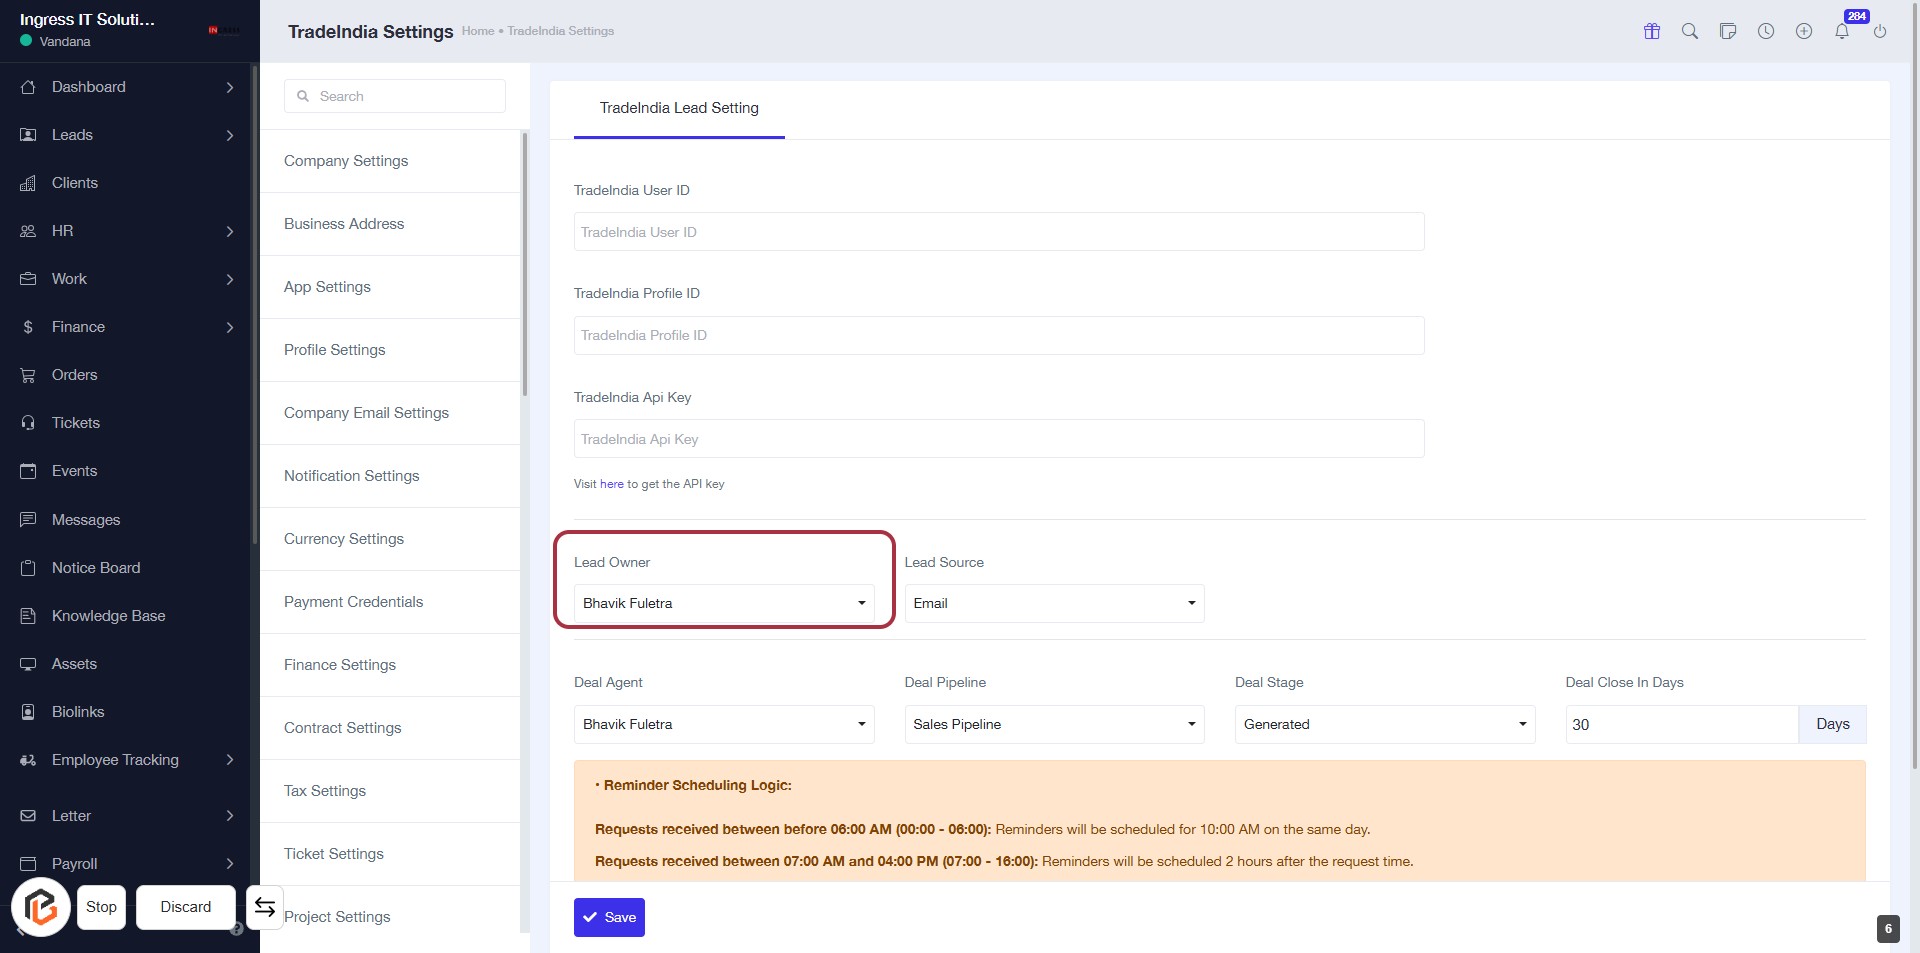
STEP 7: Select "Lead Owner"
- Click on the "Lead Owner" dropdown.
- Choose "Bhavik Fuletra" from the list.
- Ensure all required fields marked with '*' are filled.
- Review other fields like "Lead Source" and "Deal Agent" for accuracy.
- Proceed to the next step by selecting "Lead Source".
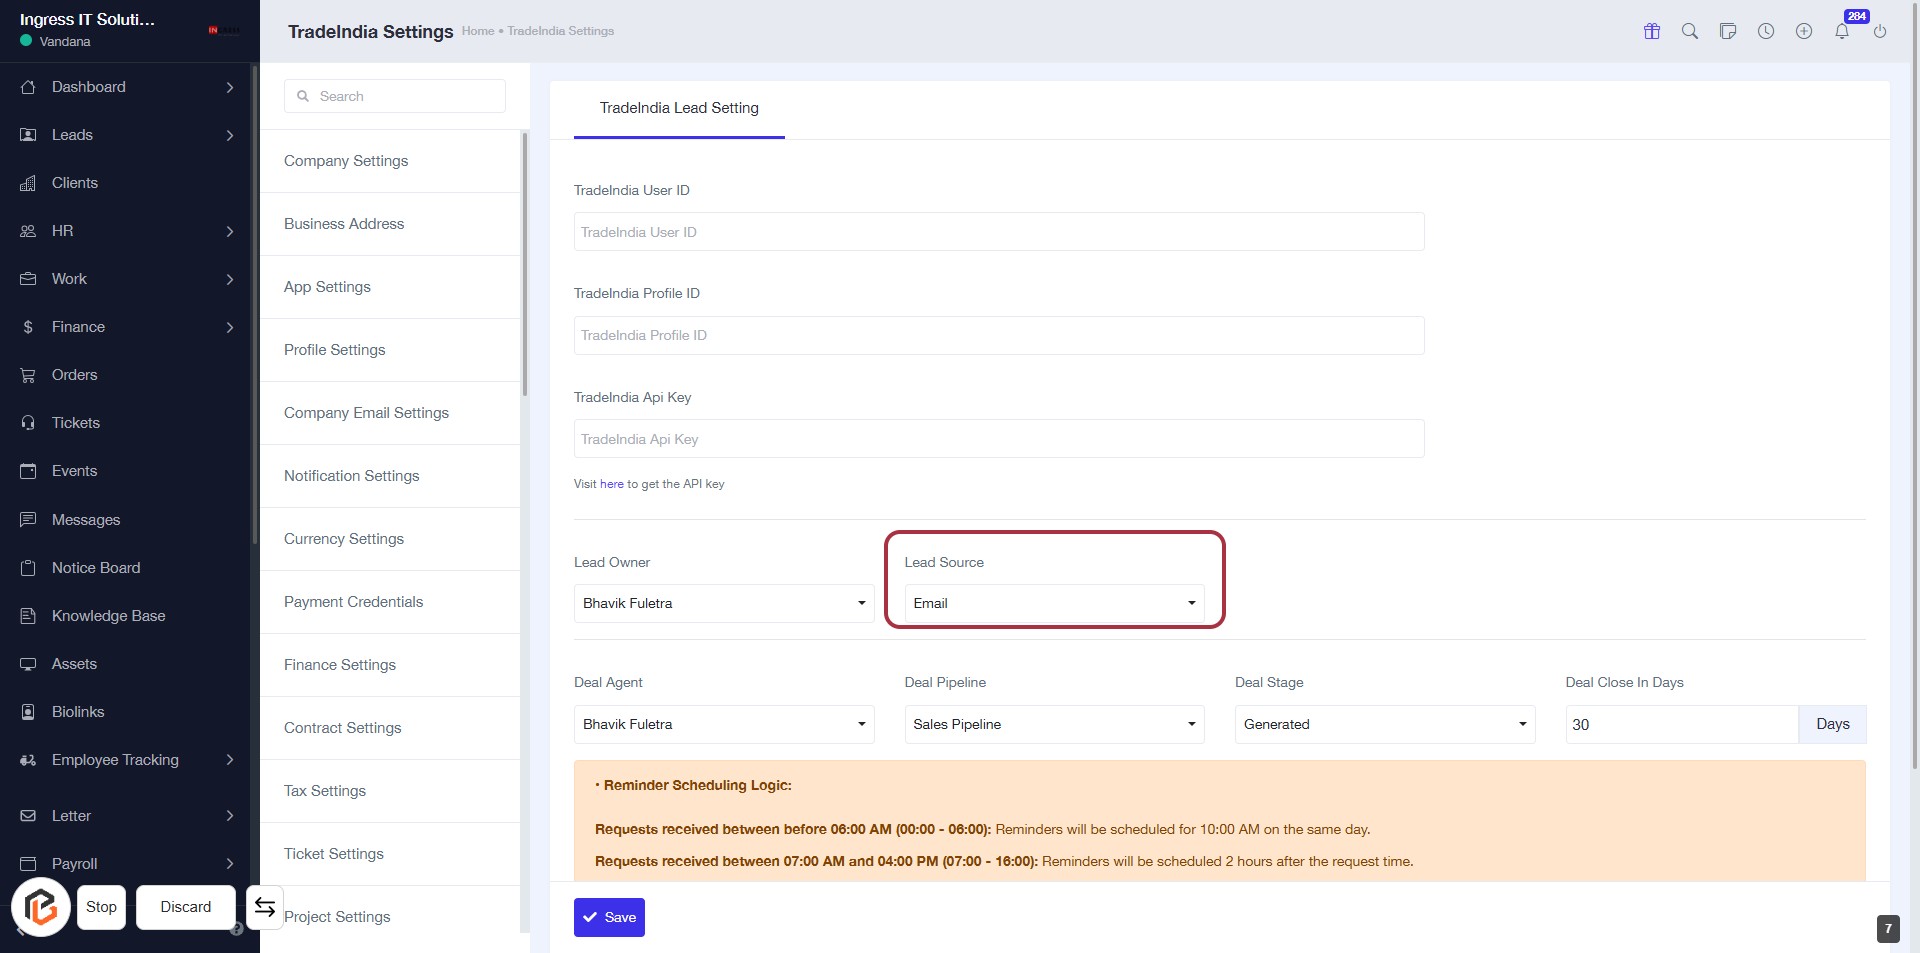
STEP 8: Select "Lead Source"
- Click on the "Lead Source" dropdown menu.
- Choose "Email" from the available options.
- Ensure all required fields marked with an asterisk (*) are filled out.
- Review the information before proceeding to the next step.
STEP 9: Select "Deal Agent"
- Click on the "Deal Agent" dropdown in the TradeIndia Lead Setting form.
- Choose the appropriate agent from the list (e.g., Bhavik Fuletra).
- Ensure all required fields marked with '*' are filled out.
- Review the highlighted area for any additional instructions or notes.
- Proceed to the next step by selecting "Deal Pipeline."

STEP 10: Select "Deal Pipeline"
- Click on the "Deal Pipeline" dropdown in the TradeIndia Lead Setting form.
- Choose the appropriate pipeline from the options available.
- Ensure that the selected pipeline aligns with your sales strategy.
- Review other fields like "Deal Agent" and "Deal Stage" for accuracy.
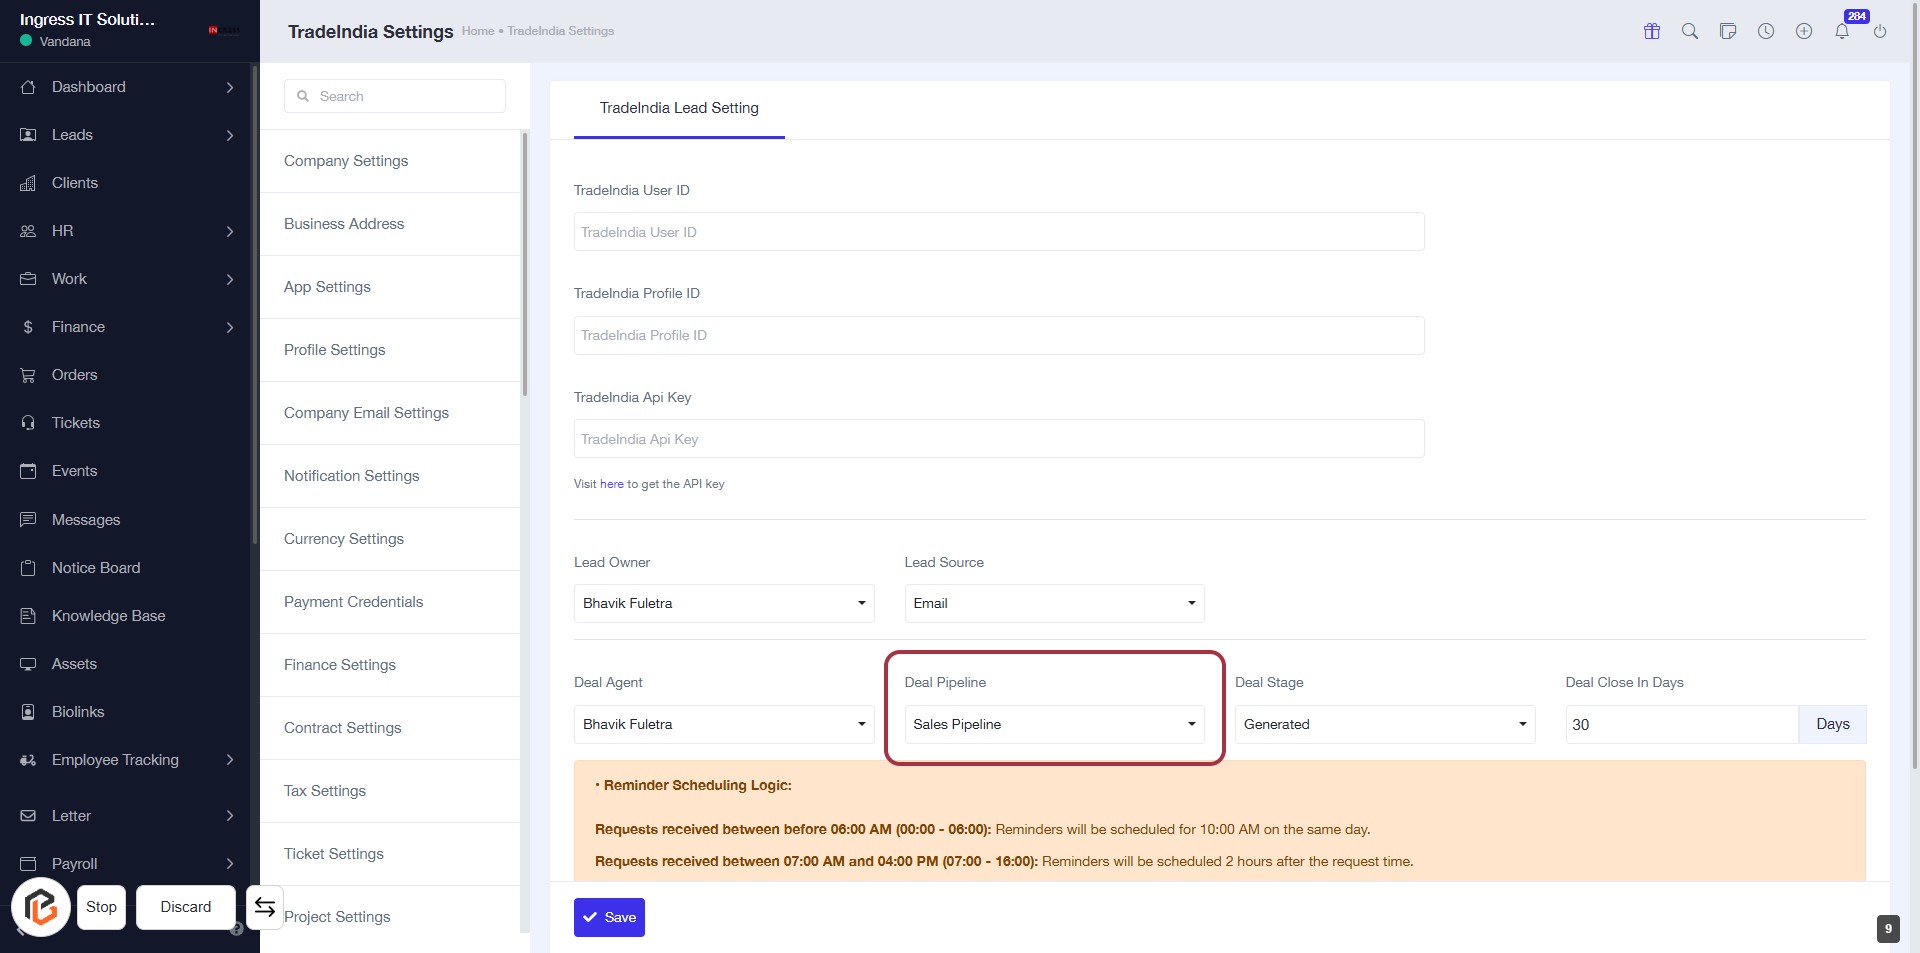
STEP 11: Select "Deal Stage"
- Click on the "Deal Stage" dropdown in the TradeIndia Lead Setting form.
- Choose the appropriate deal stage from the options available.
- Ensure that the selected stage reflects the current status of the deal.
- Review other fields like "Deal Pipeline" and "Deal Close In Days" for accuracy.

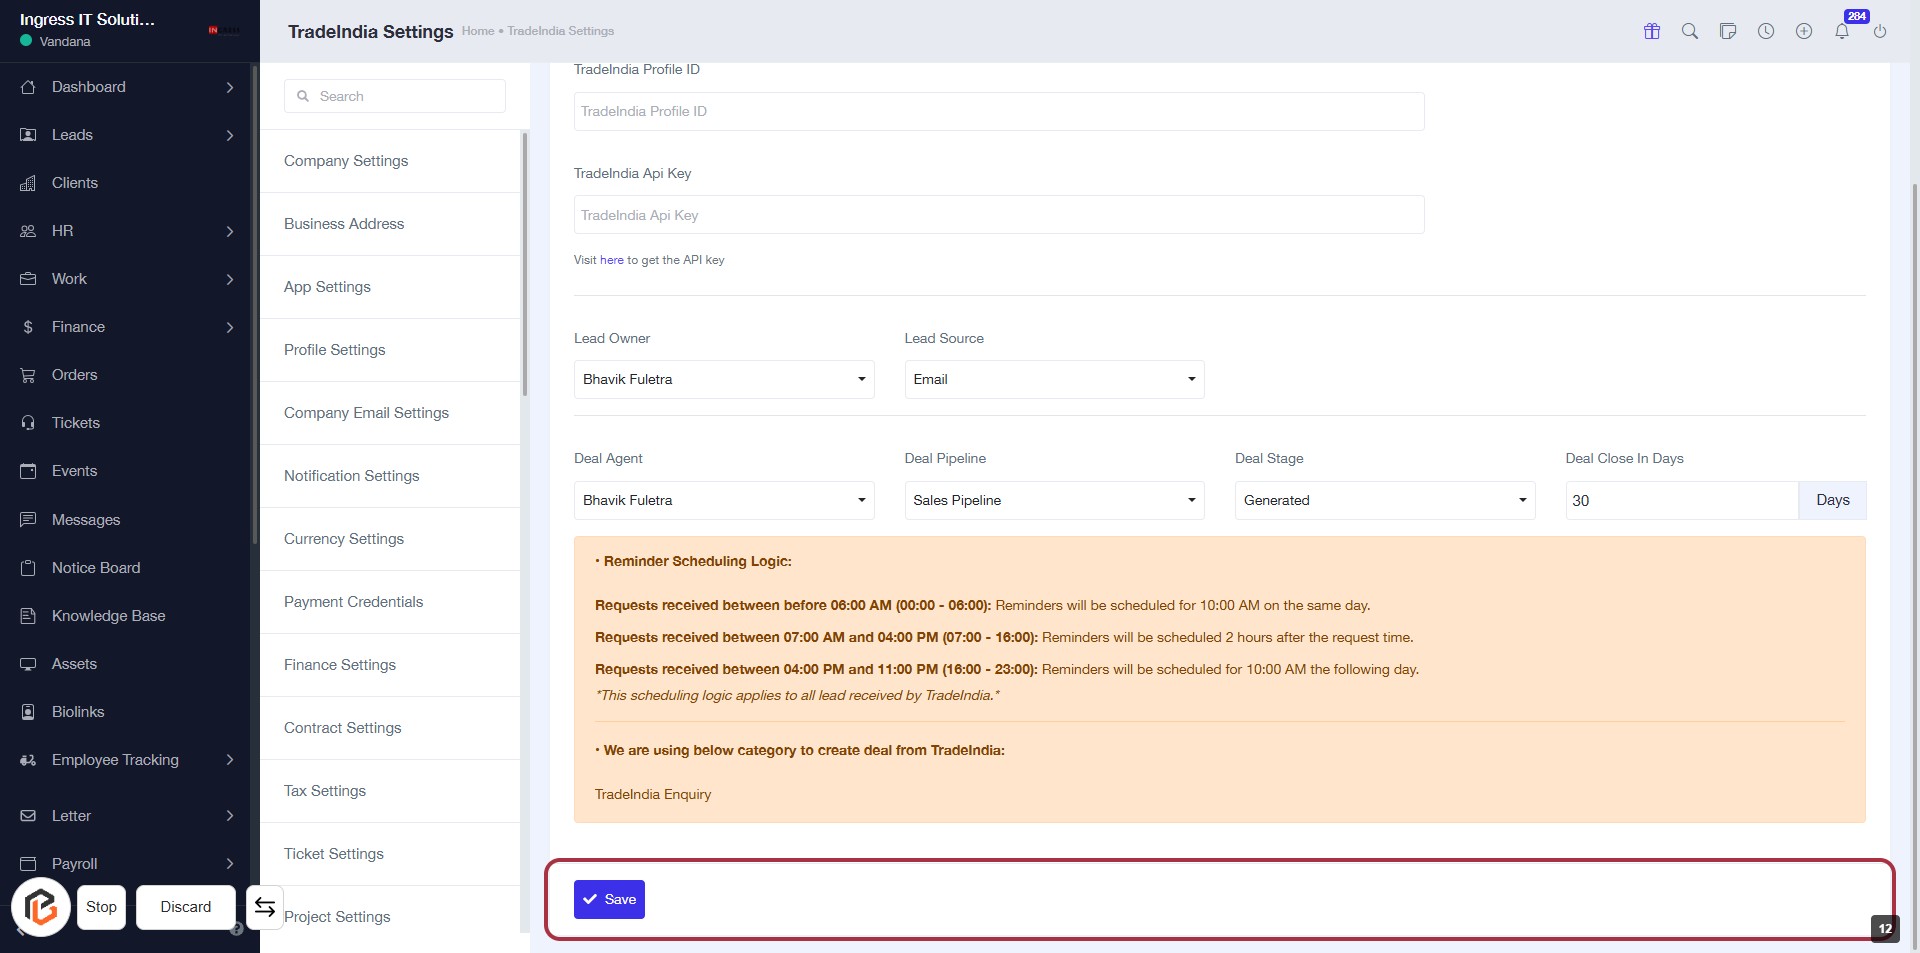
STEP 12: Enter "Deal Close In Days"
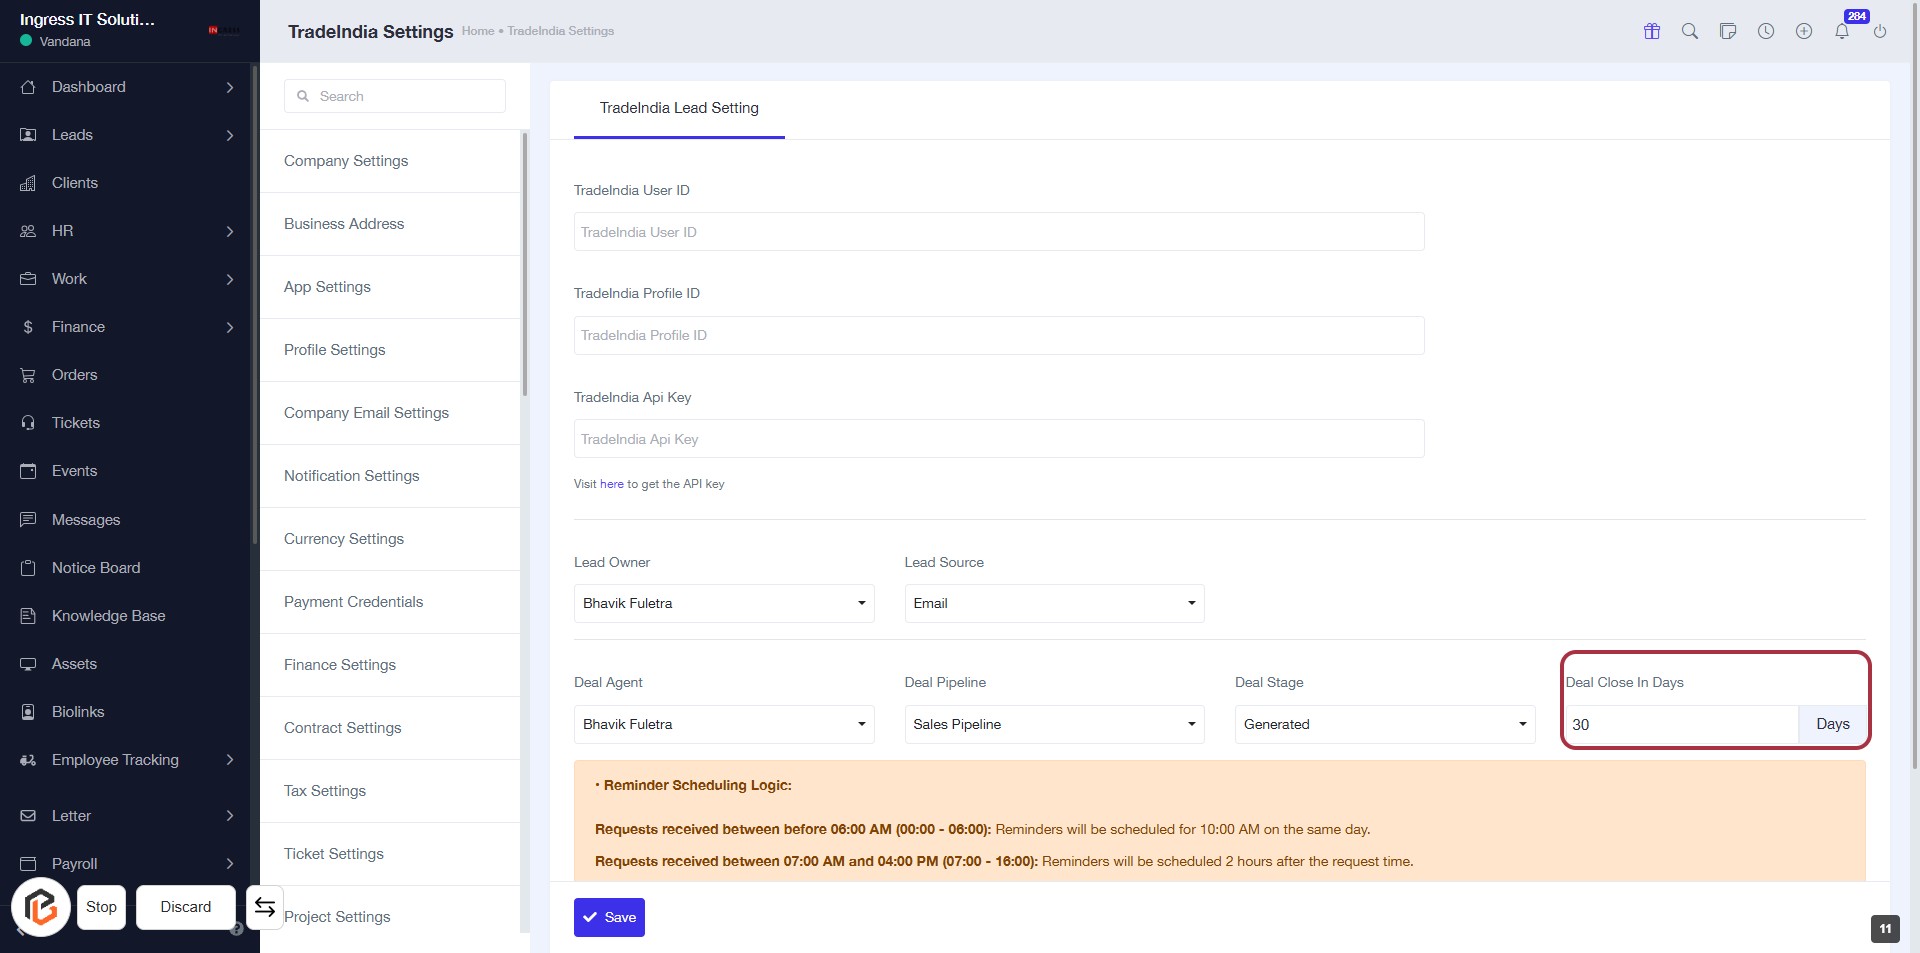
STEP 13: CLICK on "Save Button"