Step-by-Step Guide to Configuring Time Log Settings: Enable Features, Set Reminders, and Save Changes
9 mins read · Updated 29 Sep, 2025
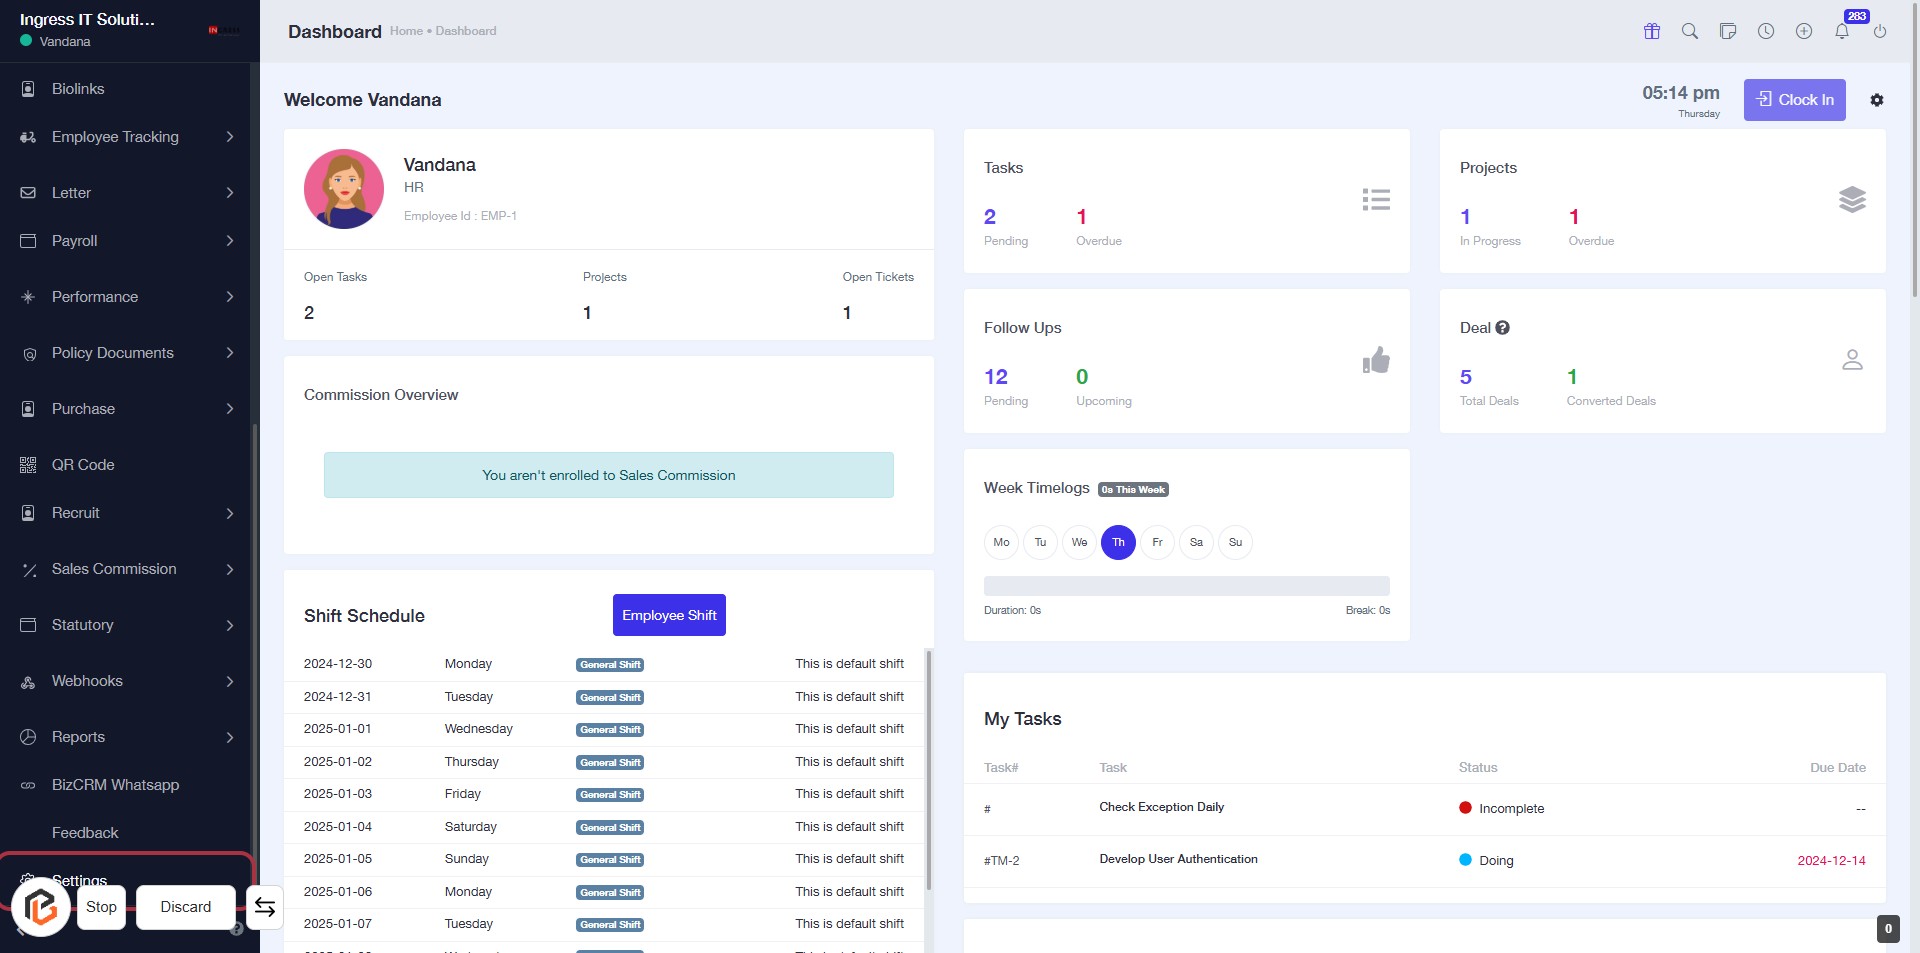
STEP 1: Click on "Settings" to Access Configuration Options
- Navigate to the left sidebar of the dashboard.
- Locate and click on the "Settings" option highlighted in red.
- This action will direct you to the settings configuration area for further adjustments.
Next, you will proceed to "Time Log Settings."
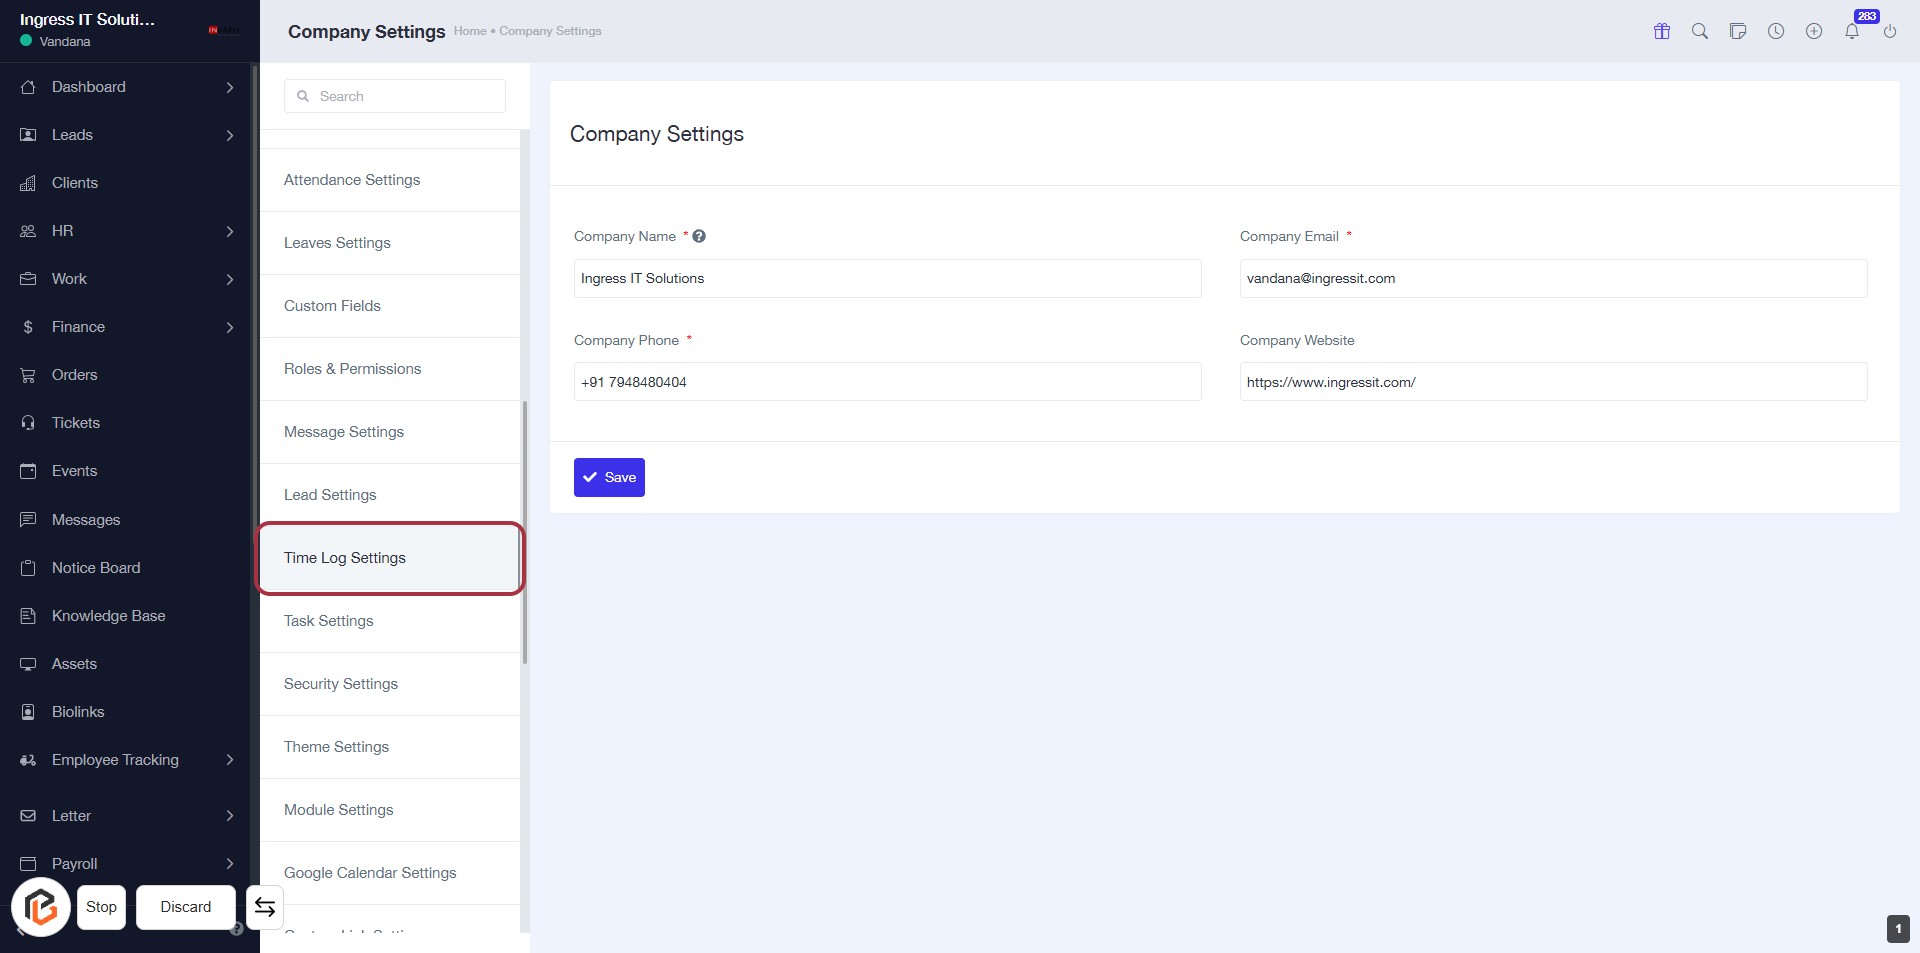
STEP 2: Click on "Time Log Settings"
- Navigate to the "Time Log Settings" section in the Company Settings.
- Ensure you are on the correct page by checking the heading.
- Look for the highlighted area to access specific settings related to time logging.
- Review any required fields marked with an asterisk (*) before proceeding.
STEP 3: Click on "Stop timer automatically after shift end time"
- Navigate to the Time Log Settings page.
- Locate the option labeled Stop timer automatically after shift end time.
- Click on the toggle switch next to this option to enable it.
- Ensure the setting is activated before proceeding to the next step.
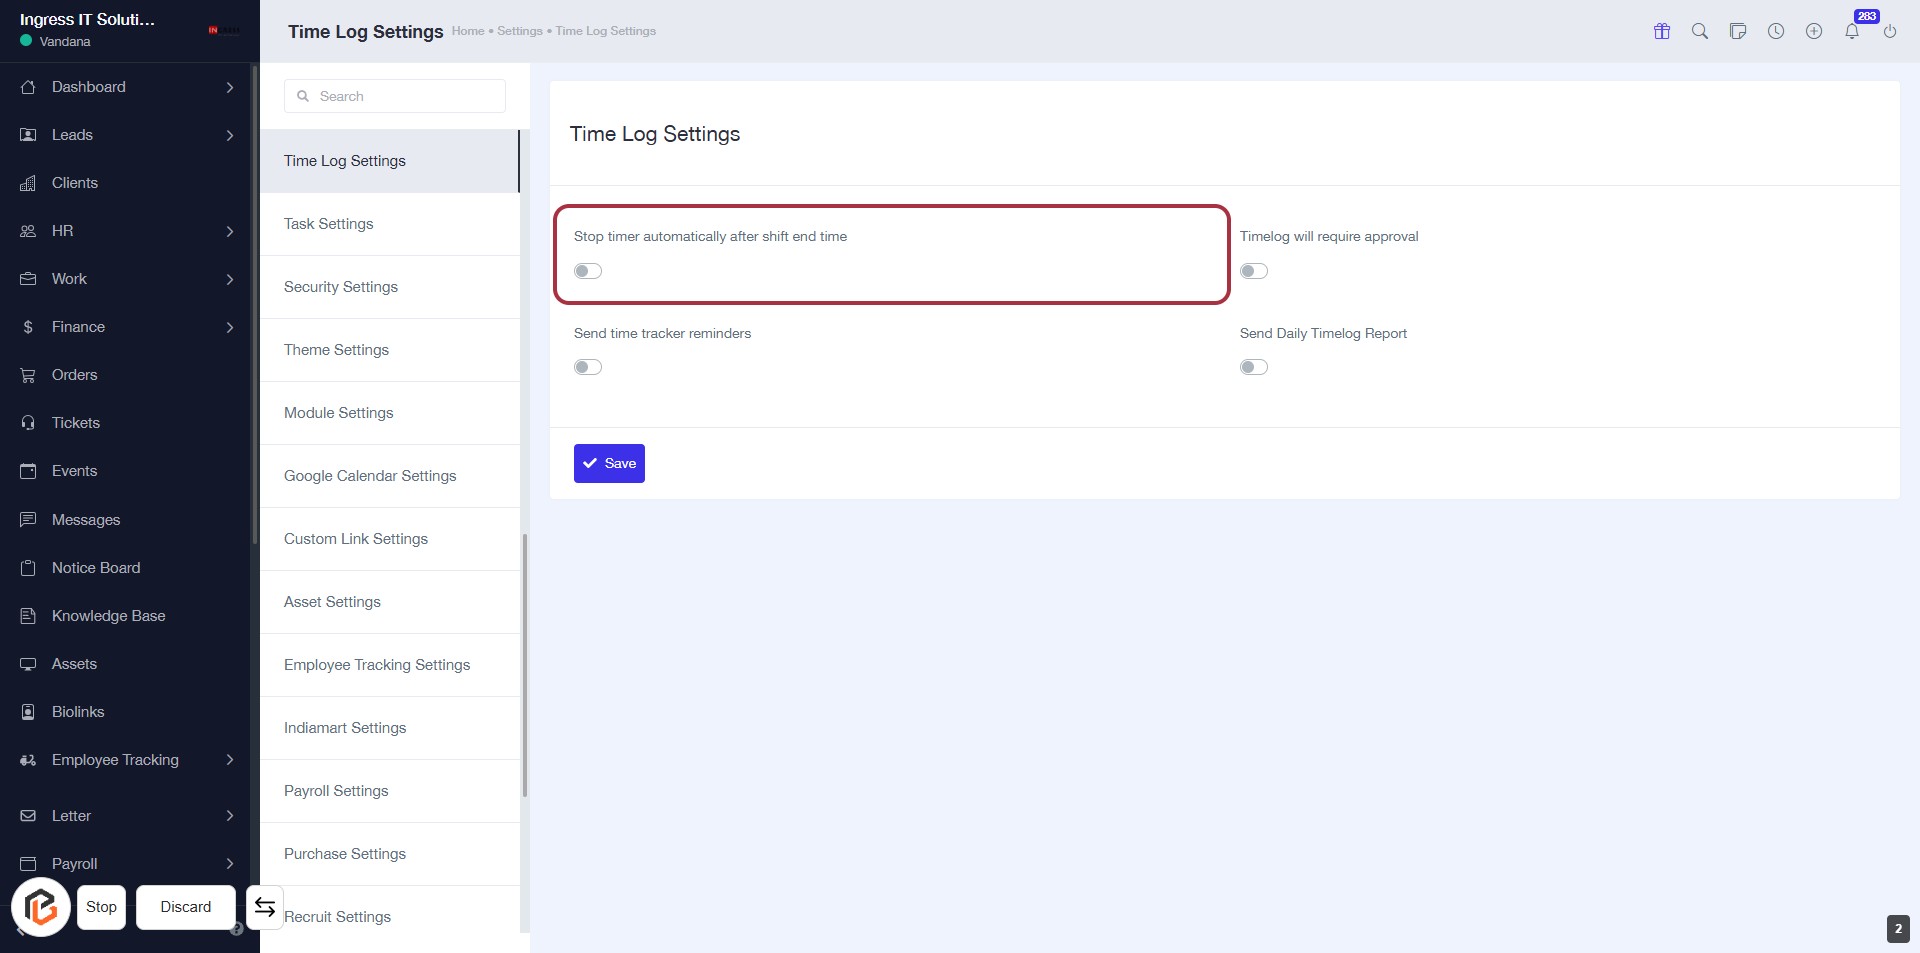
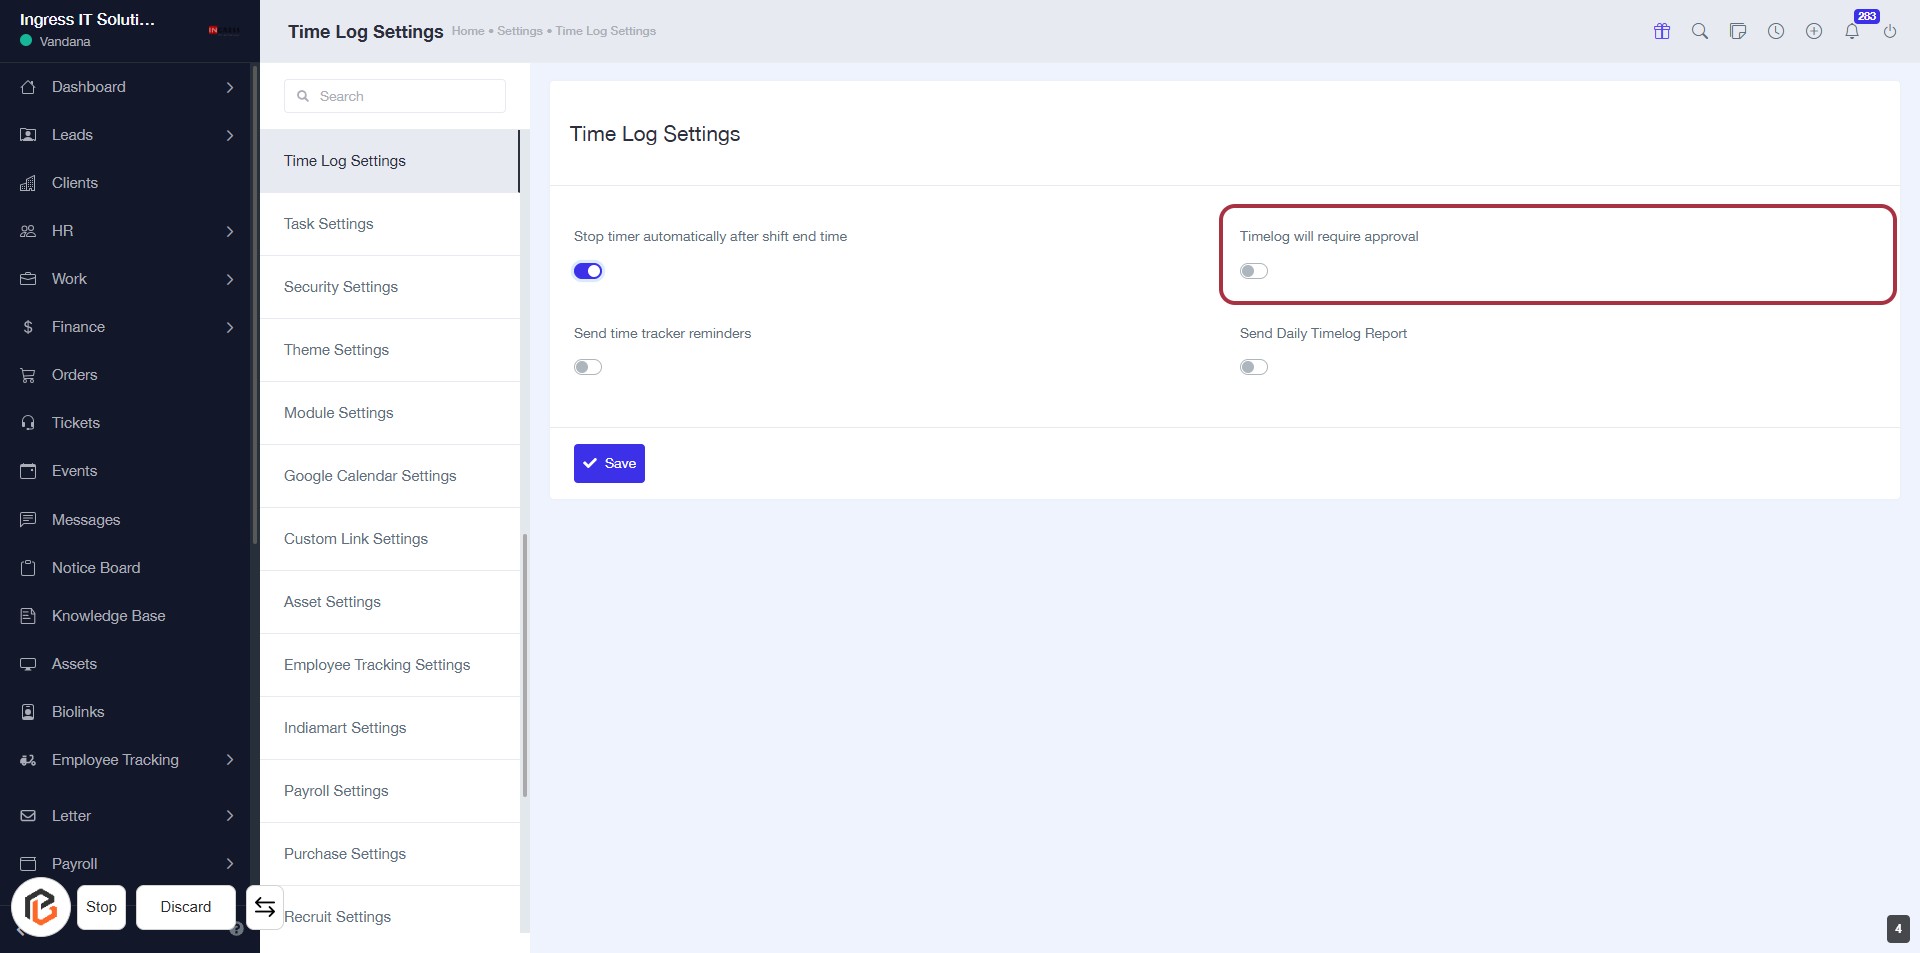
STEP 4: Click on "Timelog will require approval"
- Navigate to the Time Log Settings section.
- Locate the option labeled Timelog will require approval.
- Click on the toggle switch to enable this feature.
- Ensure the setting is activated before proceeding to the next step.
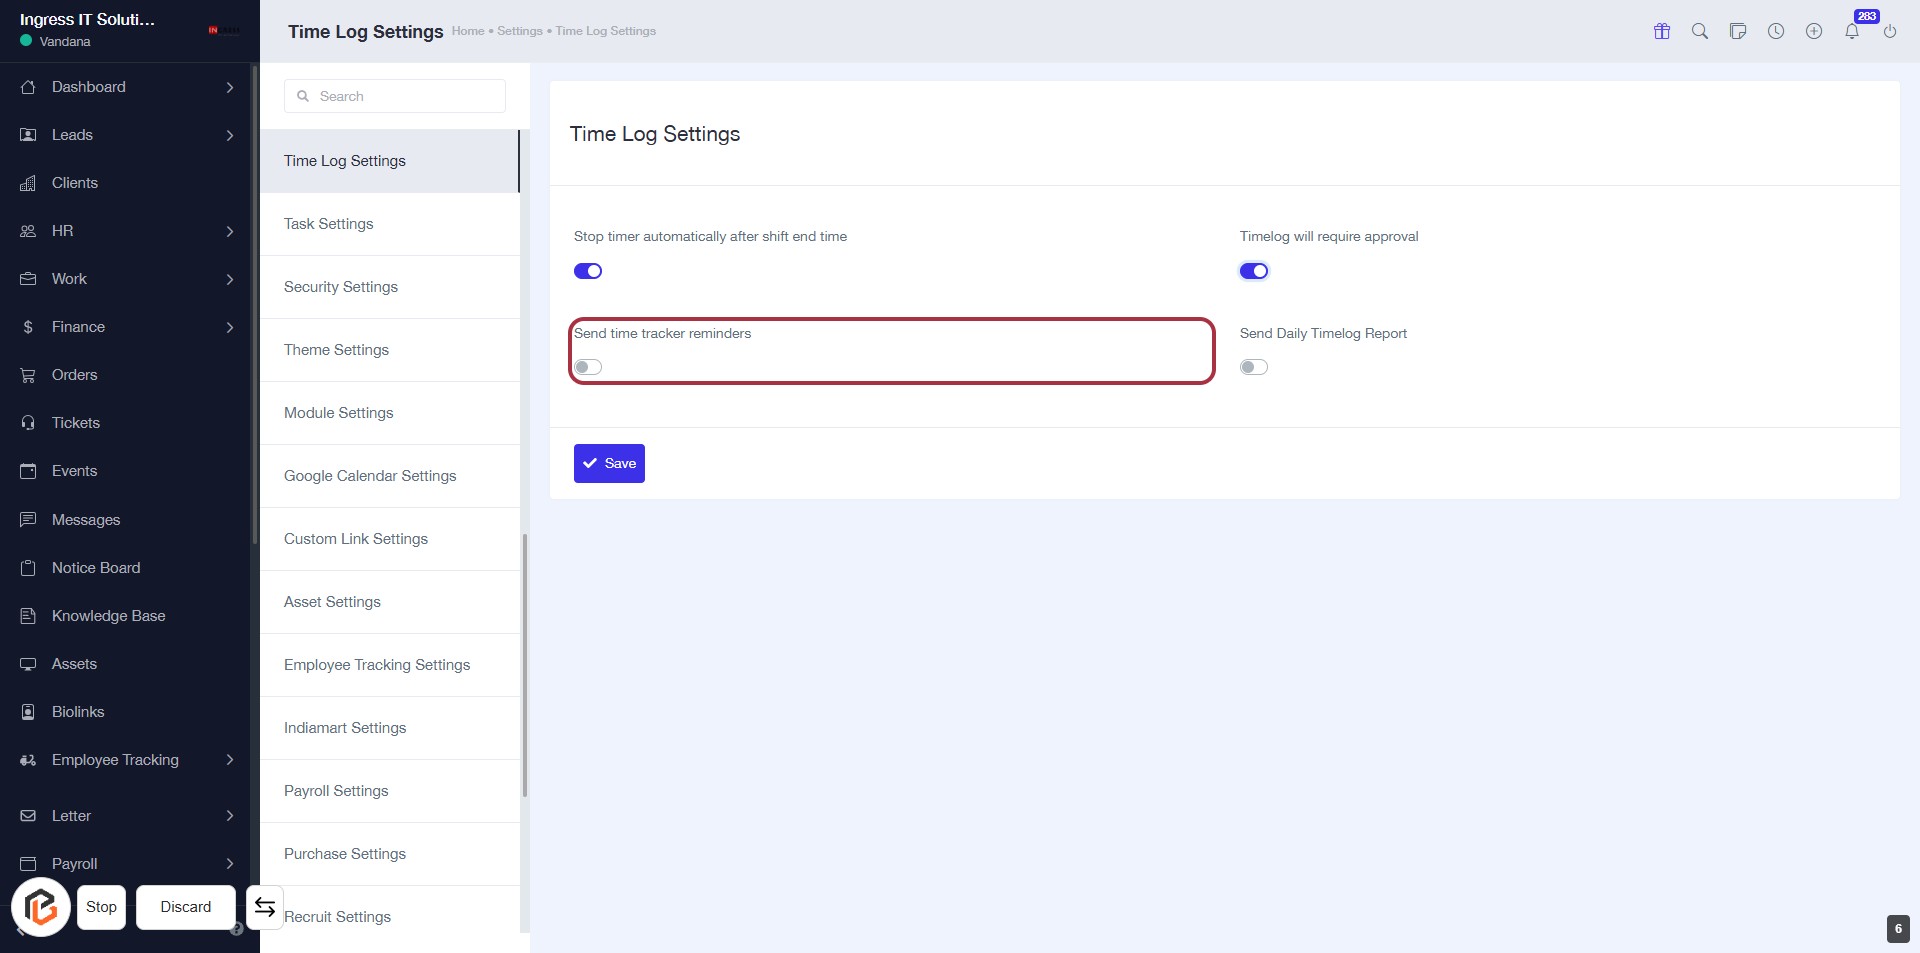
STEP 5: Click on "Send time tracker reminders"
- Locate the "Send time tracker reminders" option in the Time Log Settings.
- Click on the toggle switch to enable or disable reminders.
- Ensure the setting reflects your preference before proceeding.
- Remember to click "Save" to apply changes.
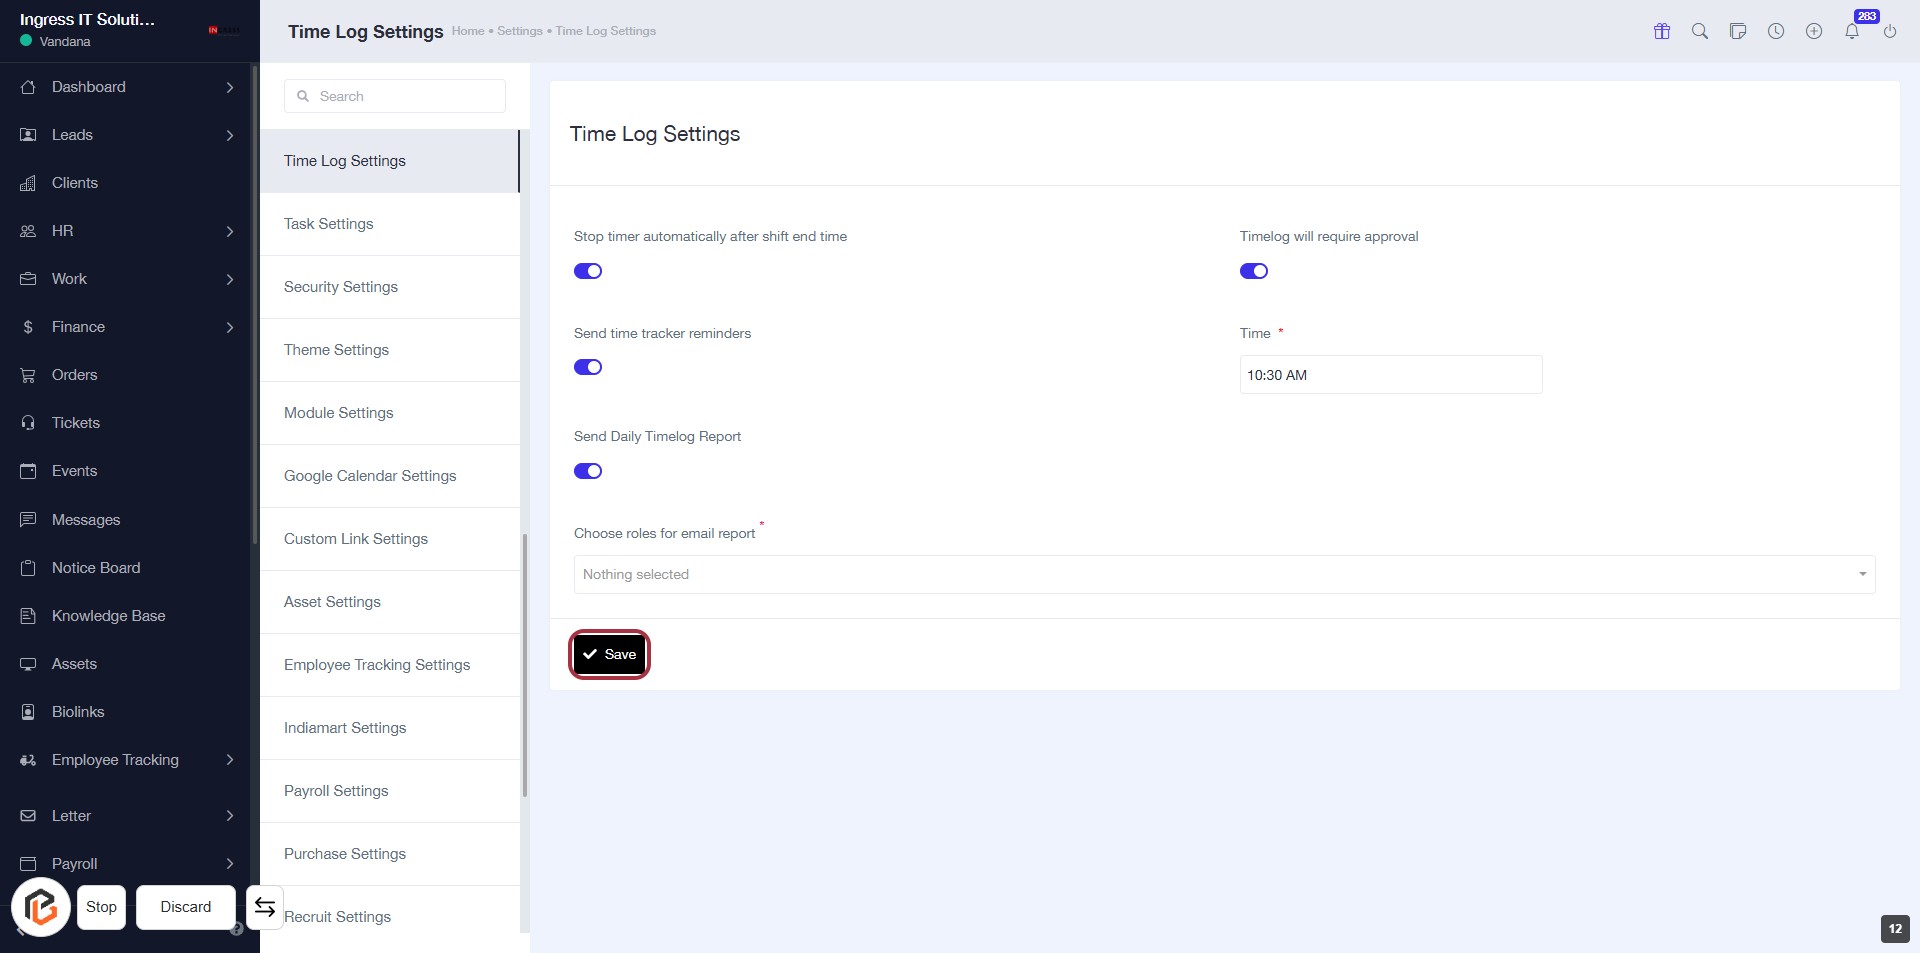
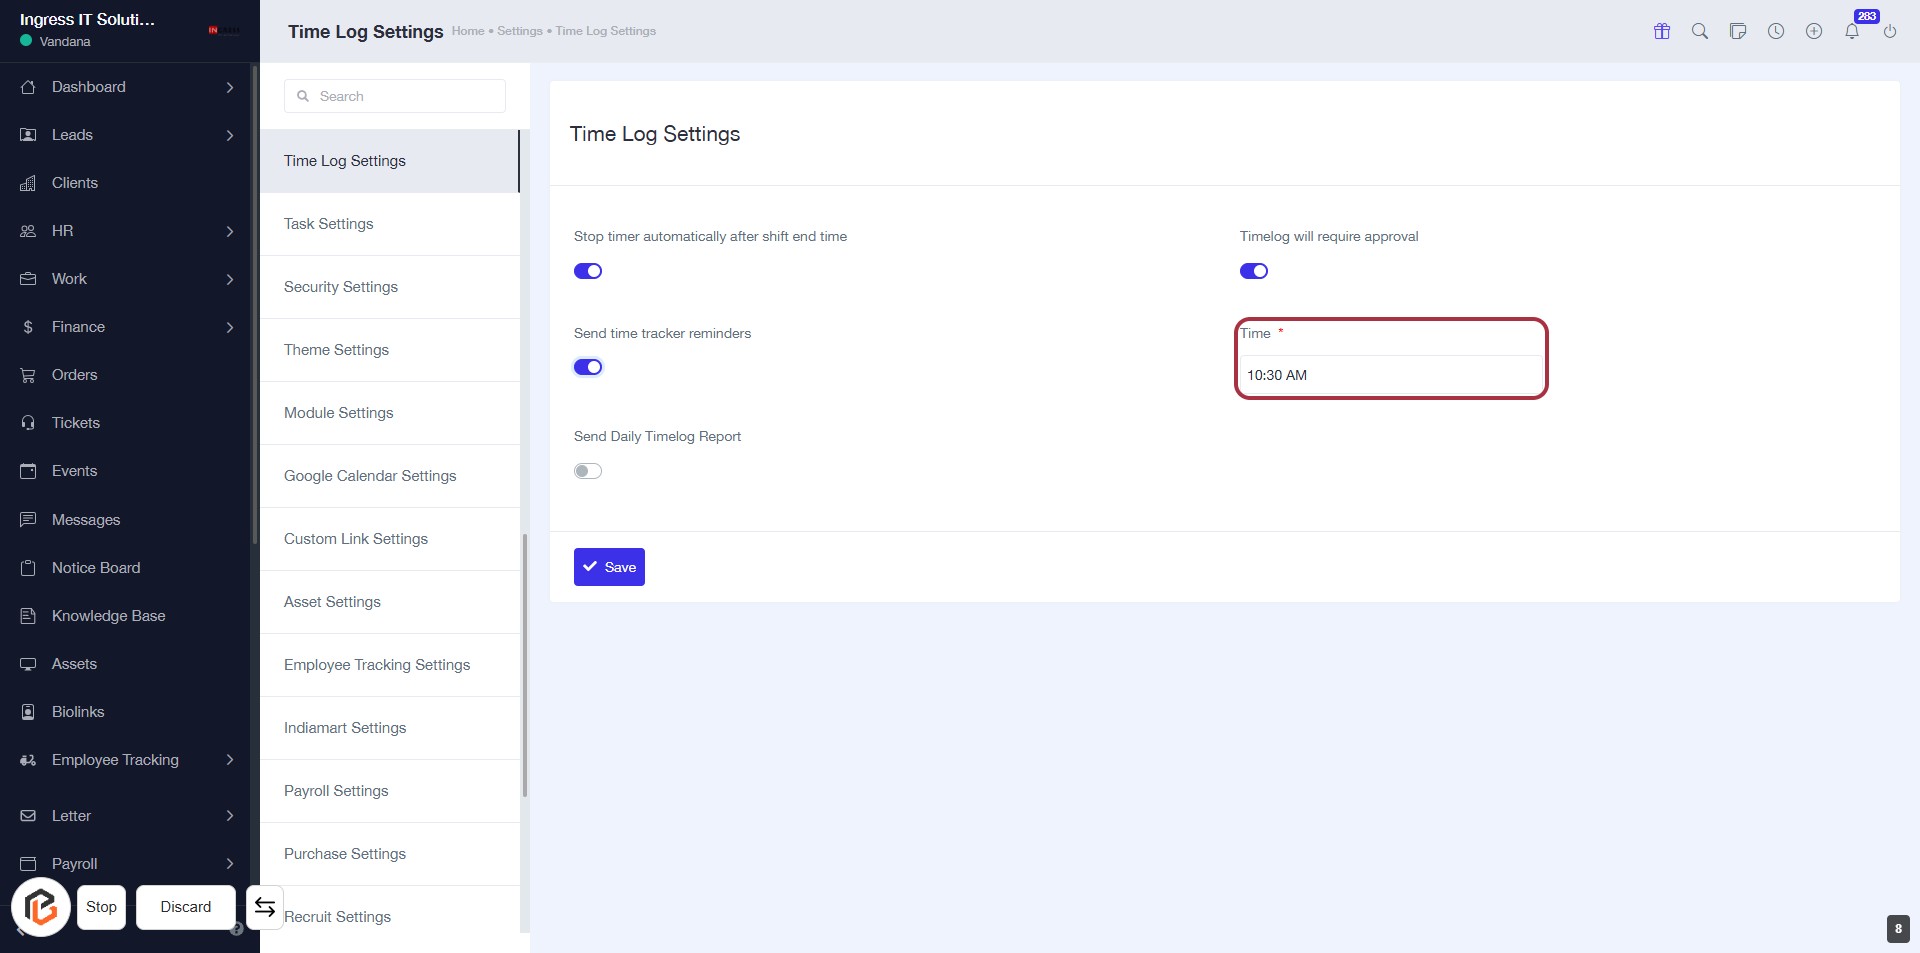
STEP 6: Enter Time for Timelog Settings
- Click on the "Time" field (marked with an asterisk) to input the desired time.
- Ensure the time format is correct (e.g., 10:30 AM).
- This field is mandatory; make sure to fill it before proceeding.
- After entering the time, continue to the next step by turning on "Send Daily Timelog Report."
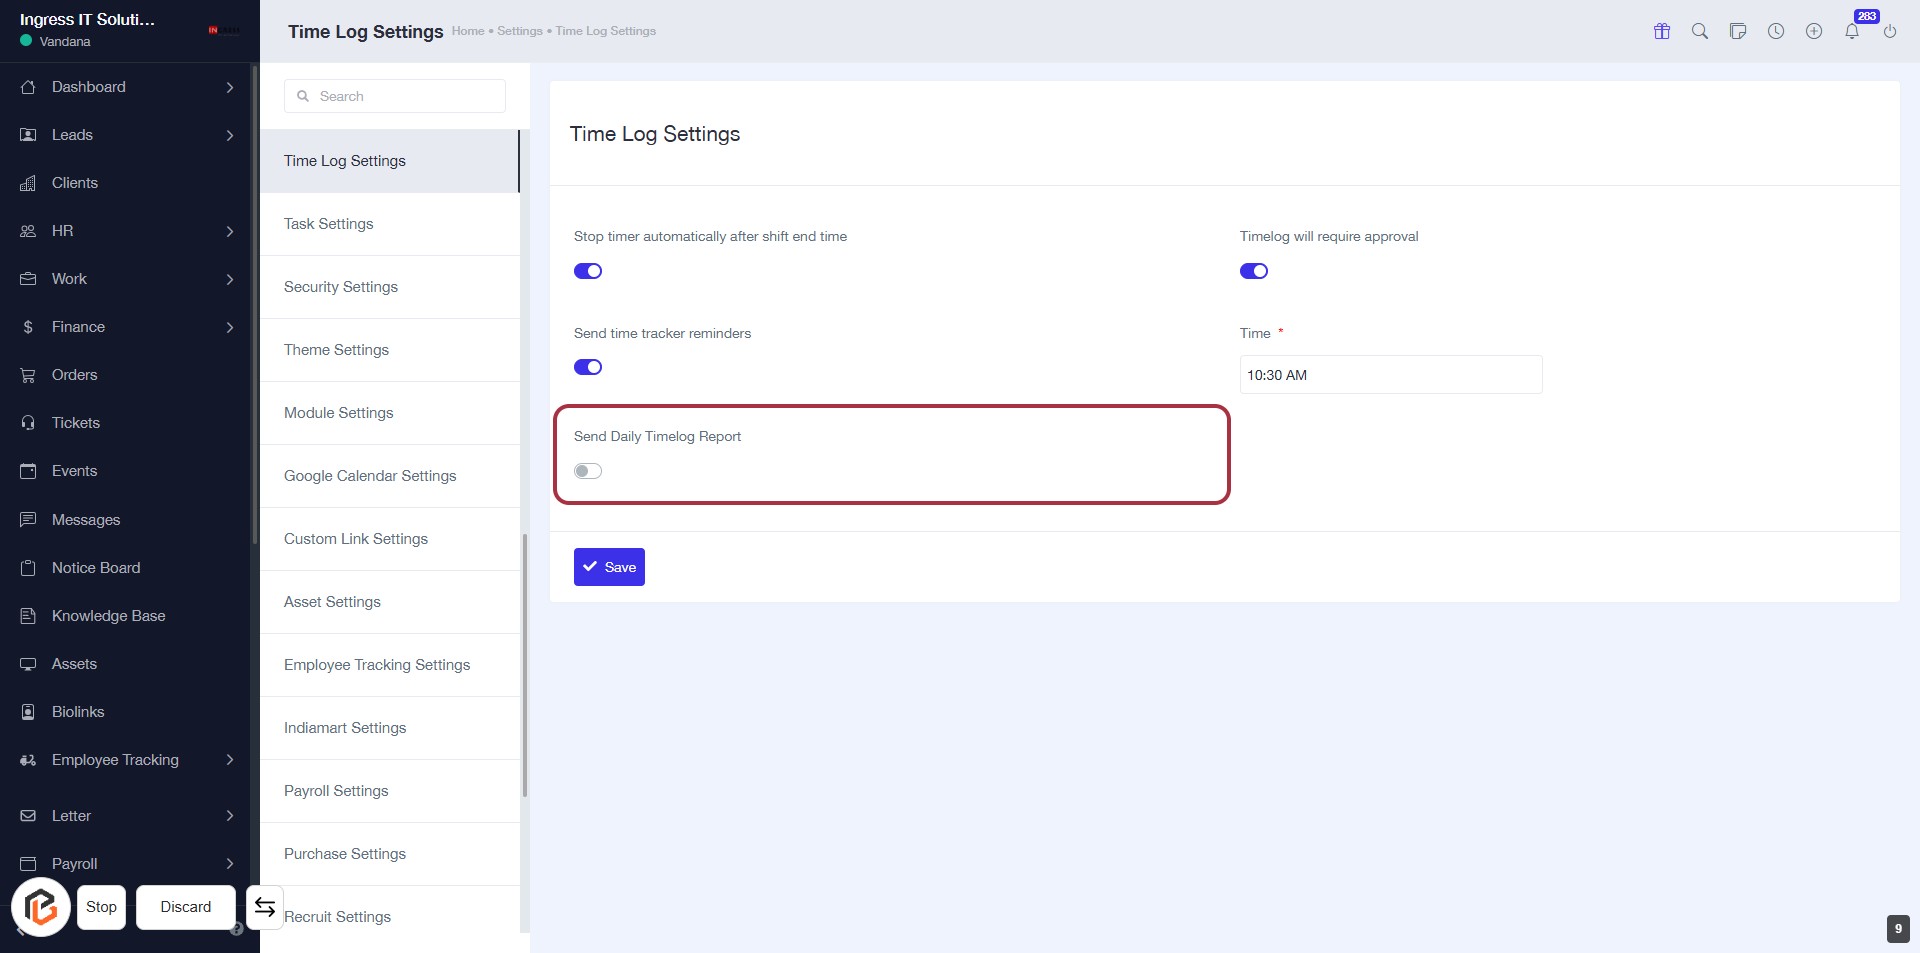
STEP 7: Click to Turn on "Send Daily Timelog Report"
- Locate the "Send Daily Timelog Report" option in the Time Log Settings.
- Click on the toggle switch to enable the feature.
- Ensure the toggle changes to indicate that the report will now be sent daily.
- Proceed to the next step to select roles for the email report.
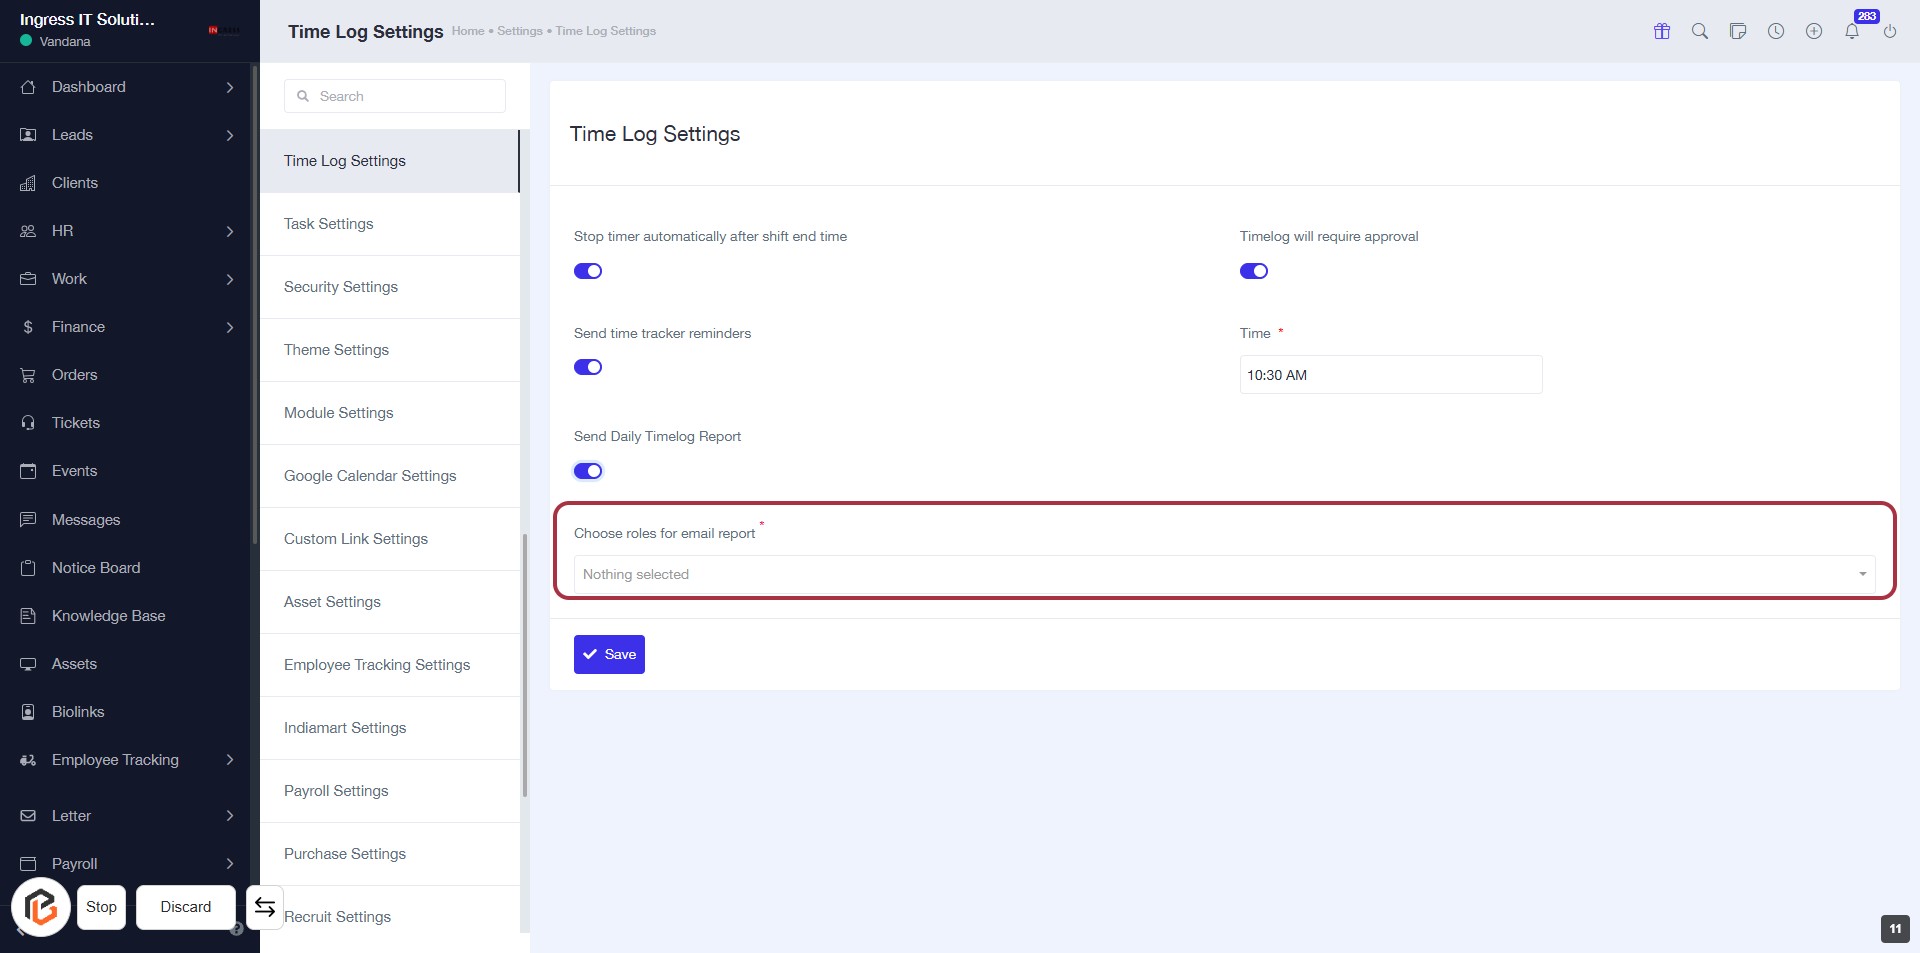
STEP 8: Select Roles for Email Report
- Click on the "Choose roles for email report" dropdown.
- Select the appropriate roles from the list (indicated by the asterisk * as required).
- Ensure that you have selected at least one role before proceeding.
- After making your selection, continue to the next step by clicking the "Save" button.
STEP 9: Click on "Save" to Confirm Settings
- Ensure all required fields are filled, including roles for the email report and time.
- Review your selections for accuracy.
- Click the Save button located at the bottom of the form to apply your changes.