Step-by-Step Guide to Configuring Tax Settings in Your Dashboard
6 mins read · Updated 29 Sep, 2025
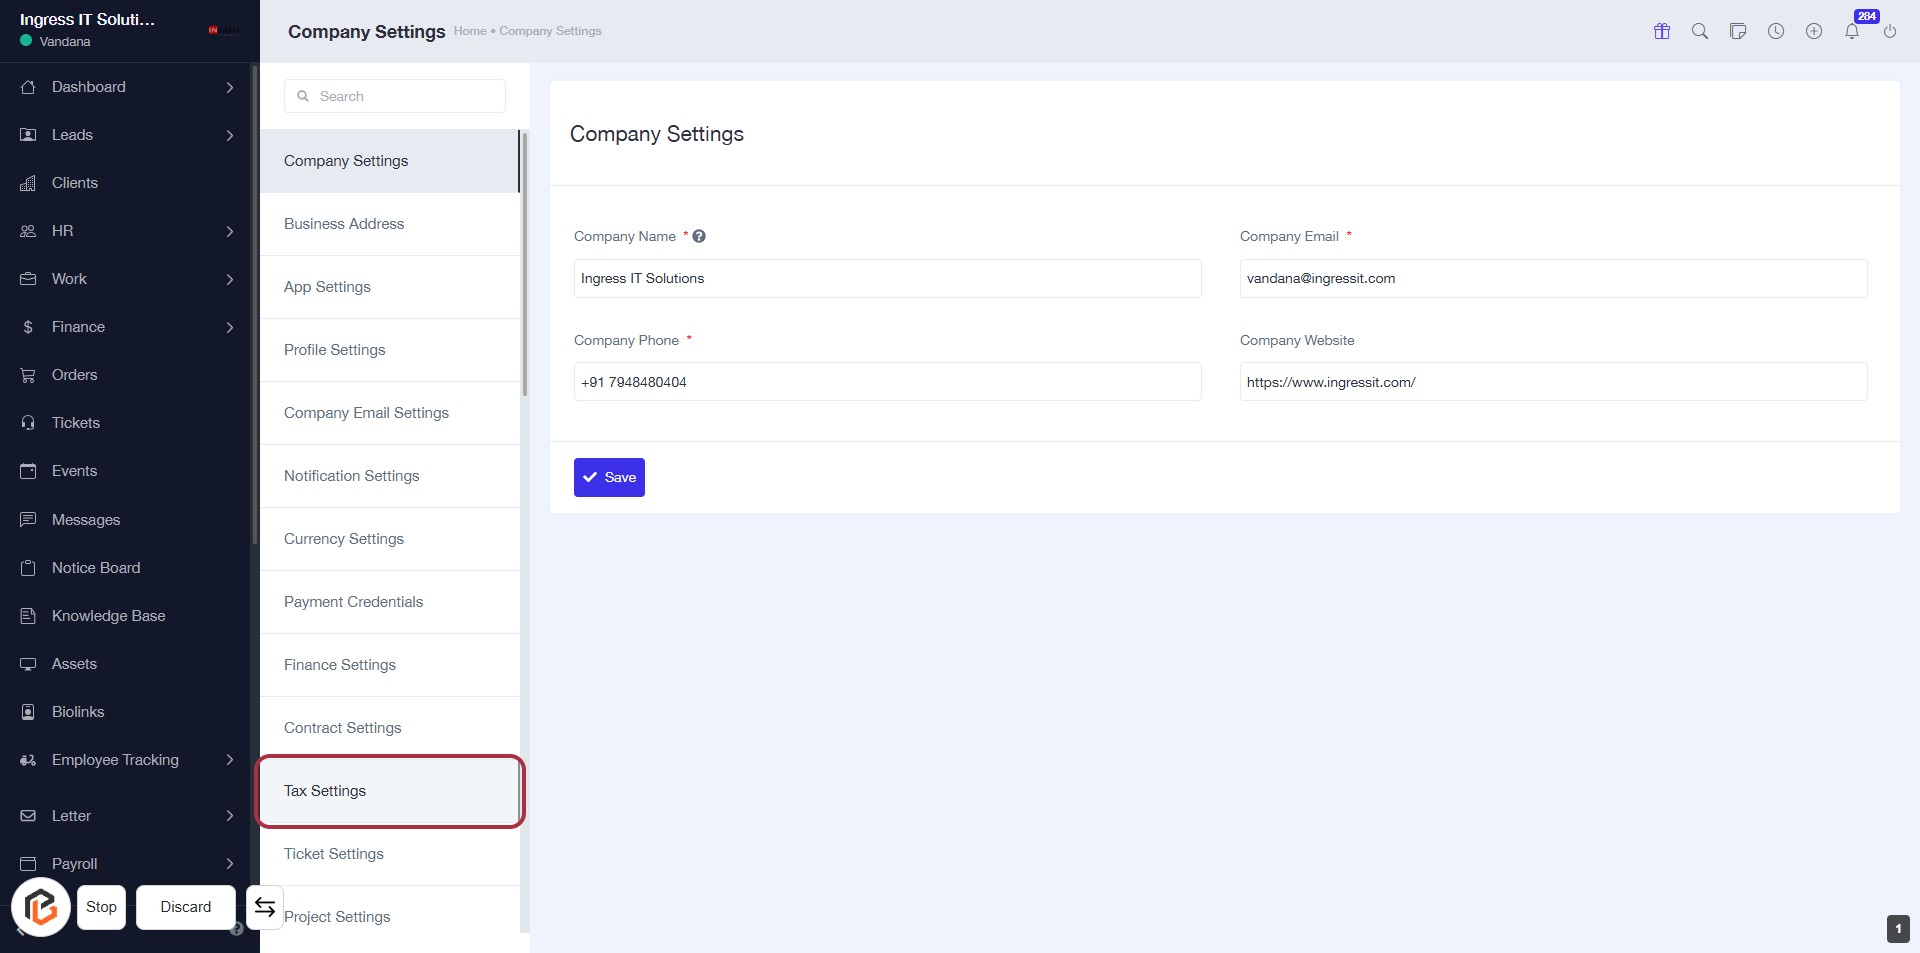
STEP 1: Click on "Settings" to Access Configuration Options
- Navigate to the left sidebar of the dashboard.
- Click on the Settings link to open the settings menu.
- Ensure you are on the Dashboard page before proceeding.
- This action will lead you to further configuration options, including Tax Settings.
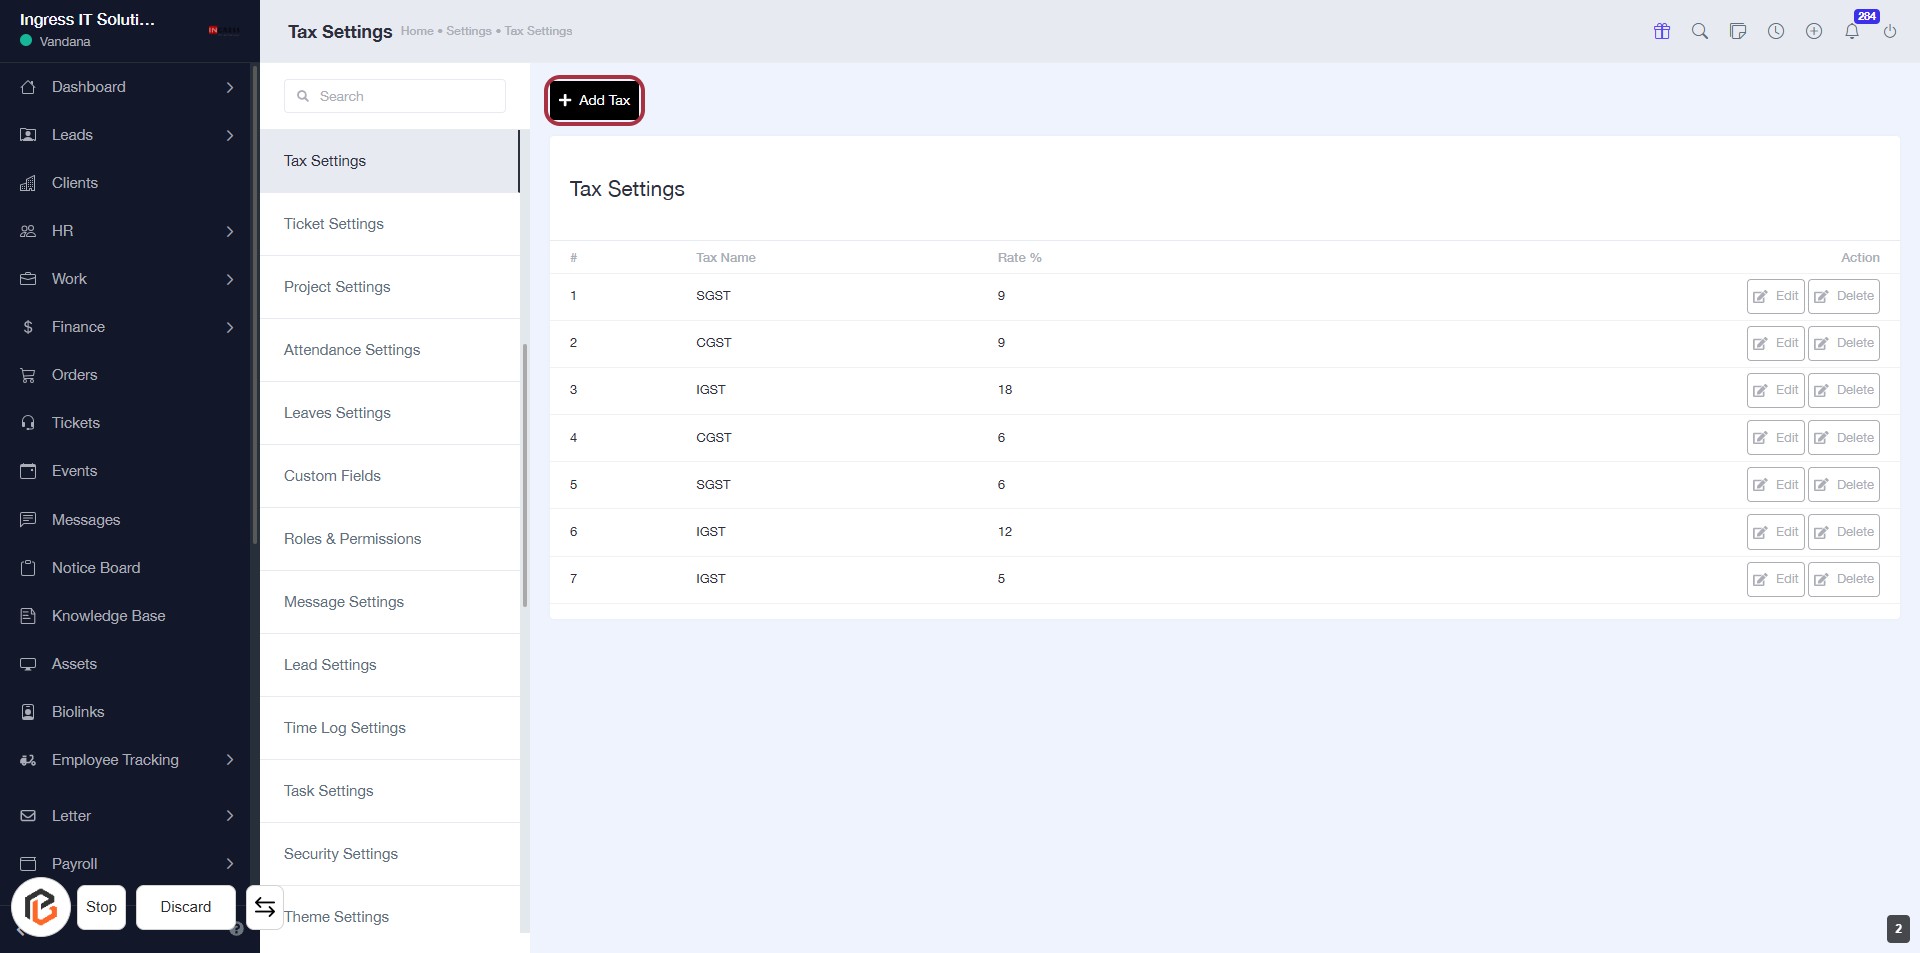
STEP 2: Click on "Tax Settings"
- Navigate to the "Tax Settings" option in the sidebar.
- Click on the highlighted "Tax Settings" link to access tax configuration.
- Ensure you have the necessary permissions to modify tax settings.
- After clicking, you will be directed to the tax settings page for further actions.
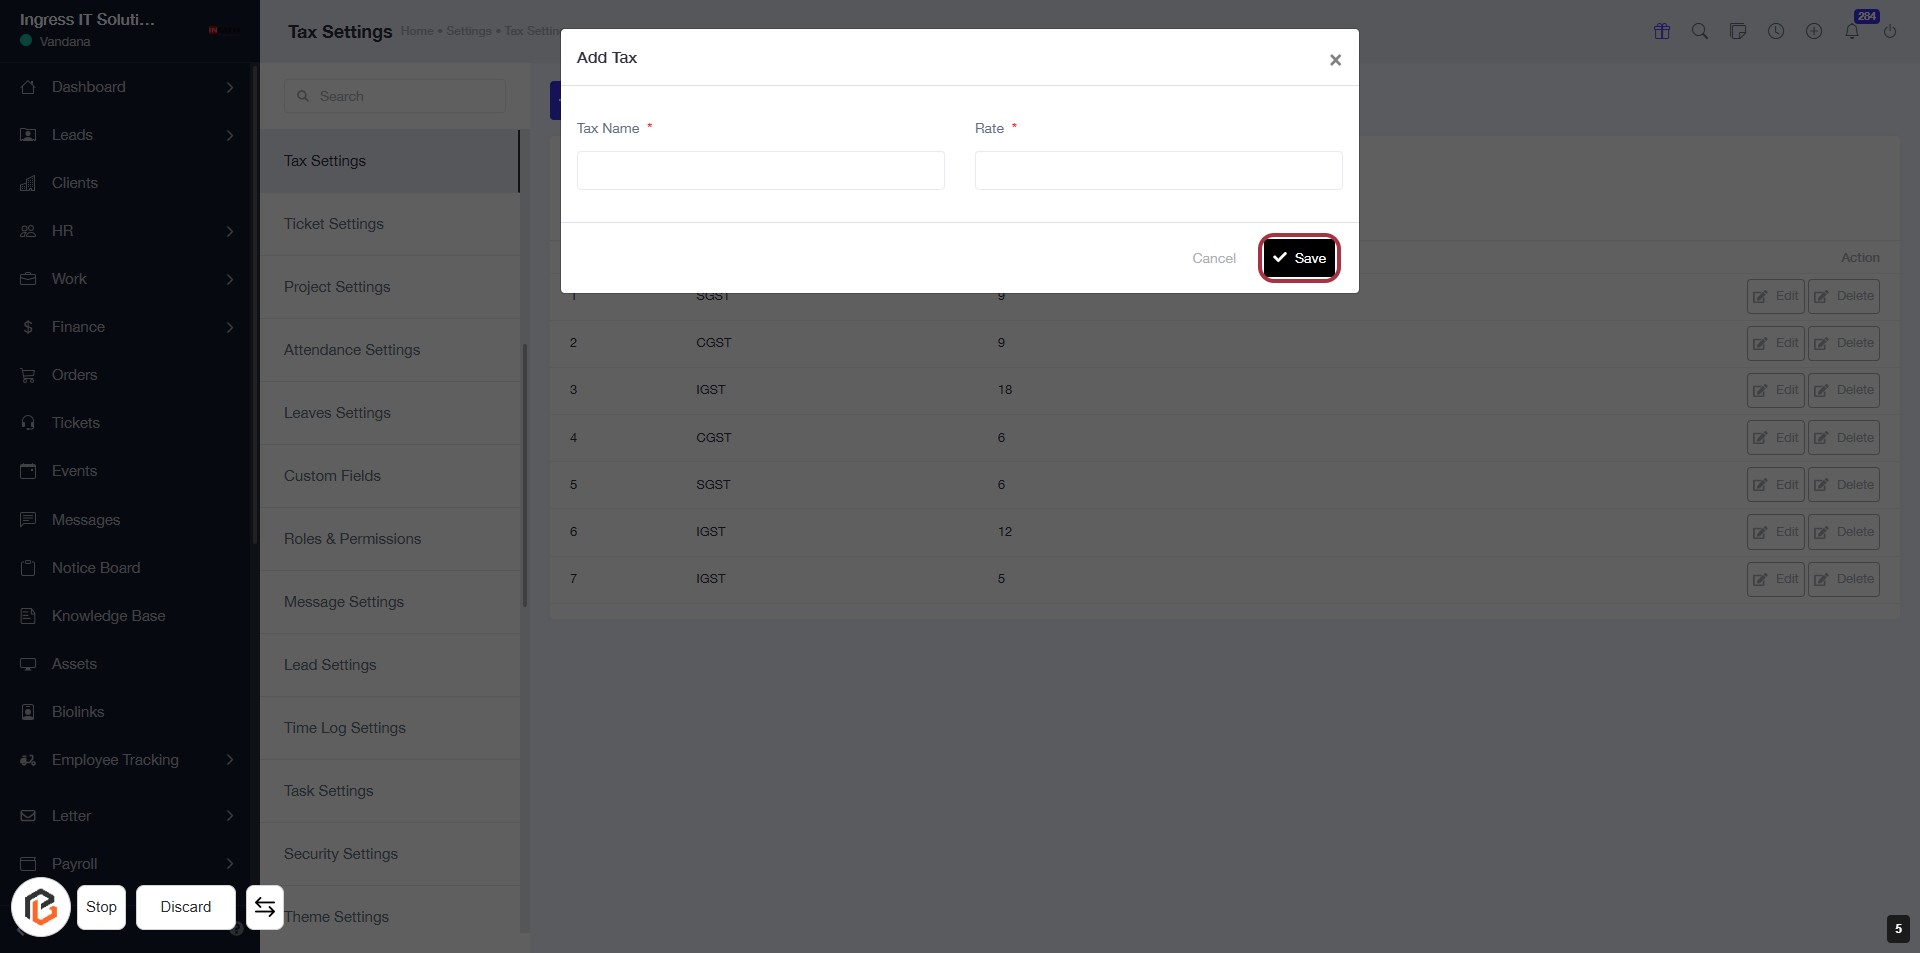
STEP 3: Click on "Add Tax"
- Navigate to the Tax Settings page.
- Locate the Add Tax button highlighted in red.
- Click on the Add Tax button to proceed.
- This action will allow you to enter the details for a new tax entry.
Next, you will need to enter the "Tax Name."
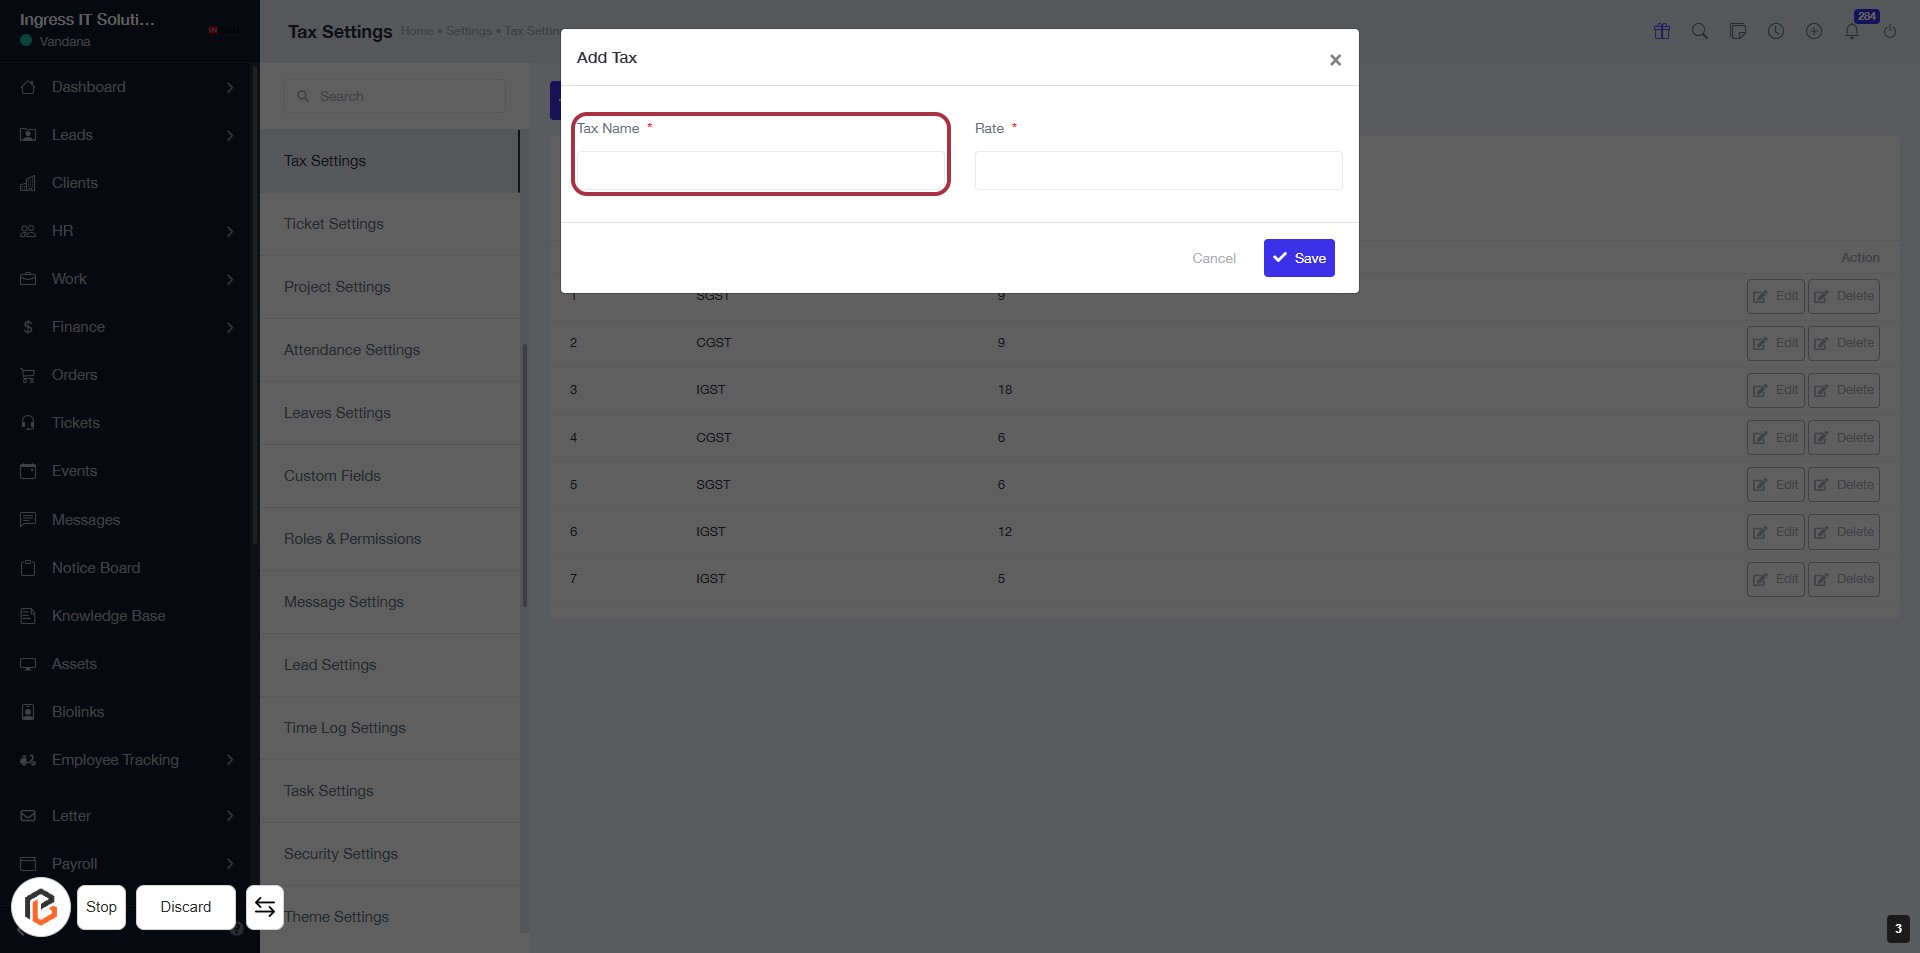
STEP 4: Enter Tax Name
- Click on the highlighted area labeled "Tax Name" to input the name of the tax.
- Ensure that the field marked with an asterisk (*) is filled, as it is required.
- After entering the tax name, proceed to the next step to enter the "Rate".
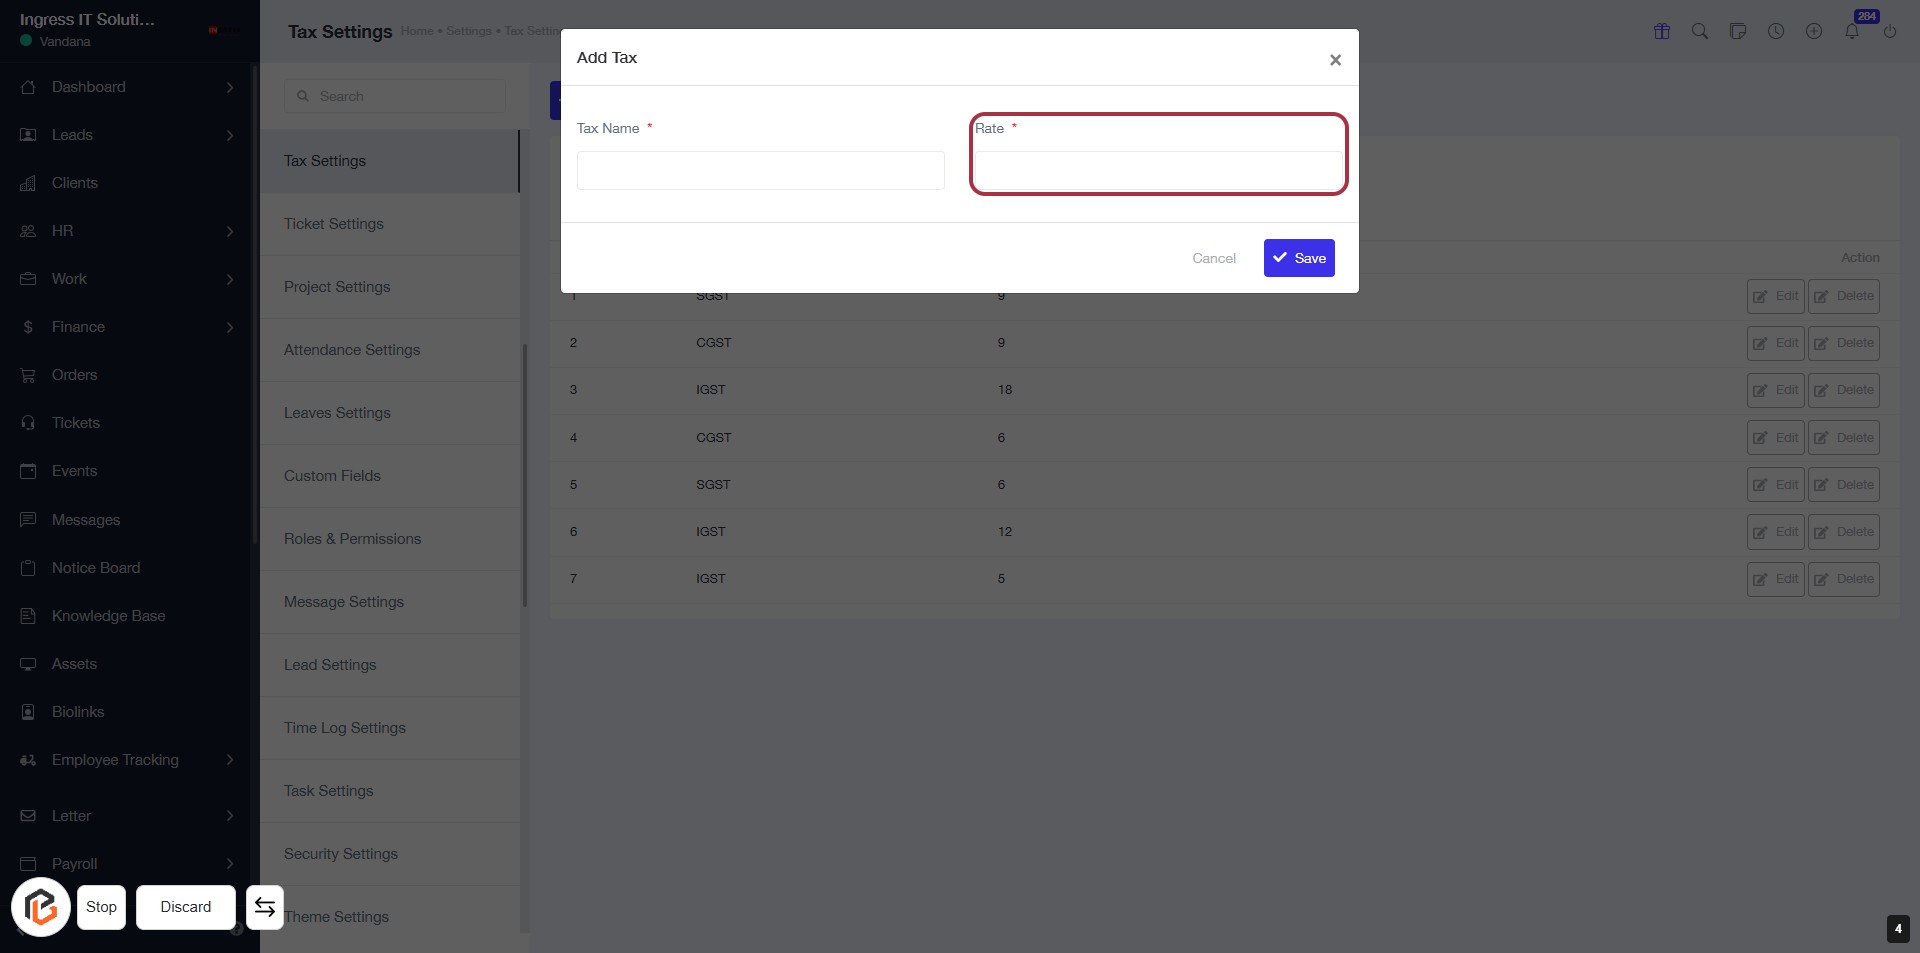
STEP 5: Enter Rate for Tax Configuration
- Click on the highlighted "Rate" field to input the tax rate.
- Ensure to fill in this field as it is marked with an asterisk (*), indicating it's a required field.
- Review your entries before proceeding to the next step.
STEP 6: Click on "Save" to Finalize Tax Configuration
- Ensure all required fields (Tax Name and Rate) are filled.
- Locate the "Save" button in the dialog box.
- Click on the "Save" button to save your tax configuration.
- Confirm that a success message appears, indicating the configuration has been saved.