Step-by-Step Guide to Configuring Project Settings and Status in Your Dashboard
8 mins read · Updated 29 Sep, 2025
STEP 1: Click on "Settings" to Access Configuration Options
- Navigate to the left sidebar of the dashboard.
- Locate the "Settings" option highlighted in red.
- Click on "Settings" to proceed to the configuration settings.
- Ensure you are on the correct page before moving to "Project Settings."
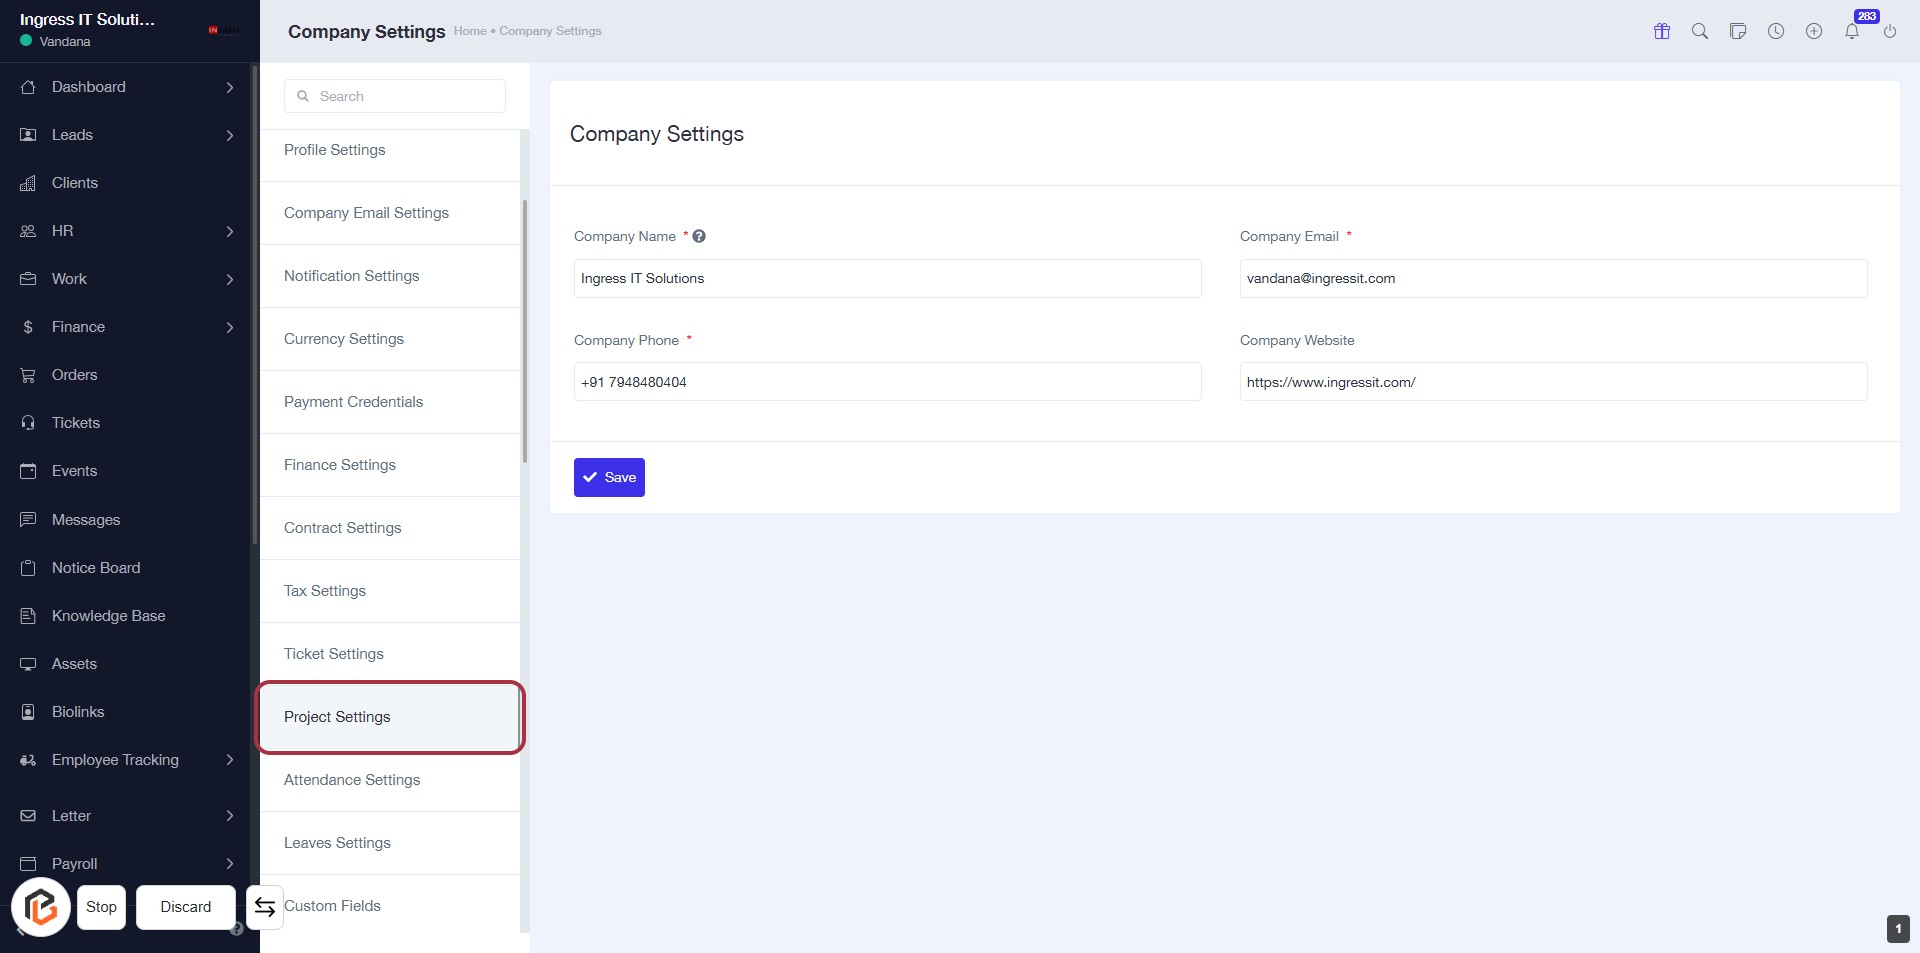
STEP 2: Click on "Project Settings" to Access Configuration Options
- Navigate to the "Project Settings" section in the sidebar.
- Click on the "Project Settings" link to open the relevant settings page.
- Ensure you have the following fields ready to fill:
- Company Name (*)
- Company Phone (*)
- Company Email (*)
- Company Website (optional)
- Proceed to the next step by selecting "Project Status Settings."
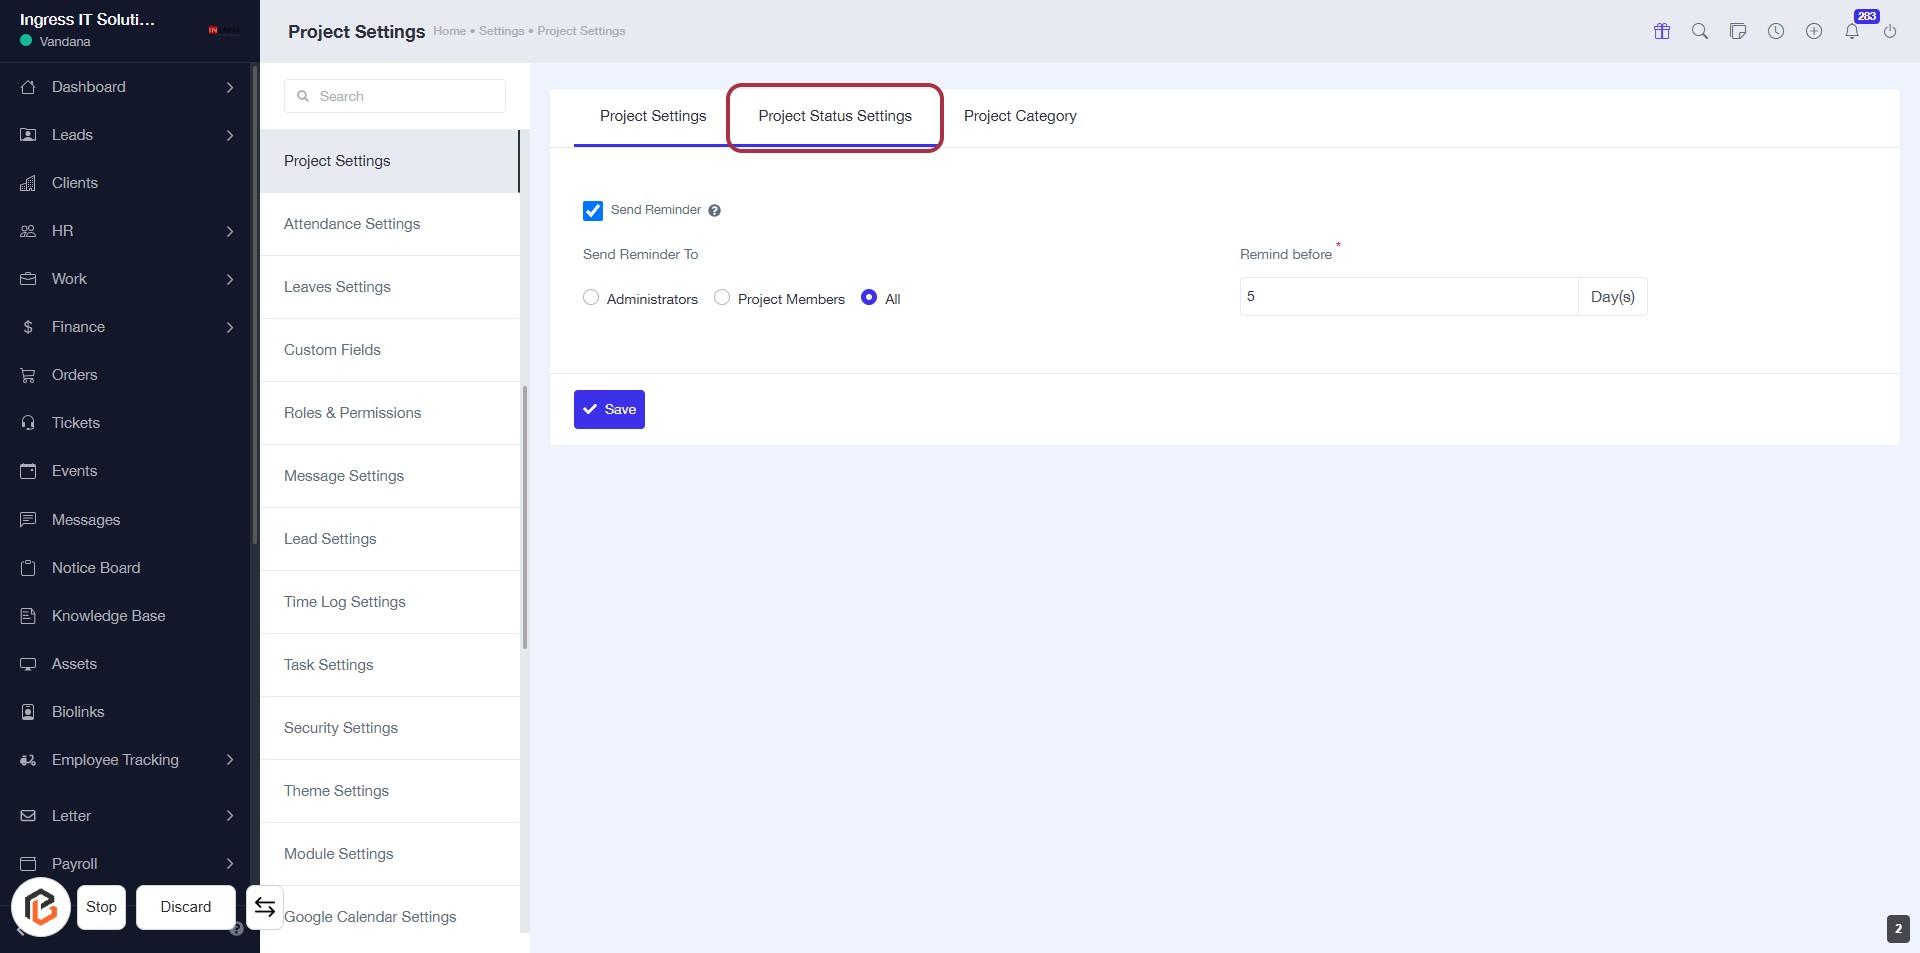
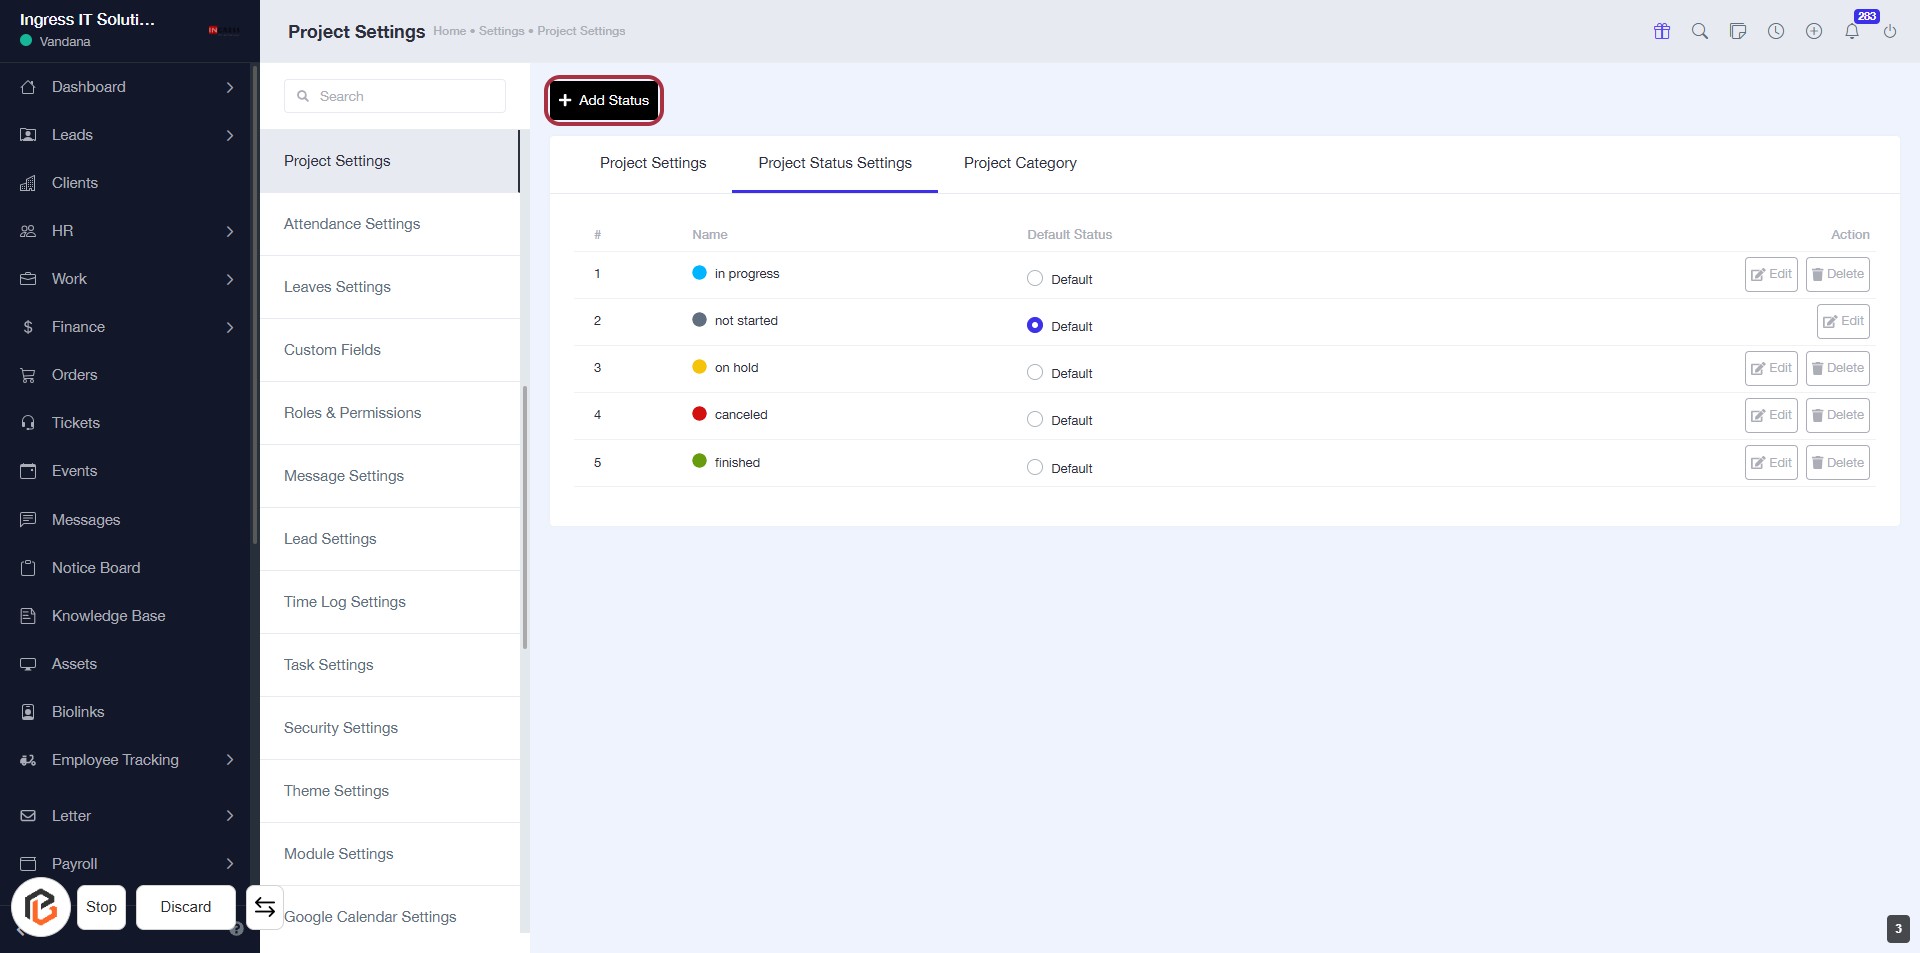
STEP 3: Select "Project Status Settings"
- Click on Project Status Settings in the tab area.
- Ensure the Send Reminder option is checked if you want reminders.
- Choose who to send reminders to: Administrators, Project Members, or All.
- Fill in the Remind before field (mandatory) with the number of days.
- Click Save to apply your settings.
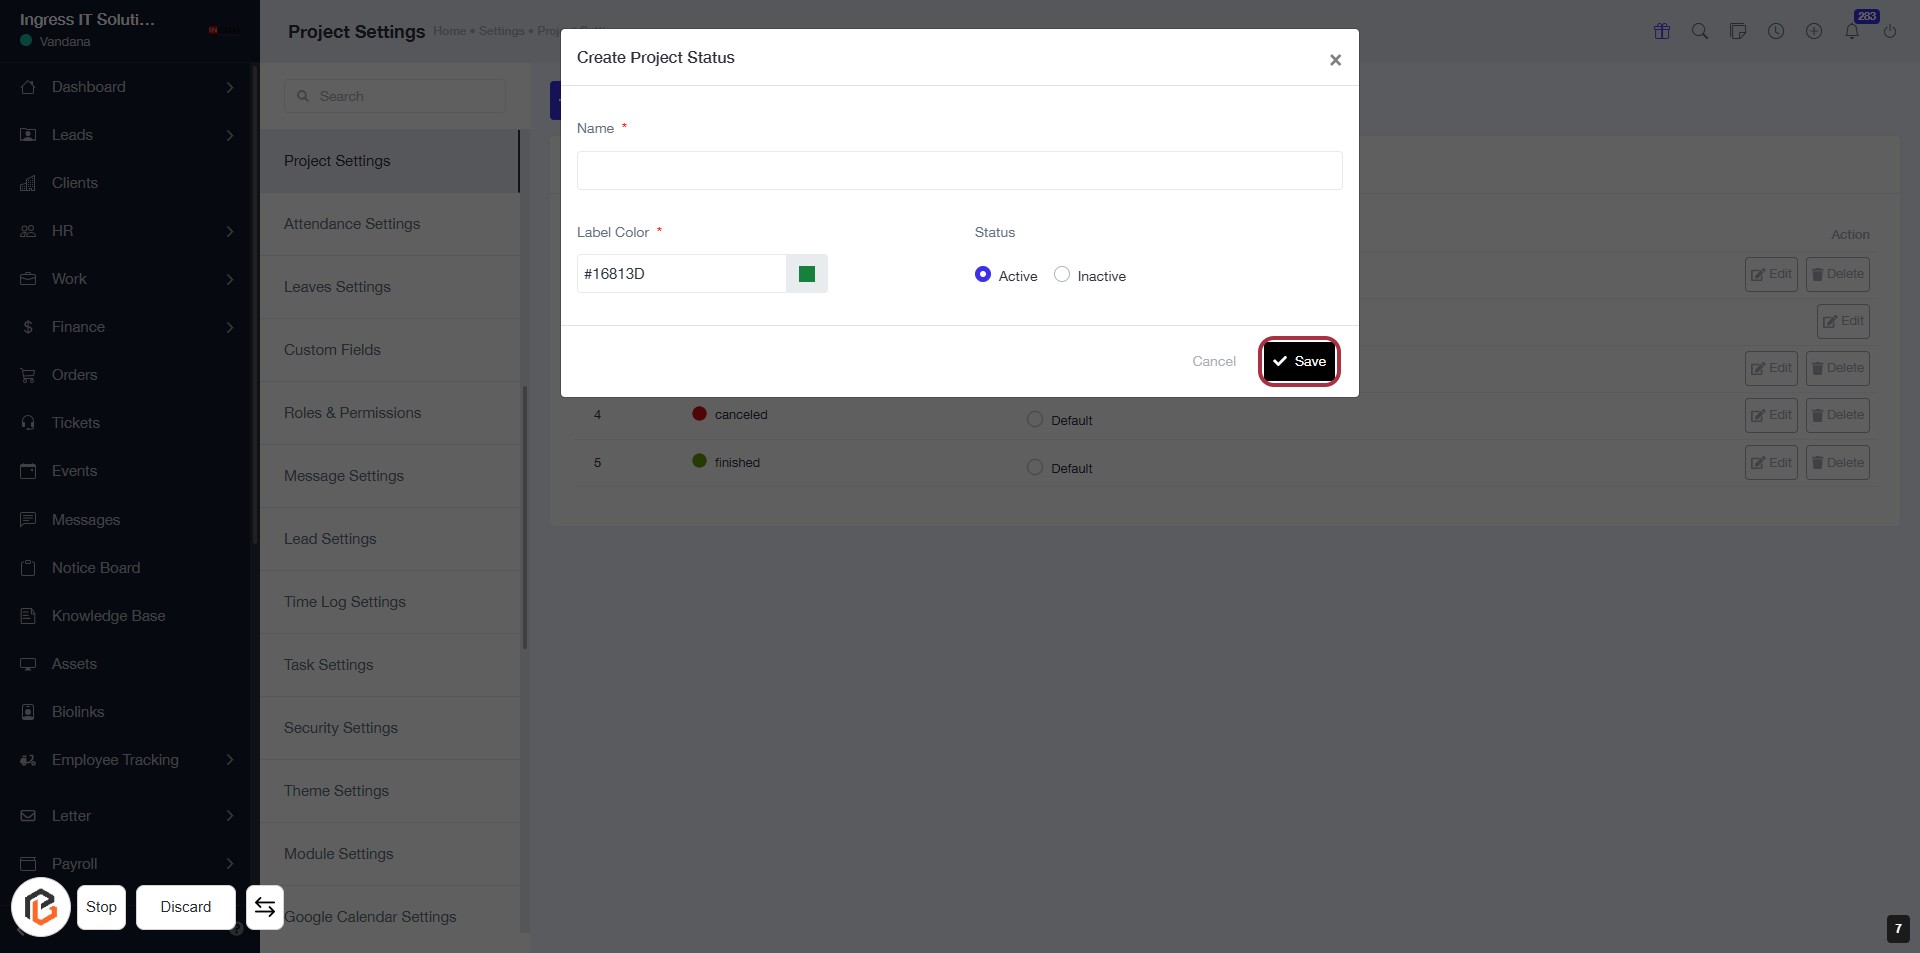
STEP 4: Select "Add Status"
- Click the Add Status button located at the top right of the Project Status Settings section.
- This action will prompt you to enter details for a new project status.
- Ensure you have the necessary information ready for the next step, such as the project name.
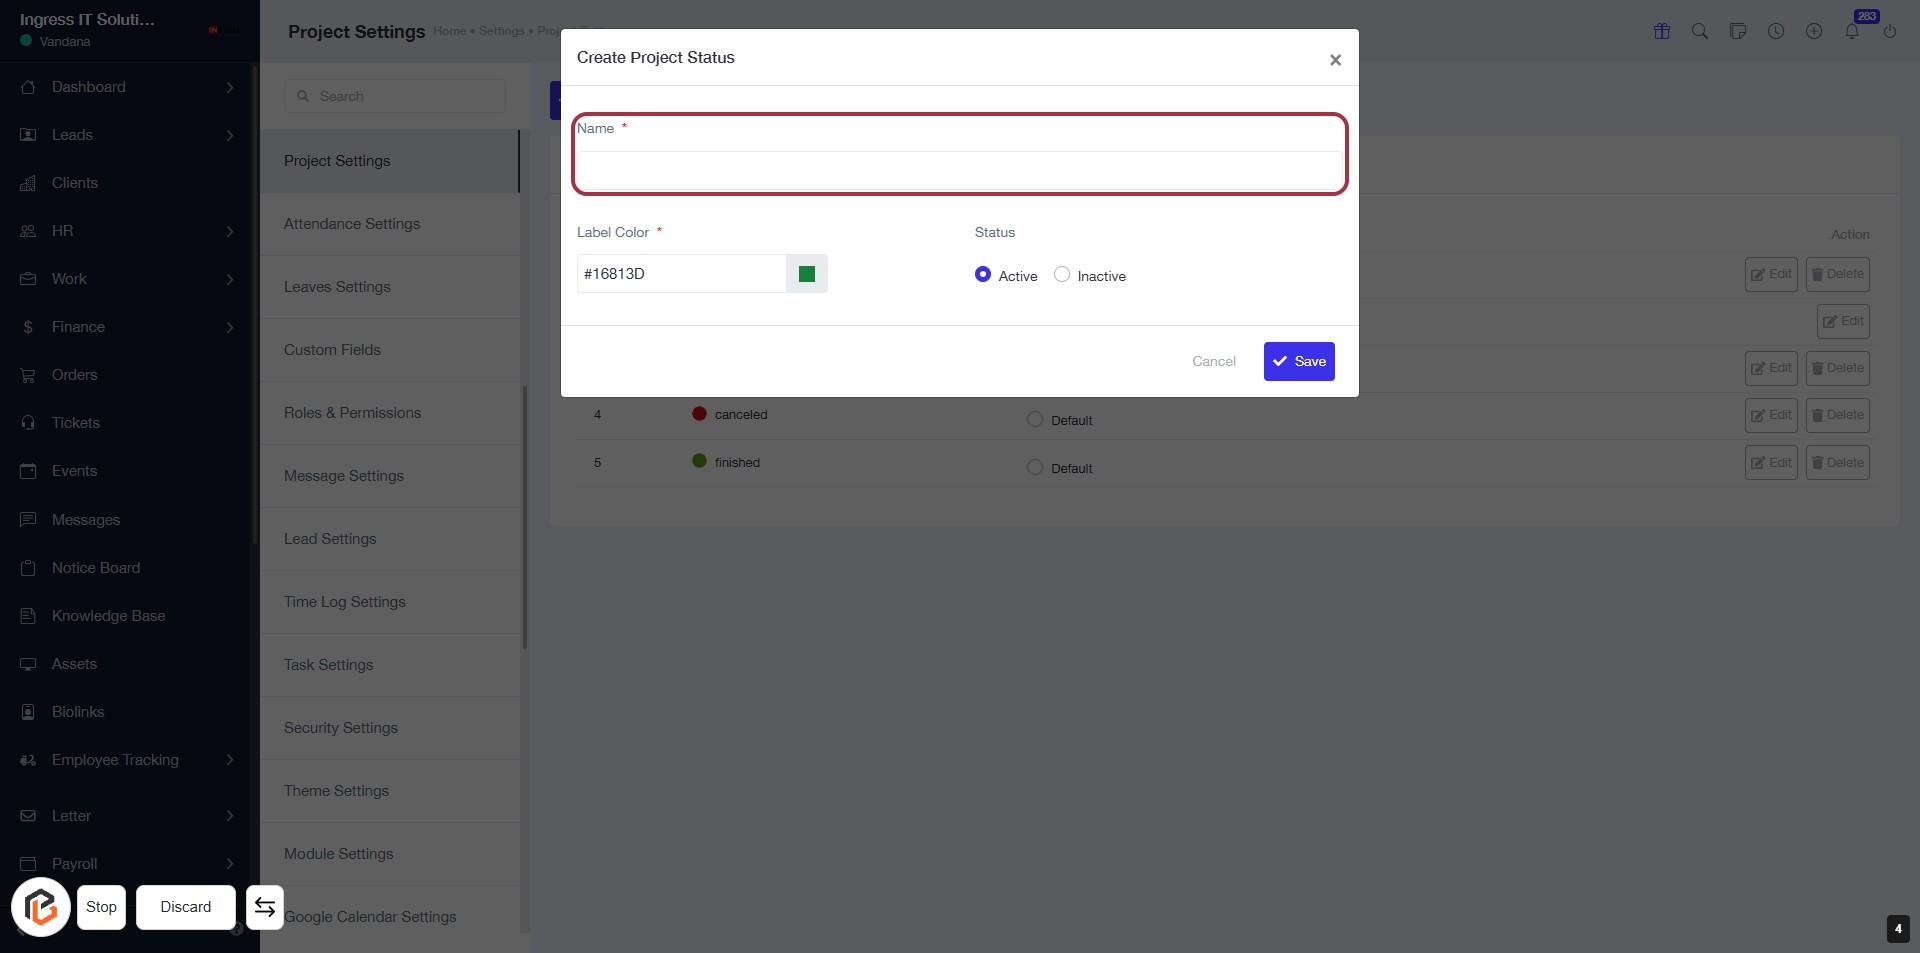
STEP 5: Enter "Project Name"
- Click on the highlighted area labeled "Name *" to input the project name.
- Ensure to fill in this field as it is mandatory (indicated by the asterisk).
- After entering the name, proceed to the next step by selecting "Label Color".
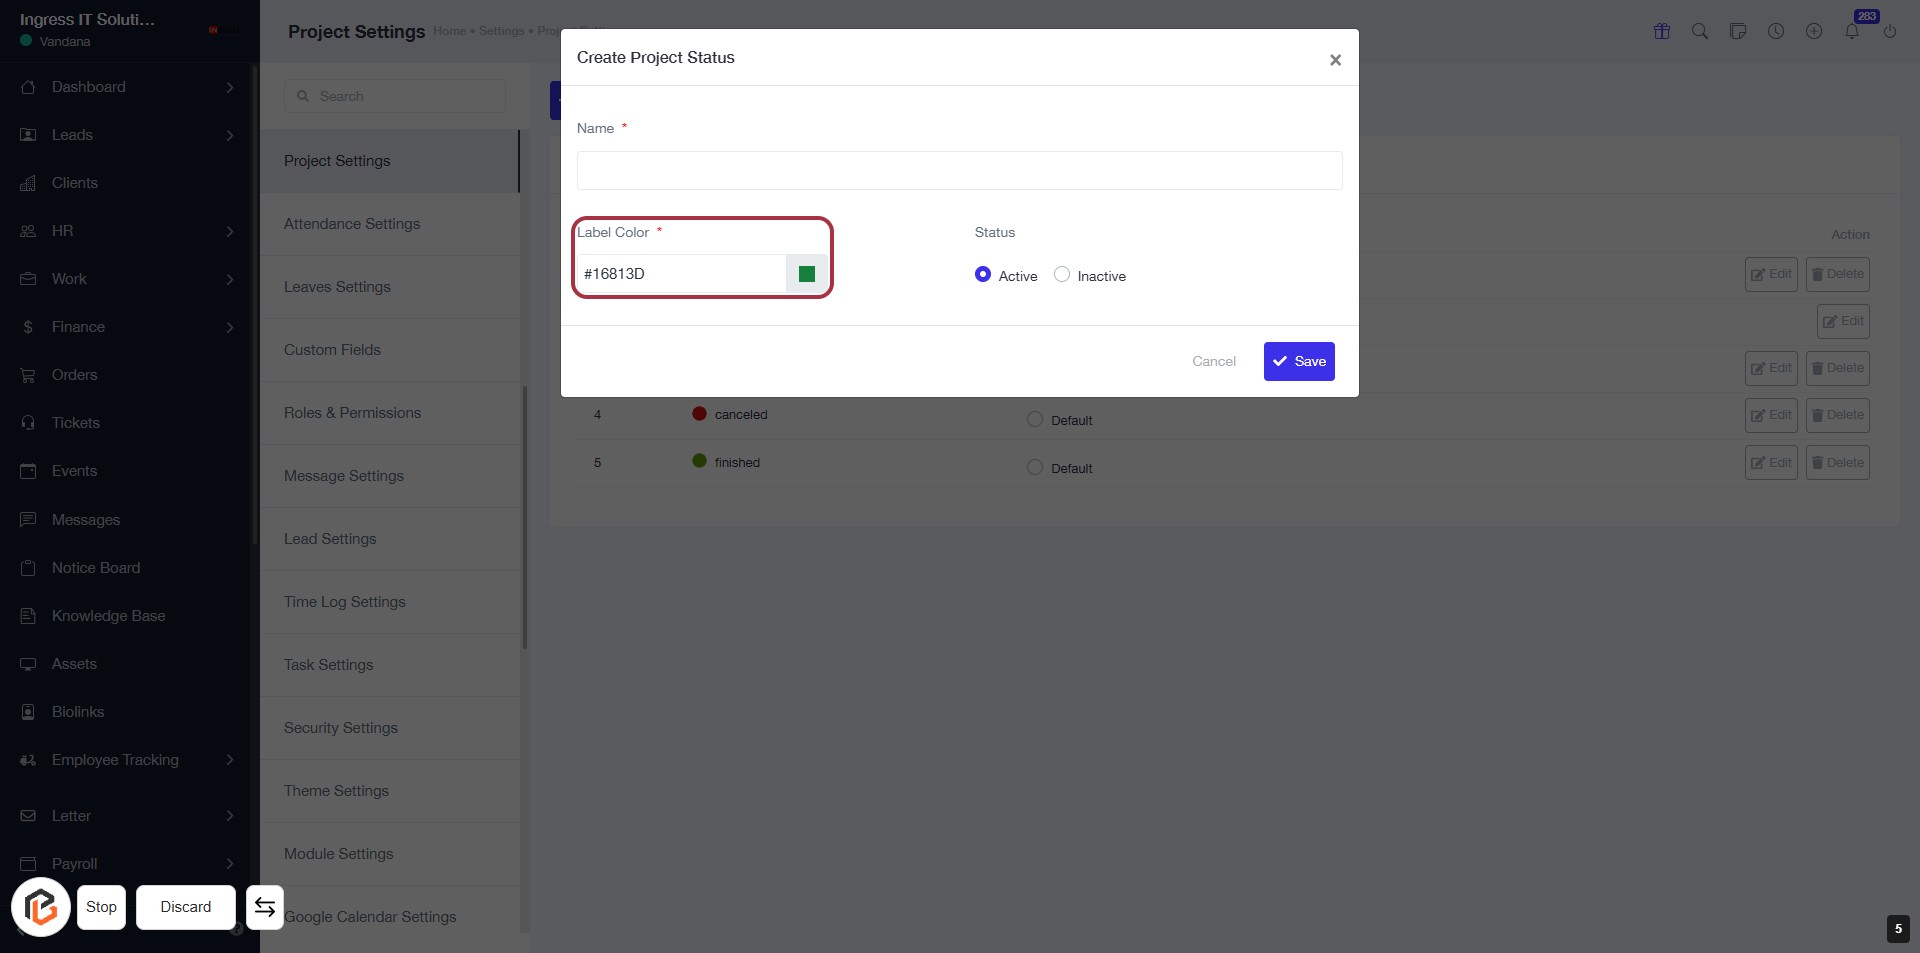
STEP 6: Select "Label Color"
- Click on the "Label Color" field (marked with an asterisk * for required input).
- A color picker dialog will appear; choose your desired color for the label.
- Ensure the selected color is appropriate for your project status.
- Proceed to the next step by selecting "Status."
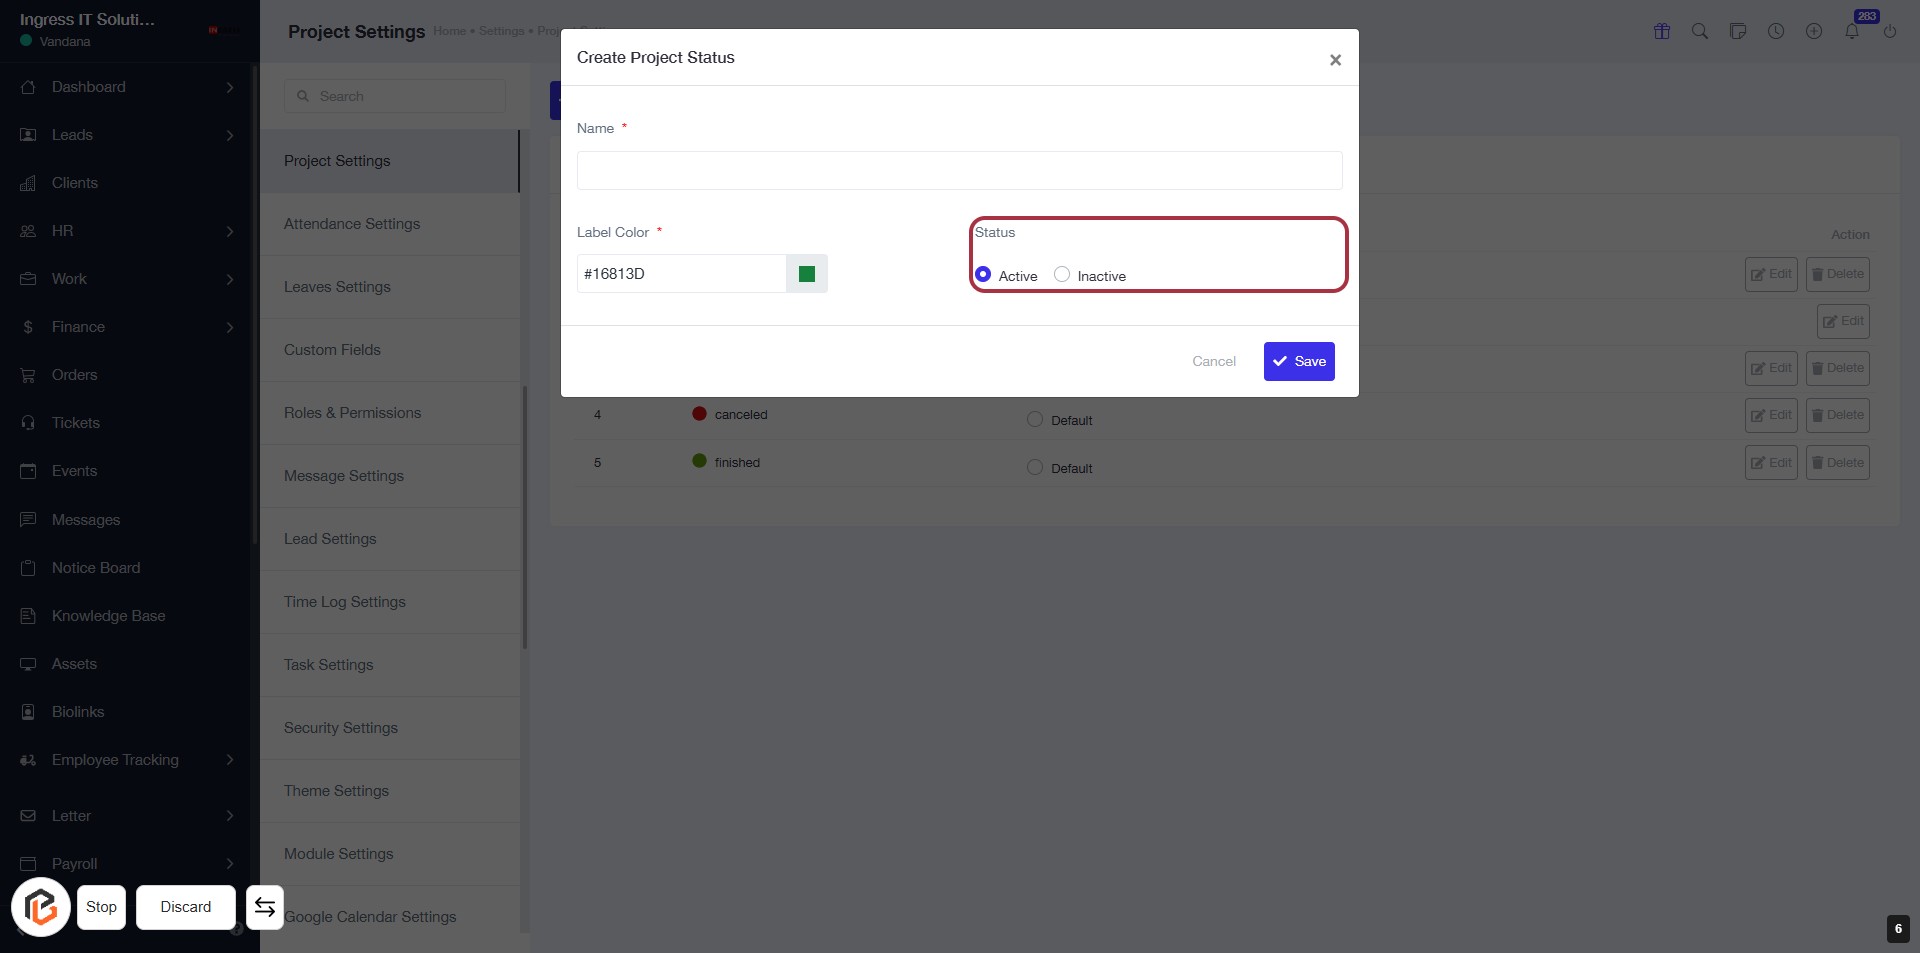
STEP 7: Select "Status"
- Click on the Status option in the dialog.
- Ensure to fill in the required fields:
- Name (marked with * for required).
- Label Color (also marked with * for required).
- Choose between Active or Inactive for the status.
STEP 8: Click on "Save" to Finalize Project Status
- Ensure all required fields are filled:
- Name (marked with *)
- Label Color (marked with *)
- Status (choose between Active or Inactive)
- Click the Save button to save your changes.