Step-by-Step Guide to Configuring Payroll Settings and Customizing Salary Slips
5 mins read · Updated 29 Sep, 2025
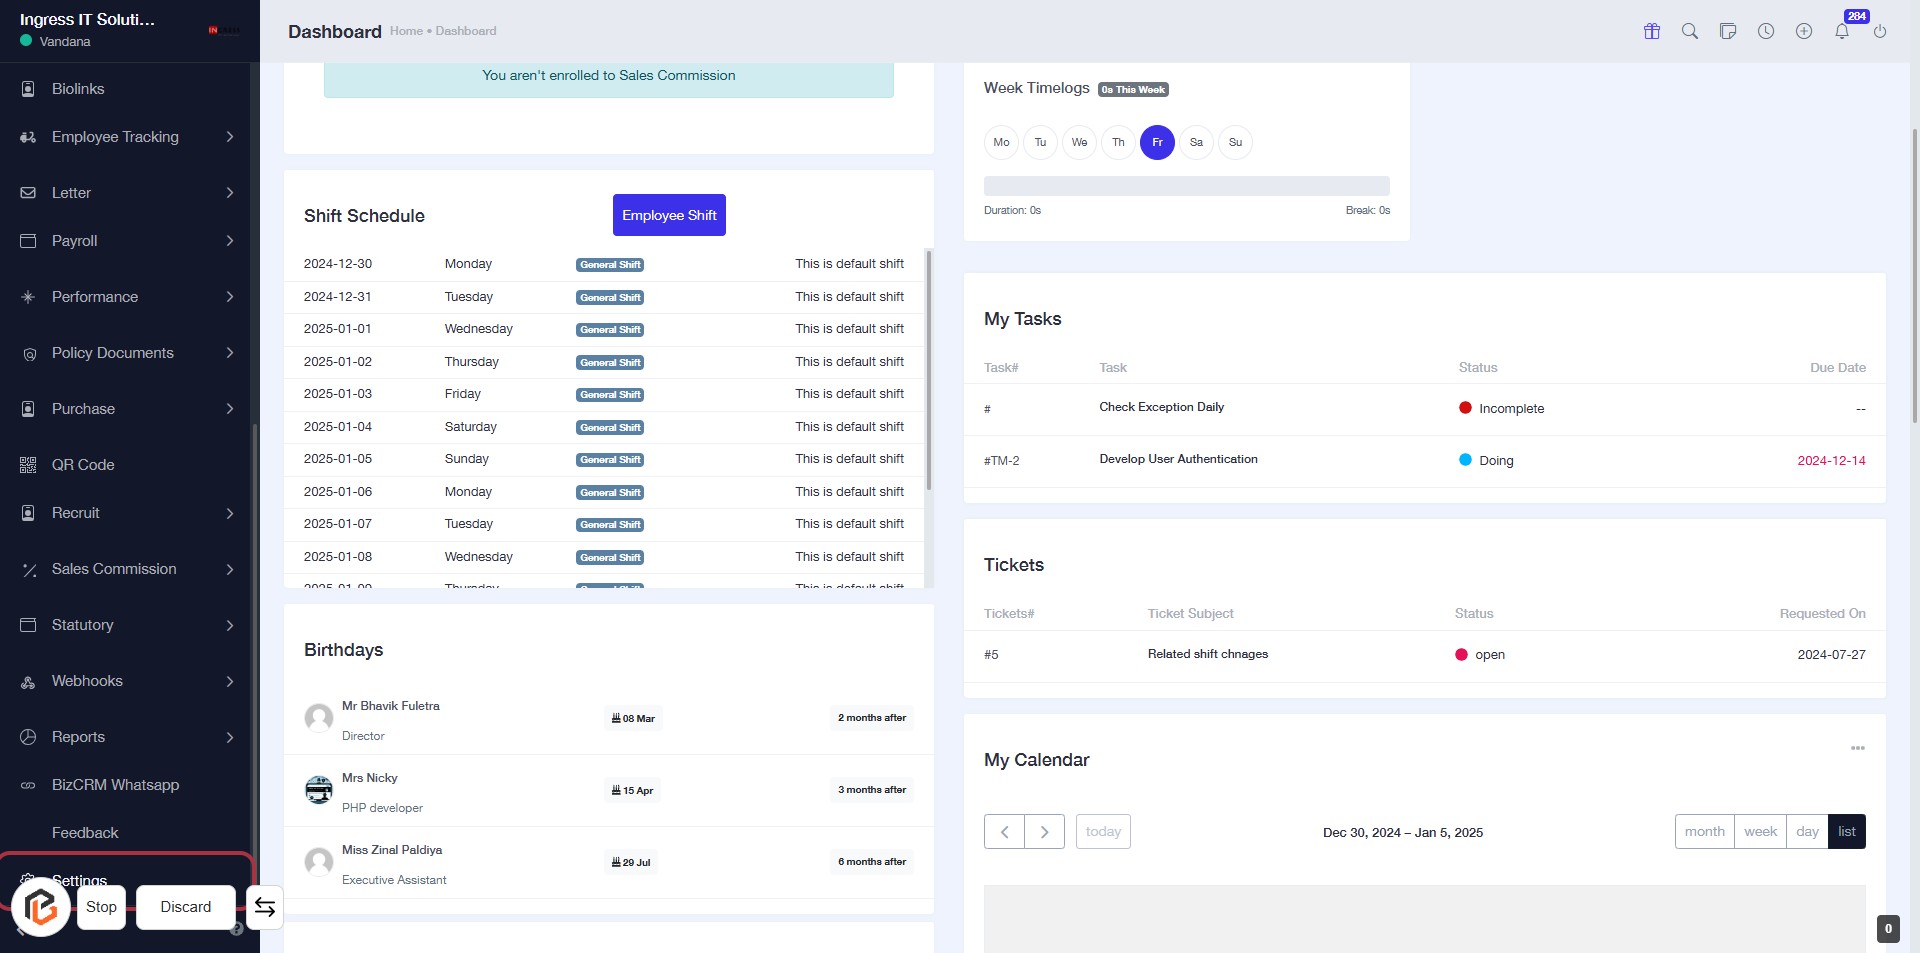
STEP 1: Click on "Settings" to Access Configuration Options
- Navigate to the left sidebar of the dashboard.
- Click on the Settings link to open the settings menu.
- Ensure you are on the Dashboard page for proper access.
- After clicking, proceed to the next step for Payroll Settings.
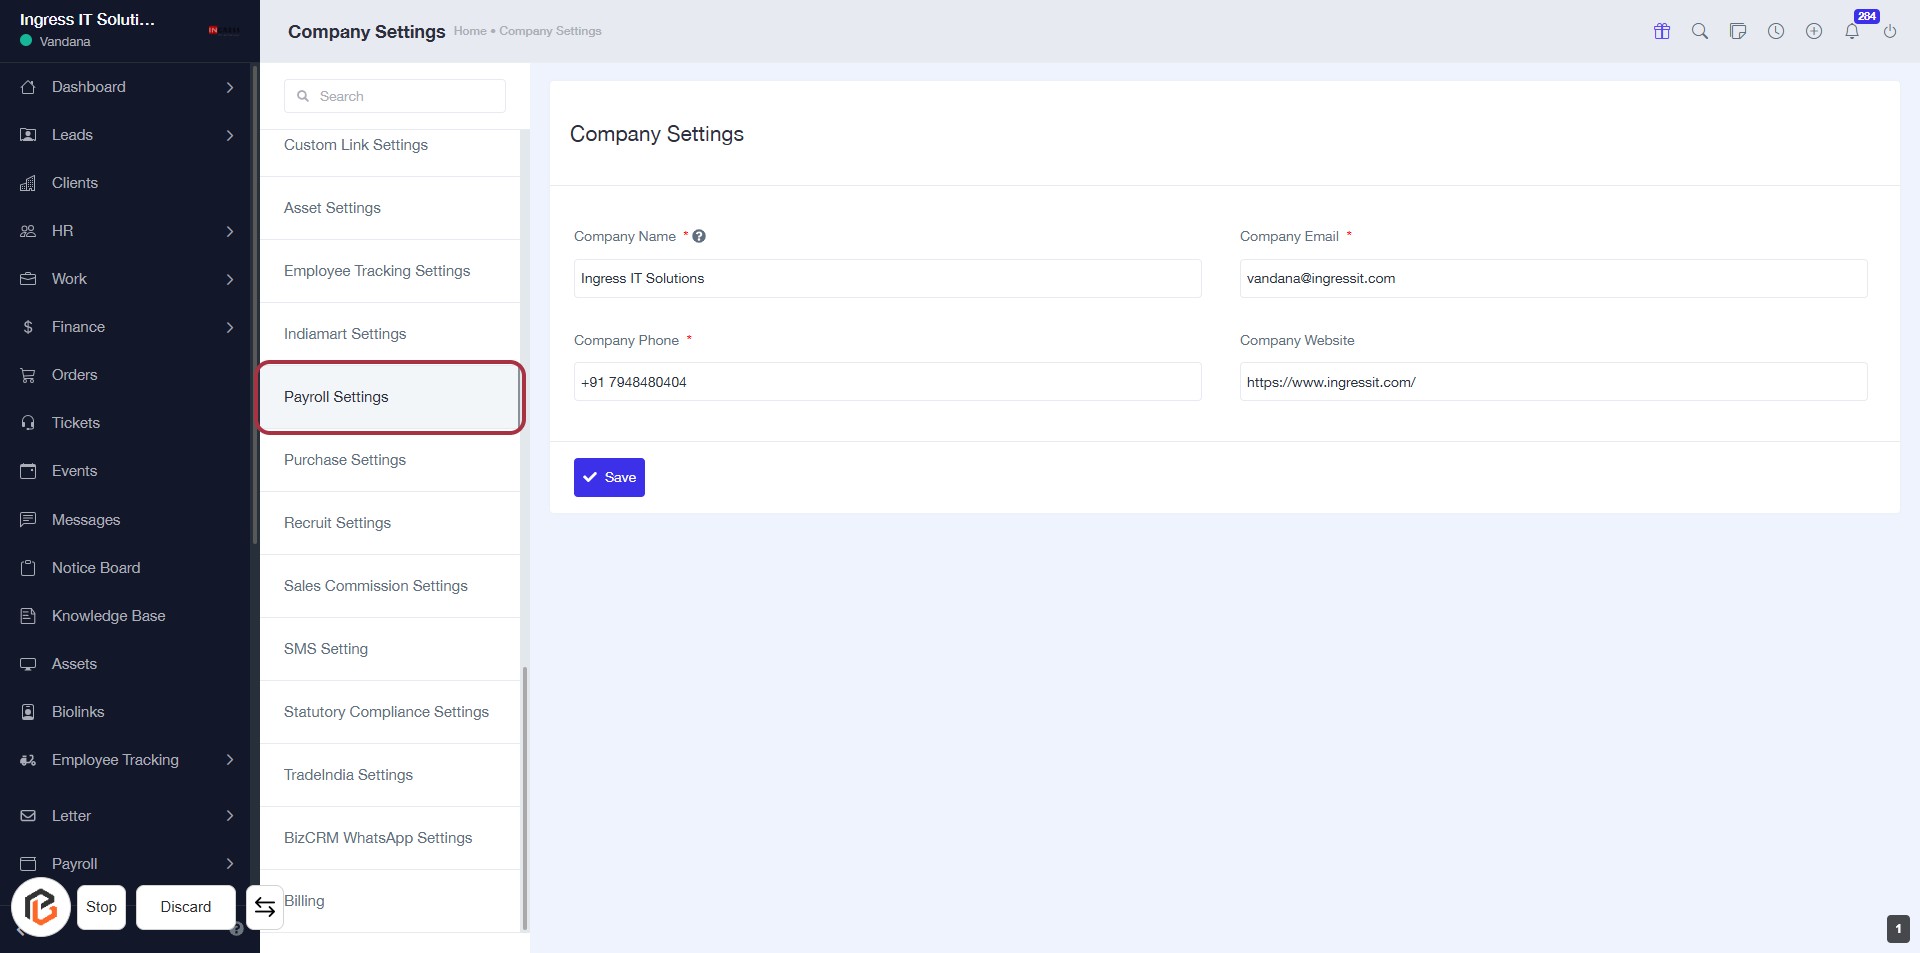
STEP 2: Click on "Payroll Settings"
- Navigate to the "Payroll Settings" section in the left sidebar.
- Click on the "Payroll Settings" link to access the relevant configuration options.
- Ensure to fill in the required fields marked with an asterisk (*) in the Company Settings form, such as Company Name, Phone, Email, and Website.
- After entering the necessary information, click the "Save" button to apply changes.
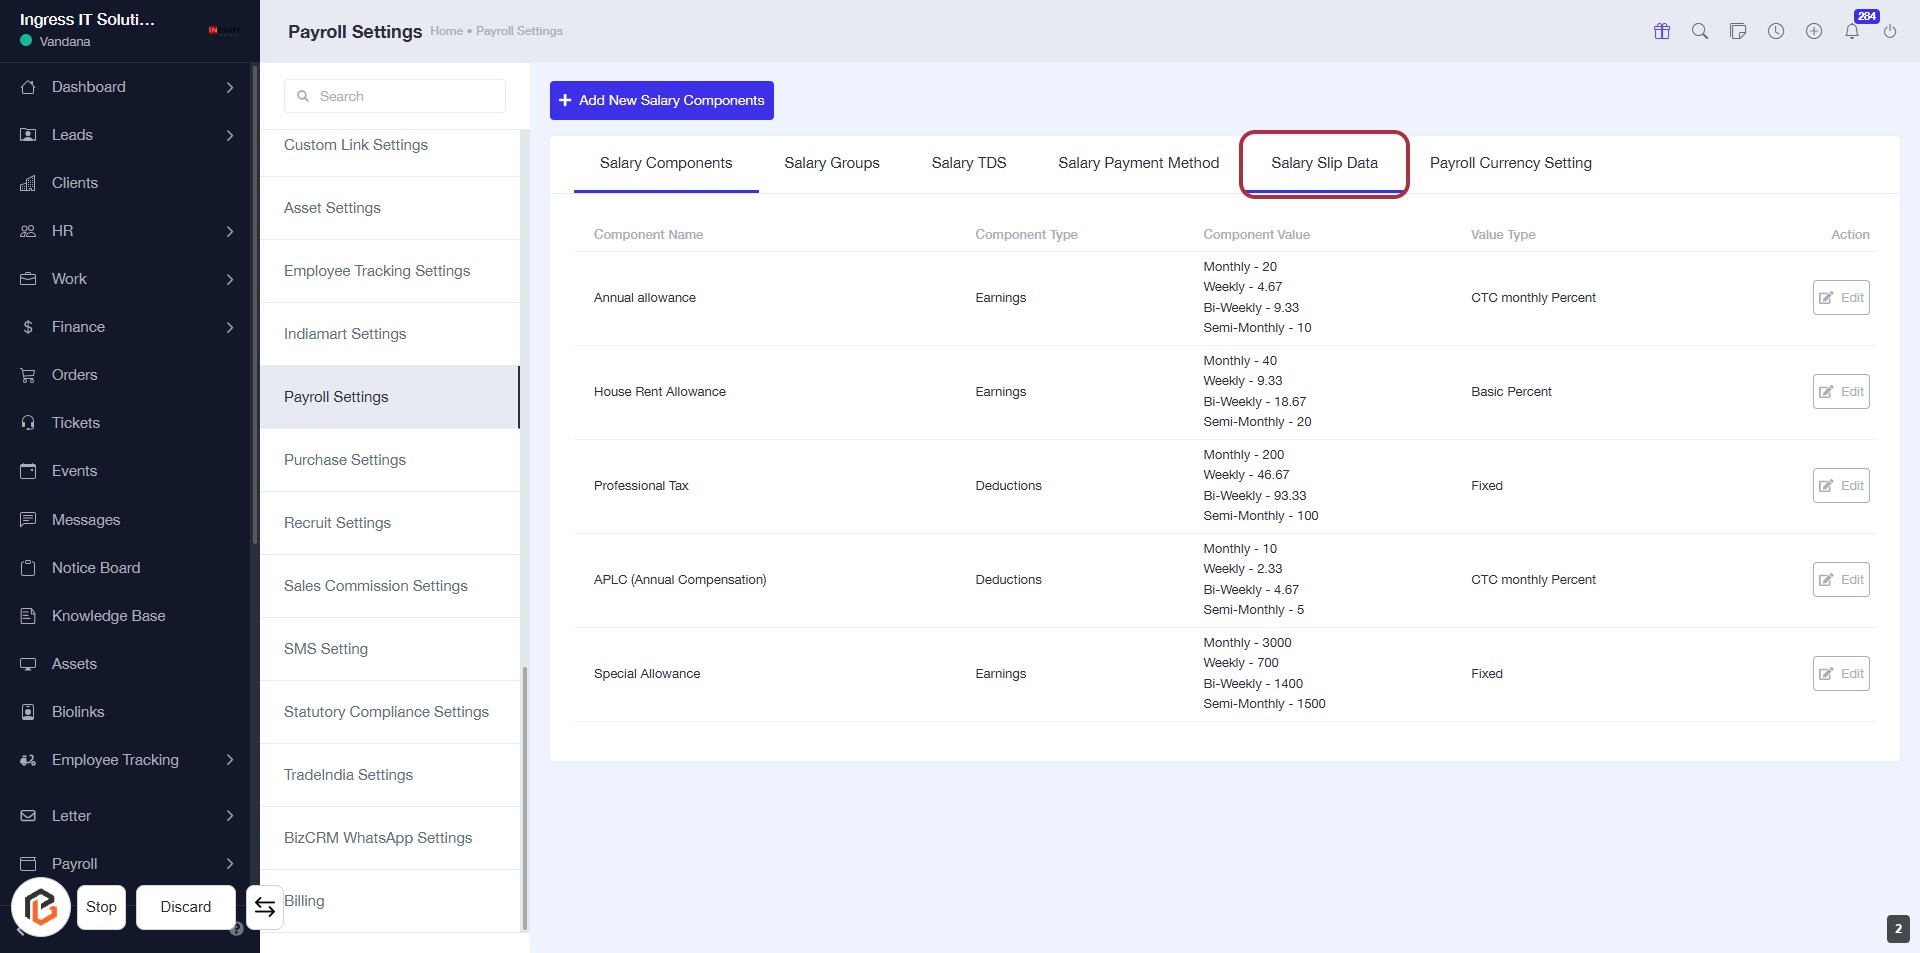
STEP 3: Select "Salary Slip Data"
- Click on the "Salary Slip Data" tab in the Payroll Settings section.
- This will display the relevant salary components and their details.
- Ensure you review the listed components for accuracy before proceeding to the next step.
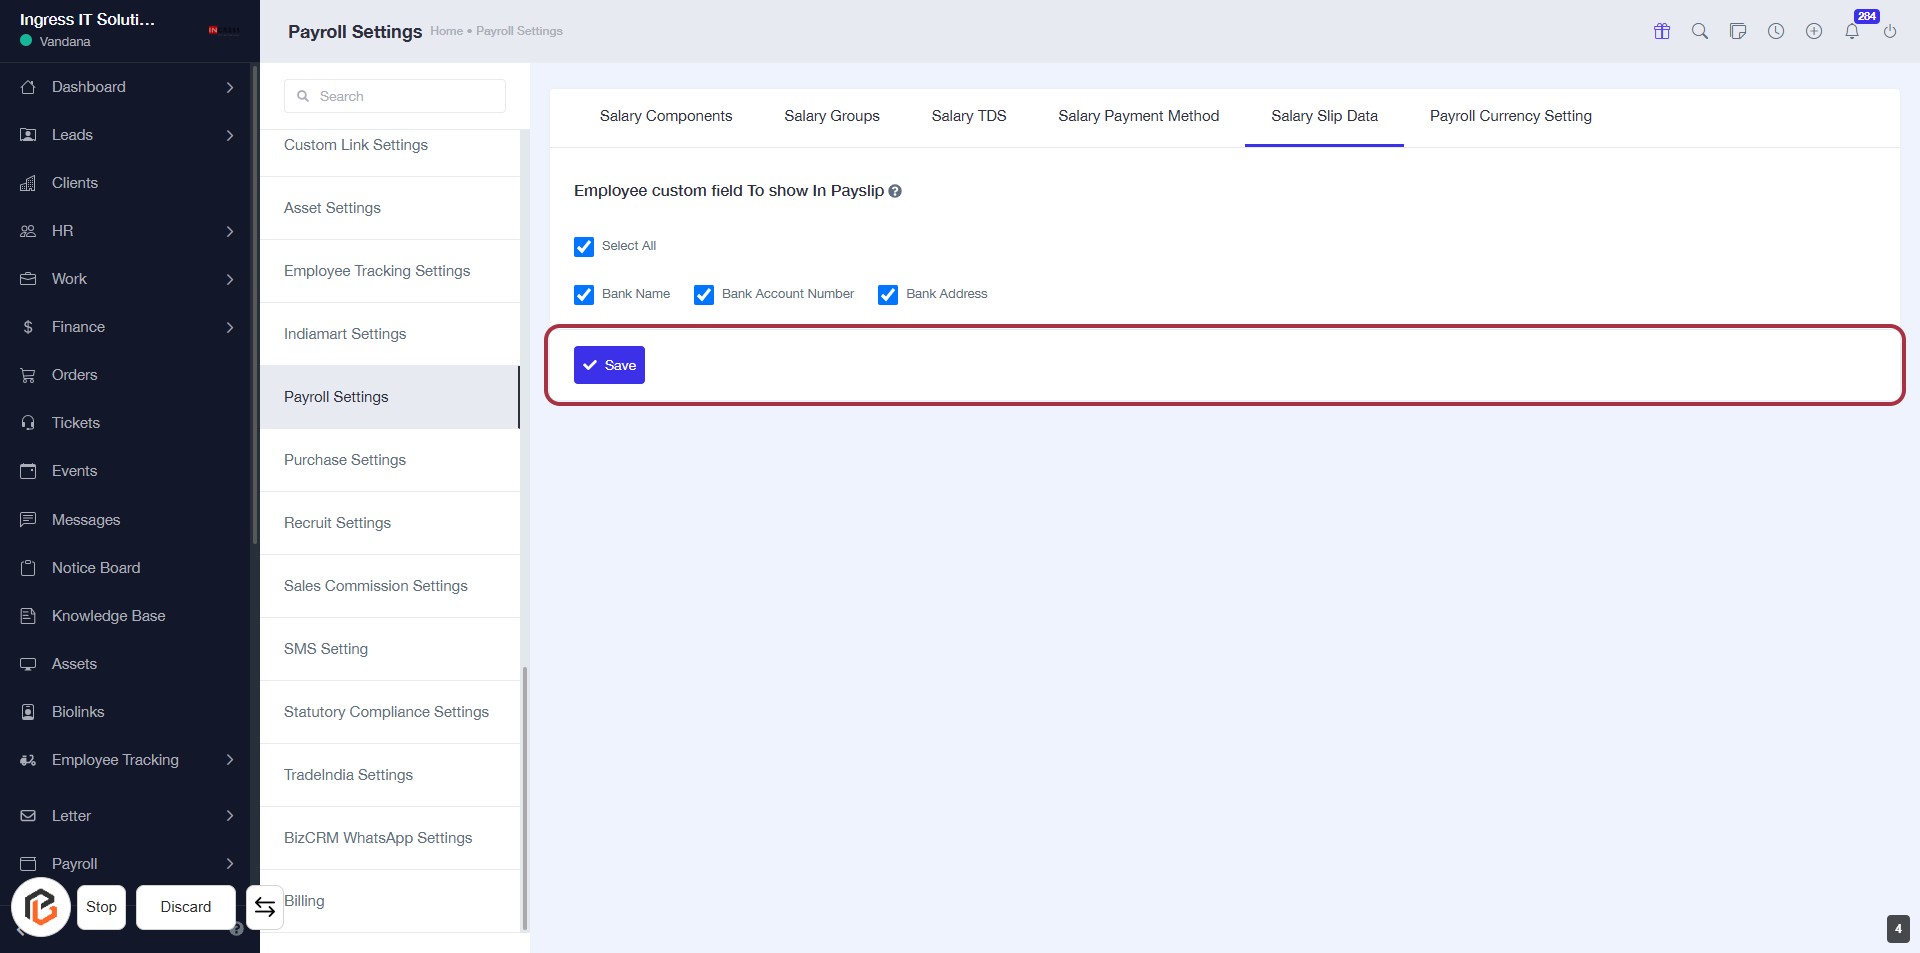
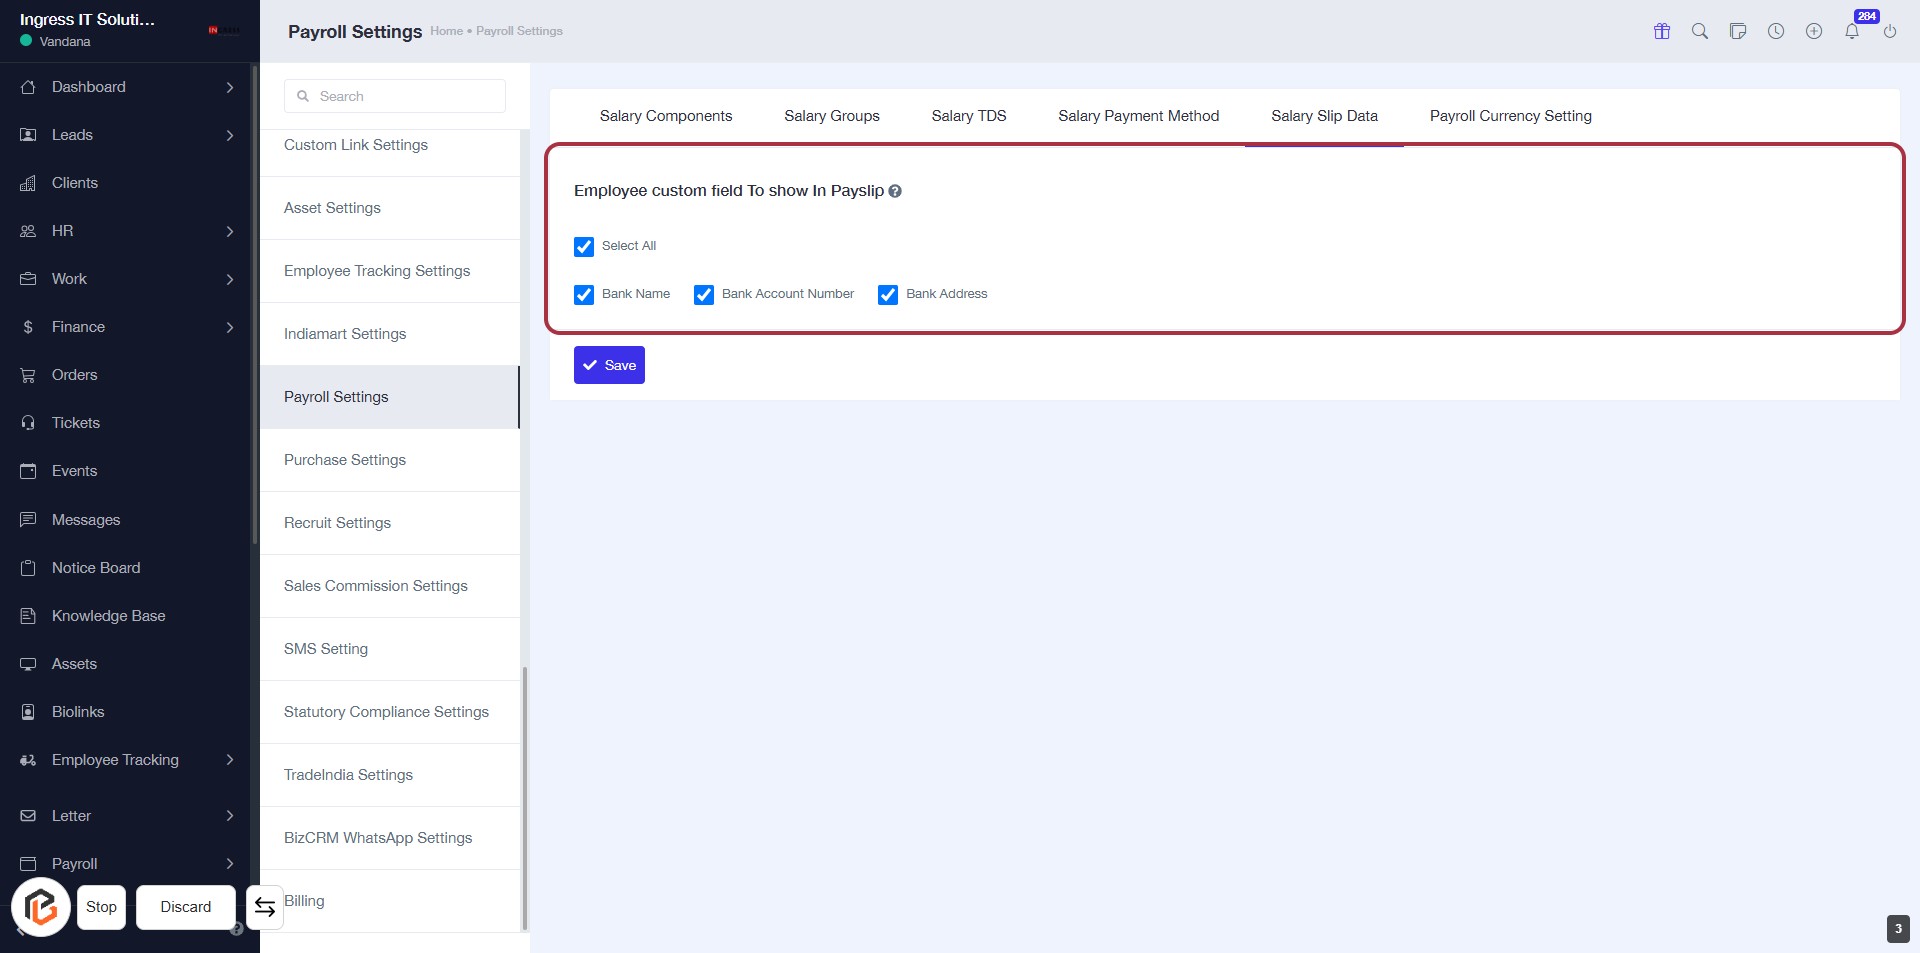
STEP 4: Select Employee Custom Fields to Show in Payslip
- Click on the "Employee custom field To show In Payslip" section.
- Options available include:
- Select All
- Bank Name
- Bank Account Number
- Bank Address
- Ensure to check the desired fields for inclusion in the payslip.
- Proceed to the next step by clicking the "Save" button.
STEP 5: Click on "Save" to Confirm Changes
- Ensure all desired employee custom fields are selected.
- Locate the "Save" button highlighted in the red border.
- Click the "Save" button to apply your changes.
- Review any confirmation messages that appear after saving.