Step-by-Step Guide to Configuring Payroll and Adding Salary Groups in Your Dashboard Settings
7 mins read · Updated 29 Sep, 2025
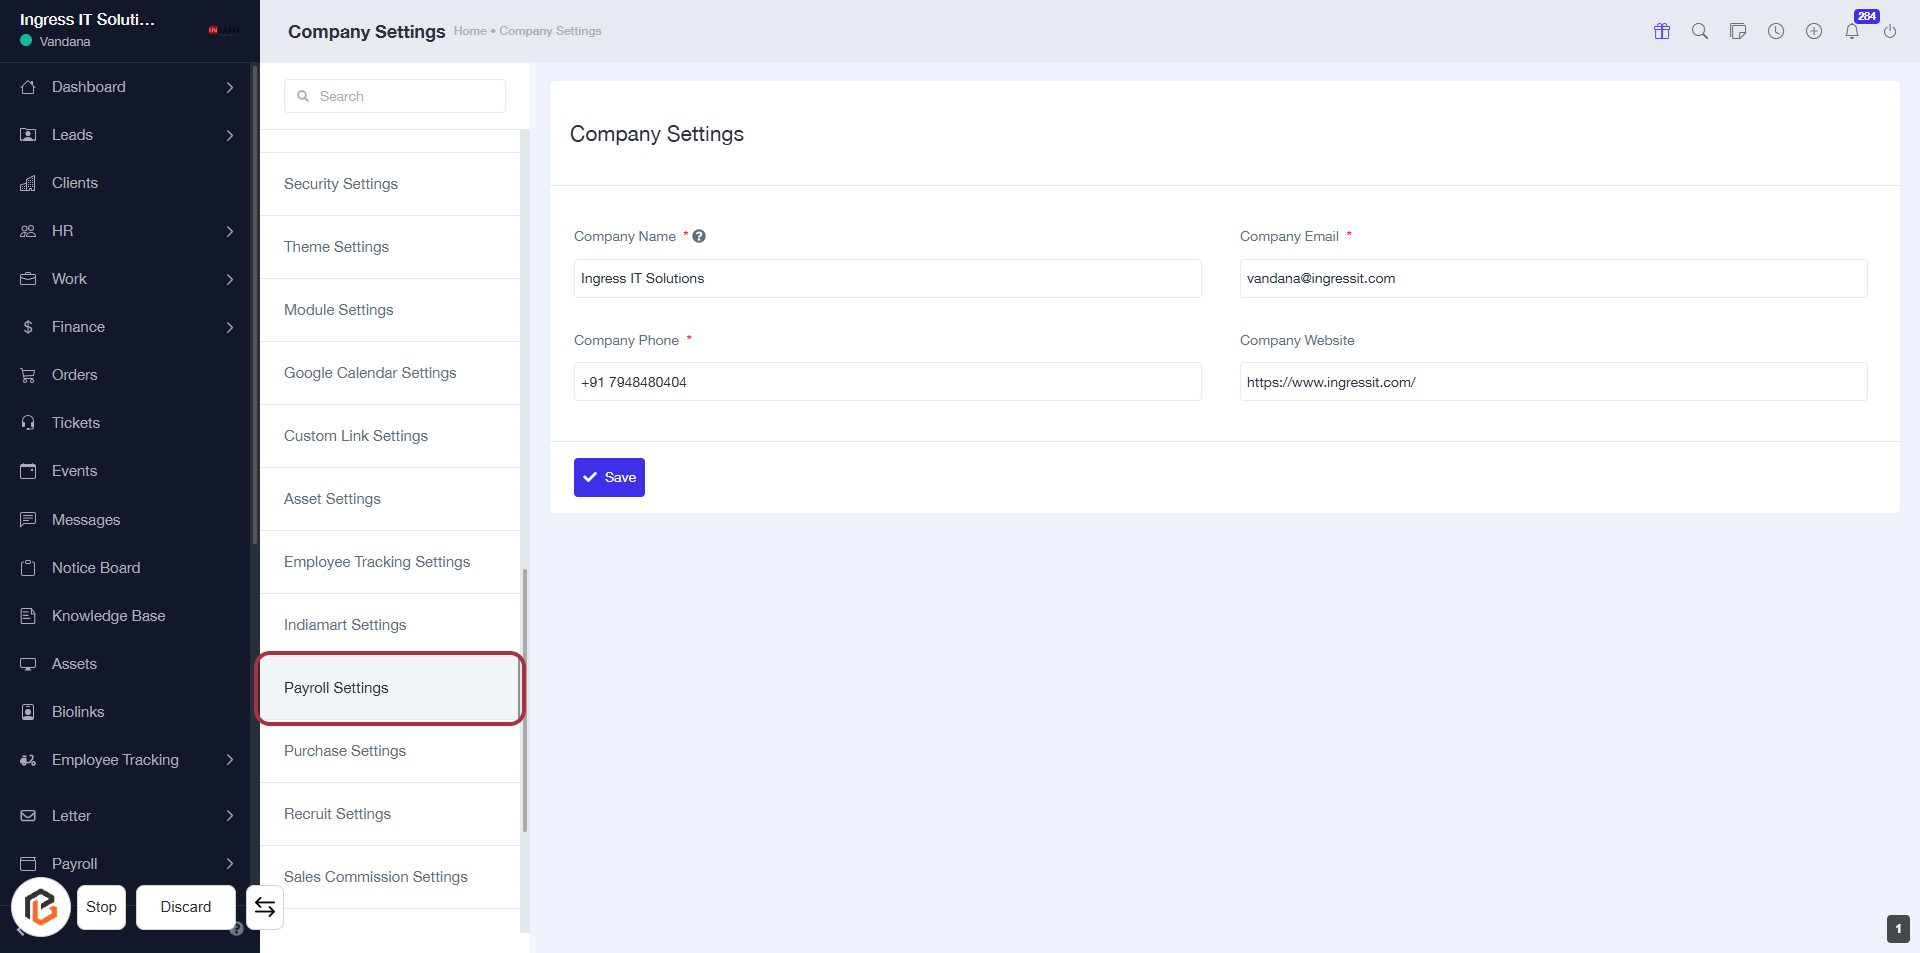
STEP 1: Click on "Settings" to Access Configuration Options
- Navigate to the left sidebar of the dashboard.
- Locate and click on the "Settings" option highlighted in red.
- This will direct you to the settings configuration page for further adjustments.
Next Step: Proceed to "Payroll Settings".
STEP 2: Click on "Payroll Settings"
- Navigate to the "Payroll Settings" option in the left sidebar.
- Click on it to access the payroll configuration options.
- Ensure all required fields marked with an asterisk (*) are filled out in the subsequent forms.
- Review the settings available for managing payroll effectively.
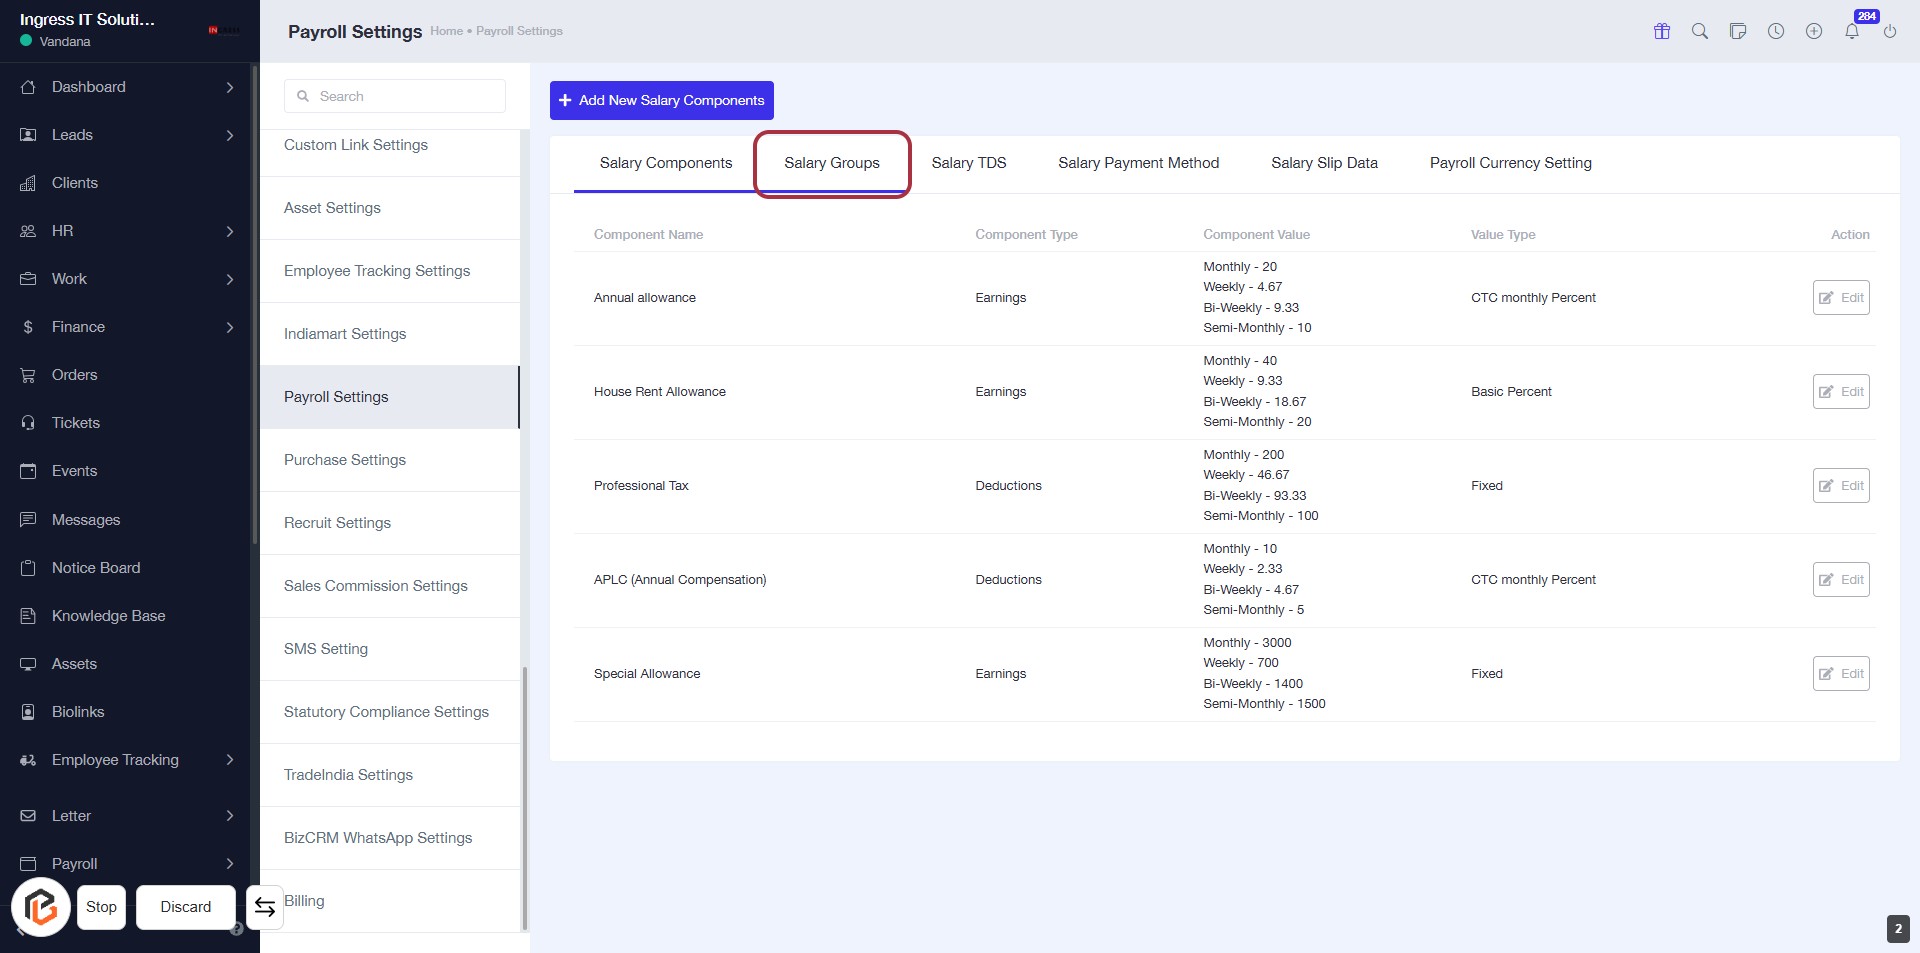
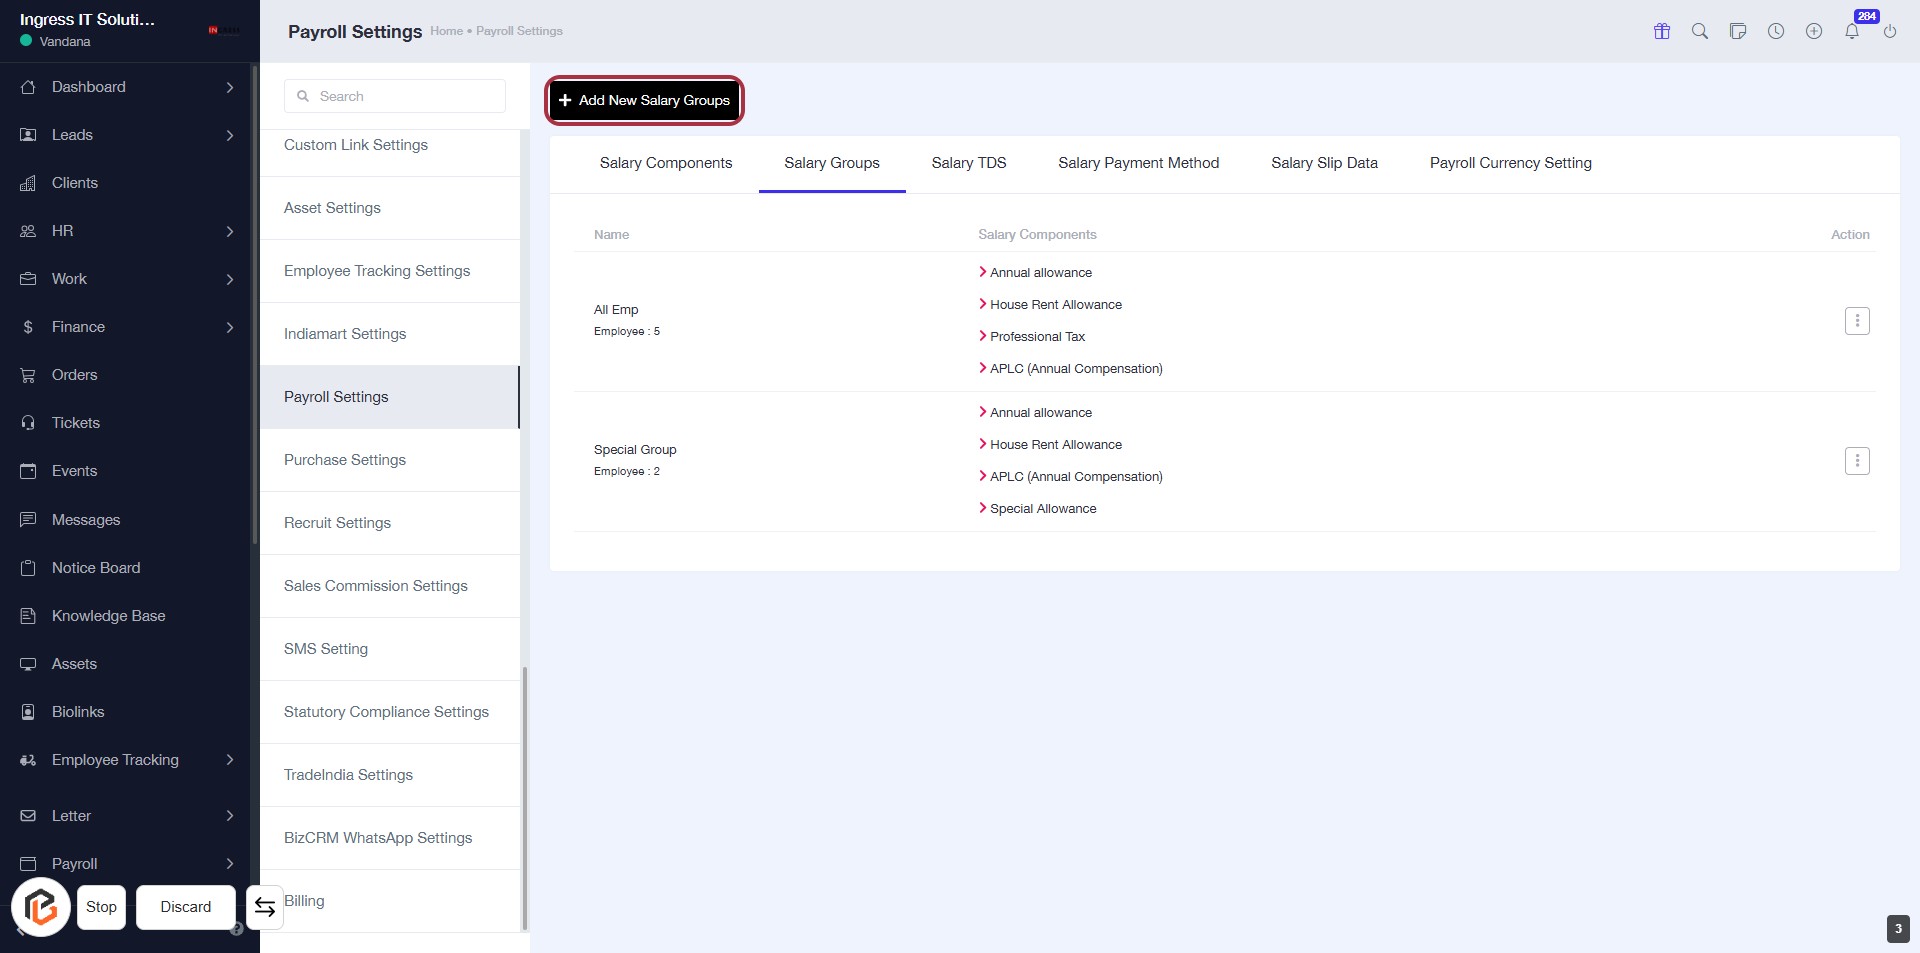
STEP 3: Select "Salary Groups"
- Click on the "Salary Groups" tab to access the salary group settings.
- Review the listed salary components, including their types and values.
- Ensure to check for any required fields marked with an asterisk (*).
- Prepare to proceed by clicking on "Add New Salary Groups" for further actions.
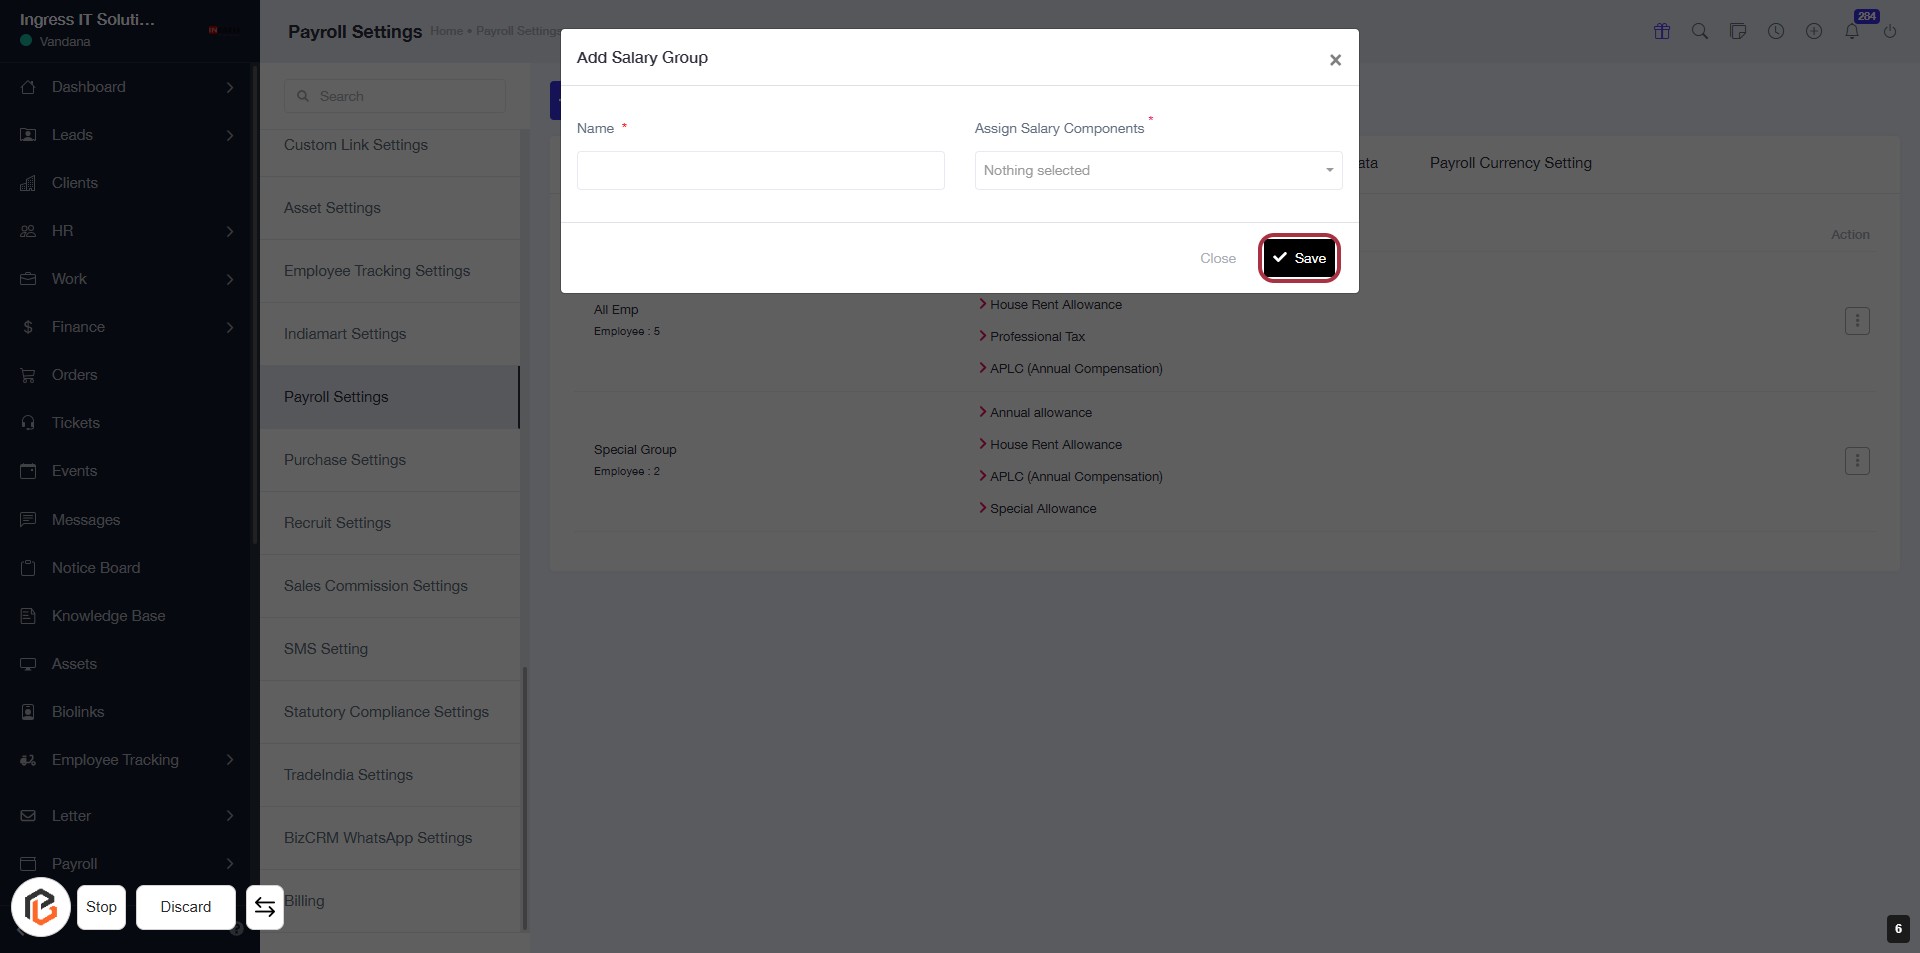
STEP 4: Click on "Add New Salary Groups"
- Navigate to the Salary Groups tab in Payroll Settings.
- Locate the button labeled + Add New Salary Groups highlighted in red.
- Click on this button to initiate the process of adding a new salary group.
- Ensure you have the necessary information ready for the next step, which involves entering the Name of the salary group.
STEP 5: Enter "Name" for the Salary Group
- Click on the "Name" field in the dialog box.
- Enter the desired name for the salary group (this field is mandatory, indicated by the asterisk).
- Ensure the name is relevant to the salary group you are creating.
- After entering the name, proceed to the next step to select "Assign Salary Components."
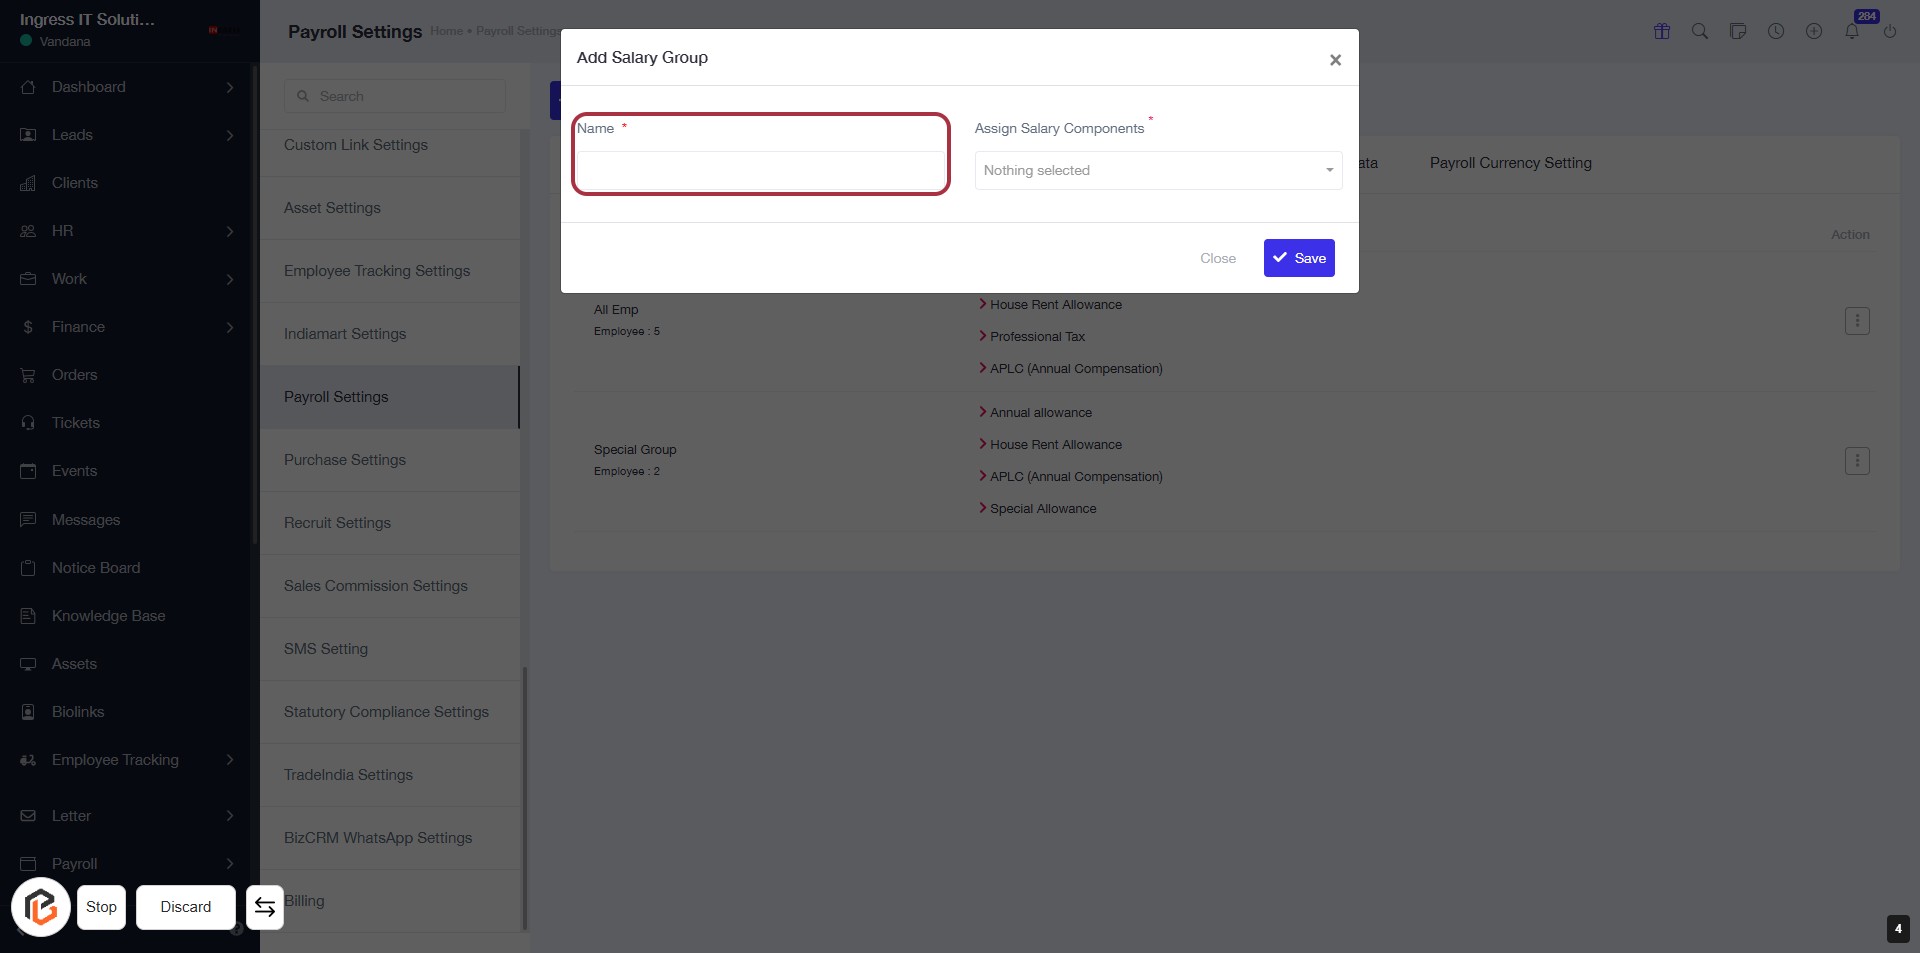
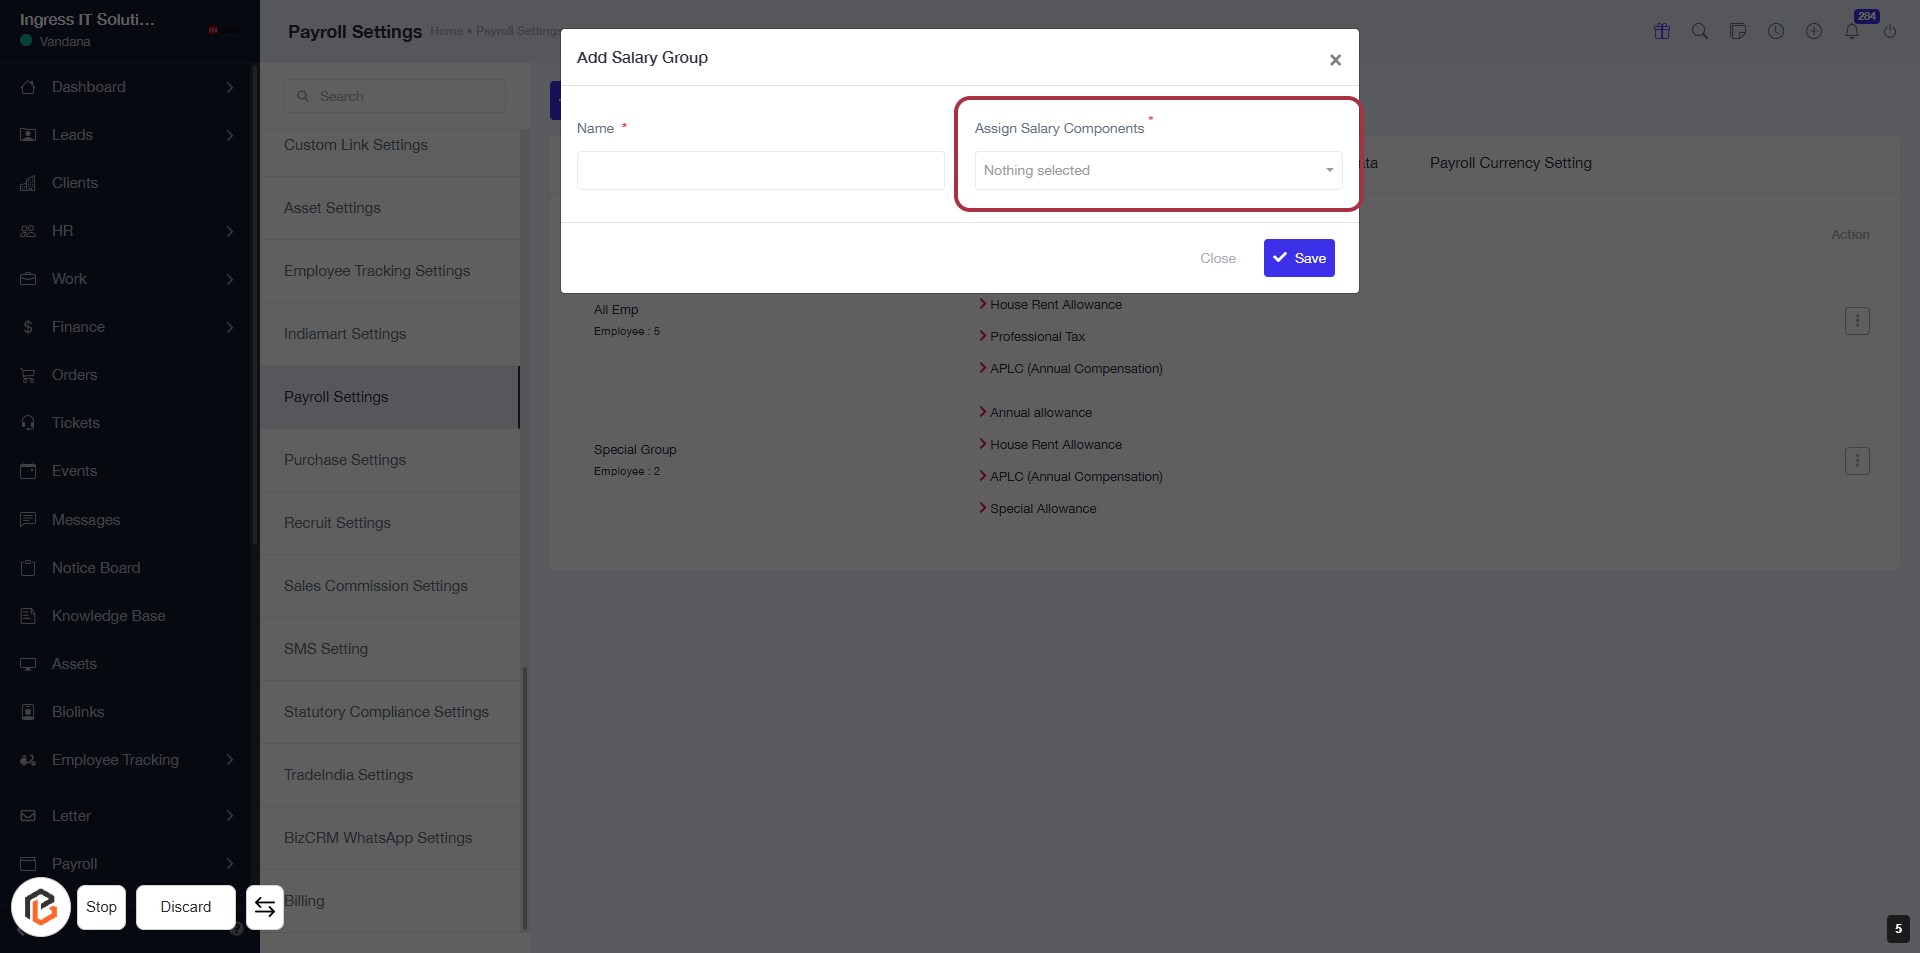
STEP 6: Select "Assign Salary Components"
- Click on the "Assign Salary Components" field.
- A dropdown will appear; select the appropriate salary component.
- Ensure that the field marked with an asterisk (*) is filled, as it is required.
- Review your selection before proceeding to the next step.
STEP 7: Click on "Save" to Finalize Salary Group
- Ensure all required fields are filled, including the "Name" and "Assign Salary Components."
- Locate the "Save" button highlighted in red.
- Click the "Save" button to finalize your entries.
- Review any confirmation messages to ensure successful saving.