Step-by-Step Guide to Configuring Lead and Deal Agent Settings on Your Dashboard
7 mins read · Updated 29 Sep, 2025
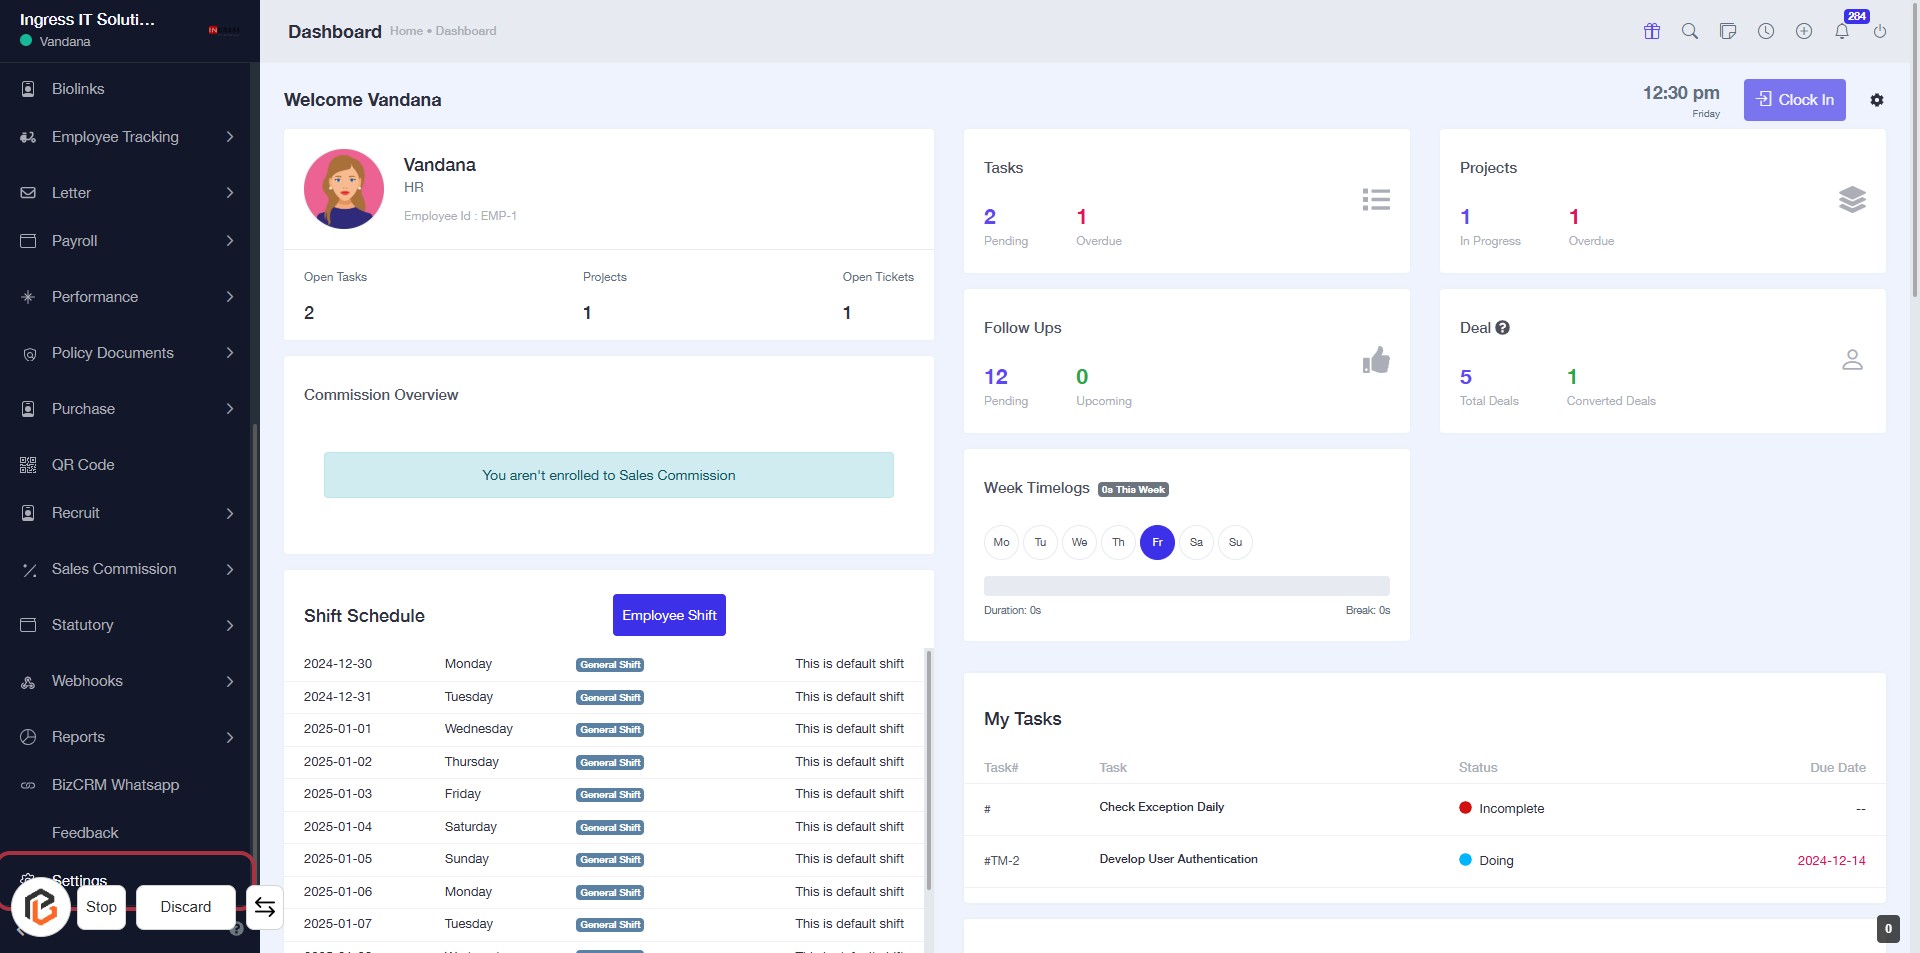
STEP 1: Click on "Settings" to Access Configuration Options
- Navigate to the left sidebar of the dashboard.
- Click on the Settings link highlighted in the sidebar.
- This will direct you to the settings page where you can adjust various configurations.
- Ensure to explore all available options for comprehensive settings management.
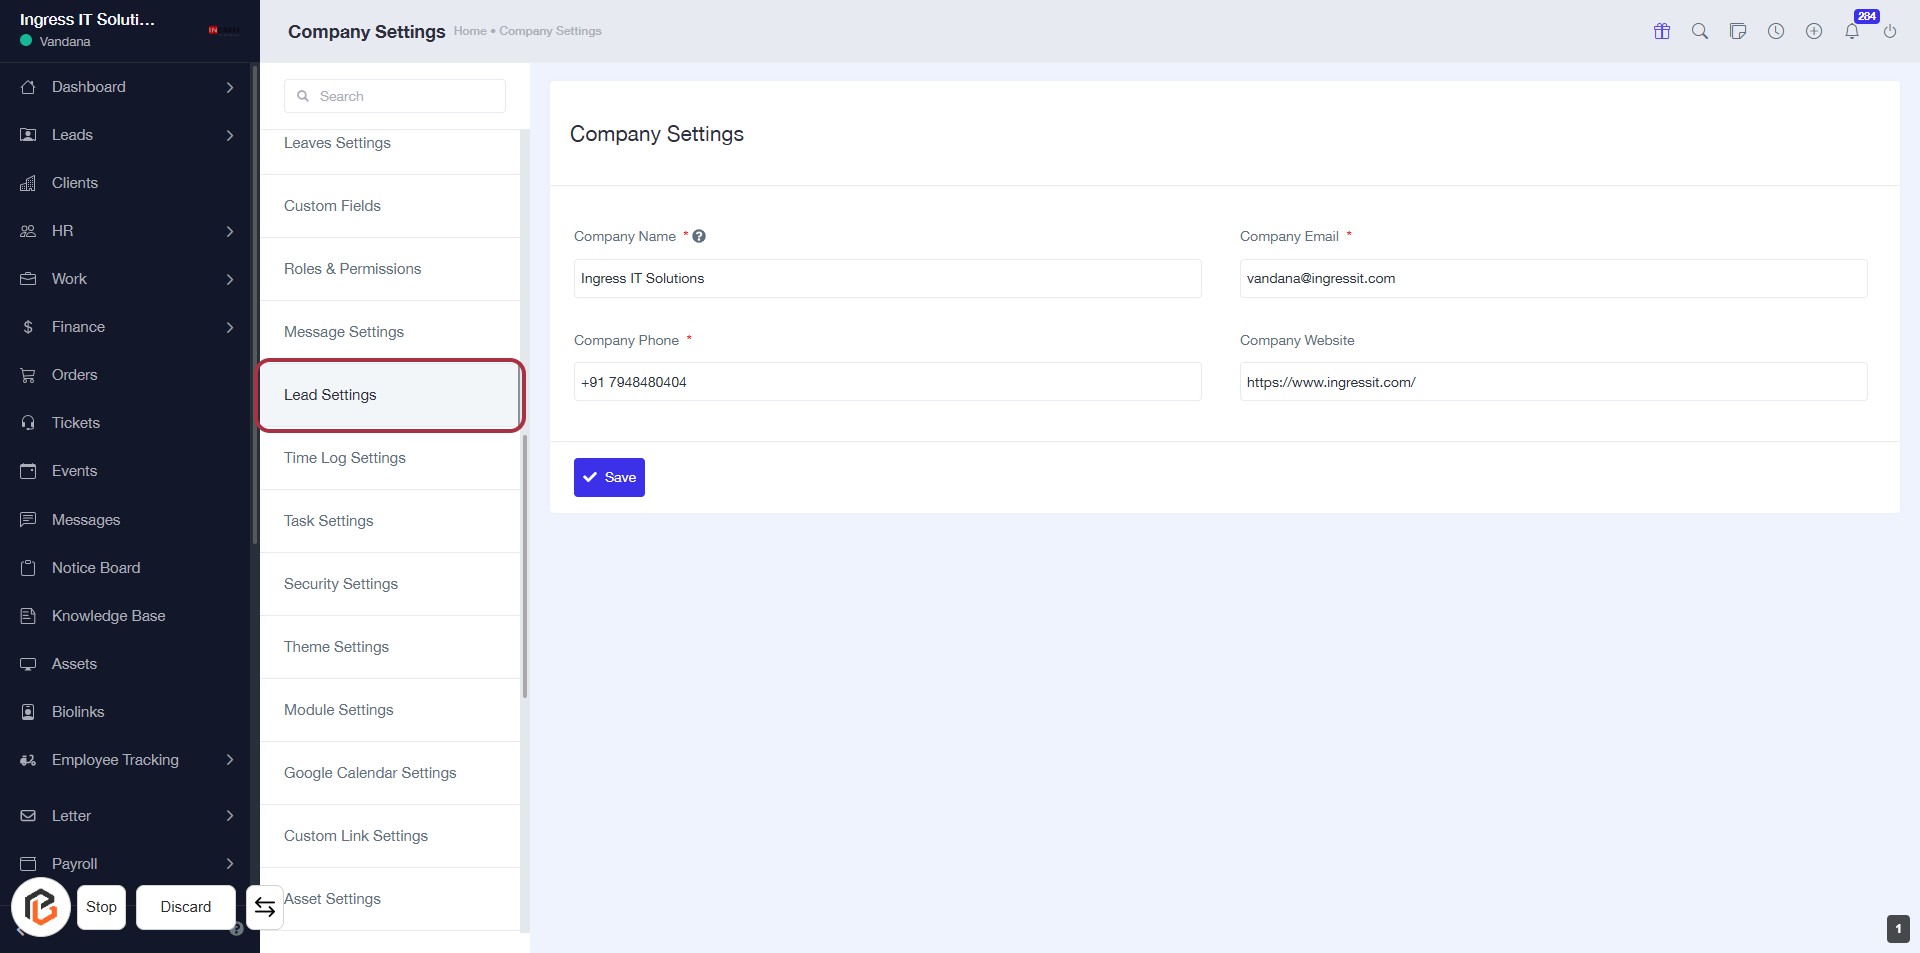
STEP 2: Click on "Lead Settings" to Access Company Configuration
- Navigate to the "Lead Settings" section in the sidebar menu.
- Ensure you have the following fields ready to fill:
- Company Name (*required)
- Company Phone (*required)
- Company Email (*required)
- Company Website (optional)
- Click the Save button after entering the necessary information.
STEP 3: Select "Deal Agent"
- Click on the "Deal Agent" tab to view the associated settings.
- Ensure you are on the Lead Settings page.
- The highlighted area indicates where to click for further options related to Deal Agents.
- Review the list of existing Deal Agents displayed in the table.
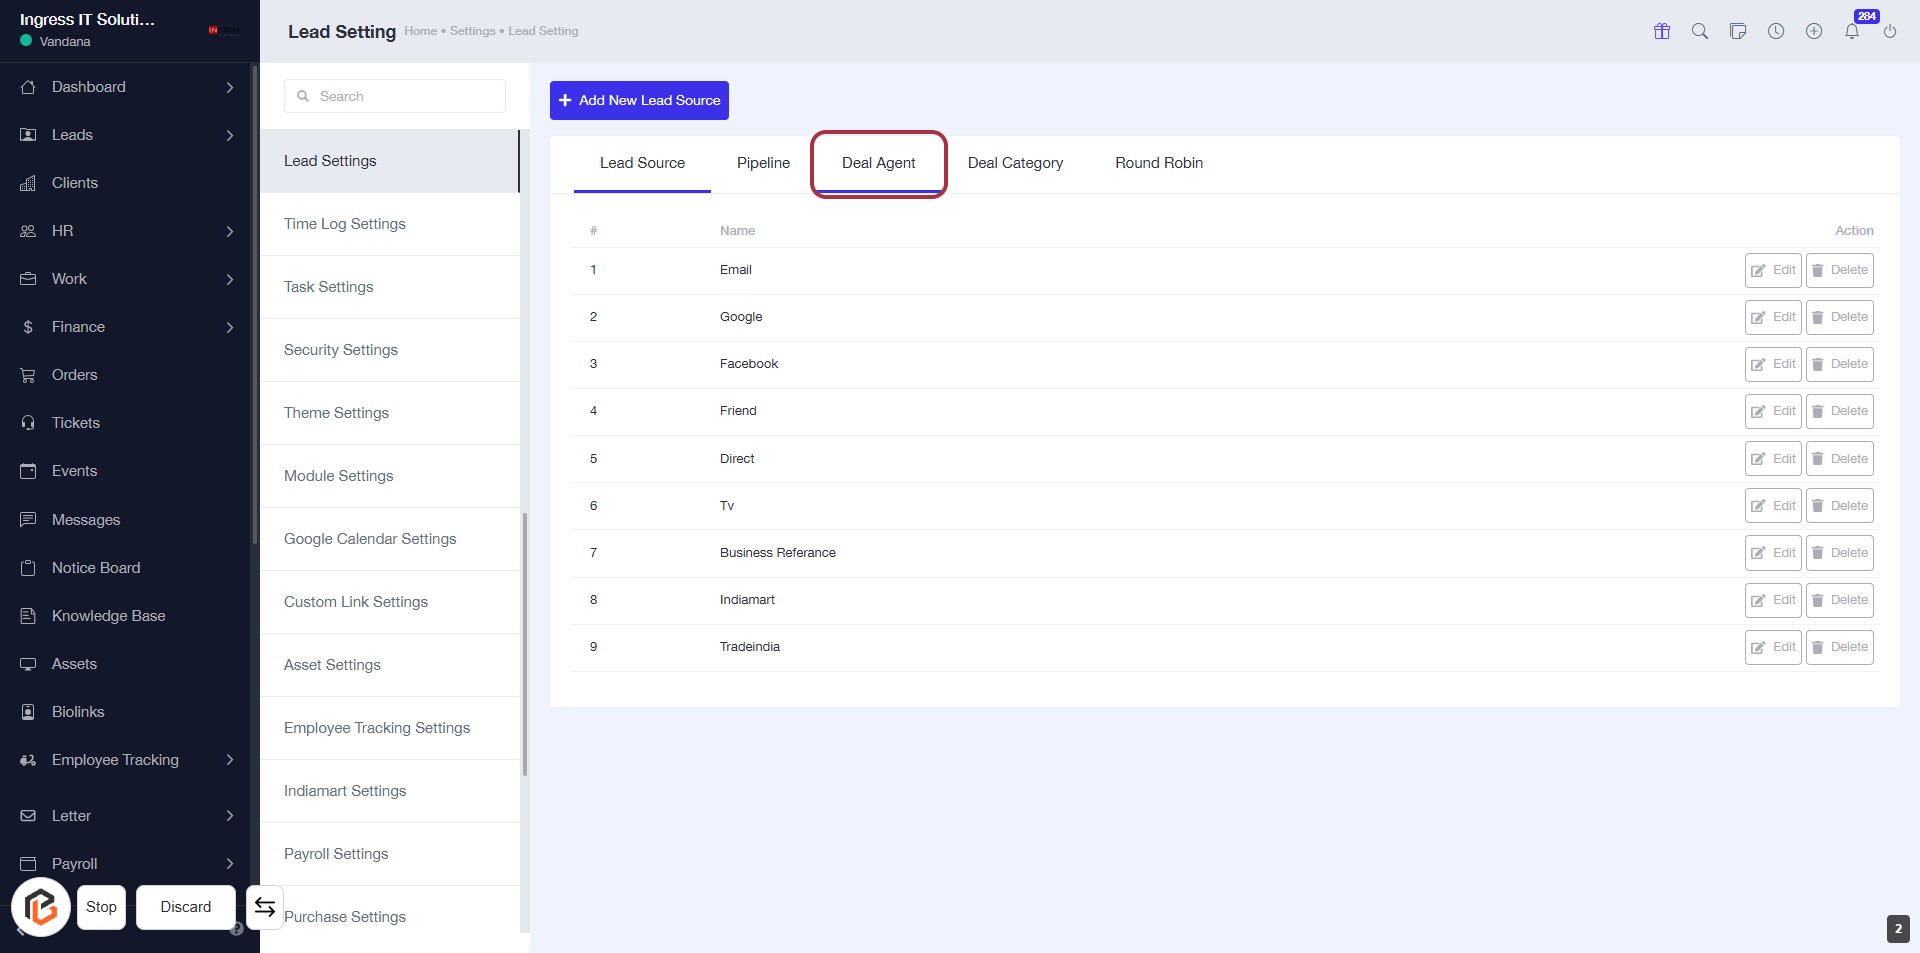
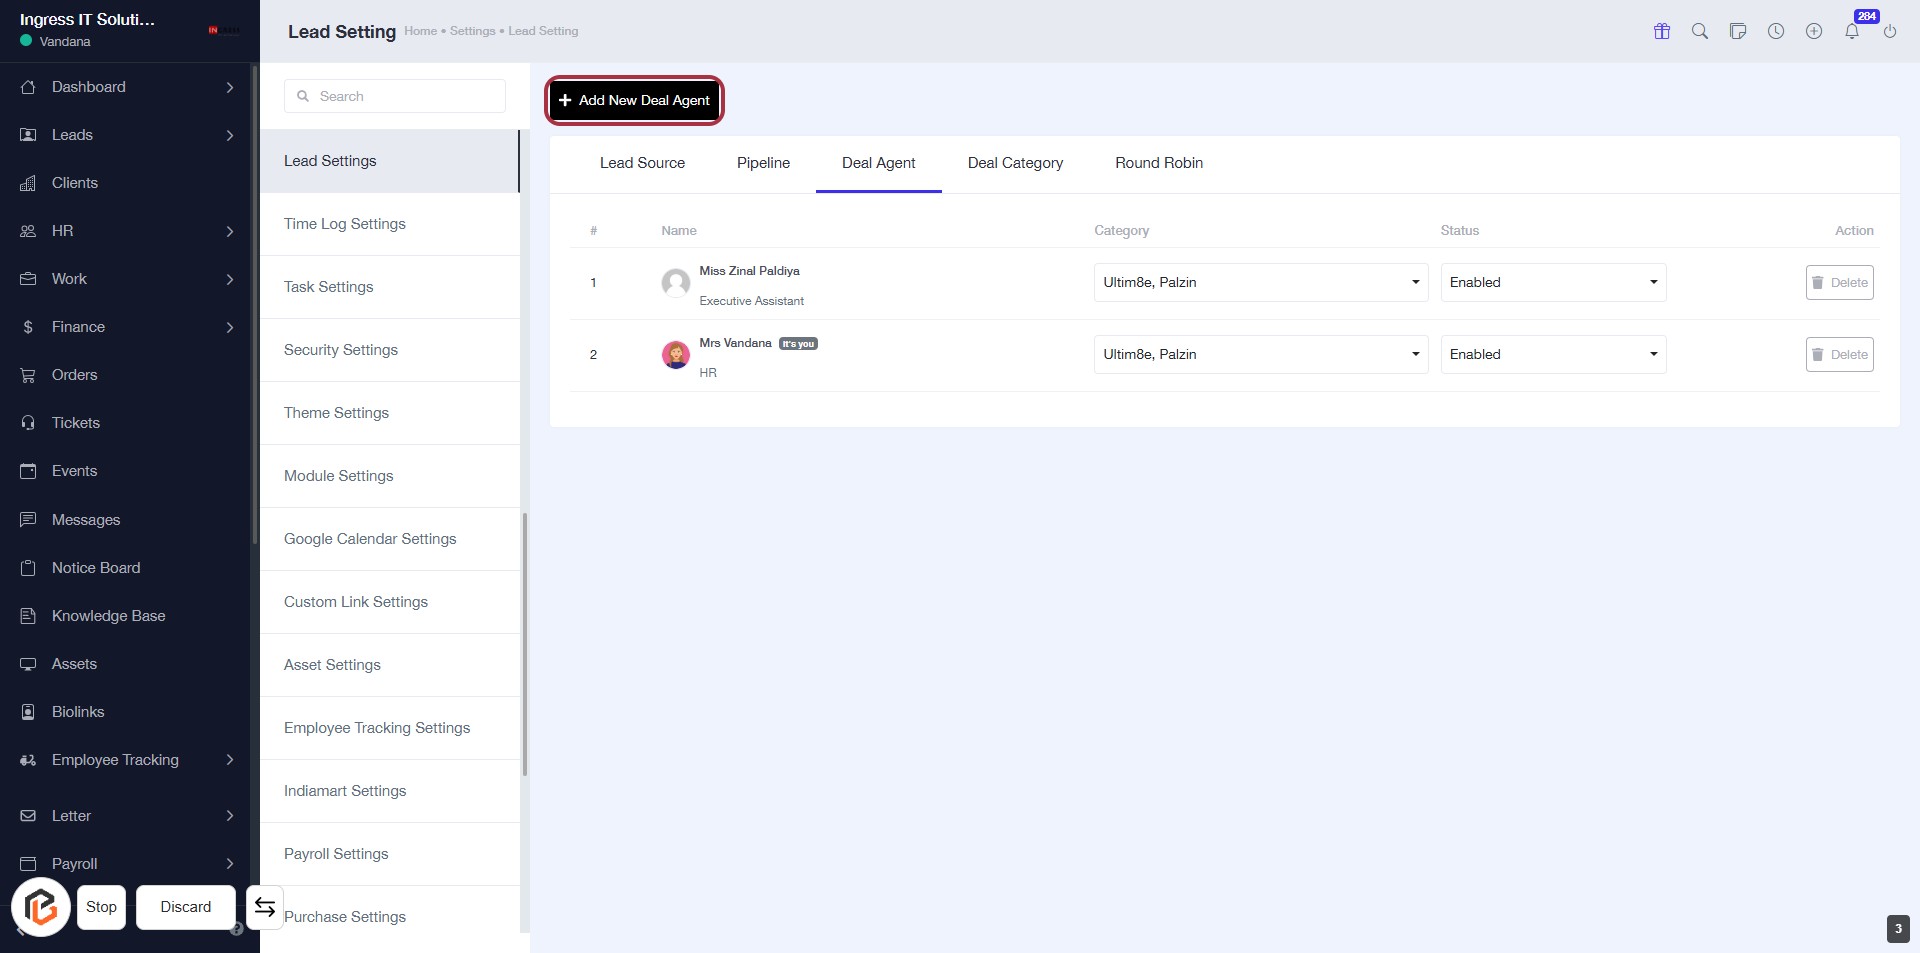
STEP 4: Click on "Add New Deal Agent"
- Navigate to the Deal Agent tab in the Lead Settings.
- Locate the Add New Deal Agent button highlighted in red.
- Click on the button to proceed with adding a new deal agent.
- Ensure all required fields are filled out in the subsequent form that appears.
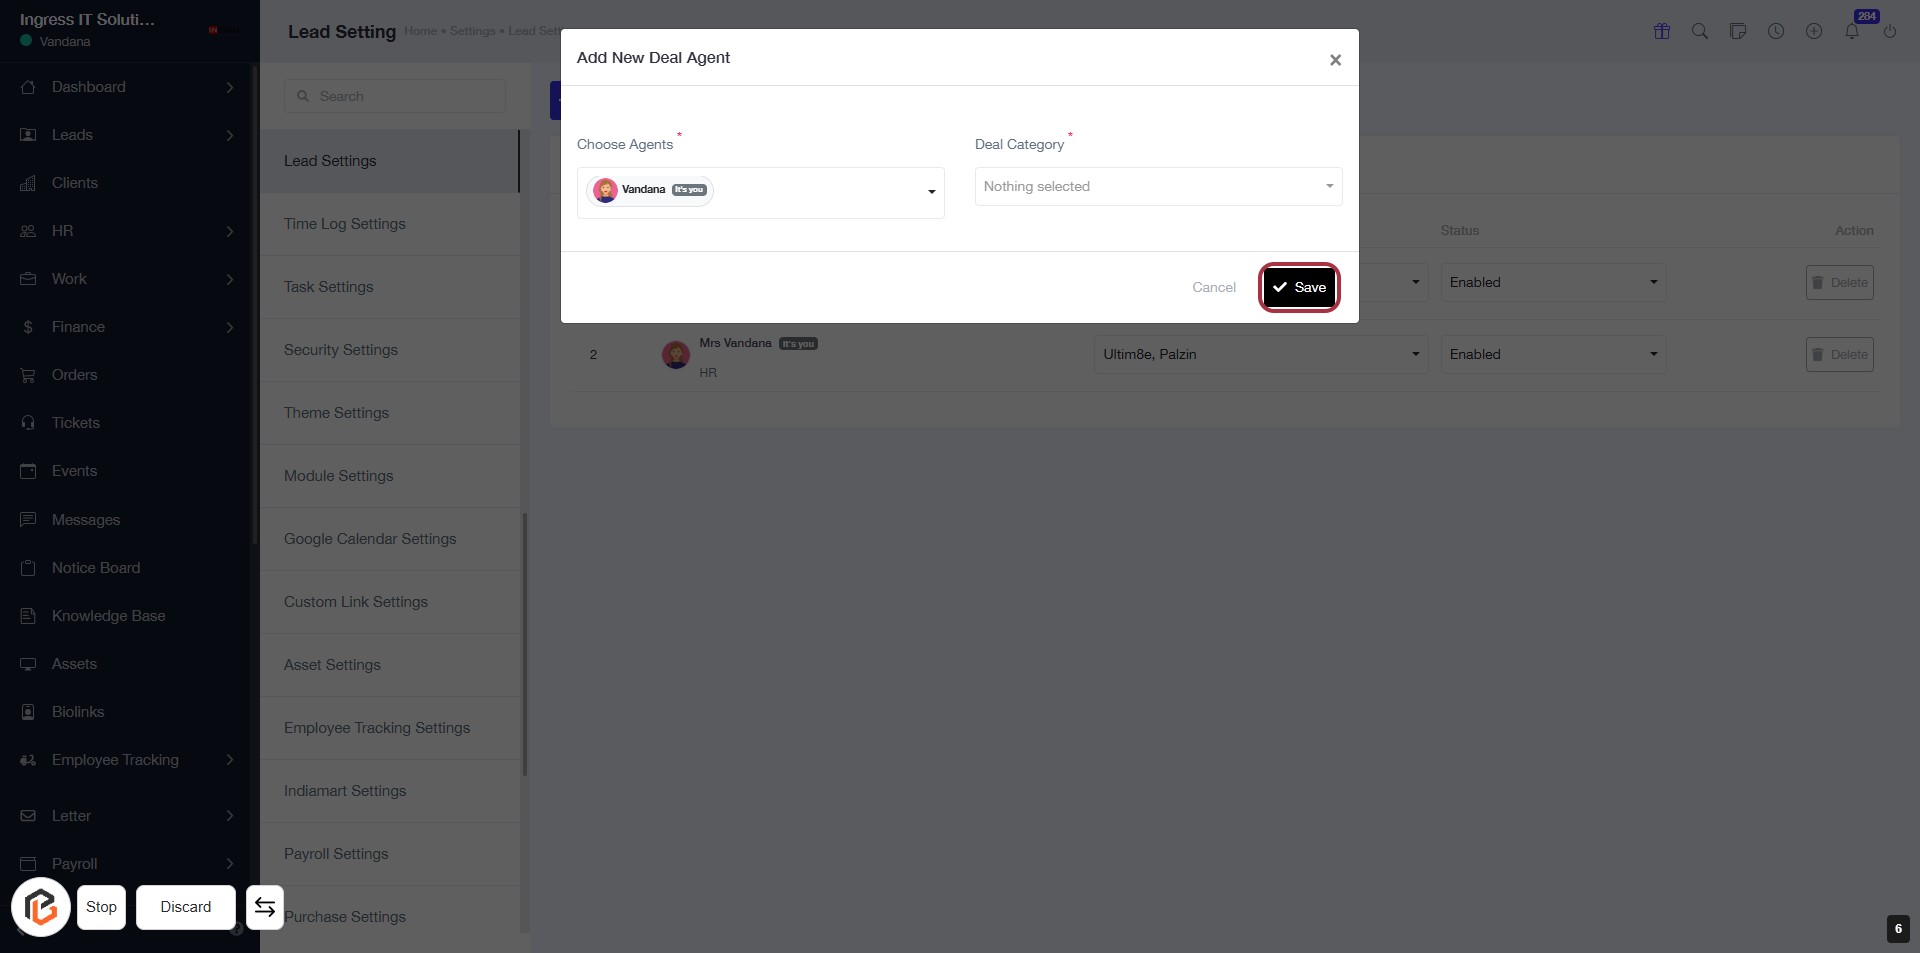
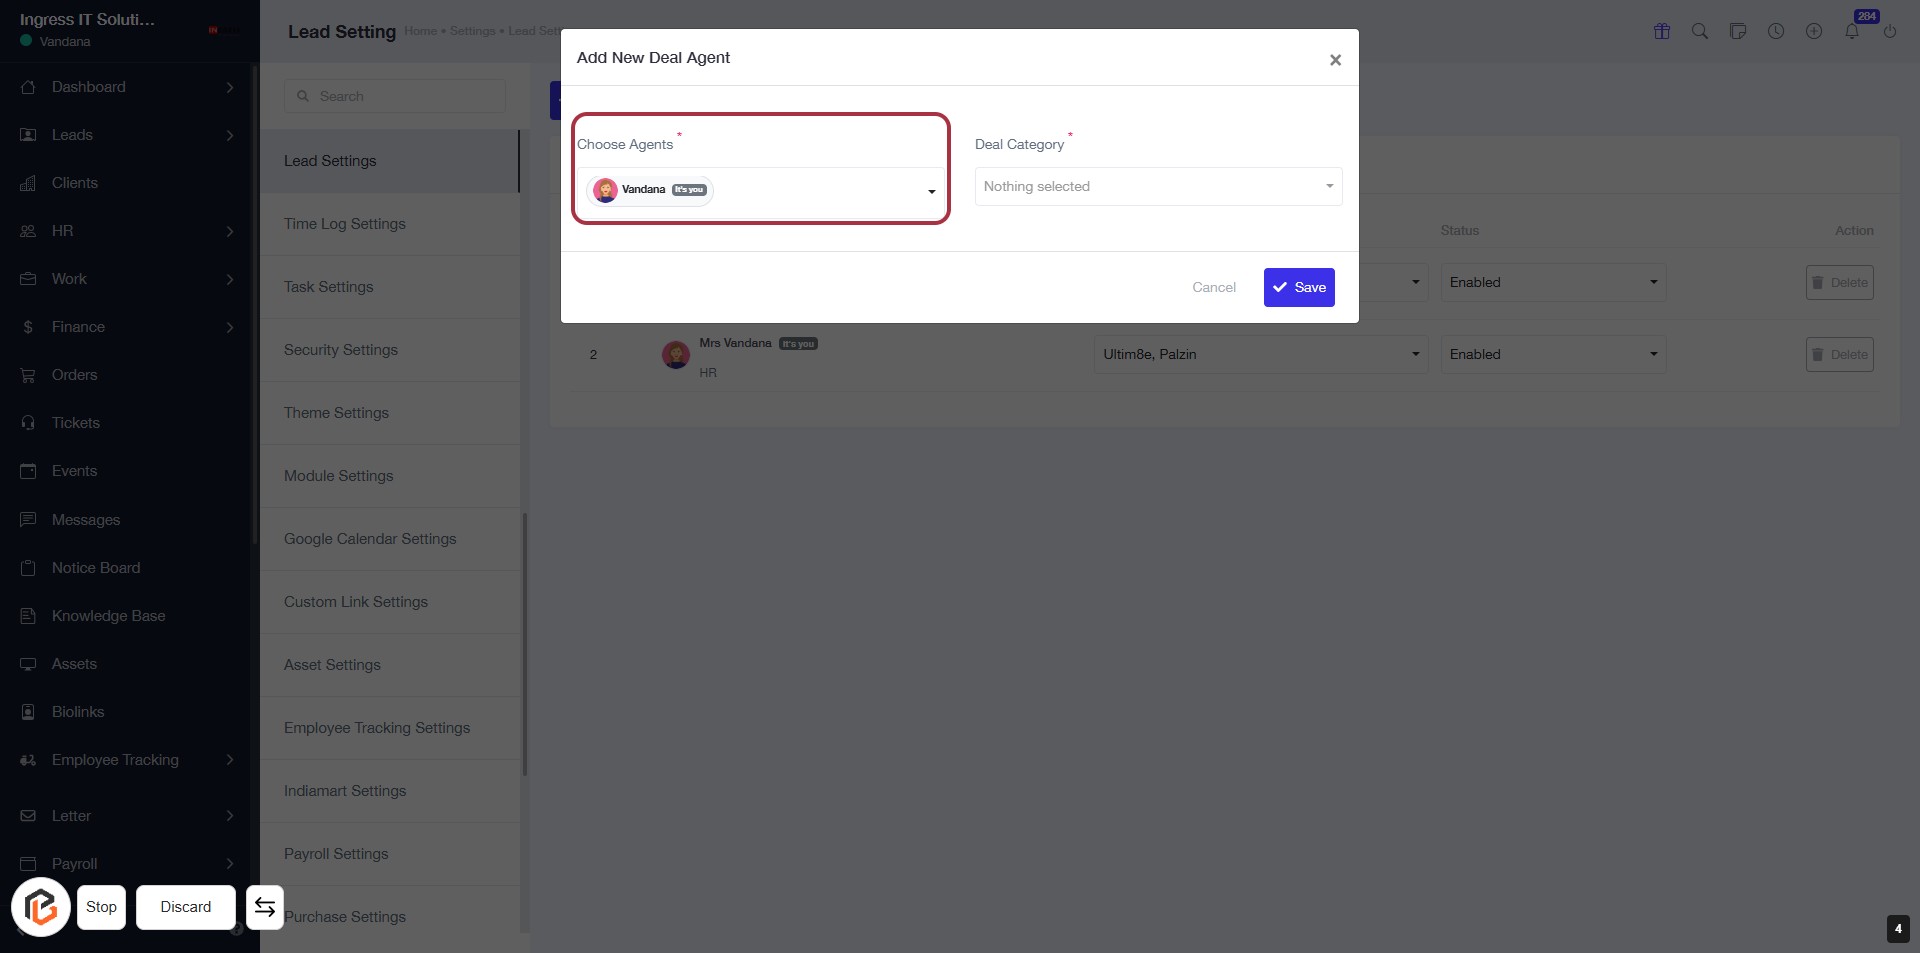
STEP 5: Click on "Choose Agents"
- Click on the "Choose Agents" field to select an agent for the deal.
- Ensure the field is marked with an asterisk (*), indicating it is required.
- After selecting an agent, proceed to the next step to select "Deal Category".
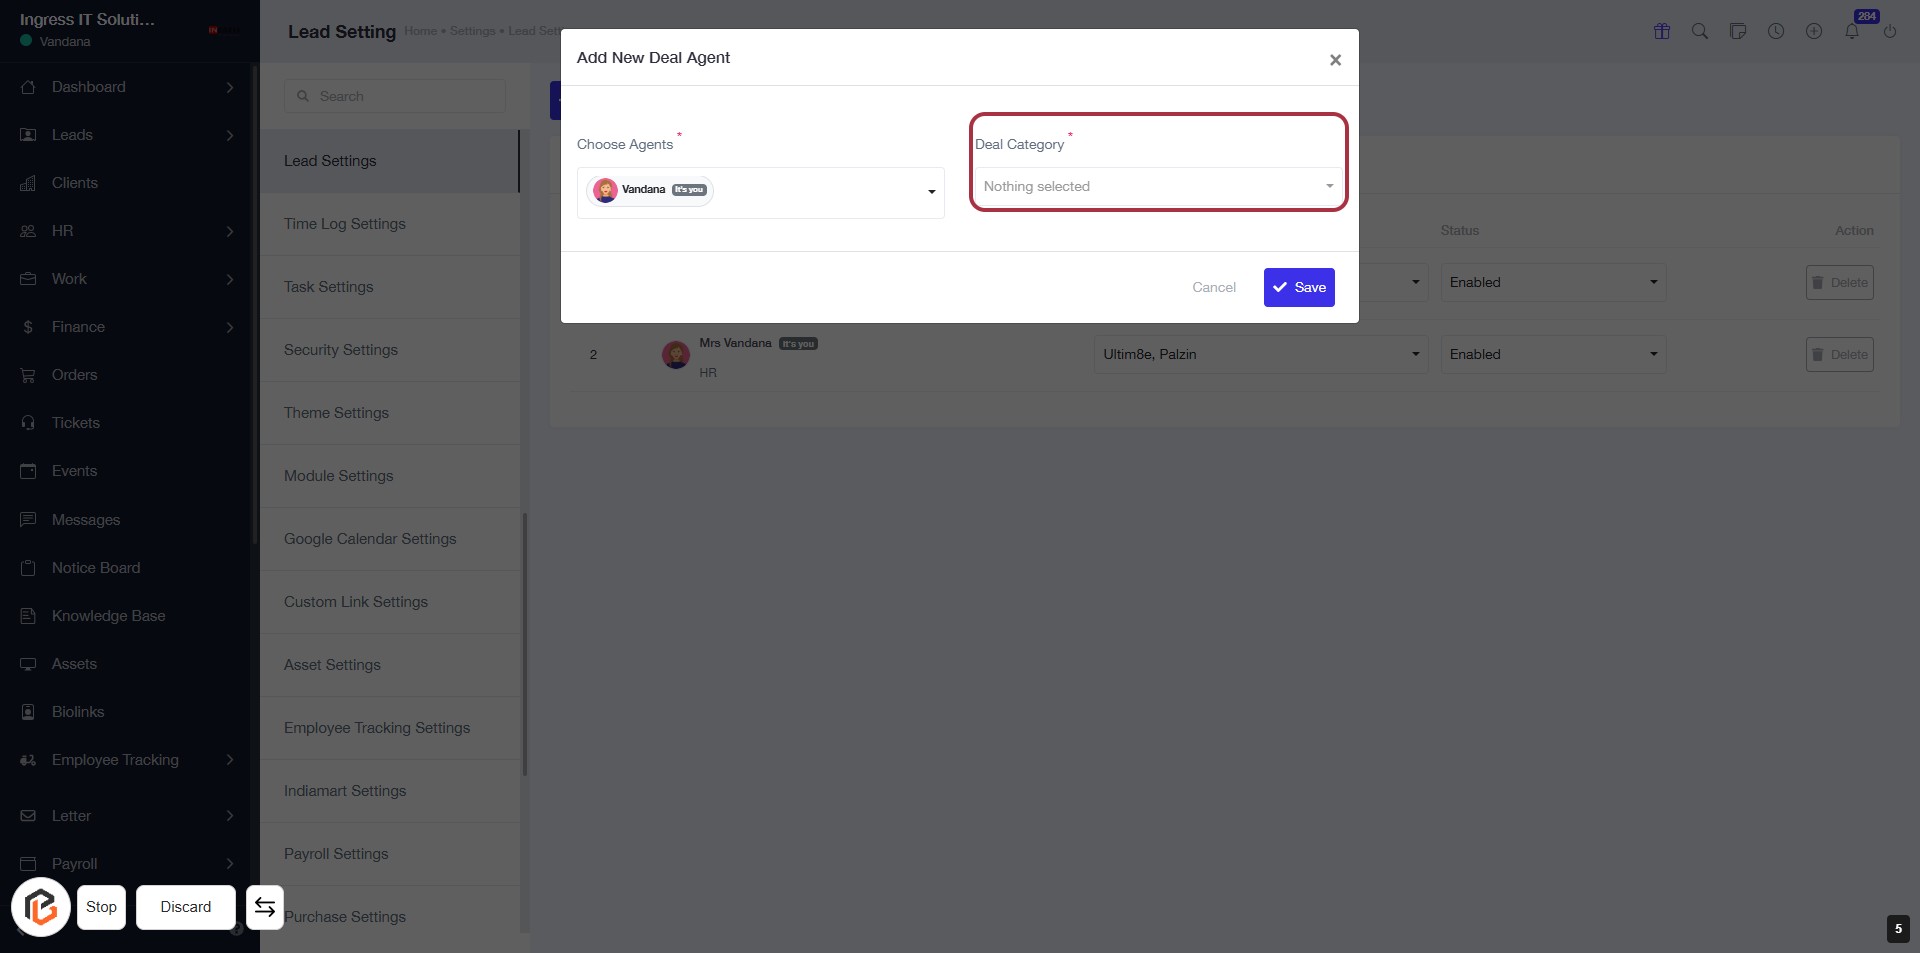
STEP 6: Select "Deal Category"
- Click on the "Deal Category" field to open the dropdown menu.
- Choose the appropriate category from the available options.
- Ensure that the field marked with an asterisk (*) is filled, as it is required.
- Proceed to the next step by clicking the "Save" button.
STEP 7: Click on "Save" to Finalize Your Deal Agent
- Ensure all required fields are filled: Choose Agents and Deal Category (marked with an asterisk).
- Review your selections before proceeding.
- Click the Save button to save your changes.
- Confirm that the action was successful by checking for any confirmation message.