Step-by-Step Guide to Configuring Finance Settings and Units in Your Dashboard
5 mins read · Updated 29 Sep, 2025
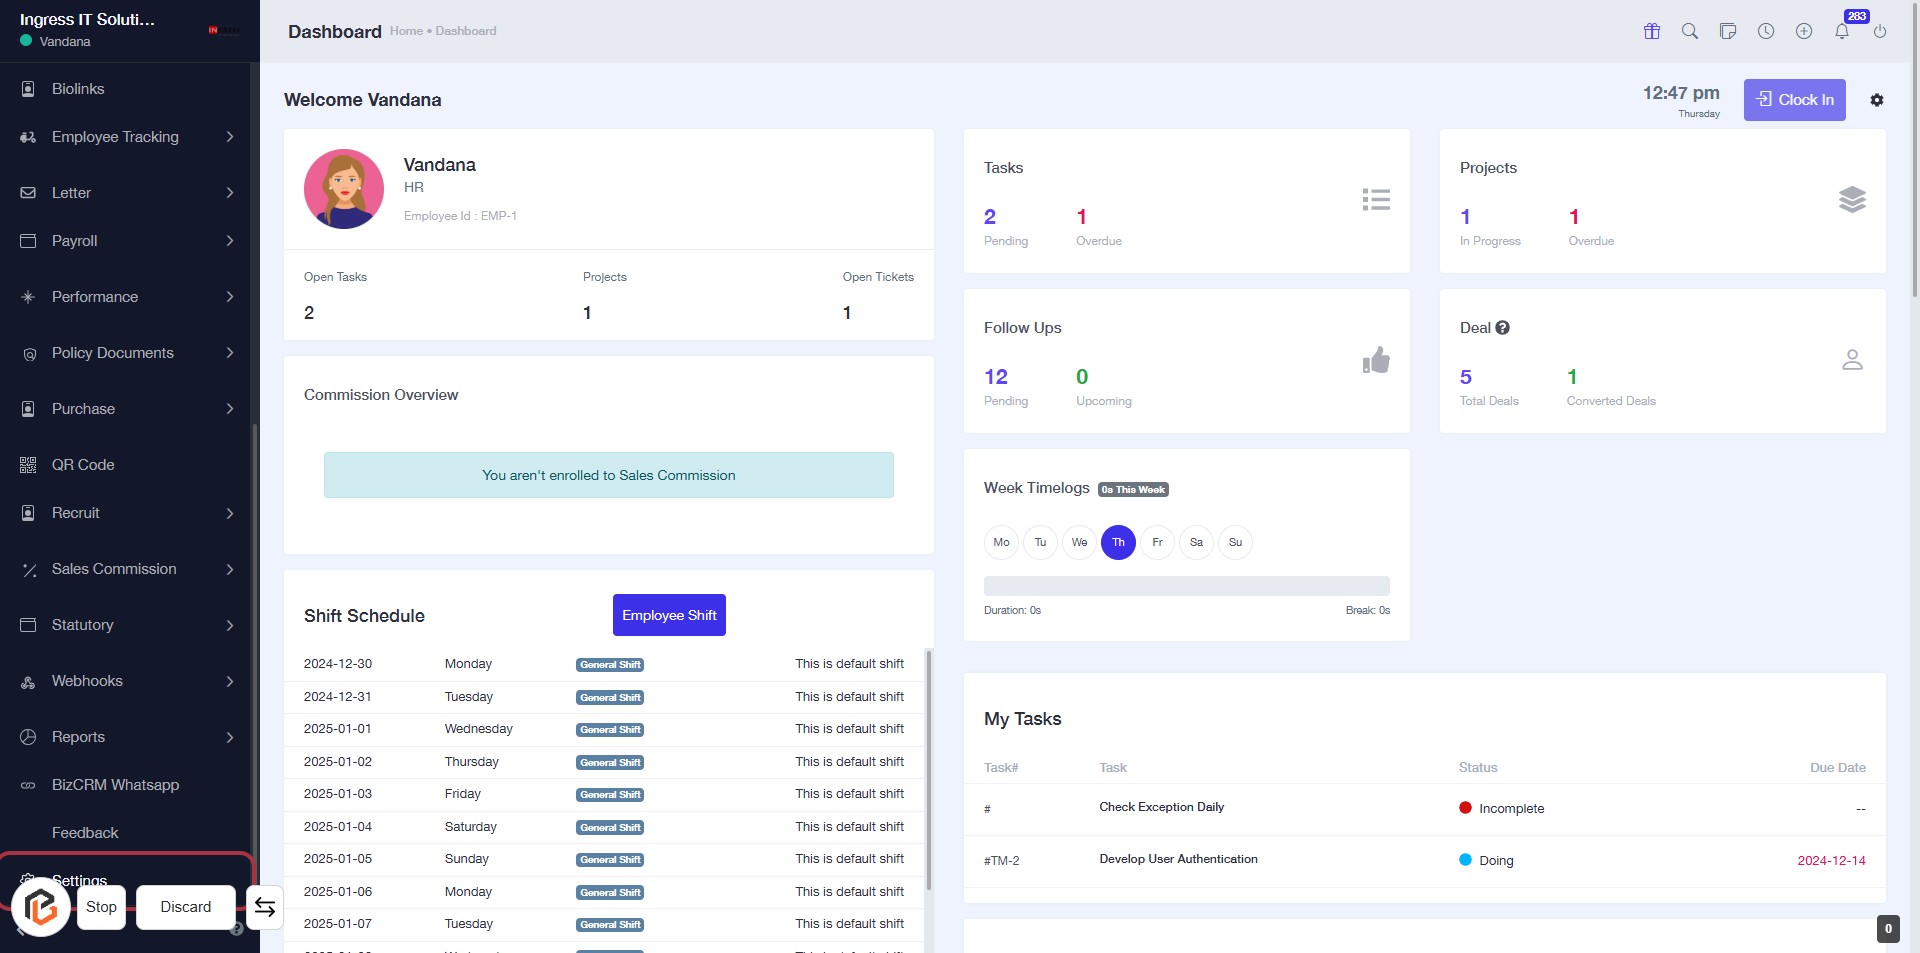
STEP 1: Click on "Settings" to Access Configuration Options
- Navigate to the left sidebar of the dashboard.
- Click on the Settings link to open the settings menu.
- Ensure you are on the correct page before proceeding to the next step.
- Look for any additional options or configurations that may require your attention.
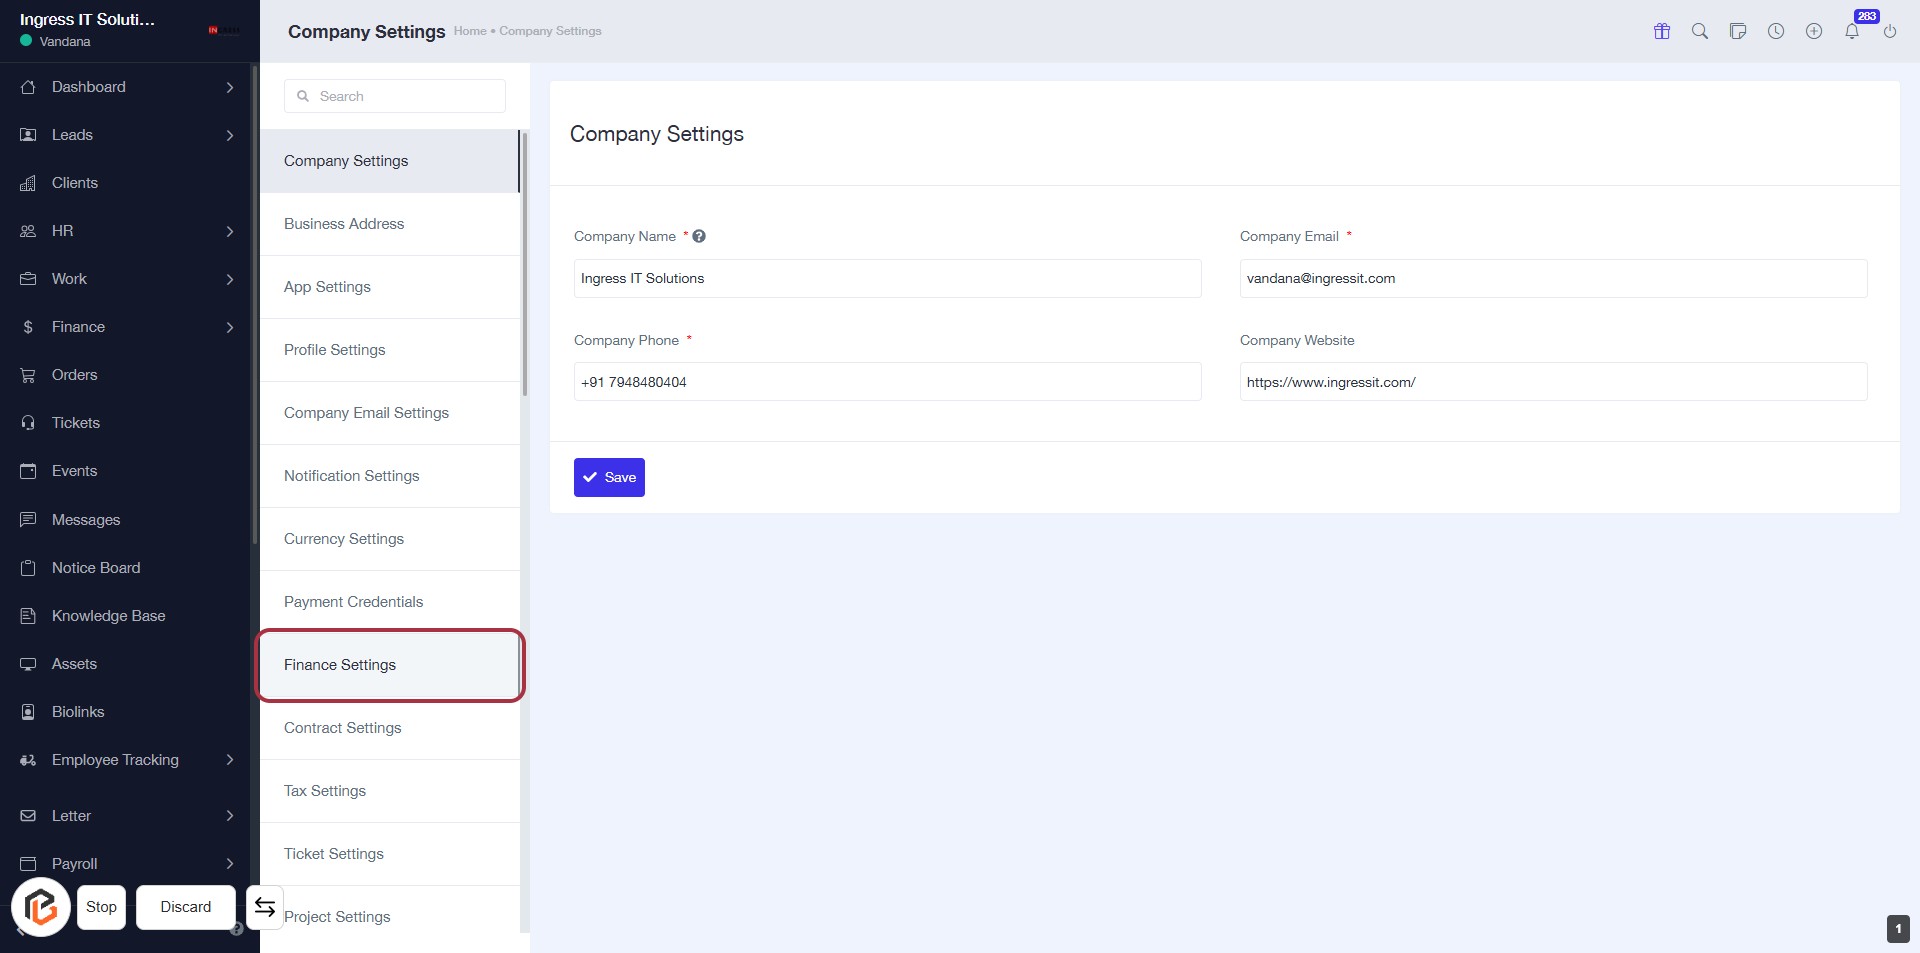
STEP 2: Click on "Finance Settings" to Access Financial Configuration
- Navigate to the "Finance Settings" option in the sidebar menu.
- Click on the highlighted "Finance Settings" link to enter the financial configuration section.
- Ensure you have the necessary permissions to access this area.
- Review the available settings for managing financial aspects of your account.
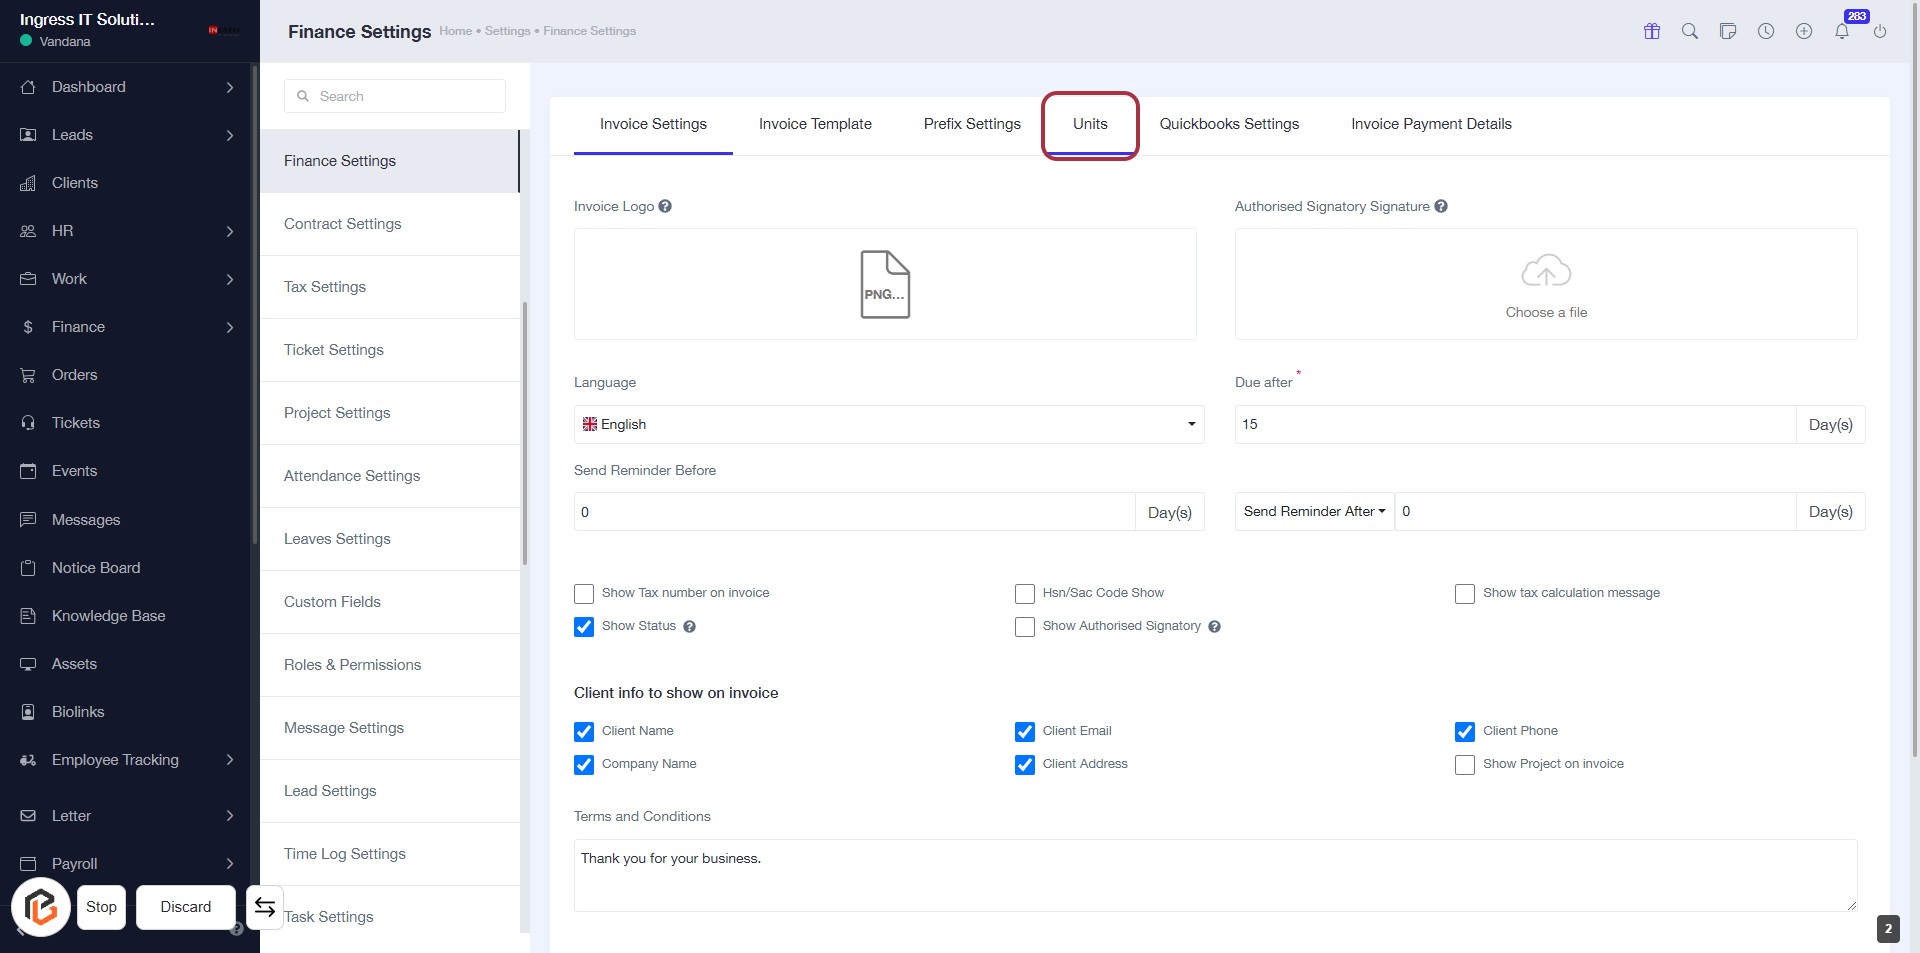
STEP 3: Select "Units" in Finance Settings
- Click on the "Units" tab to access unit configuration settings.
- Ensure to fill in required fields marked with an asterisk (*), such as "Due after."
- Review optional settings like "Show Tax number on invoice" and "Show Authorised Signatory."
- Adjust reminder settings as needed.
STEP 4: Select "Default" for Pcs Unit
- Click on the "Default" option under the "Pcs" unit in the Units section.
- Ensure that the selection is highlighted to confirm your choice.
- This action sets the default unit for Pcs, which may affect invoicing and other settings.

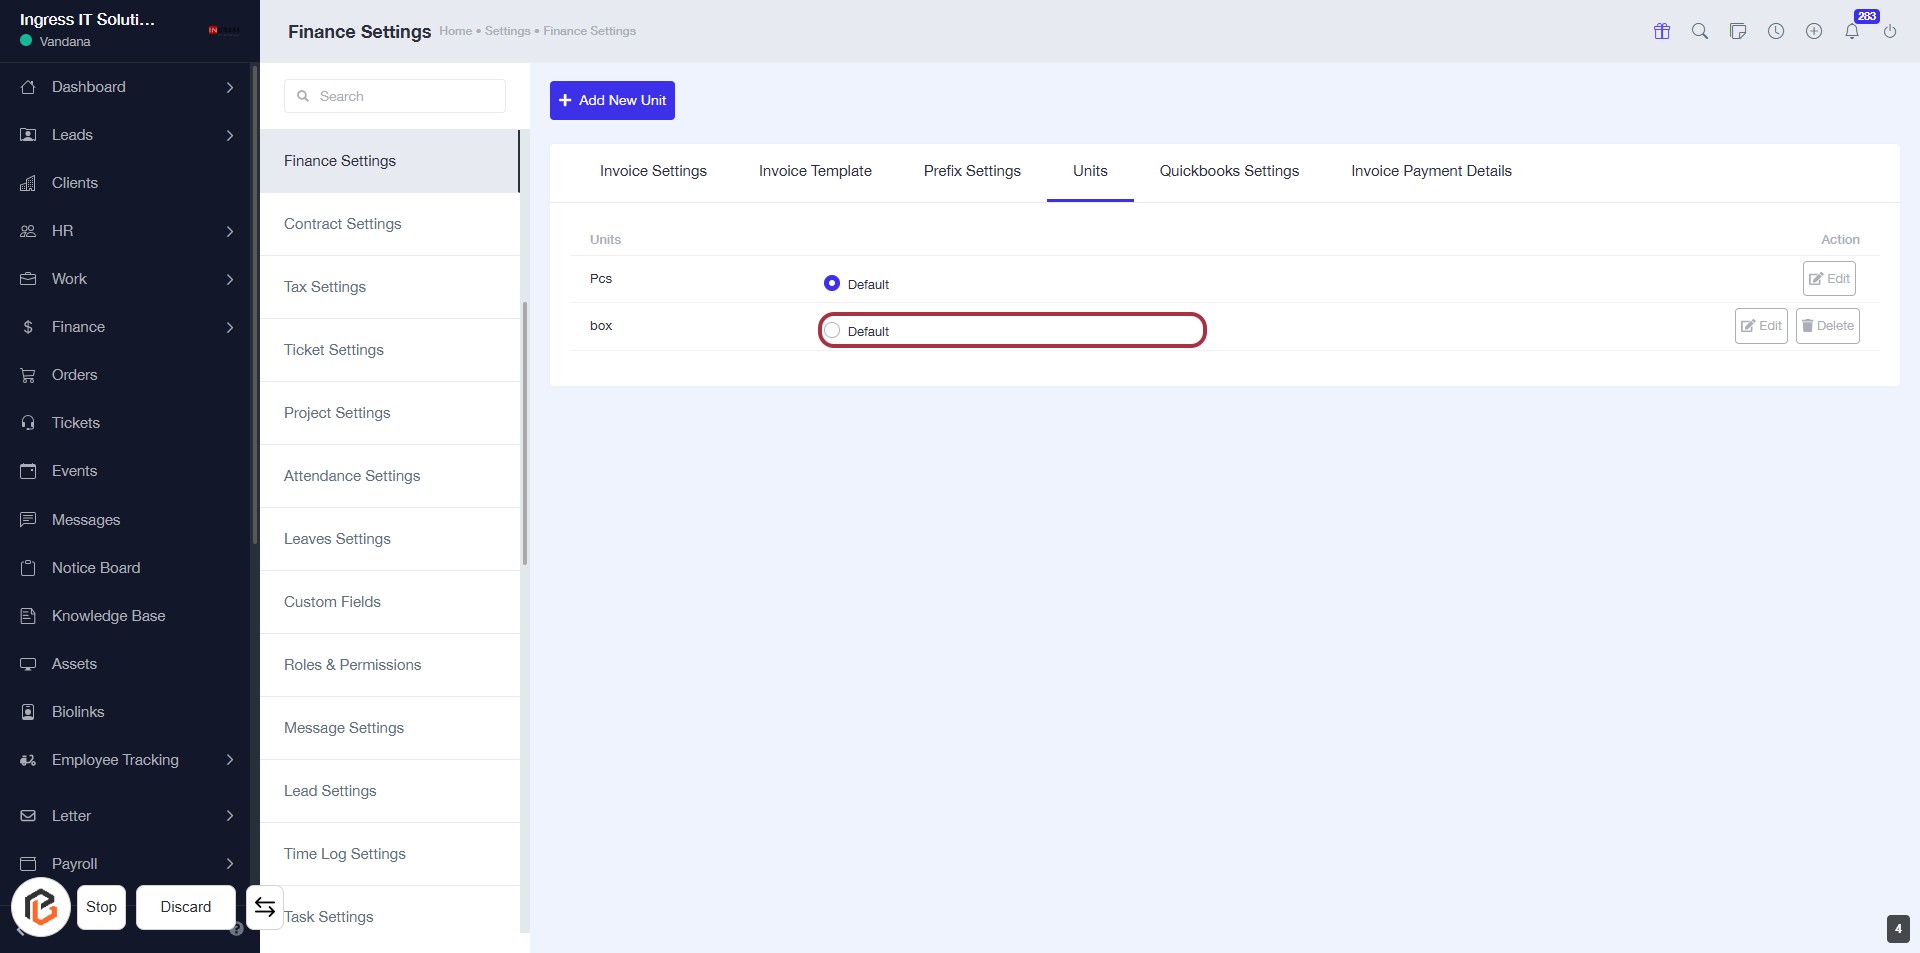
STEP 5: Select "Default" for Box Unit
- Click on the "Default" option in the box unit row.
- Ensure that the highlighted area is selected to confirm your choice.
- Review any additional settings or options available in this section.
- Save changes if prompted.