Step-by-Step Guide to Configuring Attendance Settings in Your Dashboard
7 mins read · Updated 29 Sep, 2025
STEP 1: Click on "Settings" in the Dashboard
- Navigate to the left sidebar of the dashboard.
- Locate and click on the "Settings" option.
- This will direct you to the settings page for further configurations.
- Ensure you are ready to proceed to the next step, which involves accessing "Attendance Settings."
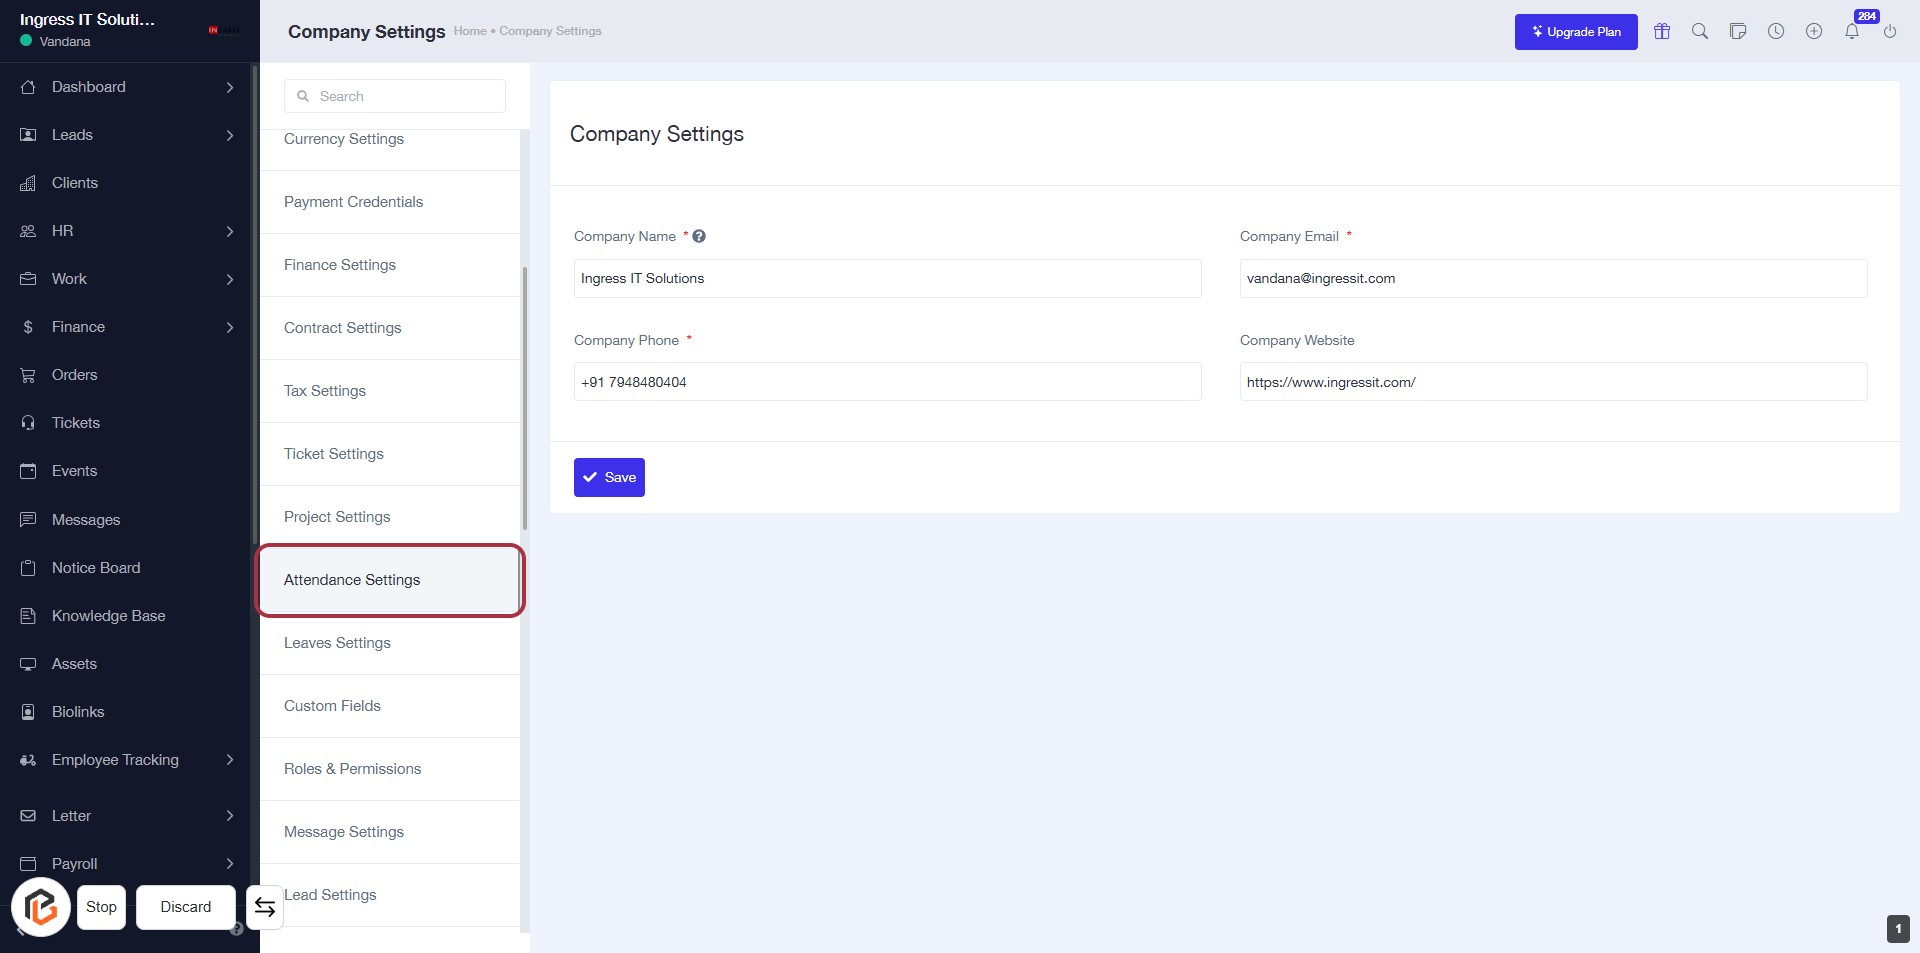
STEP 2: Click on "Attendance Settings"
- Navigate to the "Company Settings" page.
- Click on the "Attendance Settings" link highlighted in the sidebar.
- Ensure you have the following fields ready to fill:
- Company Name (*)
- Company Phone (*)
- Company Email (*)
- Company Website (optional)
- After entering the required information, click "Save" to apply changes.
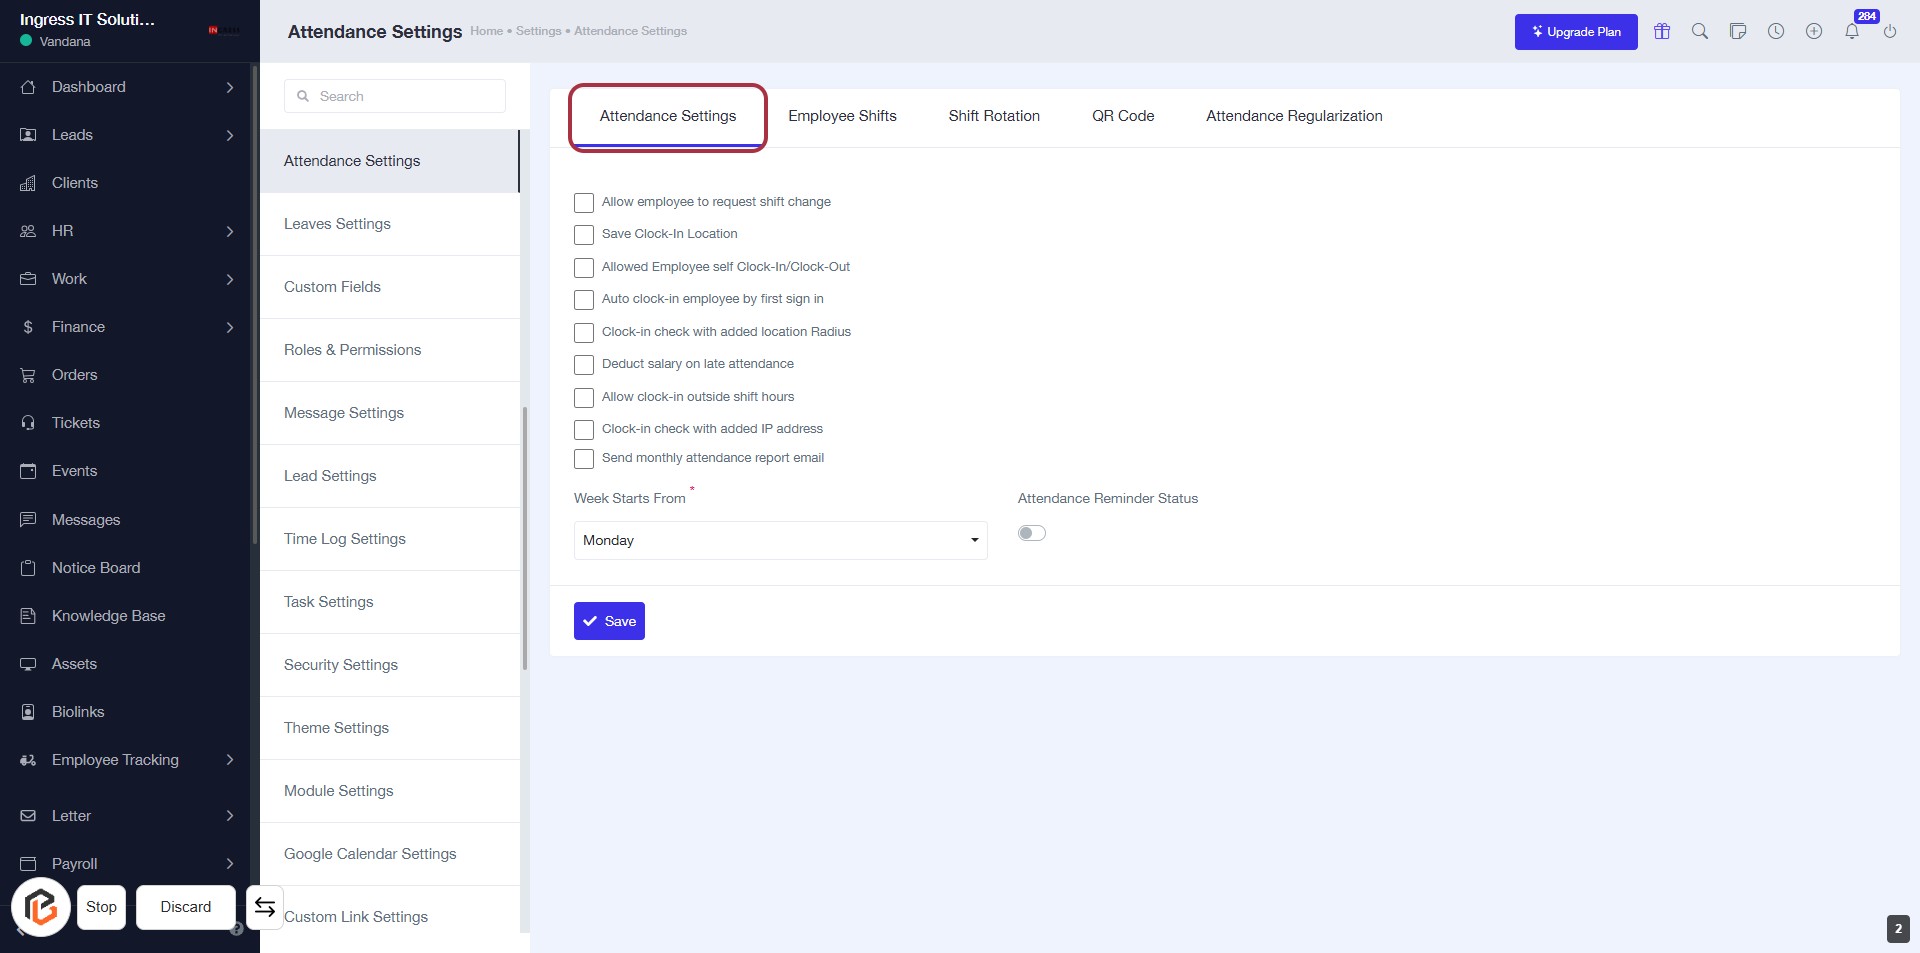
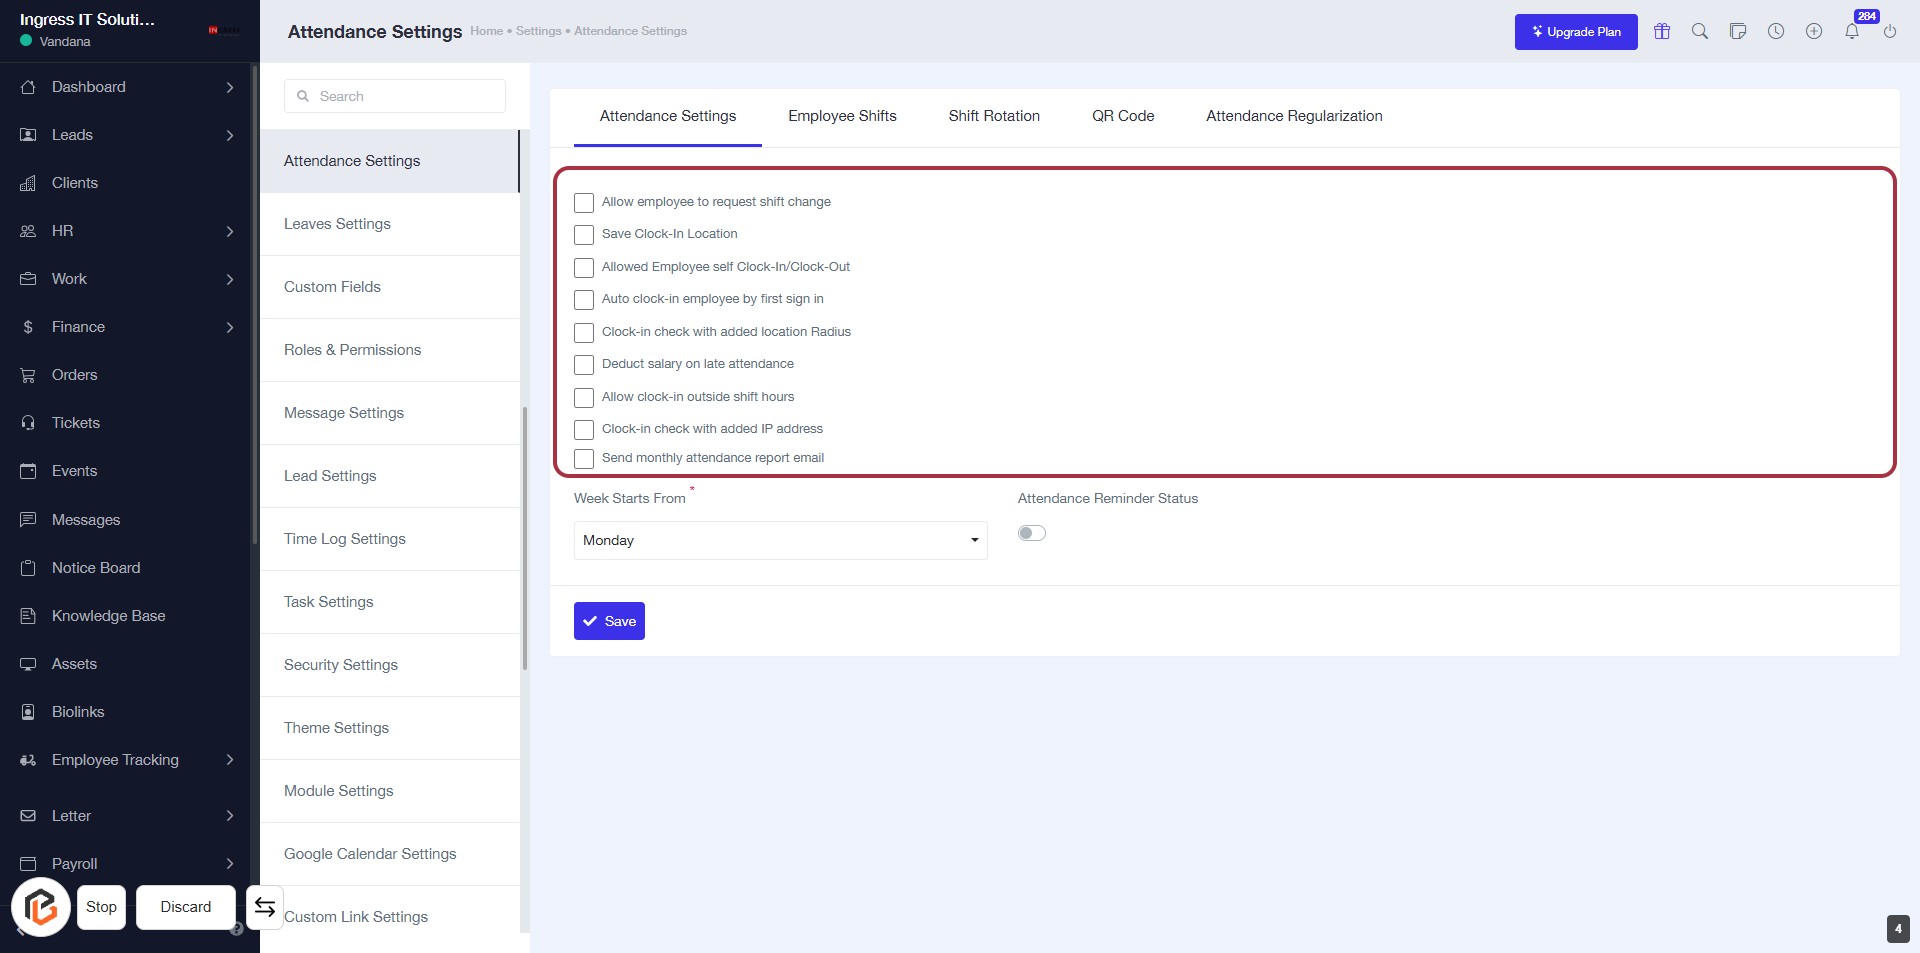
STEP 3: Select Attendance Settings
- Click on the "Attendance Settings" link to access the relevant configuration options.
- Review the available settings, including:
- Allowing employees to request shift changes.
- Saving clock-in locations.
- Enabling self clock-in/clock-out.
- Ensure to fill in required fields marked with an asterisk (*).
- After making selections, click "Save" to apply changes.
STEP 4: Click to Allow Employee Shift Change
- Click on the checkbox next to "Allow employee to request shift change" to enable this option.
- Review other attendance settings available in the highlighted area.
- Ensure to save your changes by clicking the "Save" button at the bottom.
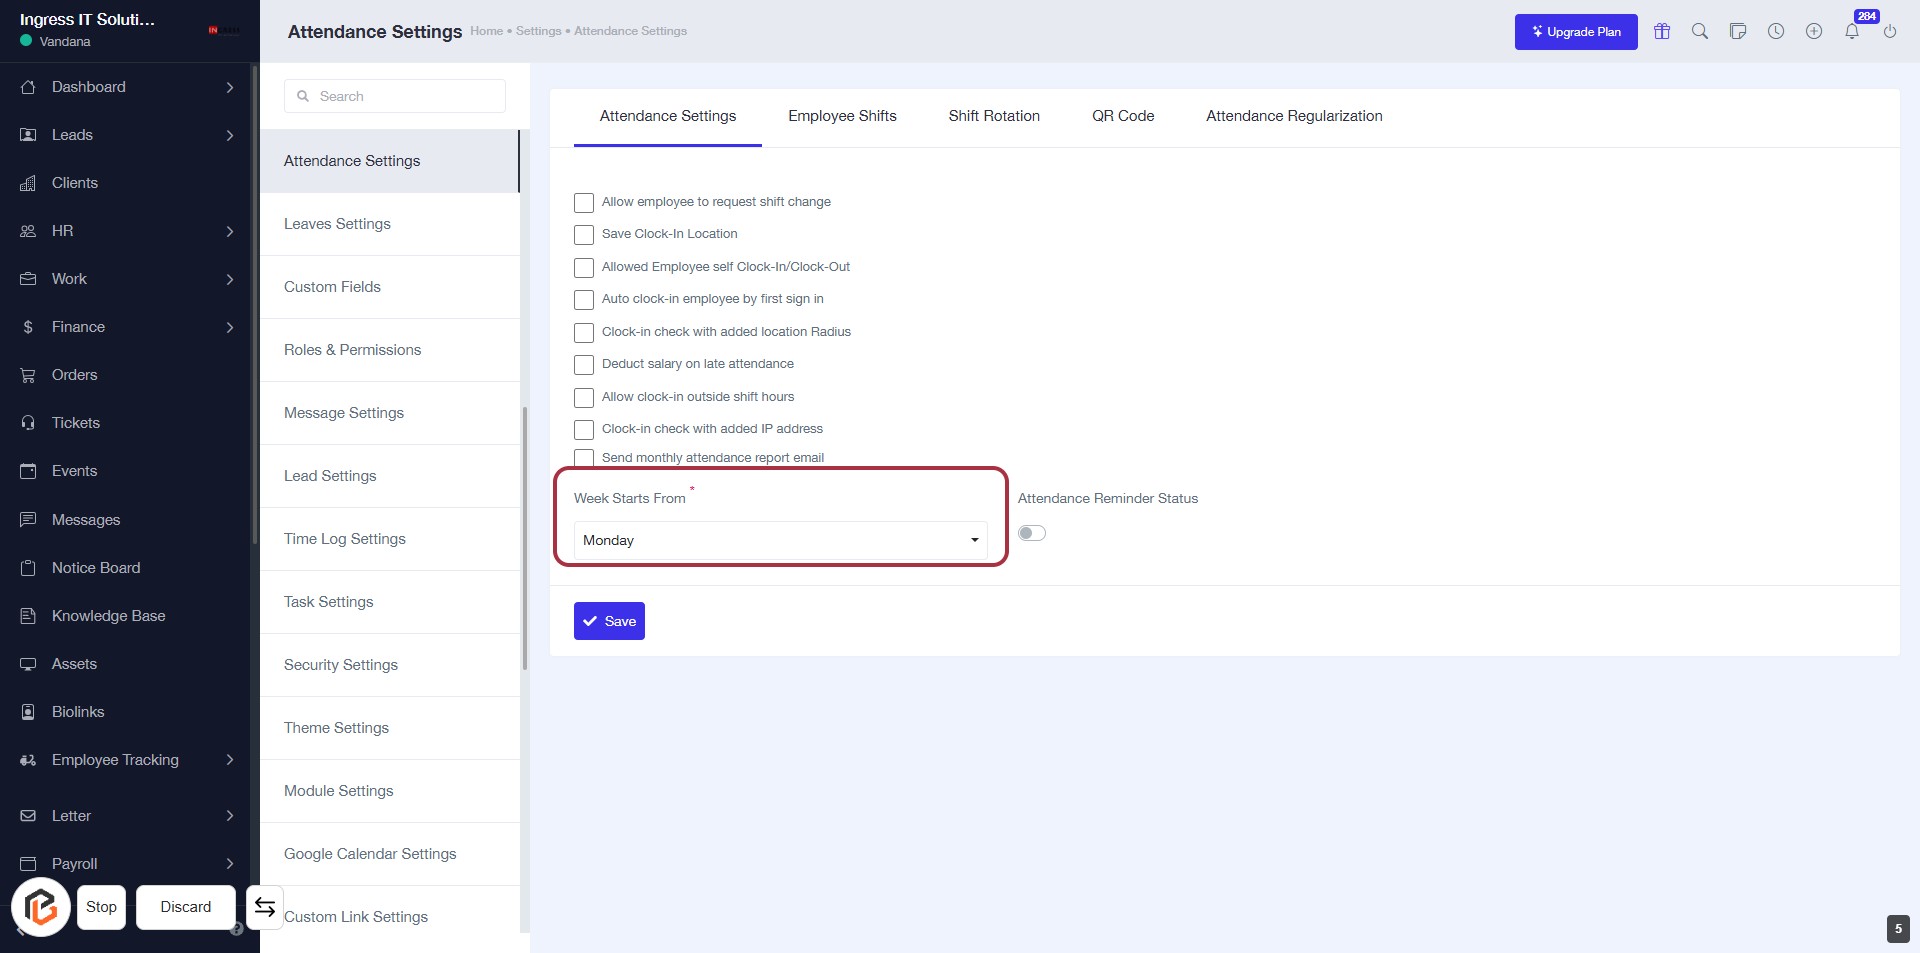
STEP 5: Select "Week Starts From"
- Click on the "Week Starts From" dropdown.
- Choose the desired starting day of the week (e.g., Monday).
- Ensure the field is marked with an asterisk (*) indicating it's required.
- Review other attendance settings as needed before proceeding.
STEP 6: Click on "Attendance Reminder Status"
- Locate the "Attendance Reminder Status" toggle in the Attendance Settings form.
- Click on the toggle to enable or disable the reminder status.
- Ensure any required fields marked with an asterisk (*) are filled out before proceeding.
- After making your selection, continue to the next step by clicking the "Save" button.

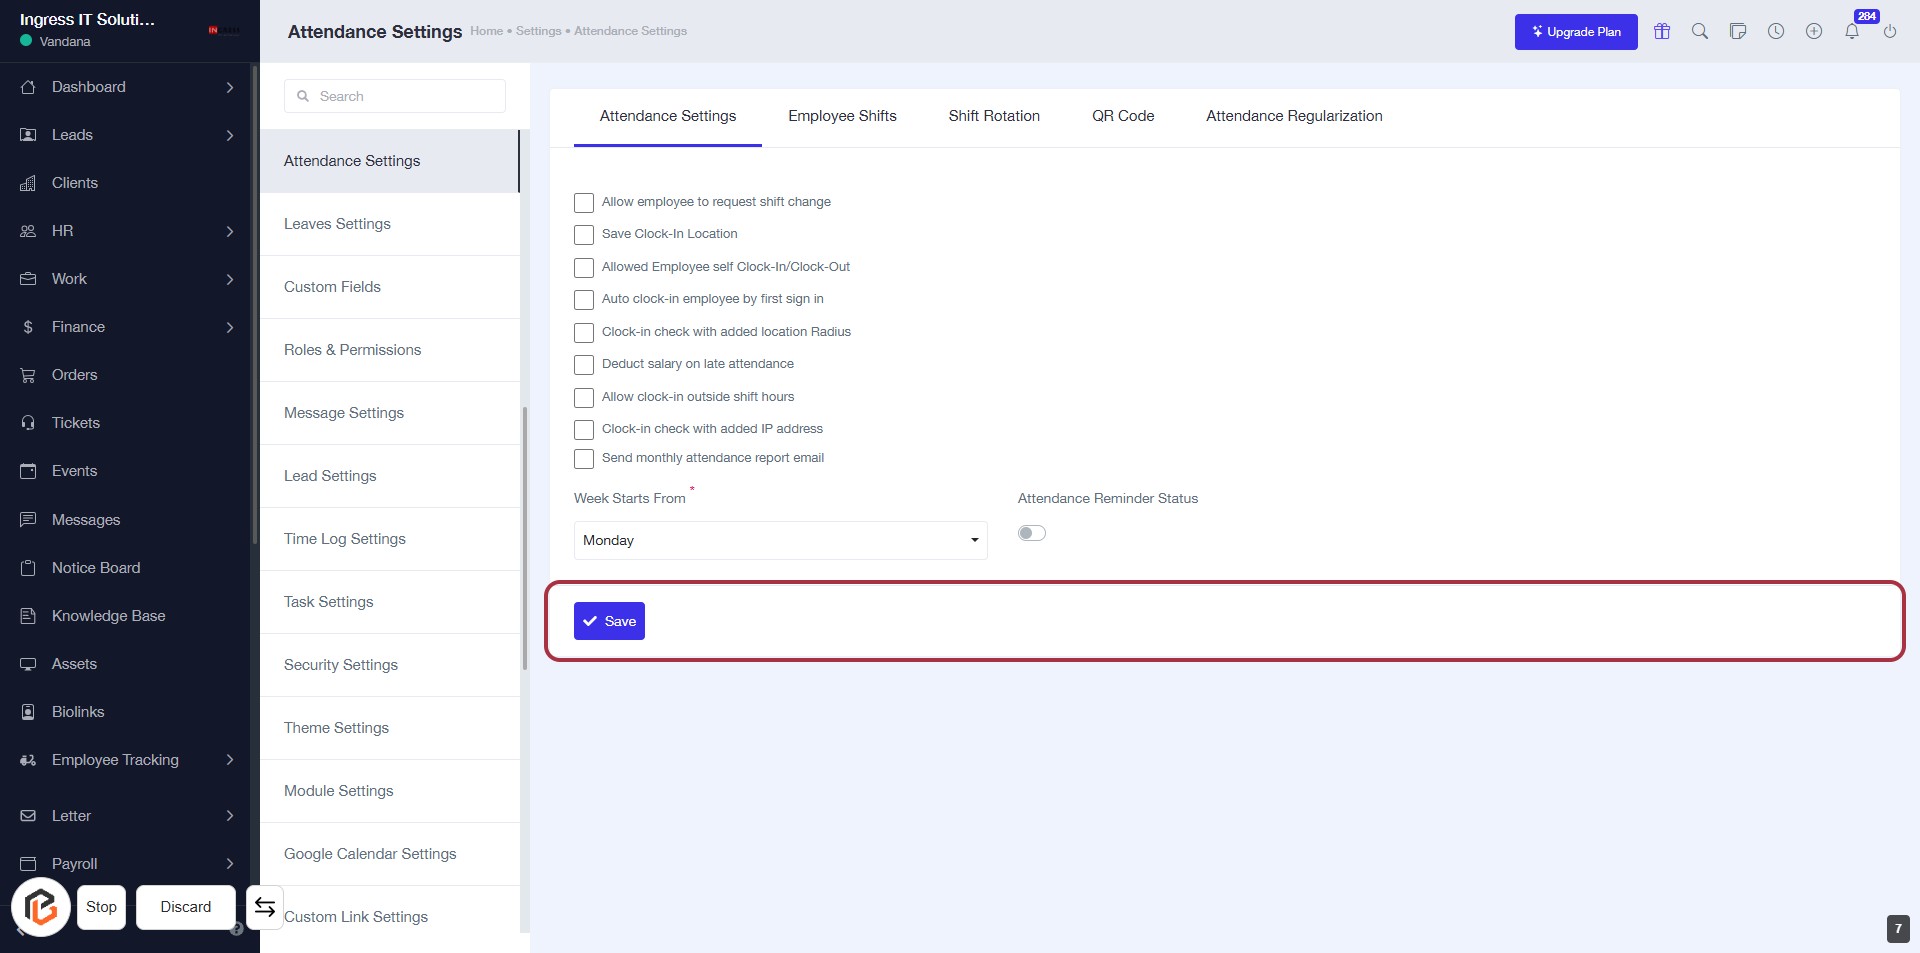
STEP 7: Click on "Save" to Apply Attendance Settings
- Ensure all required fields are filled out.
- Locate the "Save" button highlighted in the red border.
- Click on the "Save" button to apply your changes.
- Confirm that a success message appears to indicate the settings have been saved.