Step-by-Step Guide to Configuring App Settings: Date, Time, Currency, Language, and More
9 mins read · Updated 29 Sep, 2025
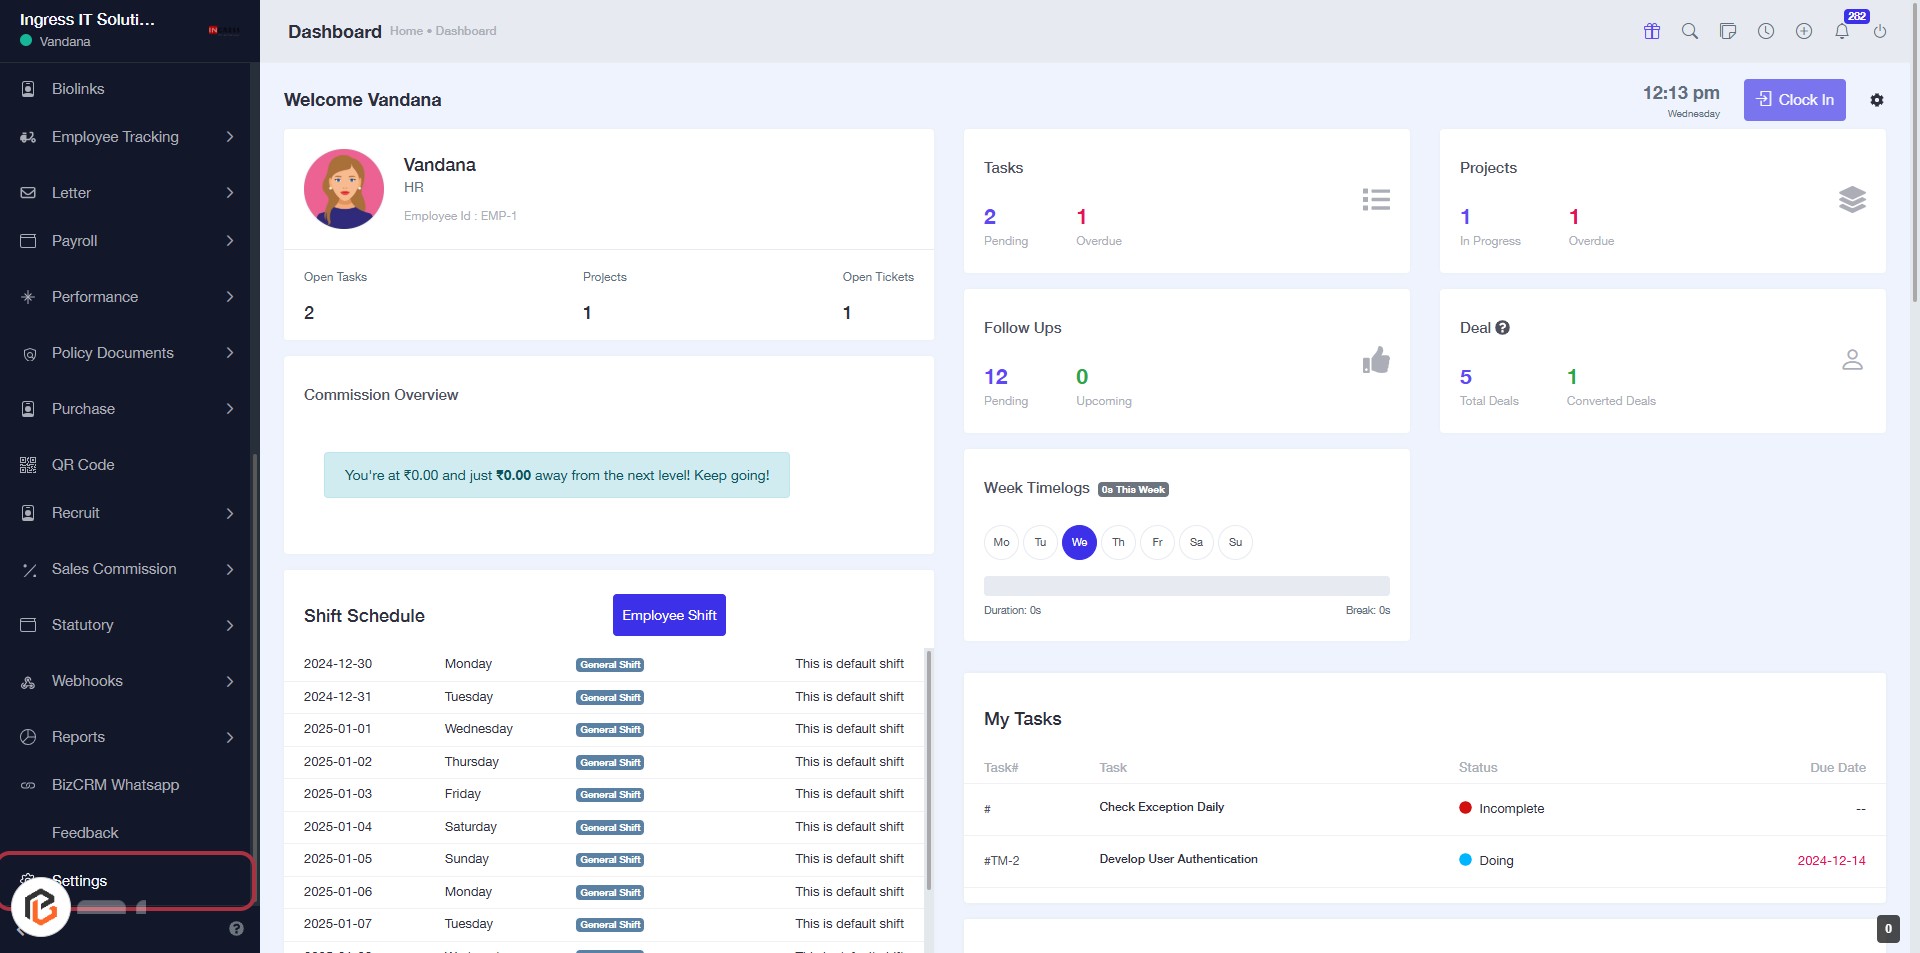
STEP 1: Click on "Settings" in the Dashboard
- Navigate to the left sidebar of the dashboard.
- Locate and click on the "Settings" link.
- This action will direct you to the settings configuration page.
- Ensure to check for
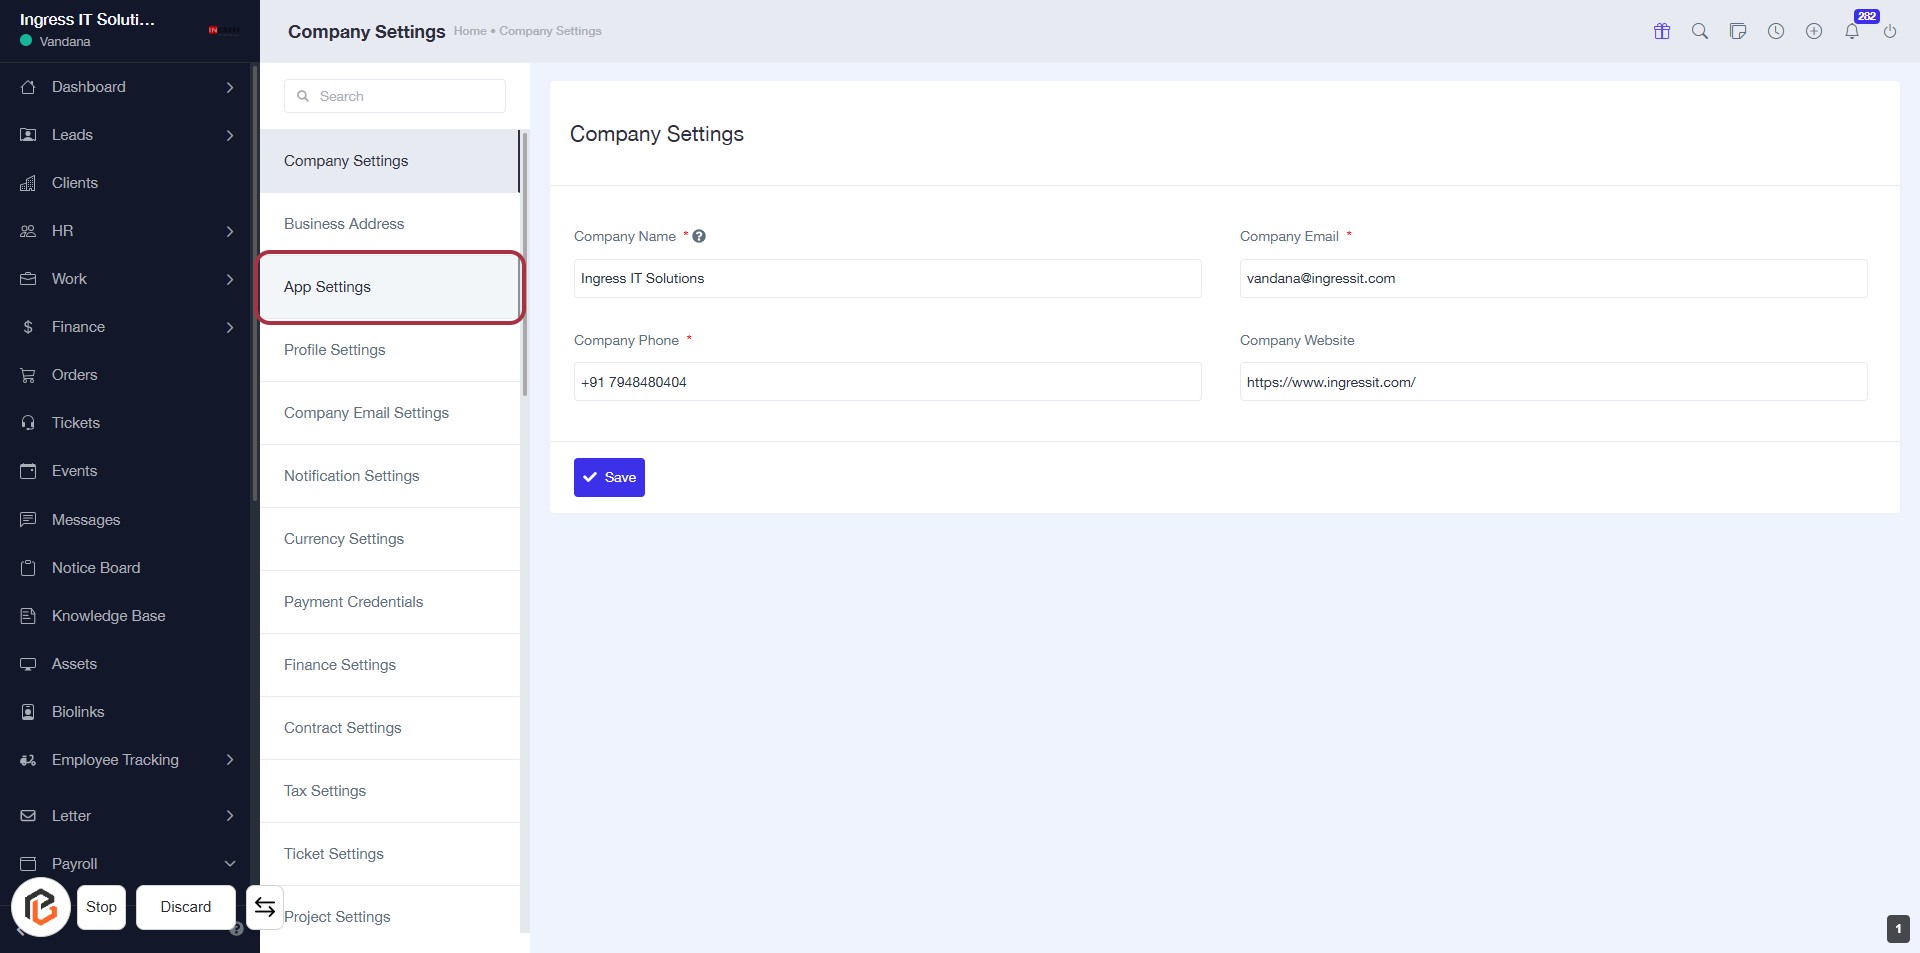
STEP 2: Click on "App Settings"
- Navigate to the App Settings section in the left sidebar.
- Click on the App Settings link to access the relevant configuration options.
- Ensure to fill in the required fields marked with an asterisk
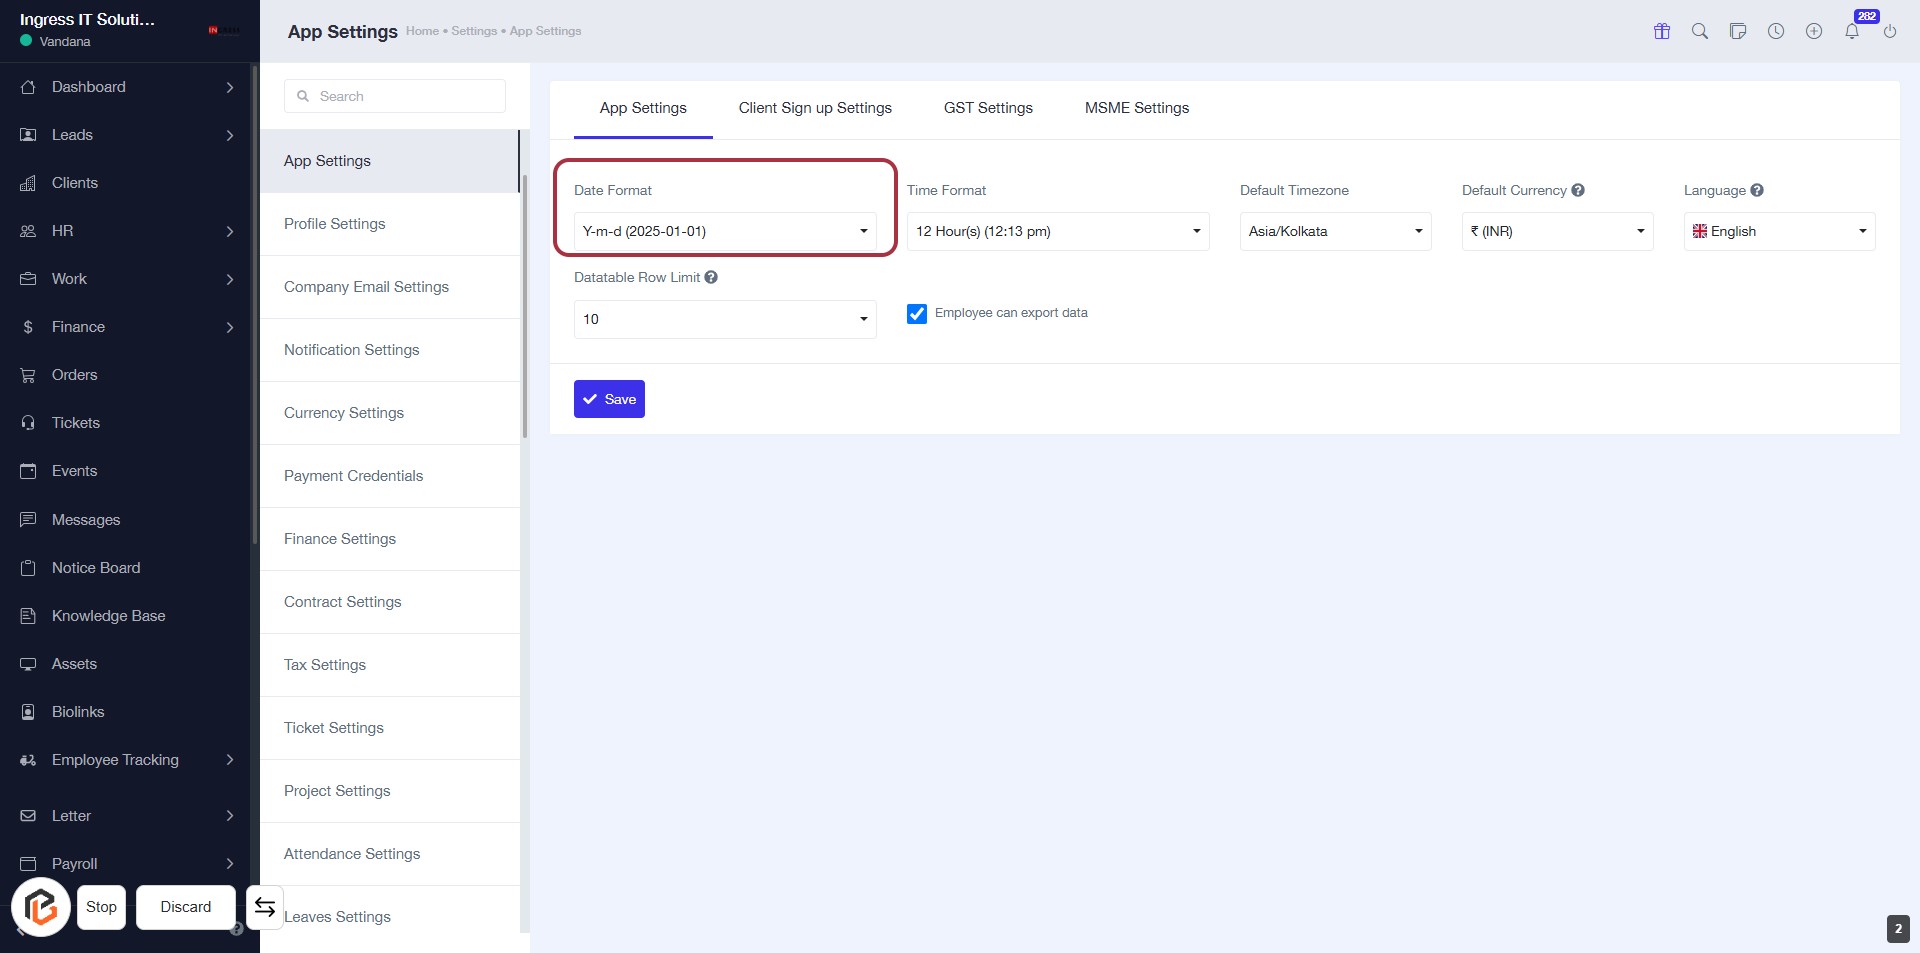
STEP 3: Select "Date Format"
- Click on the "Date Format" dropdown in the App Settings section.
- Choose your preferred date format from the available options.
- Ensure the selected format aligns with your regional preferences.
- Note that this setting may affect
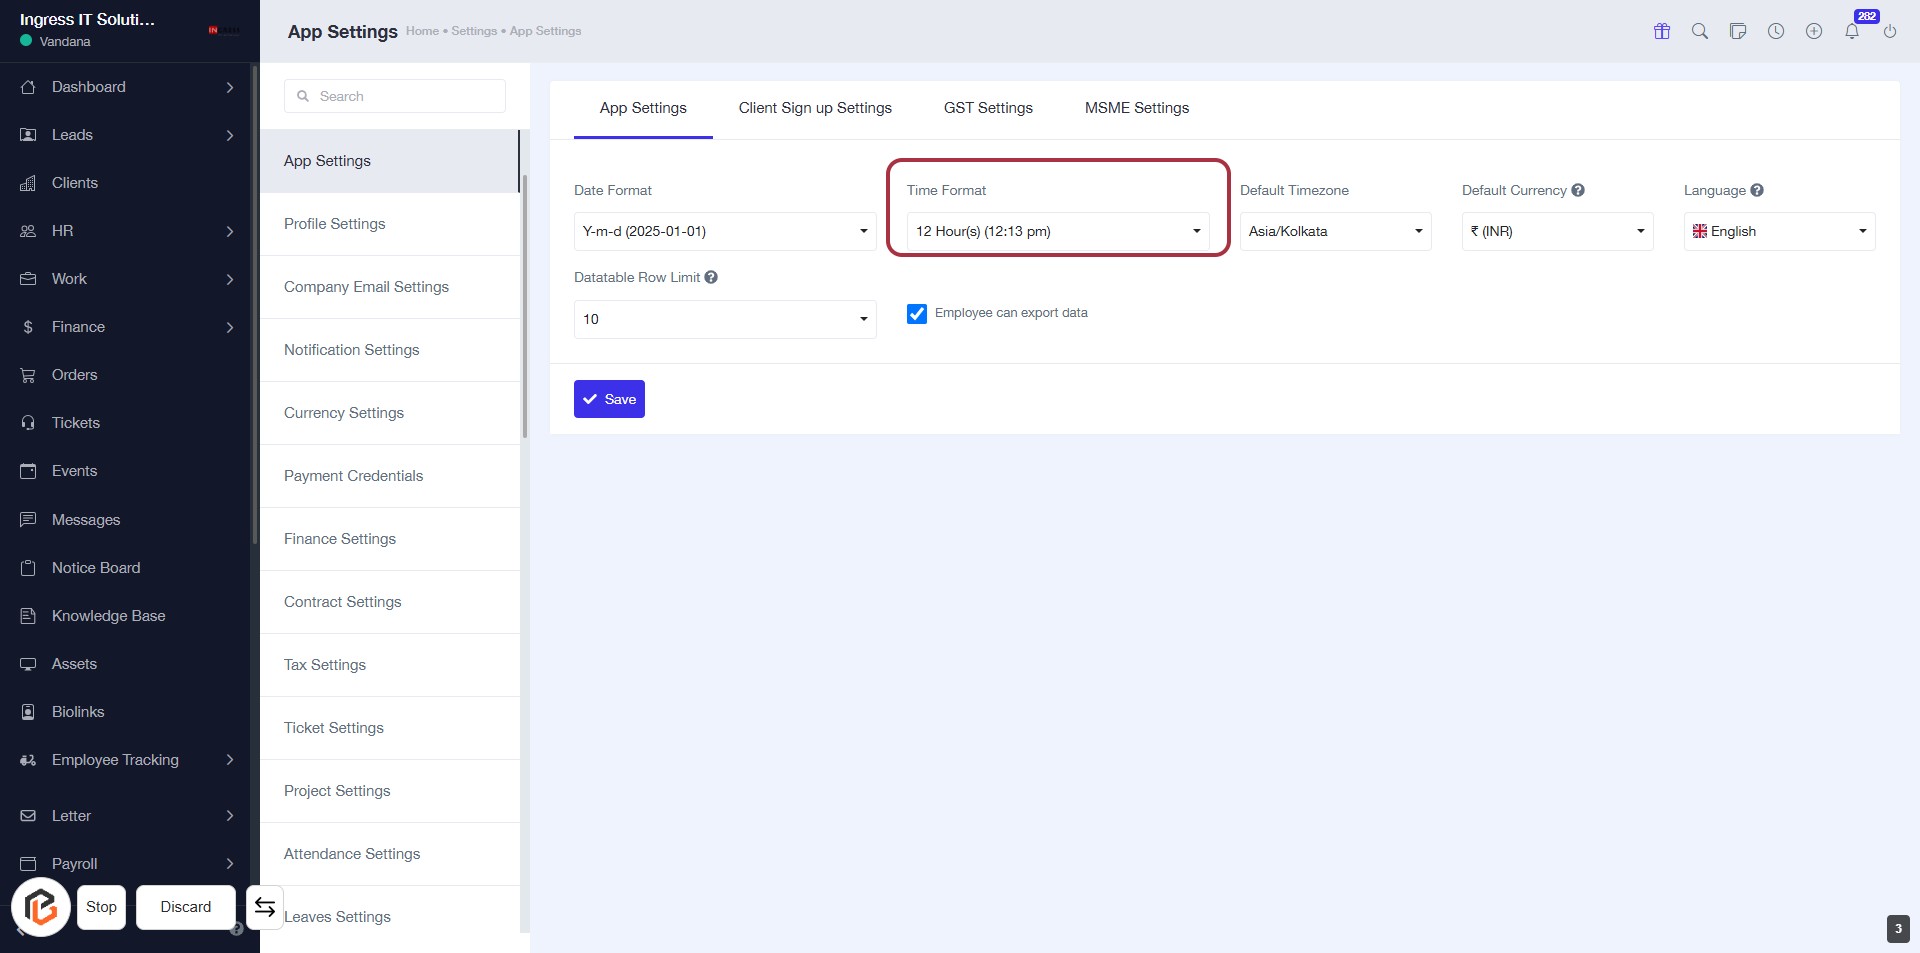
STEP 4: Select "Time Format"
- Click on the Time Format section highlighted in red.
- Choose your preferred time format from the dropdown (e.g., 12 Hour(s) or 24 Hour(s)).
- Ensure to review other settings like
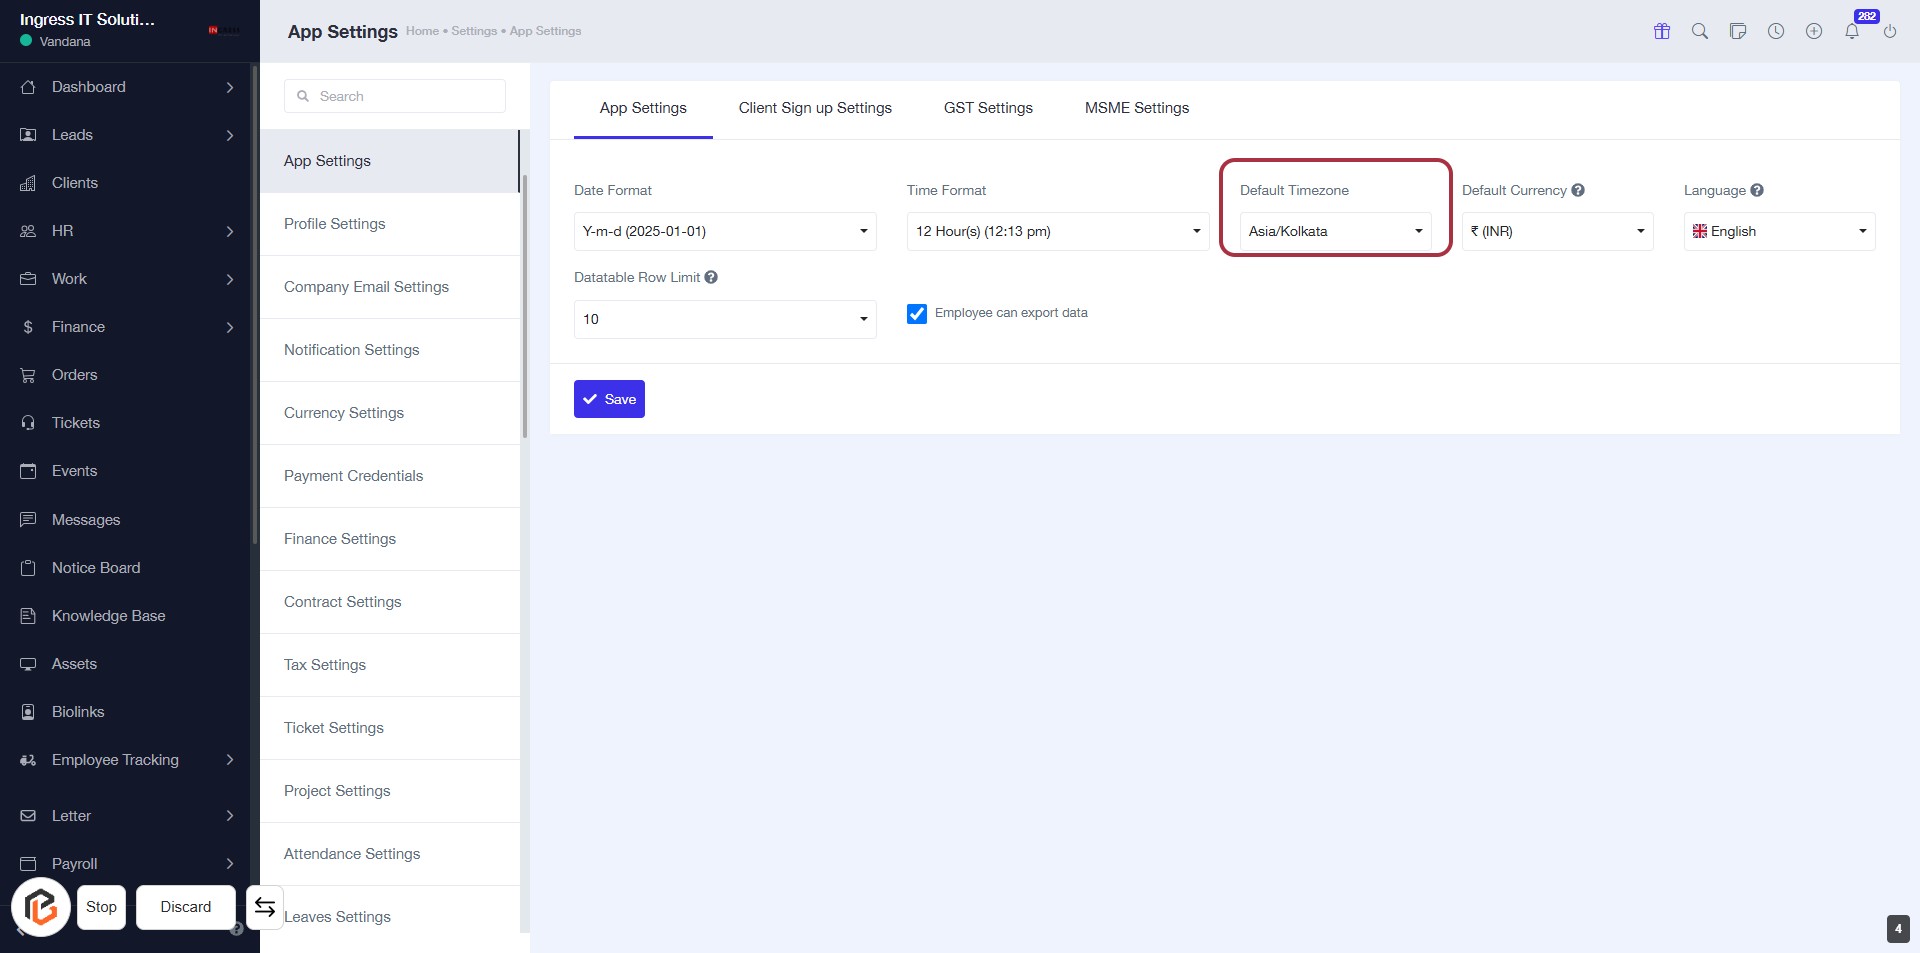
STEP 5: Select "Default Timezone"
- Click on the "Default Timezone" field highlighted in red.
- A dropdown will appear, allowing you to choose your preferred timezone.
- Ensure to select a timezone that aligns with your location or business operations.
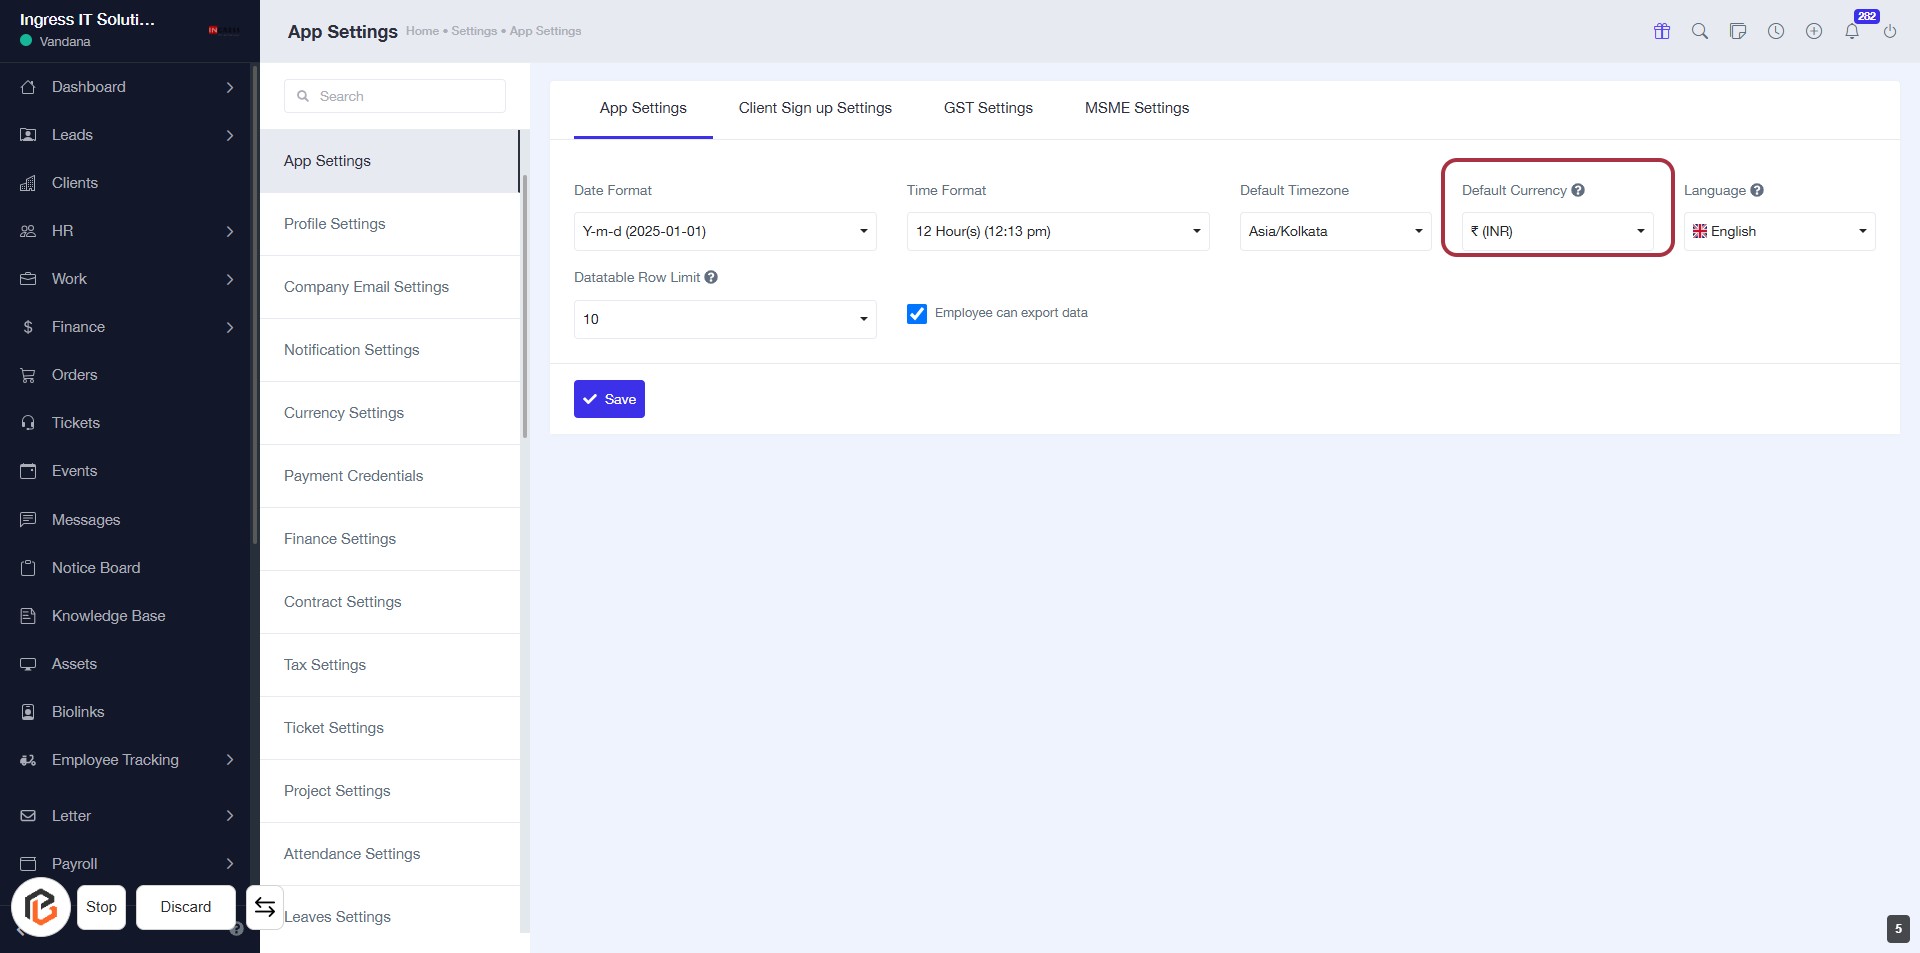
STEP 6: Select "Default Currency"
- Click on the "Default Currency" field highlighted in red.
- A dropdown will appear; select your preferred currency from the list.
- Ensure to check for any required fields marked with an asterisk (*).
- Review
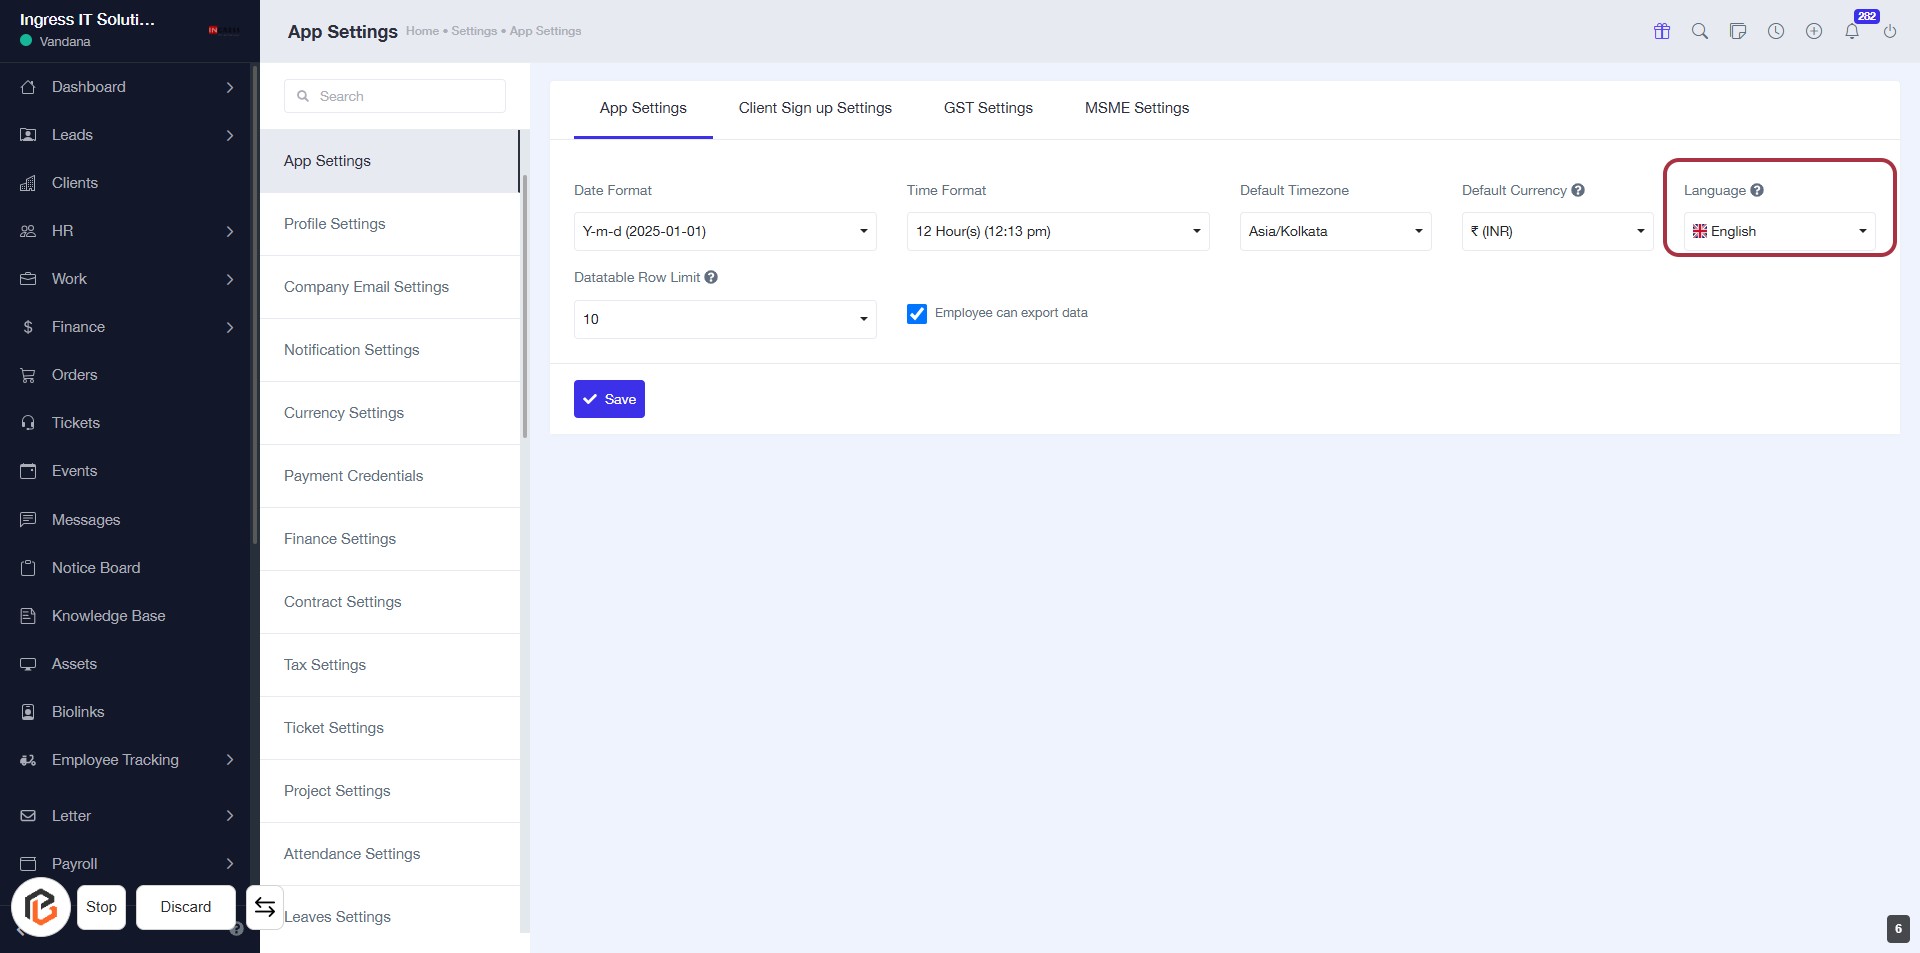
STEP 7: Select Language
- Click on the Language dropdown in the highlighted area.
- Choose your preferred language from the available options.
- Ensure that the selection aligns with your user preferences for the application interface.
- After making your selection, proceed to
STEP 8: Select Datatable Row Limit
- Click on the highlighted area labeled "Datatable Row Limit" to adjust the number of rows displayed in the datatable.
- Options Available: Choose from the dropdown menu to set the desired limit

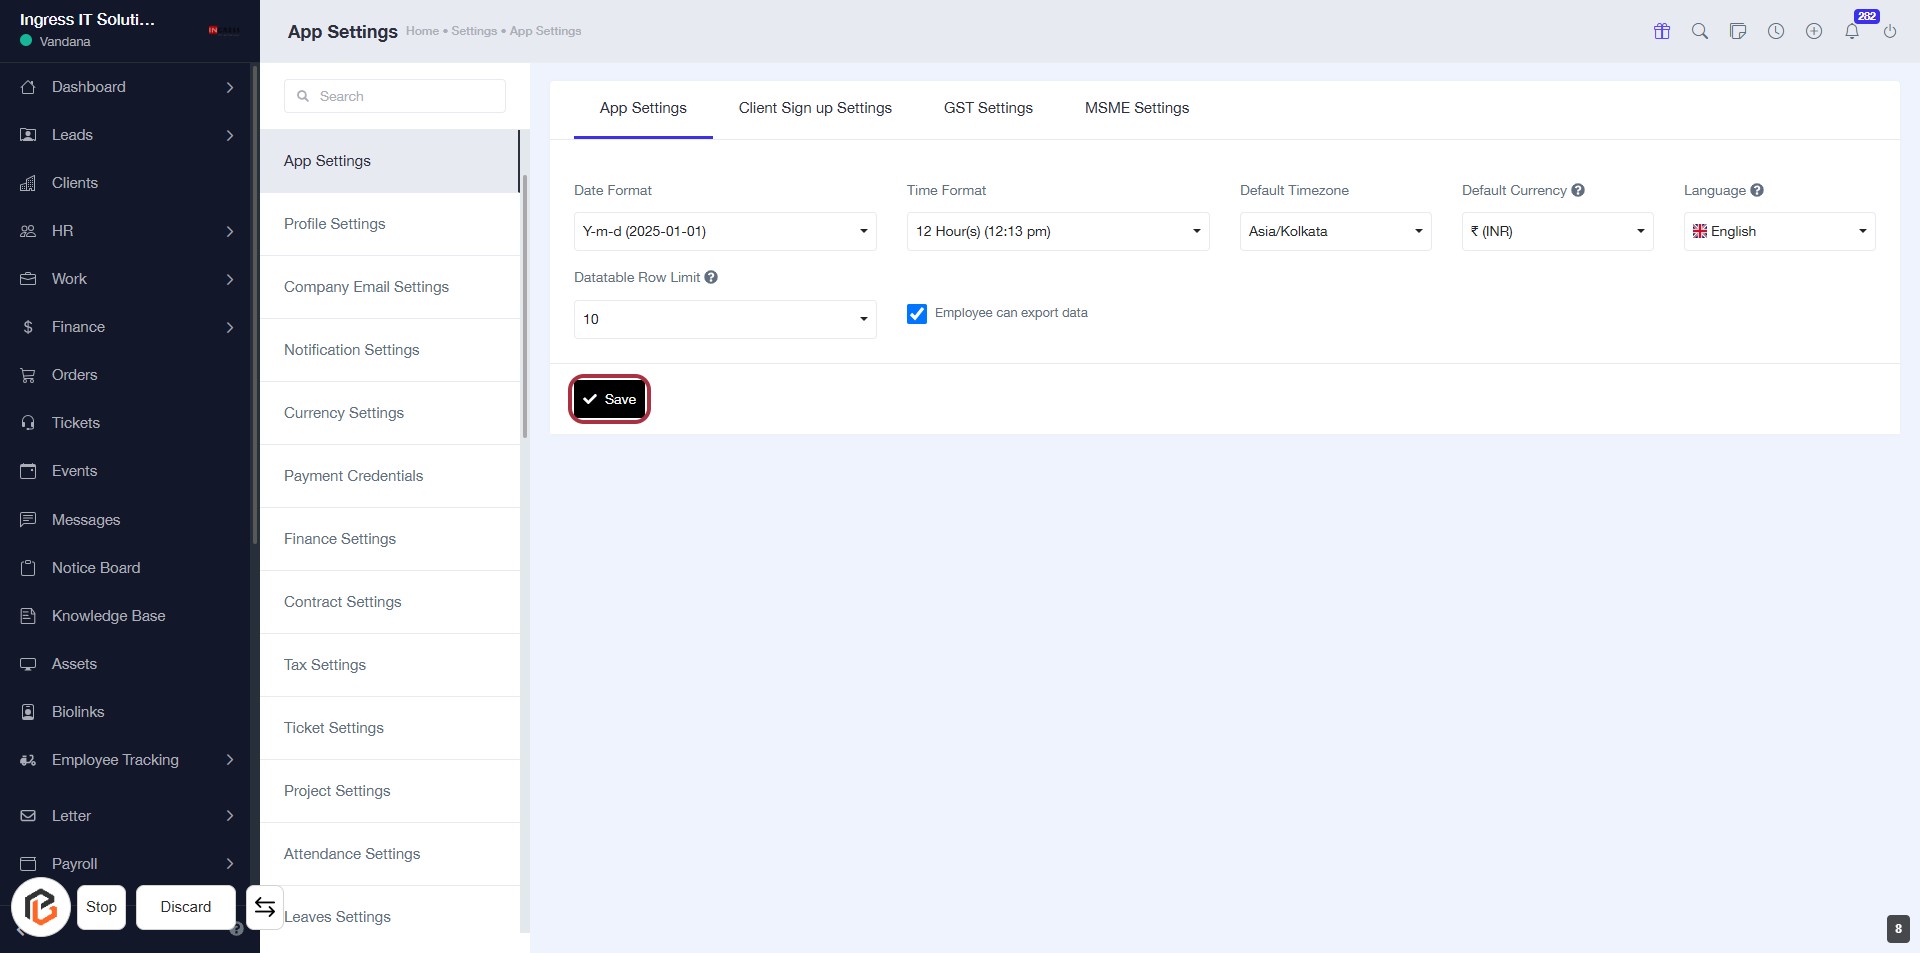
STEP 9: Click on "Save" to Apply Changes
- Ensure all required fields are filled out, indicated by an asterisk (*).
- Review your settings for Date Format, Time Format, Datatable Row Limit, Default Timezone, Default Currency, and