Step-by-Step Guide to Configure QuickBooks Settings for Efficient Financial Management
9 mins read · Updated 29 Sep, 2025
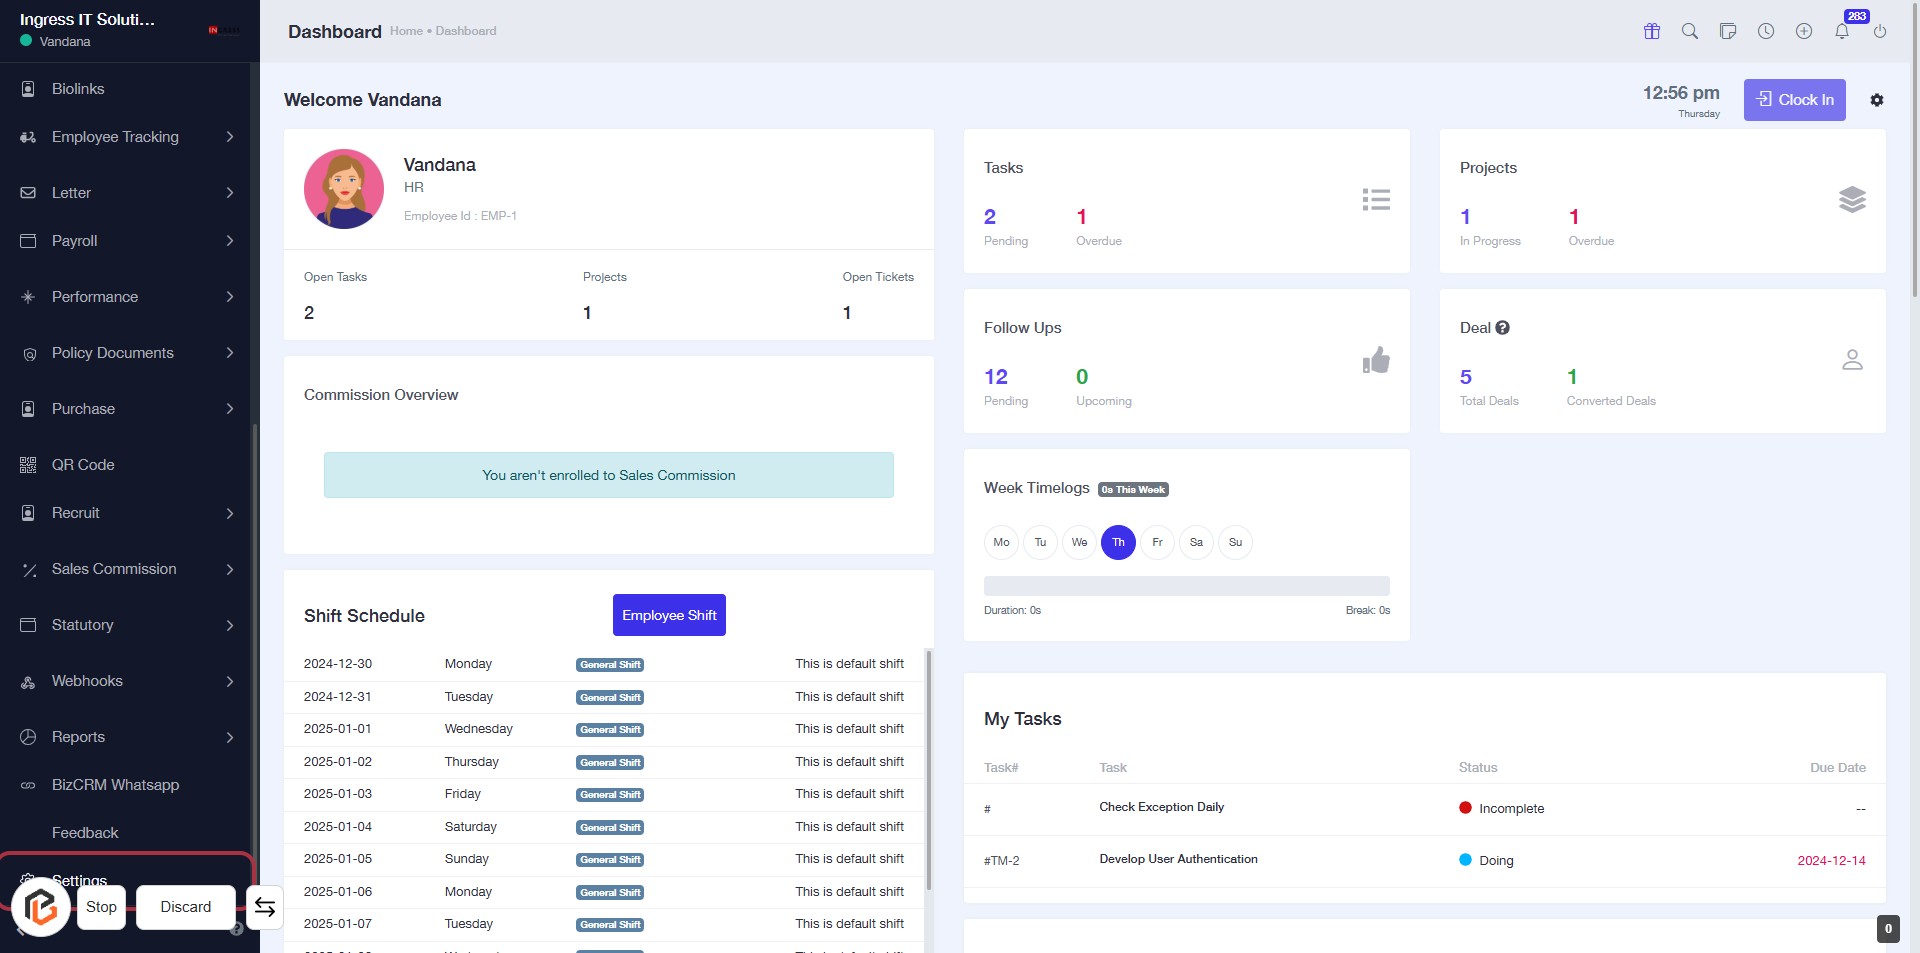
STEP 1: Click on "Settings" to Access Configuration Options
- Navigate to the left sidebar of the dashboard.
- Locate and click on the "Settings" option highlighted in red.
- This action will take you to the settings configuration page for further adjustments.
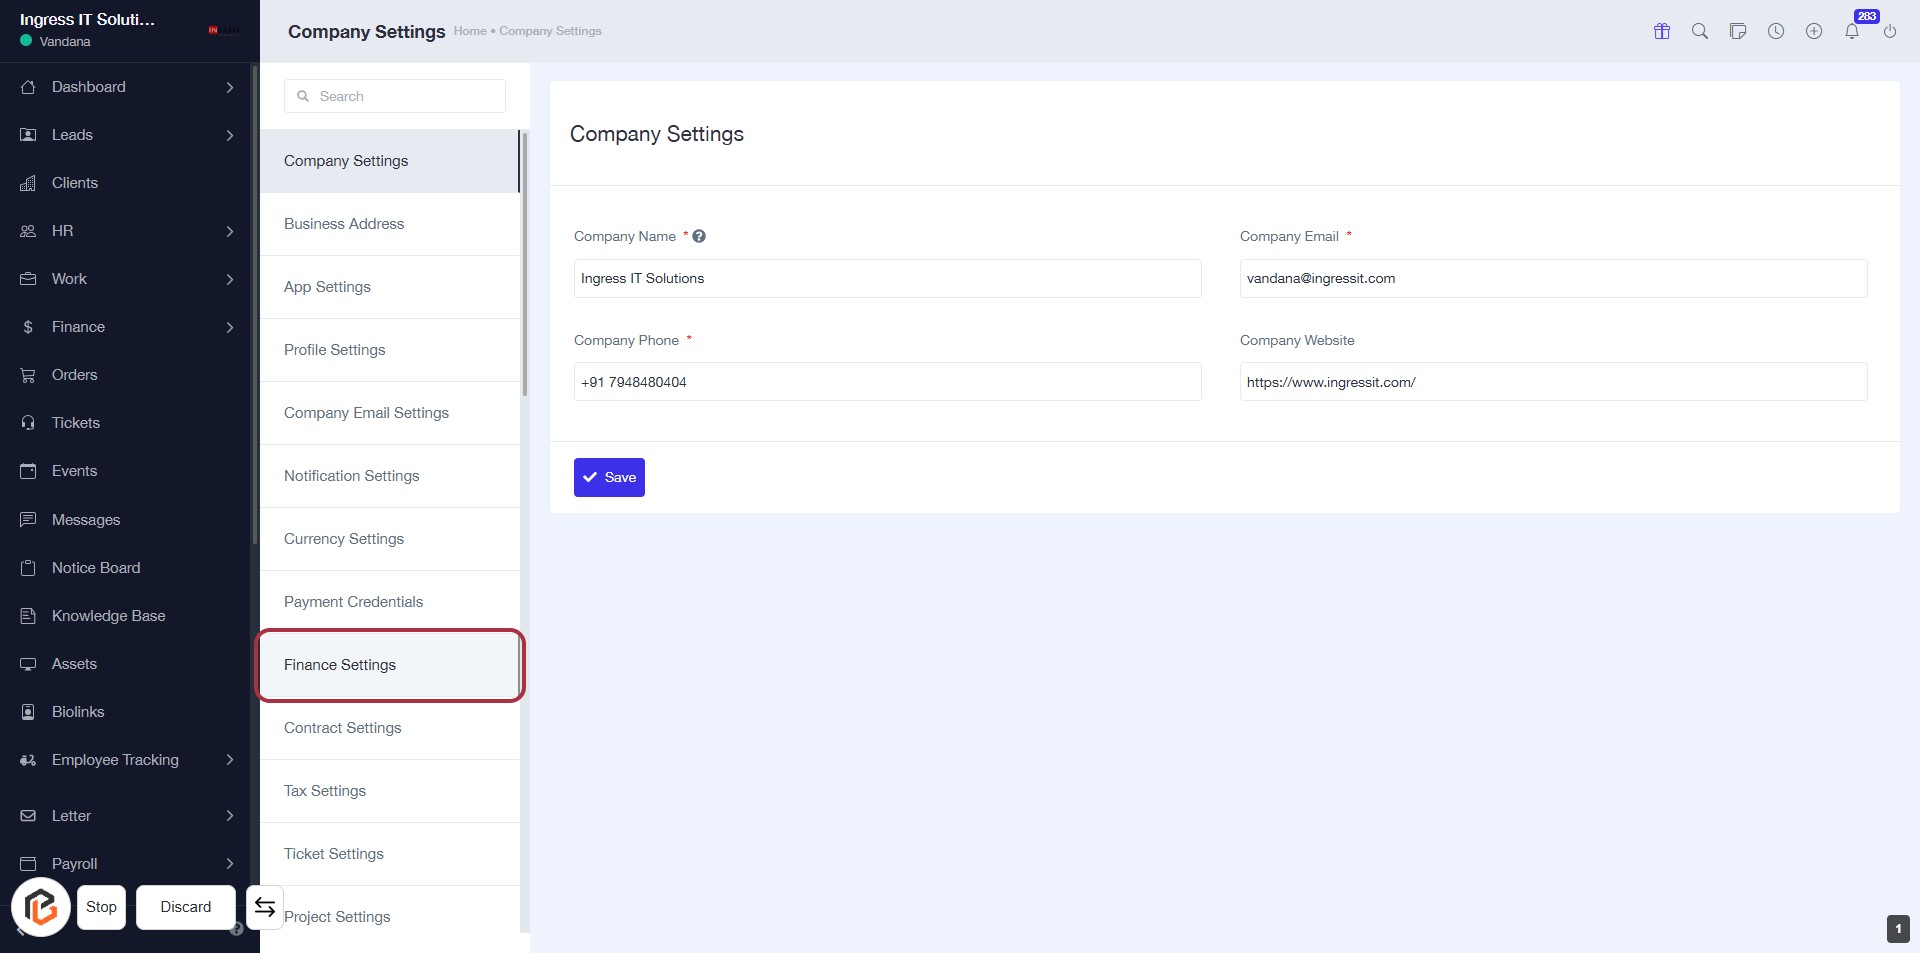
STEP 2: Click on "Finance Settings"
- Navigate to the "Finance Settings" option in the sidebar menu.
- Click on the highlighted "Finance Settings" link to access financial configuration options.
- Ensure to fill in all required fields marked with an asterisk (*) in the Company Settings form.
- After making changes, remember to click the "Save" button to apply your updates.
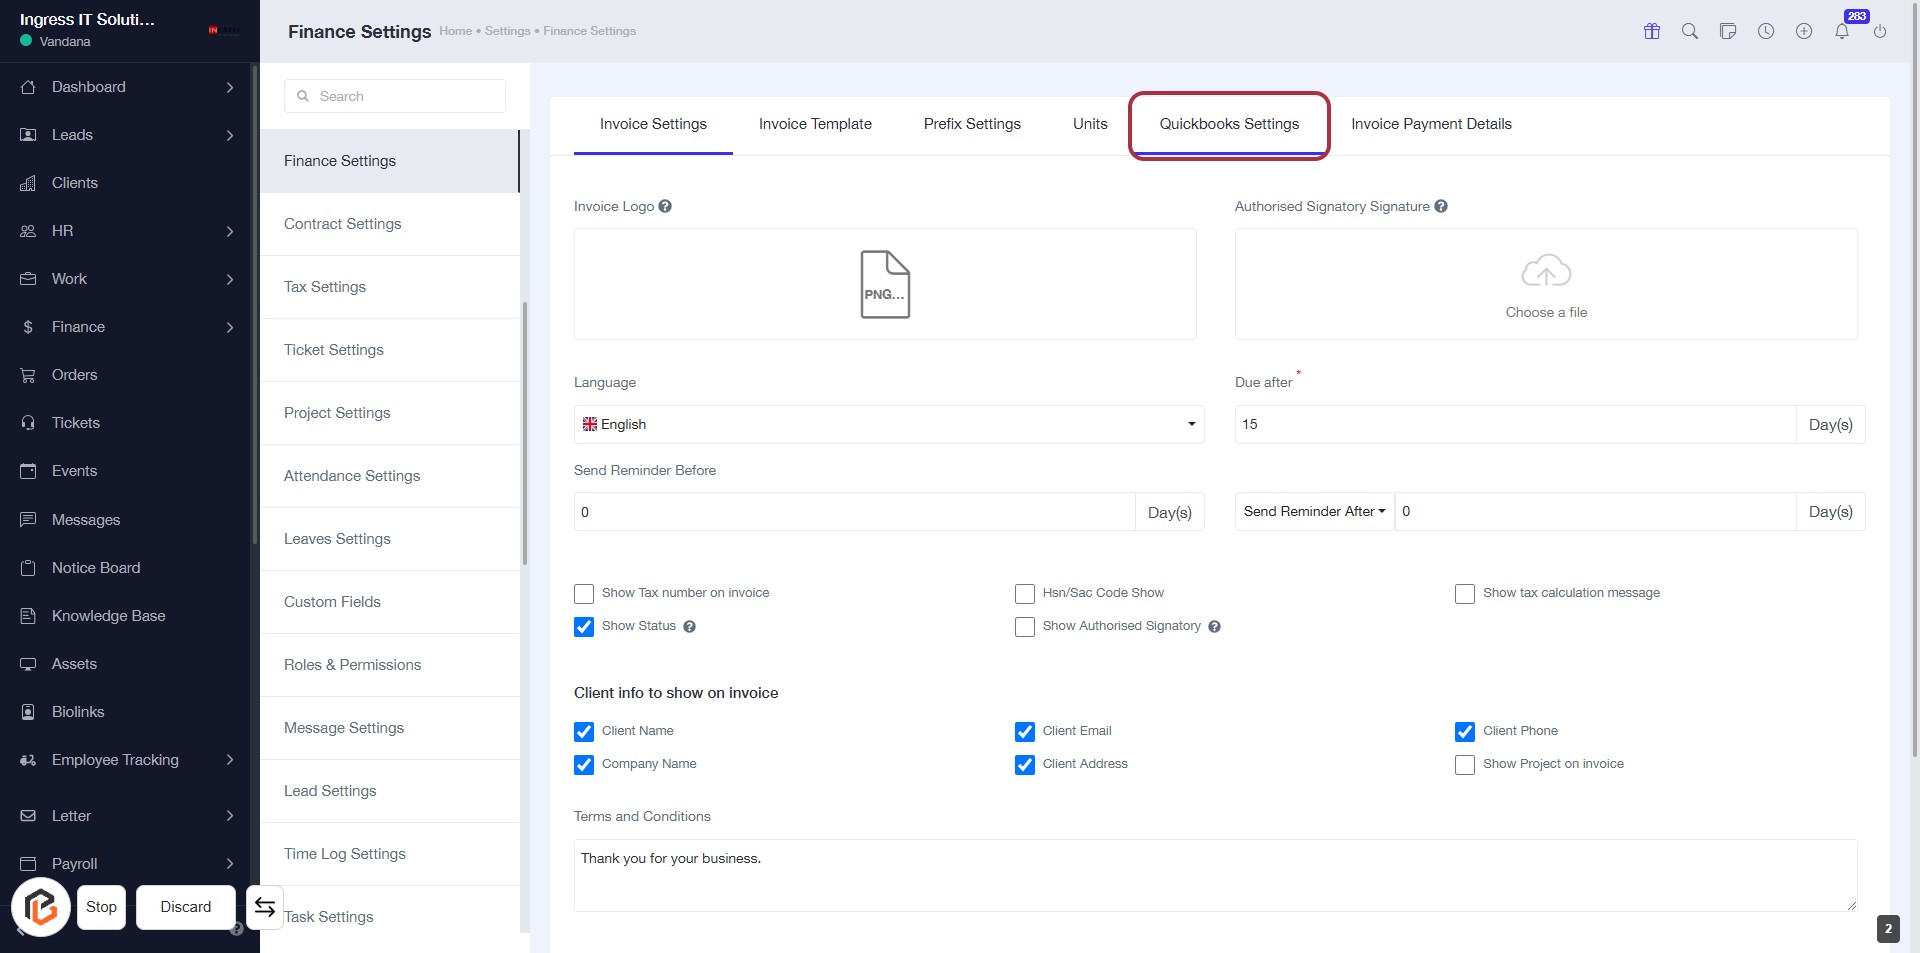
STEP 3: Select "Quickbooks Settings"
- Click on Quickbooks Settings in the Finance Settings menu.
- Ensure you are on the Invoice Settings tab.
- Review the fields available for configuration, including:
- Invoice Logo
- Language
- Send Reminder Before
- Show Tax number on invoice
- Show Status (checkbox)
- Client info to show on invoice (various checkboxes)
- Terms and Conditions section.
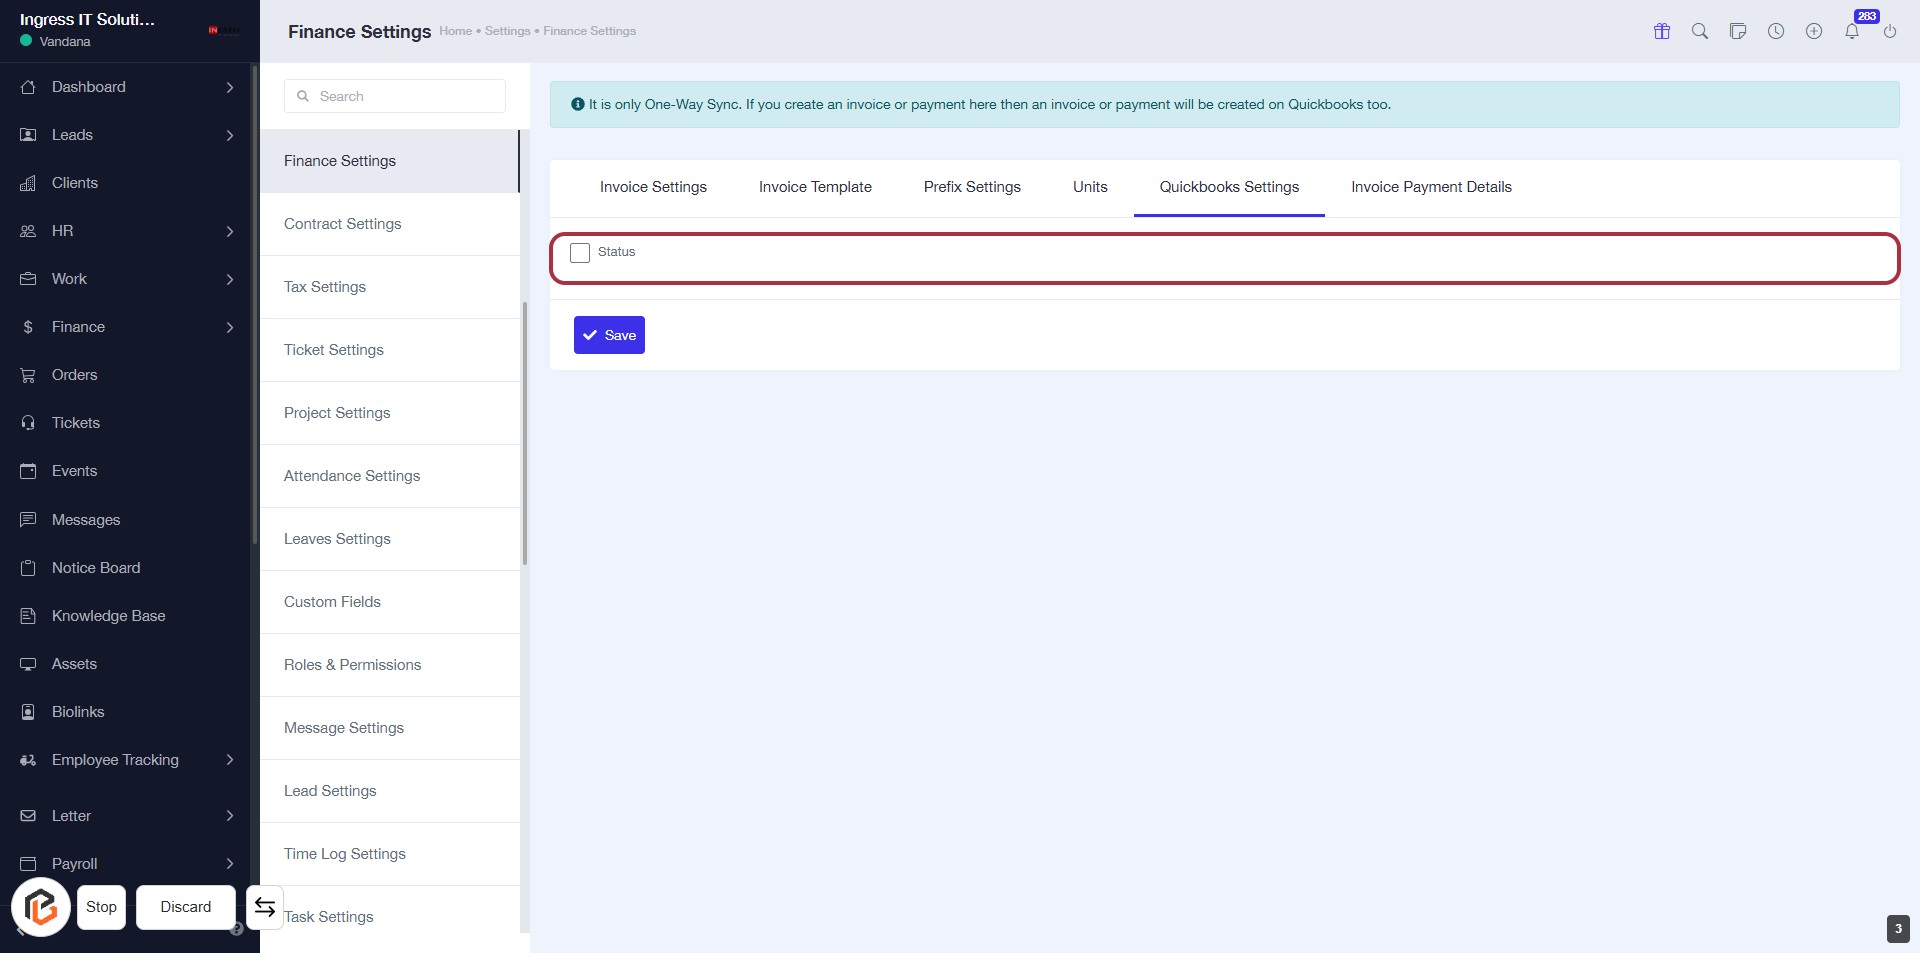
STEP 4: Select "Status Checkbox"
- Click on the "Status" checkbox to enable or disable it.
- Ensure the checkbox is marked if you want to activate the status feature.
- After making your selection, remember to click the "Save" button to apply changes.
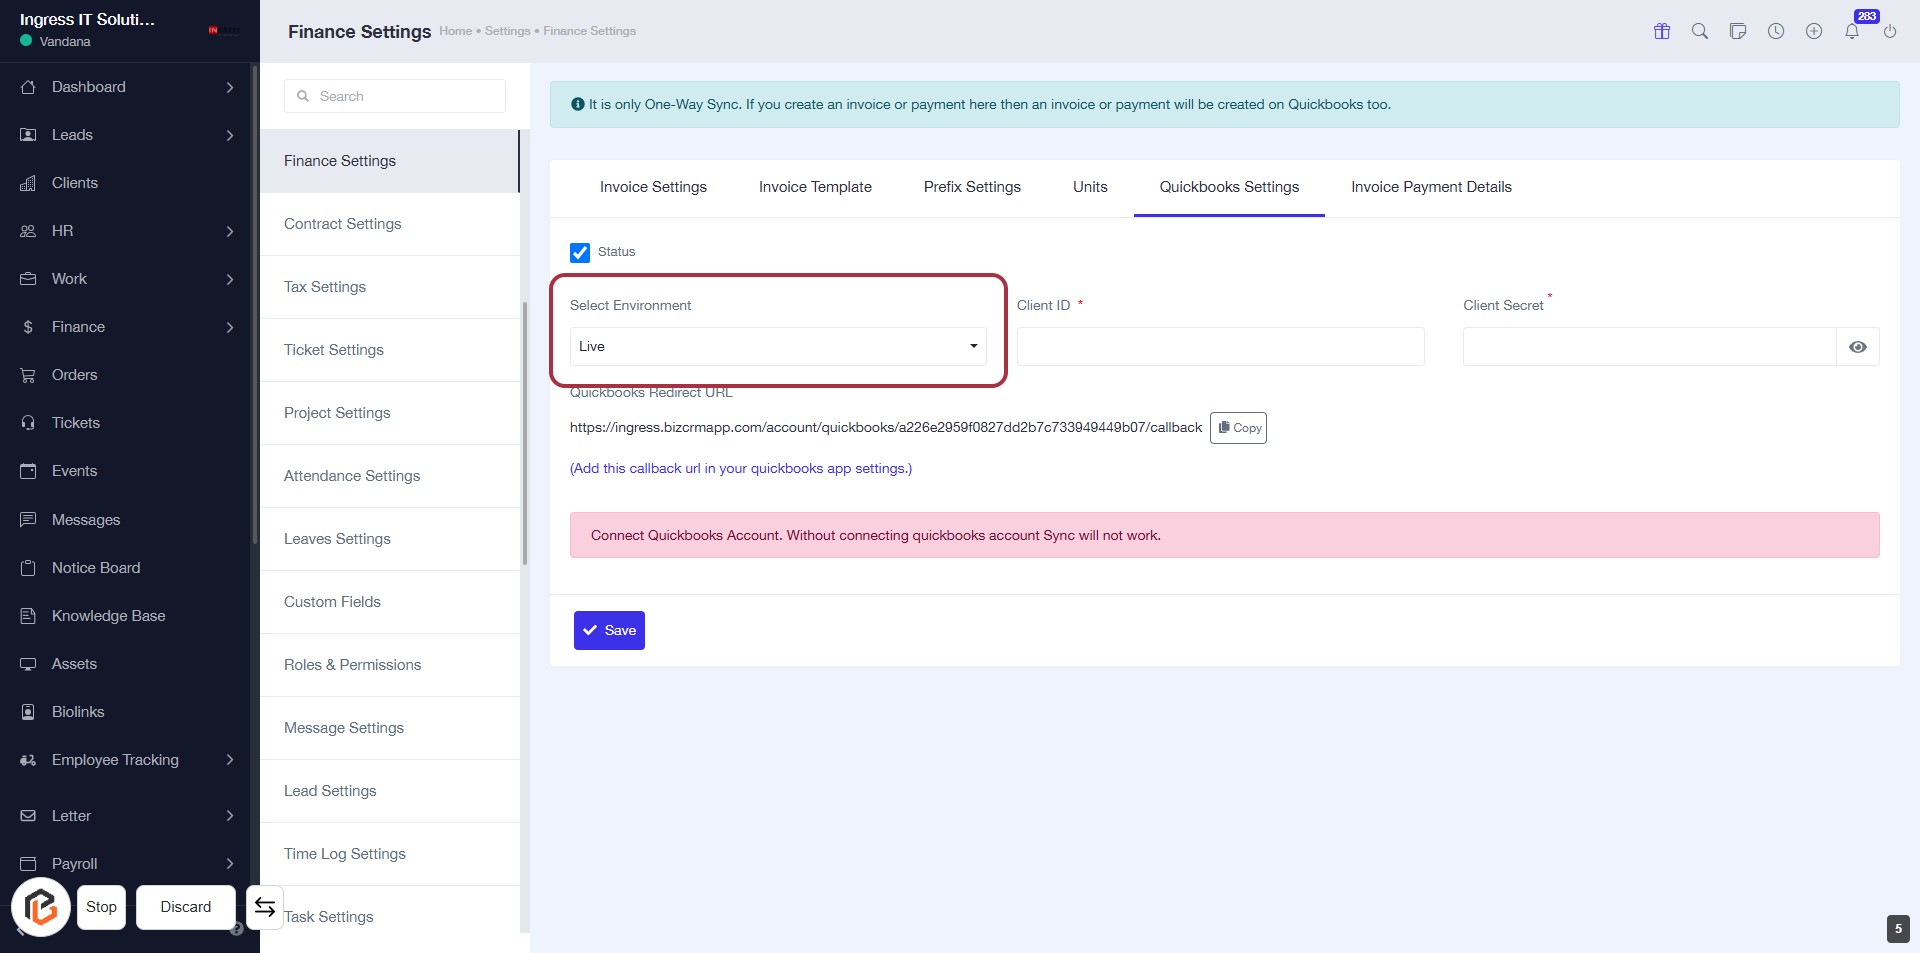
STEP 5: Select "Environment" from the Dropdown
- Click on the "Select Environment" dropdown.
- Choose the desired environment (e.g., "Live" or "Sandbox").
- Ensure the selection aligns with your operational needs.
- Proceed to the next step by entering the "Client ID".
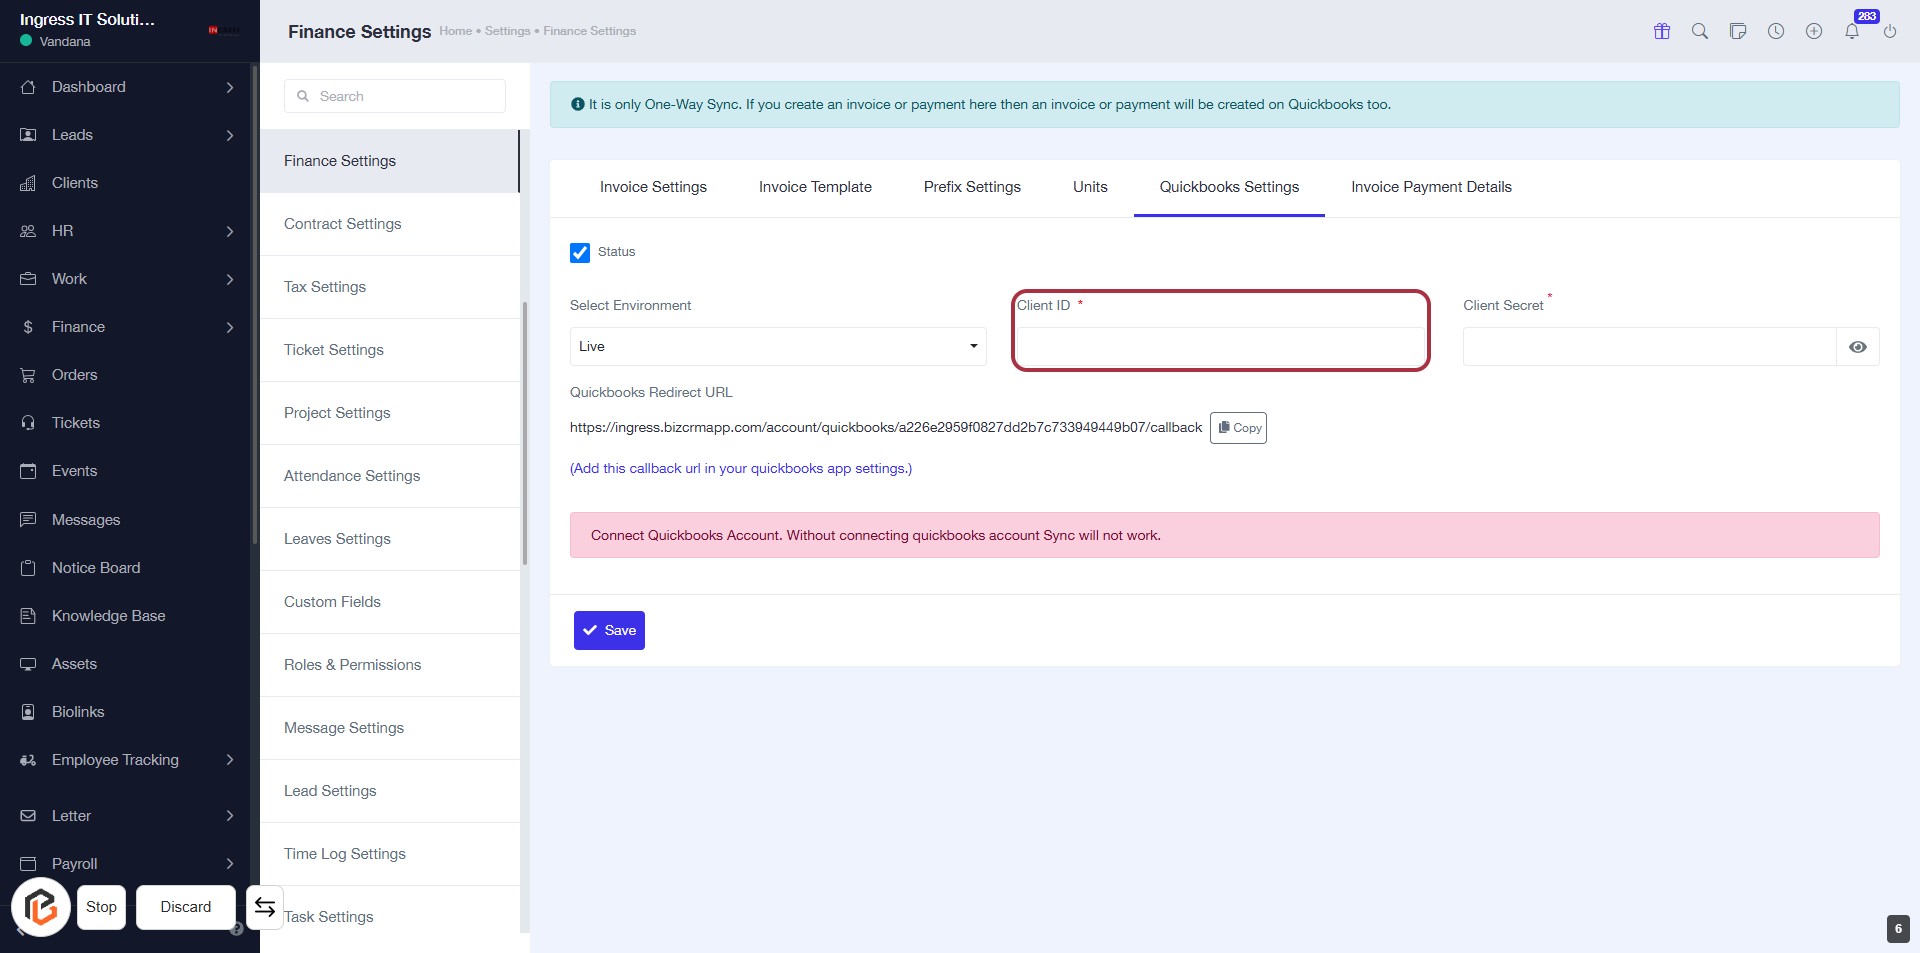
STEP 6: Enter "Client ID"
- Click on the "Client ID" field (marked with a red border).
- Input the required Client ID (indicated by the asterisk *).
- Ensure all necessary fields are filled before proceeding.
- Review any error messages below the input fields for guidance.
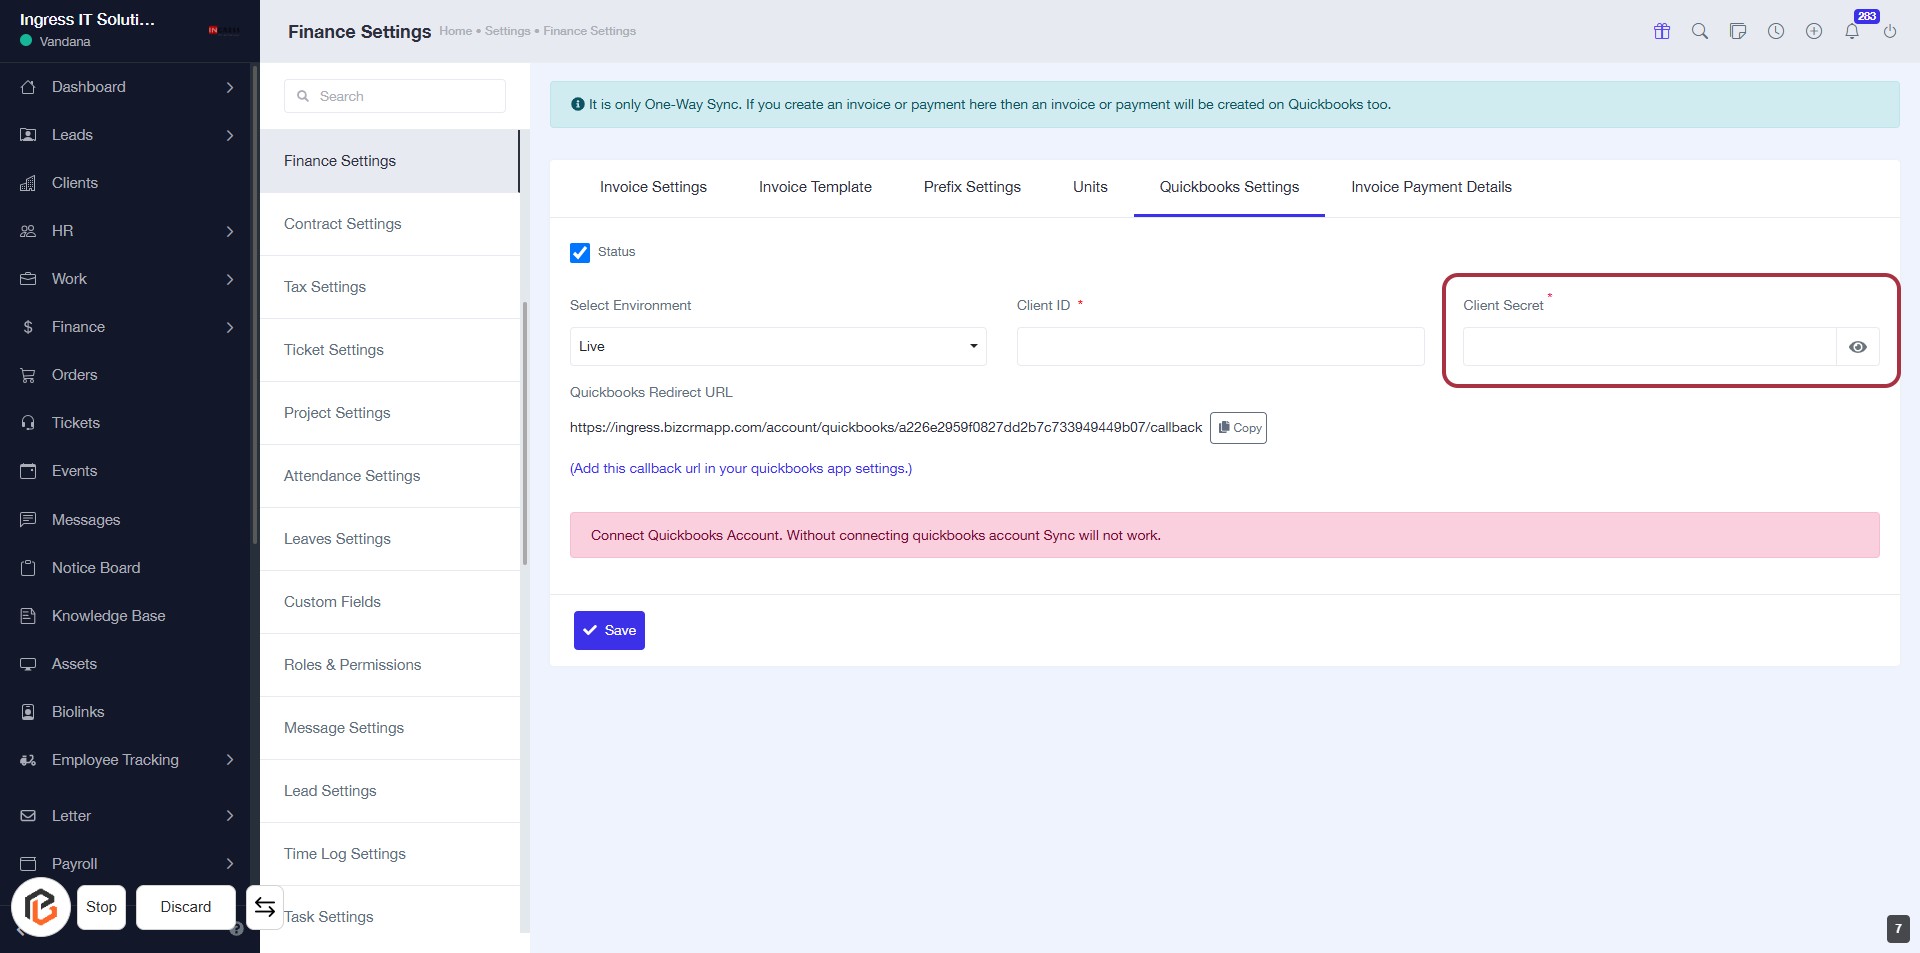
STEP 7: Enter "Client Secret"
- Click on the "Client Secret" field to input your secret key.
- Ensure the field marked with an asterisk (*) is filled, as it is required.
- Review any additional instructions or warnings displayed below the input area.
- Proceed to the next step by clicking the "Copy Icon" after entering the necessary information.
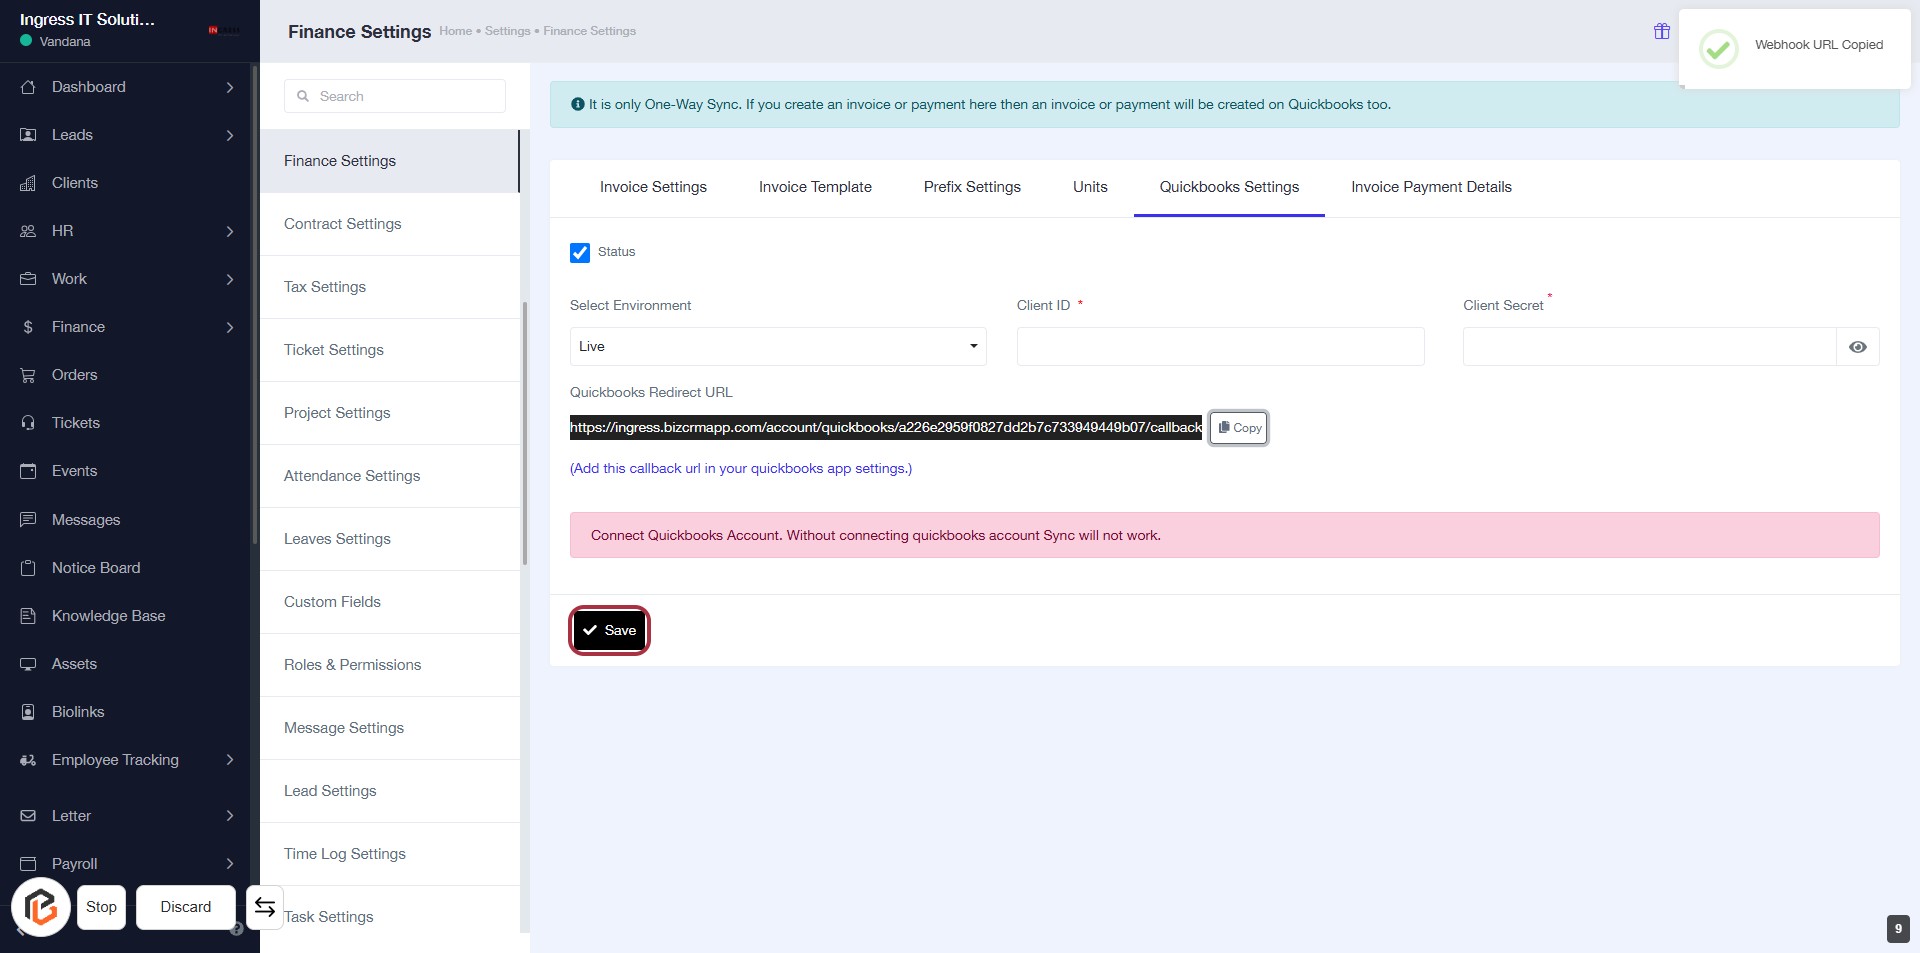
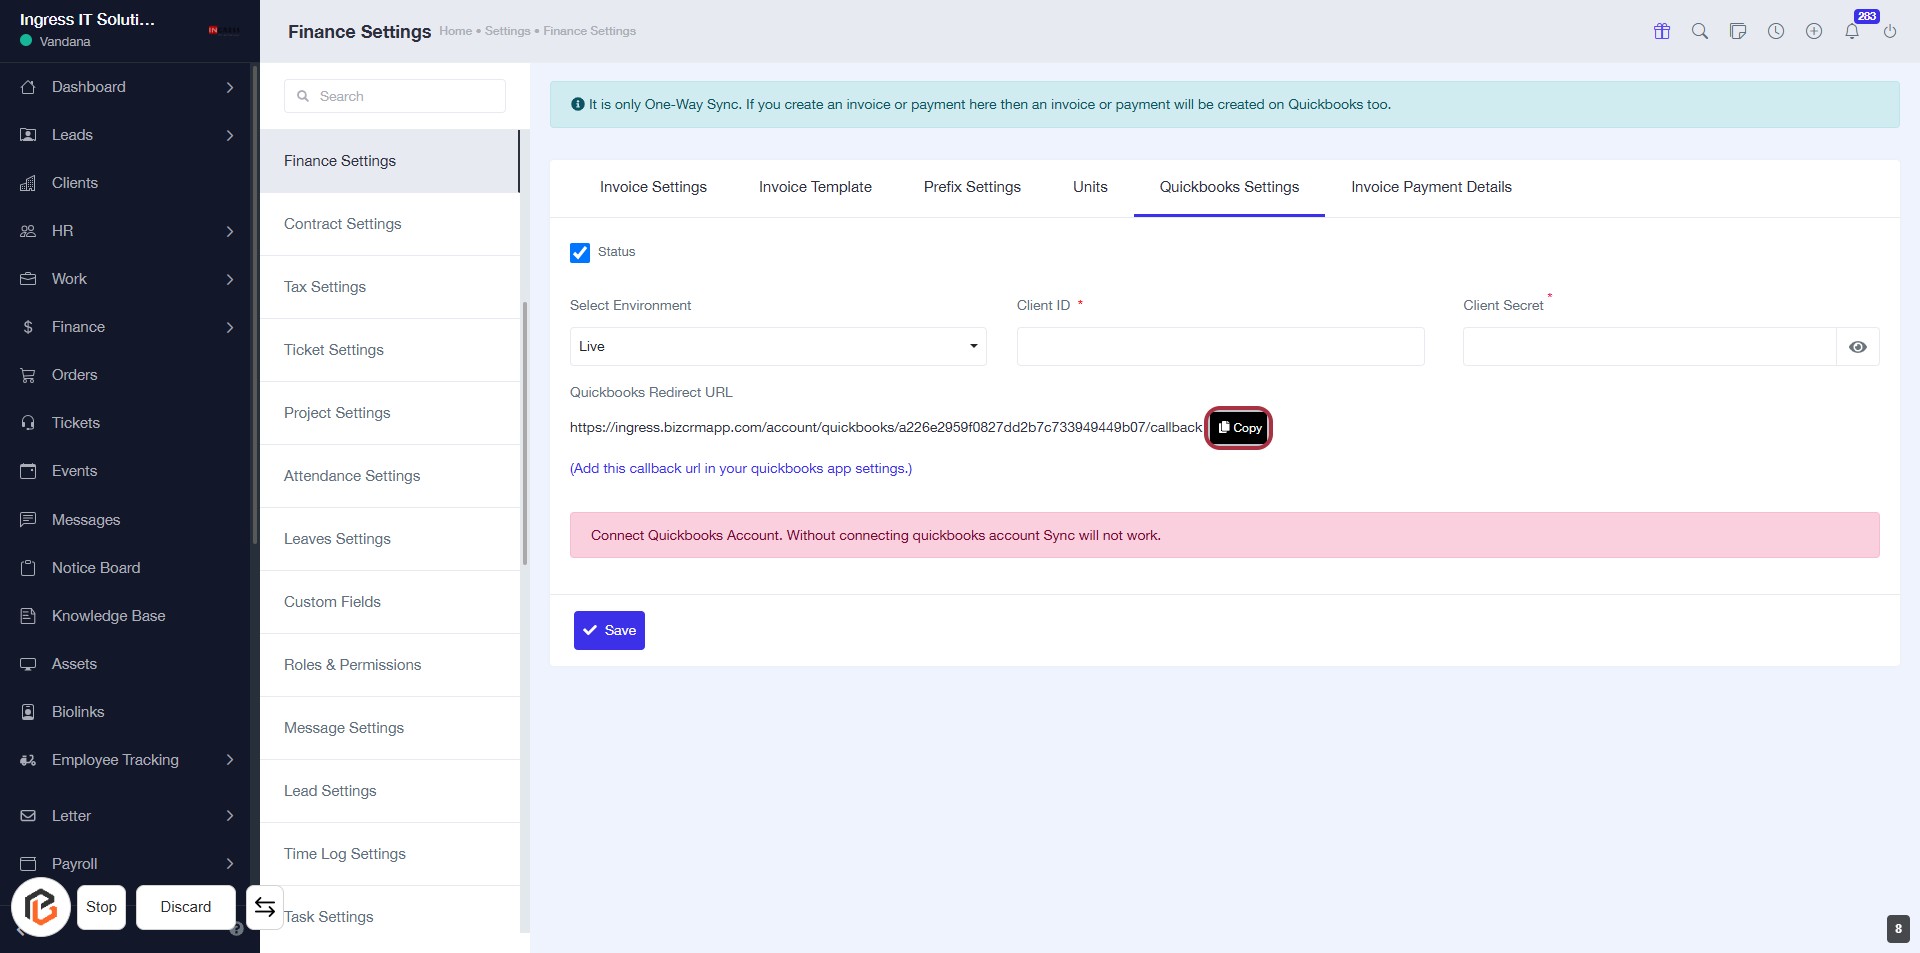
STEP 8: Click on "Copy Icon" to Copy Quickbooks Redirect URL
- Locate the "Quickbooks Redirect URL" field.
- Click on the "Copy" icon next to the URL to copy it to your clipboard.
- Ensure the URL is copied successfully for use in Quickbooks app settings.
- Proceed to the next step by clicking on the "Save Button".
STEP 9: Click on "Save" to Confirm Quickbooks Settings
- Ensure all required fields (marked with *) are filled.
- Click the Save button to save your Quickbooks settings.
- Review any error messages below the form before saving.
- Confirm that the settings are correctly saved for future use.