Step-by-Step Guide to Configure Deal Categories in Your Dashboard Settings
6 mins read · Updated 29 Sep, 2025
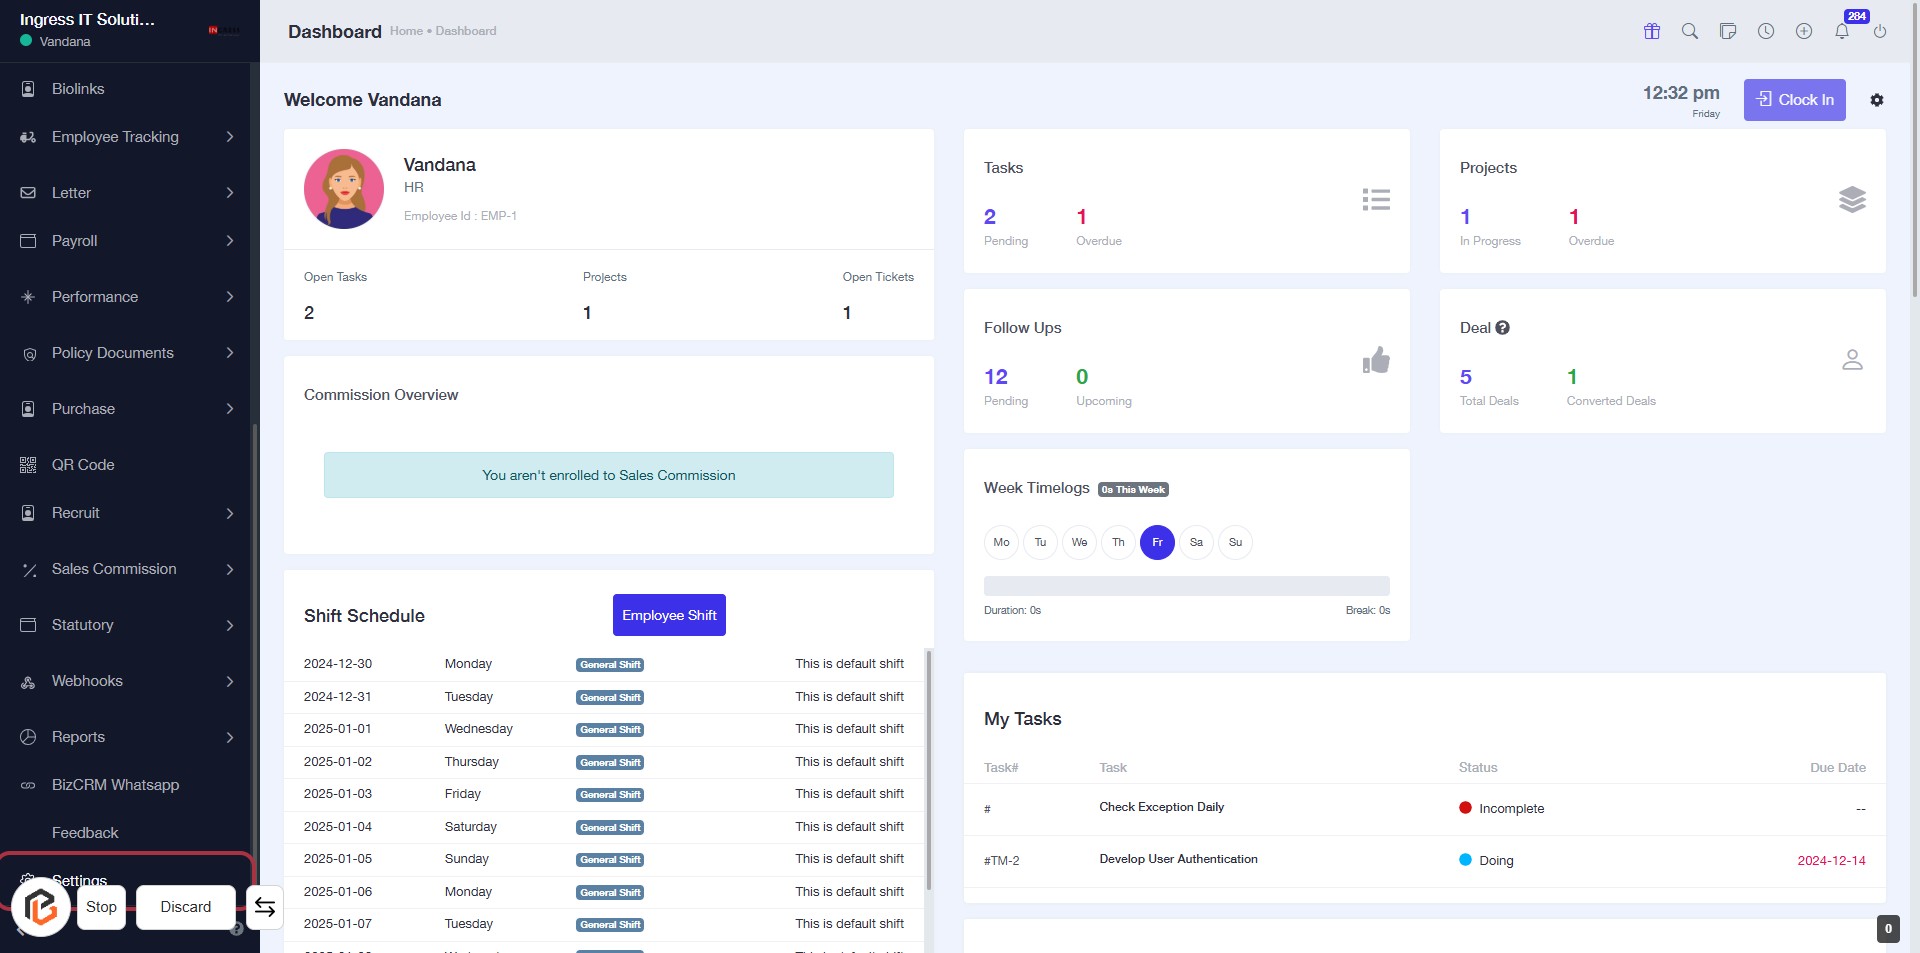
STEP 1: Click on "Settings" to Access Configuration Options
- Navigate to the left sidebar of the dashboard.
- Click on the Settings link to open the settings menu.
- Ensure you are on the Dashboard page before proceeding.
- After clicking, you will be directed to the settings configuration area for further adjustments.
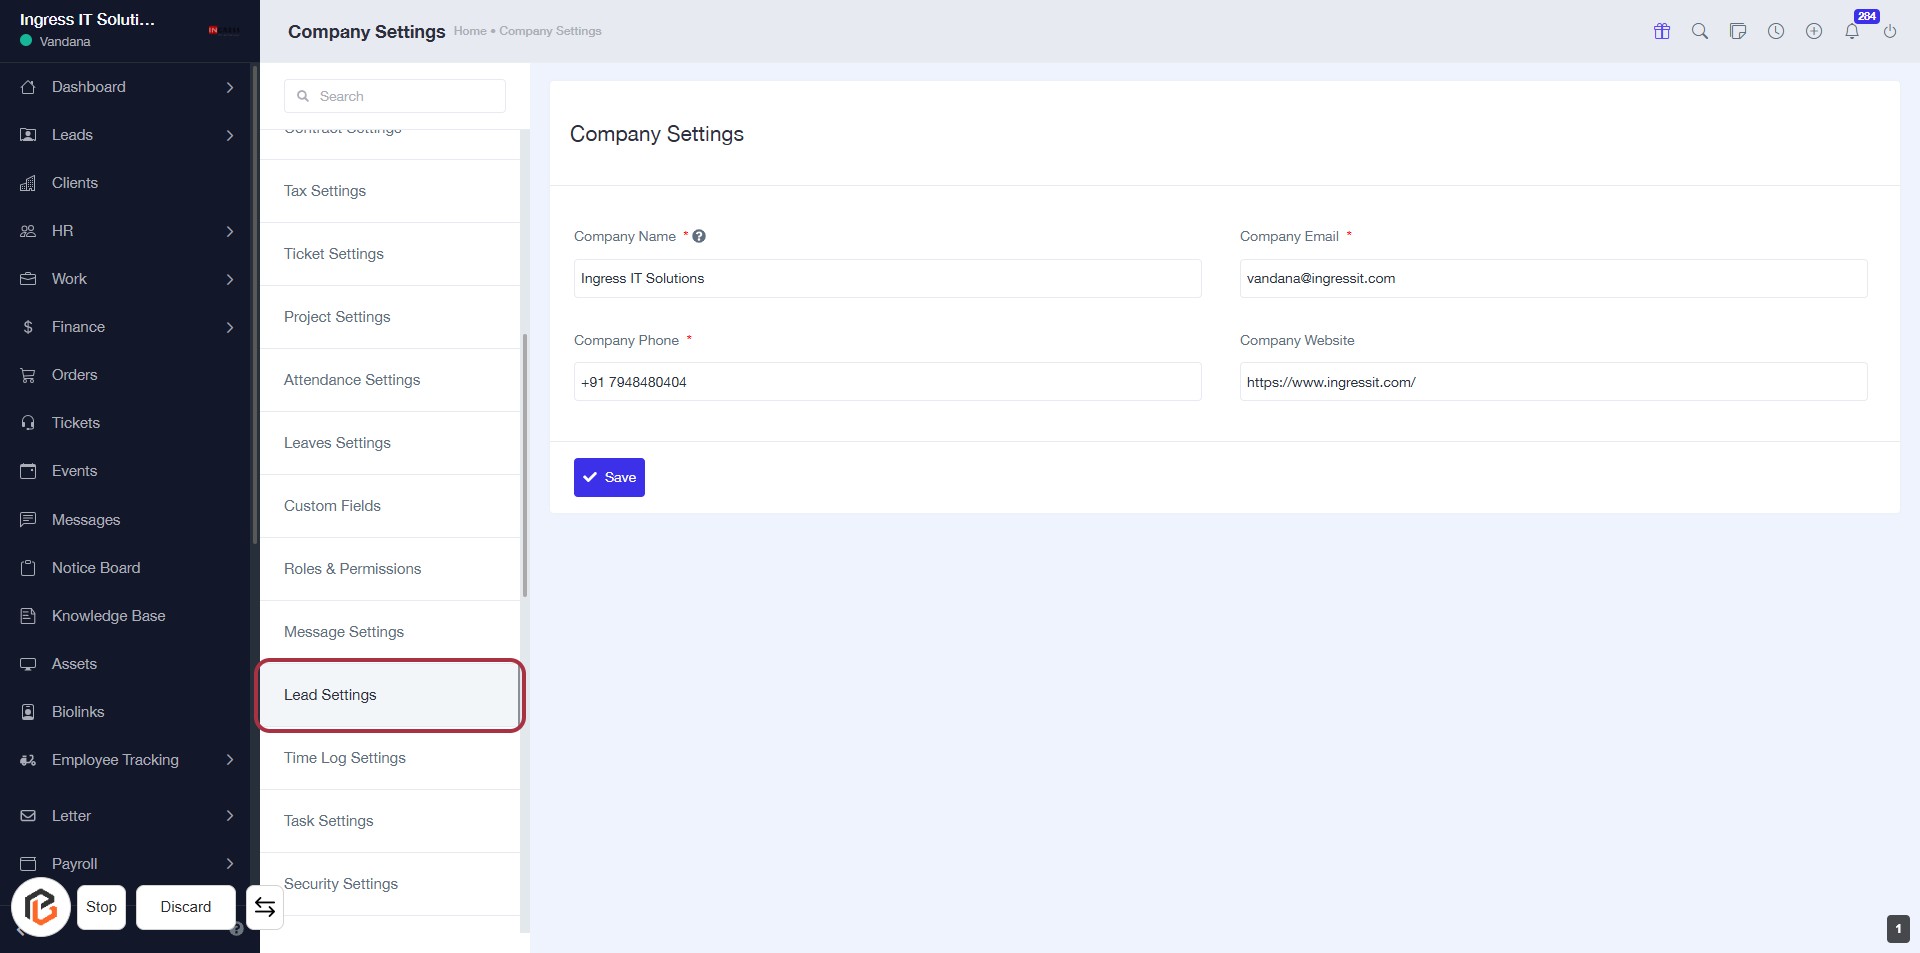
STEP 2: Click on "Lead Settings"
- Navigate to the left sidebar and locate the "Lead Settings" option.
- Click on "Lead Settings" to access the relevant configuration options.
- Ensure you have completed any previous settings as needed.
- Proceed to the next step to select "Deal Category."
STEP 3: Select "Deal Category"
- Click on the "Deal Category" tab in the Lead Settings section.
- This will allow you to view and manage different deal categories.
- Ensure you have the necessary permissions to make changes in this section.
- After selecting, proceed to the next step to add a new deal category.
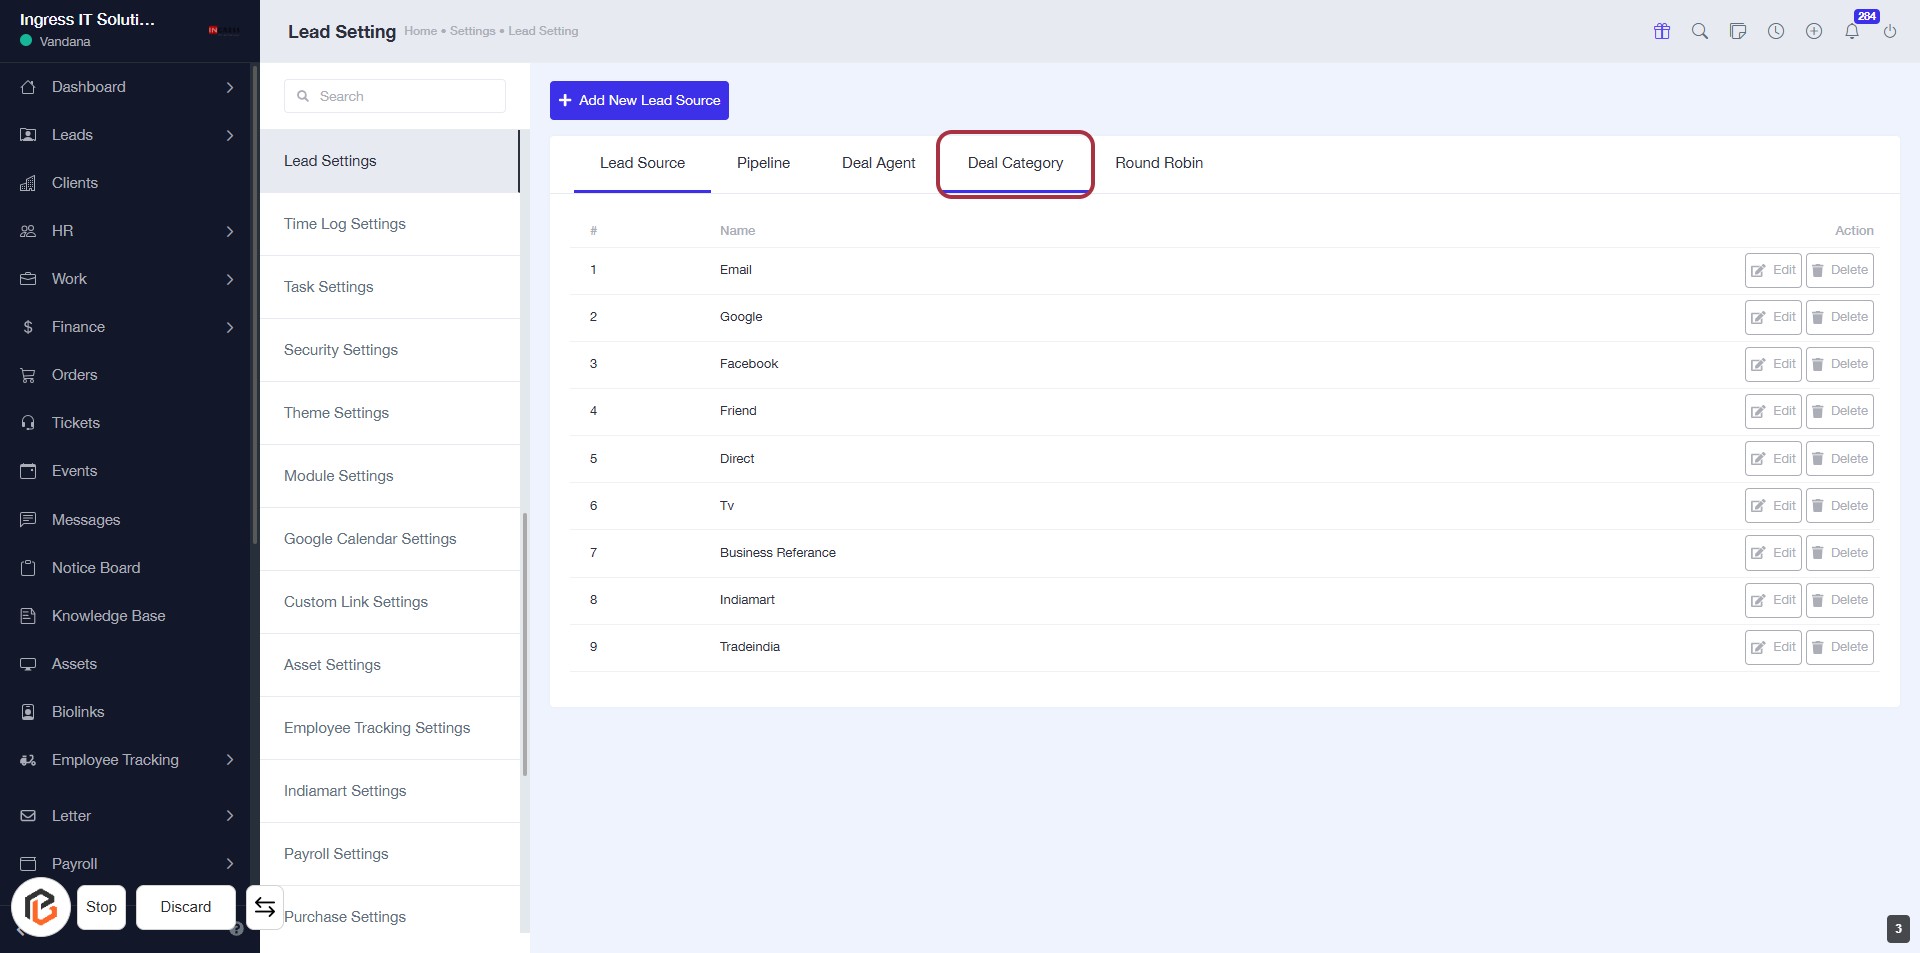
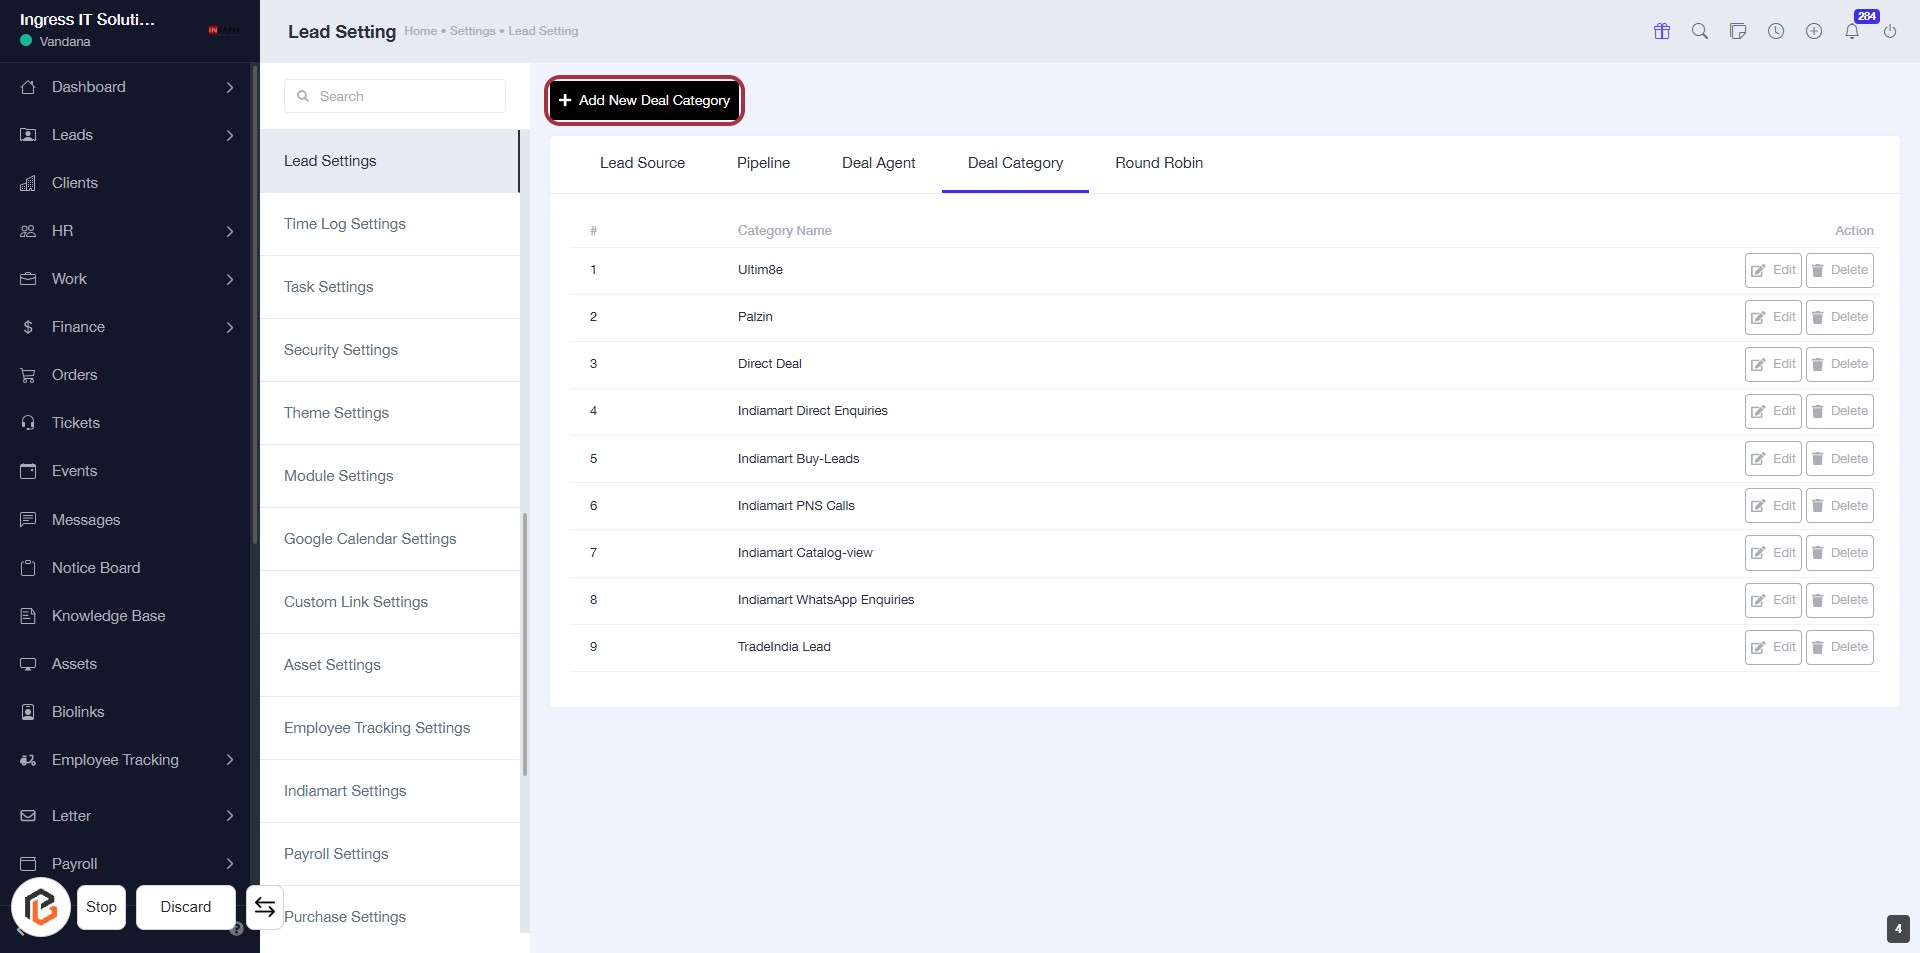
STEP 4: Click on "Add New Deal Category"
- Locate the Add New Deal Category button highlighted in red.
- Click on the button to initiate the process of adding a new deal category.
- Ensure you have the necessary details ready for the next step, which involves selecting a Category Name.
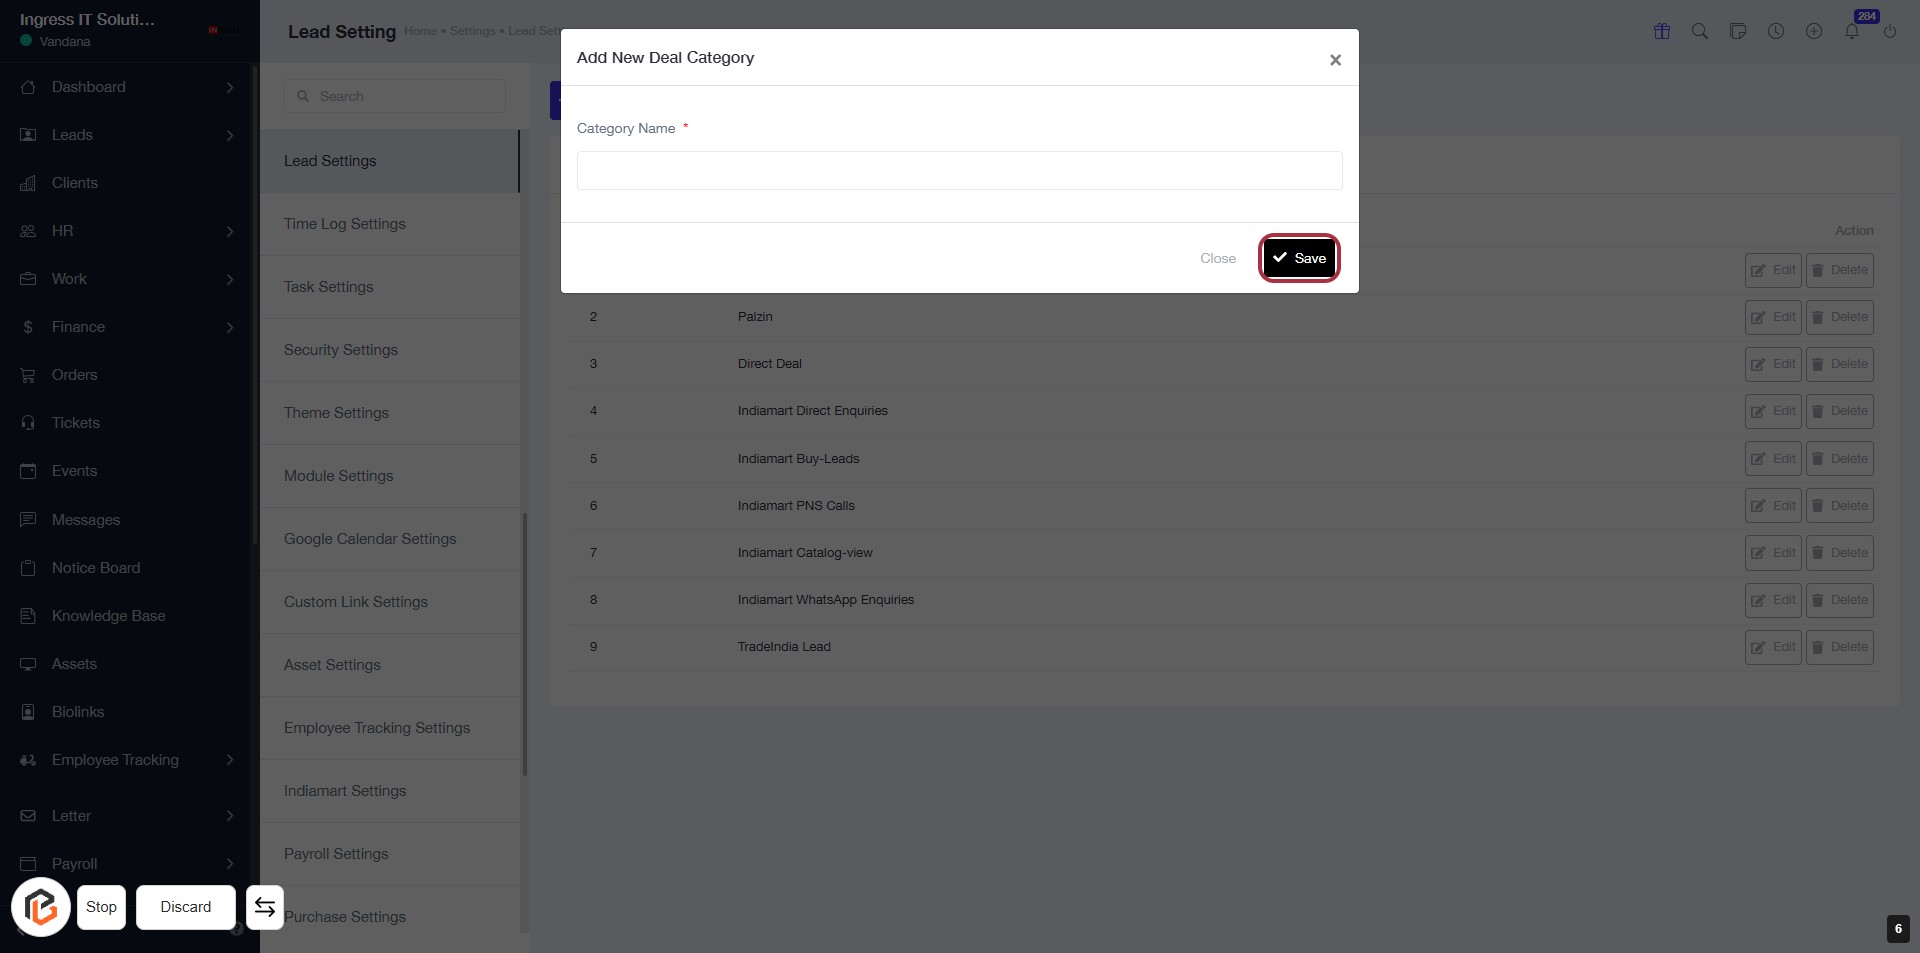
STEP 5: Select "Category Name"
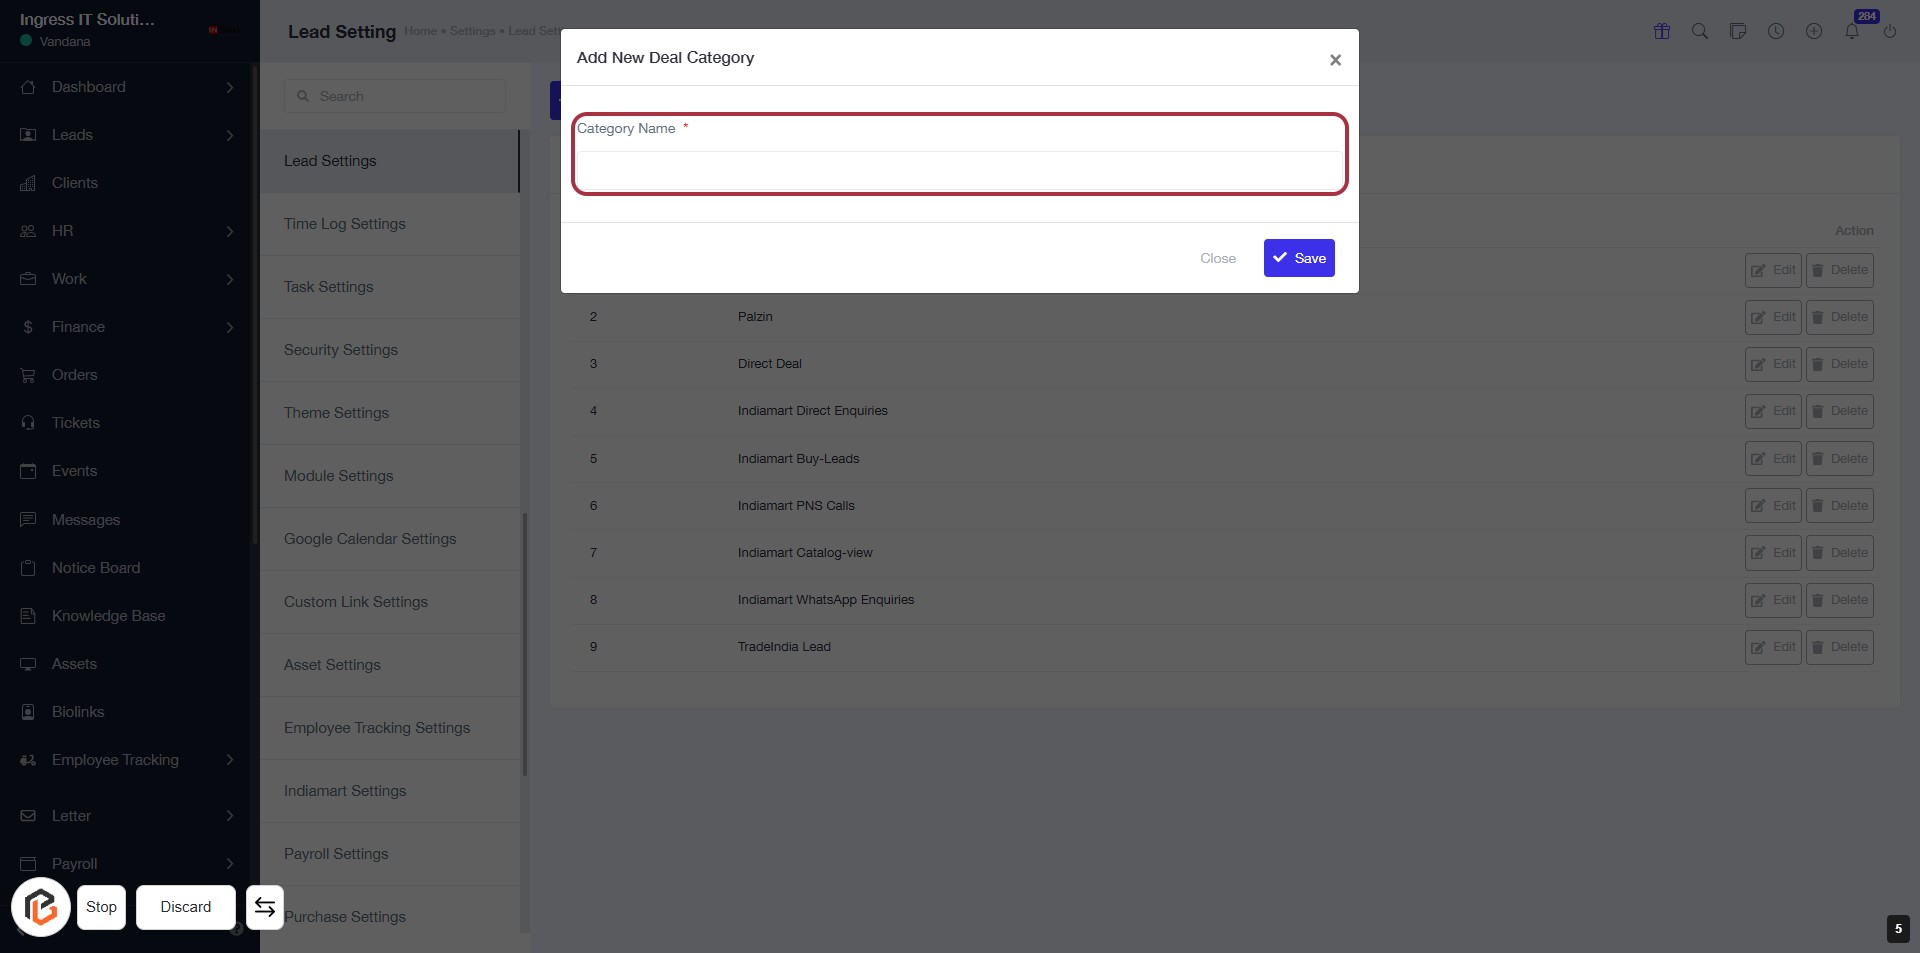
STEP 6: CLICK on "Save Button"