Step-by-Step Guide to Configure Contract Settings and Prefix in Your Dashboard
6 mins read · Updated 29 Sep, 2025
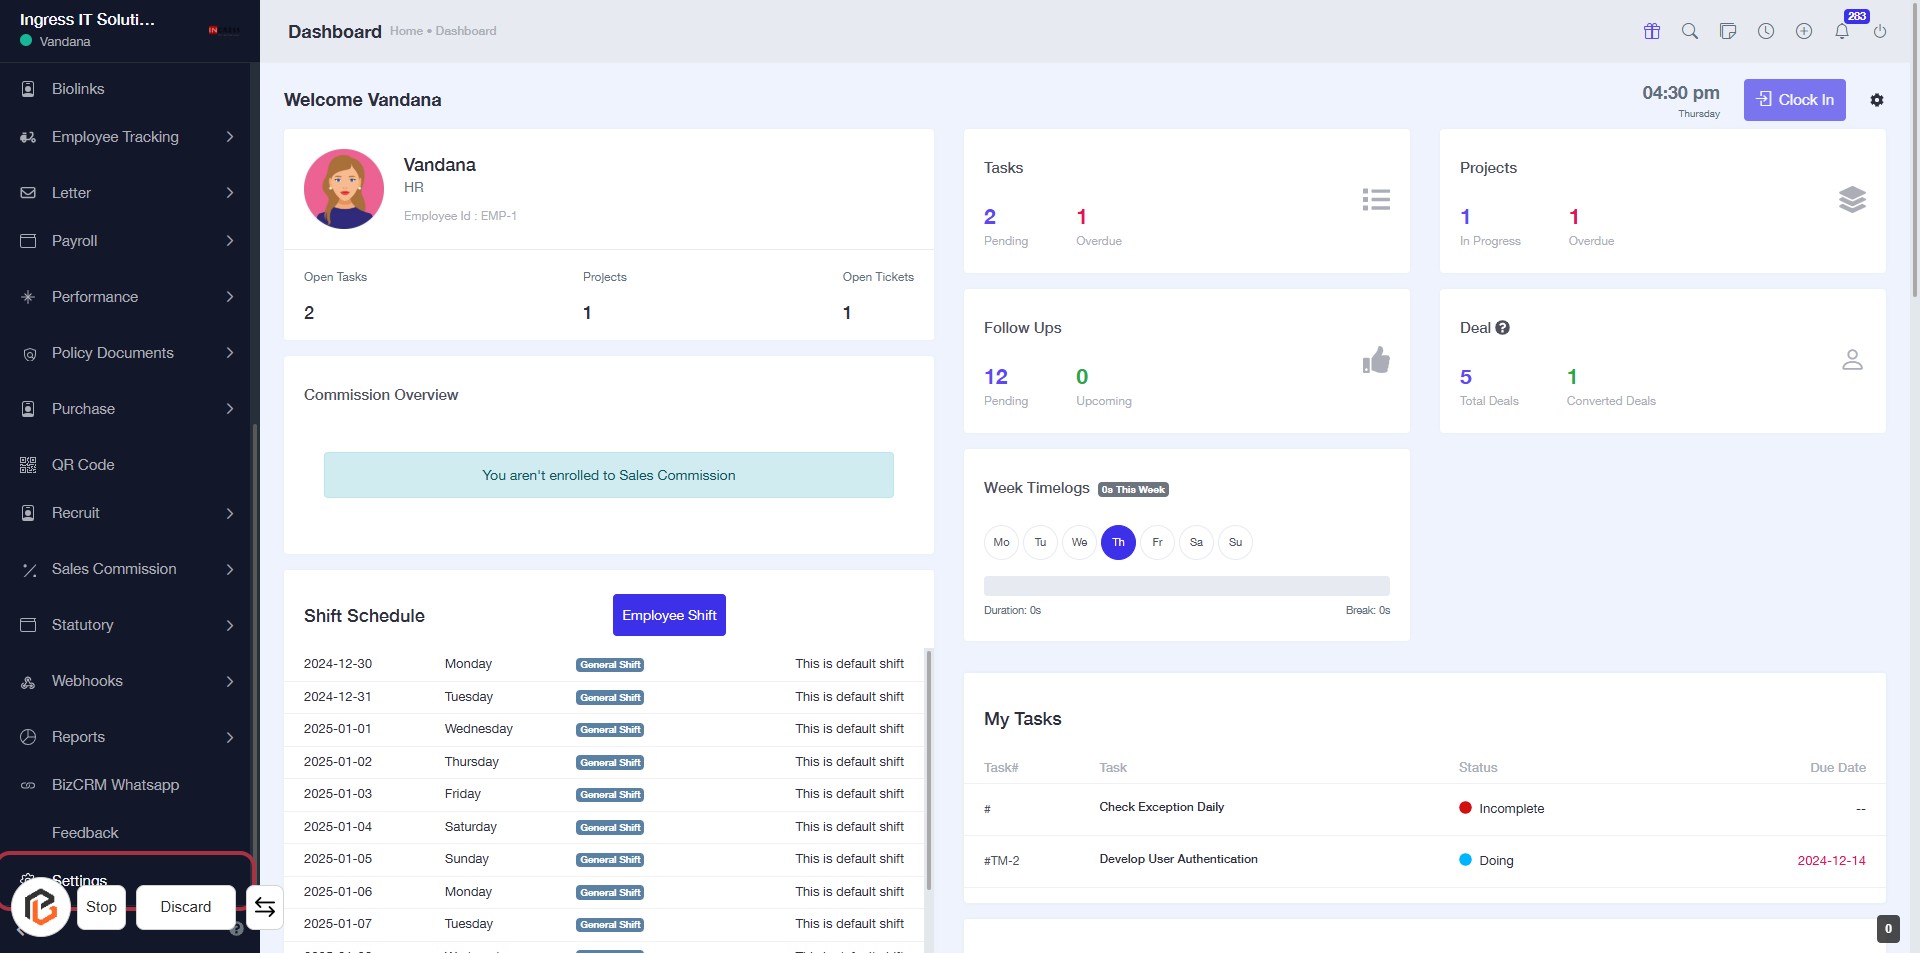
STEP 1: Click on "Settings" to Access Configuration Options
- Navigate to the left sidebar of the dashboard.
- Locate and click on the "Settings" link.
- This action will direct you to the settings configuration page for further adjustments.
Note: Ensure to check for any required fields marked with an asterisk (*) in the subsequent settings forms.
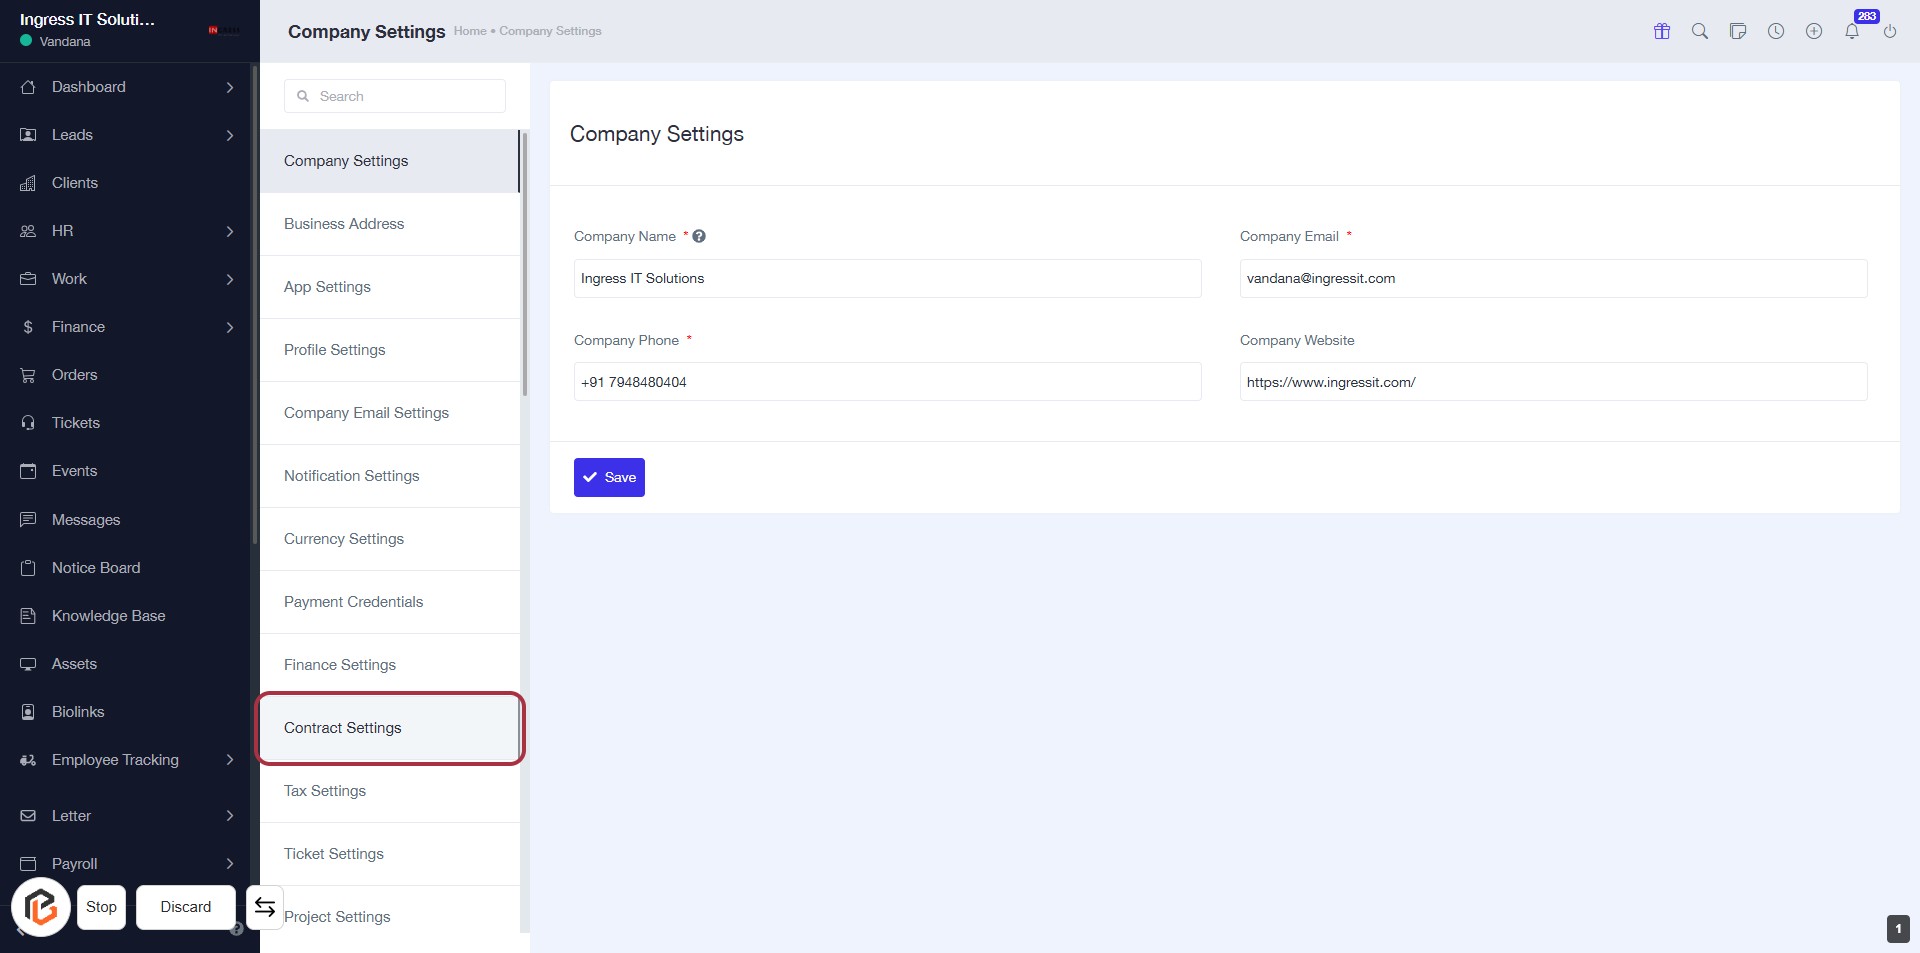
STEP 2: Click on "Contract Settings" to Access Contract Configuration
- Navigate to the left sidebar and locate the Contract Settings option.
- Click on Contract Settings to proceed to the contract configuration page.
- Ensure you have filled in all required fields marked with an asterisk (*).
- After reviewing, you will be ready to enter the Contract Prefix in the next step.
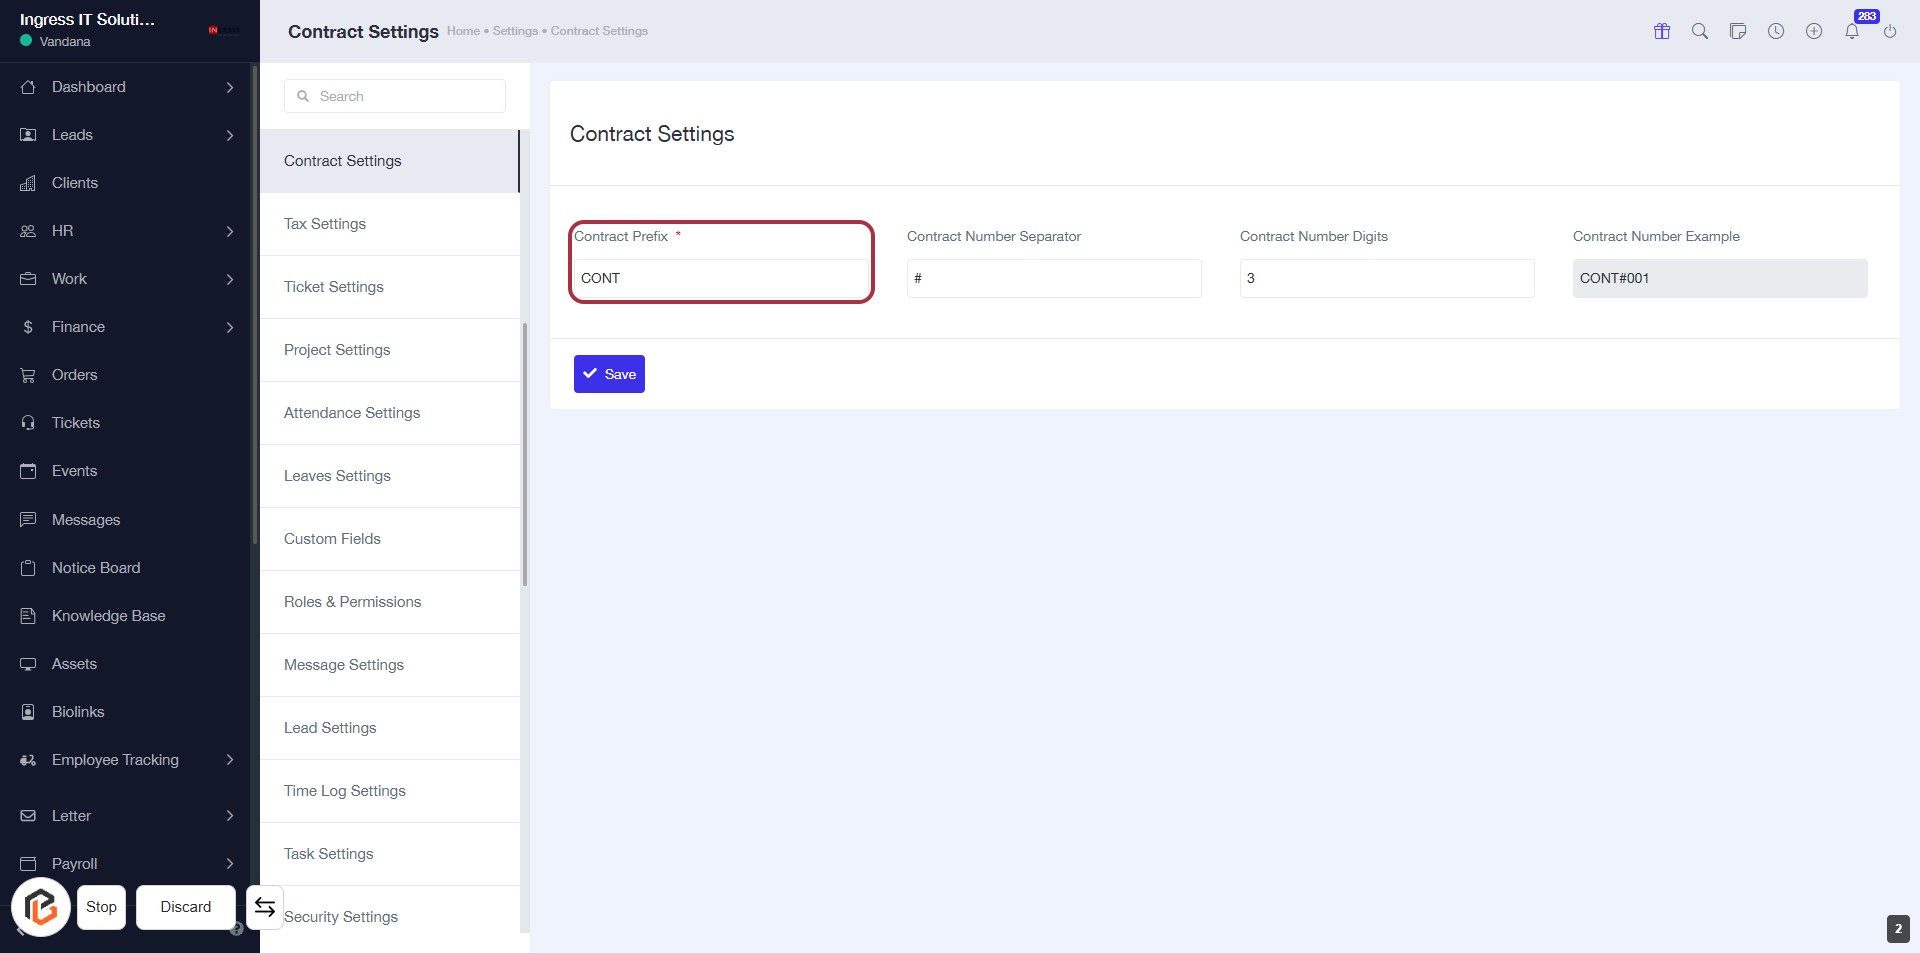
STEP 3: Enter Contract Prefix
- Click on the "Contract Prefix" field highlighted in red.
- Input the desired prefix for your contracts (required field marked with *).
- Ensure the prefix is relevant to your contract numbering system.
- Proceed to the next step by entering the "Contract Number Separator."
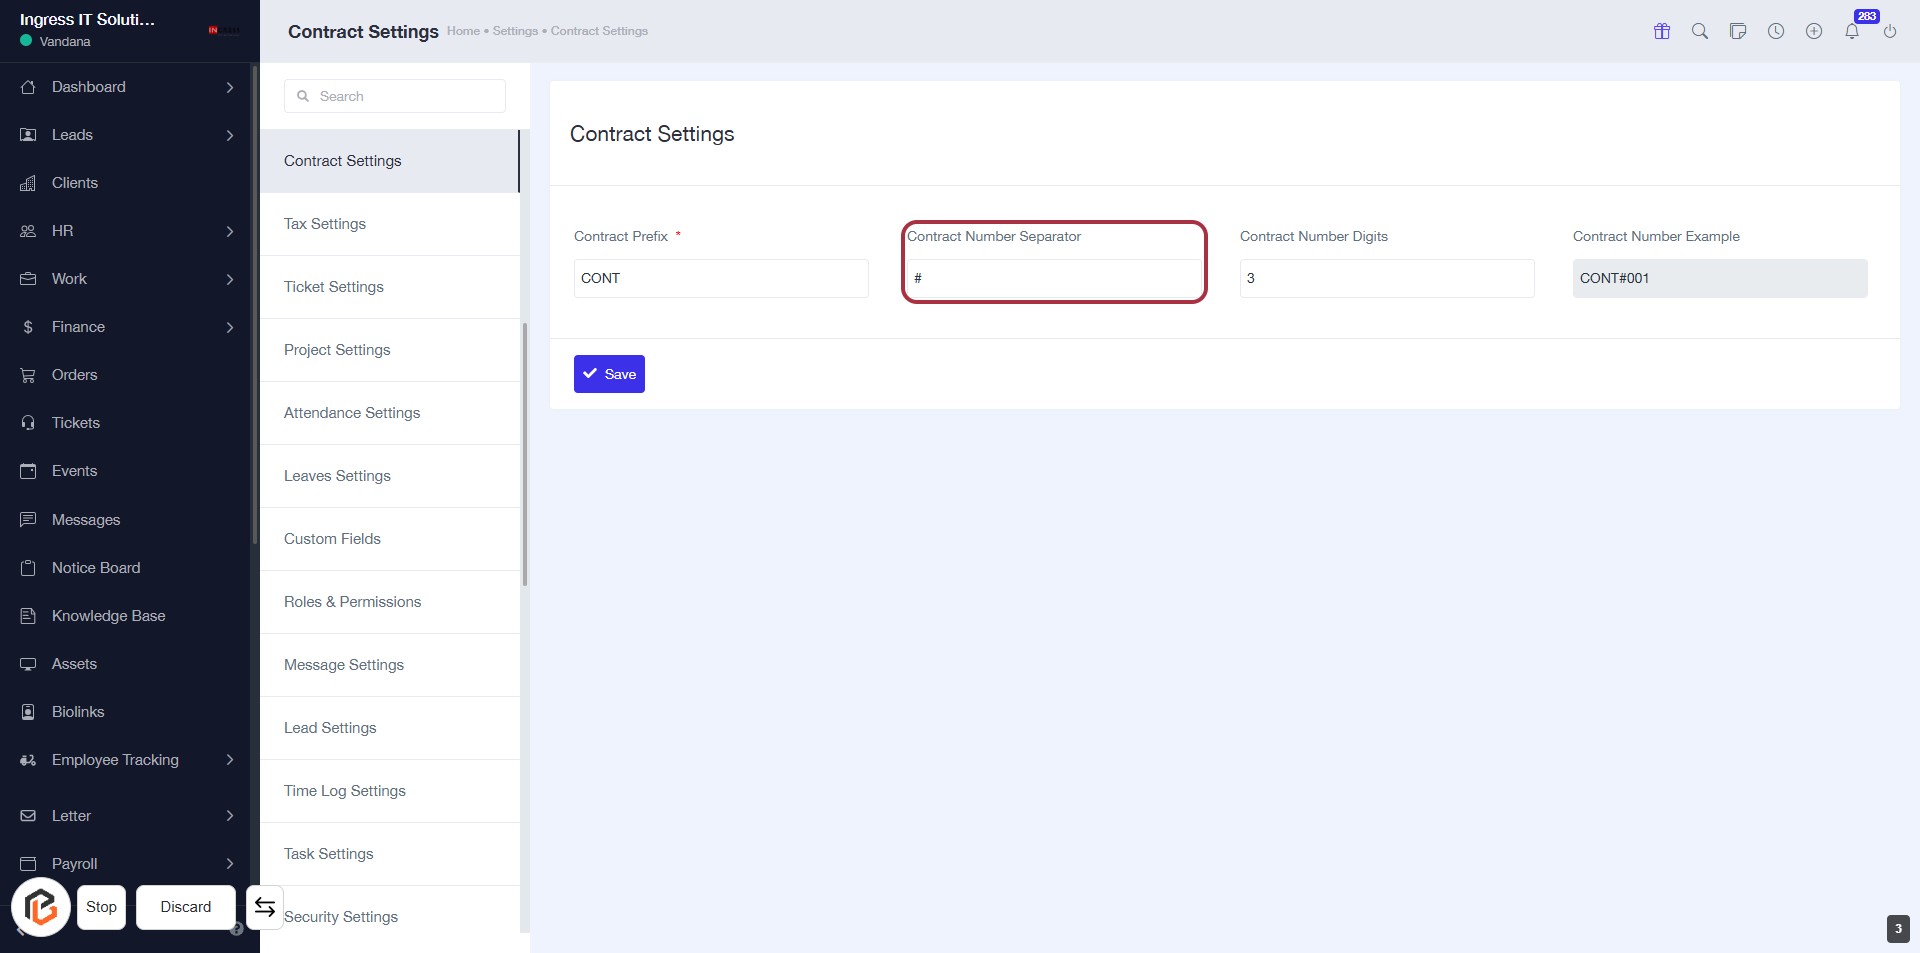
STEP 4: Enter Contract Number Separator
- Click on the "Contract Number Separator" field highlighted in red.
- Input the desired character(s) to separate contract numbers (e.g., "#").
- Ensure the field is filled as it may be required for proper contract formatting.
- Proceed to the next step to enter "Contract Number Digits".
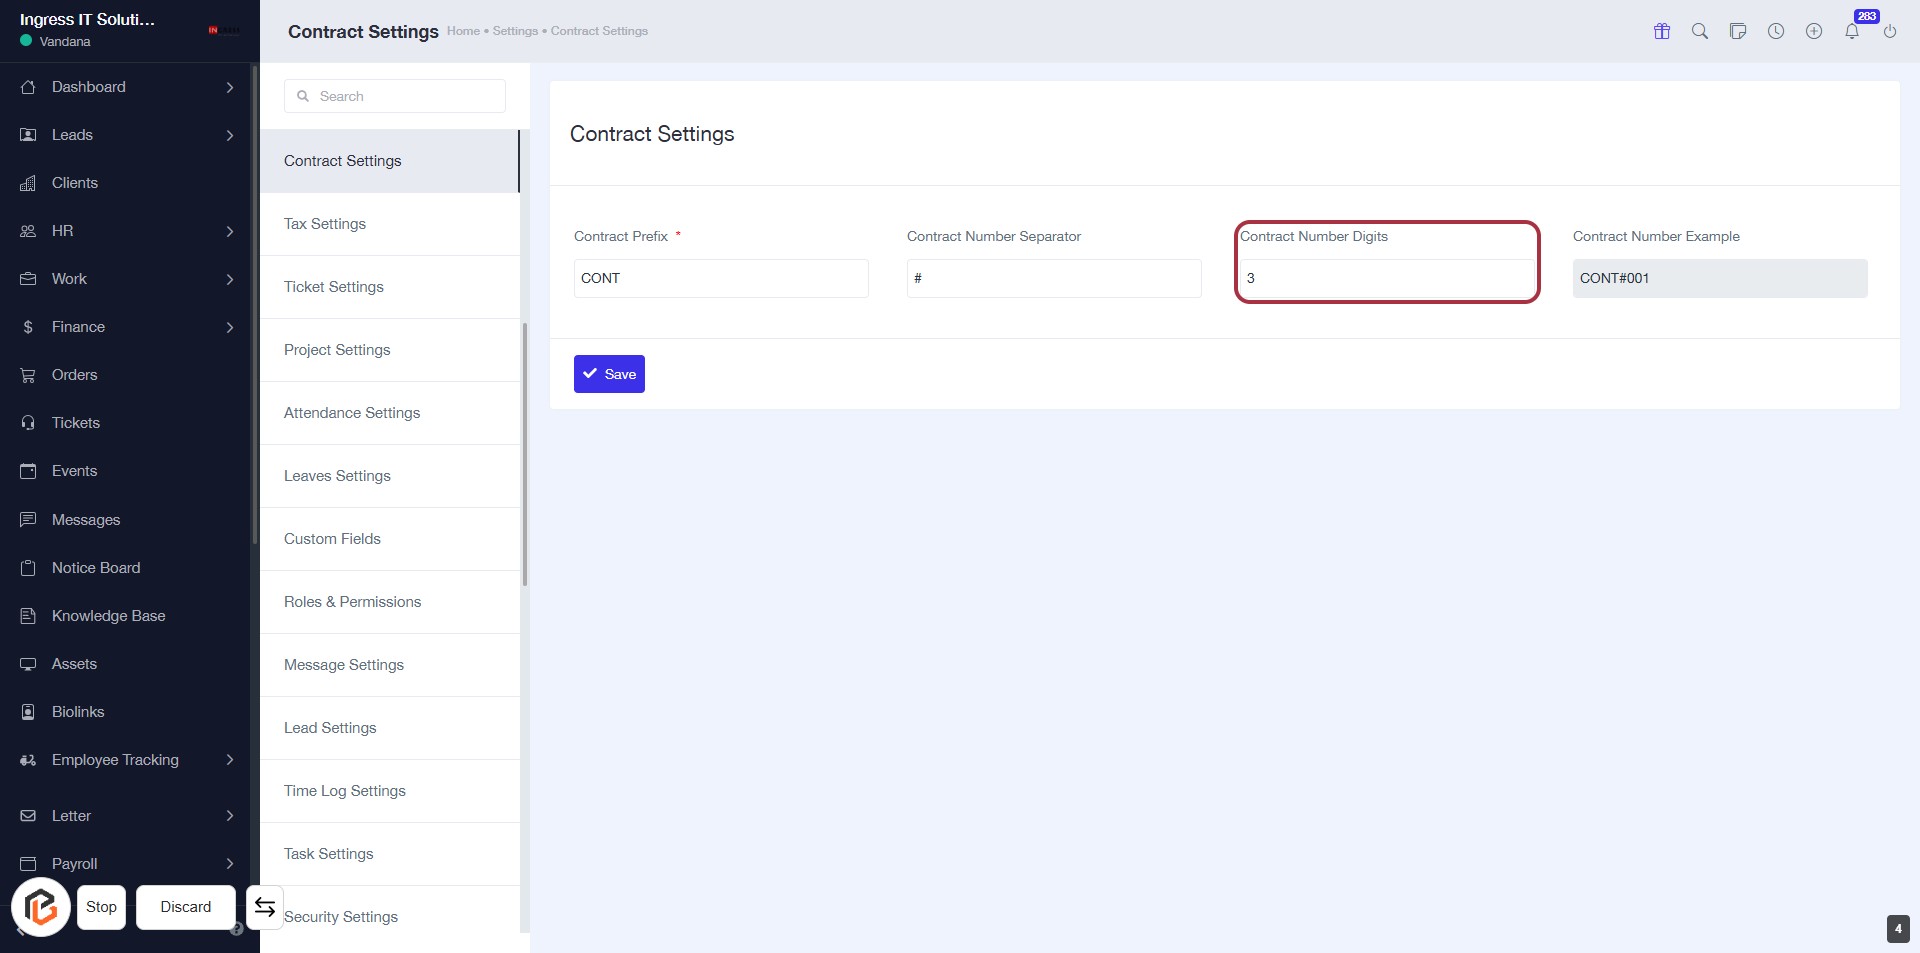
STEP 5: Enter Contract Number Digits
- Click on the "Contract Number Digits" field highlighted in red.
- Input the desired number of digits for the contract number.
- Ensure that the field is filled as required (indicated by the asterisk).
- Proceed to the next step by clicking the "Save" button.
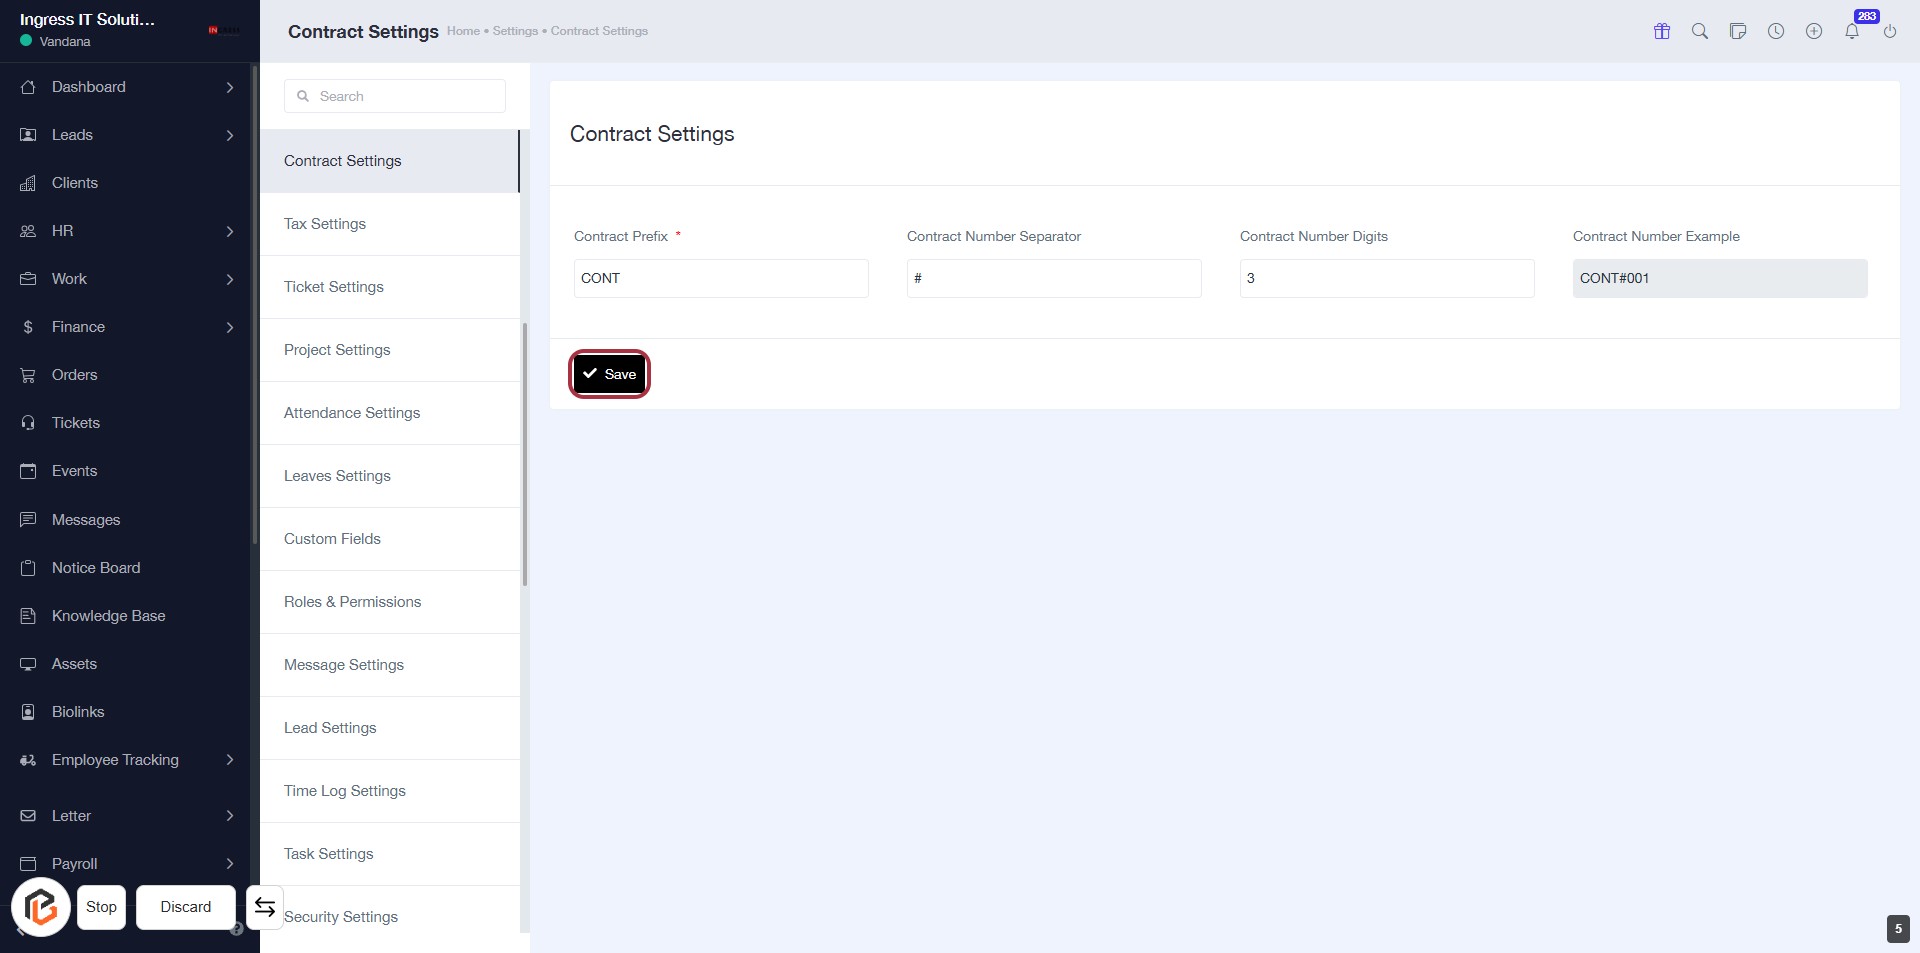
STEP 6: Click on "Save" to Finalize Contract Settings
- Ensure all required fields (marked with *) are filled:
- Contract Prefix
- Contract Number Separator
- Contract Number Digits
- Locate the "Save" button highlighted in red.
- Click the "Save" button to save your settings.