Step-by-Step Guide to Configure BizCRM WhatsApp Integration Settings
11 mins read · Updated 29 Sep, 2025
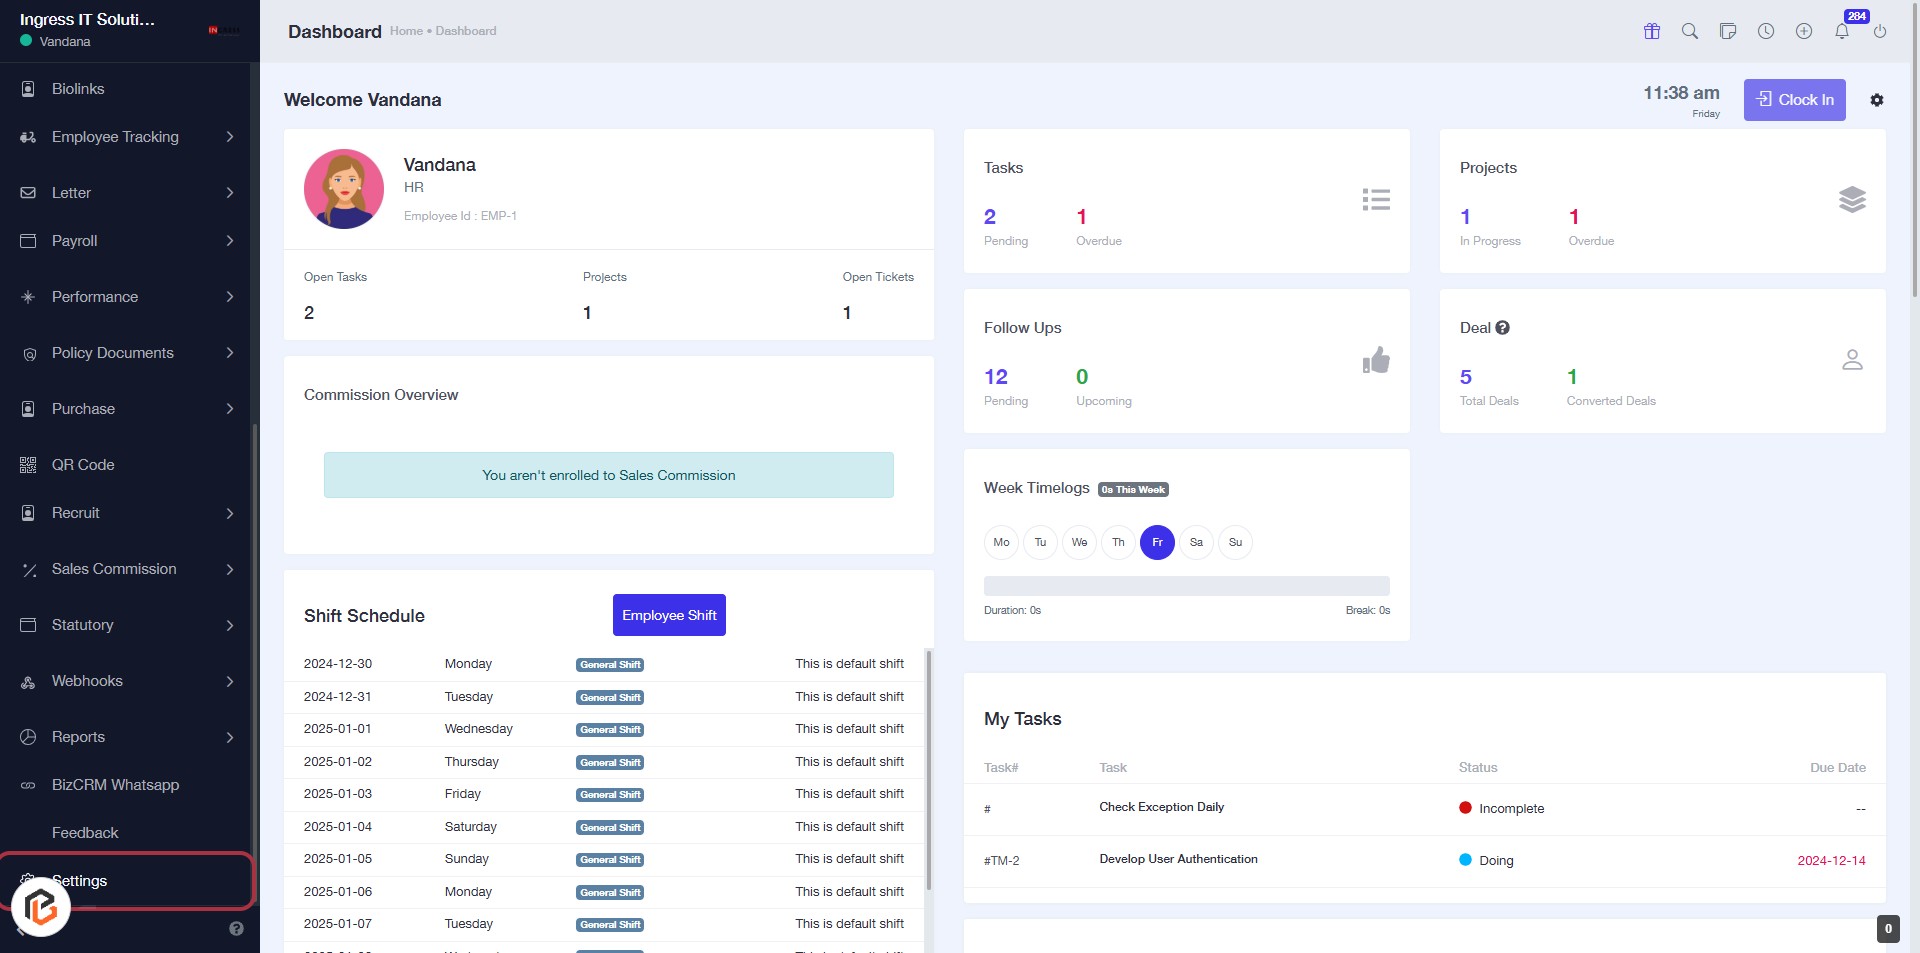
STEP 1: Click on "Settings" in the BizCRM Dashboard
- Navigate to the left sidebar of the dashboard.
- Locate and click on the "Settings" option highlighted in red.
- This will take you to the settings configuration page for further adjustments.
Make sure to follow the next step to access "BizCRM WhatsApp Settings."
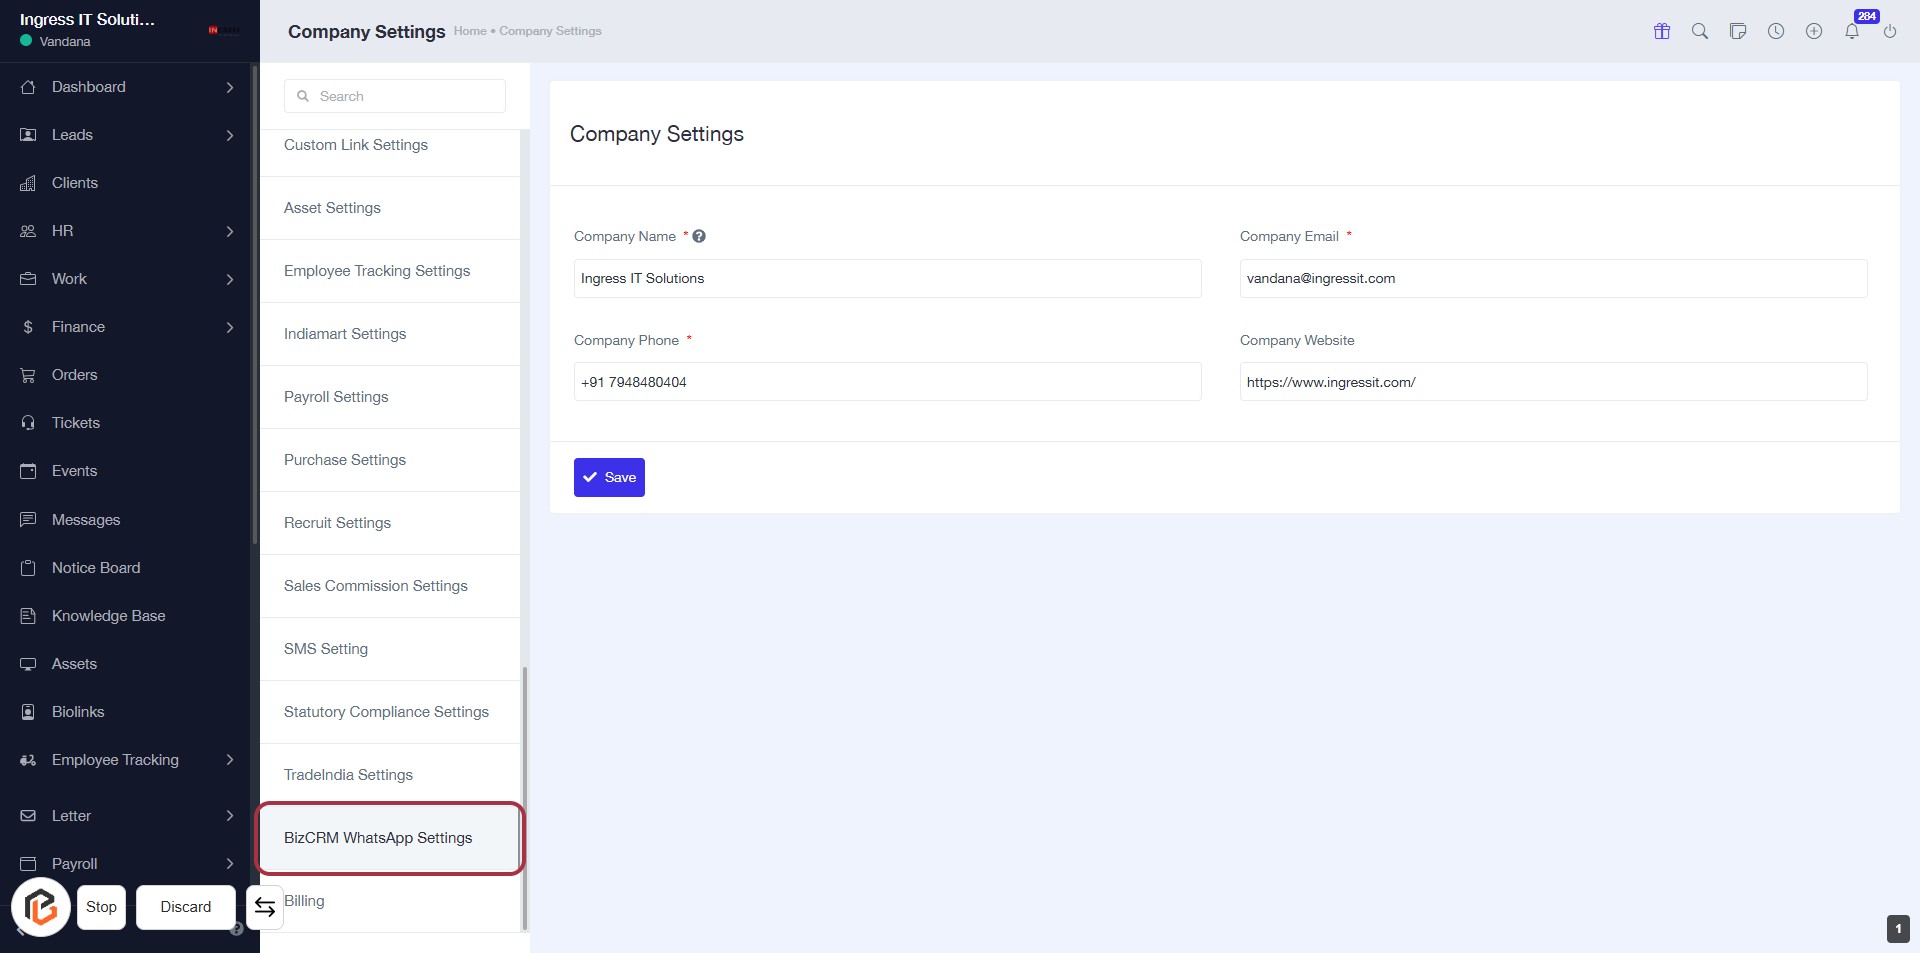
STEP 2: Click on "BizCRM WhatsApp Settings"
- Navigate to the Company Settings page.
- Locate and click on BizCRM WhatsApp Settings in the left sidebar.
- Ensure all required fields marked with an asterisk (*) are filled out.
- Proceed to the next step for further configuration.
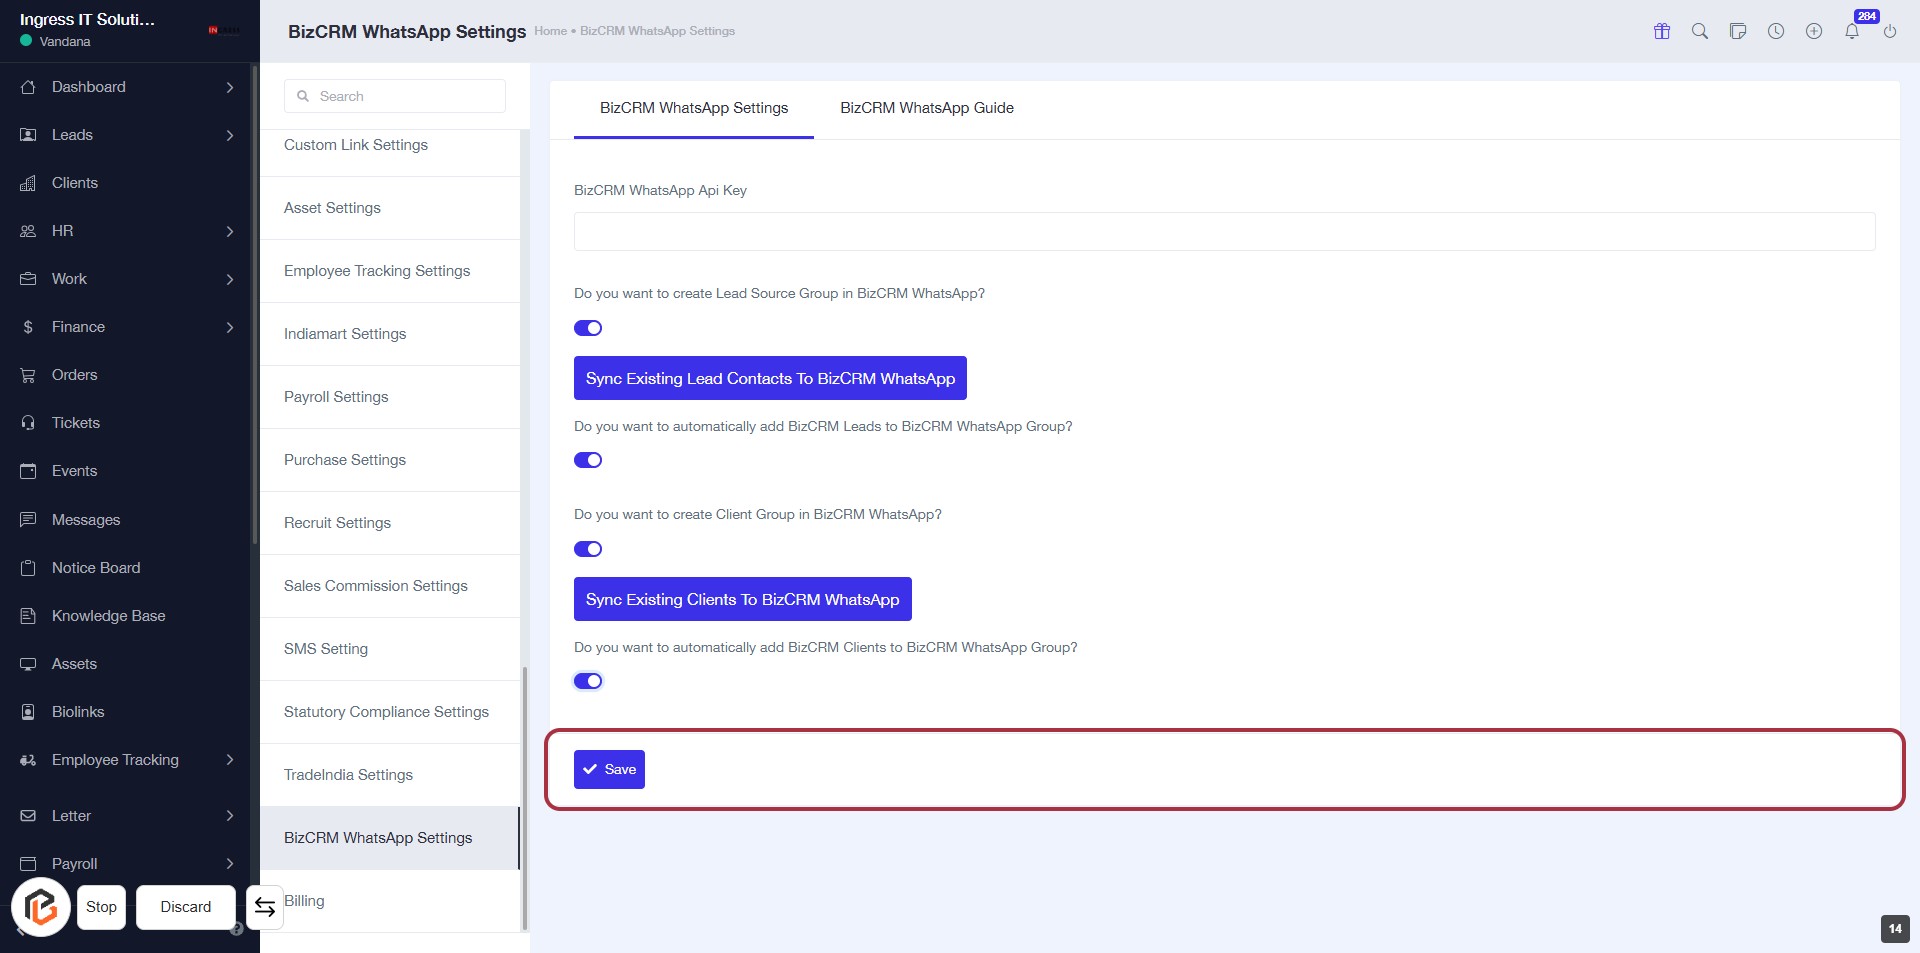
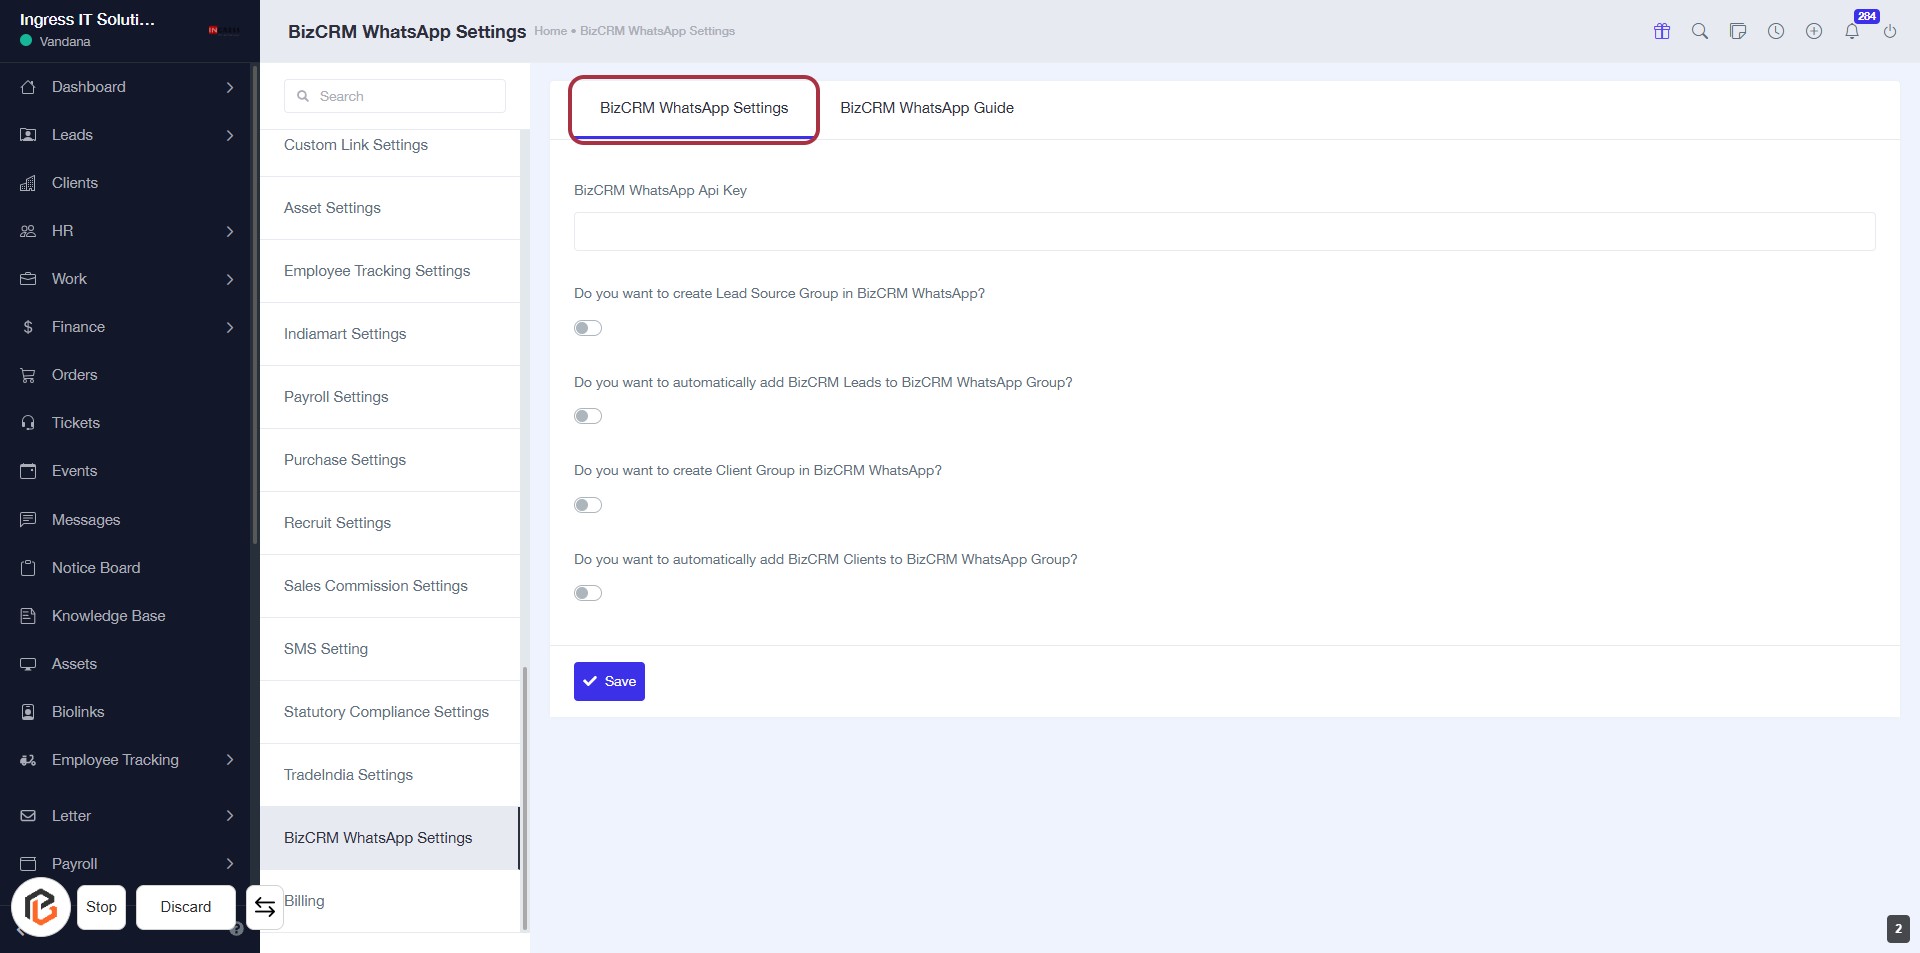
STEP 3: Select BizCRM WhatsApp Settings
- Click on the BizCRM WhatsApp Settings tab to access the configuration options.
- Review the settings available, including toggles for creating lead source groups and adding clients to WhatsApp groups.
- Ensure to fill in the required fields marked with an asterisk (*) for proper configuration.
- Proceed to enter the BizCRM WhatsApp Api Key in the next step.
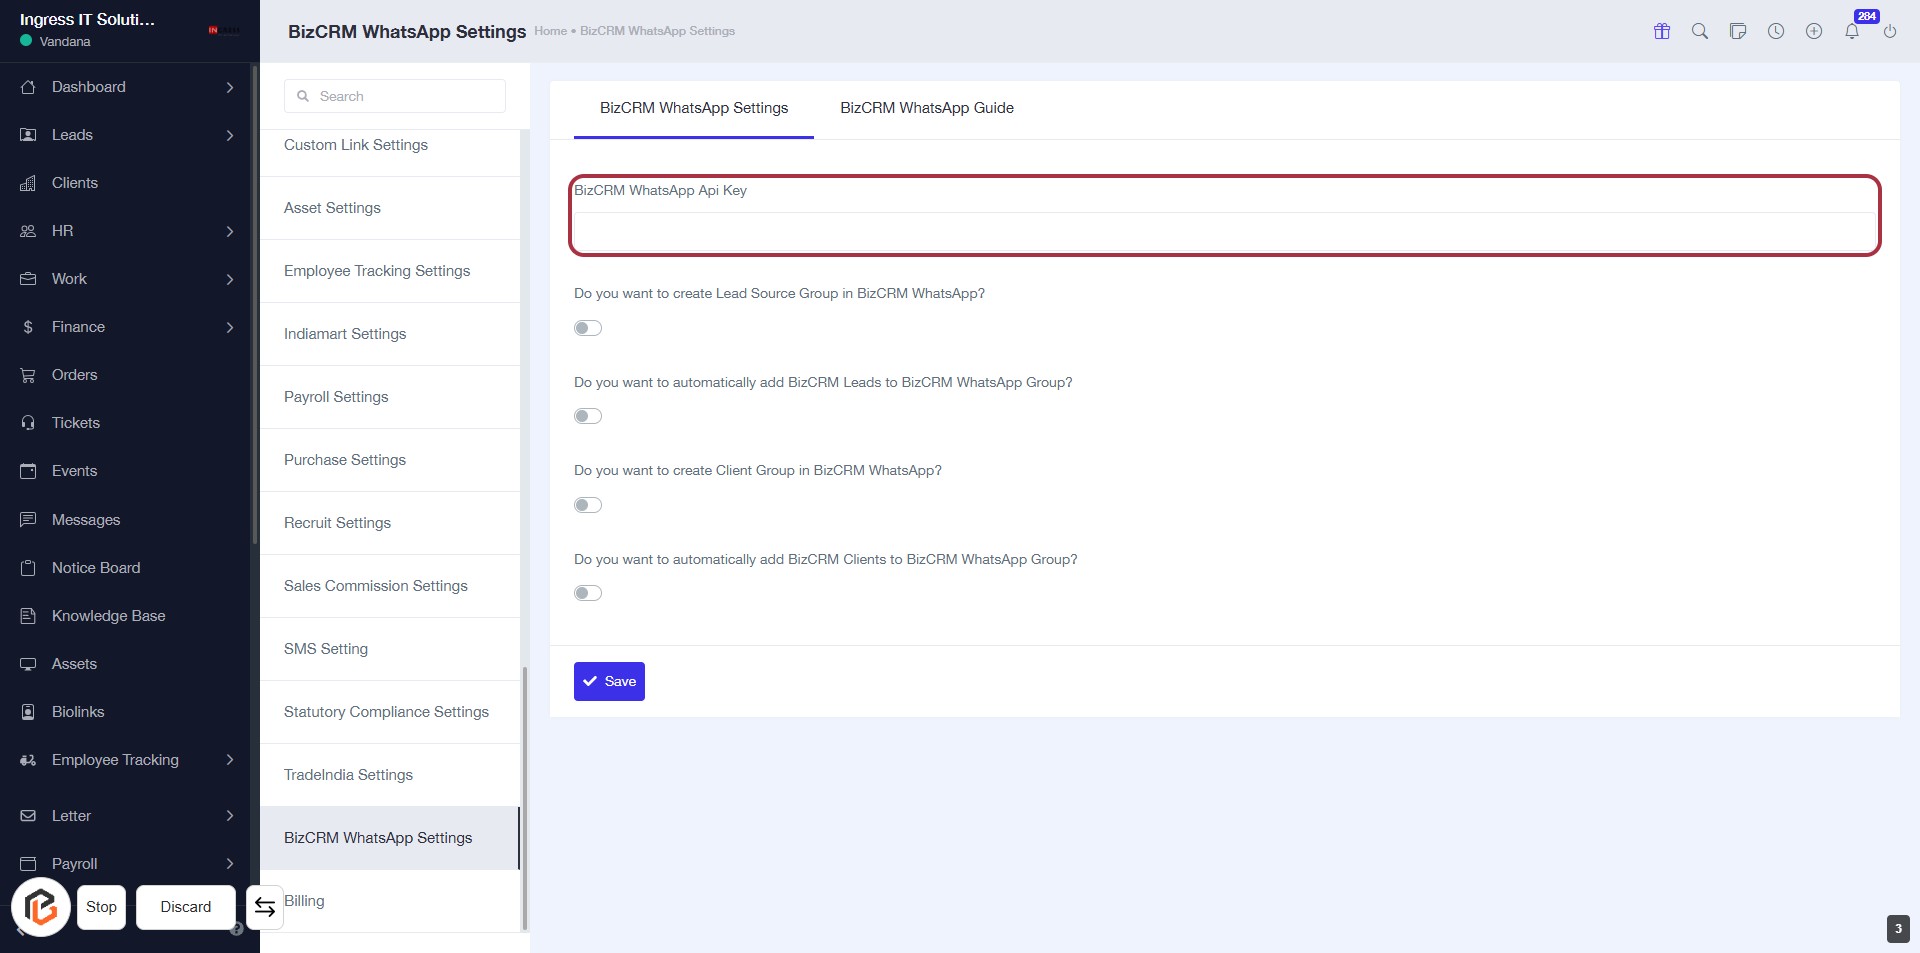
STEP 4: Enter BizCRM WhatsApp Api Key
- Click on the "BizCRM WhatsApp Api Key" field to input your API key.
- Ensure the field is filled correctly as it is essential for WhatsApp integration.
- Review other settings below for additional configurations.
- Save your changes after entering the API key.
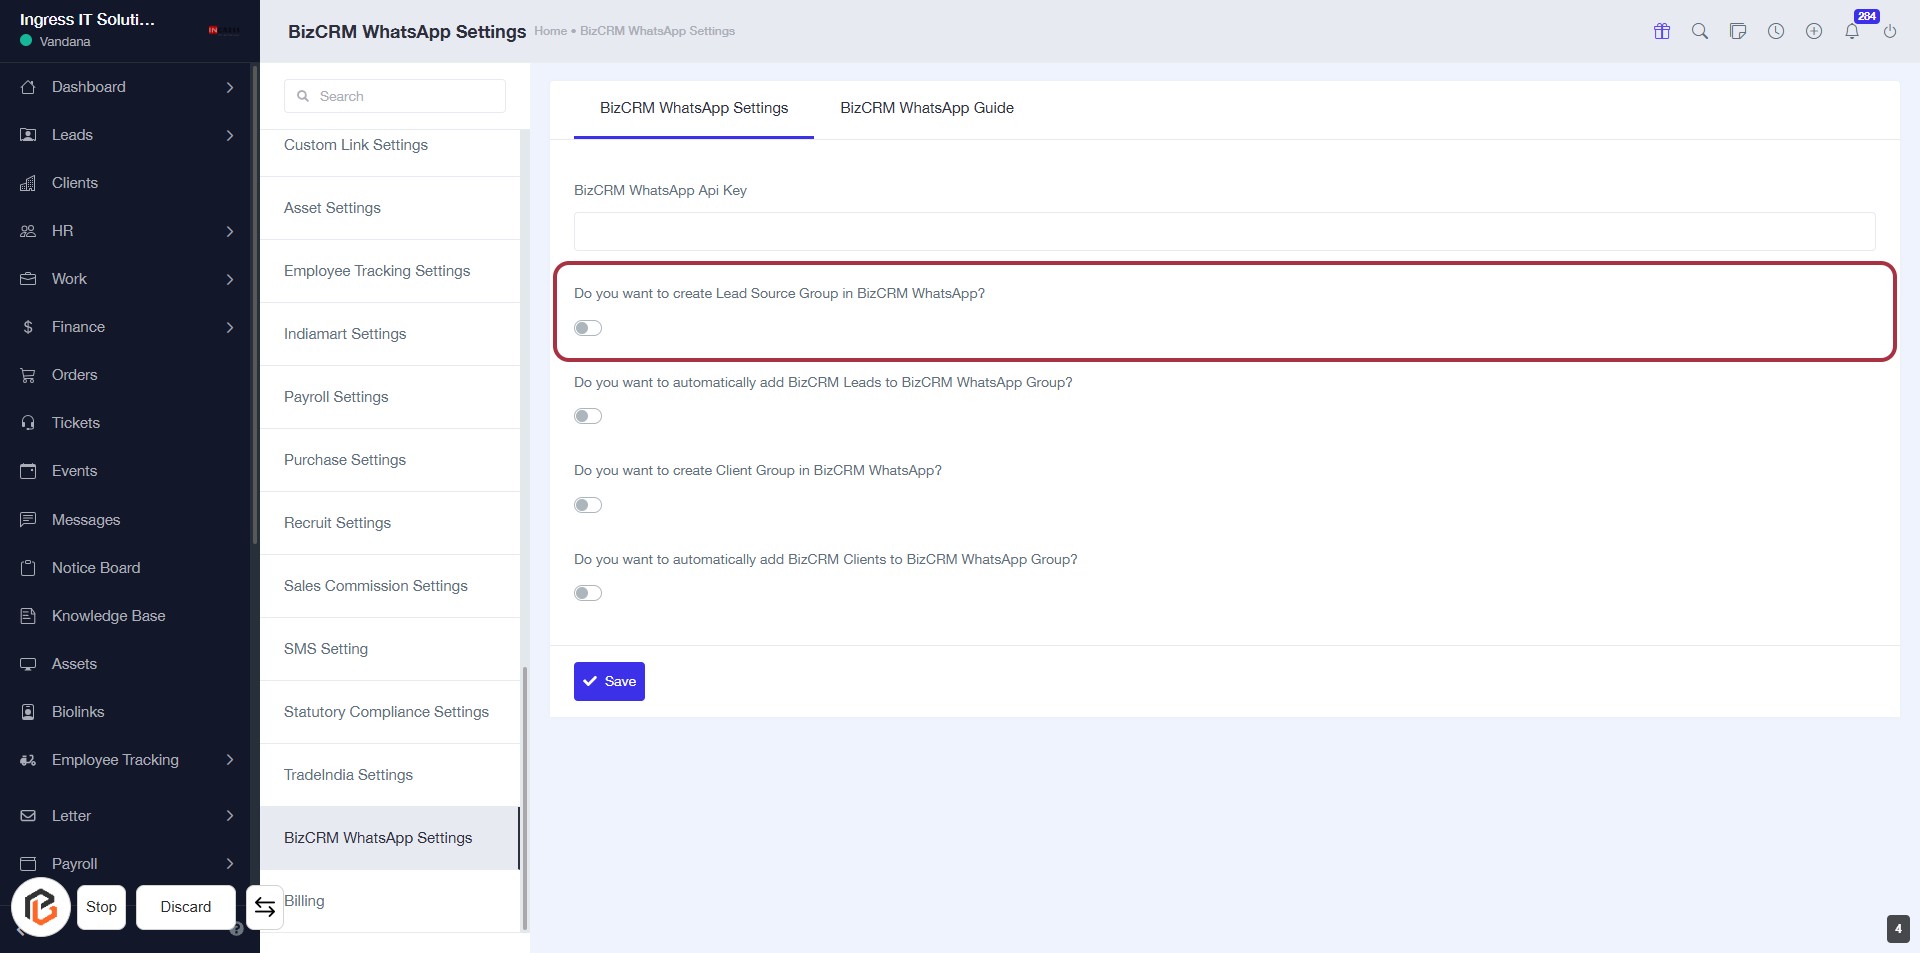
STEP 5: Turn on "Do you want to create Lead Source Group in BizCRM WhatsApp"
- Click on the toggle next to "Do you want to create Lead Source Group in BizCRM WhatsApp?" to enable this feature.
- Ensure the toggle is set to the 'on' position to create a lead source group.
- Review other related options below for additional settings.
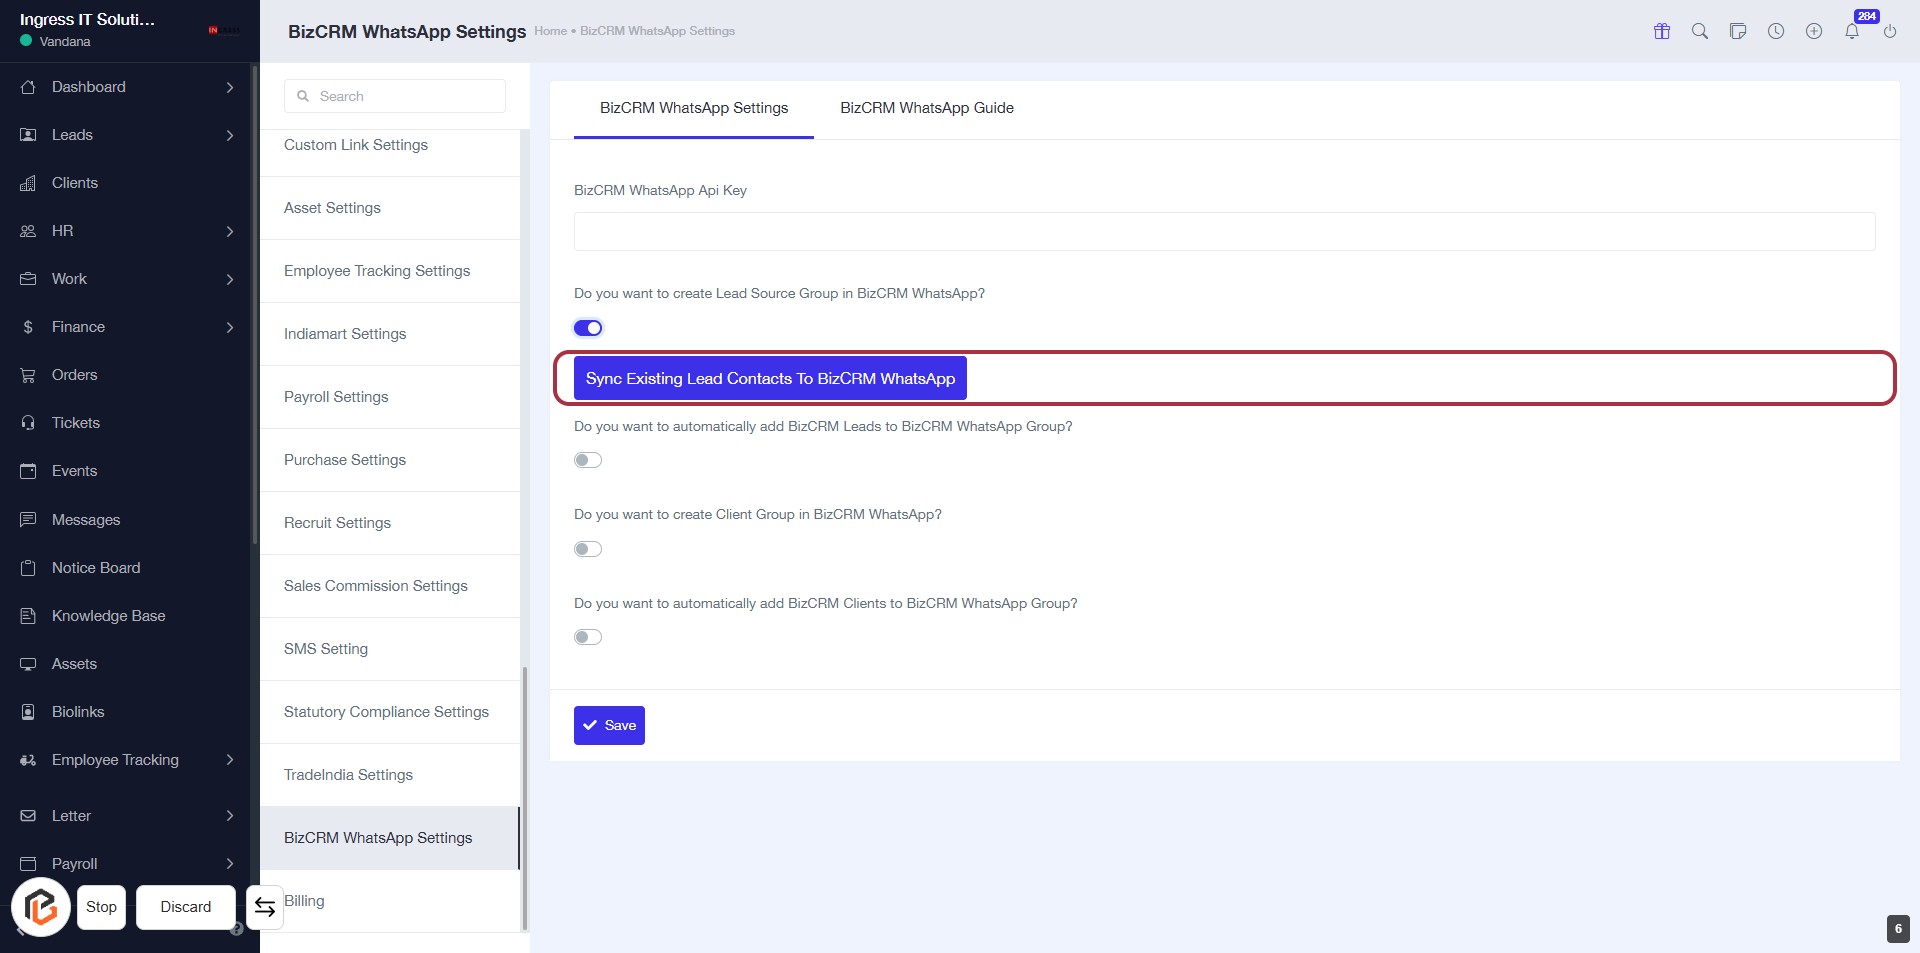
STEP 6: Click on "Sync Existing Lead Contacts to BizCRM WhatsApp"
- Navigate to the BizCRM WhatsApp Settings page.
- Locate the highlighted option: Sync Existing Lead Contacts to BizCRM WhatsApp.
- Click on this option to initiate the synchronization process.
- Ensure any required settings are configured before proceeding.
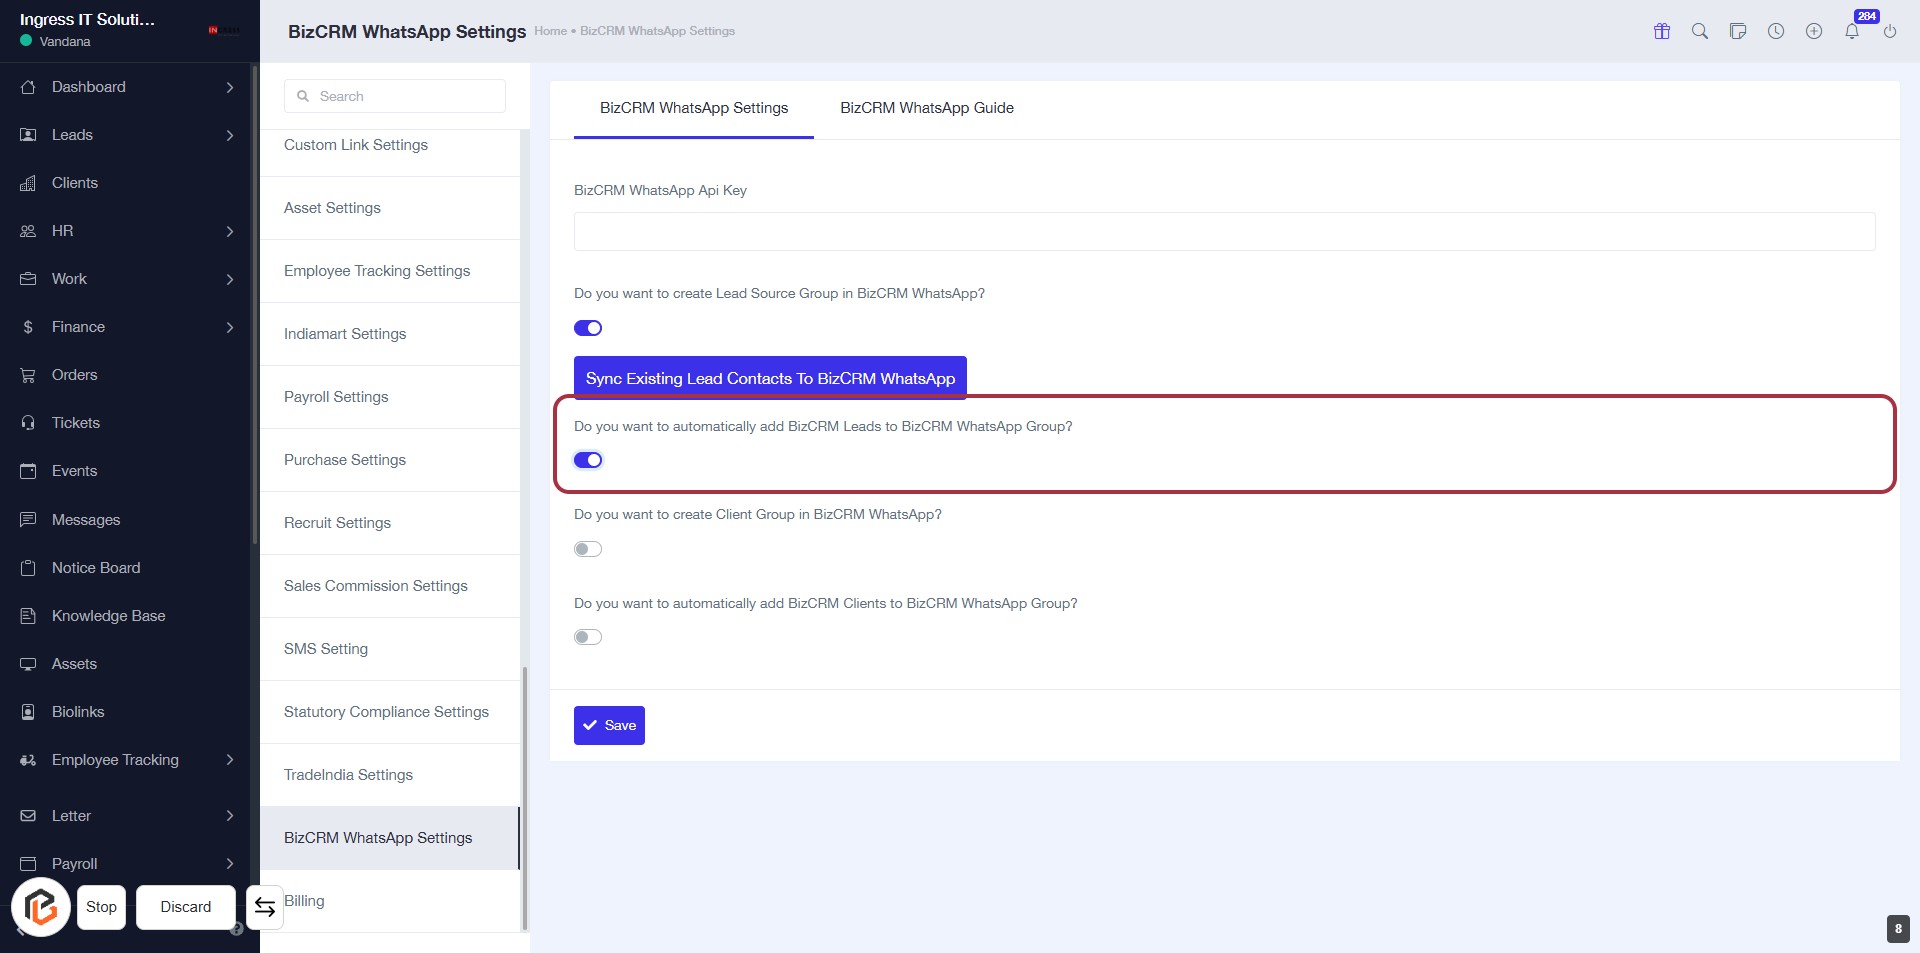
STEP 7: Turn on "Do you want to automatically add BizCRM Leads to BizCRM WhatsApp group?"
- Click on the toggle next to "Do you want to automatically add BizCRM Leads to BizCRM WhatsApp Group?" to enable this feature.
- Ensure the toggle is set to the "on" position (usually indicated by a color change).
- This setting allows automatic addition of leads to the WhatsApp group, streamlining communication.
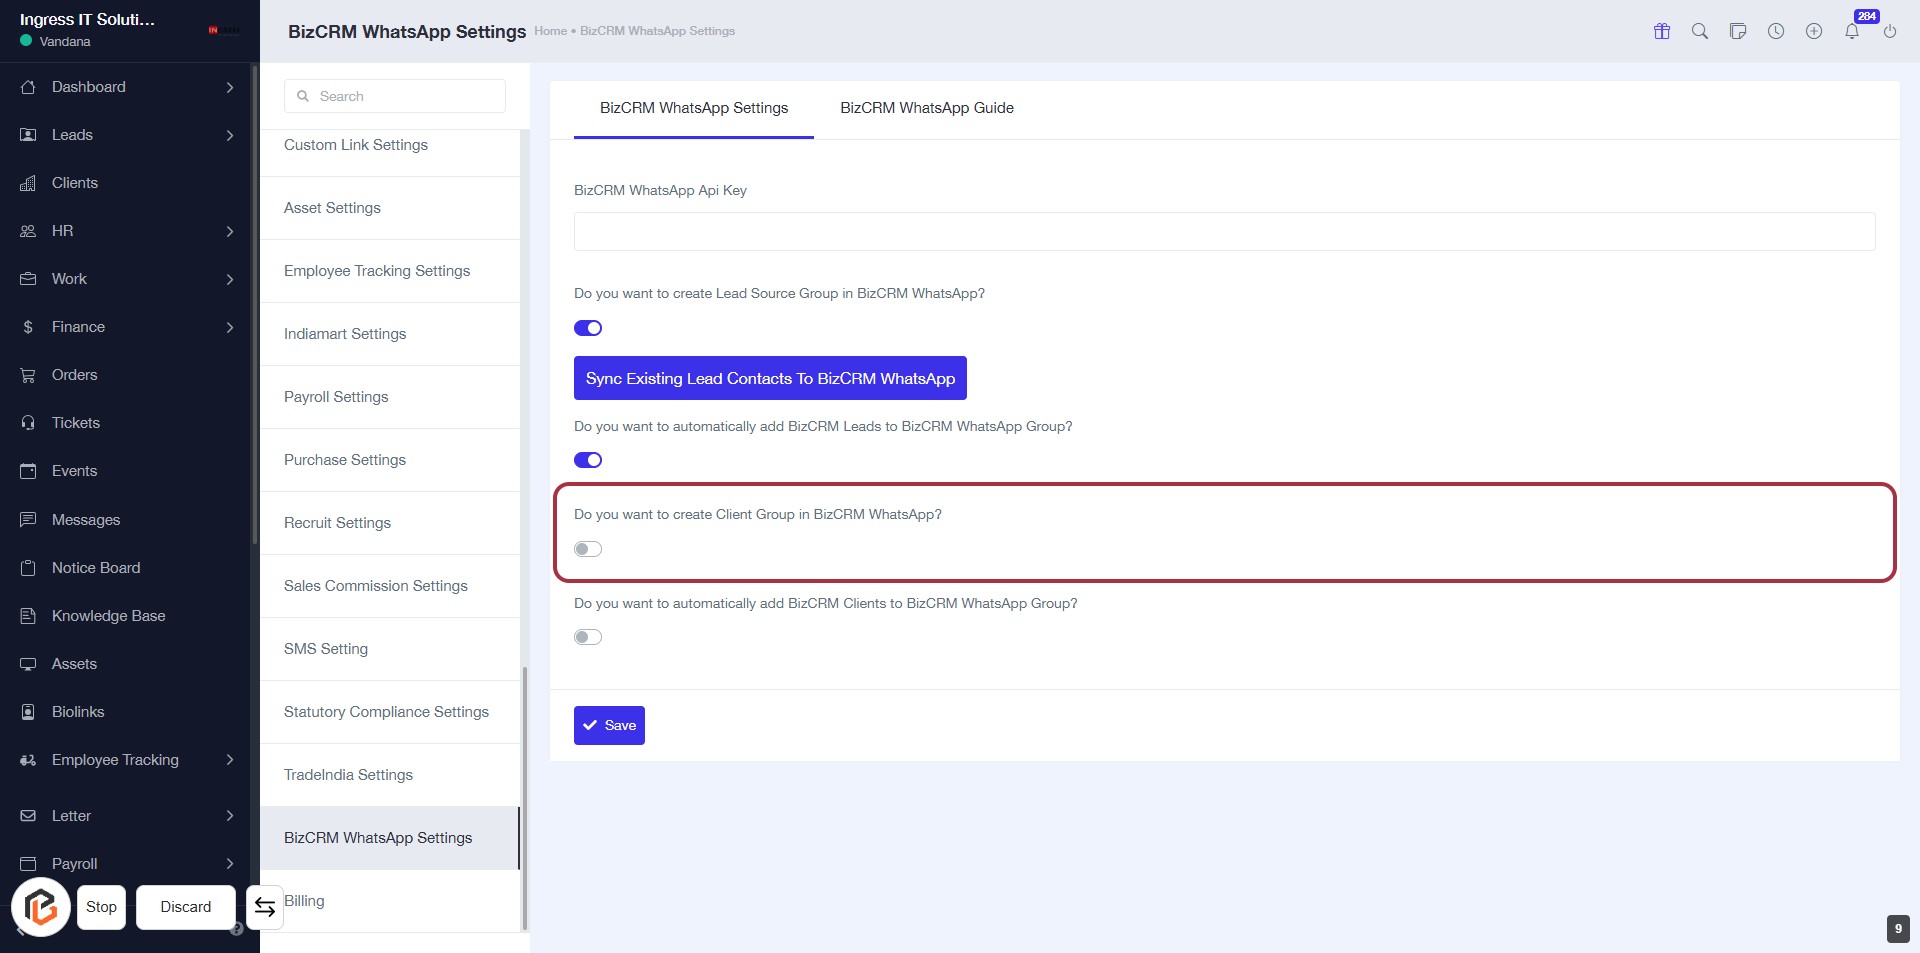
STEP 8: Click on "Do you want to create Client Group in BizCRM WhatsApp?"
- Locate the option labeled "Do you want to create Client Group in BizCRM WhatsApp?" in the settings.
- Click on the toggle switch to enable or disable the feature.
- Ensure the setting aligns with your preferences for managing client groups in WhatsApp.
- Proceed to the next step by clicking on "Sync Existing Clients to BizCRM WhatsApp."
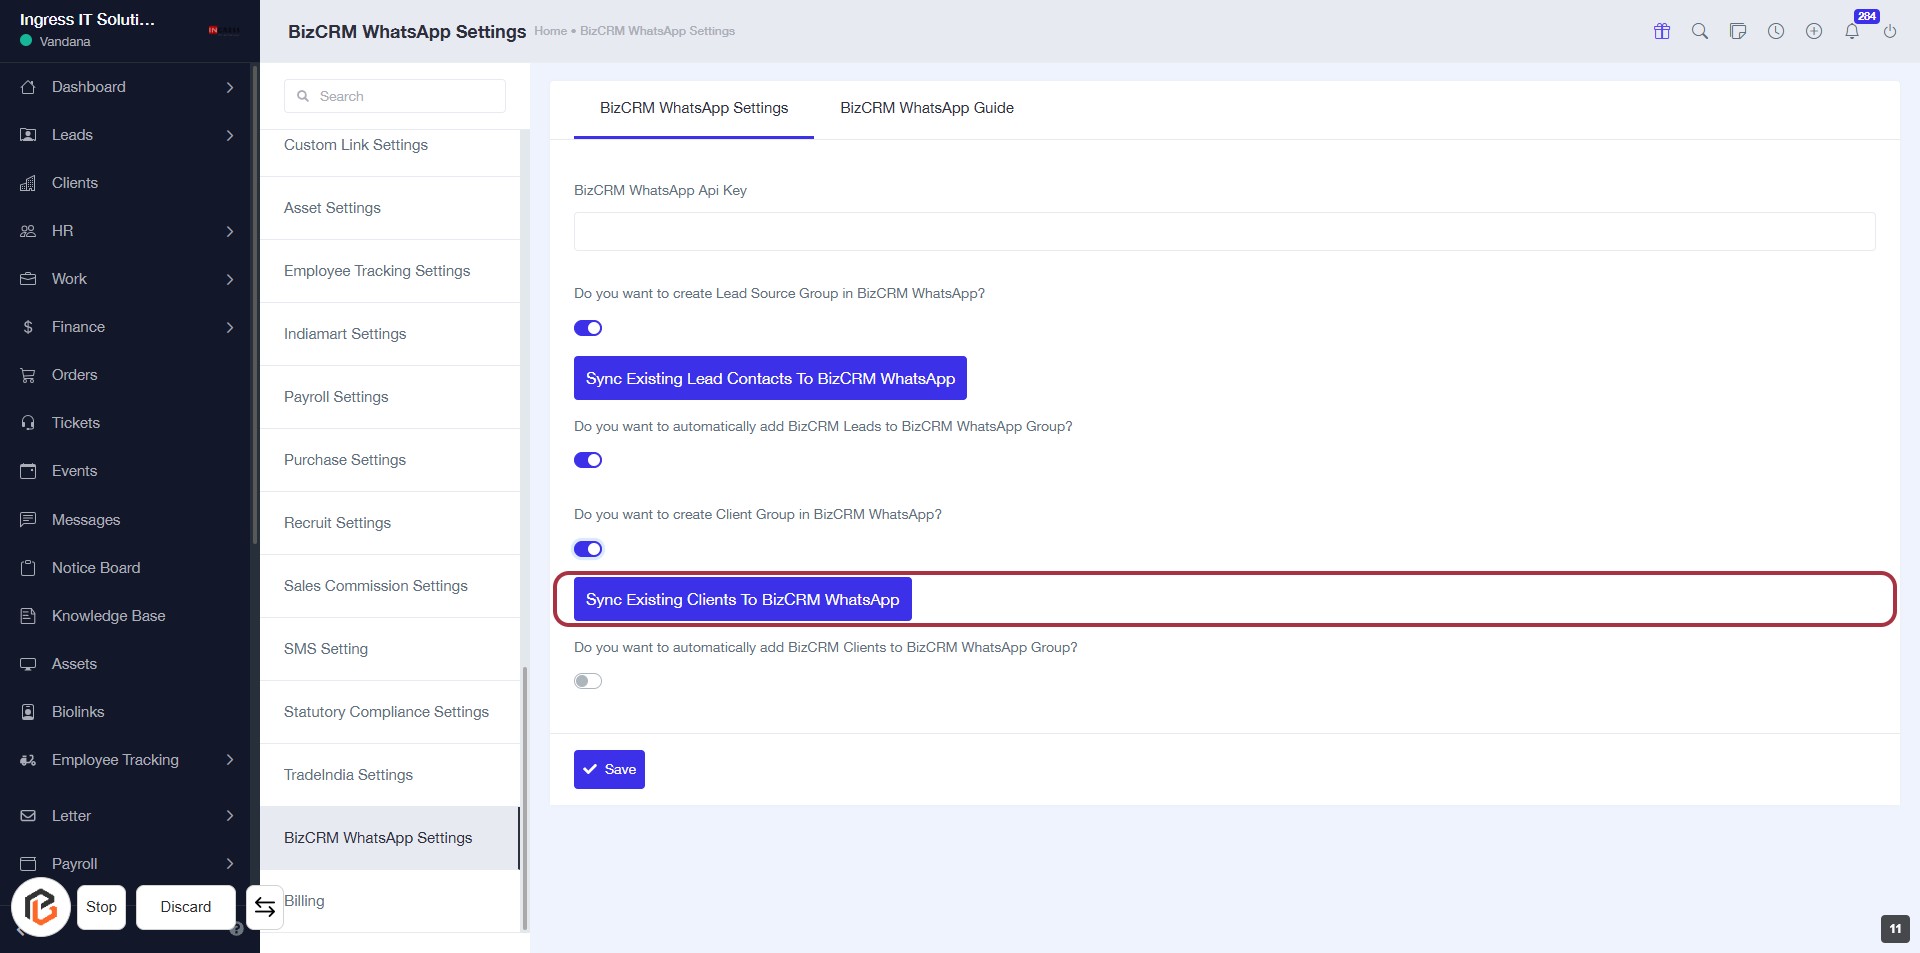
STEP 9: Click on "Sync Existing Clients to BizCRM WhatsApp"
- Navigate to the BizCRM WhatsApp Settings page.
- Locate the option labeled "Sync Existing Clients to BizCRM WhatsApp" highlighted in red.
- Click on this option to initiate the synchronization process.
- Ensure that any required settings are configured before proceeding to the next step.
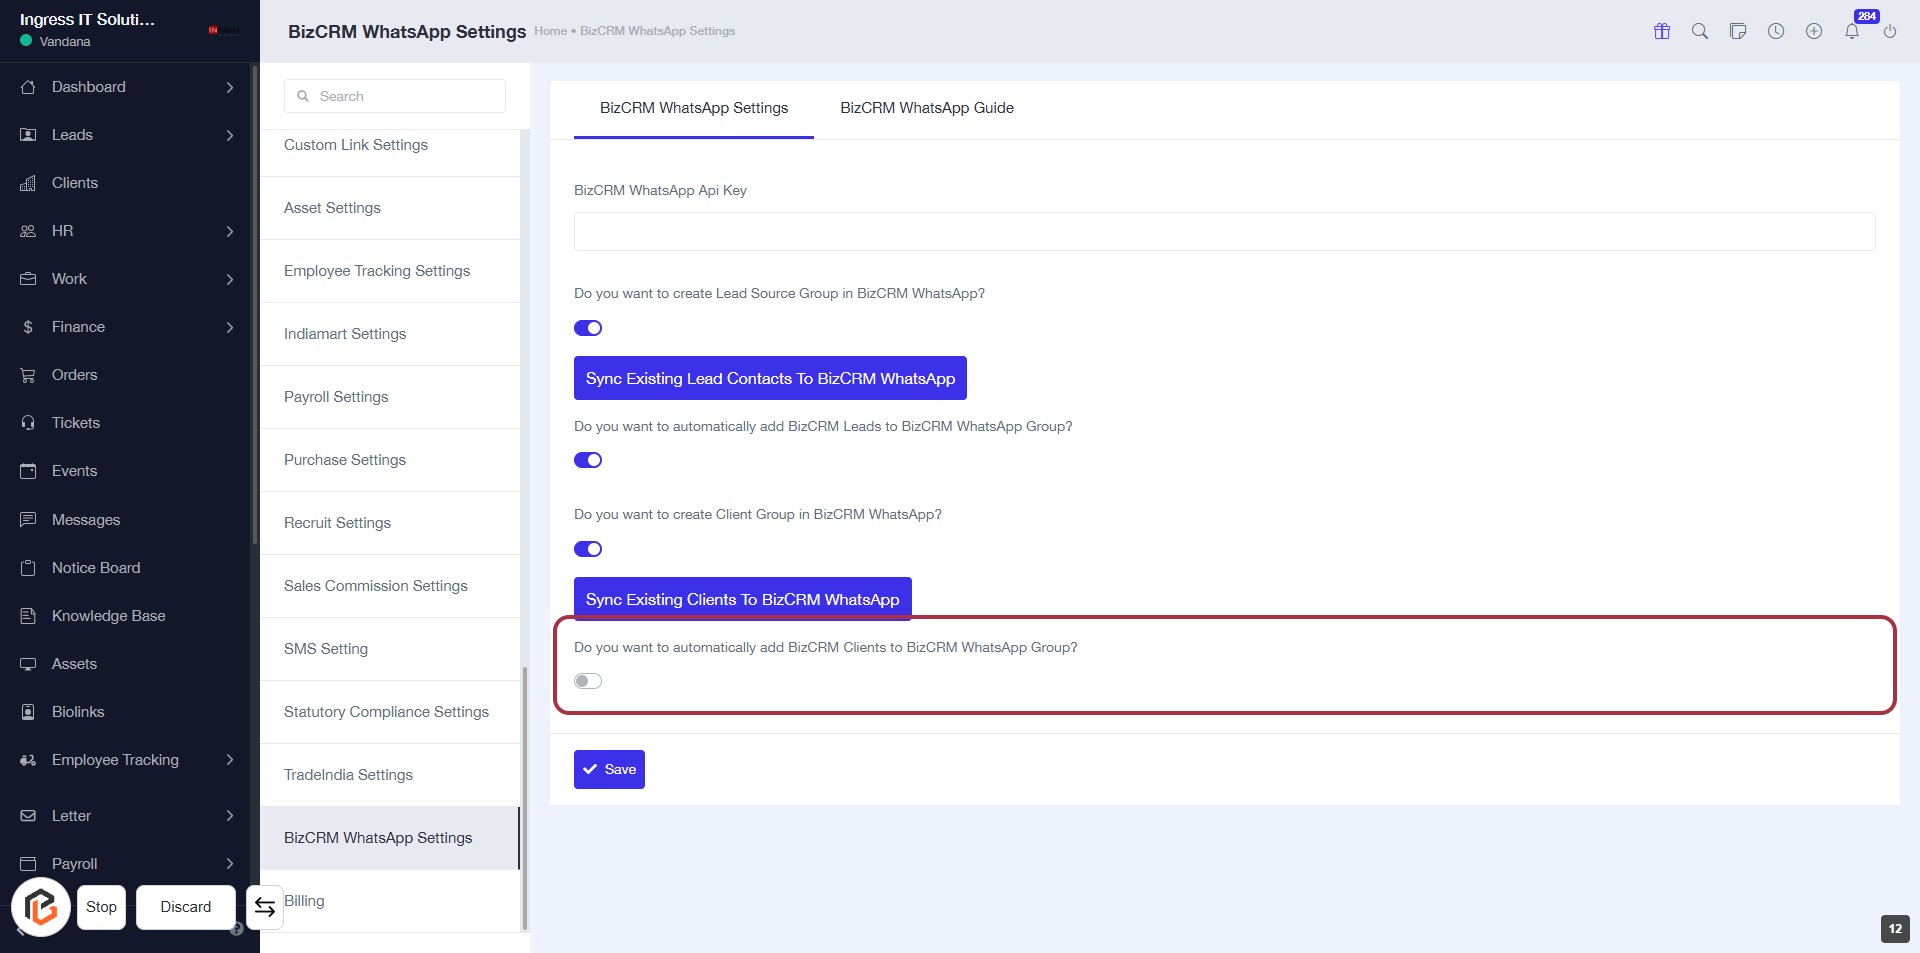
STEP 10: Turn on "Do you want to automatically add BizCRM Clients to WhatsApp group"
- Click on the toggle next to "Do you want to automatically add BizCRM Clients to BizCRM WhatsApp Group?" to enable this feature.
- Ensure the toggle is set to the 'on' position.
- Review other settings if necessary before proceeding.
- Next, click on the "Save" button to apply your changes.
STEP 11: CLICK on "Save Button"