Step-by-Step Guide to Accessing and Customizing Finance Settings and Invoice Templates in Your Dashboard
5 mins read · Updated 29 Sep, 2025
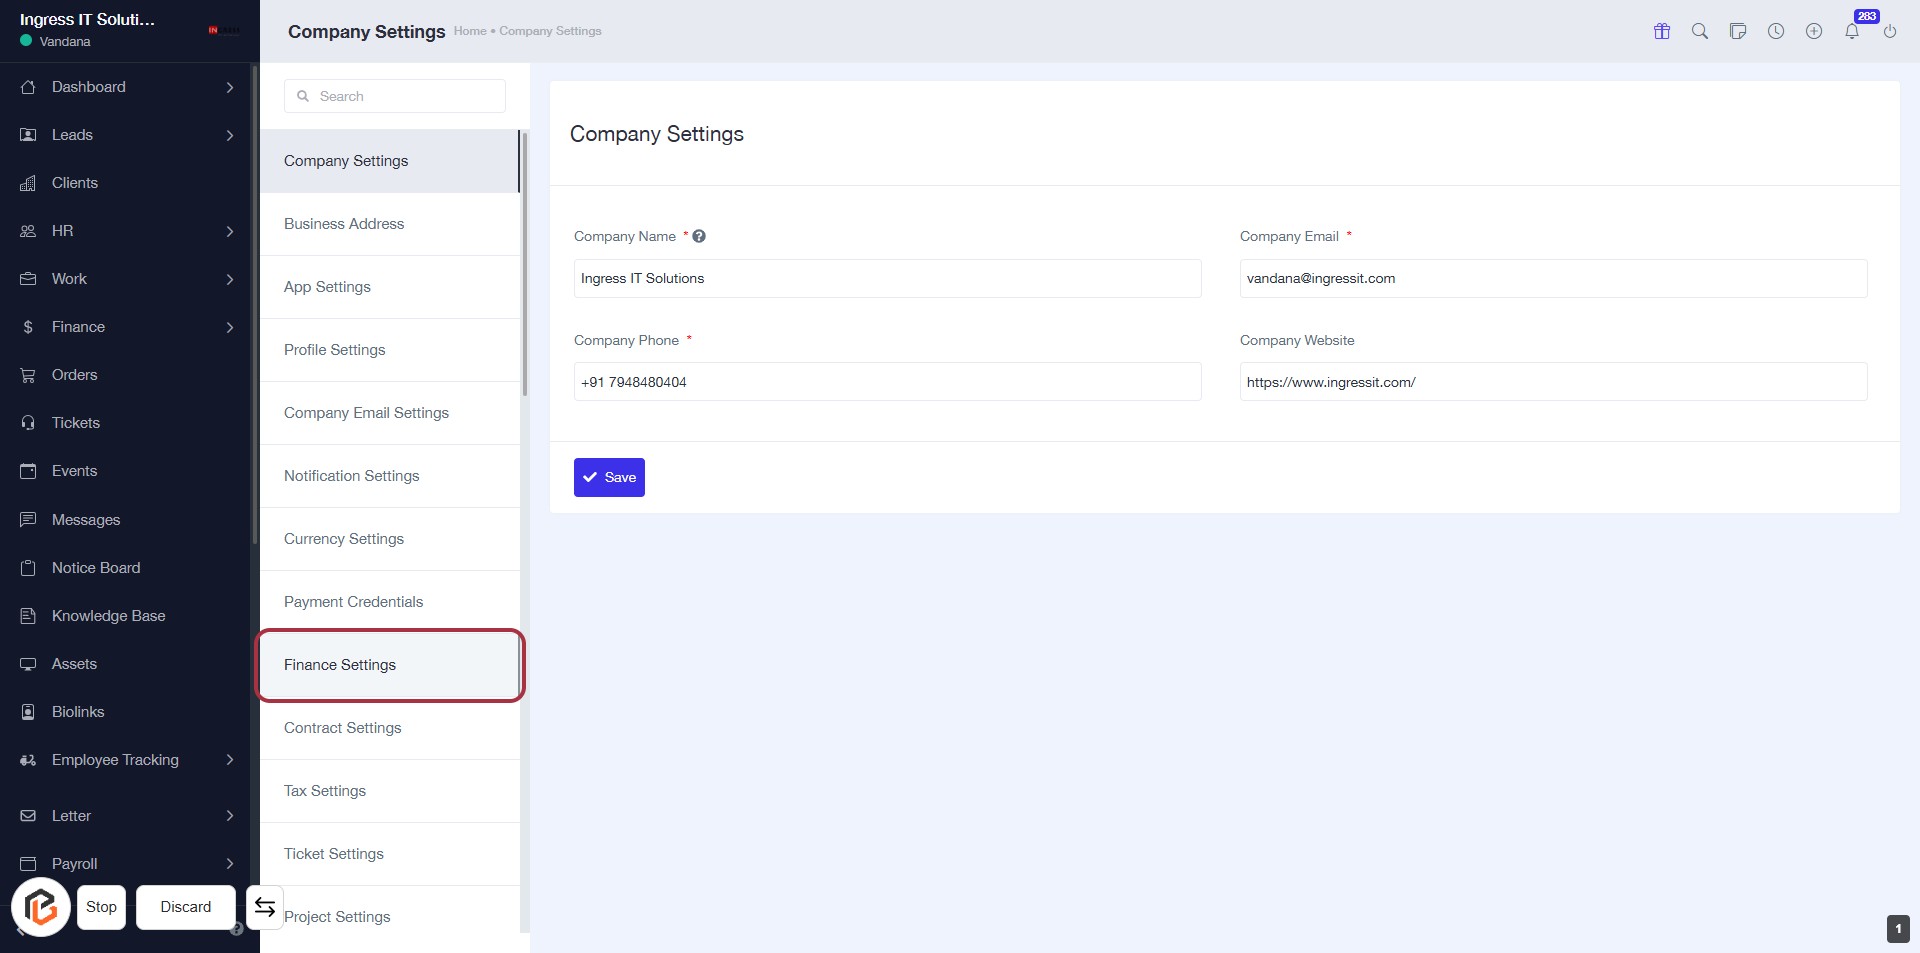
STEP 1: Click on "Settings" in the Dashboard
- Navigate to the left sidebar of the dashboard.
- Locate the "Settings" option.
- Click on the "Settings" link to access the settings menu.
- Ensure the highlighted area is selected for further options.
- Proceed to the next step to access "Finance Settings."
STEP 2: Click on "Finance Settings"
- Navigate to the "Finance Settings" section in the sidebar.
- Click on the "Finance Settings" link to access the relevant settings.
- Ensure you have the necessary permissions to modify finance-related settings.
- After clicking, you will be directed to the finance configuration page.
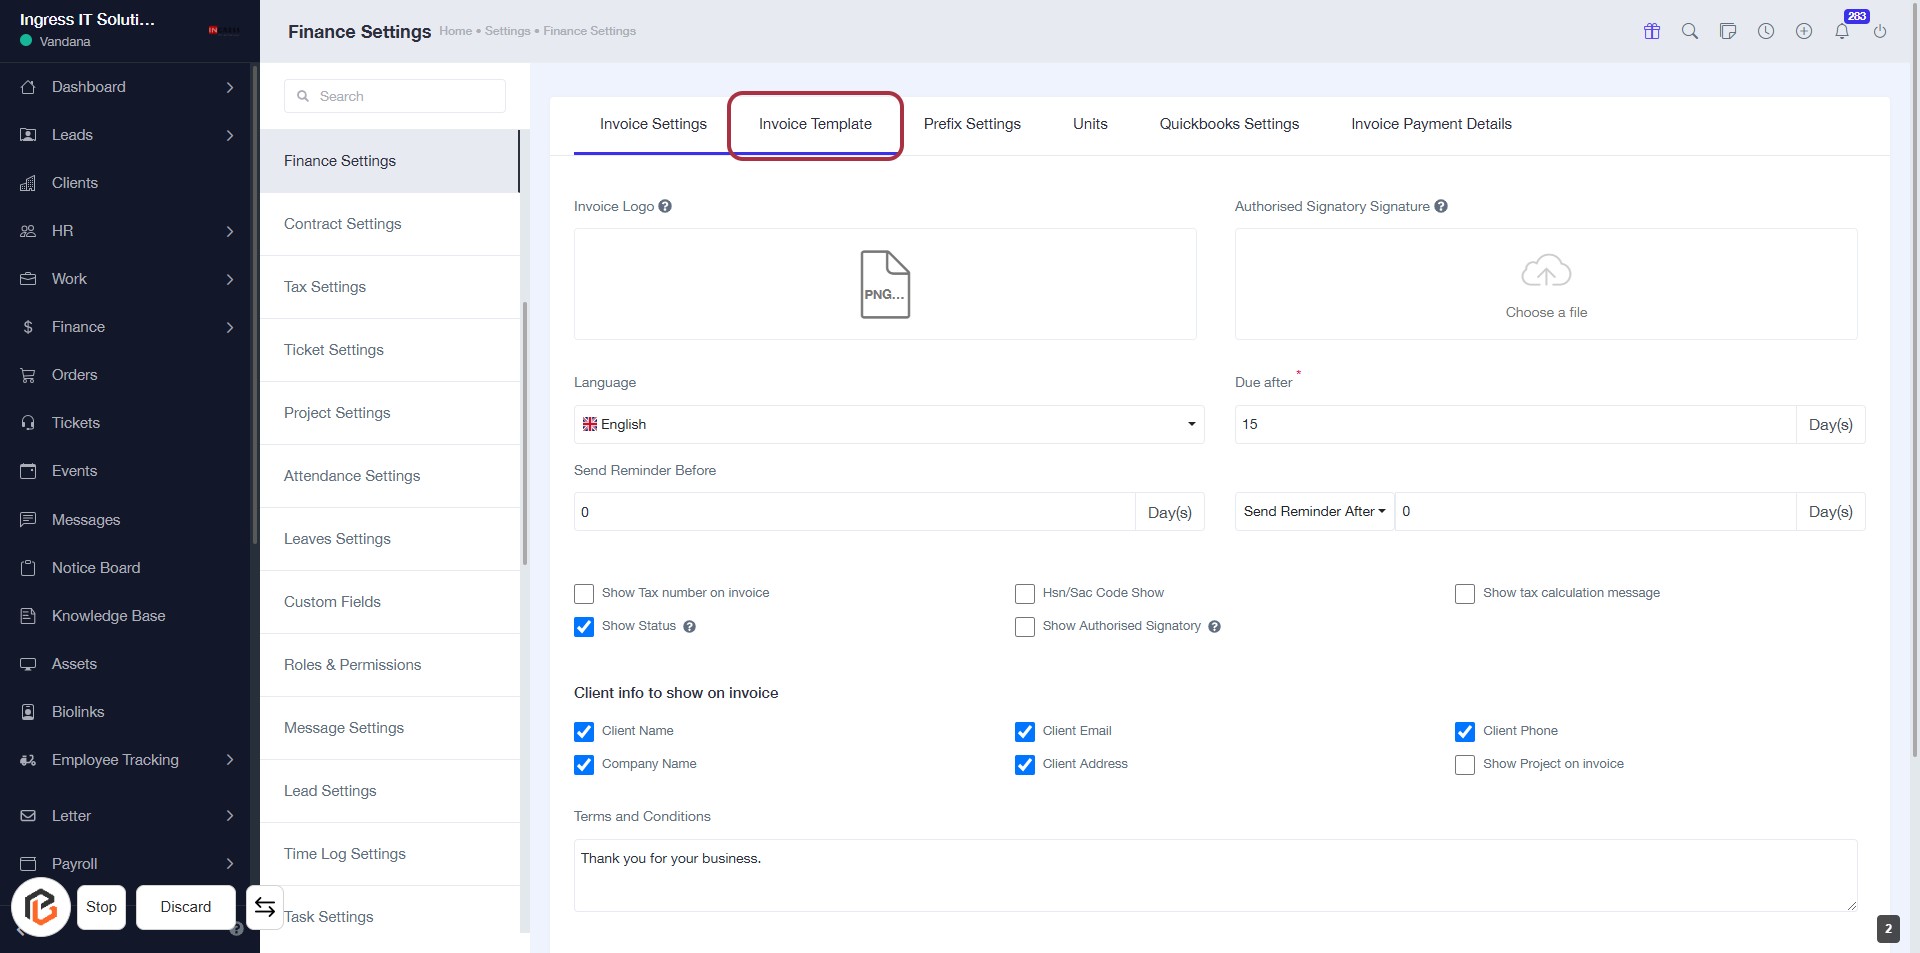
STEP 3: Select "Invoice Template"
- Click on the Invoice Template tab to access the invoice customization options.
- Fill in the required fields, such as:
- Invoice Logo: Upload your logo.
- Language: Select your preferred language.
- Due after: Specify the number of days for payment due.
- Optional settings include:
- Show tax number, client information, and terms on the invoice.
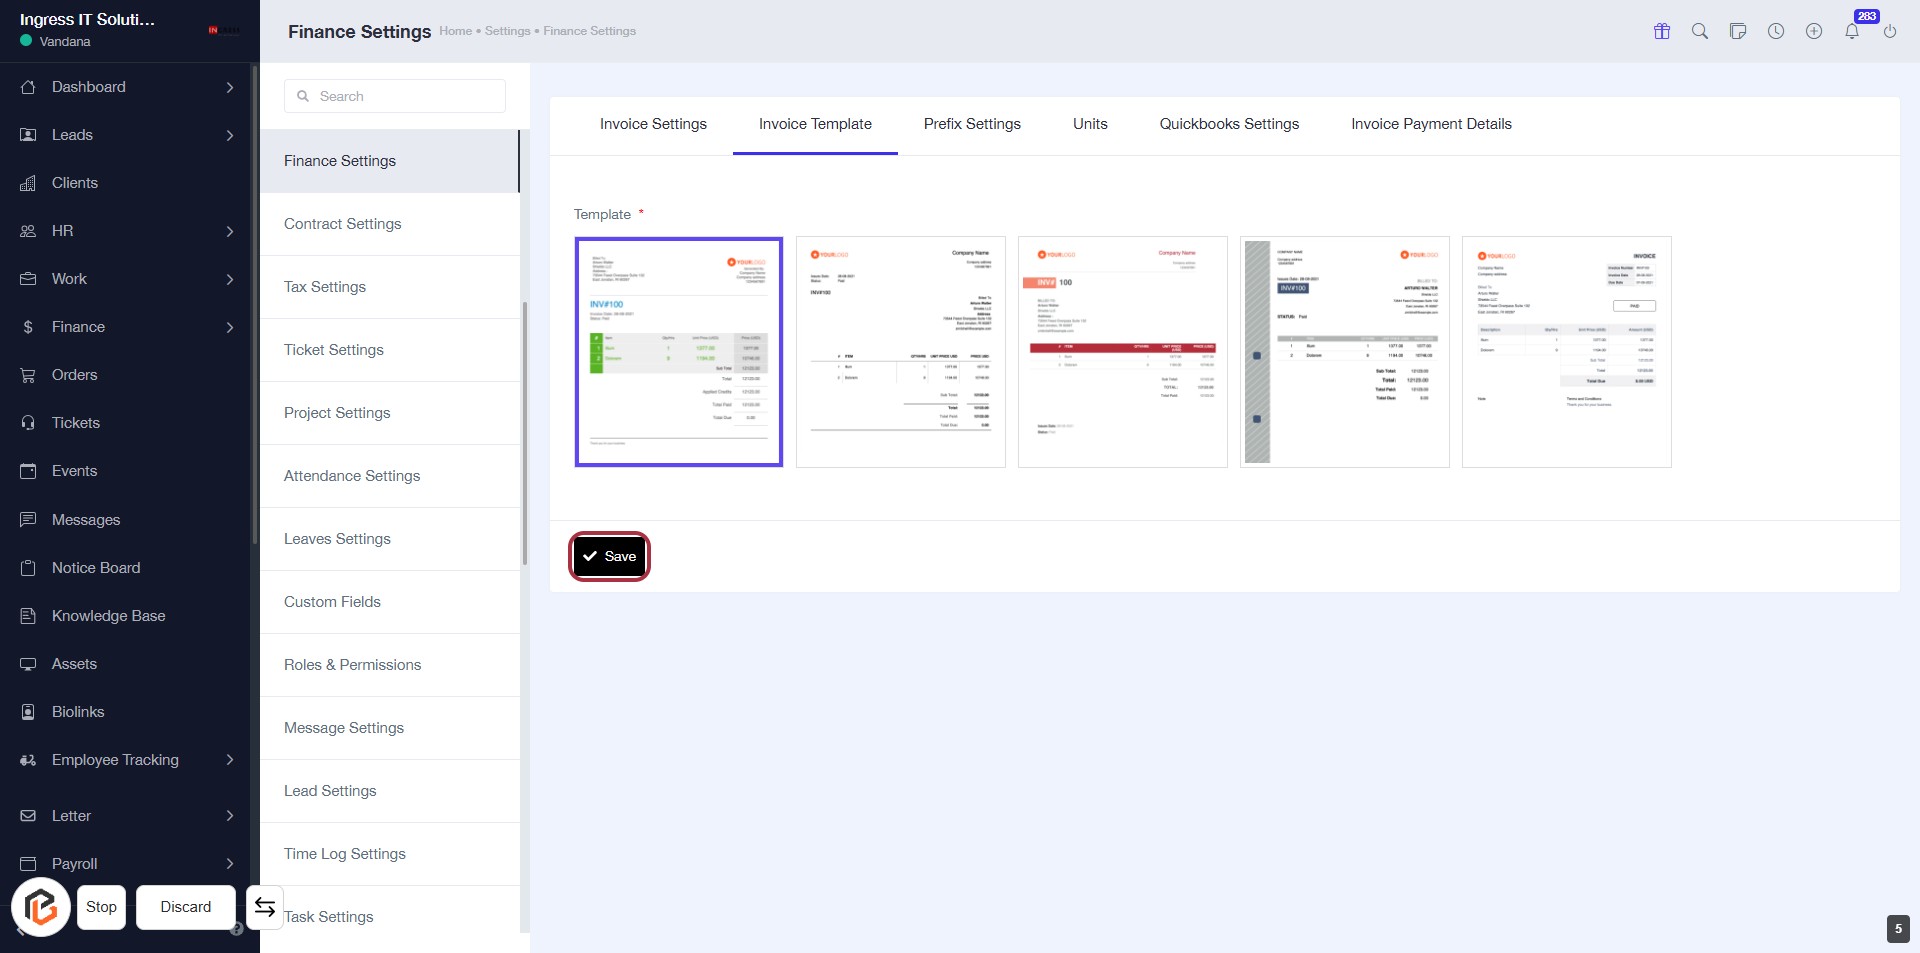
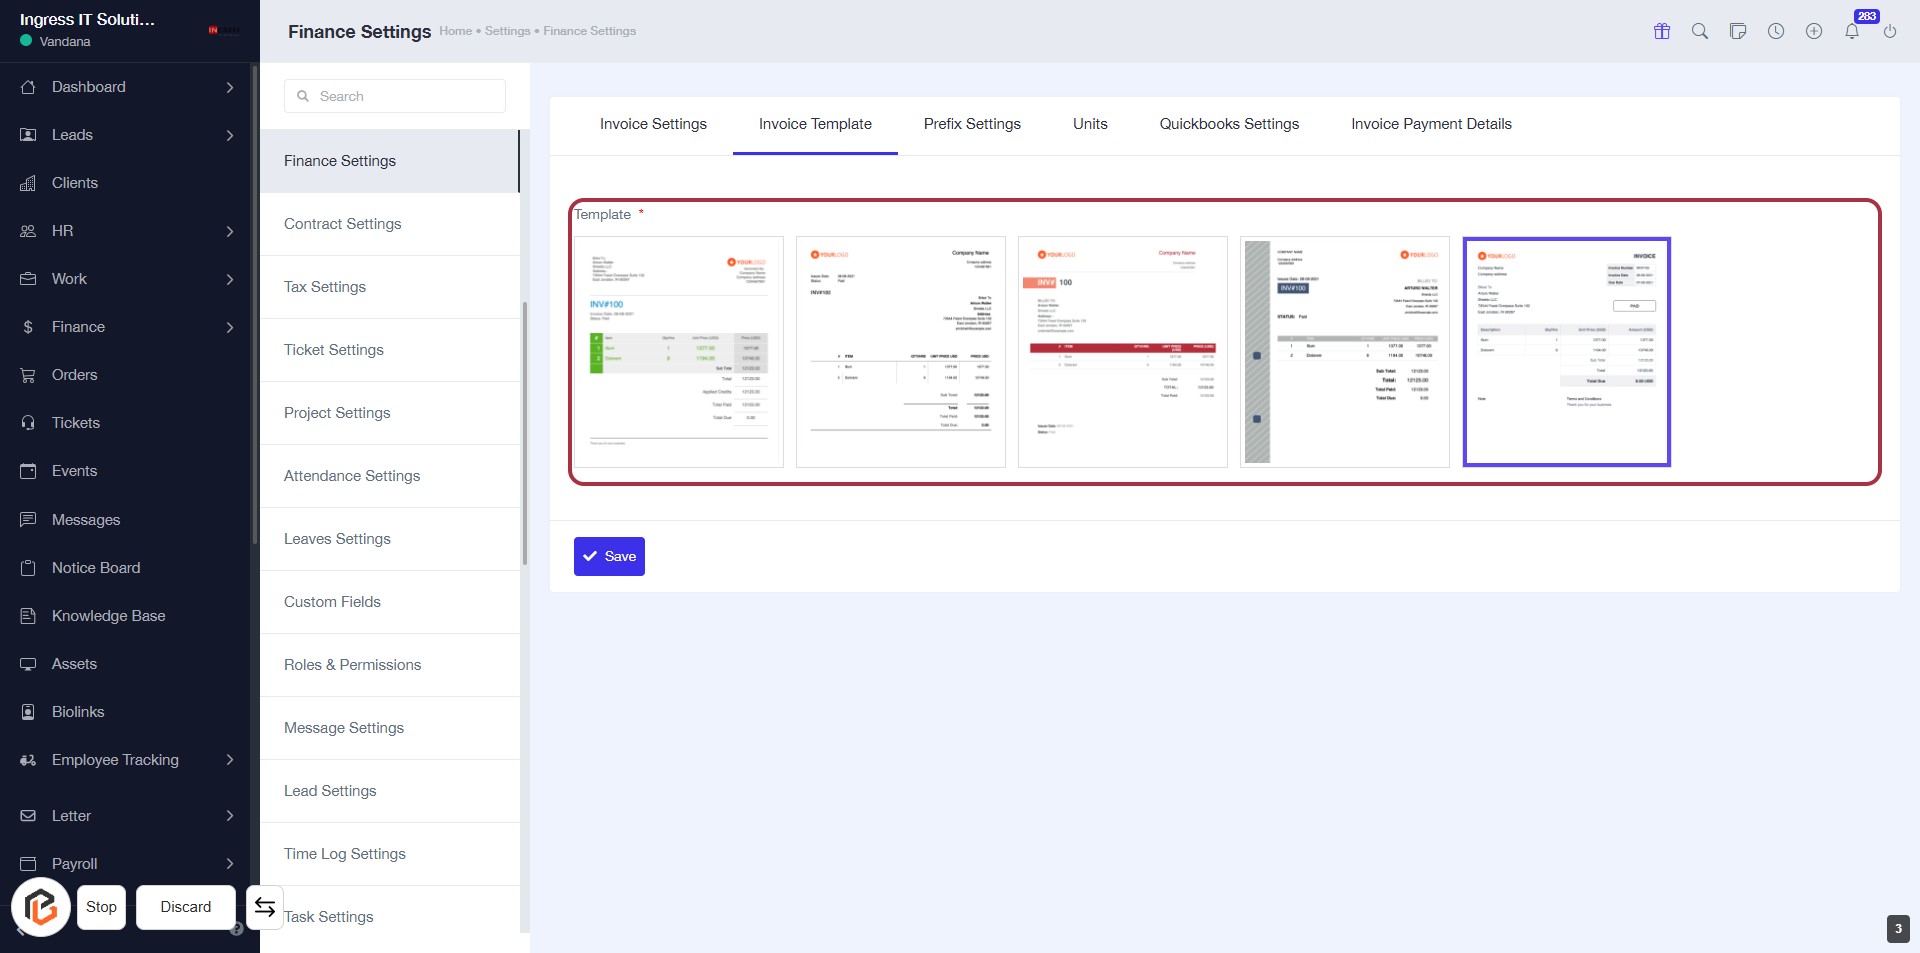
STEP 4: Select "Template"
- Click on the "Template" section highlighted in red.
- Ensure to review the available invoice templates displayed.
- Look for any required fields marked with an asterisk (*).
- After selecting your preferred template, proceed to the next step by clicking the "Save" button.
STEP 5: Click on "Save" to Confirm Your Changes
- Ensure all required fields are filled out before proceeding.
- Locate the "Save" button at the bottom of the form.
- Click the "Save" button to confirm your settings.
- Review any confirmation messages that appear after saving.