Comprehensive Guide to Managing Your Dashboard Billing and Employee Settings
9 mins read · Updated 29 Sep, 2025
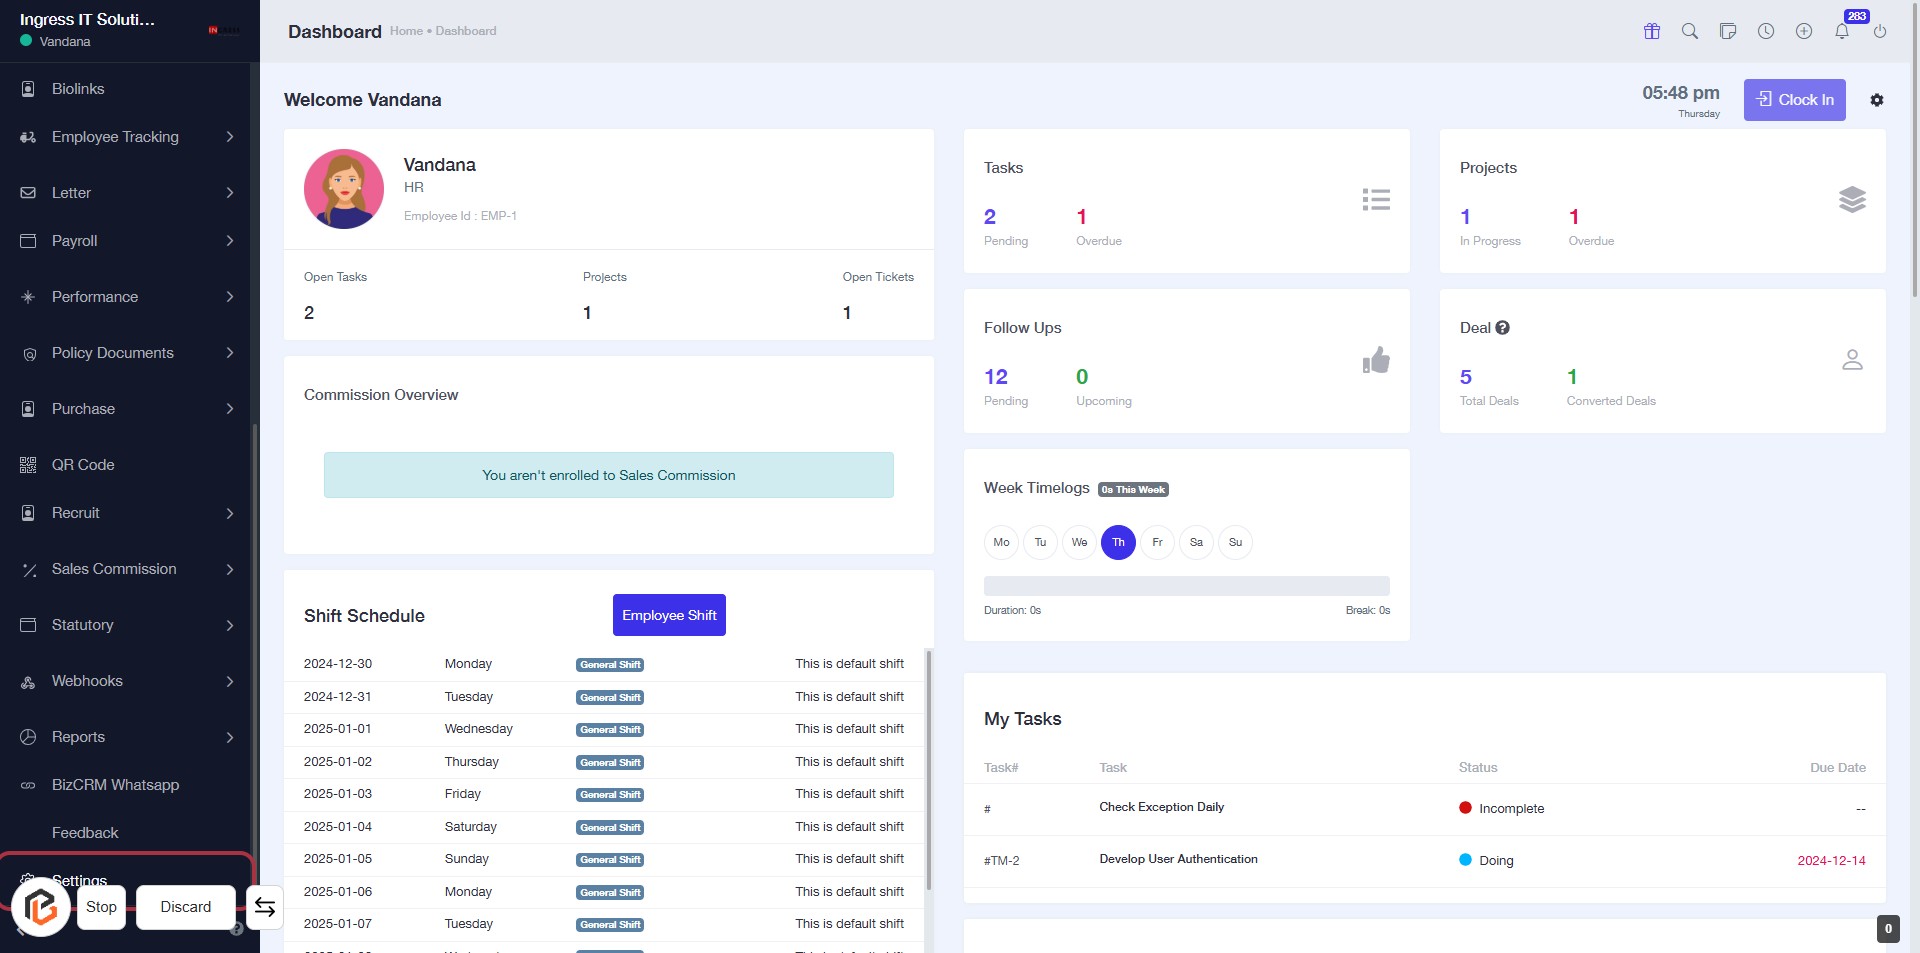
STEP 1: Click on "Settings" to Access Configuration Options
- Navigate to the left sidebar of the dashboard.
- Click on the Settings link to open the settings menu.
- Ensure you are on the Dashboard page for context.
- After clicking, you will be directed to the settings configuration area for further actions.
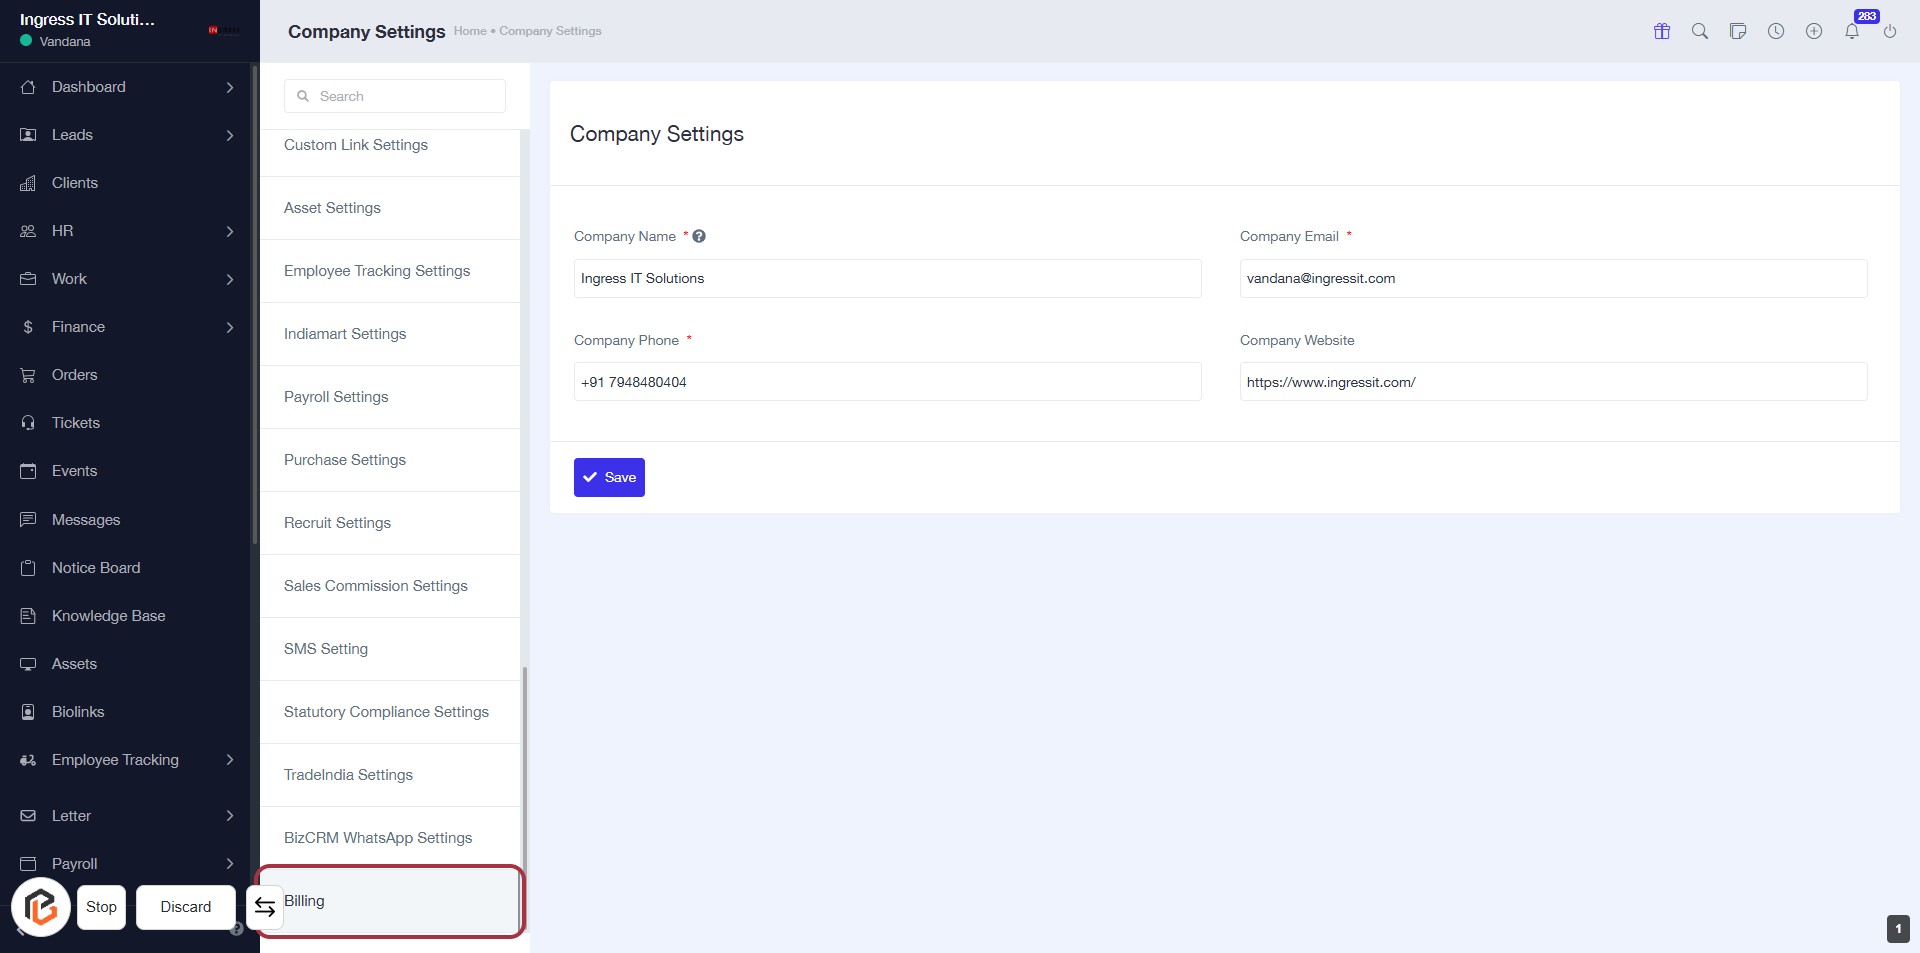
STEP 2: Click on "Billing" to Access Billing Settings
- Click on the "Billing" option in the sidebar menu.
- Ensure you are on the "Company Settings" page.
- Review the billing options available for your account.
- Proceed to the next step by selecting "Plan Details" for further configuration.
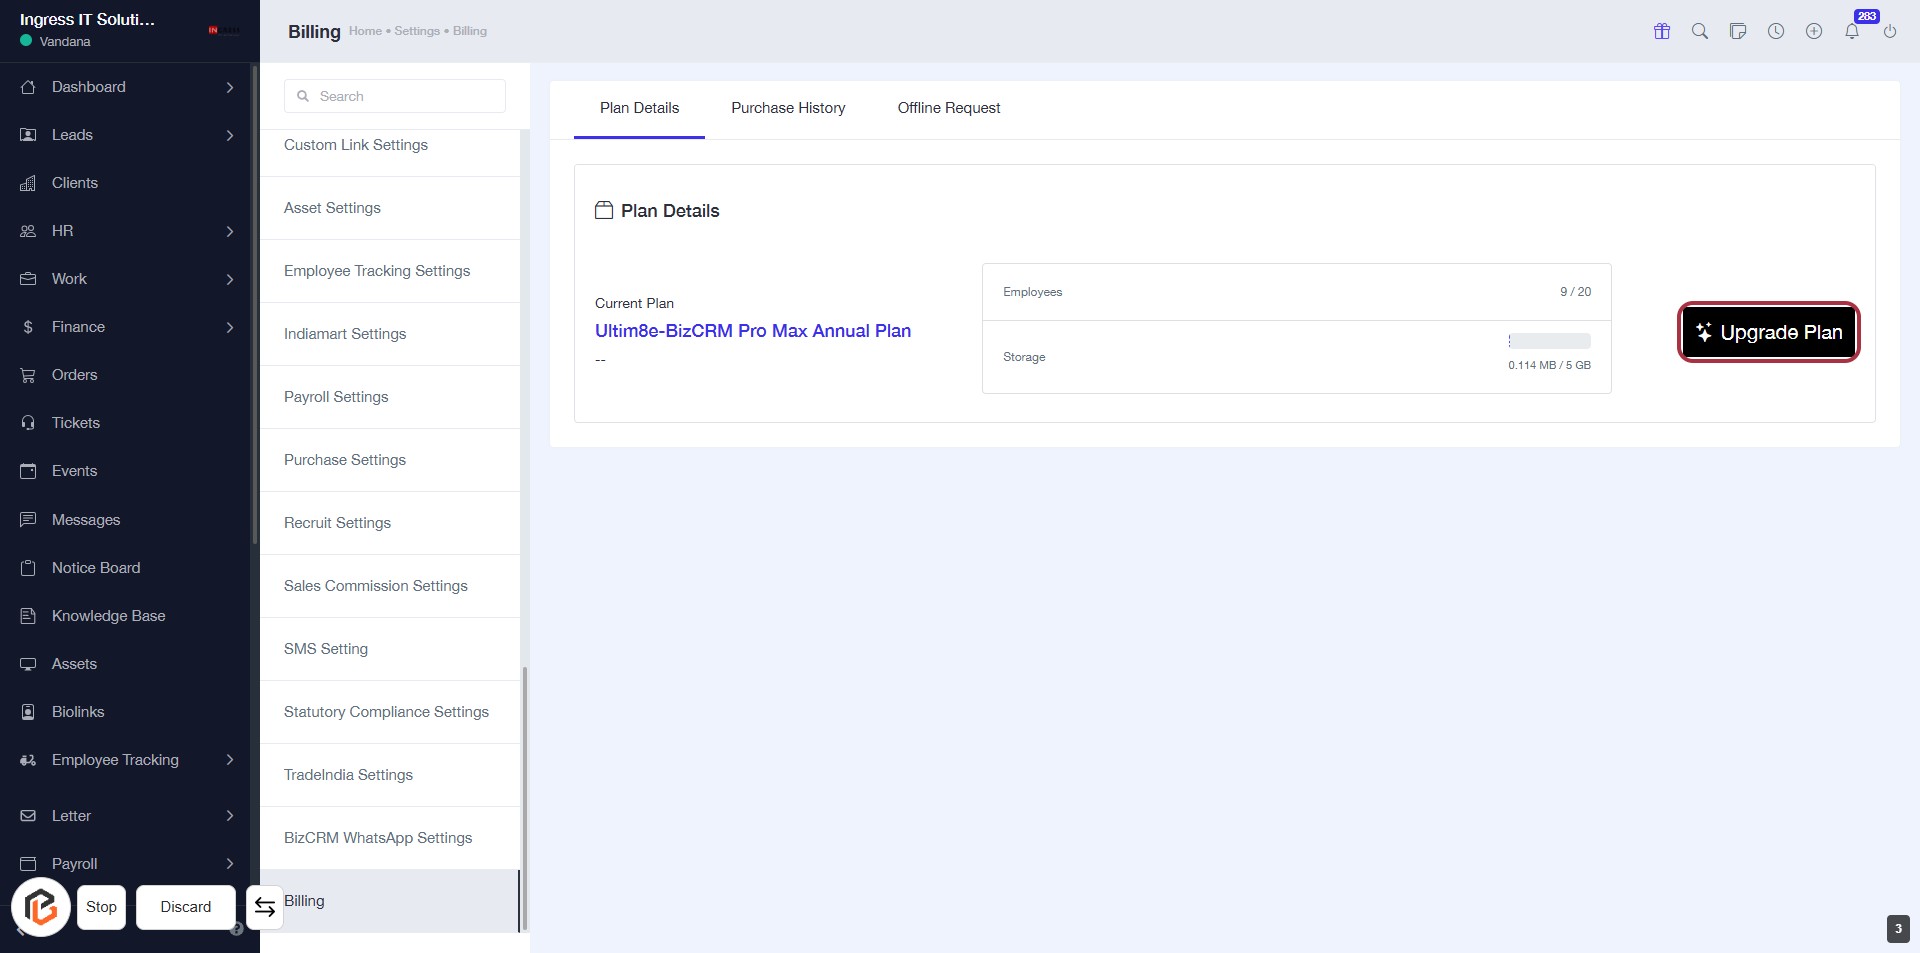
STEP 3: Select "Plan Details"
- Click on the "Plan Details" tab to view your current plan information.
- Review the Current Plan details displayed, including the number of Employees and Storage available.
- Ensure you understand your plan limits before proceeding to any upgrades.
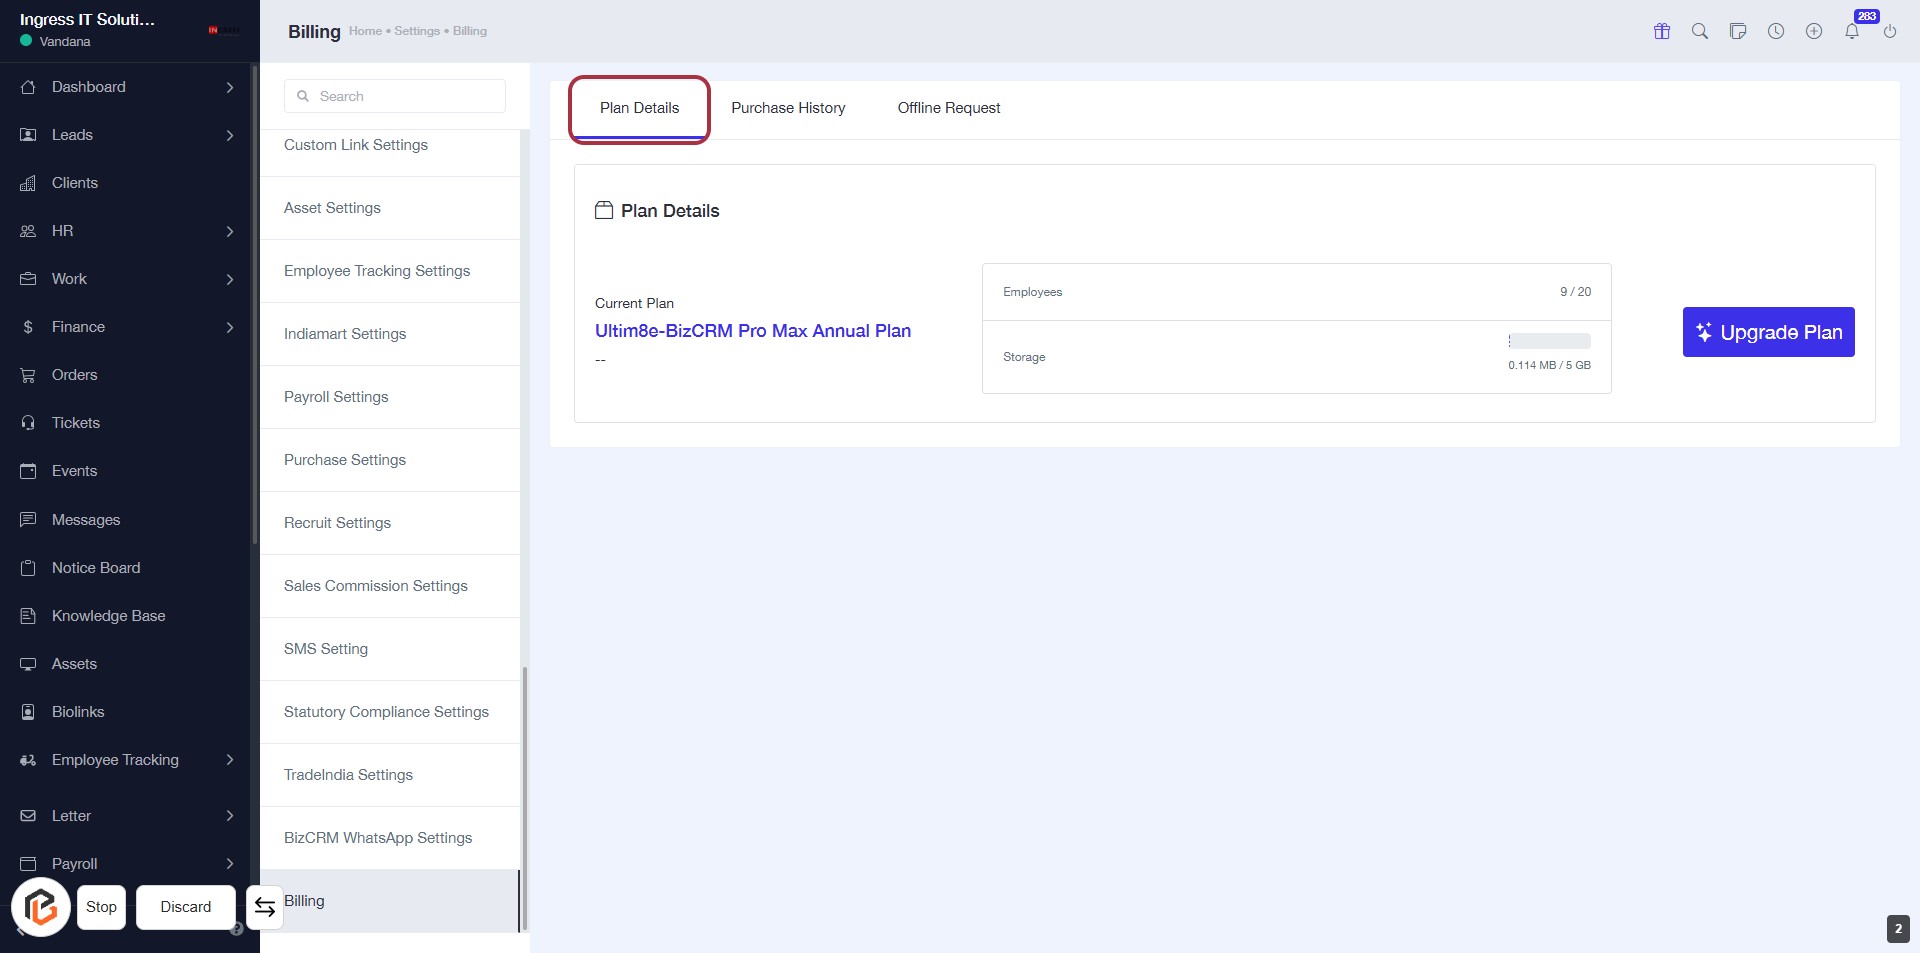
STEP 4: Click on "Upgrade Plan"
- Navigate to the "Plan Details" section.
- Locate the "Upgrade Plan" button highlighted in red.
- Click on the "Upgrade Plan" link to proceed with upgrading your current plan.
- Ensure you review your current plan details before moving to the next step.
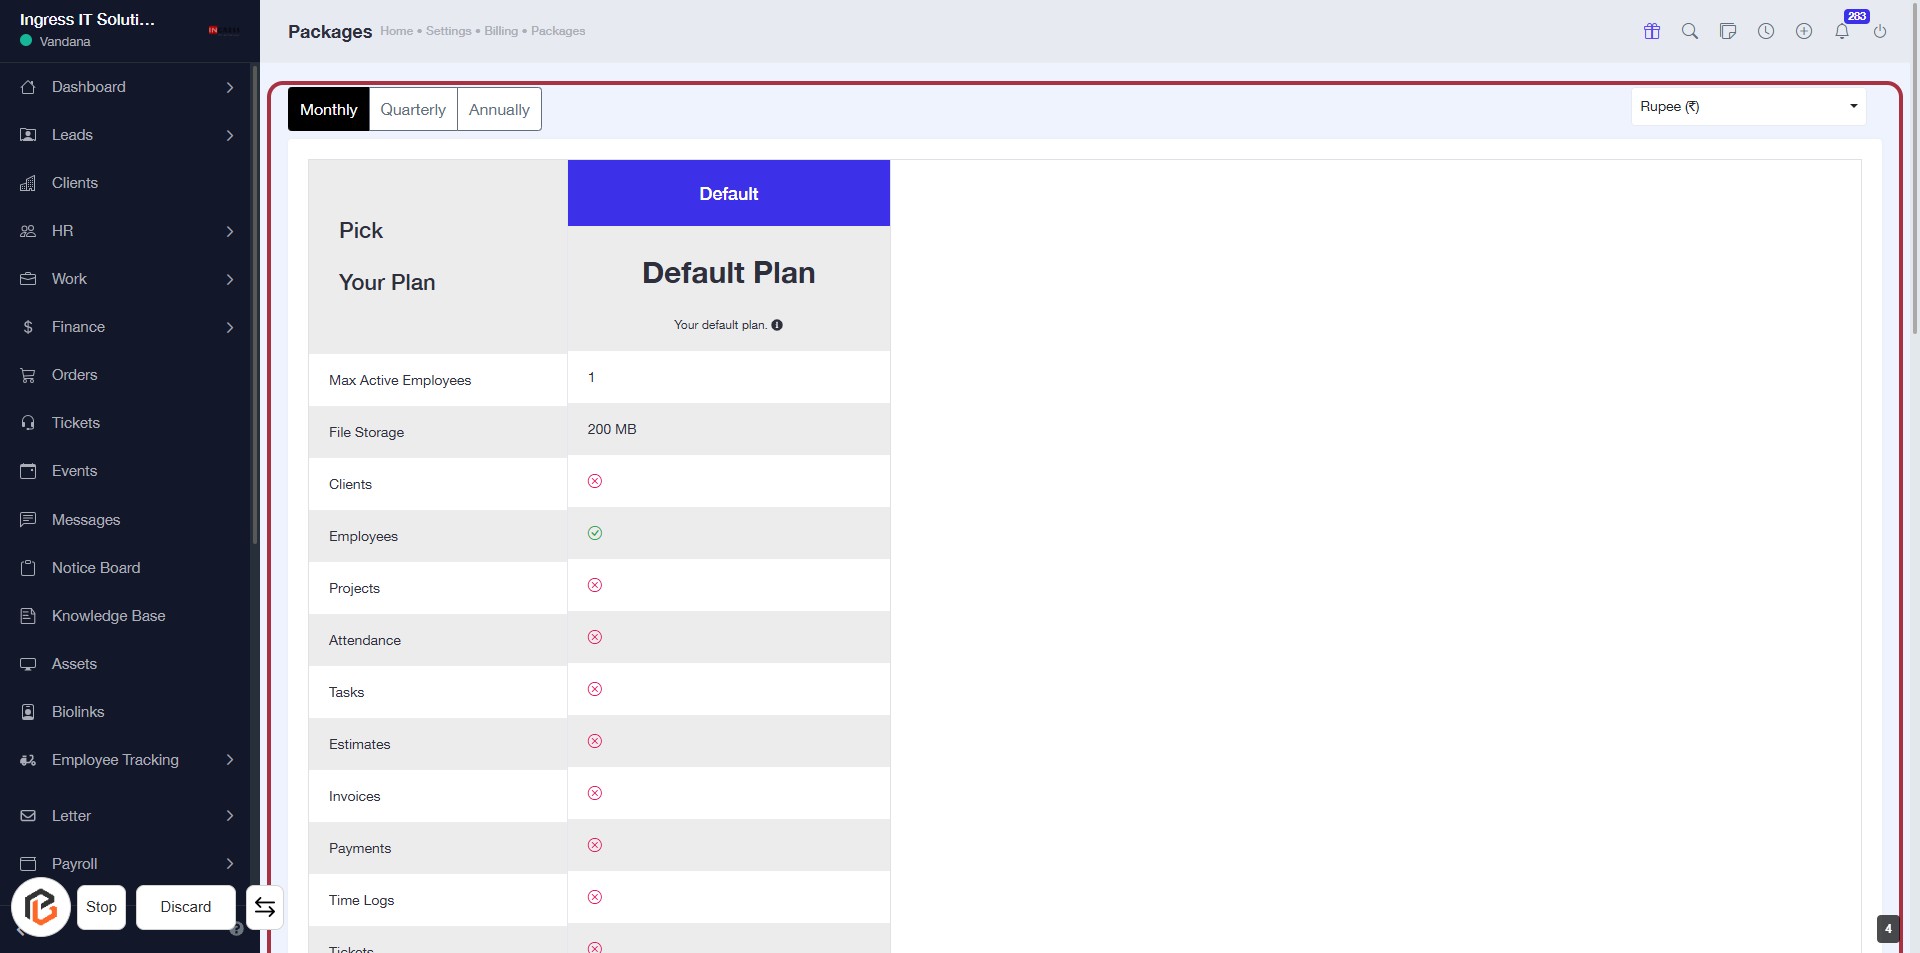
STEP 5: Select Billing Plan Duration
- Click on the desired billing option: Monthly, Quarterly, or Annually.
- Ensure you review the details of each plan displayed in the table.
- The highlighted area provides information on the features included in your selected plan.
- Proceed to the next step by clicking on "Choose Plan".
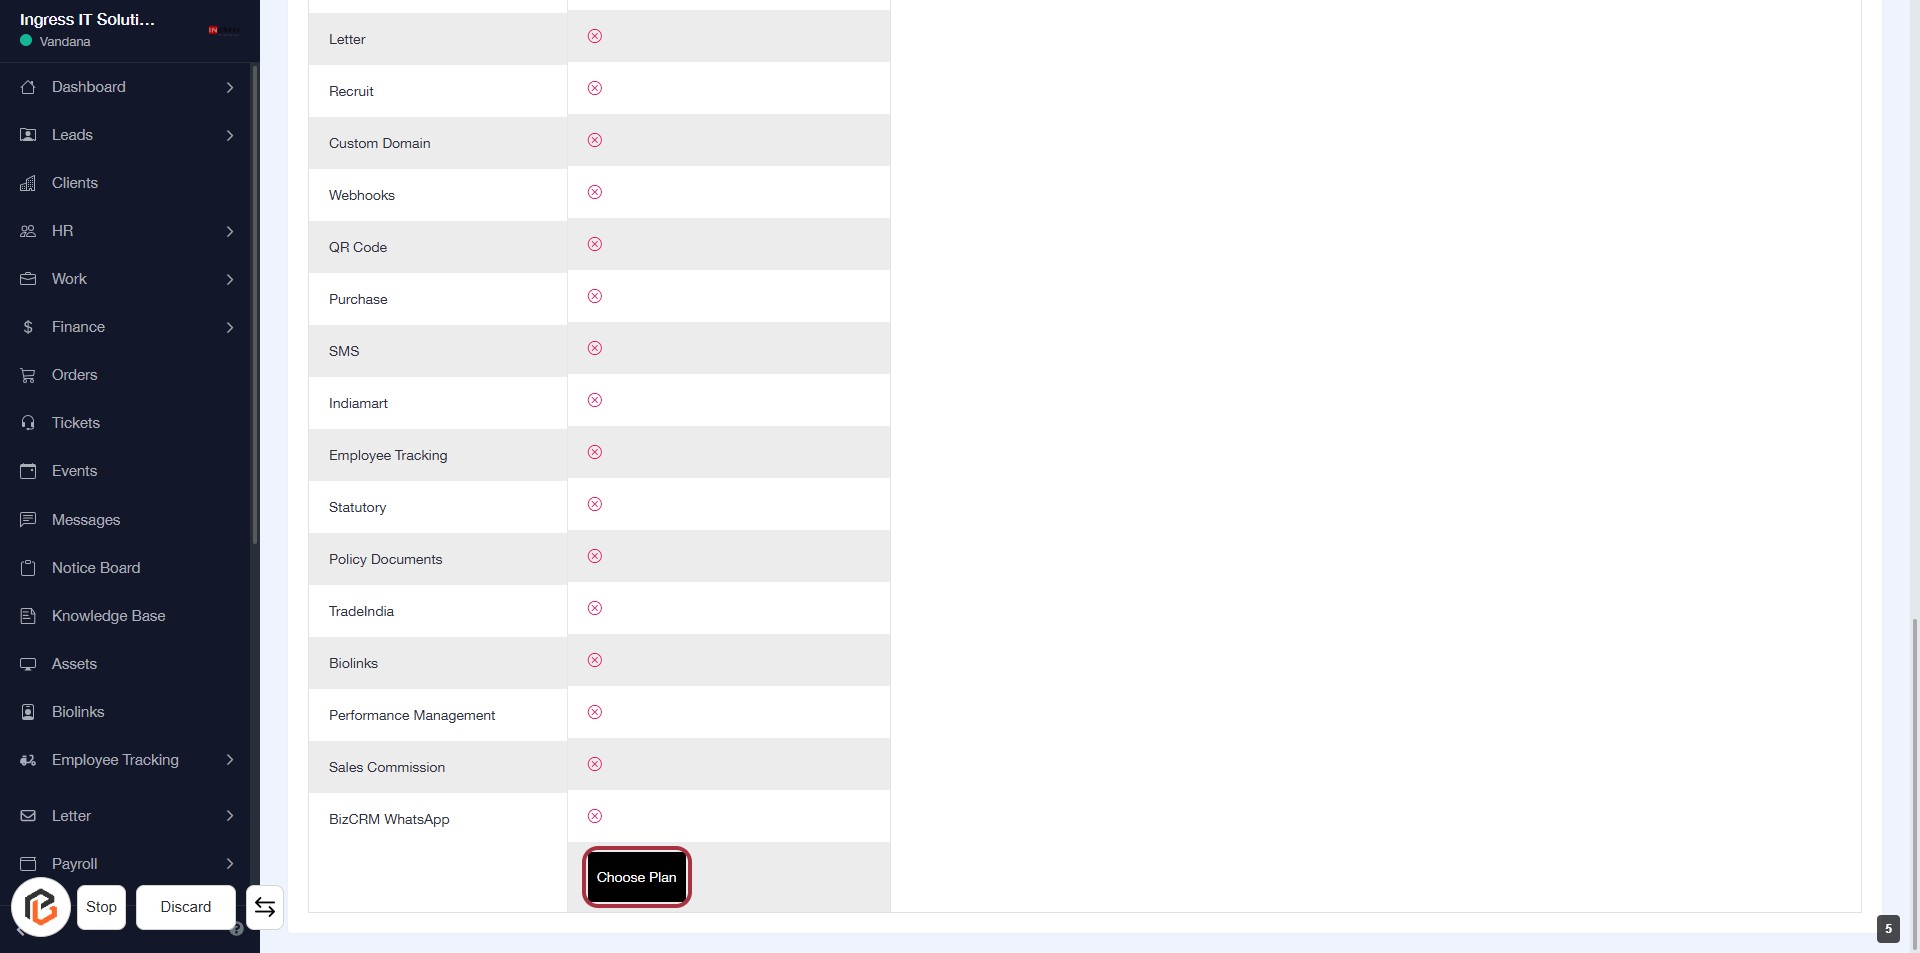
STEP 6: Click on "Choose Plan"
- Navigate to the billing settings page.
- Locate the "Choose Plan" button highlighted in red.
- Click on the "Choose Plan" button to proceed with selecting your desired billing plan.
- Ensure all previous selections are correct before clicking.
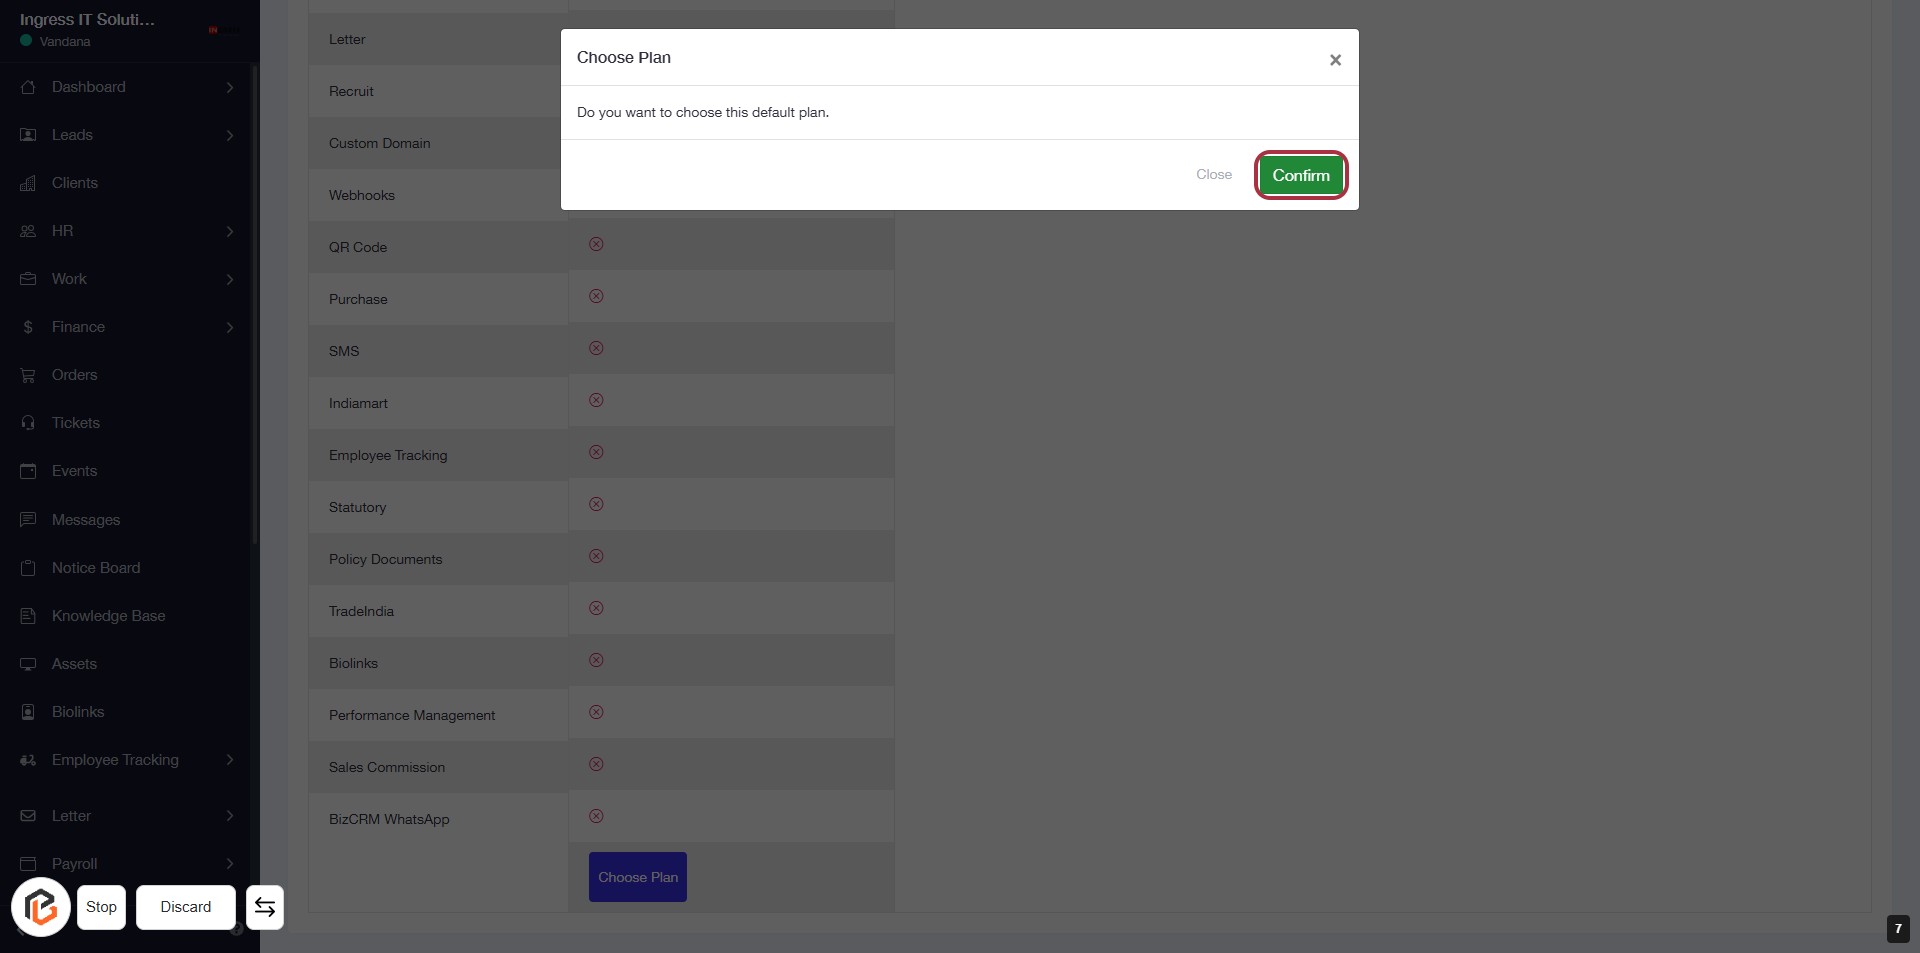
STEP 7: Click on "Confirm" to Finalize Your Plan Selection
- Ensure you have reviewed your selected plan.
- Click the Confirm button in the dialog box to proceed.
- If you need to cancel, you can click the Close button instead.
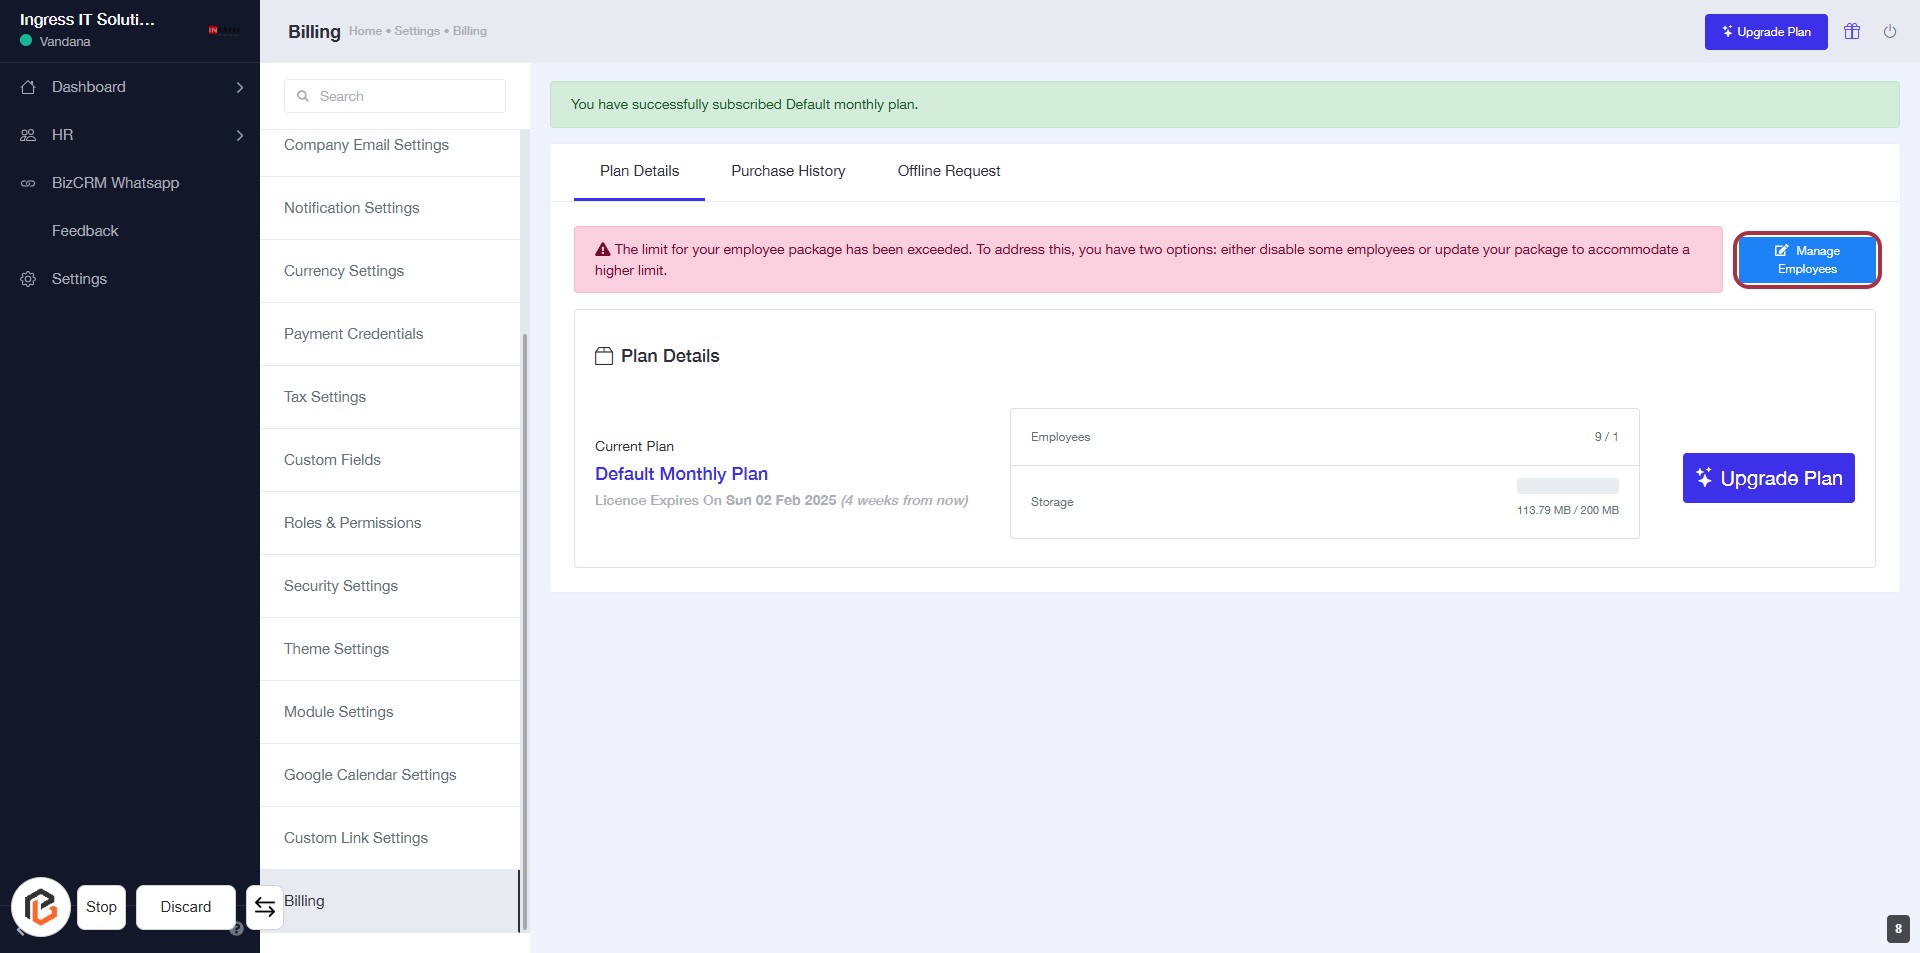
STEP 8: Click on "Manage Employees" to Update Employee Details
- Navigate to the Billing section.
- Locate the Manage Employees button highlighted in red.
- Click on the Manage Employees link to access employee management options.
- Review the employee package limits and make necessary adjustments.
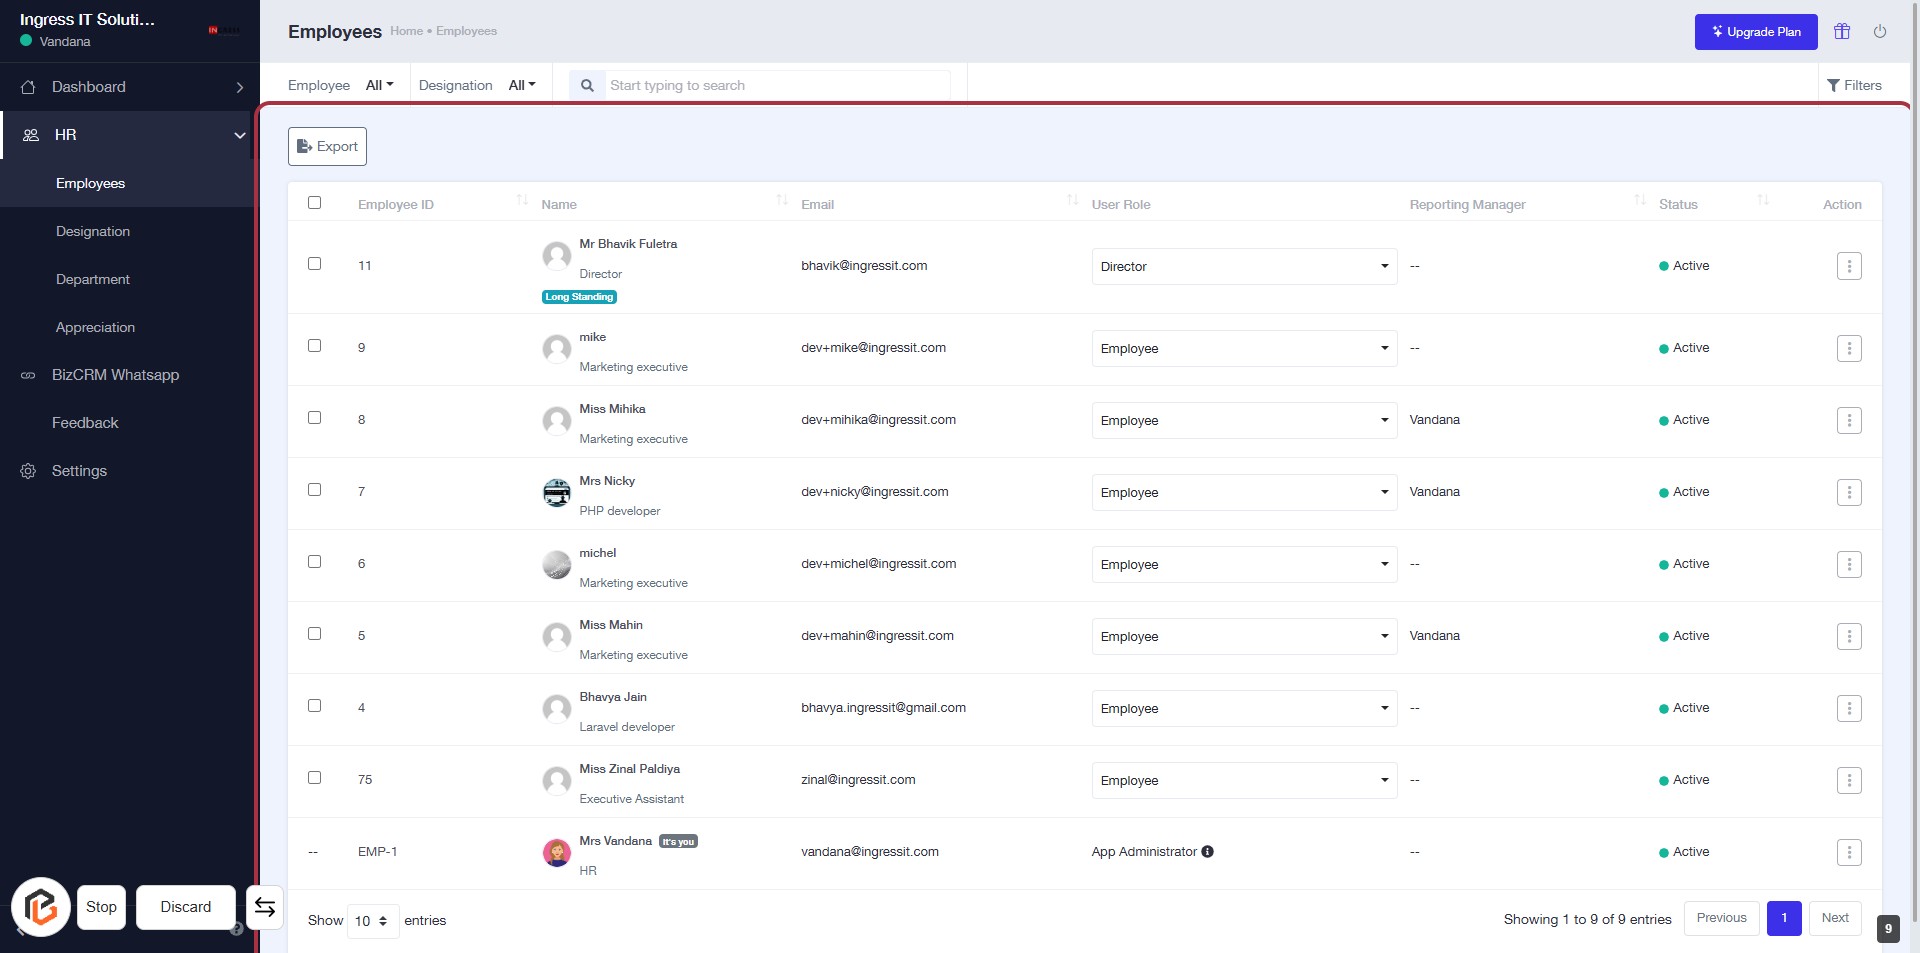
STEP 9: Click on "Export" to Download Employee Data
- Locate the "Export" button highlighted in the interface.
- Click on the "Export" button to initiate the download of employee data.
- Ensure you have the necessary permissions to export data.
- Review the downloaded file for accuracy and completeness.