Comprehensive Guide to Customizing Your Account Settings and Enabling Client Sign-Up
7 mins read · Updated 29 Sep, 2025
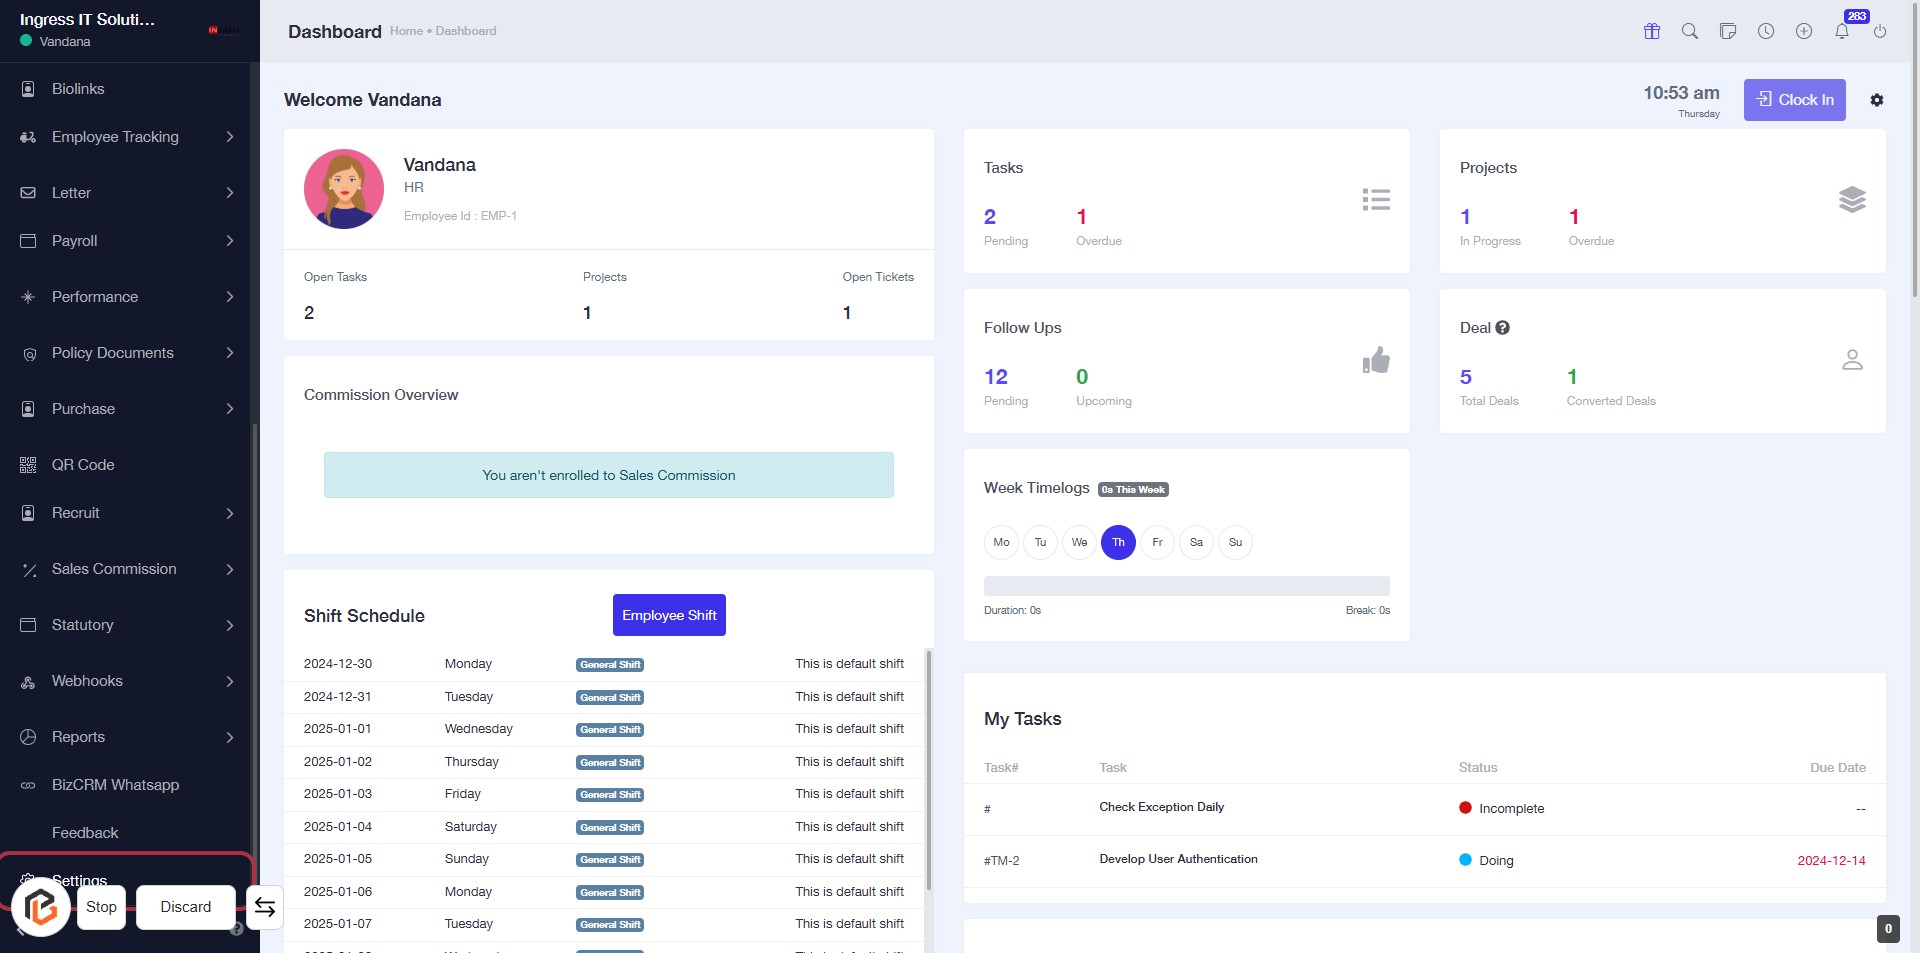
STEP 1: Click on "Settings" to Access Configuration Options
- Navigate to the left sidebar of the dashboard.
- Click on the Settings link to open the settings menu.
- This action will lead you to various configuration options for your account.
- Ensure to review all available settings for optimal customization.
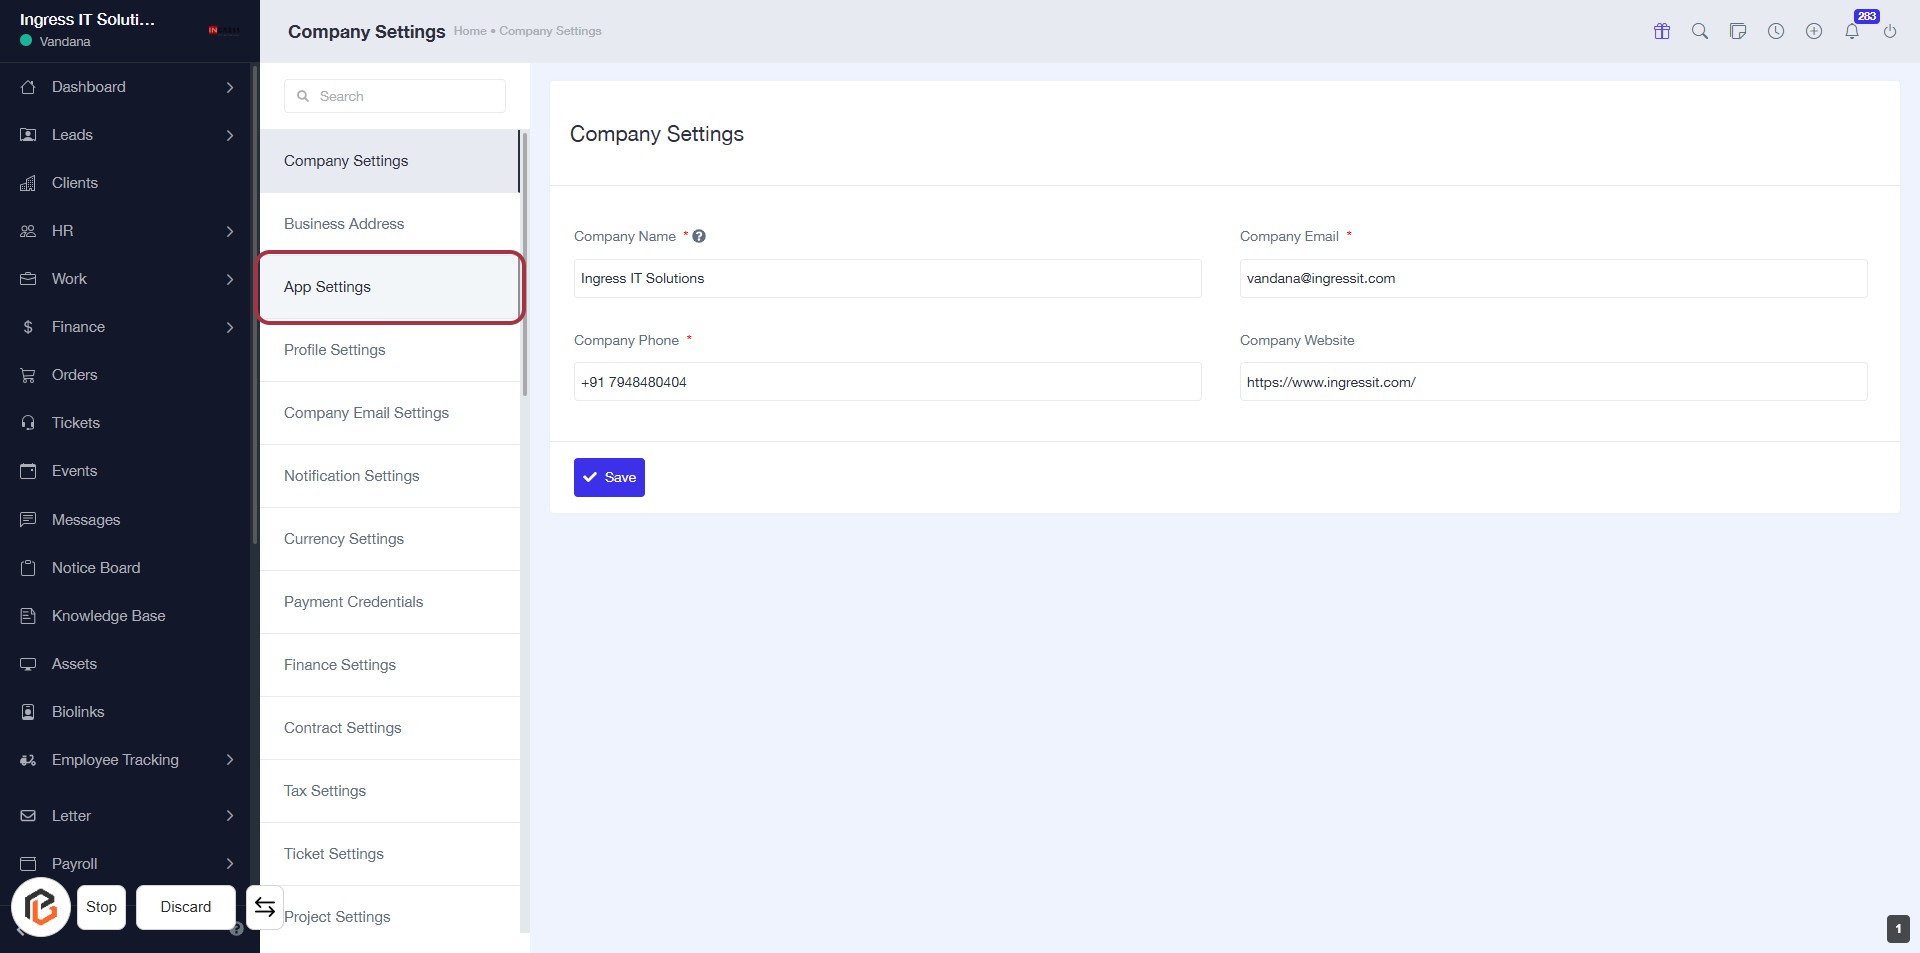
STEP 2: Click on "App Settings" to Access Company Configuration
- Navigate to the "App Settings" section in the left sidebar.
- Ensure you are on the Company Settings page.
- Fill in the required fields marked with an asterisk (*):
- Company Name
- Company Phone
- Company Email
- Optionally, provide the Company Website.
- Click "Save" to apply your changes.
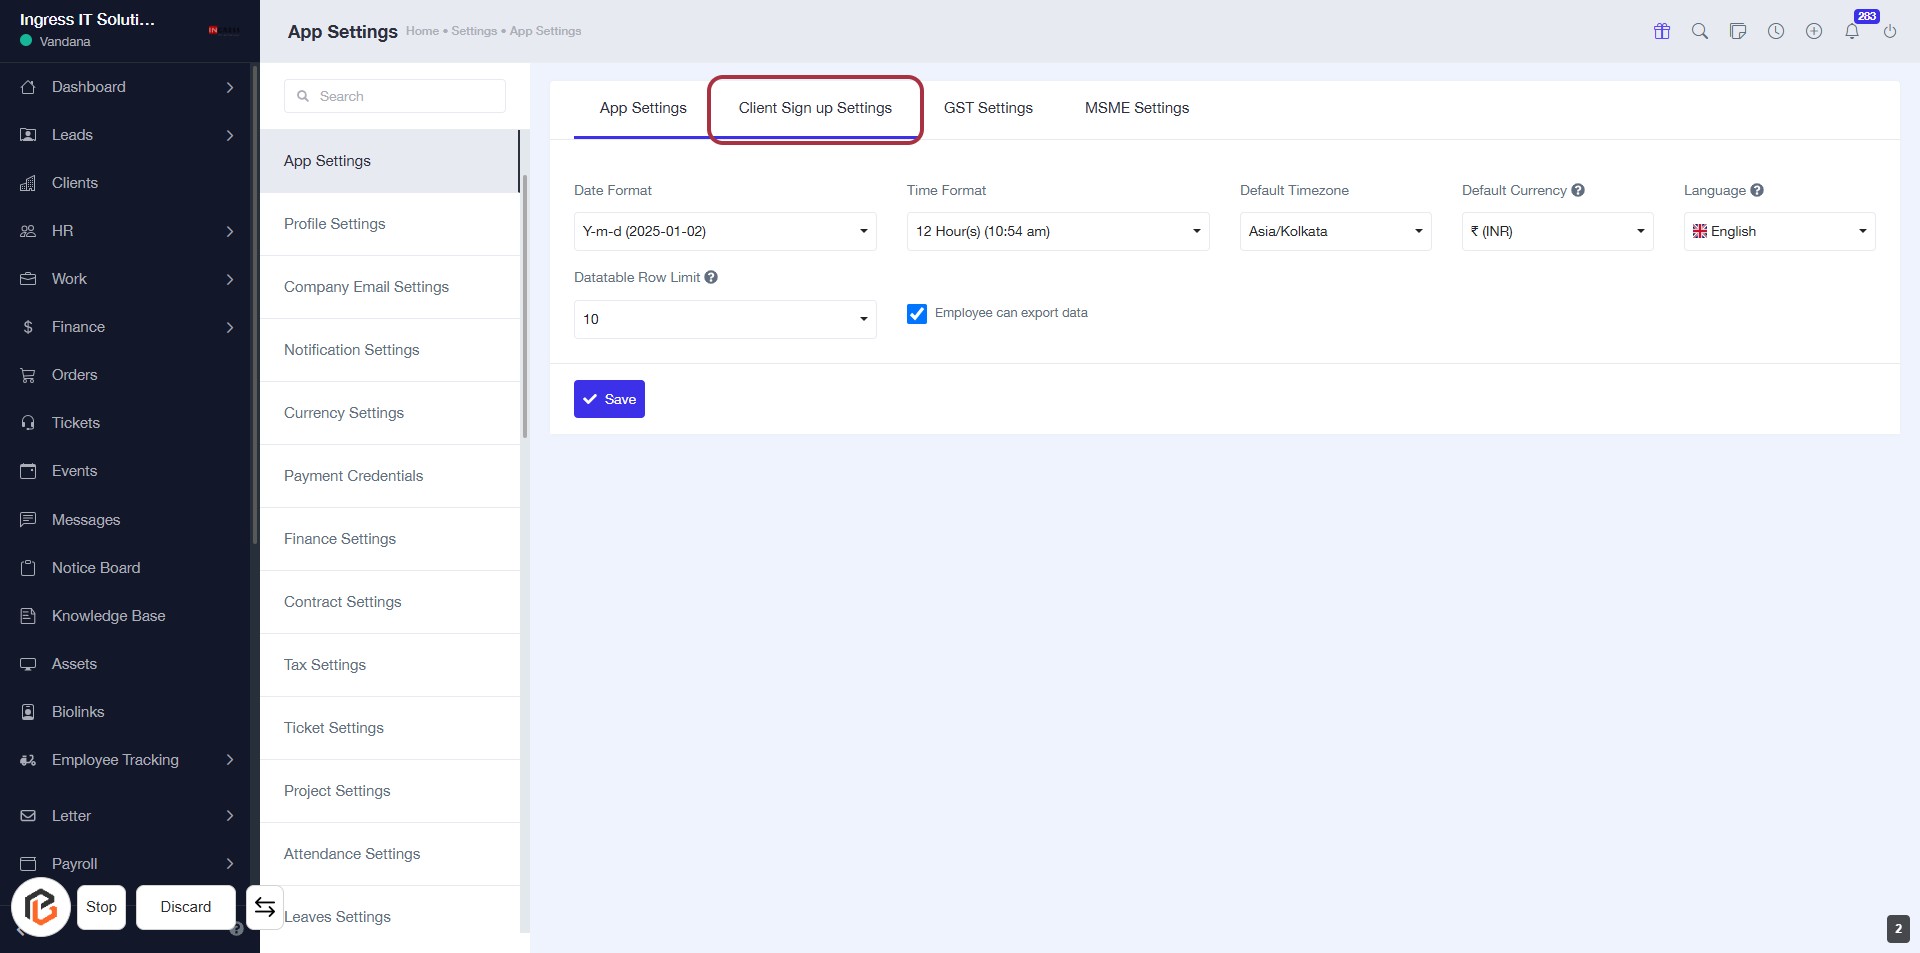
STEP 3: Click on "Client Sign up Settings"
- Navigate to the "Client Sign up Settings" tab in the App Settings.
- Ensure you review the following fields:
- Date Format: Choose your preferred date format.
- Time Format: Select the desired time format.
- Datatable Row Limit: Set the maximum number of rows displayed.
- Default Timezone: Specify the timezone.
- Default Currency: Choose the currency.
- Language: Select the preferred language.
- After making changes, proceed to the next step by clicking "Allow Client Sign Up."
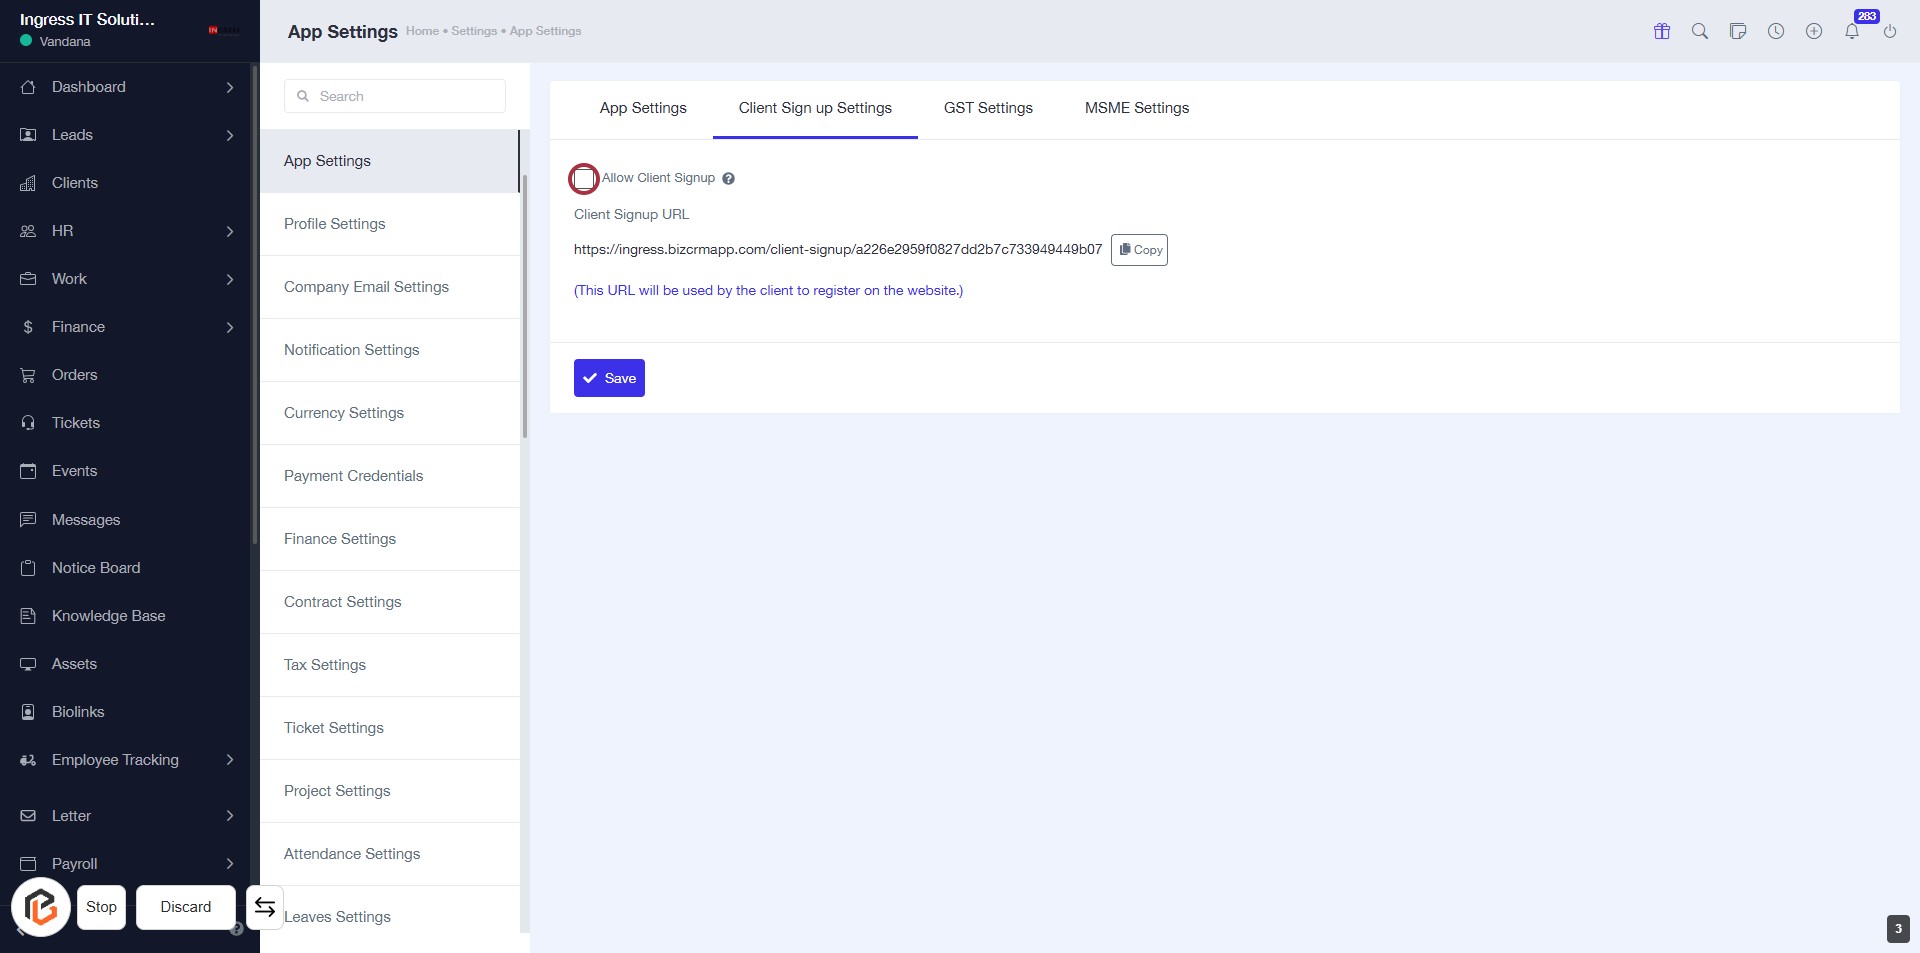
STEP 4: Click on "Allow Client Sign Up"
- Navigate to the "Client Sign Up Settings" section.
- Locate the "Allow Client Signup" input field.
- Click on the checkbox to enable client sign-up.
- Ensure the Client Signup URL is correctly displayed.
- Proceed to the next step by clicking on "Need admin approval after client sign up".
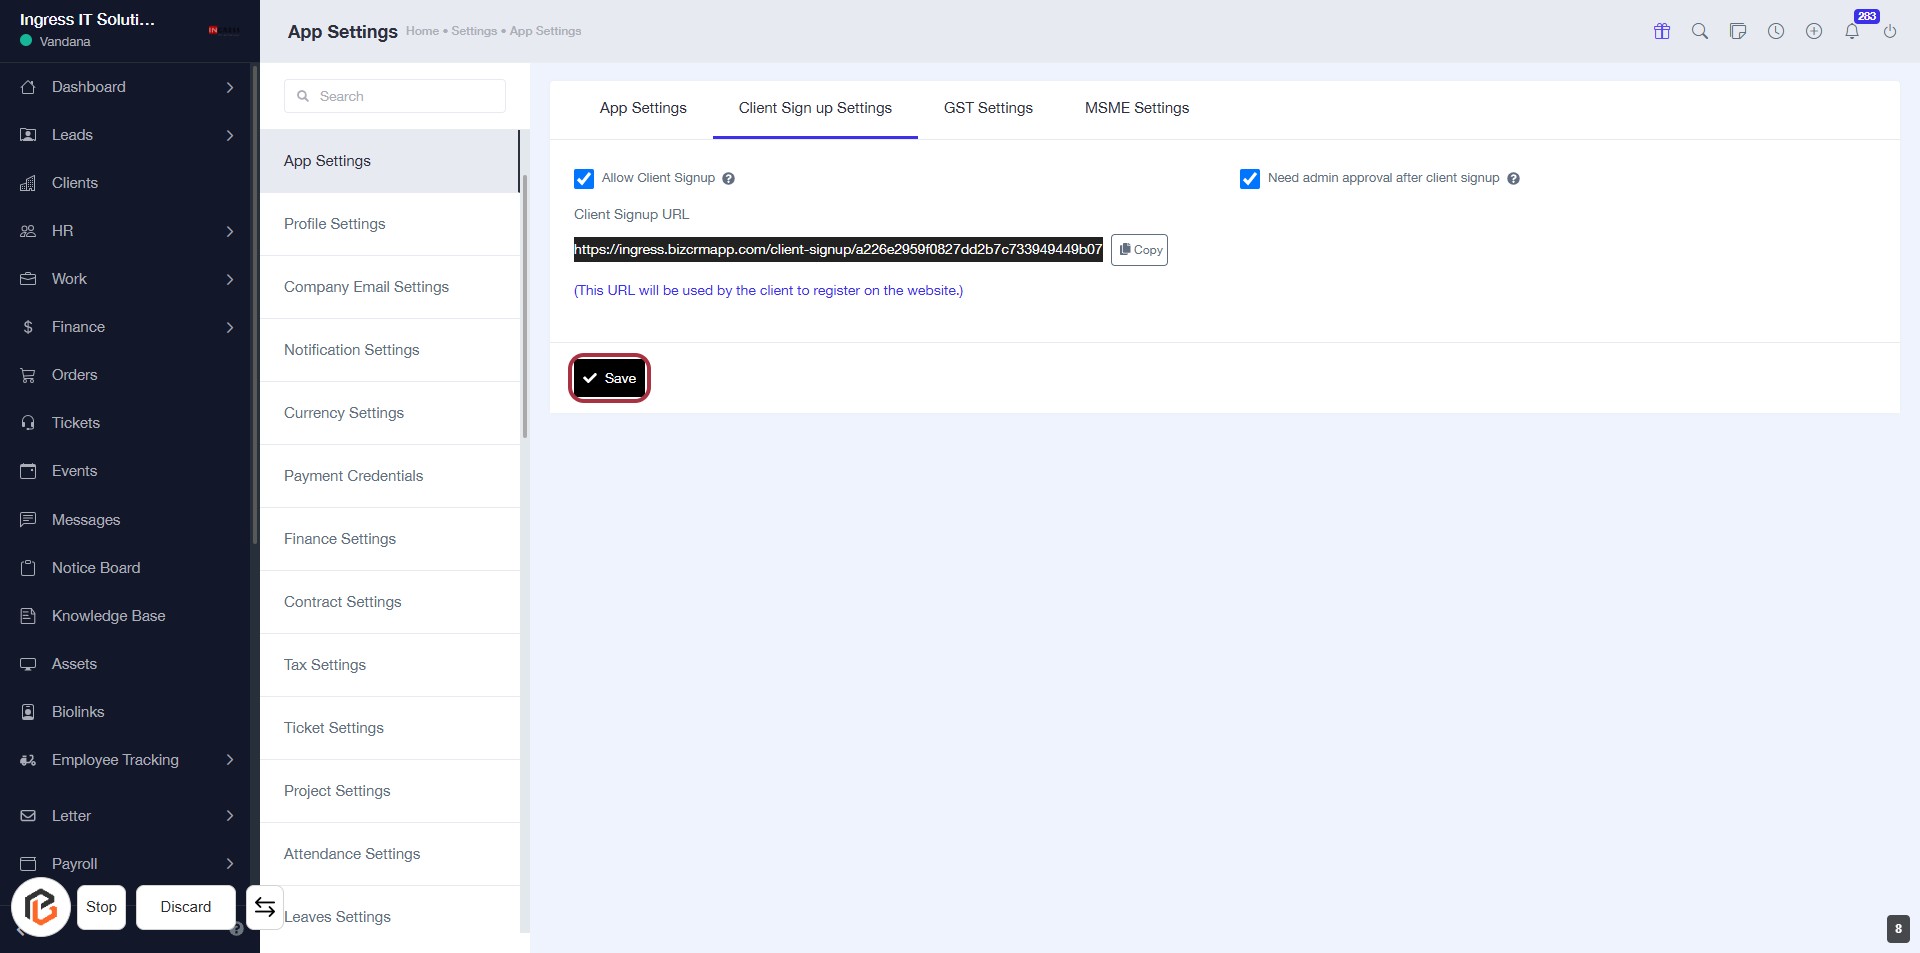
STEP 5: Click on "Need admin approval after client sign up"
- Ensure the "Need admin approval after client sign up" checkbox is selected.
- This setting requires admin approval for new client sign-ups.
- After making changes, remember to click the "Save" button to apply your settings.

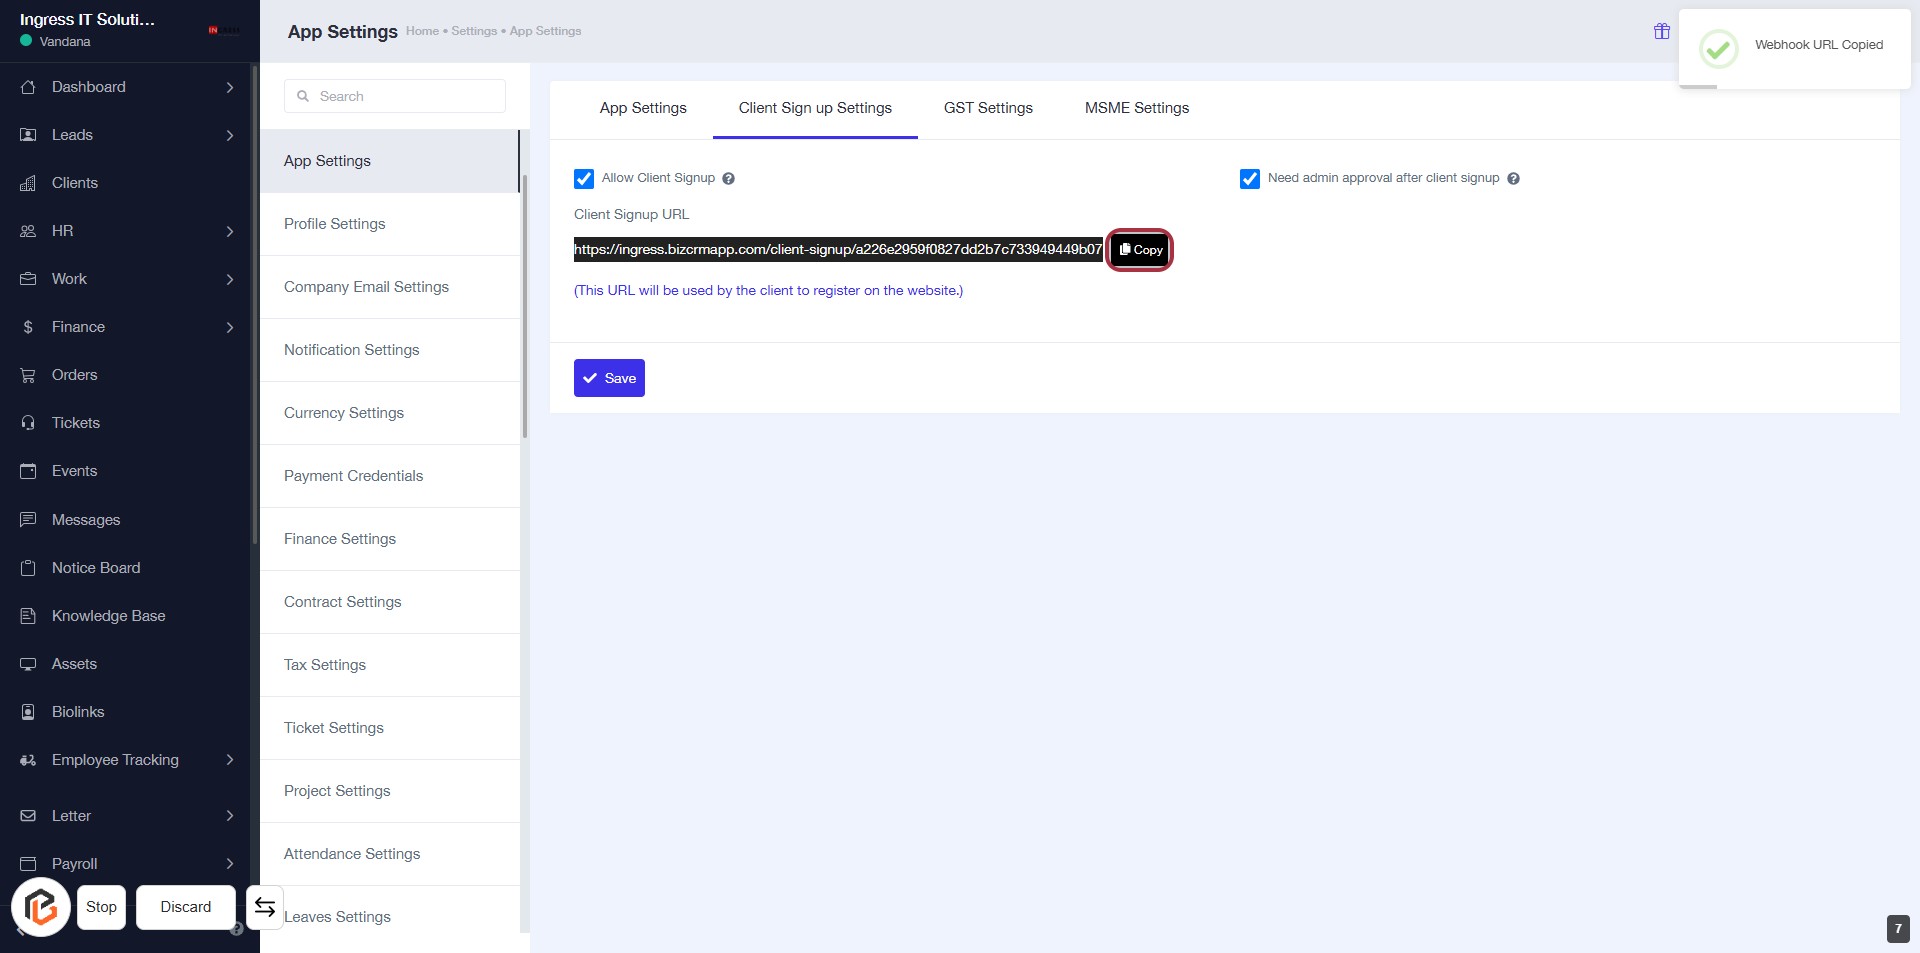
STEP 6: Click on "Copy Icon" to Copy Client Signup URL
- Locate the Client Signup URL section.
- Click on the Copy icon next to the URL to copy it to your clipboard.
- Ensure the URL is copied successfully (you may see a notification confirming the action).
- Proceed to the next step by clicking on the Save Button.
STEP 7: Click on "Save" to Confirm Client Signup Settings
- Ensure all required fields are filled out.
- Locate the Save button highlighted in red.
- Click on the Save button to confirm your settings.
- Review any confirmation messages that appear after saving.