Comprehensive Guide to Configuring Your Dashboard Finance and Invoice Settings
23 mins read · Updated 29 Sep, 2025
STEP 1: Click on "Settings" to Access Configuration Options
- Navigate to the left sidebar of the dashboard.
- Click on the Settings link to open configuration options.
- Ensure you are ready to proceed to the next step by accessing Finance Settings after this.
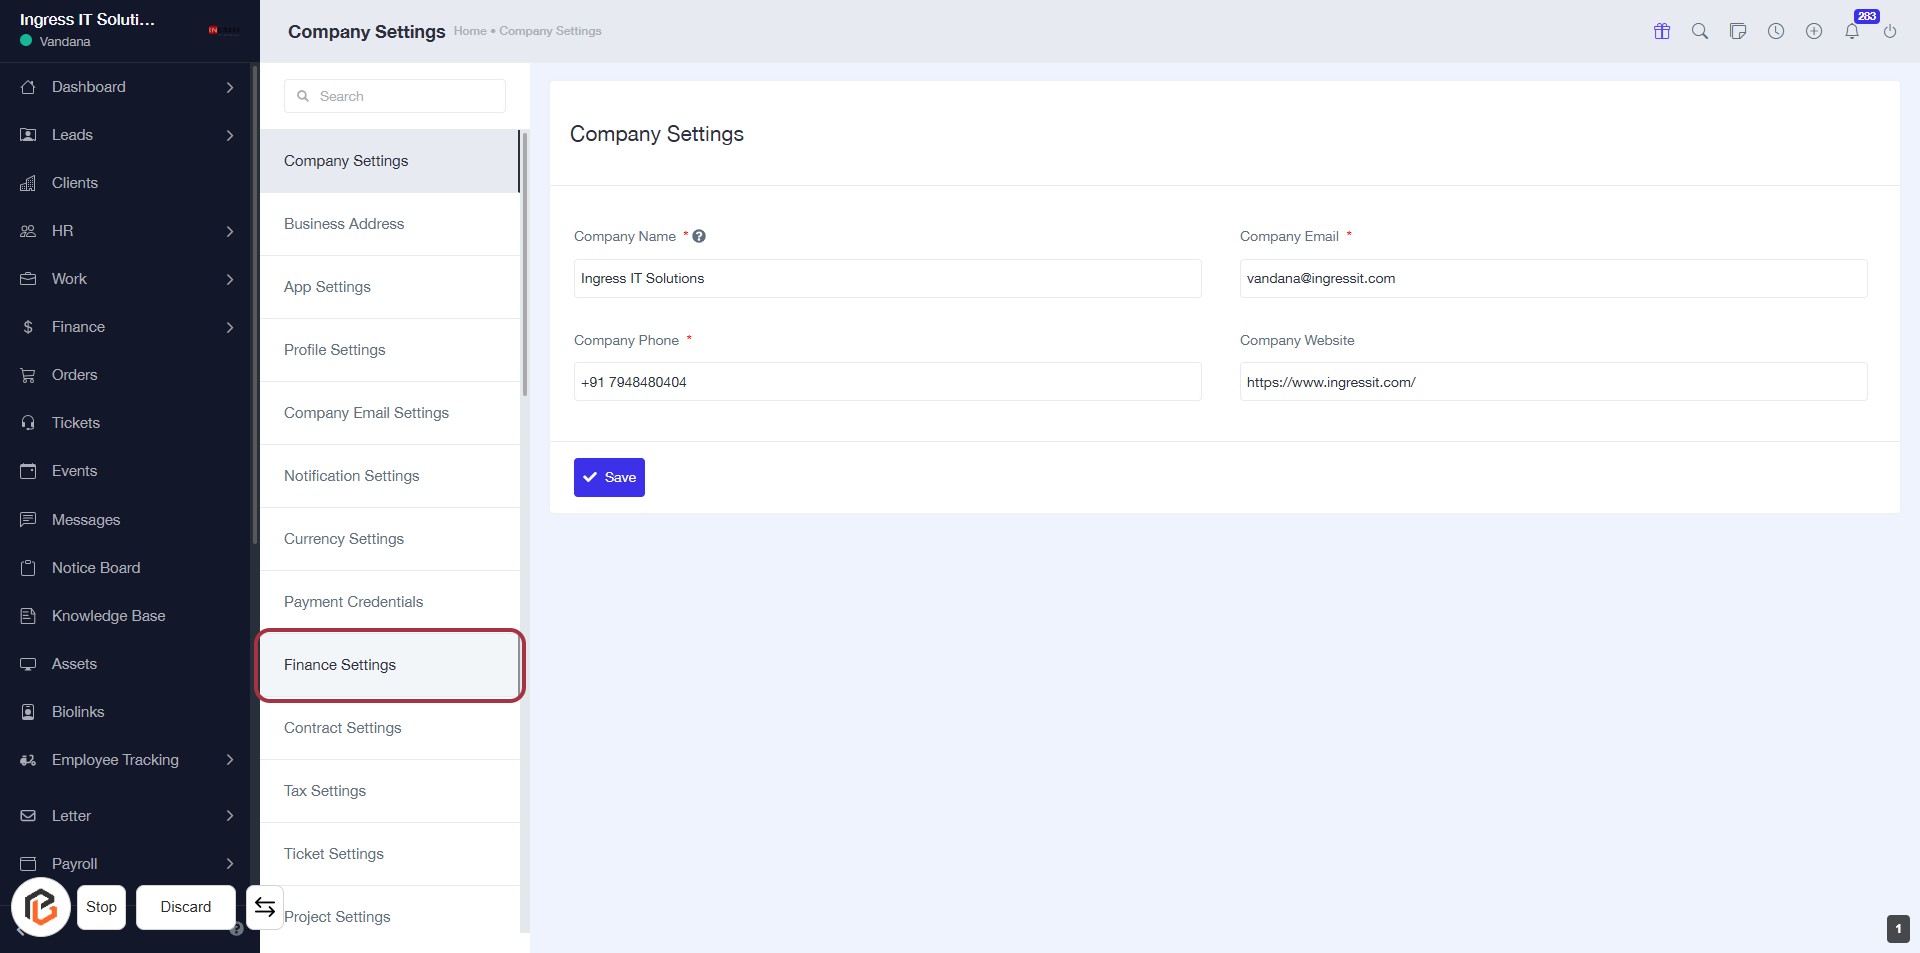
STEP 2: Click on "Finance Settings" to Access Financial Configuration
- Click on the Finance Settings link in the sidebar to open the financial configuration options.
- Ensure you fill in the required fields marked with an asterisk (*) in the Company Settings form.
- Review the fields for Company Name, Company Phone, Company Email, and Company Website.
- After entering the necessary information, click Save to apply changes.
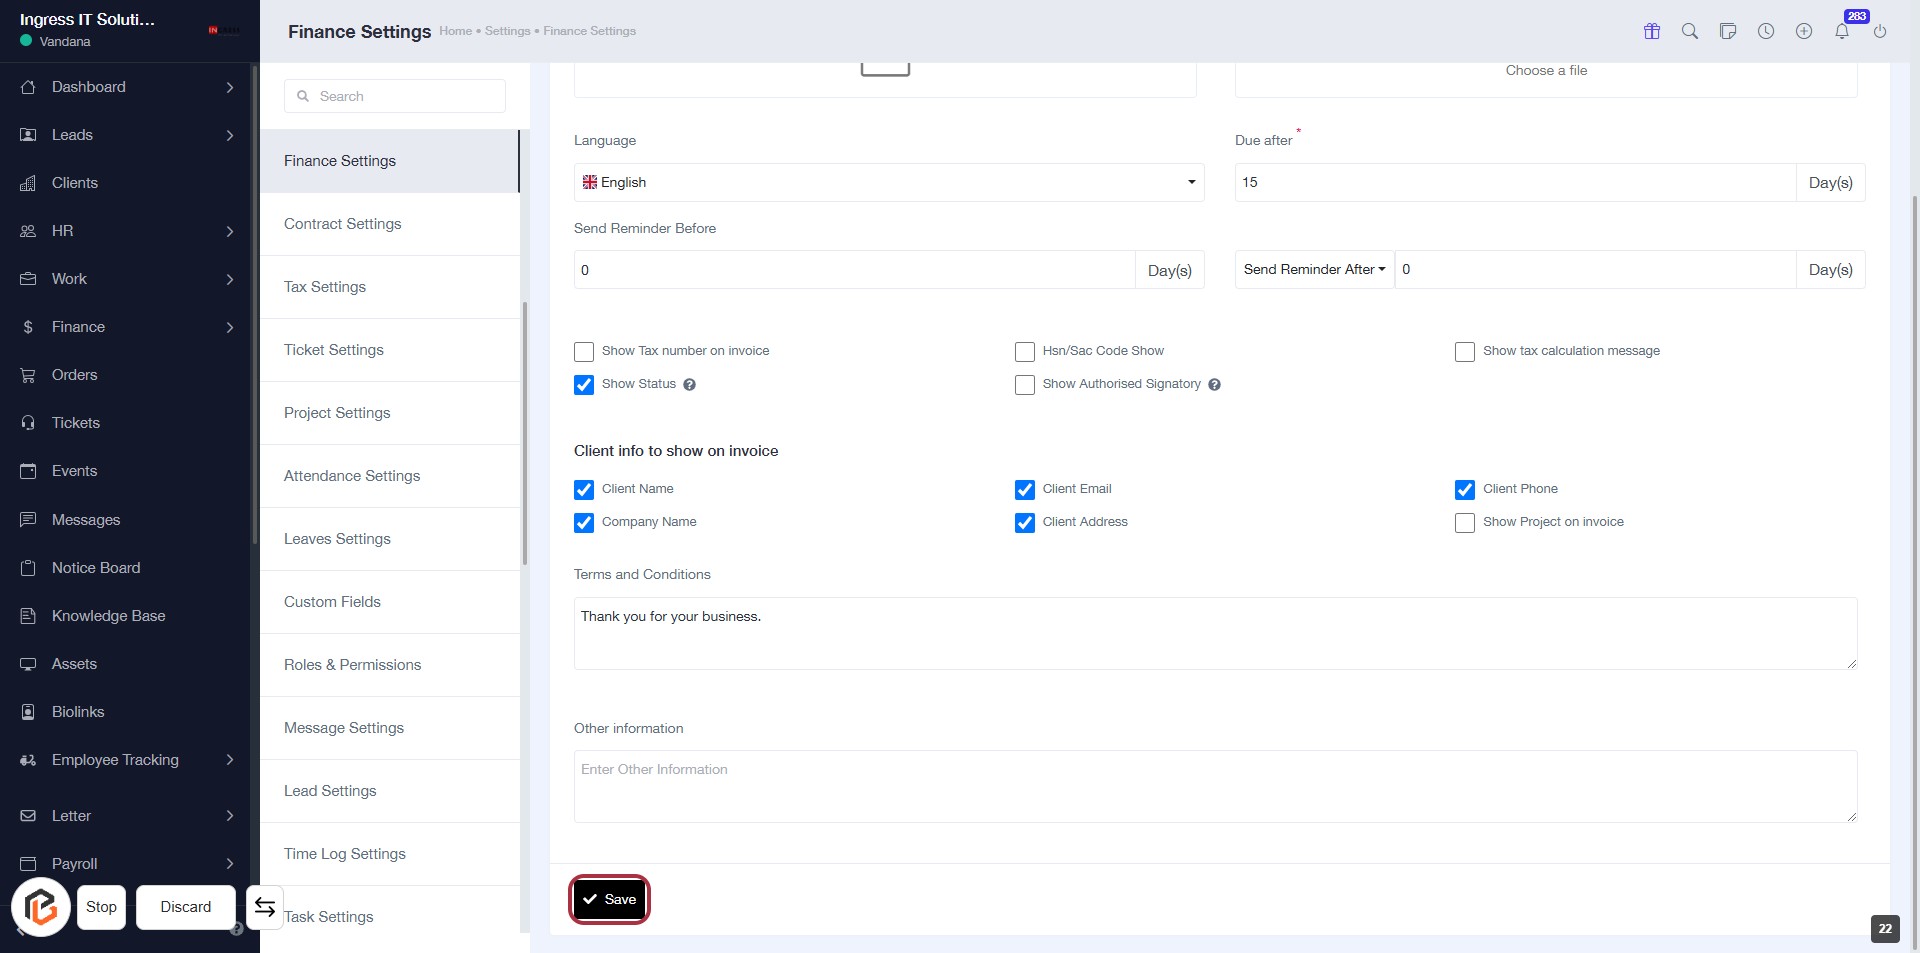
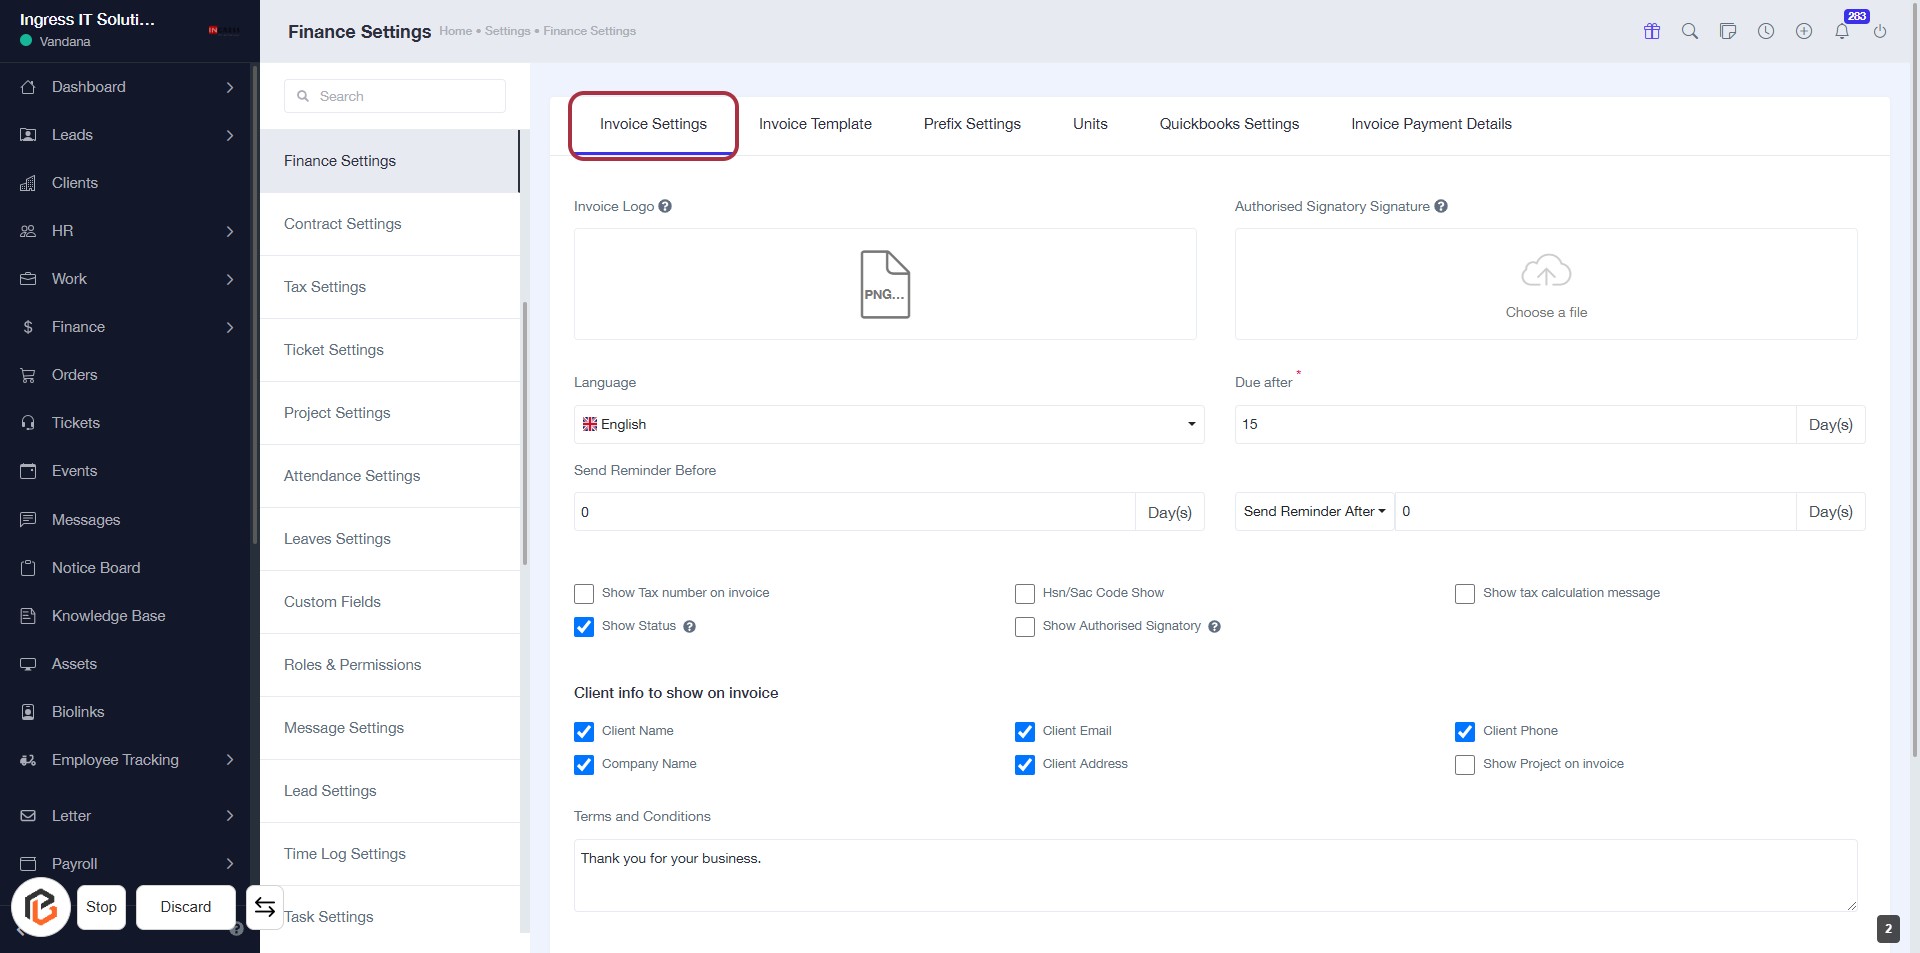
STEP 3: Select "Invoice Settings"
- Click on the Invoice Settings tab to access the invoice configuration options.
- Fill in the required fields:
- Invoice Logo: Upload your logo.
- Language: Choose your preferred language.
- Due After: Specify the number of days until payment is due (required).
- Optional settings include:
- Send Reminder Before: Set reminders for clients.
- Show Tax Number on Invoice: Check if applicable.
- Client Info: Select what client details to display on the invoice.
STEP 4: Upload Invoice Logo
- Click on the "Invoice Logo" area highlighted in red to upload your logo.
- Ensure the logo file is in PNG format.
- After uploading, verify the logo appears correctly in the designated area.
- Proceed to the next step to upload the Authorised Signatory Signature.

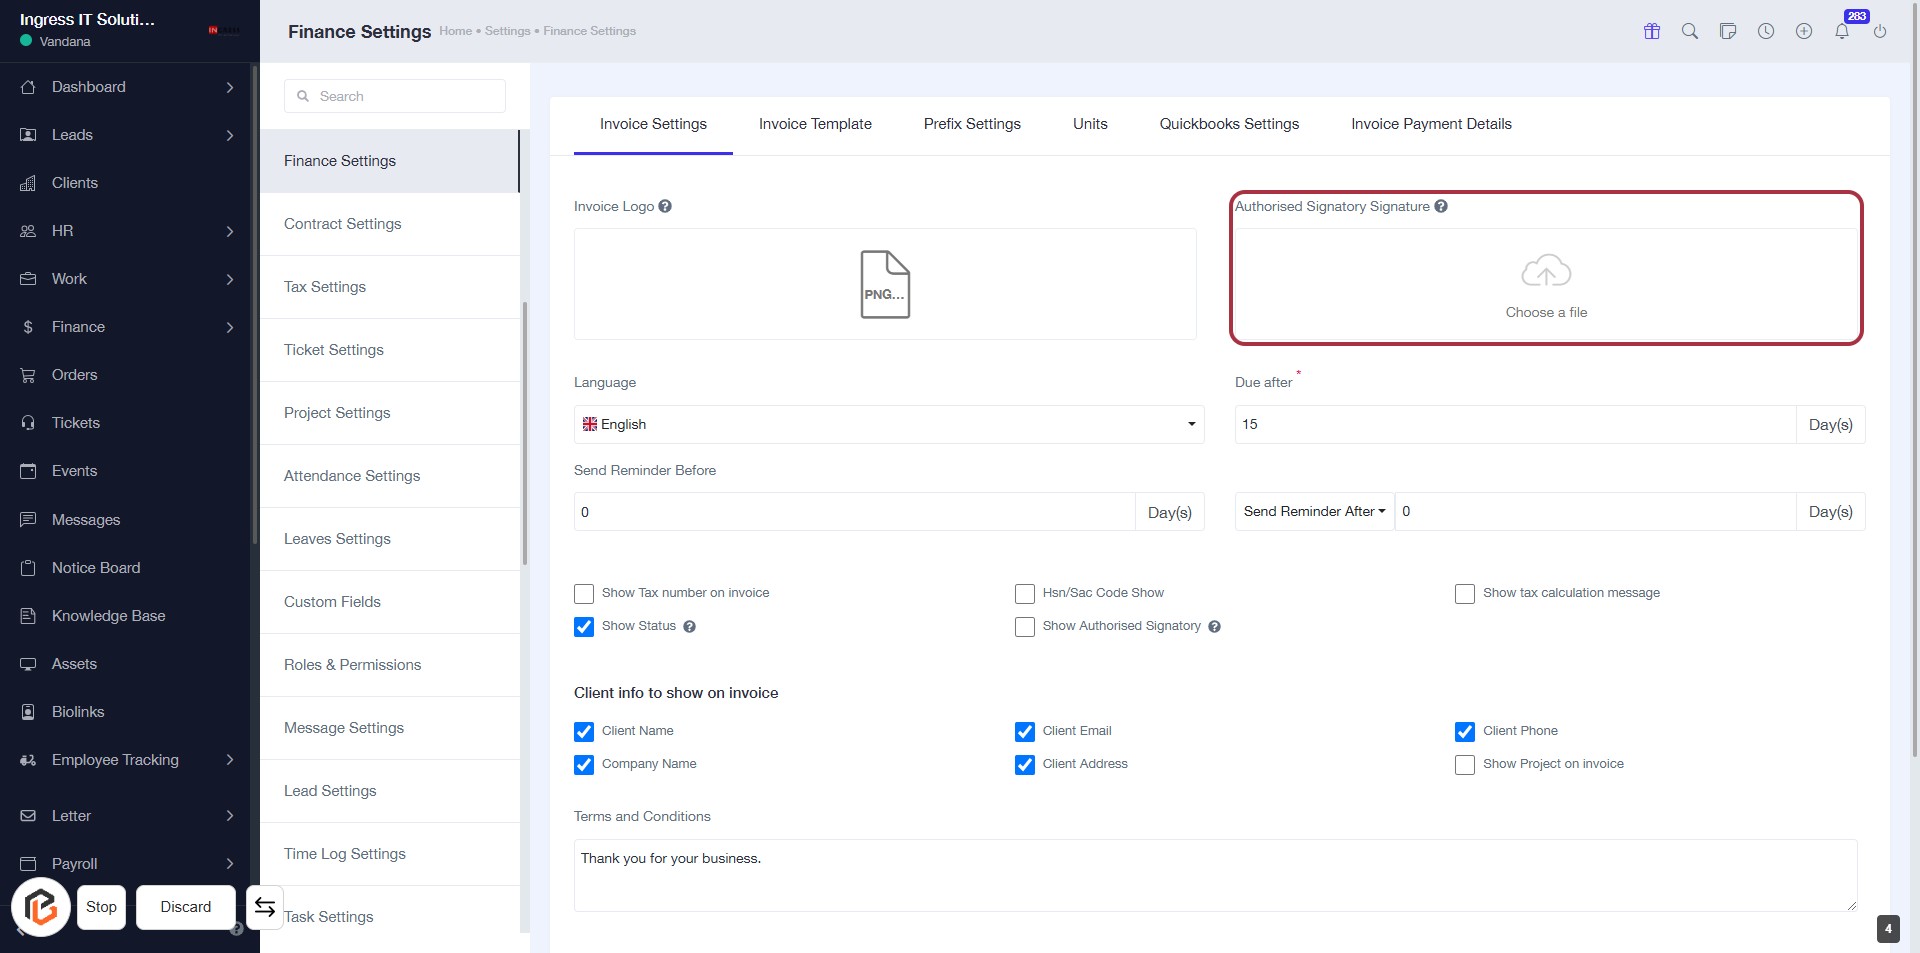
STEP 5: Click to Upload Authorised Signatory Signature
- Navigate to the "Authorised Signatory Signature" section.
- Click on the highlighted area labeled "Choose a file."
- Select the file containing the authorised signatory's signature from your device.
- Ensure the file format is supported (e.g., PNG, JPG).
- Proceed to the next step after uploading.
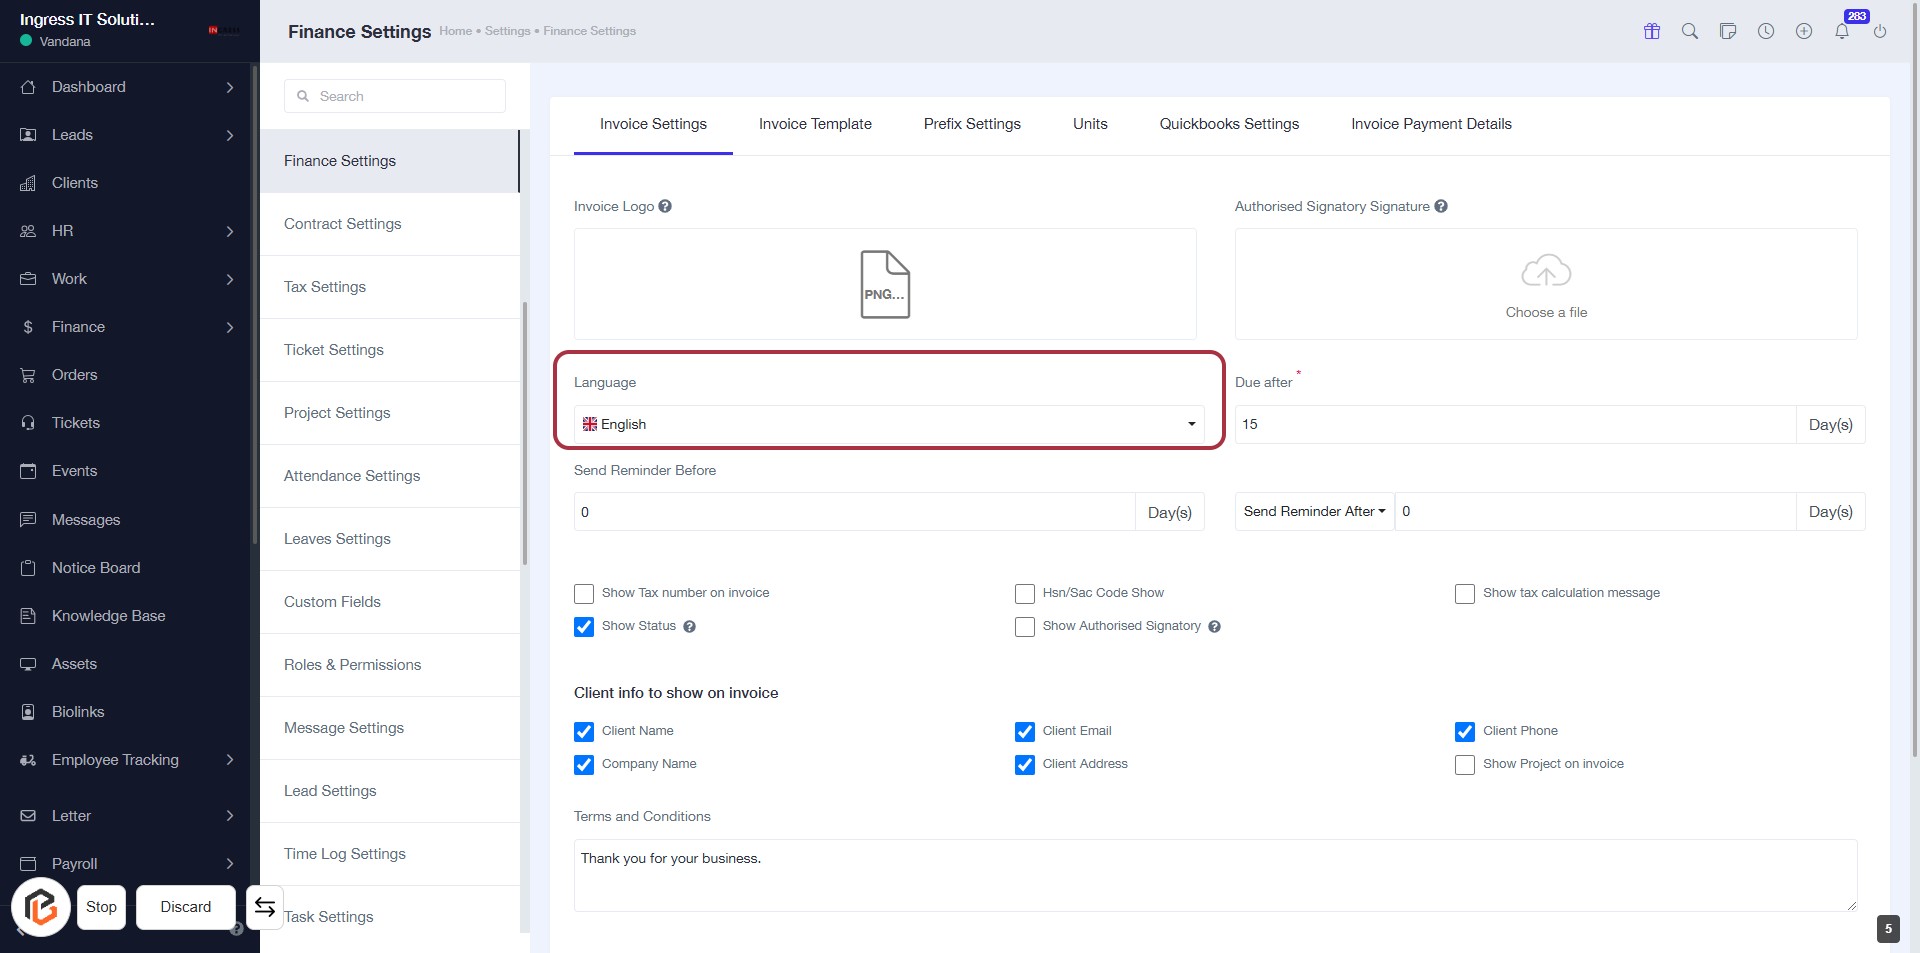
STEP 6: Select Language for Invoice Settings
- Click on the Language field highlighted in red.
- Choose your preferred language from the dropdown menu.
- Ensure to review other fields like Send Reminder Before and Due After for completeness.
- Optional inputs are marked with an asterisk (*).
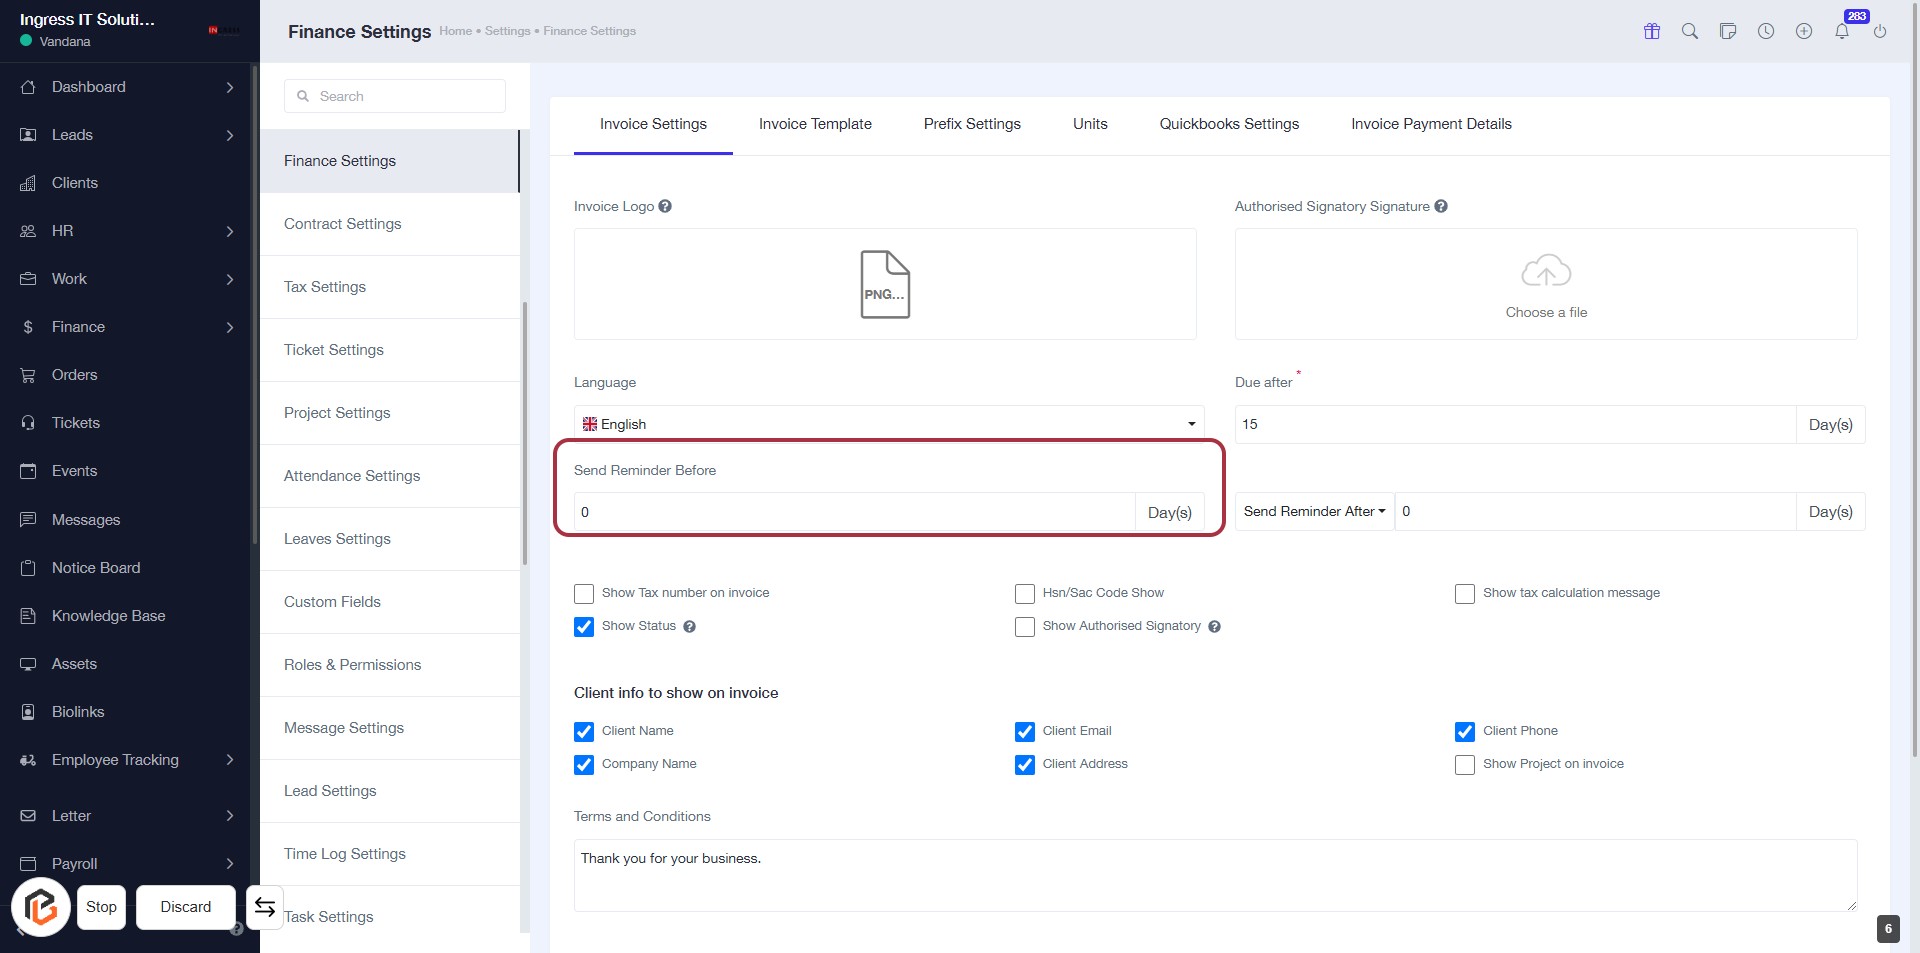
STEP 7: Click "Send Reminder Before" to Set Reminder Preferences
- Click on the "Send Reminder Before" section to set your reminder preferences.
- Enter the number of days before the invoice due date that you want the reminder to be sent.
- Ensure the input field is filled correctly as this will affect your reminder settings.
- Review other related settings in the invoice configuration for completeness.
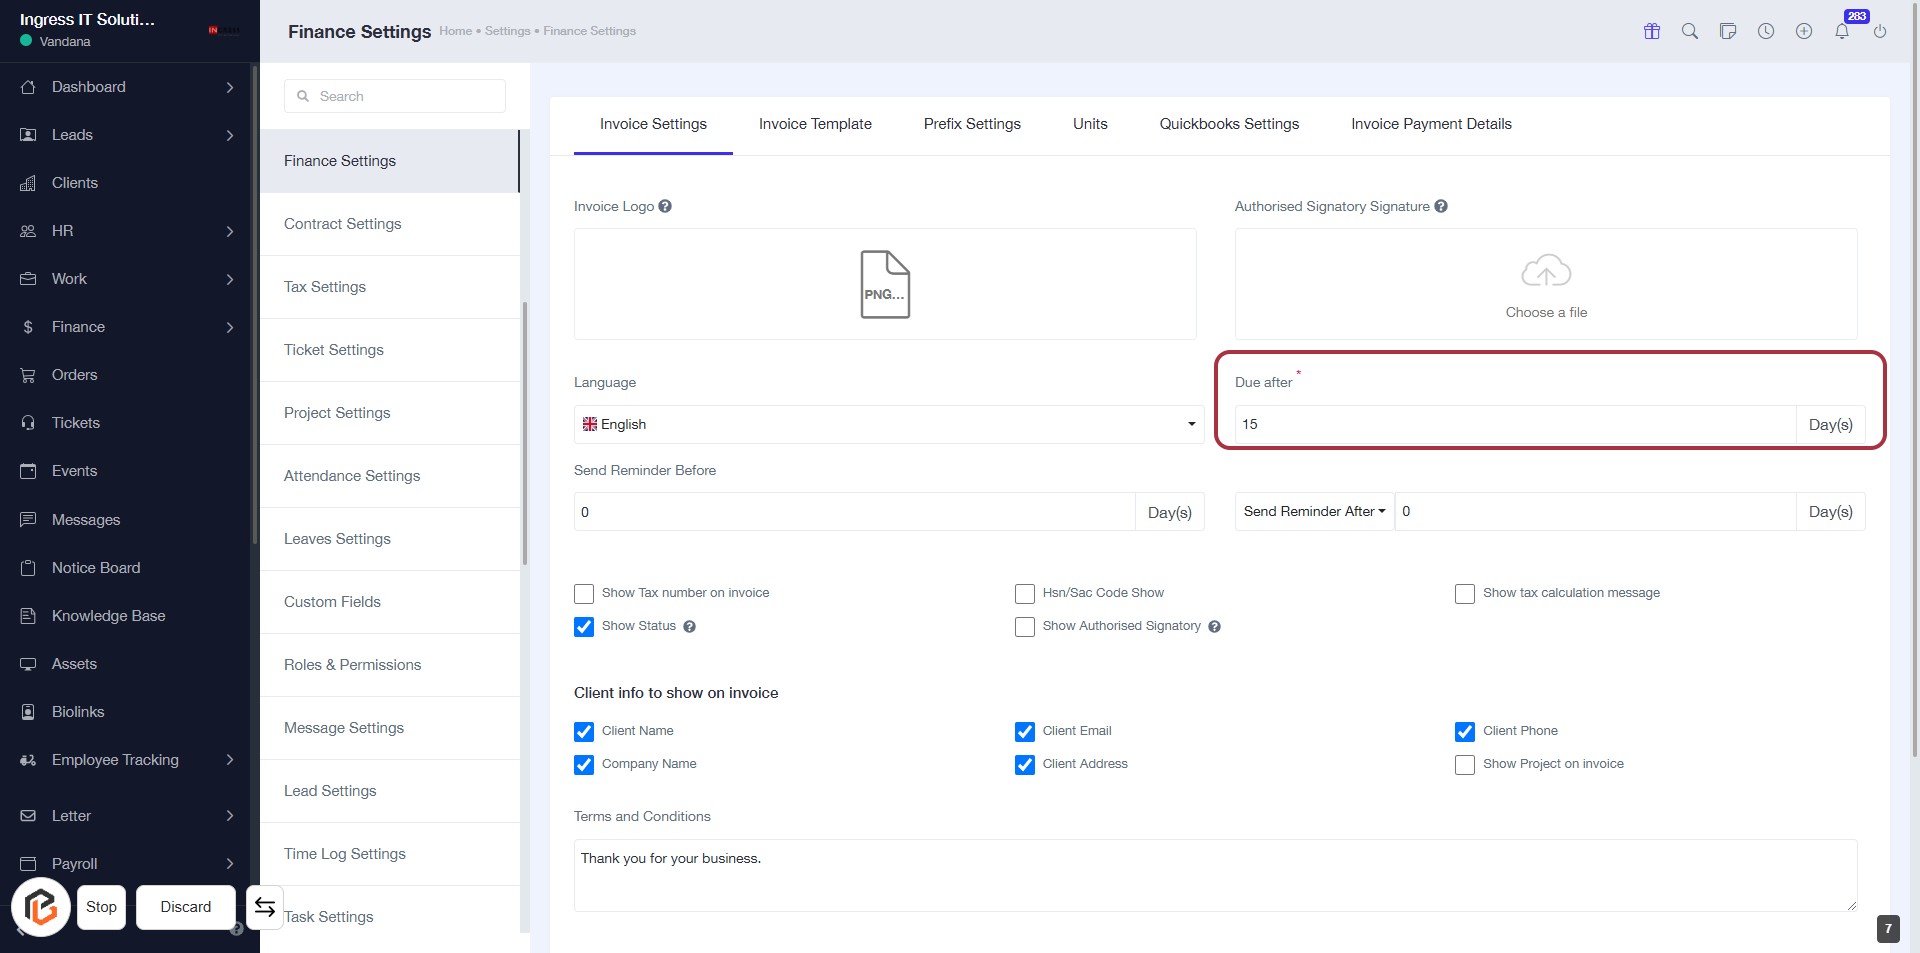
STEP 8: Click "Due After" to Set Invoice Payment Terms
- Locate the "Due after" field in the Invoice Settings section.
- Click on the field to input the number of days after which the invoice is due (required).
- Ensure the field is marked with an asterisk (*) indicating it's mandatory.
- Review other related settings for reminders and payment terms.
STEP 9: Click "Send Reminder After" to Configure Reminder Settings
- Click the "Send Reminder After" button to open the reminder settings.
- Ensure to fill in the "Send Reminder Before" and "Due After" fields as needed.
- Review optional settings like "Show Tax number on invoice" and "Show Status".
- Complete any additional fields required for your invoice settings.

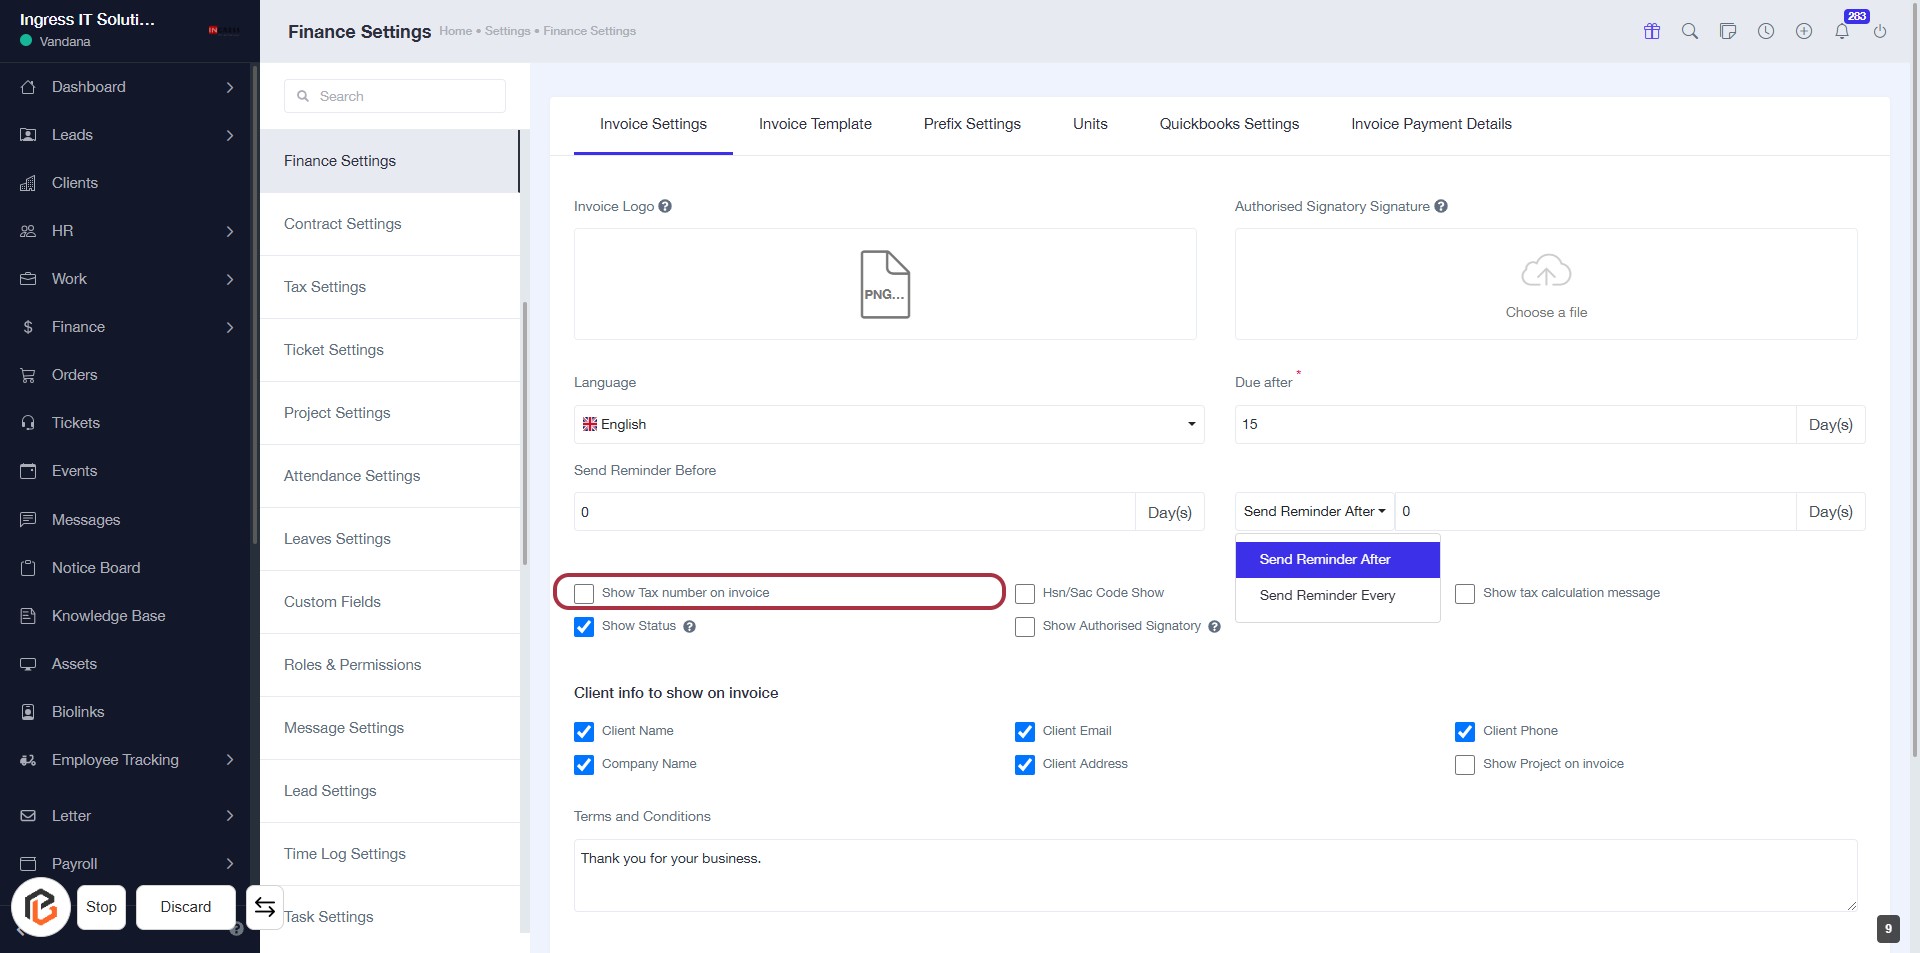
STEP 10: Select "Show Tax number on invoice"
- Click on the checkbox labeled "Show Tax number on invoice" to enable it.
- Ensure that any required fields marked with an asterisk (*) are filled out.
- Review other options available in the invoice settings for completeness.
- Proceed to the next step by selecting "Show Status."
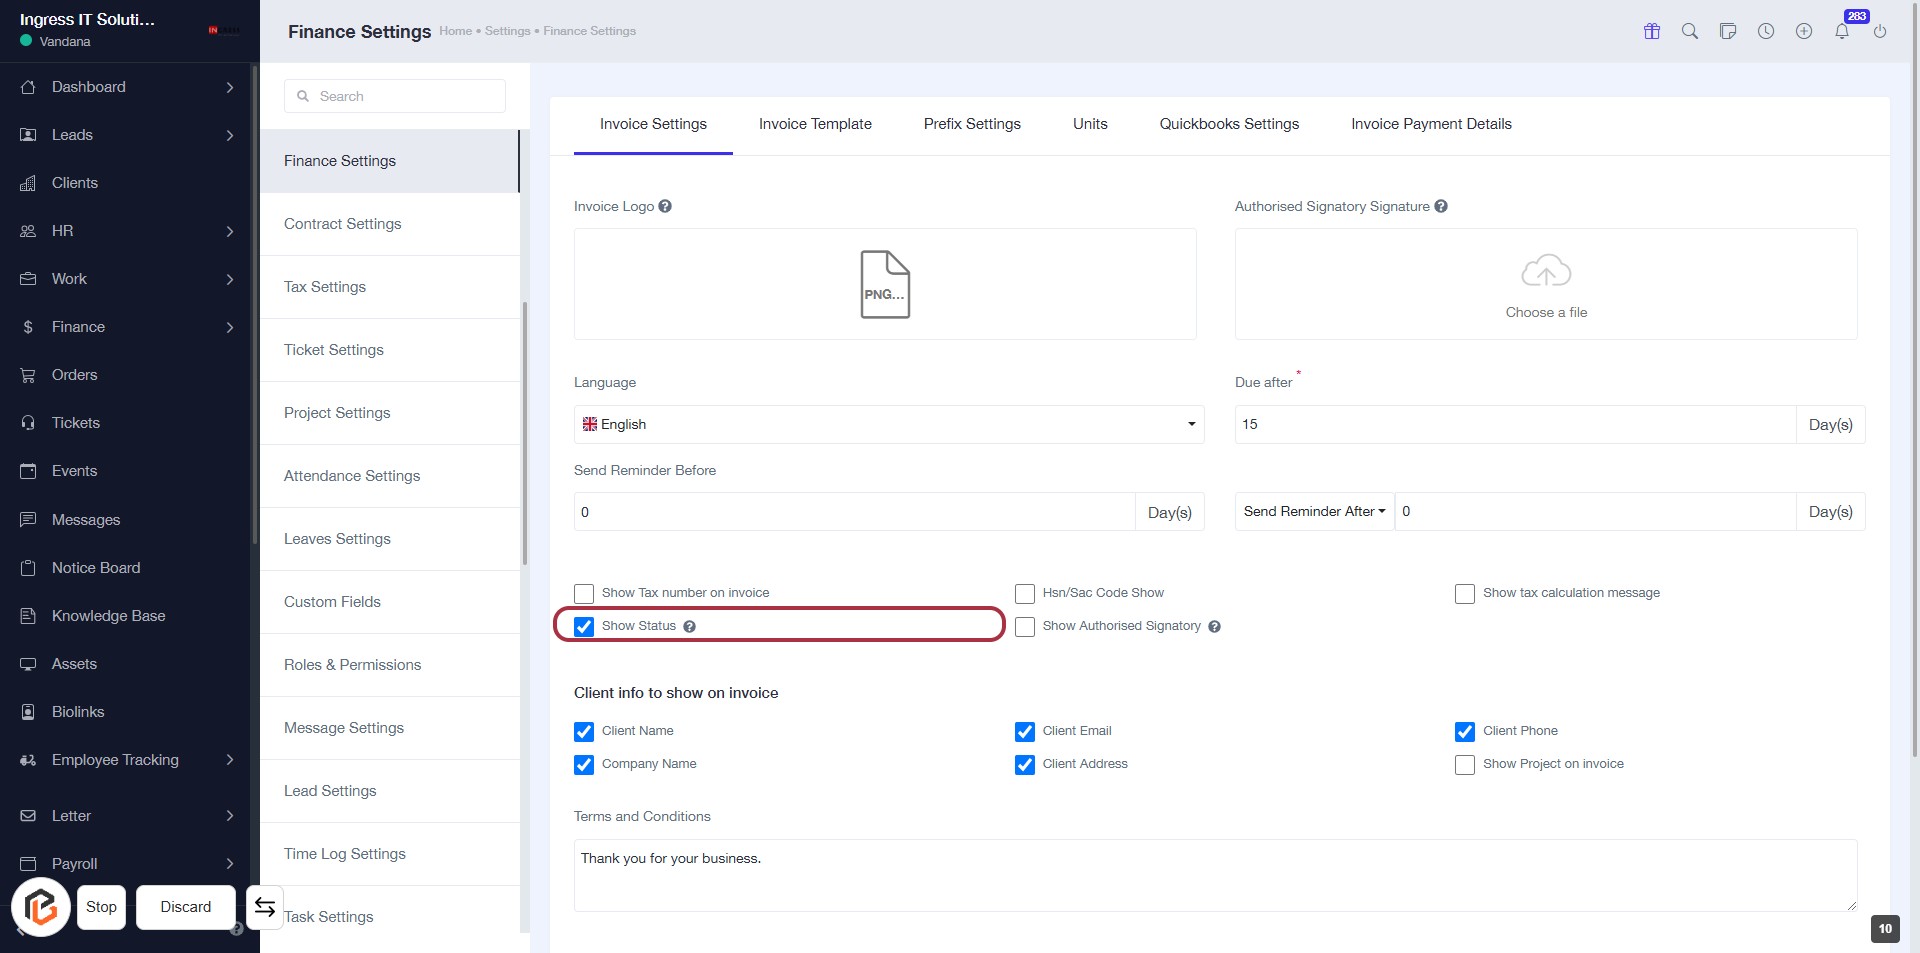
STEP 11: Select "Show Status"
- Click on the "Show Status" checkbox to enable it.
- This option allows you to display the status on the invoice.
- Ensure other relevant fields are filled out as needed.
- Review the settings before proceeding to the next step.
STEP 12: Select "Hsn/Sac Code Show"
- Click on the "Hsn/Sac Code Show" option to enable or disable its visibility on invoices.
- Ensure that other relevant settings, such as "Show Tax number on invoice" and "Show Status," are also configured as needed.
- Review the "Client info to show on invoice" section for additional options.
- Proceed to the next step to select "Show Authorised Signatory."

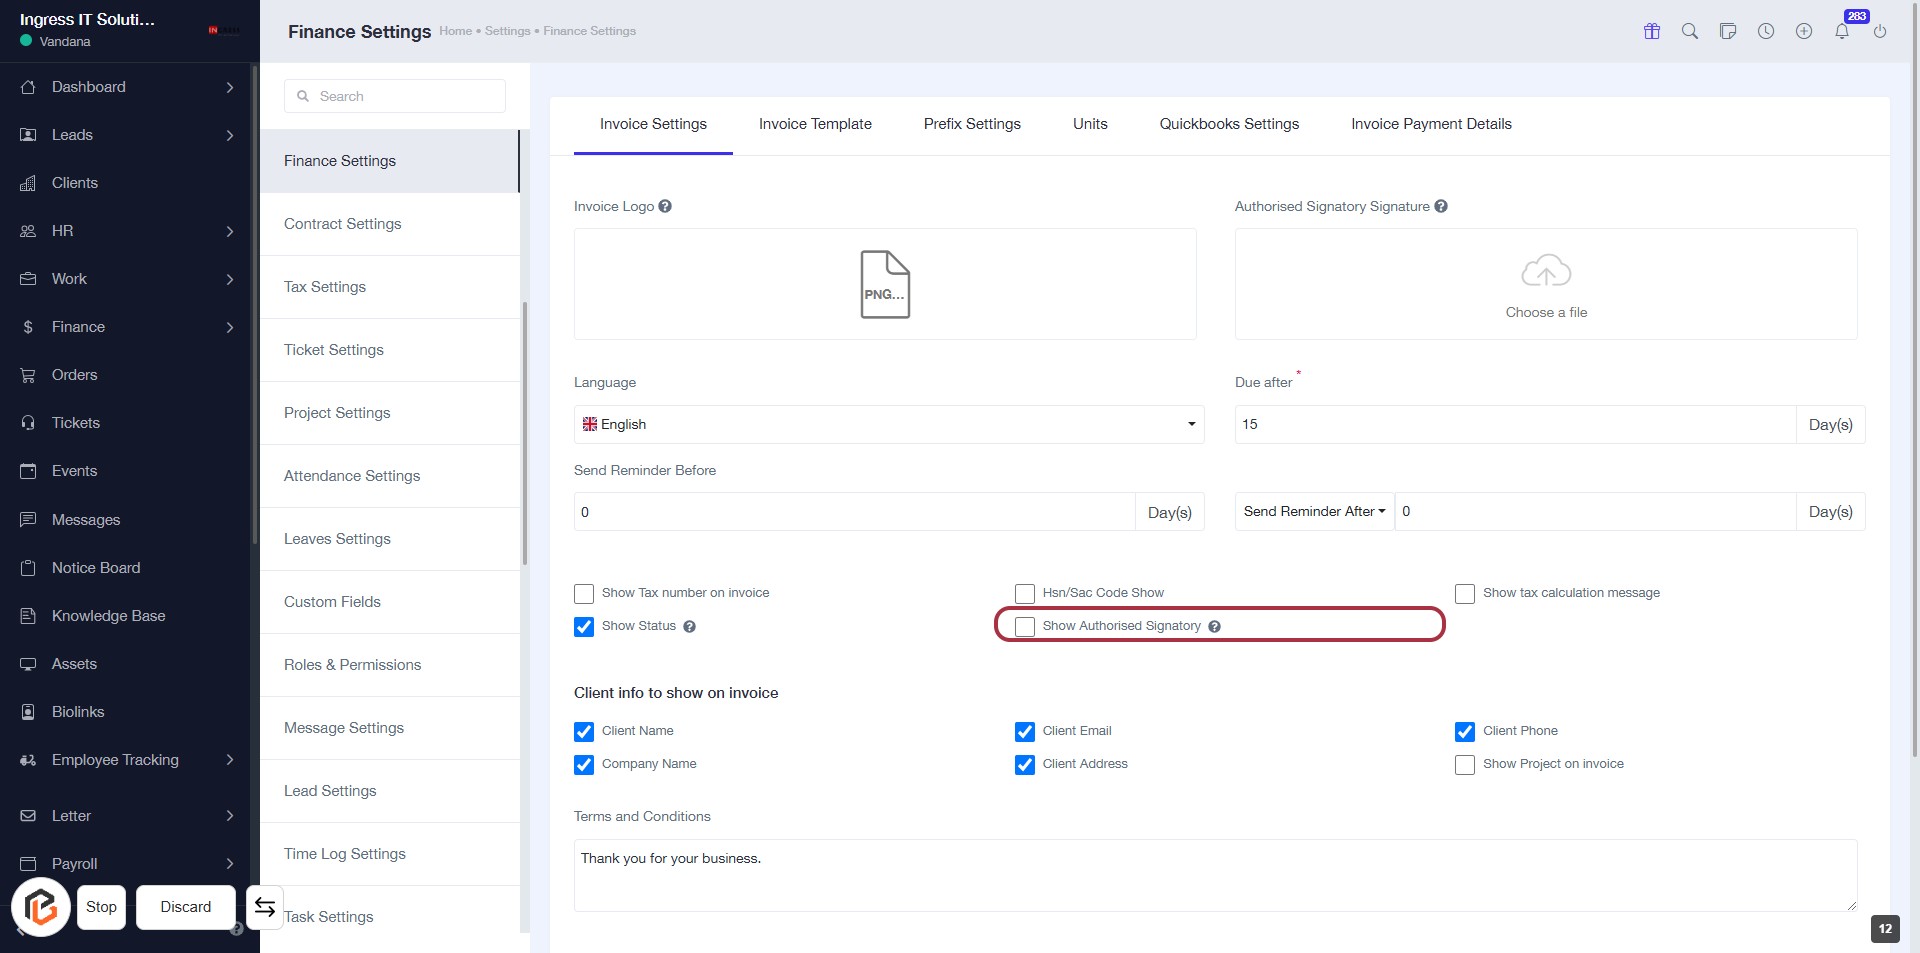
STEP 13: Select "Show Authorised Signatory"
- Click on the "Show Authorised Signatory" option in the Invoice Settings section.
- Ensure that the checkbox is selected to include the authorized signatory on invoices.
- Review other related options like "Show Tax number on invoice" and "Show Status" for completeness.
- Proceed to the next step by selecting "Show tax calculation message."
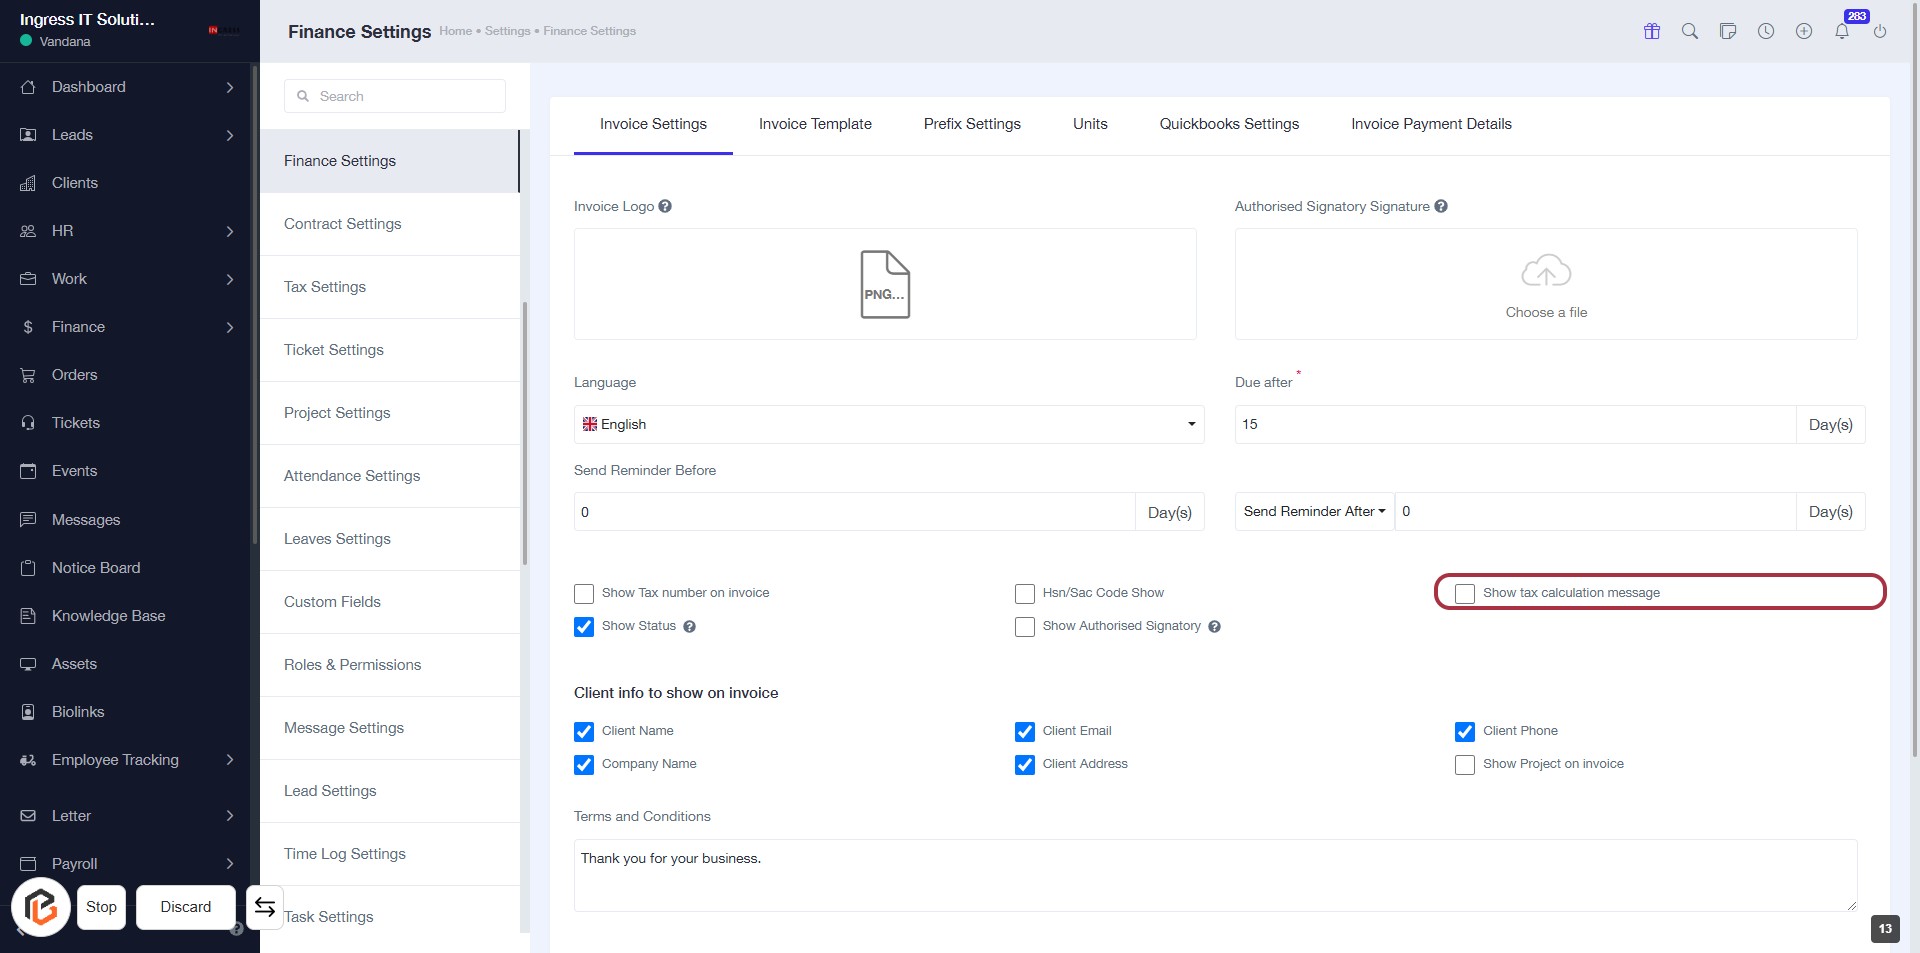
STEP 14: Select "Show tax calculation message"
- Click on the checkbox labeled Show tax calculation message to enable or disable the tax calculation message on invoices.
- Ensure that any required fields marked with an asterisk (*) are filled out before proceeding.
- Review other options in the invoice settings for completeness.
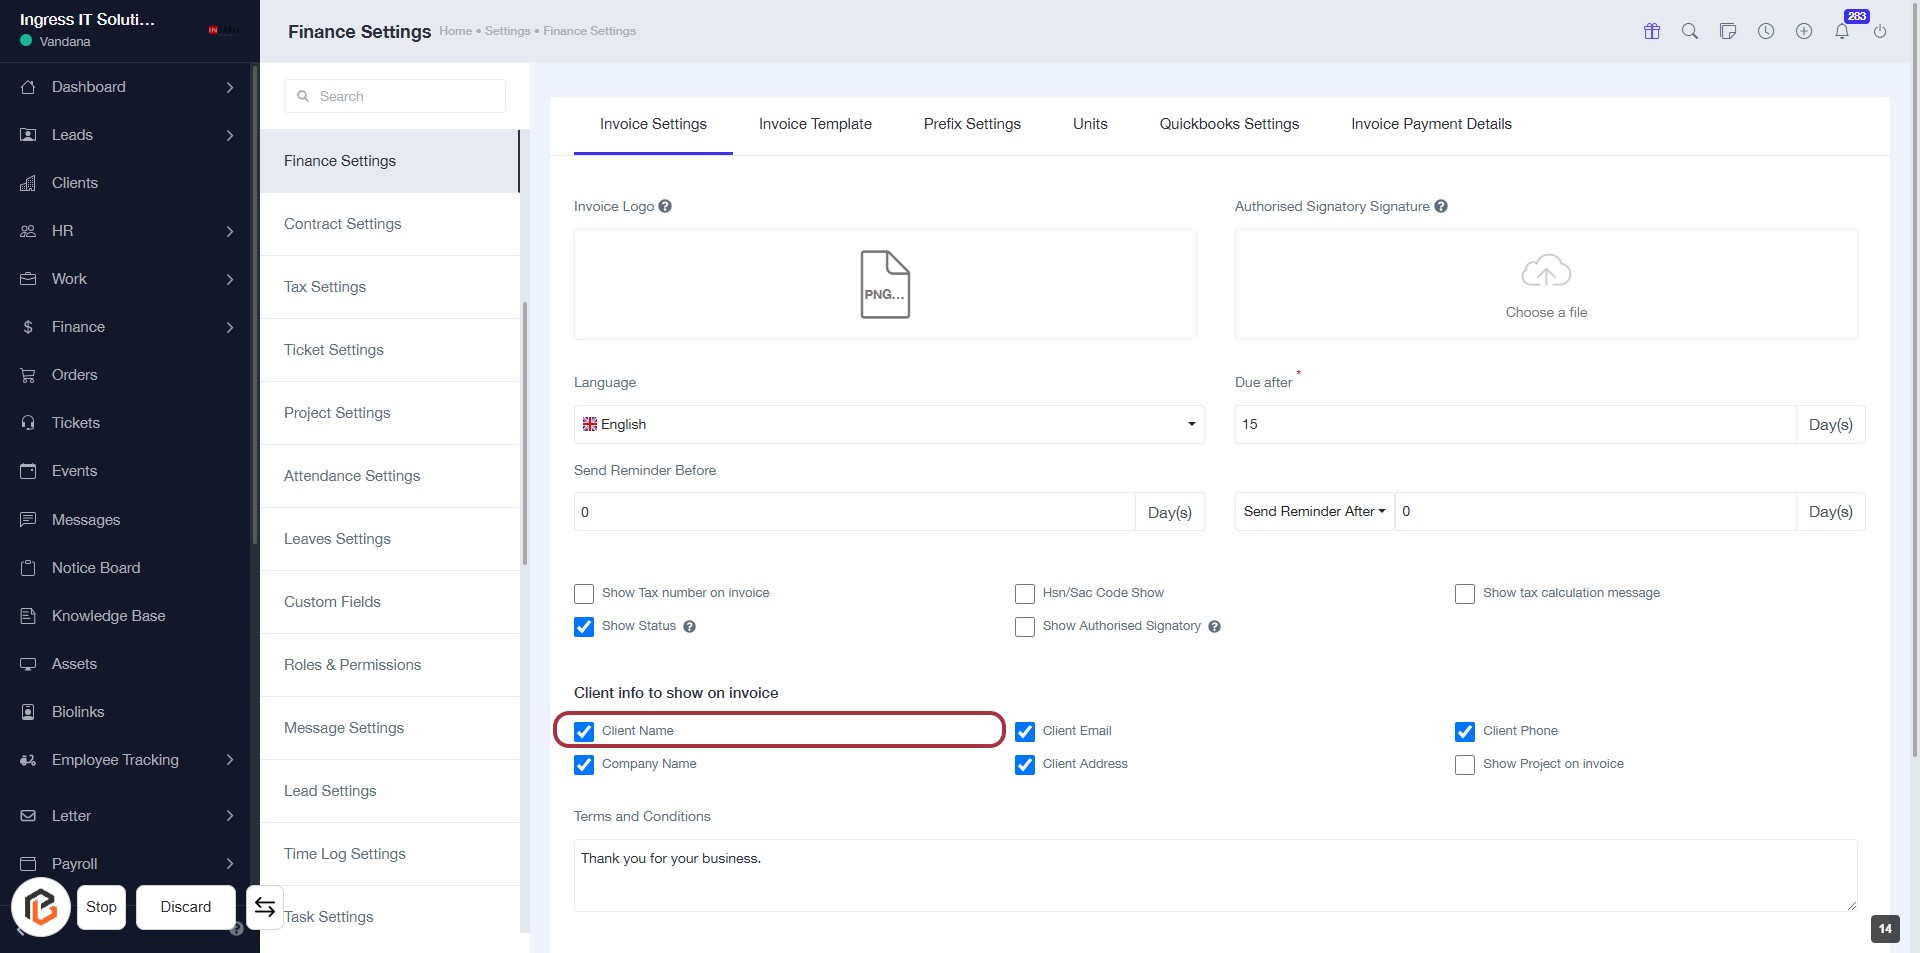
STEP 15: Select "Client Name"
- Click on the "Client Name" checkbox to include it in the invoice.
- Ensure that the checkbox is marked to display the client's name.
- Review other options under "Client info to show on invoice" for additional selections.
- Proceed to the next step by selecting "Company Name".
STEP 16: Select "Company Name"
- Click on the "Company Name" checkbox to include it in the invoice.
- Ensure that any required fields marked with an asterisk (*) are filled out.
- Review other options available under "Client info to show on invoice" for additional selections.
- Proceed to the next step by selecting "Client Email."

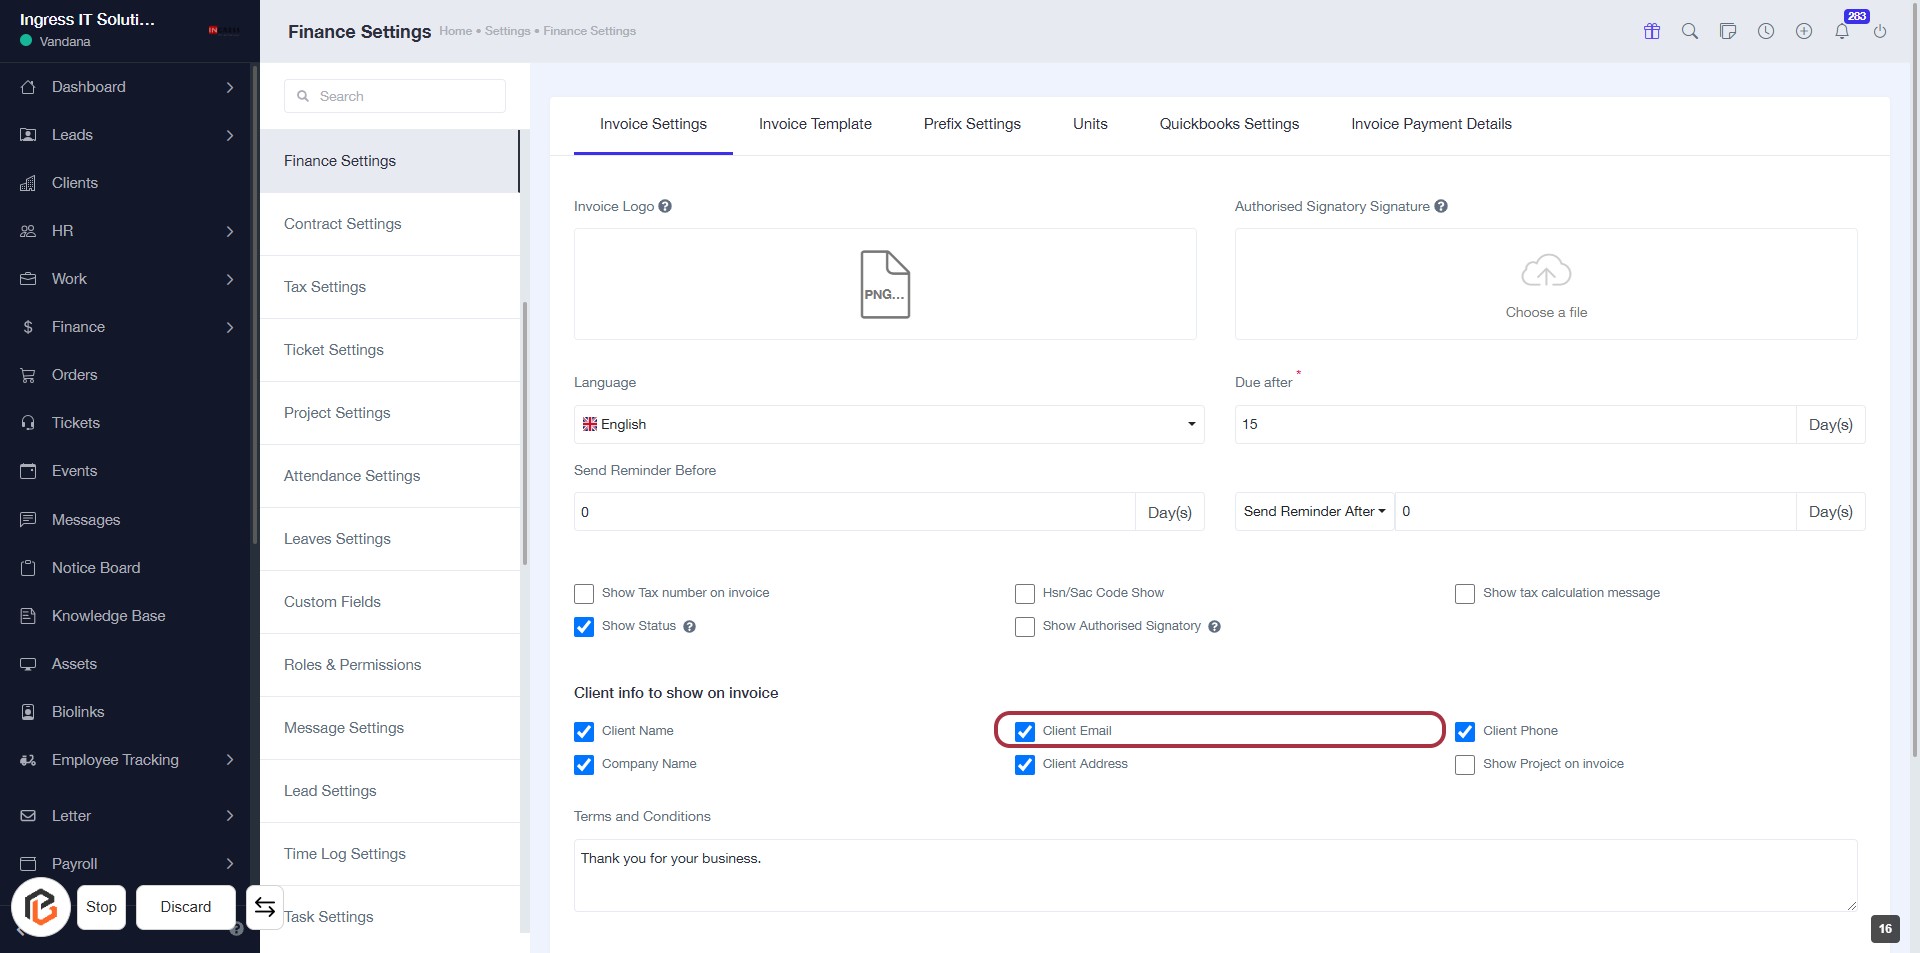
STEP 17: Select "Client Email"
- Click on the "Client Email" option in the invoice settings.
- Ensure that the checkbox next to "Client Email" is selected to display it on the invoice.
- Review other options like "Client Name" and "Company Name" for completeness.
- Proceed to the next step by selecting "Client Address."
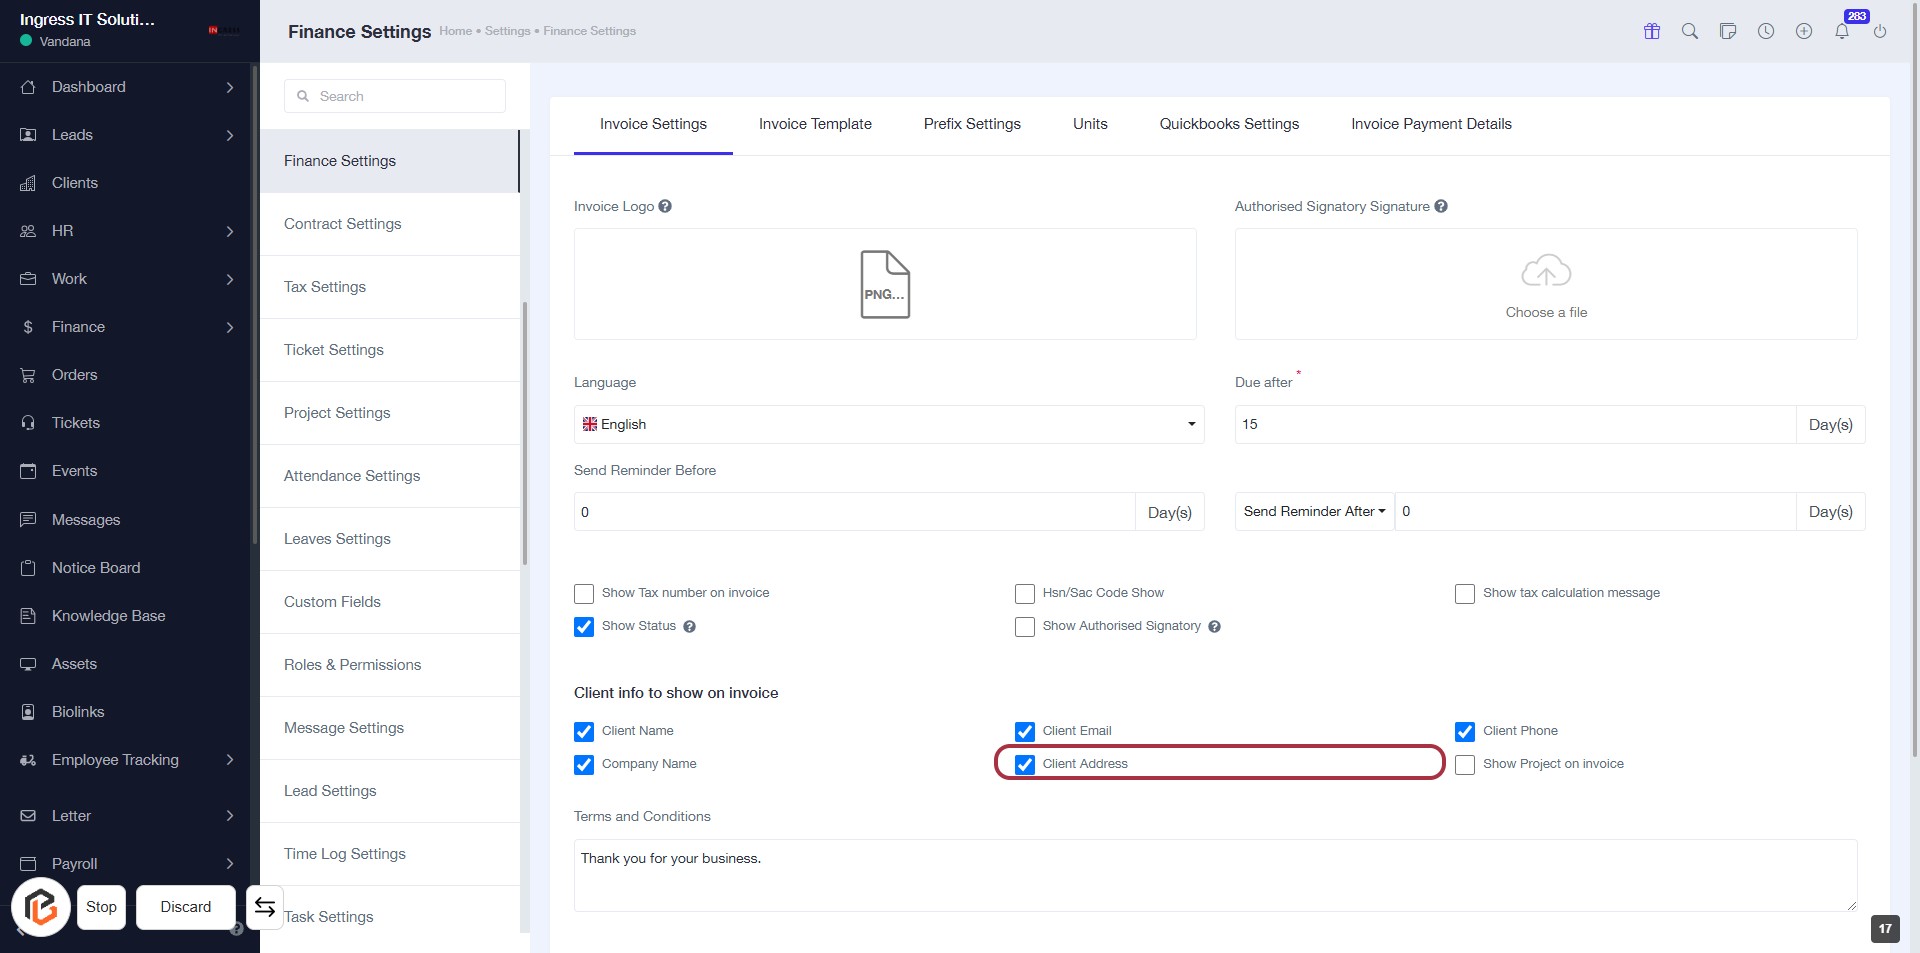
STEP 18: Select "Client Address"
- Click on the Client Address option in the invoice settings.
- Ensure that the checkbox next to Client Address is selected to include it on the invoice.
- Review other options like Client Name and Company Name for completeness.
- Proceed to the next step by selecting Client Phone.
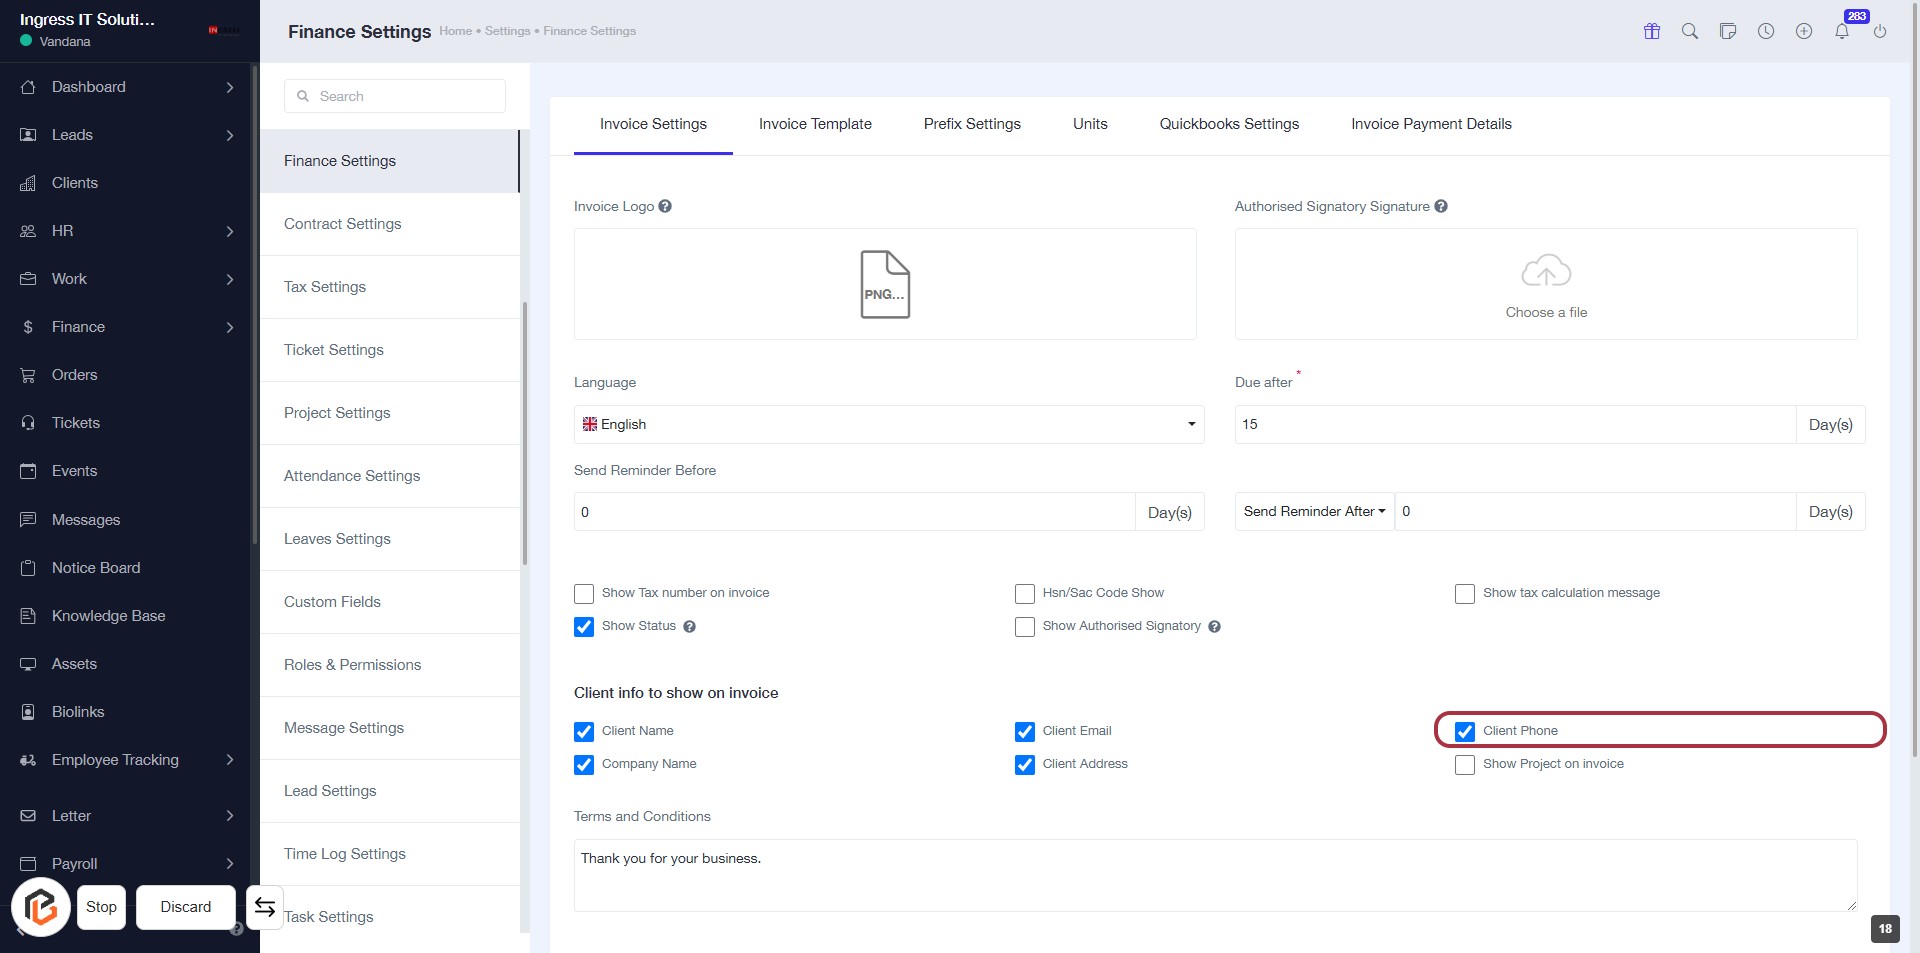
STEP 19: Select "Client Phone"
- Click on the "Client Phone" checkbox to include the client's phone number on the invoice.
- Ensure that other relevant options like "Client Email" and "Client Address" are also checked if needed.
- Review your selections before proceeding to the next step.
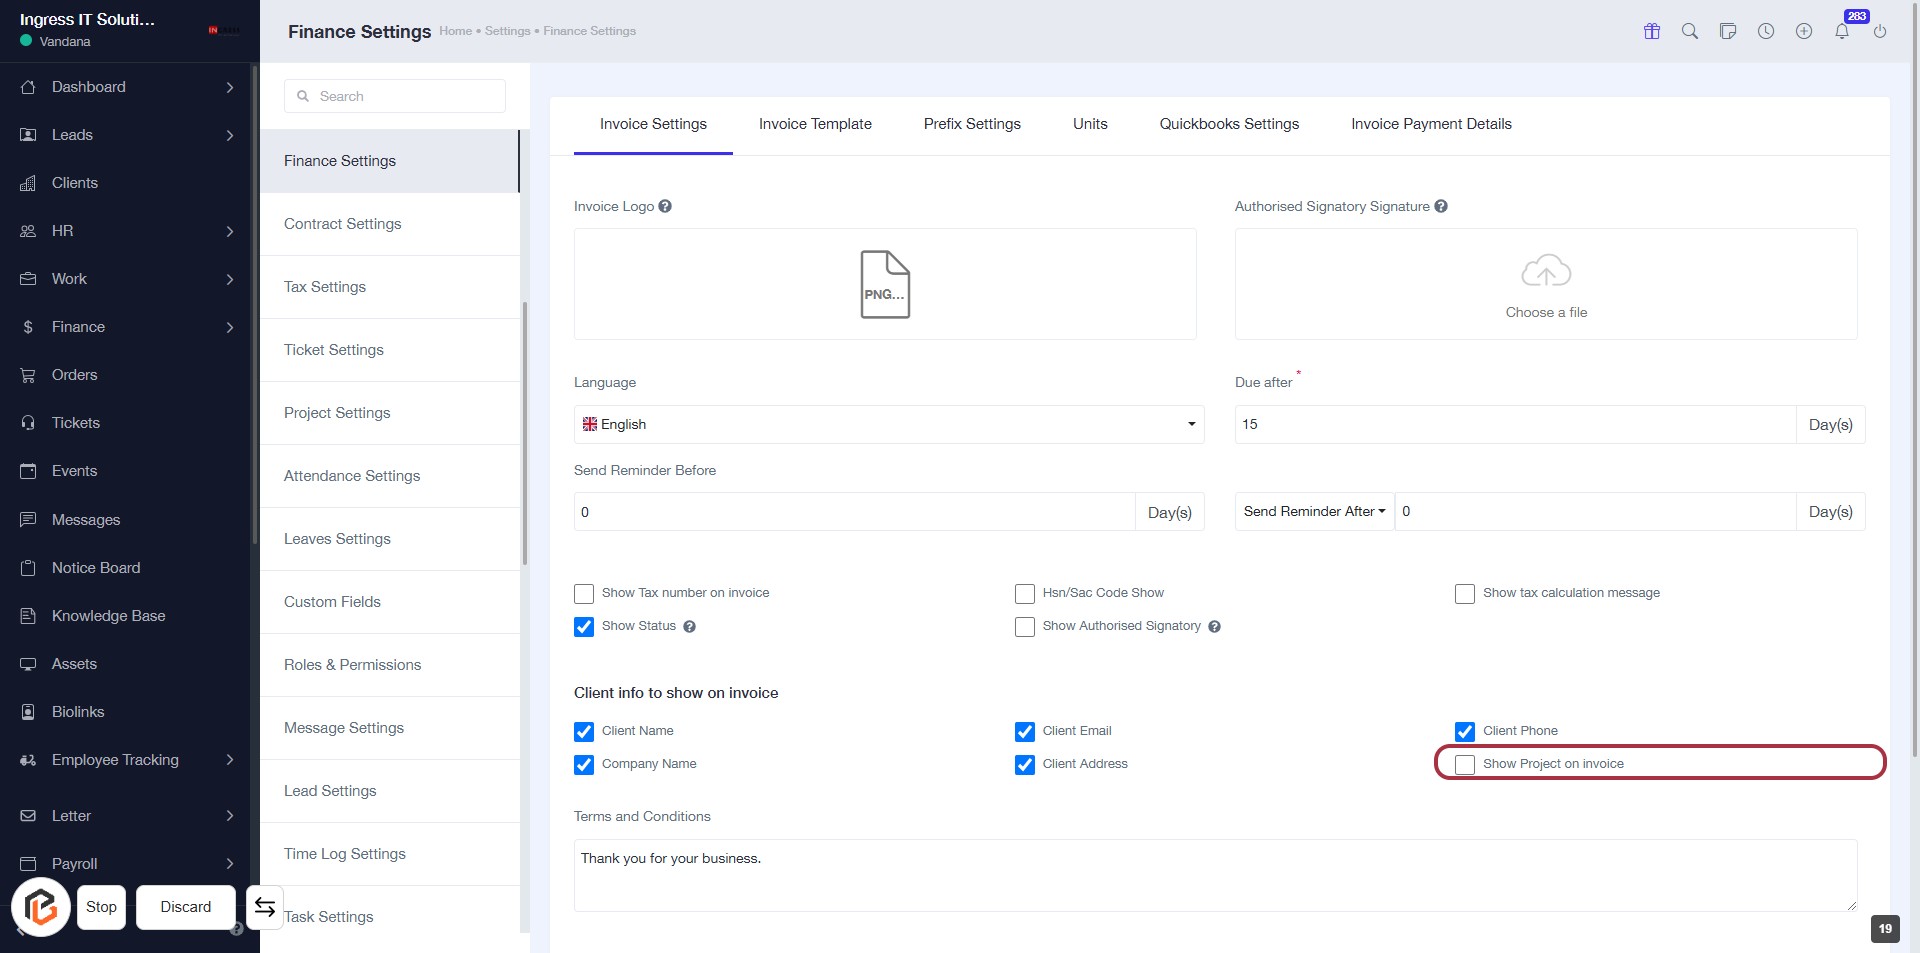
STEP 20: Select "Show Project on invoice"
- Click on the checkbox labeled Show Project on invoice to include project details on your invoices.
- Ensure other relevant options are selected as needed, such as Client Name and Client Phone.
- Review the settings before proceeding to the next step.
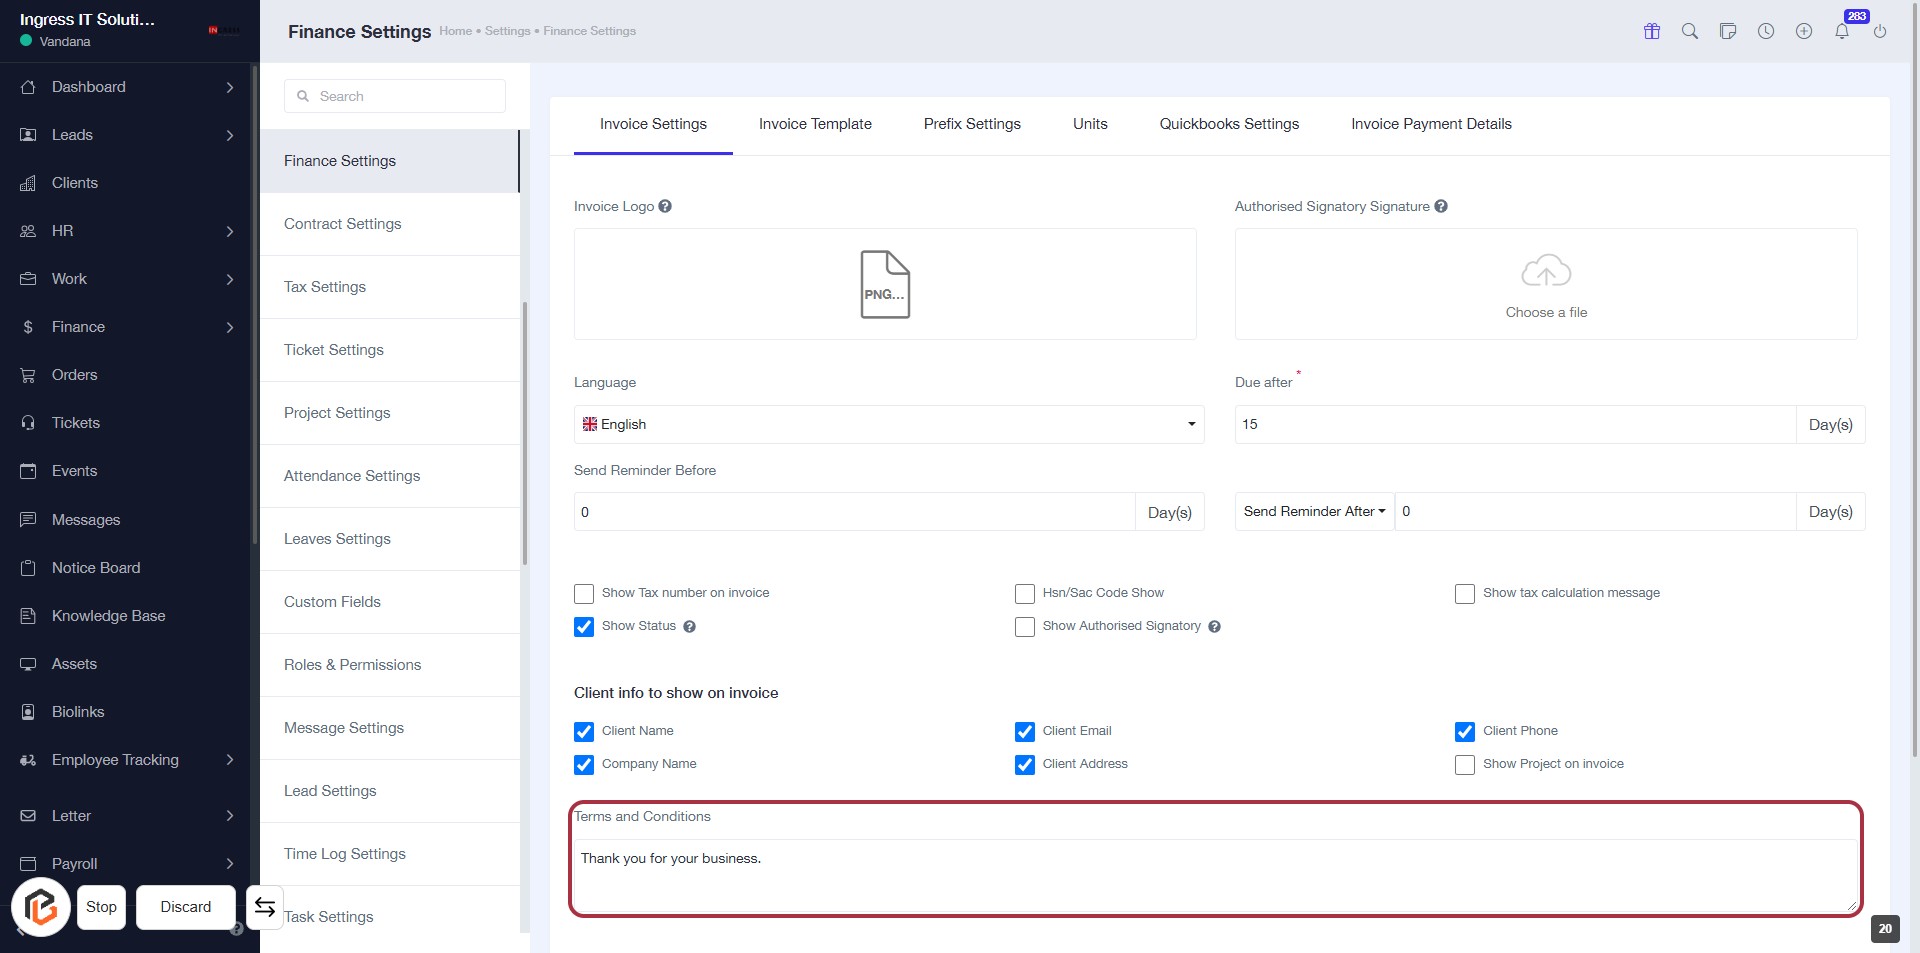
STEP 21: Enter "Terms and Conditions"
- Click on the "Terms and Conditions" section in the invoice settings.
- Fill in the text area with your desired terms and conditions.
- Ensure to include any necessary details relevant to your business.
- Review the content for clarity and completeness before proceeding.
STEP 22: Enter "Other information"
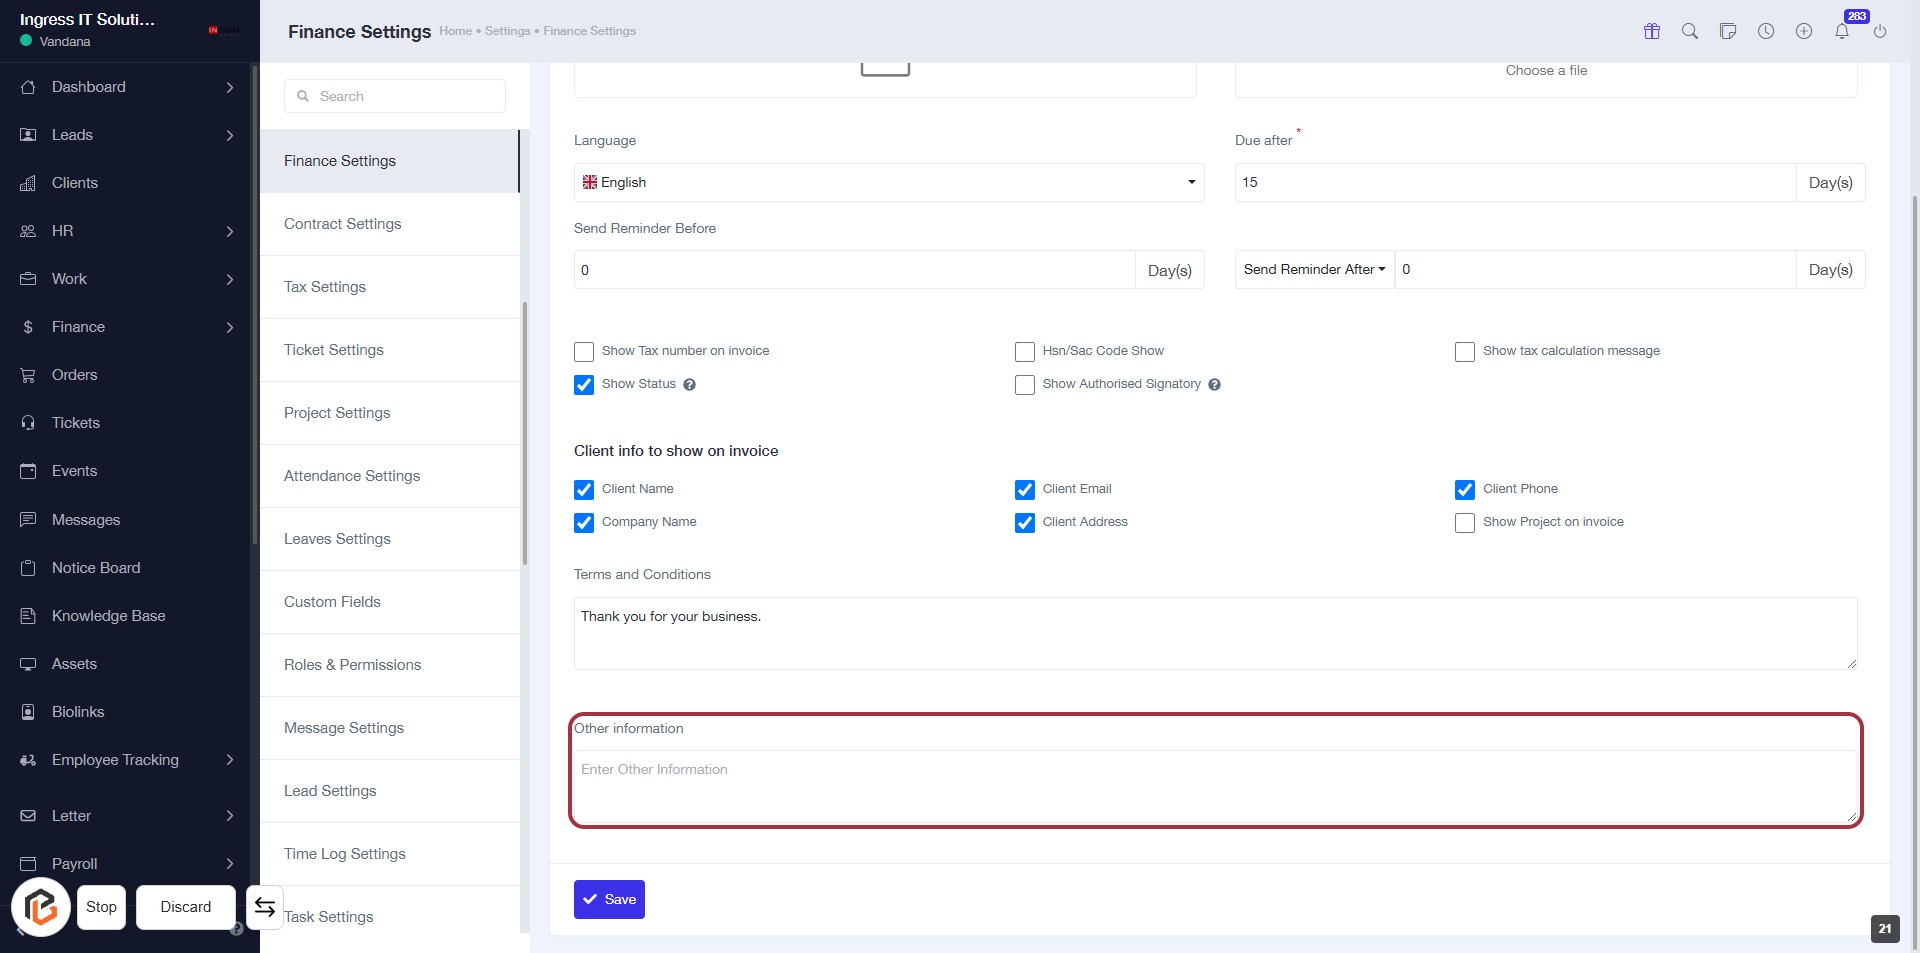
STEP 23: Click "Save" to Finalize Settings
- Ensure all required fields are filled out.
- Review the "Other information" section for any additional details.
- Click the Save button at the bottom of the form to save your changes.
- Confirm that a success message appears to indicate the settings have been saved.