Comprehensive Guide to Configuring Task Reminders and Settings in BizCRM
9 mins read · Updated 29 Sep, 2025
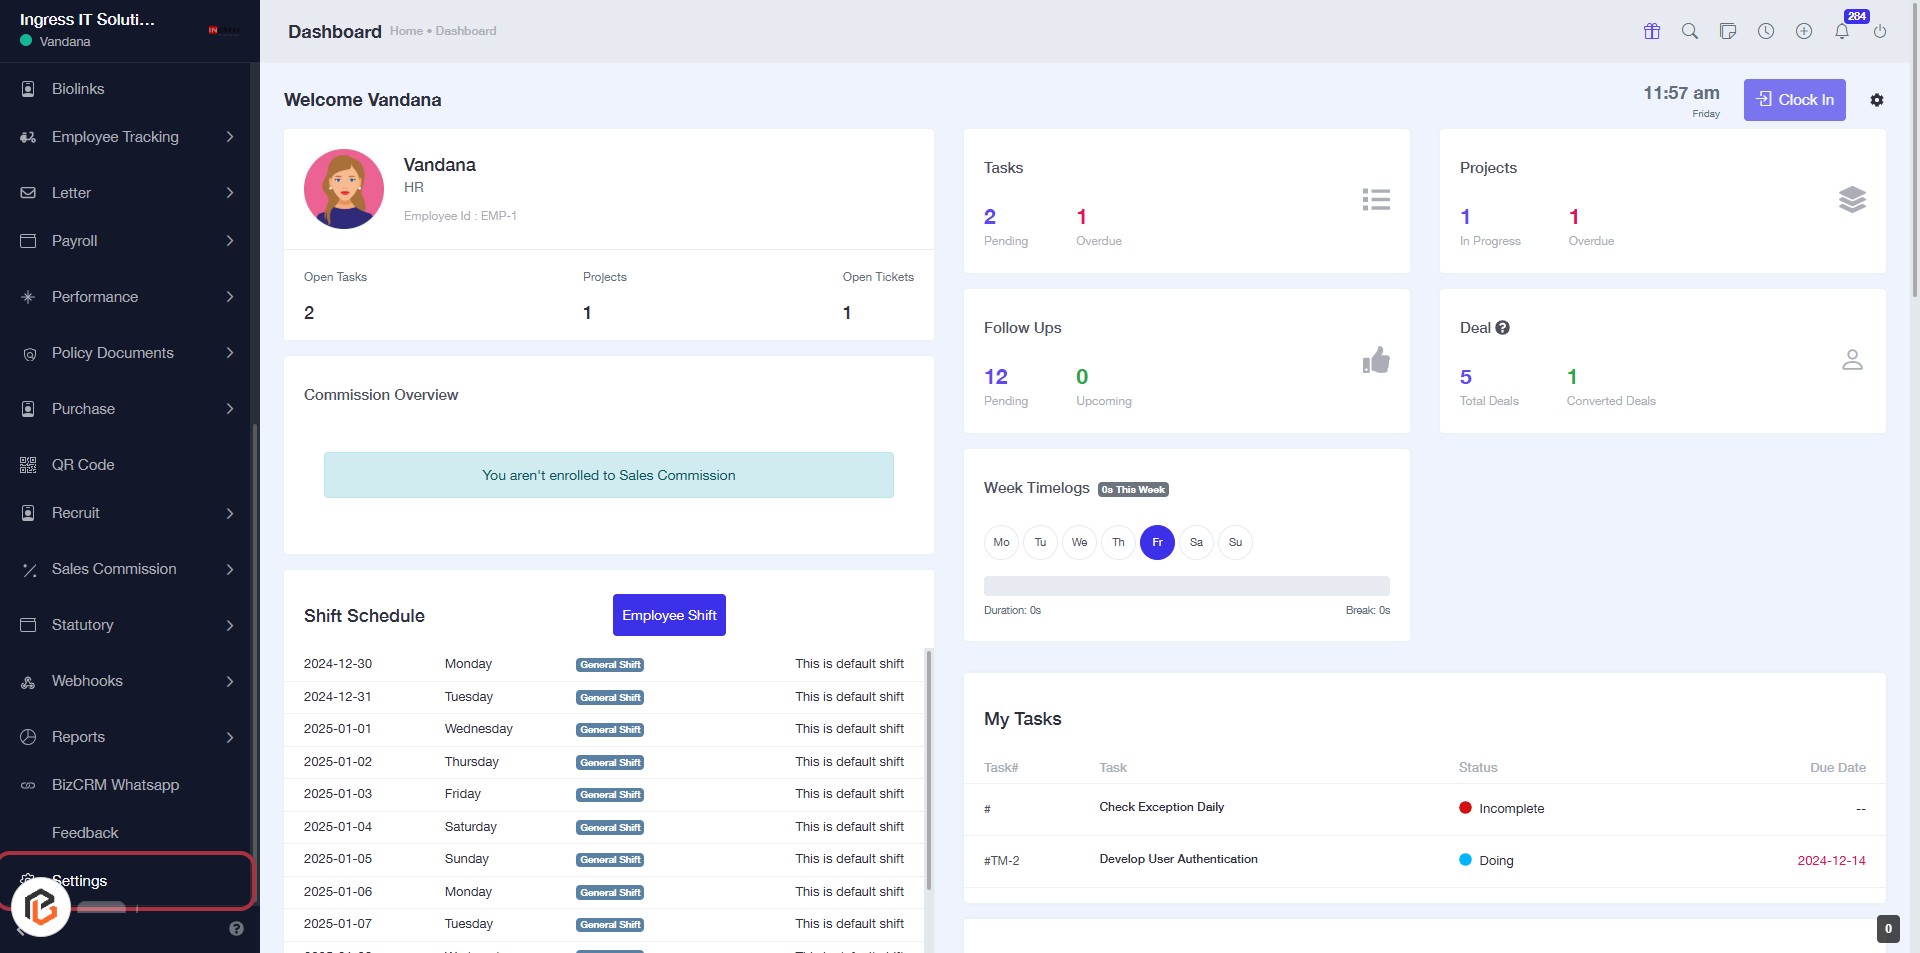
STEP 1: Click on "Settings" in the BizCRM App
- Navigate to the left sidebar of the dashboard.
- Locate and click on the "Settings" option highlighted in red.
- This will direct you to the settings page for further configurations.
- Ensure you are logged in to access the settings.
STEP 2: Click on "Task Settings"
- Navigate to the "Task Settings" section in the BizCRM app.
- Click on the "Task Settings" link highlighted in the sidebar.
- Ensure you are on the Company Settings page for further configuration.
- Next, you will enter the task reminder settings as indicated in the next step.

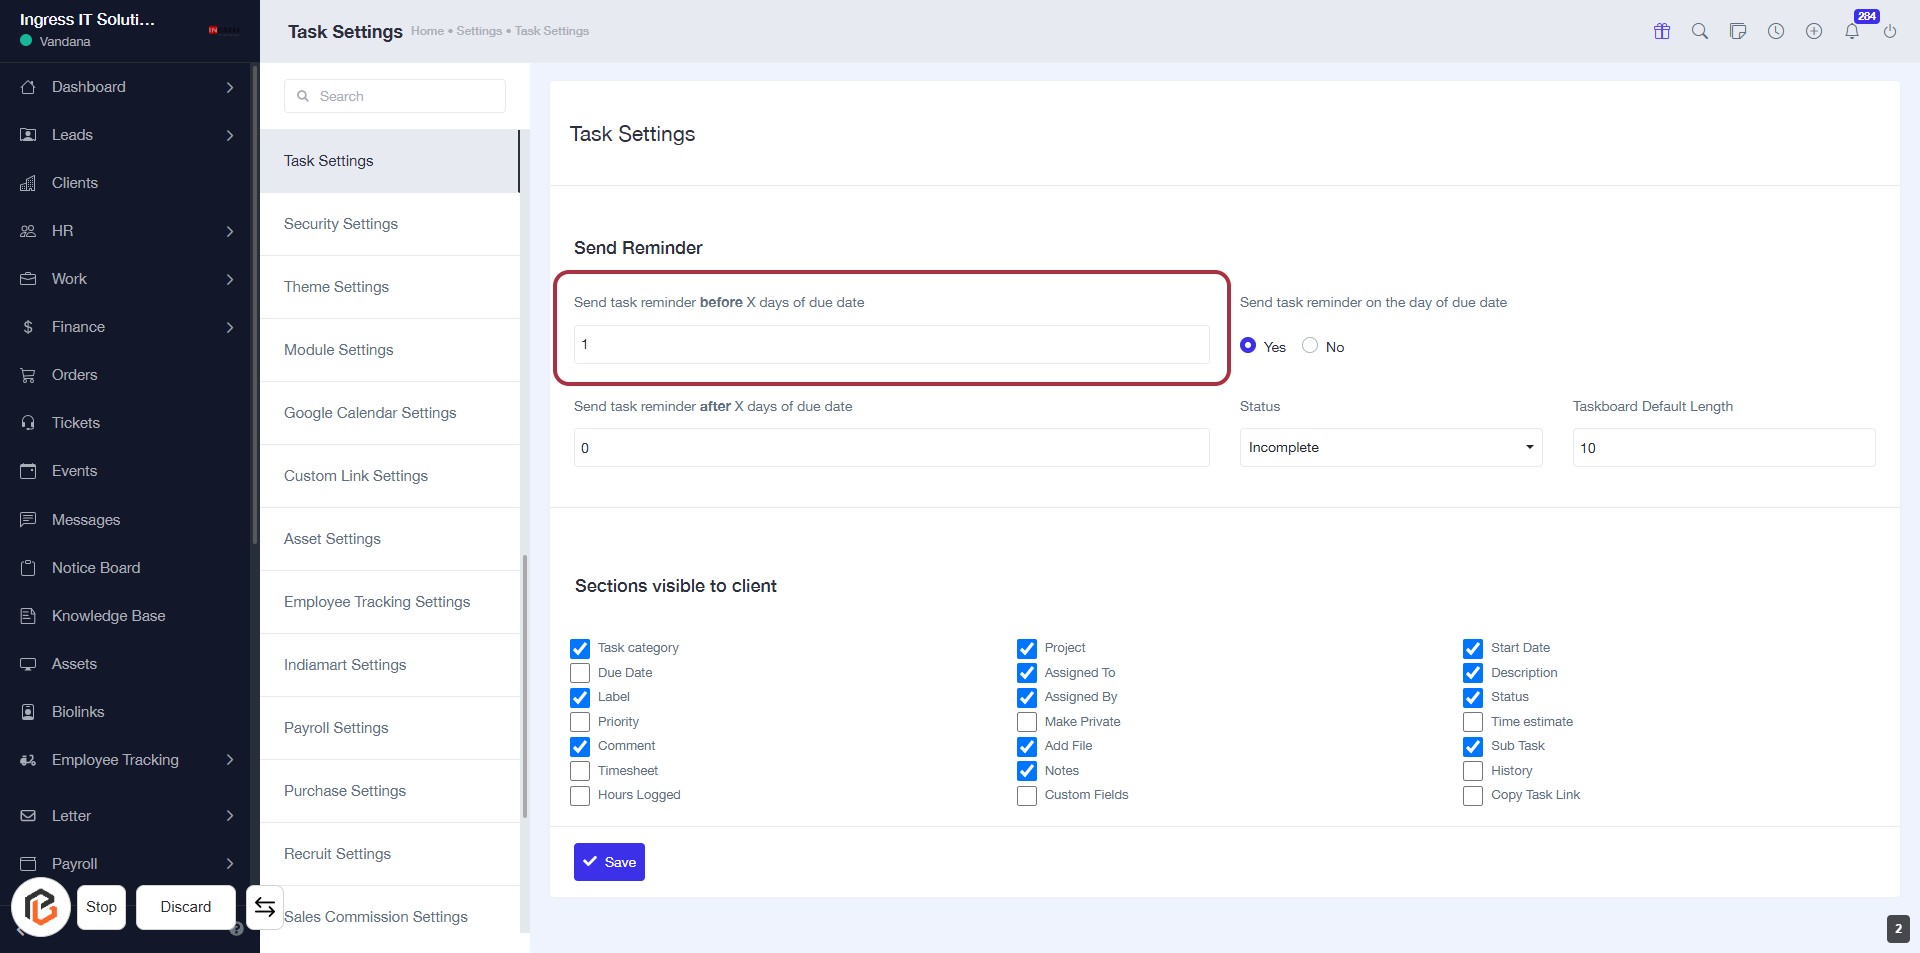
STEP 3: Enter Task Reminder Settings
- Click on the highlighted area labeled "Send task reminder before X days of due date."
- Input the desired number of days in the adjacent field.
- Ensure to check any additional settings related to task reminders as needed.
- Review other options available in the form for completeness before proceeding.
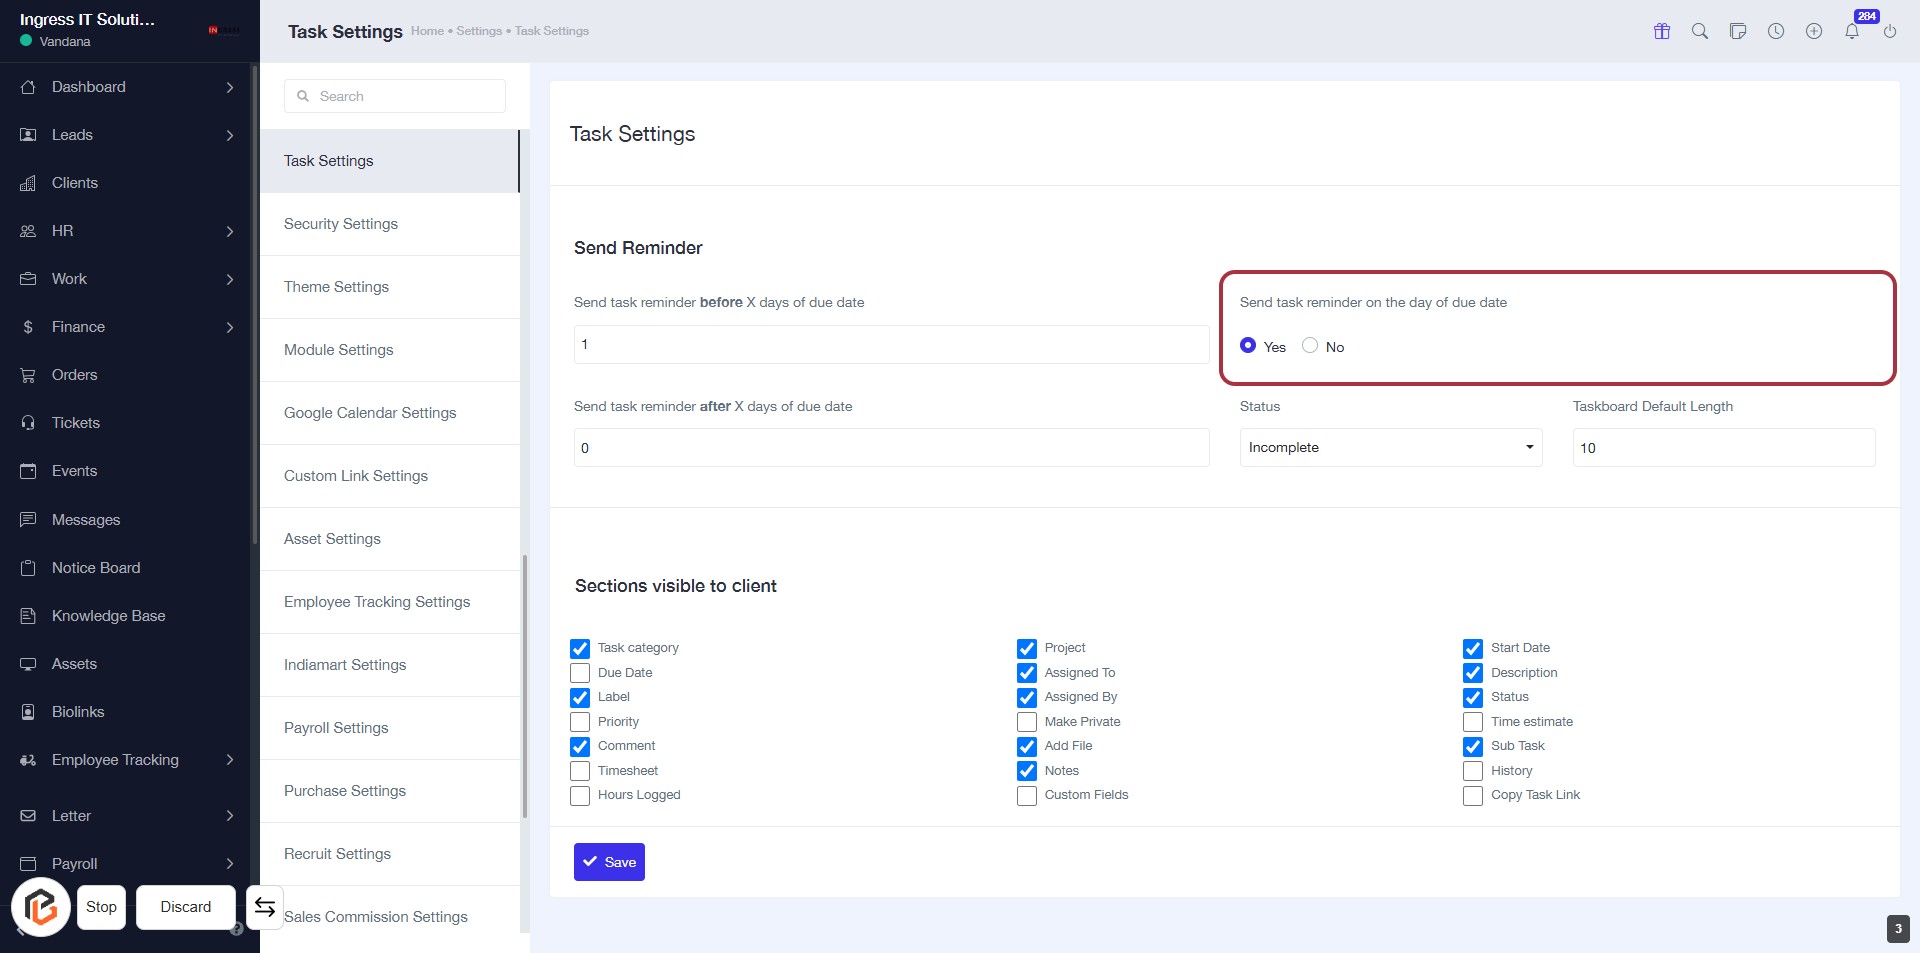
STEP 4: Select "Send task reminder on the day of due date"
- Click on the option "Send task reminder on the day of due date" in the Task Settings.
- Choose between "Yes" or "No" to set your preference for reminders.
- Ensure the selection aligns with your task management needs.
- Proceed to the next step to configure reminders for after the due date.
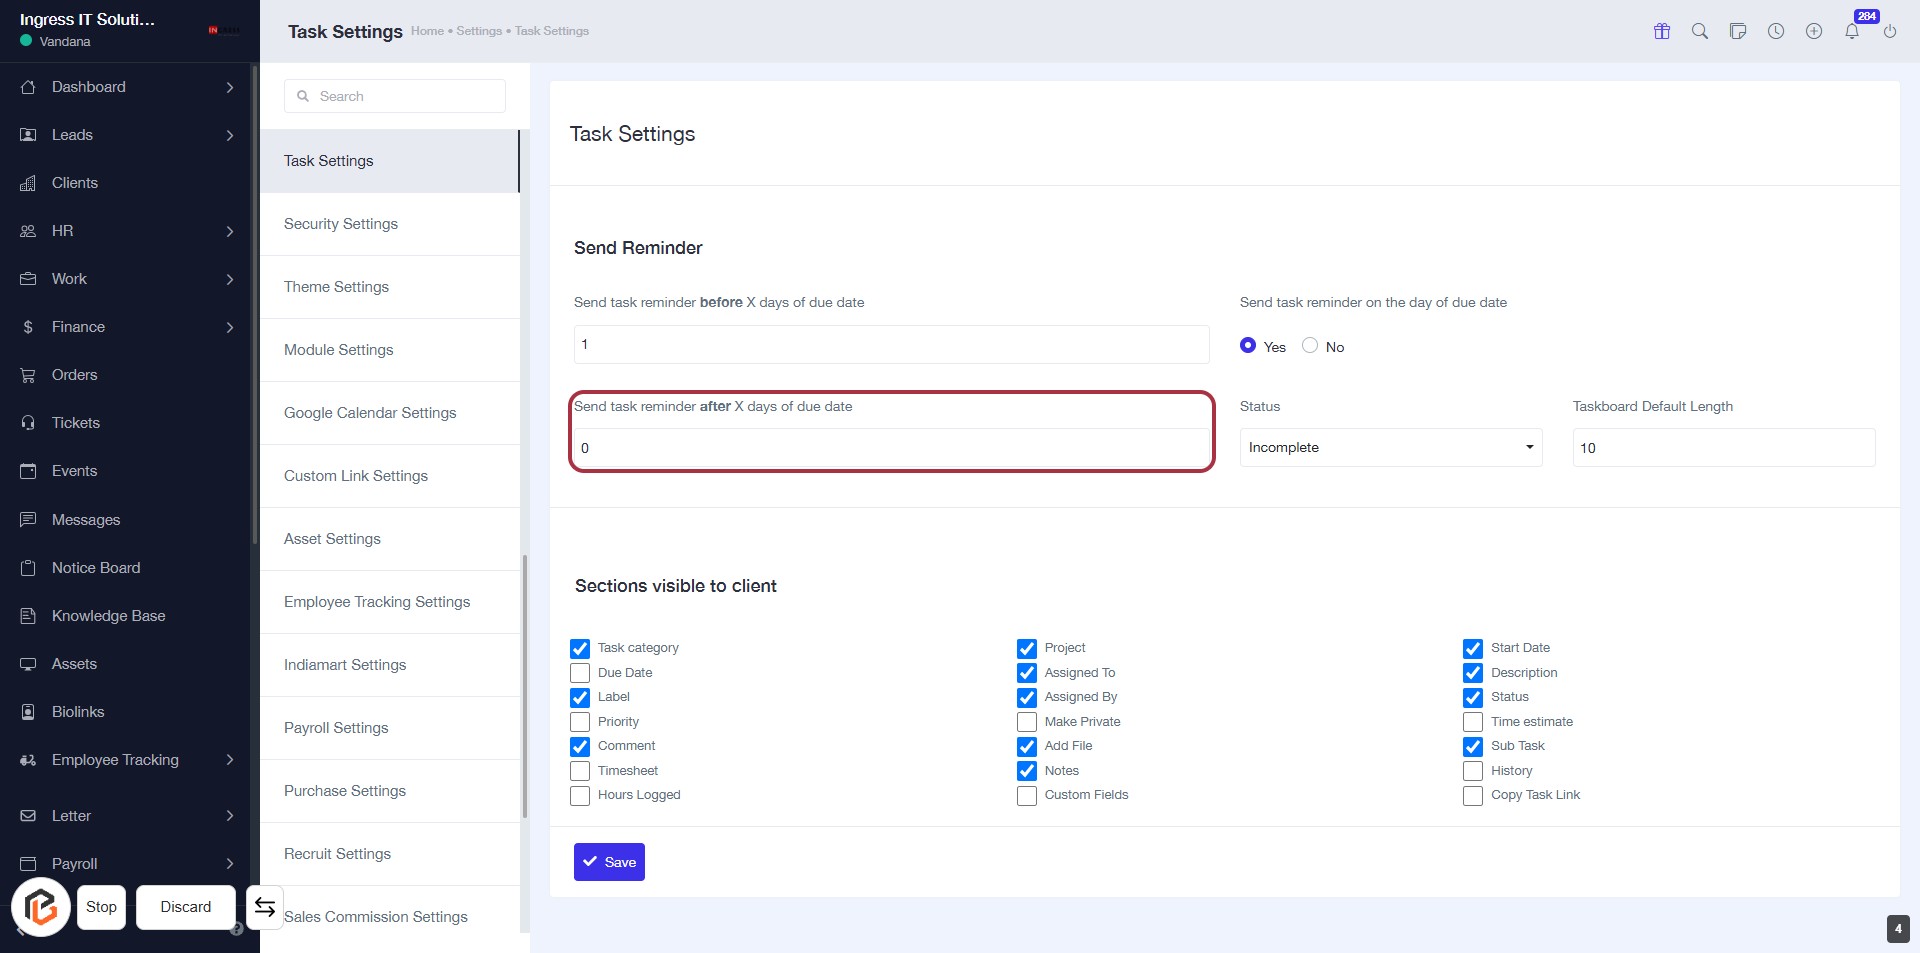
STEP 5: Click "Send task reminder after X days of due date"
- Click on the highlighted area labeled "Send task reminder after X days of due date."
- Ensure to enter the desired number of days in the input field provided.
- Review other settings related to task reminders for completeness.
- Proceed to the next step by selecting "Status."
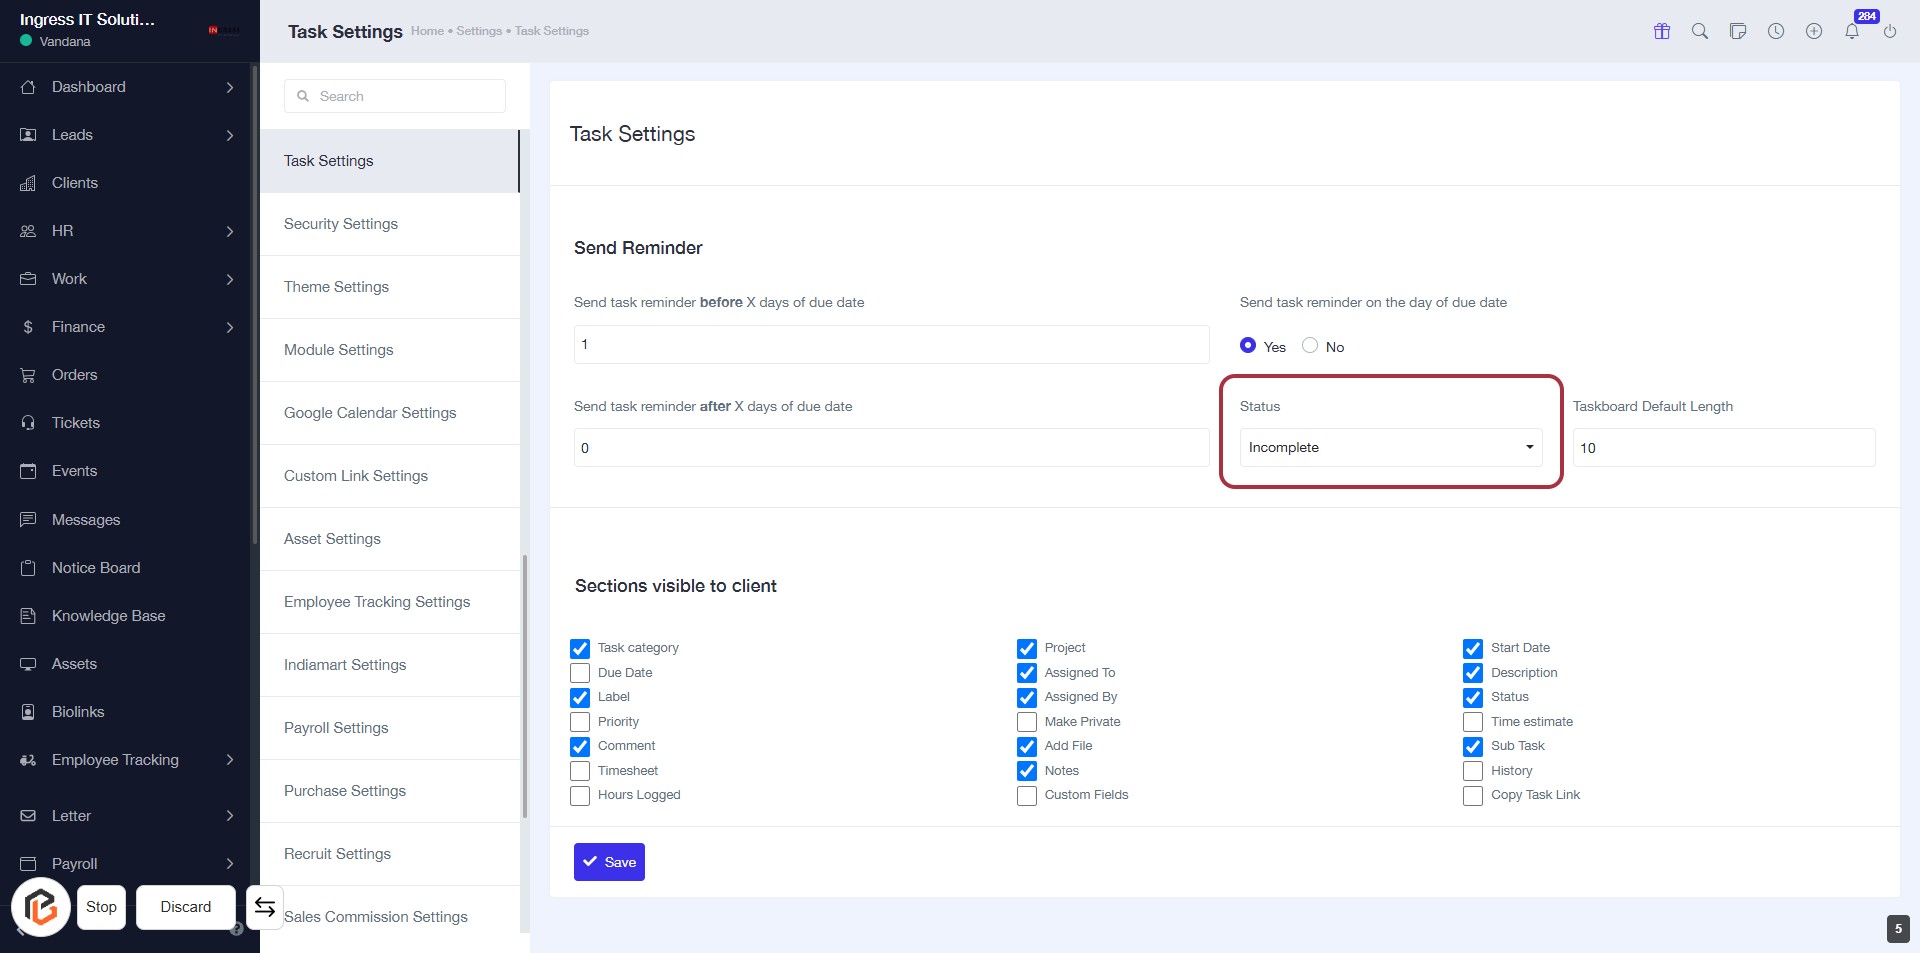
STEP 6: Select "Status"
- Click on the "Status" dropdown in the Task Settings form.
- Choose the appropriate status from the available options (e.g., Incomplete).
- Ensure to review other input fields, such as "Send task reminder" settings.
- Proceed to the next step by entering the "Taskboard Default Length."
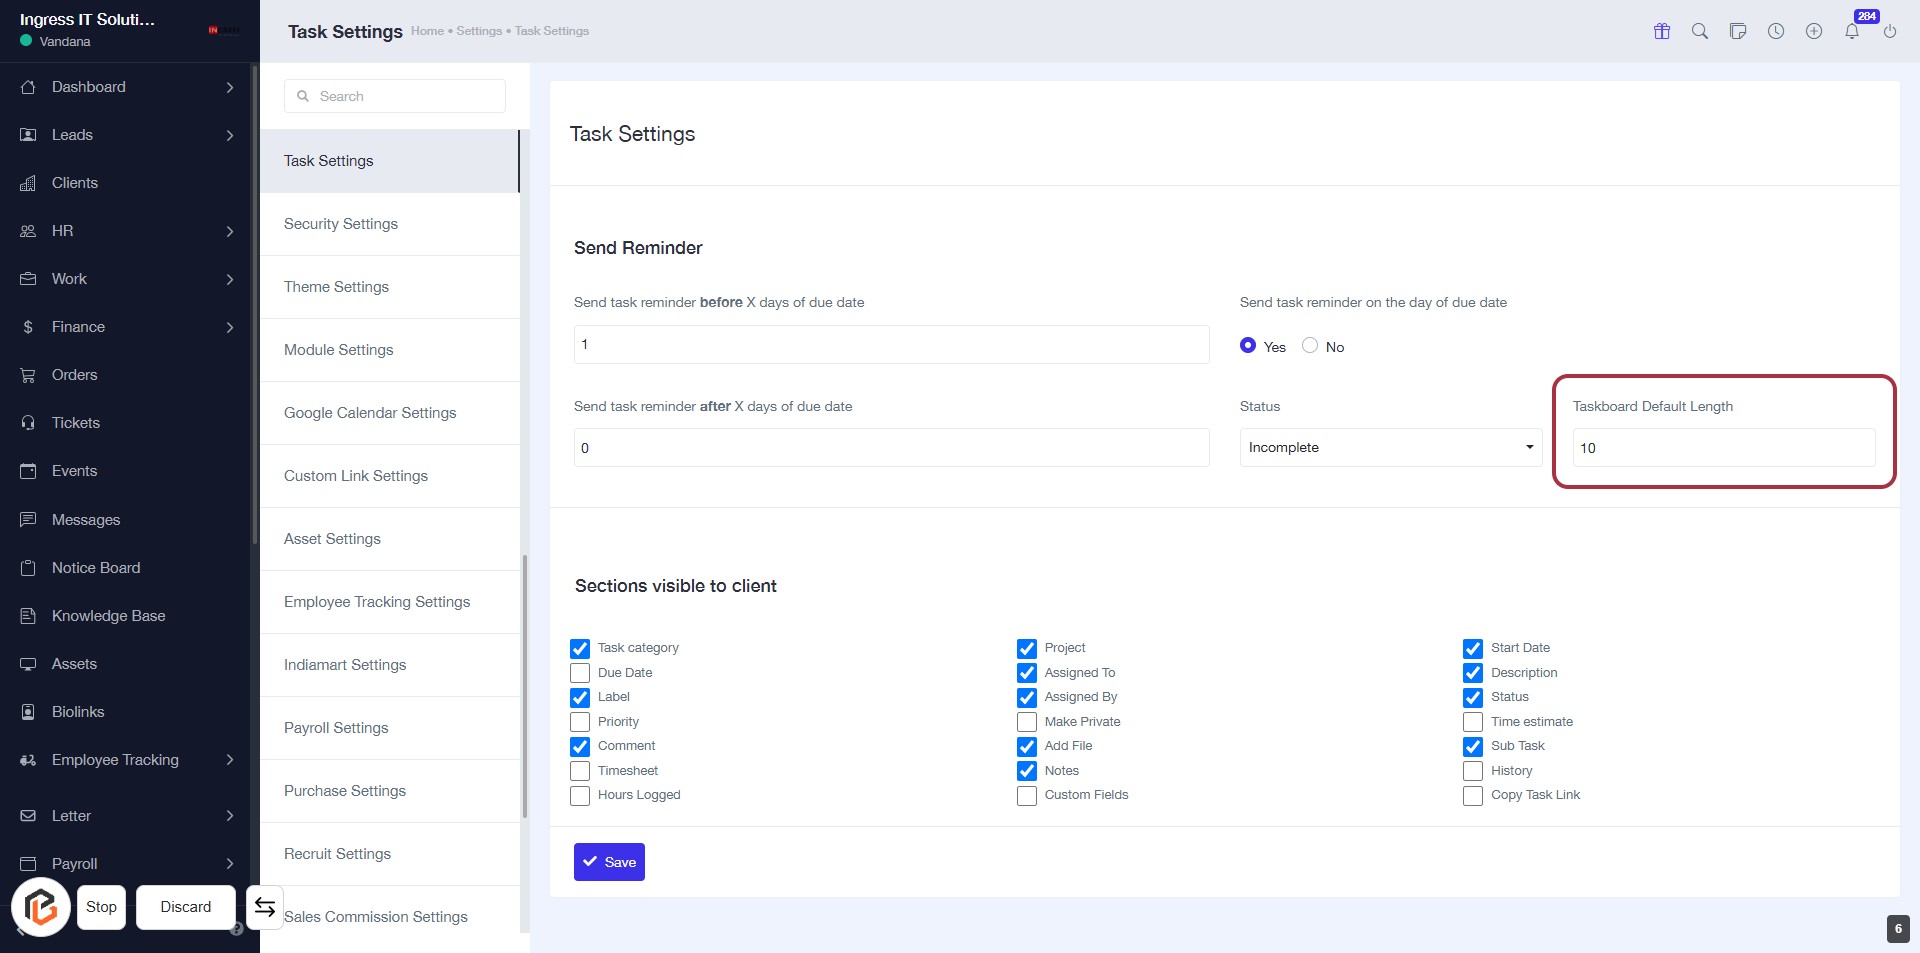
STEP 7: Click "Taskboard Default Length"
- Navigate to the Task Settings section.
- Locate the Taskboard Default Length field highlighted in red.
- Click on the field to enter your desired value.
- Ensure to fill in any required fields marked with an asterisk (*).
- Proceed to the next step by selecting options in Sections visible to client.
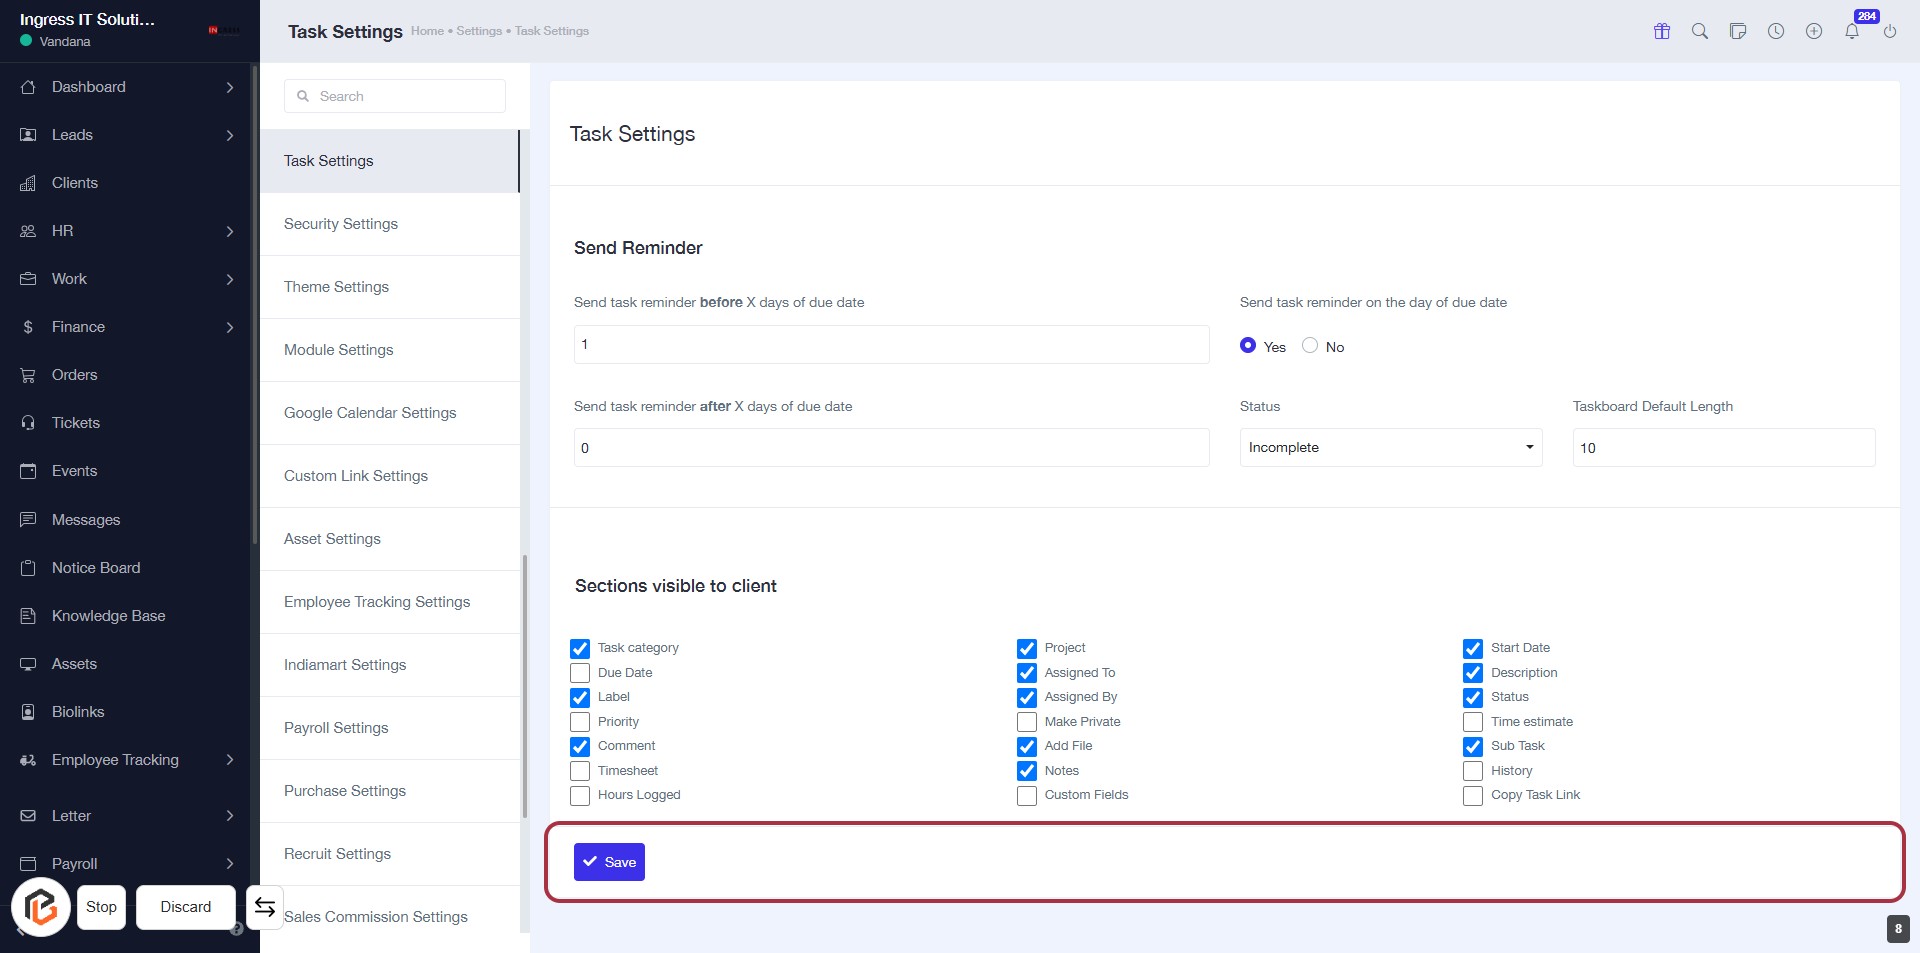
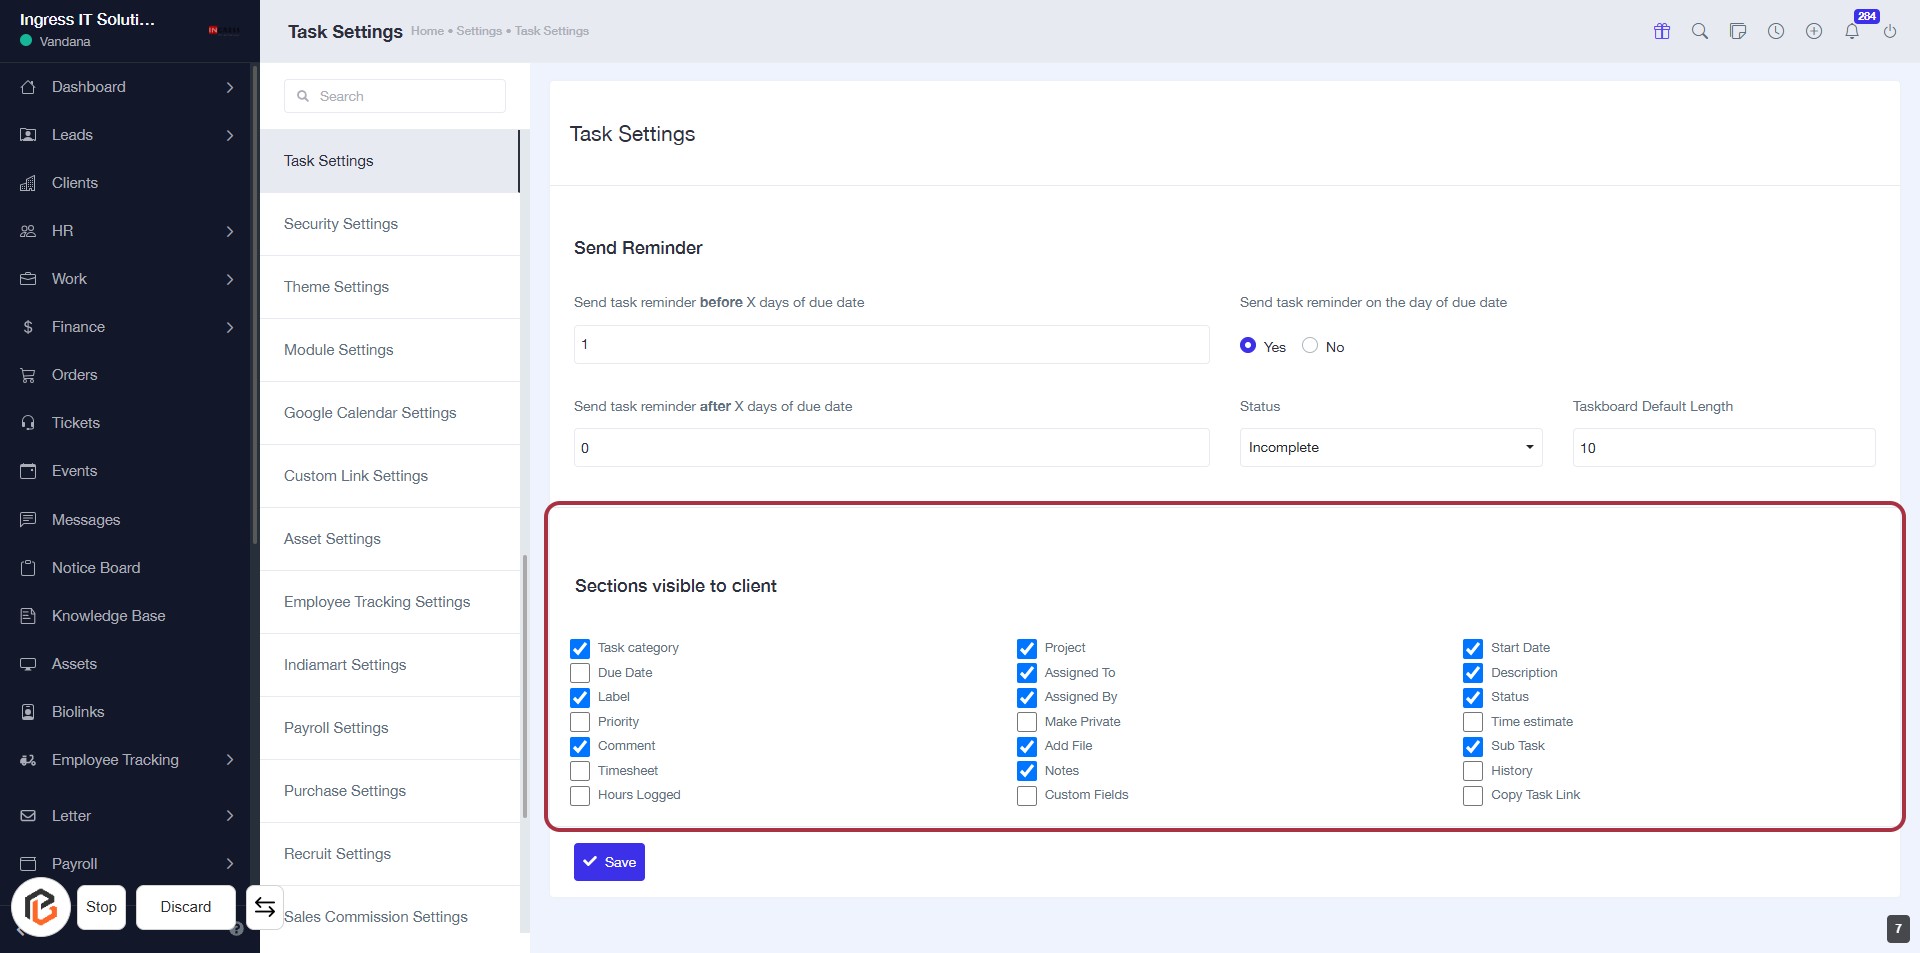
STEP 8: Select Sections Visible to Client
- Click on the "Sections visible to client" area.
- Review the list of sections available for client visibility.
- Check or uncheck the boxes next to each section based on your preferences.
- Ensure to select relevant sections like Task category, Due Date, Priority, etc.
- Proceed to the next step by clicking the "Save" button.
STEP 9: CLICK on "Save Button"