Comprehensive Guide to Configuring Leave Settings: Step-by-Step Instructions for Dashboard Management
25 mins read · Updated 29 Sep, 2025
STEP 1: Click on "Settings" to Access Configuration Options
- Navigate to the left sidebar of the dashboard.
- Click on the Settings link to access configuration options.
- Ensure you are on the Dashboard page before proceeding.
- After clicking, you will be directed to the settings configuration area.
Next, you can proceed to click on Leaves Settings.

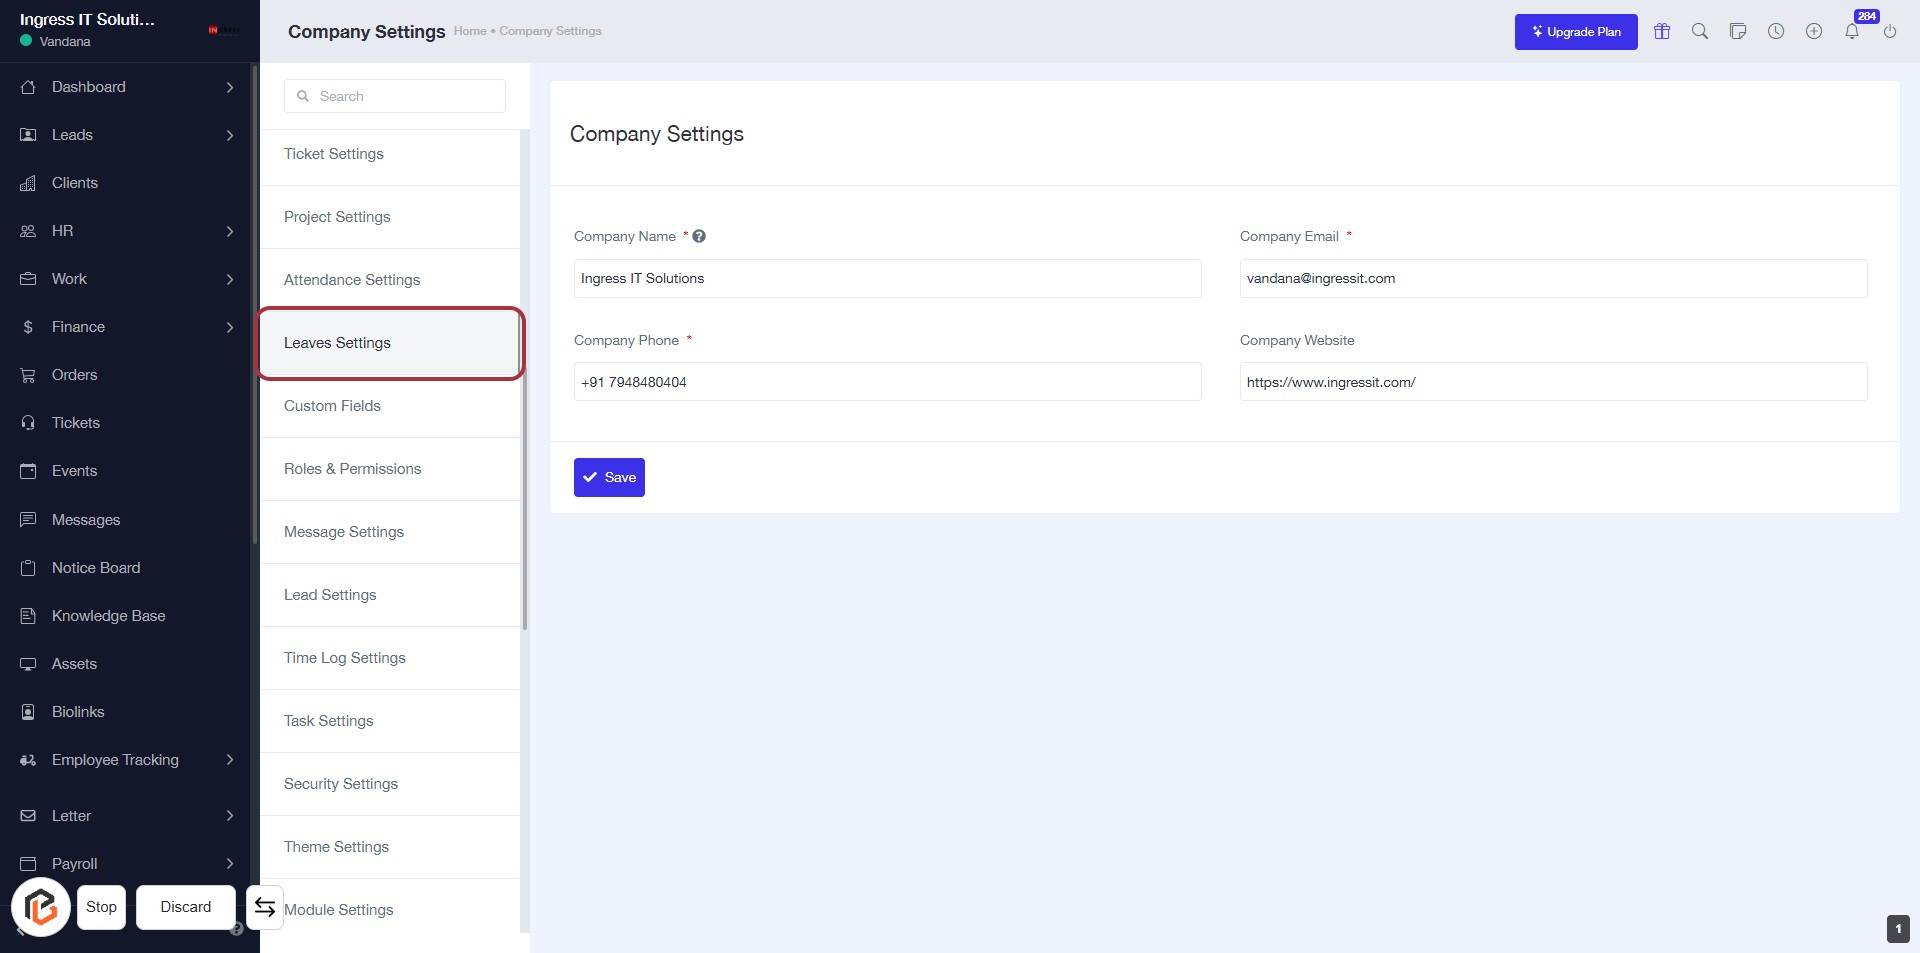
STEP 2: Click on "Leaves Settings"
- Access the "Leaves Settings" by clicking on the corresponding link in the sidebar.
- Ensure to fill in the required fields marked with an asterisk (*):
- Company Name
- Company Phone
- Company Email
- Optionally, you can provide the Company Website.
- After entering the necessary information, click the Save button to apply your changes.
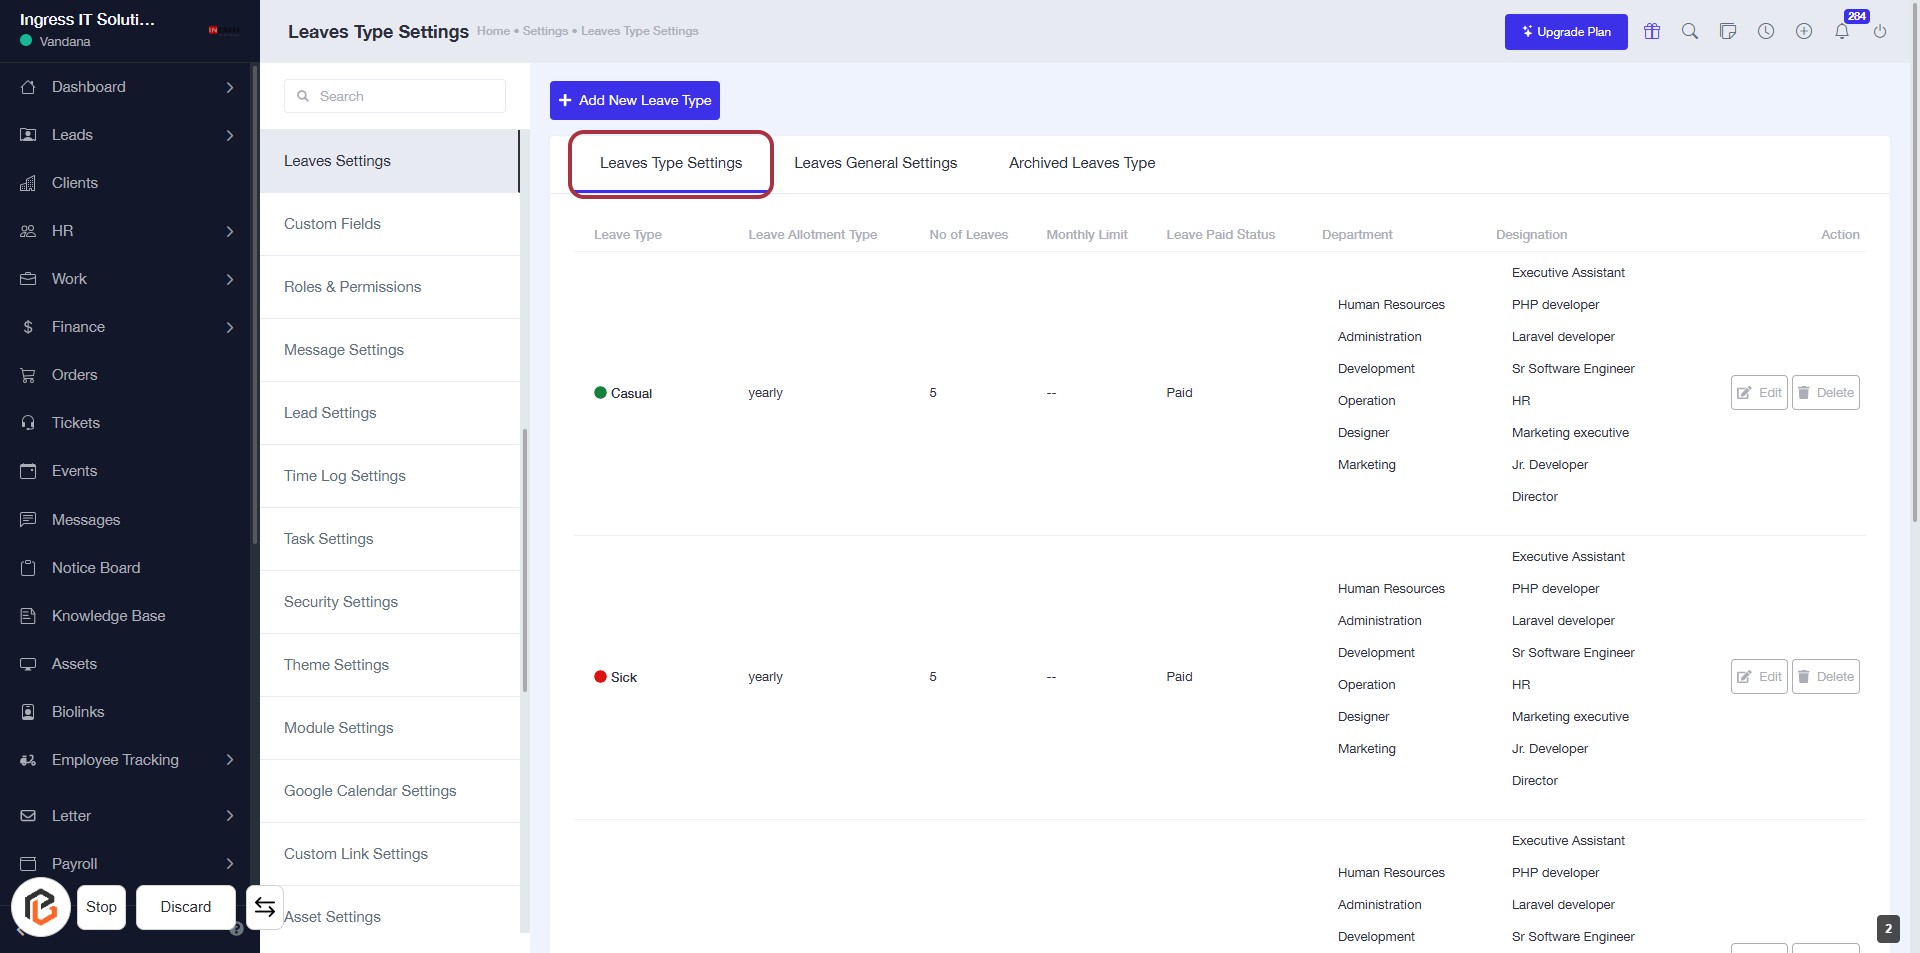
STEP 3: Select "Leaves Type Settings"
- Click on the "Leaves Type Settings" tab to access the leave types configuration.
- Review the existing leave types displayed in the table, including their allotment type, number of leaves, and department.
- Ensure to check for any required fields marked with an asterisk (*) before proceeding to add new leave types.
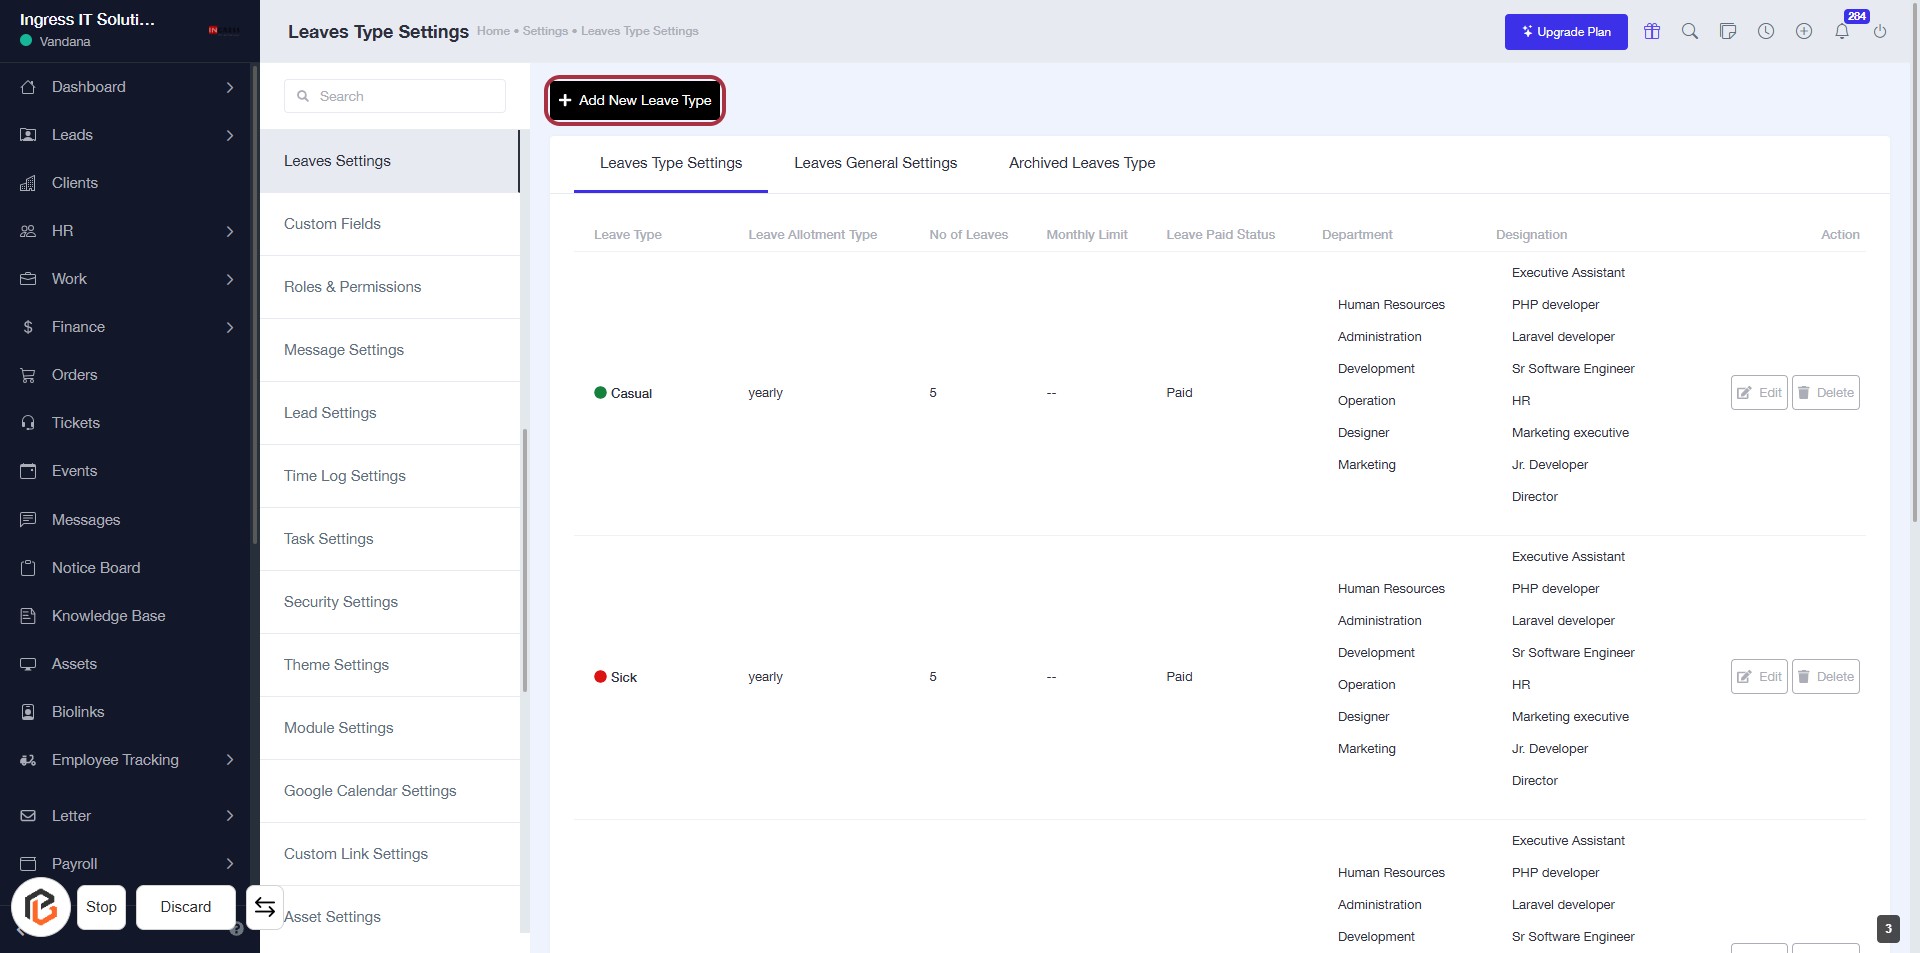
STEP 4: Click on "Add New Leave Type"
- Navigate to the Leaves Type Settings section.
- Click the Add New Leave Type button located at the top right of the page.
- Ensure all required fields marked with an asterisk (*) are filled out in the subsequent form.
- Review the options available for leave types and settings after clicking.
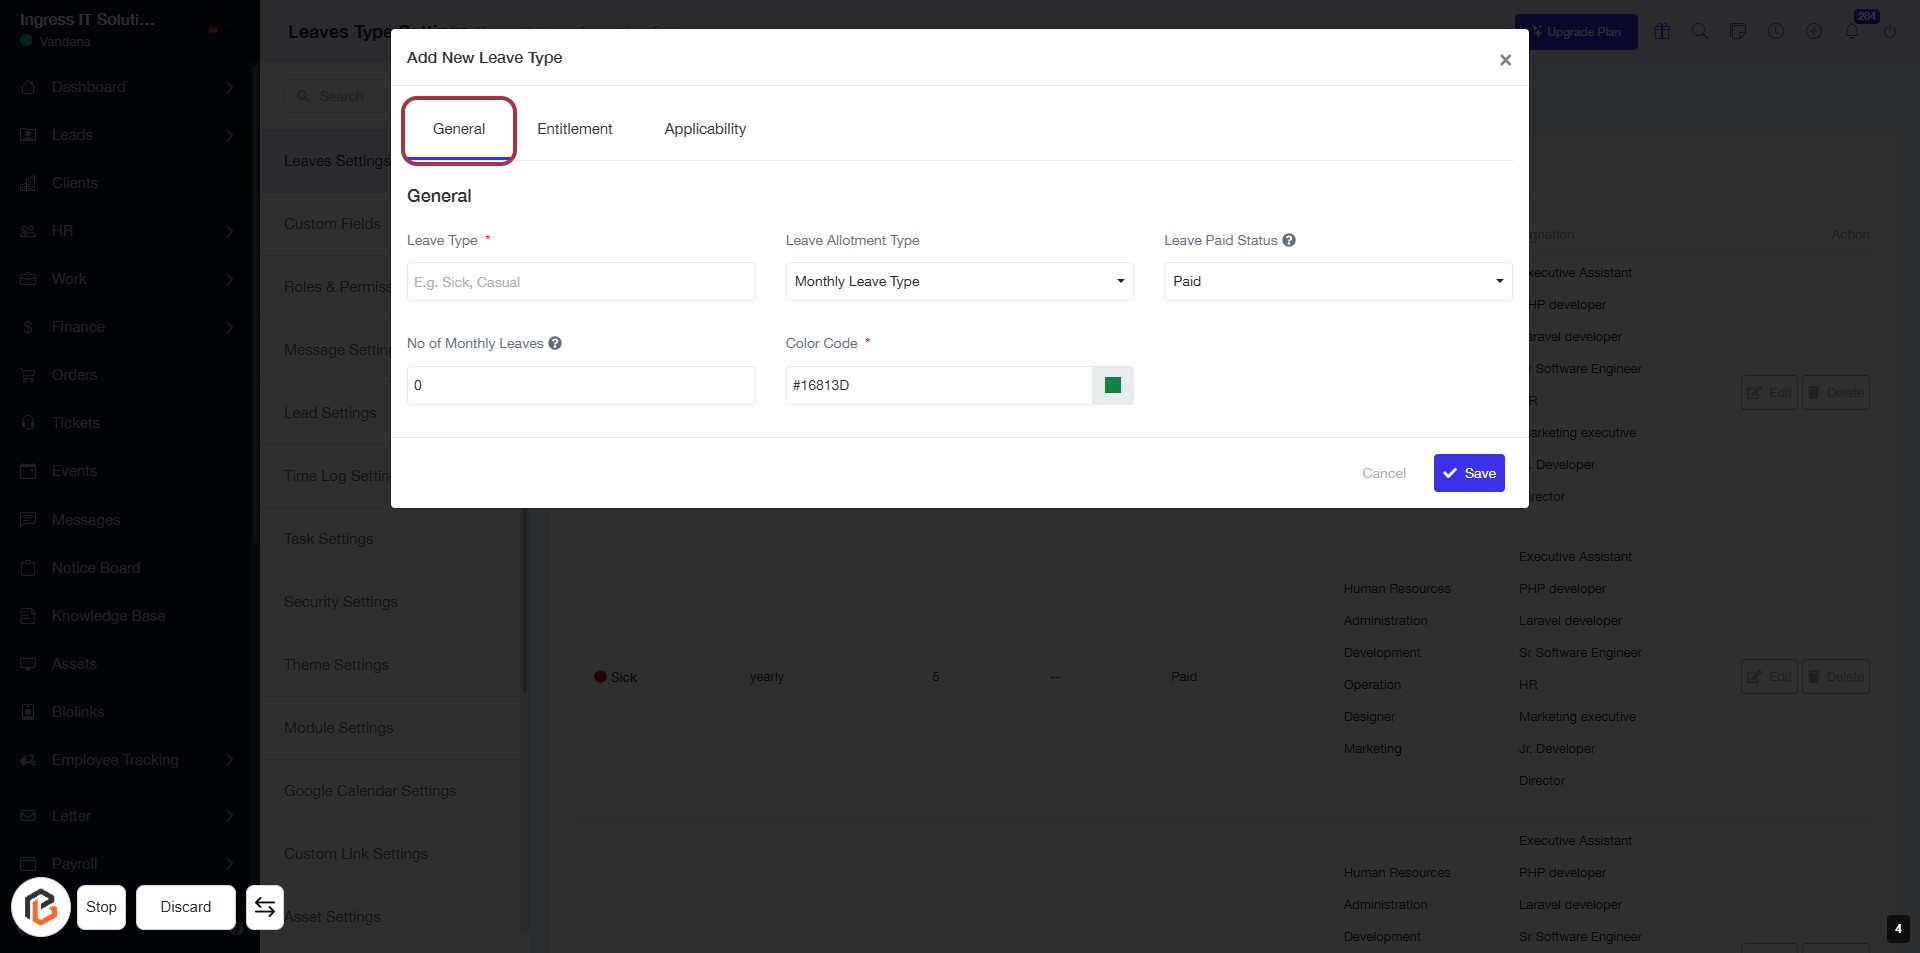
STEP 5: Select "General" Tab
- Click on the "General" tab to access the leave type settings.
- Ensure to fill in the required fields marked with an asterisk (*):
- Leave Type: Specify the type of leave (e.g., Sick, Casual).
- No of Monthly Leaves: Enter the number of leaves allowed per month.
- Color Code: Choose a color to represent this leave type.
- Proceed to the next step to enter the leave type details.
STEP 6: Enter Leave Type
- Click on the highlighted area labeled "Leave Type" to input the leave category.
- Ensure to fill in the required field marked with an asterisk (*).
- Suggested examples include "Sick" or "Casual."
- Proceed to the next step by selecting "Leave Allotment Type."

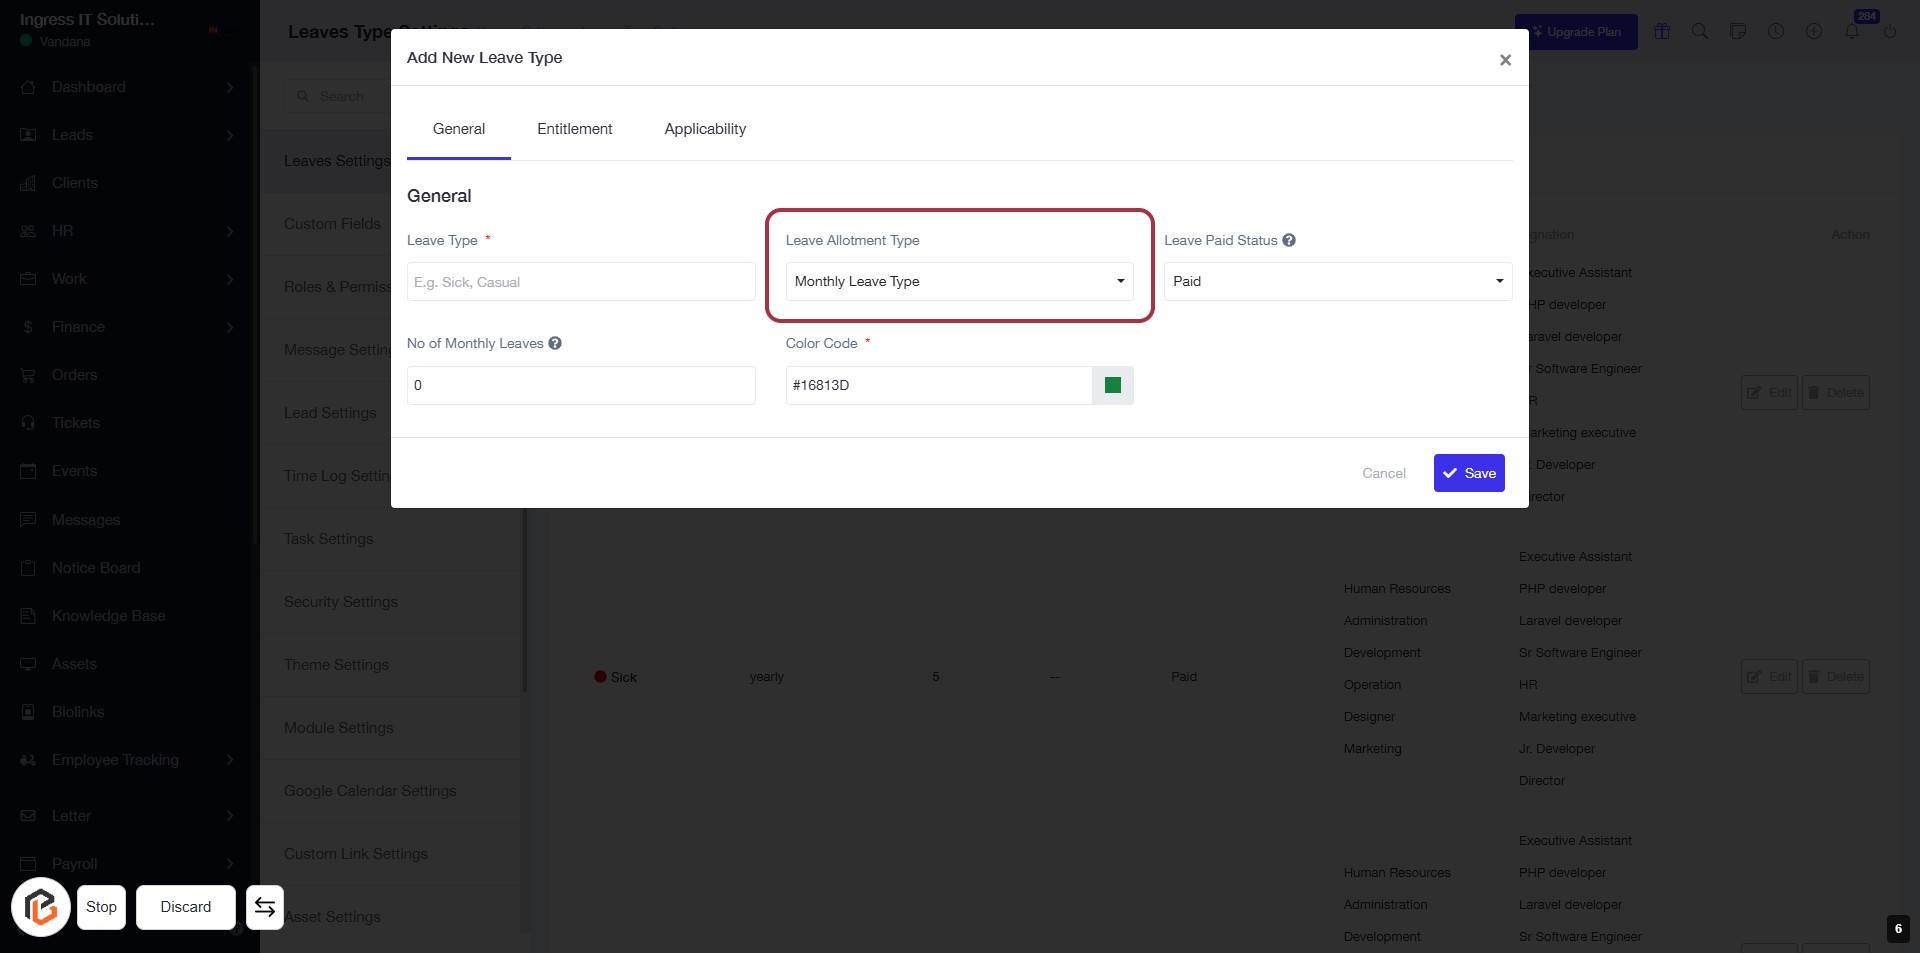
STEP 7: Select "Leave Allotment Type"
- Click on the "Leave Allotment Type" dropdown.
- Choose the appropriate option (e.g., Monthly Leave Type).
- Ensure all required fields marked with an asterisk (*) are filled out.
- Review your selections before proceeding to the next step.
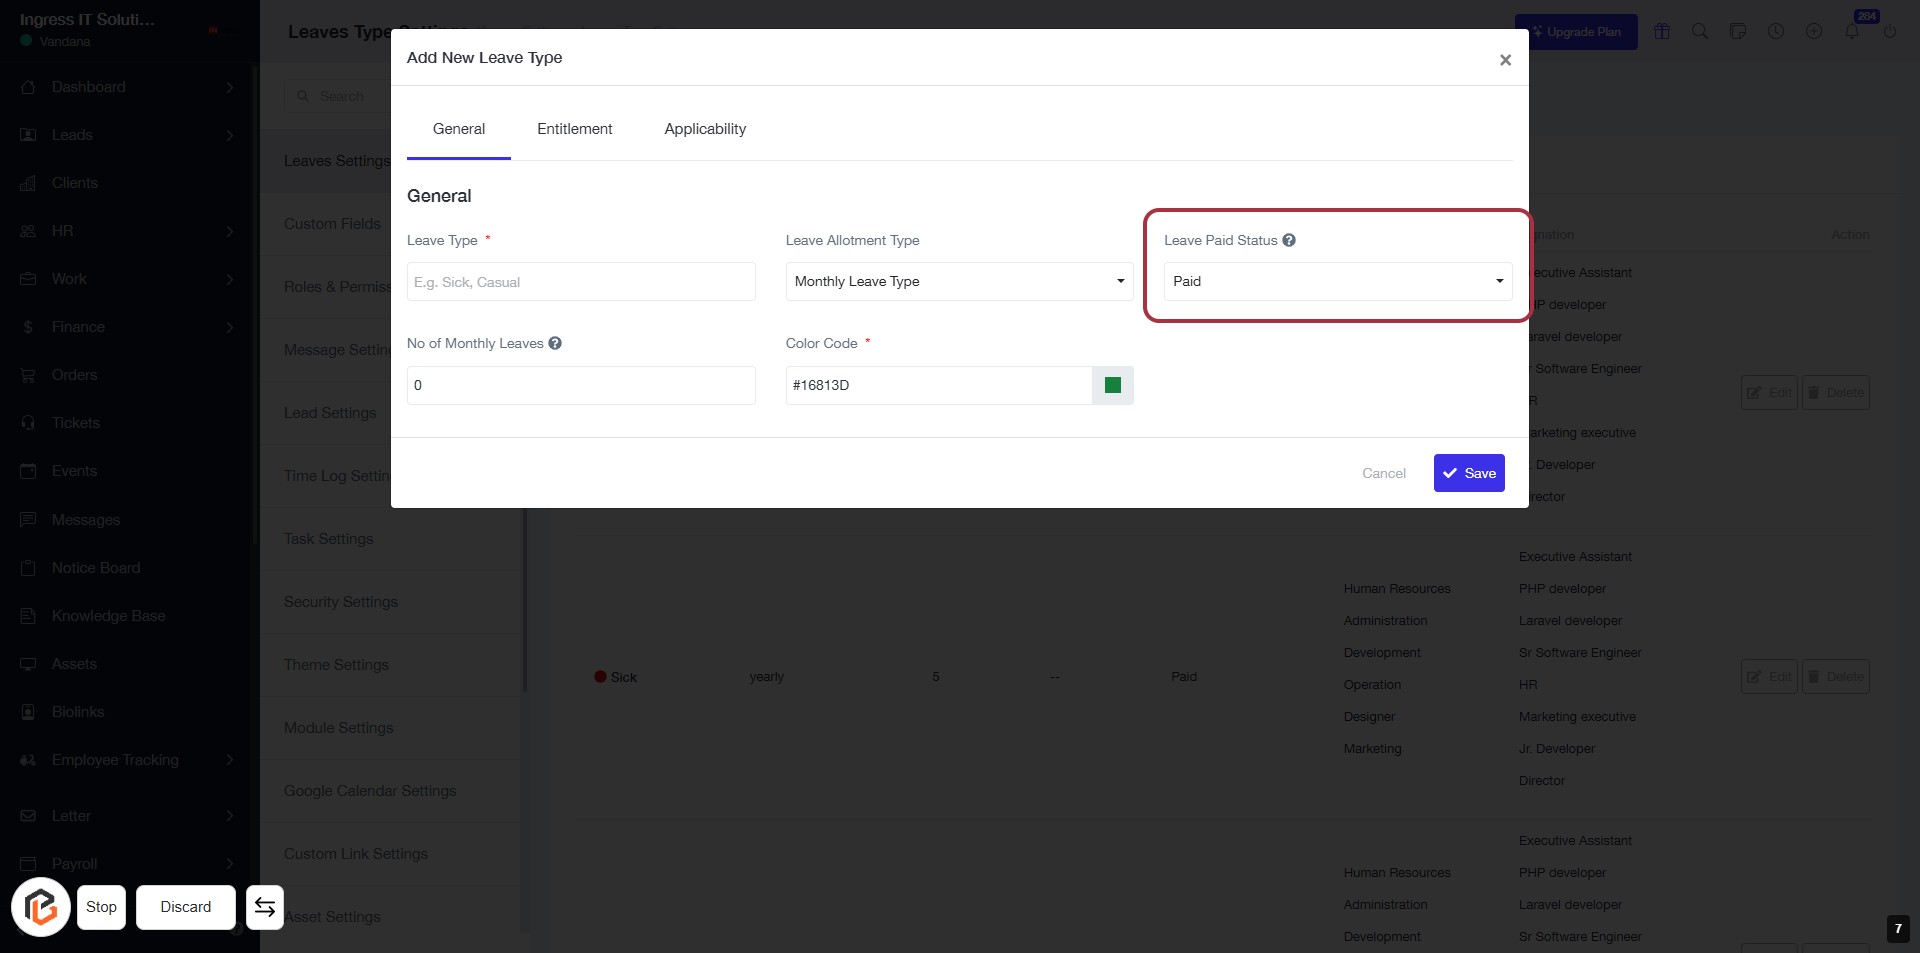
STEP 8: Select "Leave Paid Status"
- Click on the "Leave Paid Status" dropdown.
- Choose the appropriate option (e.g., Paid or Unpaid).
- Ensure all required fields marked with an asterisk (*) are filled.
- Review your selections before proceeding to the next step.
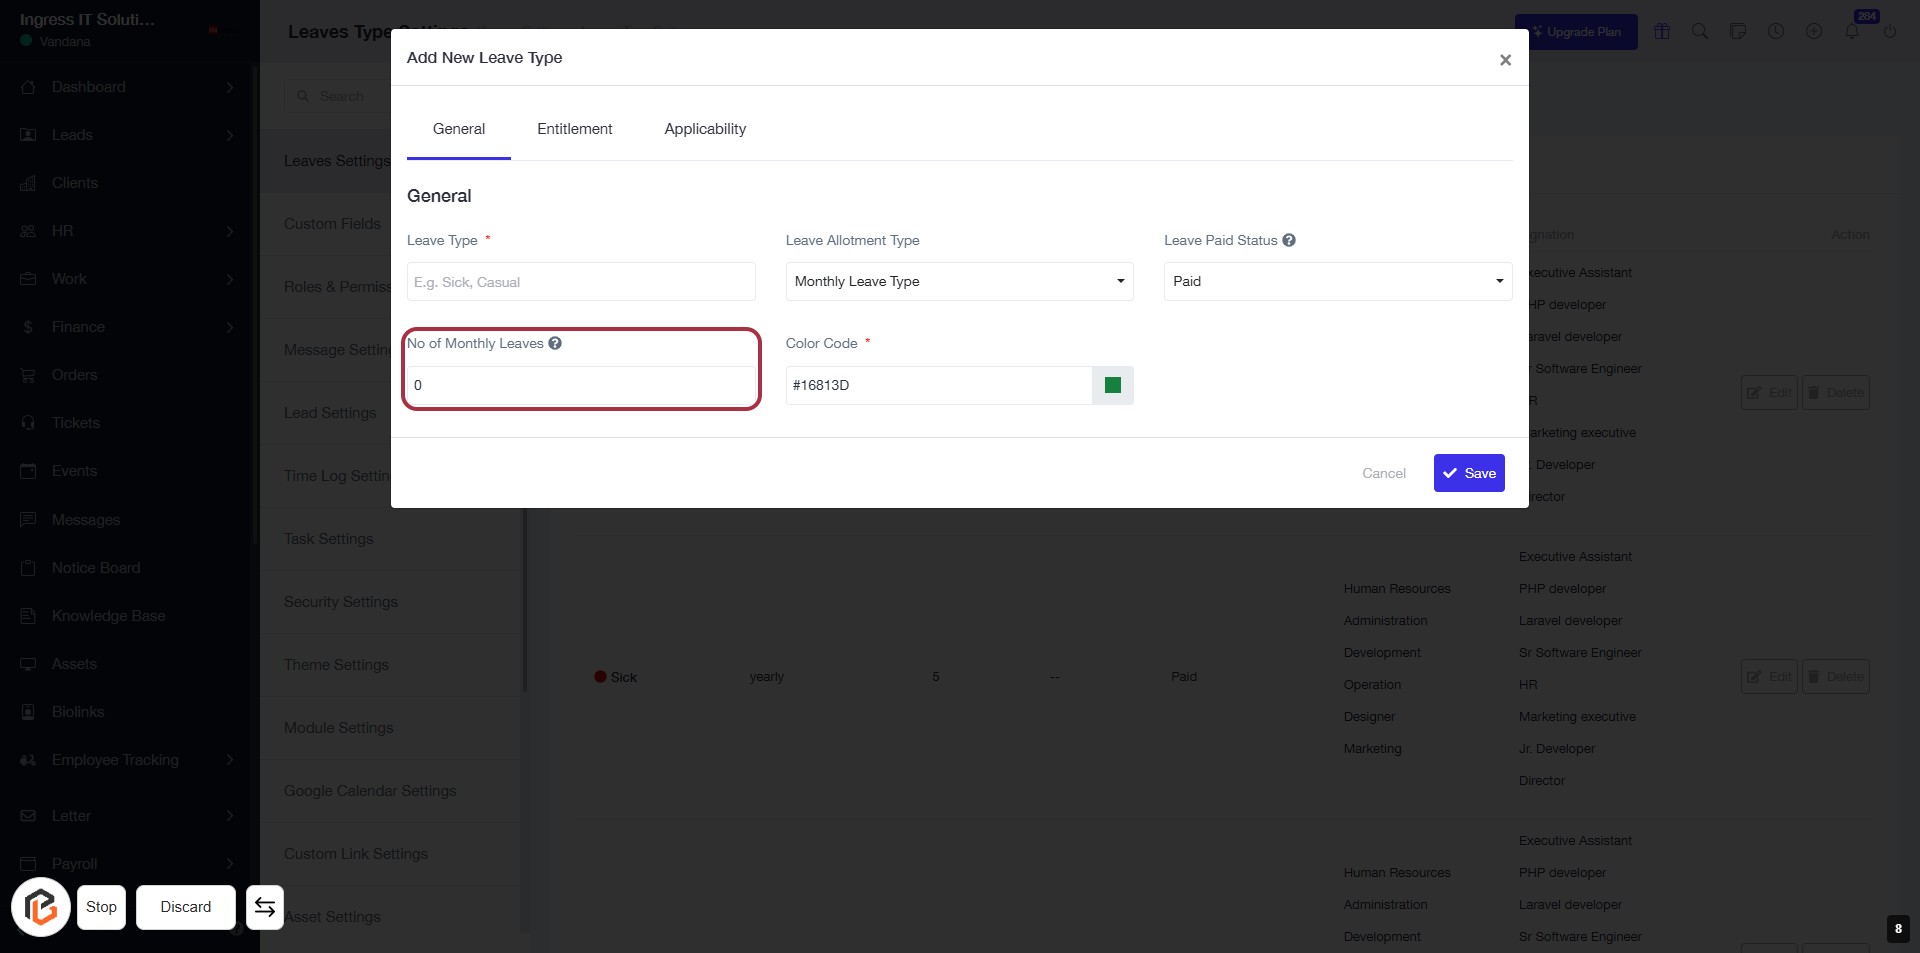
STEP 9: Enter "No of Monthly Leaves"
- Click on the "No of Monthly Leaves" field to input the desired number of monthly leaves.
- Ensure to fill in this field as it is marked with an asterisk (*) indicating it is required.
- After entering the number, proceed to the next step by selecting the "Color Code" field.
STEP 10: Select "Color Code" for Leave Type
- Click on the Color Code field (marked with an asterisk) to choose a color for the leave type.
- Ensure to select a color that visually represents the leave type effectively.
- After selecting, proceed to the next step to save your settings.

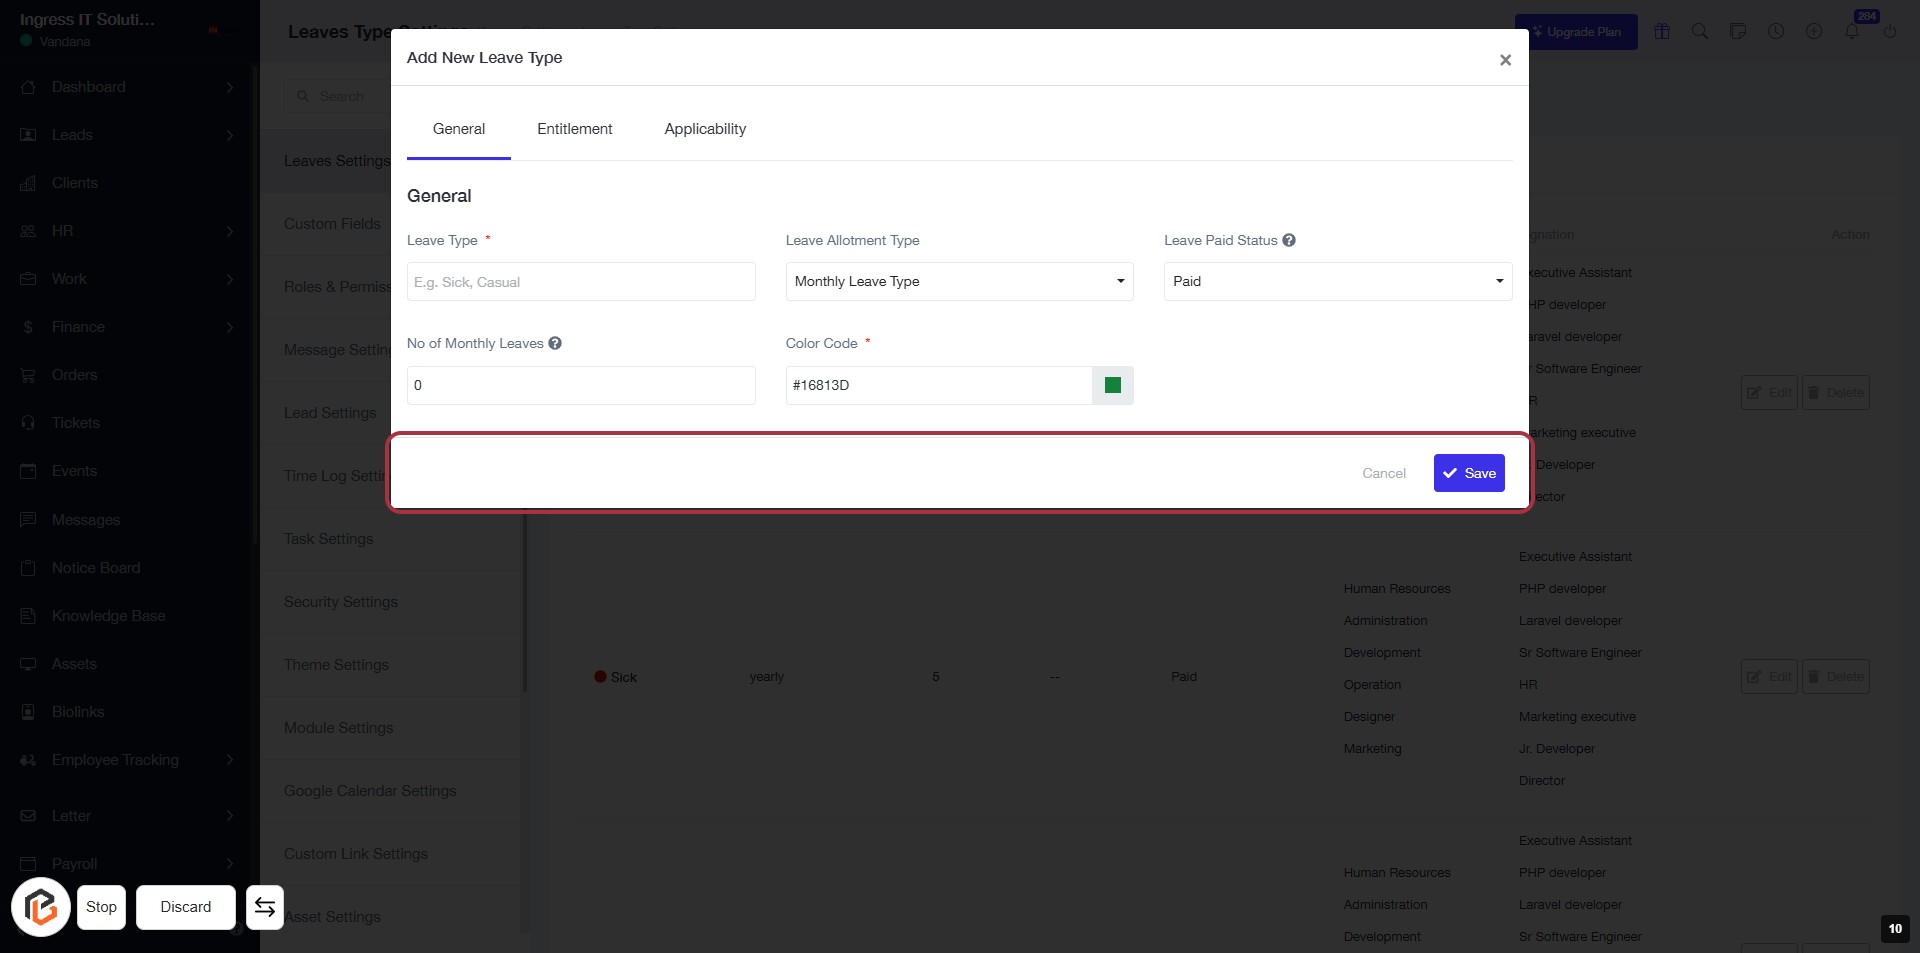
STEP 11: Click "Save" to Confirm Leave Type Settings
- Ensure all required fields are filled:
- Leave Type (mandatory)
- Leave Allotment Type
- No of Monthly Leaves
- Color Code (mandatory)
- Click the Save button to confirm your settings.
- If you wish to cancel, click Cancel.
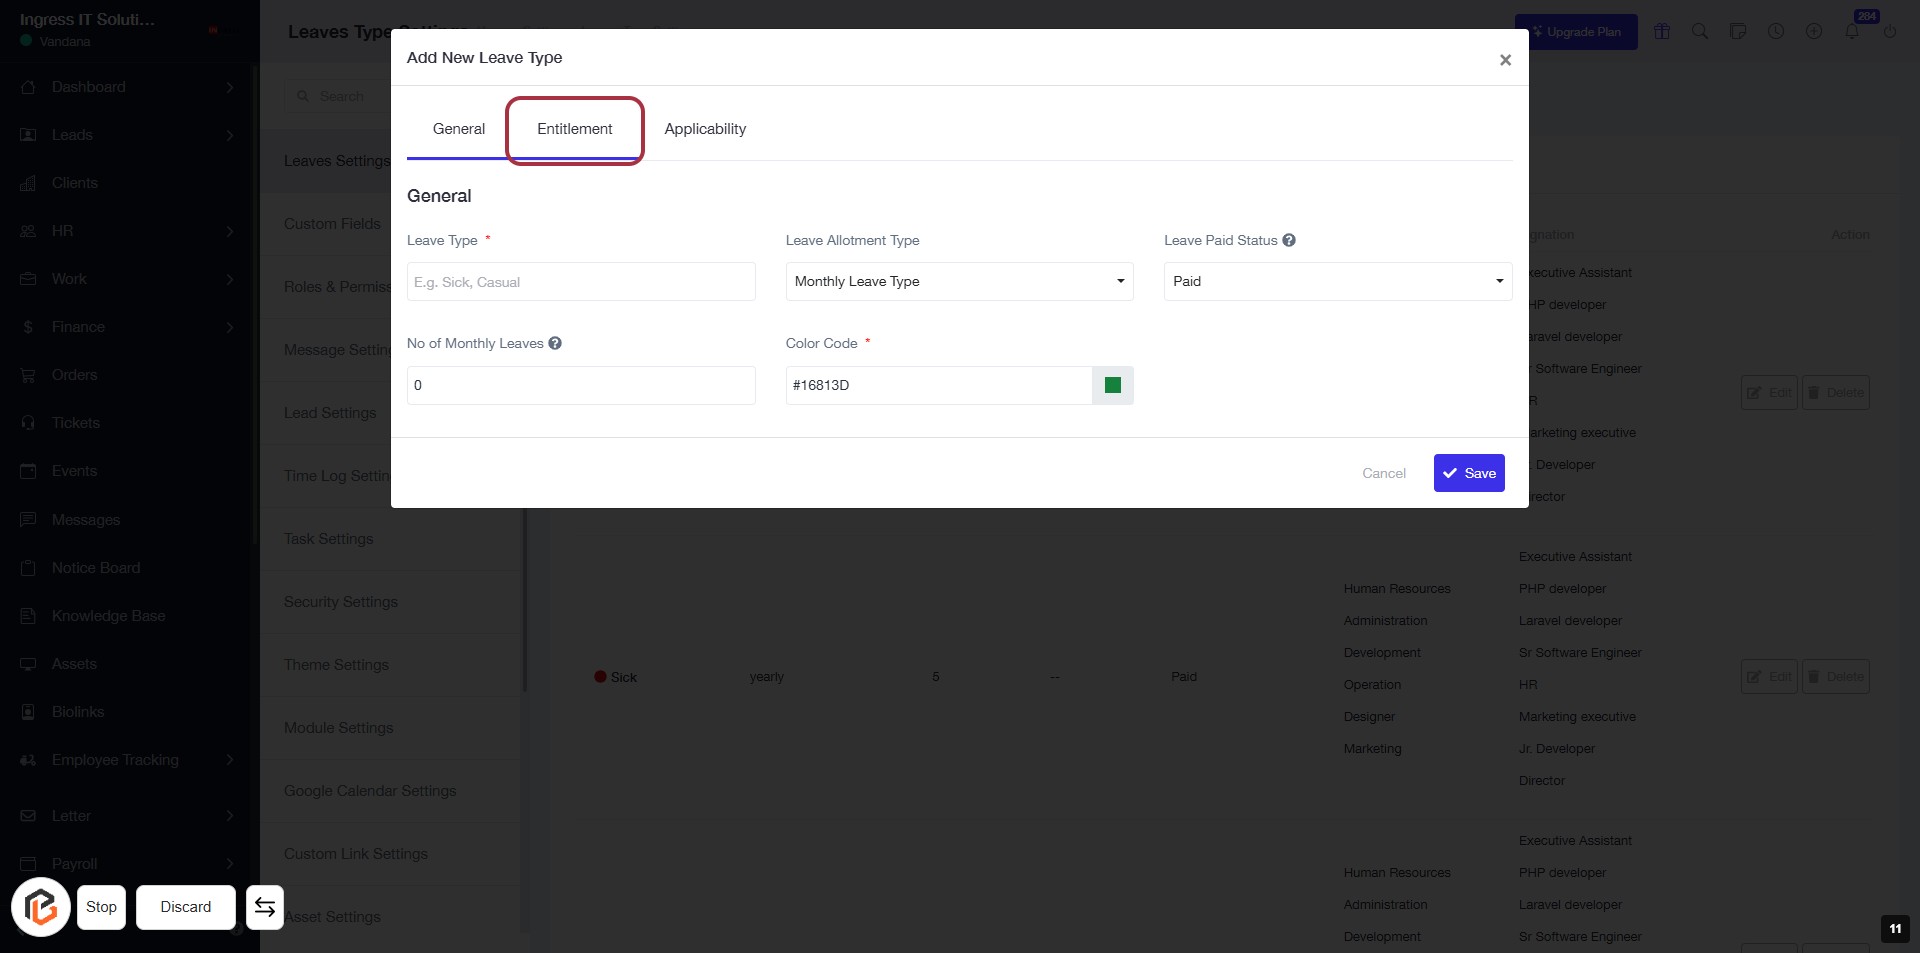
STEP 12: Select "Entitlement"
- Click on the "Entitlement" tab to access the relevant settings for leave types.
- Ensure to fill in the required fields in the "General" section, such as:
- Leave Type *
- No of Monthly Leaves *
- Color Code *
- Review all options before proceeding to the next step.
STEP 13: Enter "Effective After Days of Joining"
- Click on the "Effective After" field in the Entitlement section.
- Input the number of days after which the leave will be effective.
- Select the appropriate unit (Days) from the dropdown next to the input field.
- Ensure all required fields are filled before proceeding to the next step.

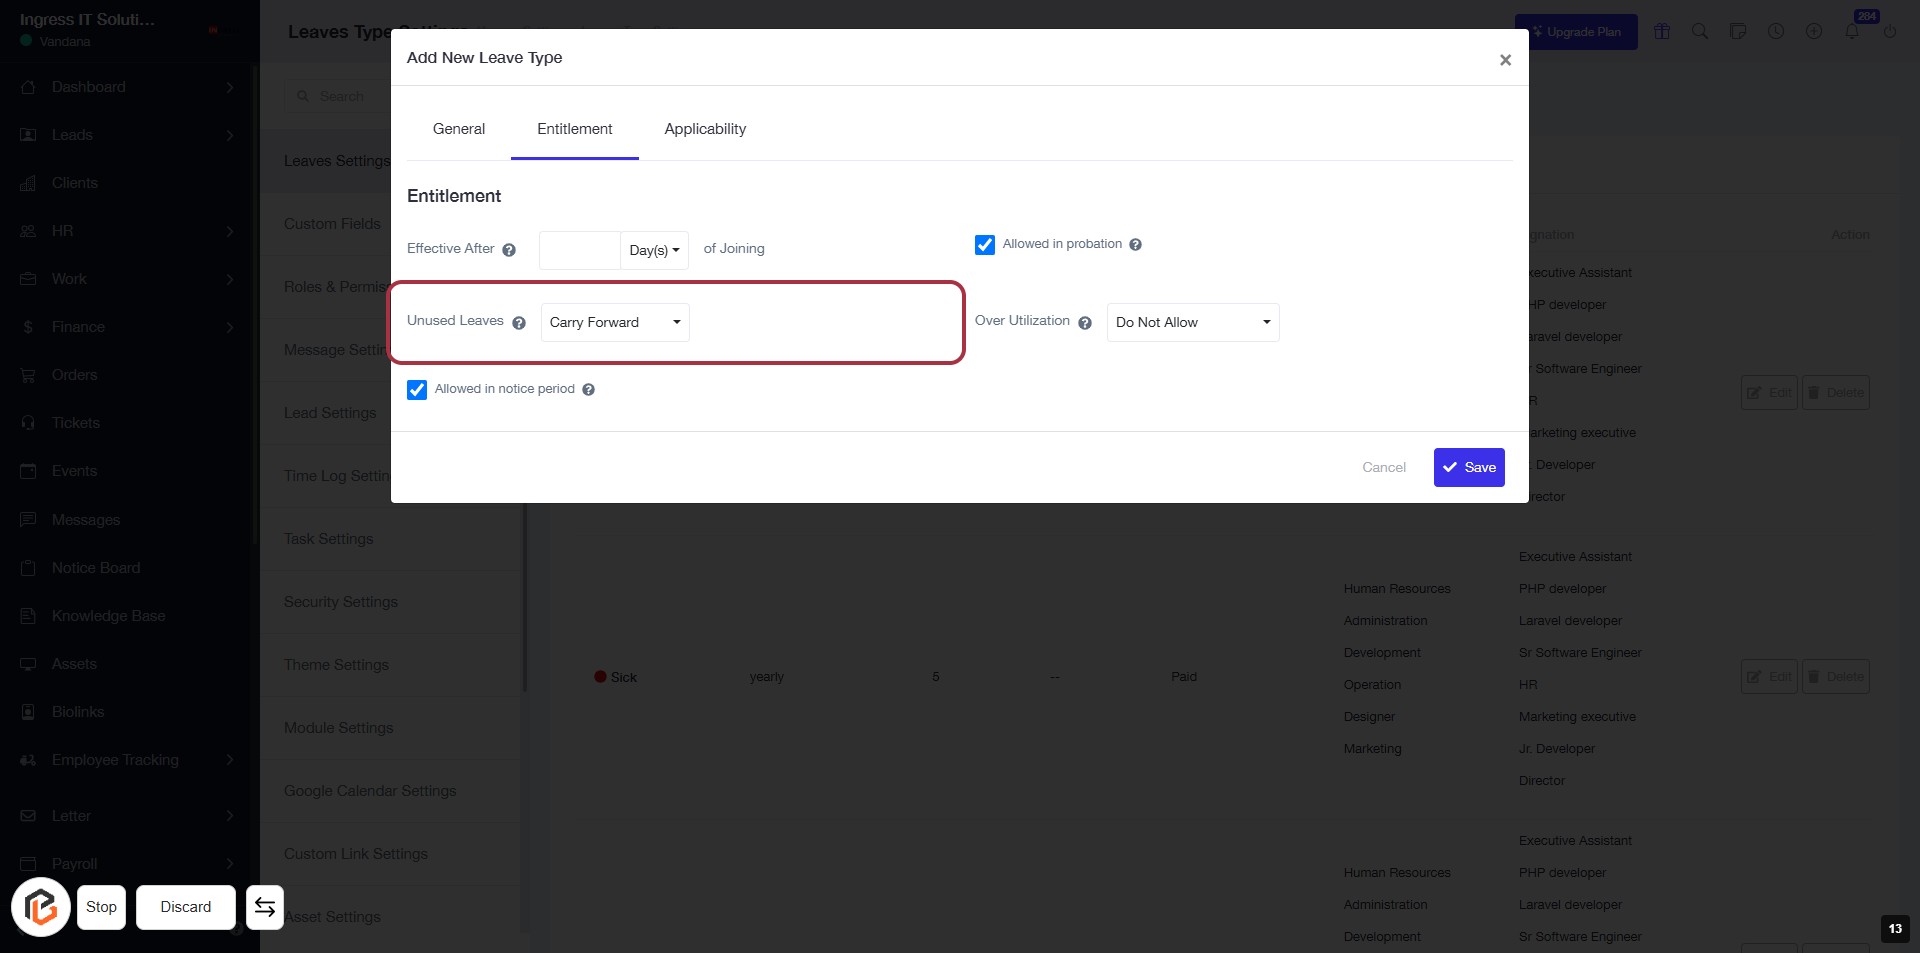
STEP 14: Click "Unused Leaves" to Configure Leave Settings
- Navigate to the Entitlement section of the leave settings form.
- Click on the Unused Leaves option.
- Choose the desired setting from the dropdown (e.g., Carry Forward).
- Ensure to review other options like Over Utilization and Allowed in notice period as needed.
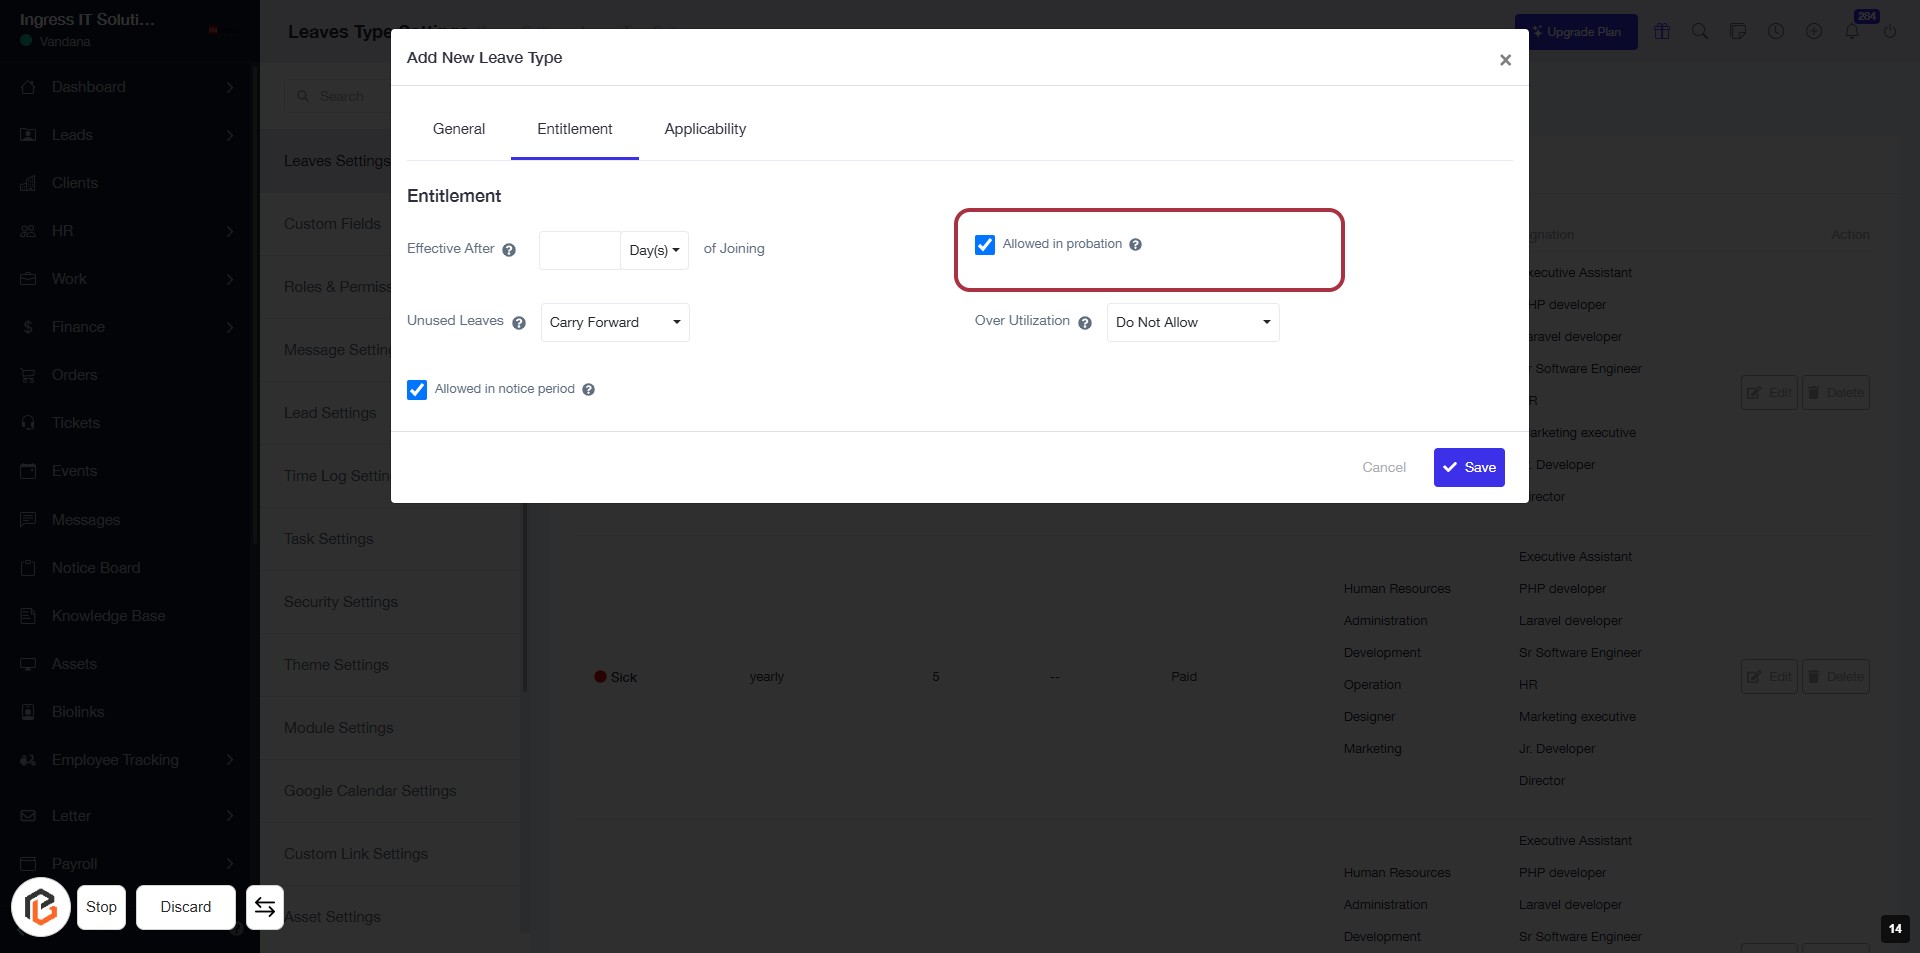
STEP 15: Select "Allowed in probation"
- Click on the checkbox labeled "Allowed in probation" to enable this option.
- Ensure that this selection aligns with your leave policy for probationary employees.
- Review other related fields such as "Effective After" and "Unused Leaves" for completeness.
- Proceed to the next step by entering details for "Over Utilization of Leaves."
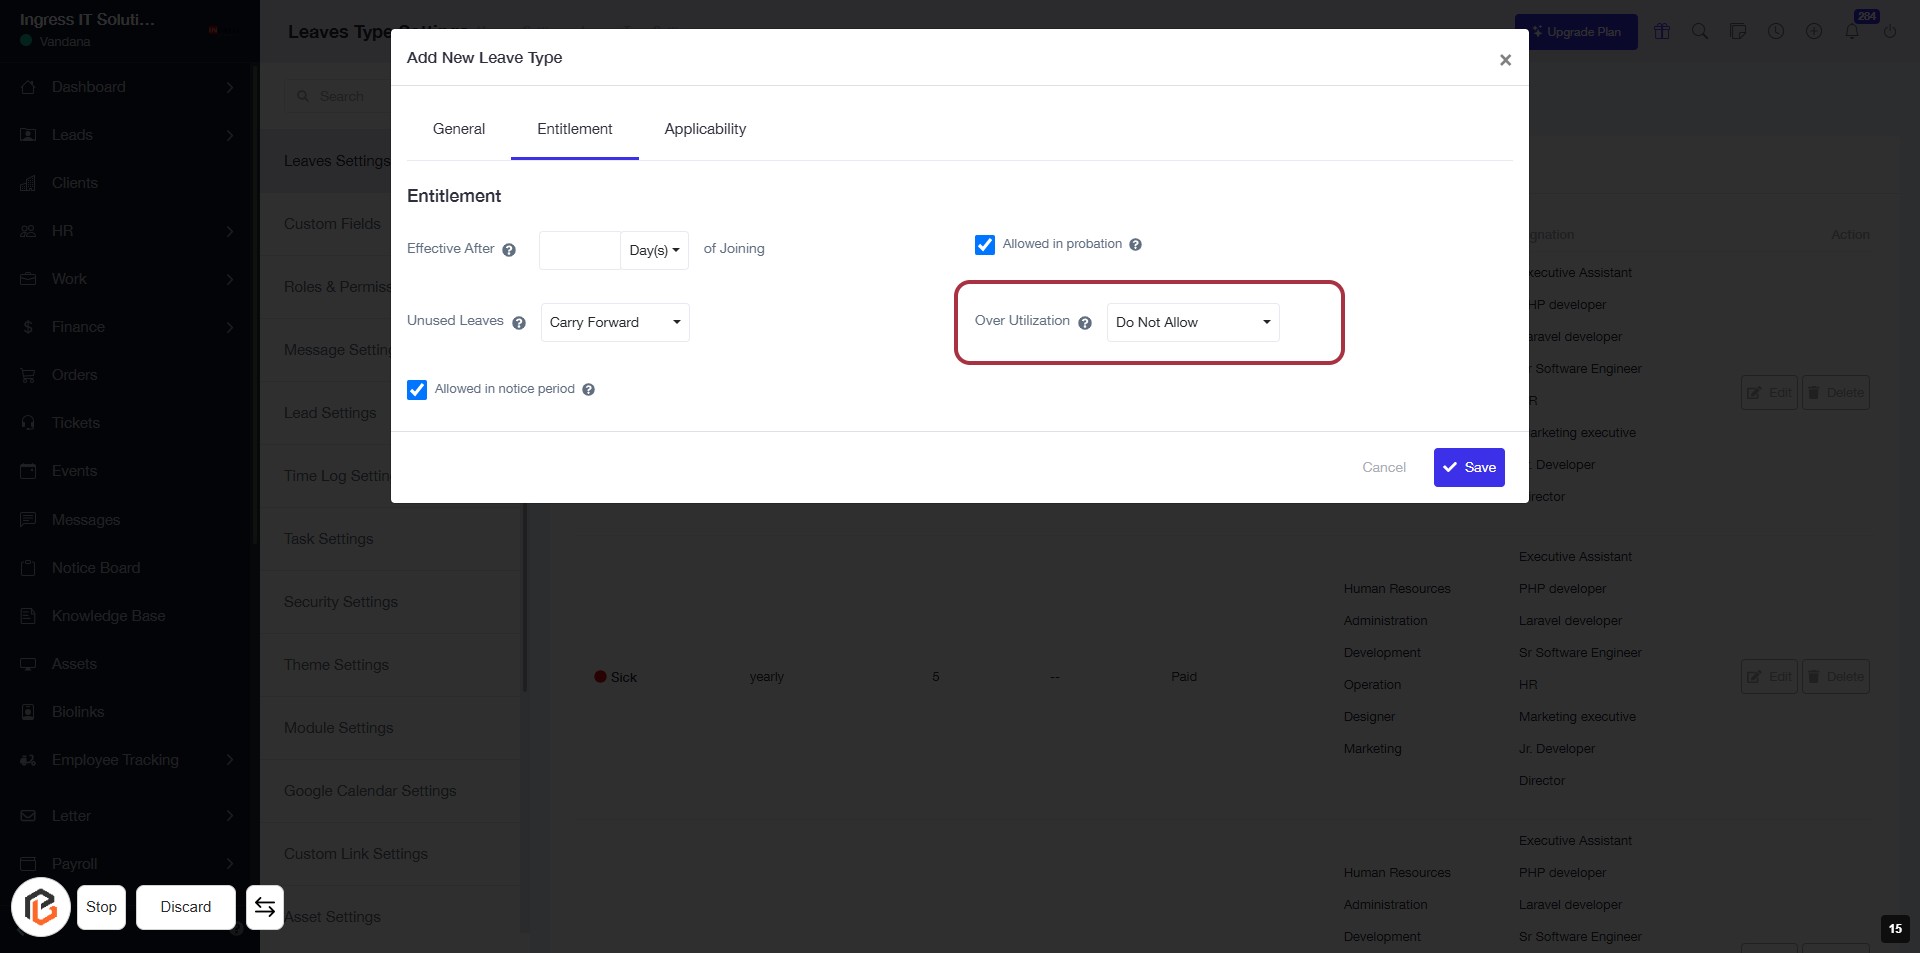
STEP 16: Select "Over Utilization" Leave Setting
- Click on the "Over Utilization" dropdown.
- Choose the appropriate option (e.g., "Do Not Allow").
- Ensure all required fields marked with an asterisk (*) are filled.
- Review your selections before proceeding to the next step.
STEP 17: Select "Allowed in notice period"
- Click on the checkbox labeled "Allowed in notice period" to enable this option.
- Ensure that any other required fields are filled out, such as Effective After and Unused Leaves.
- Review your selections before proceeding to the next step.

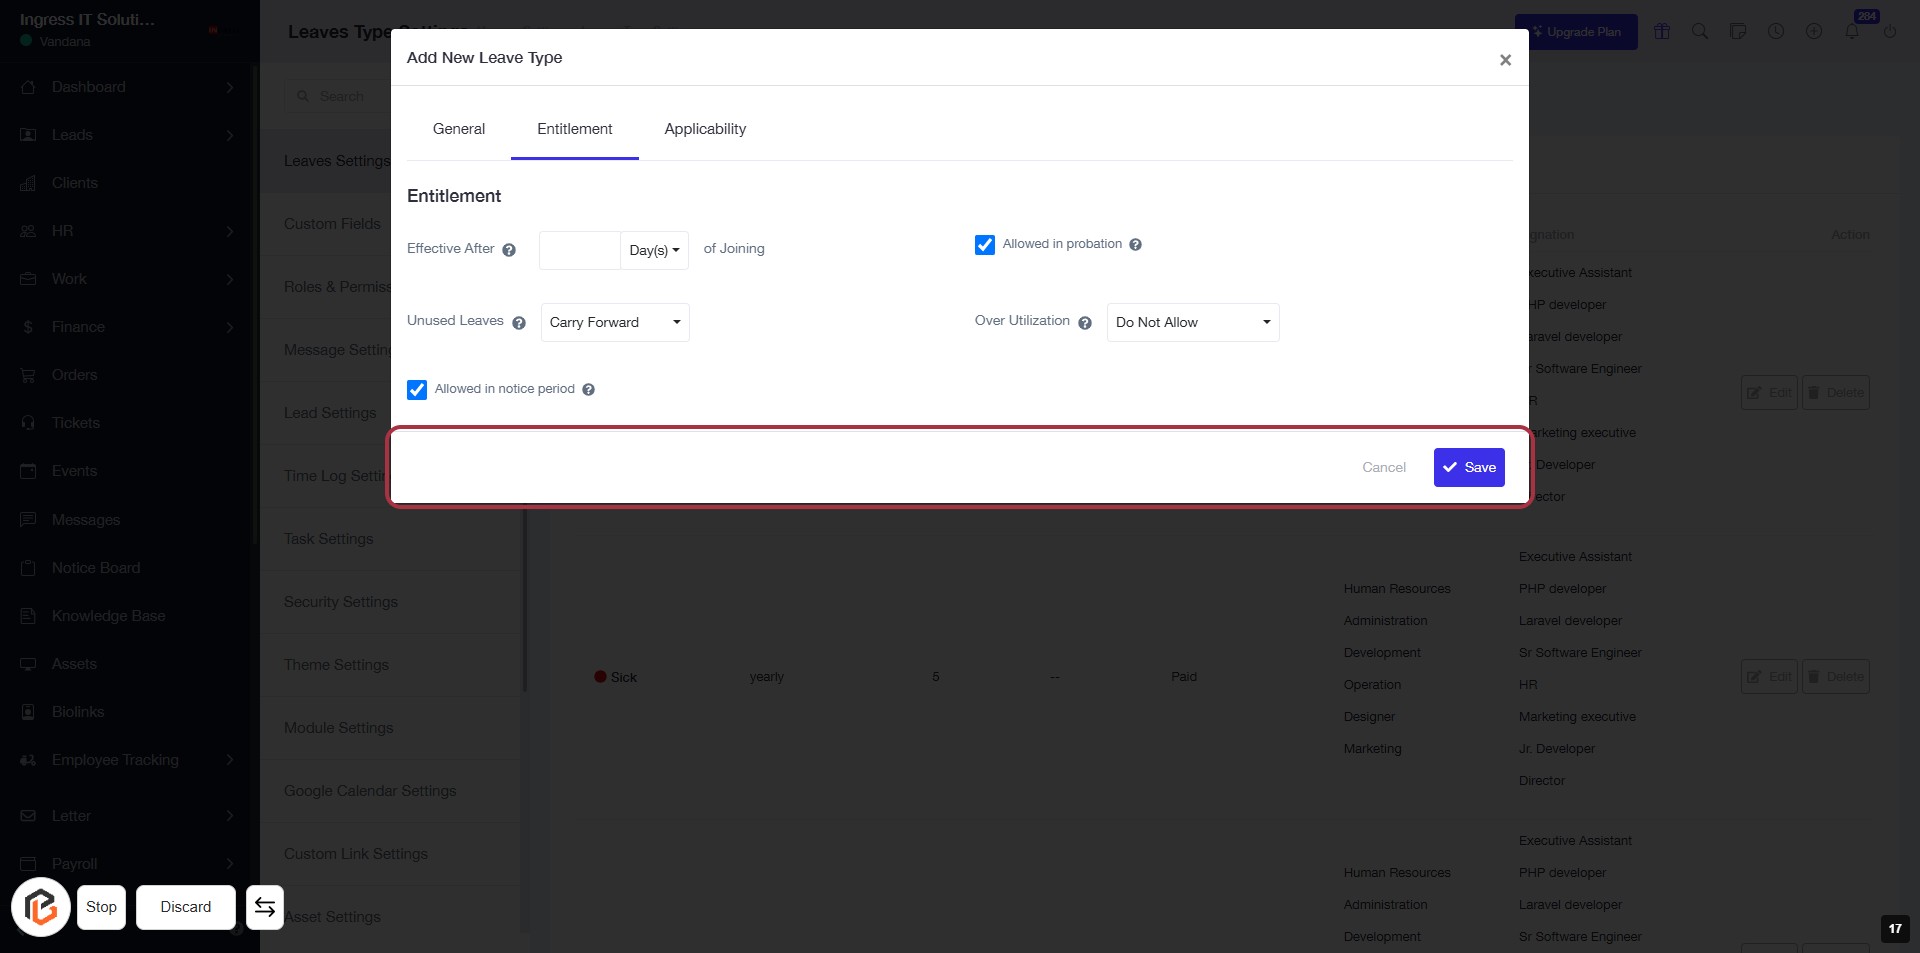
STEP 18: Click "Save" to Confirm Leave Type Settings
- Ensure all required fields are filled out correctly.
- Review the selected options for "Allowed in notice period" and other settings.
- Click the Save button in the highlighted area to save your changes.
- If needed, you can click Cancel to discard changes.
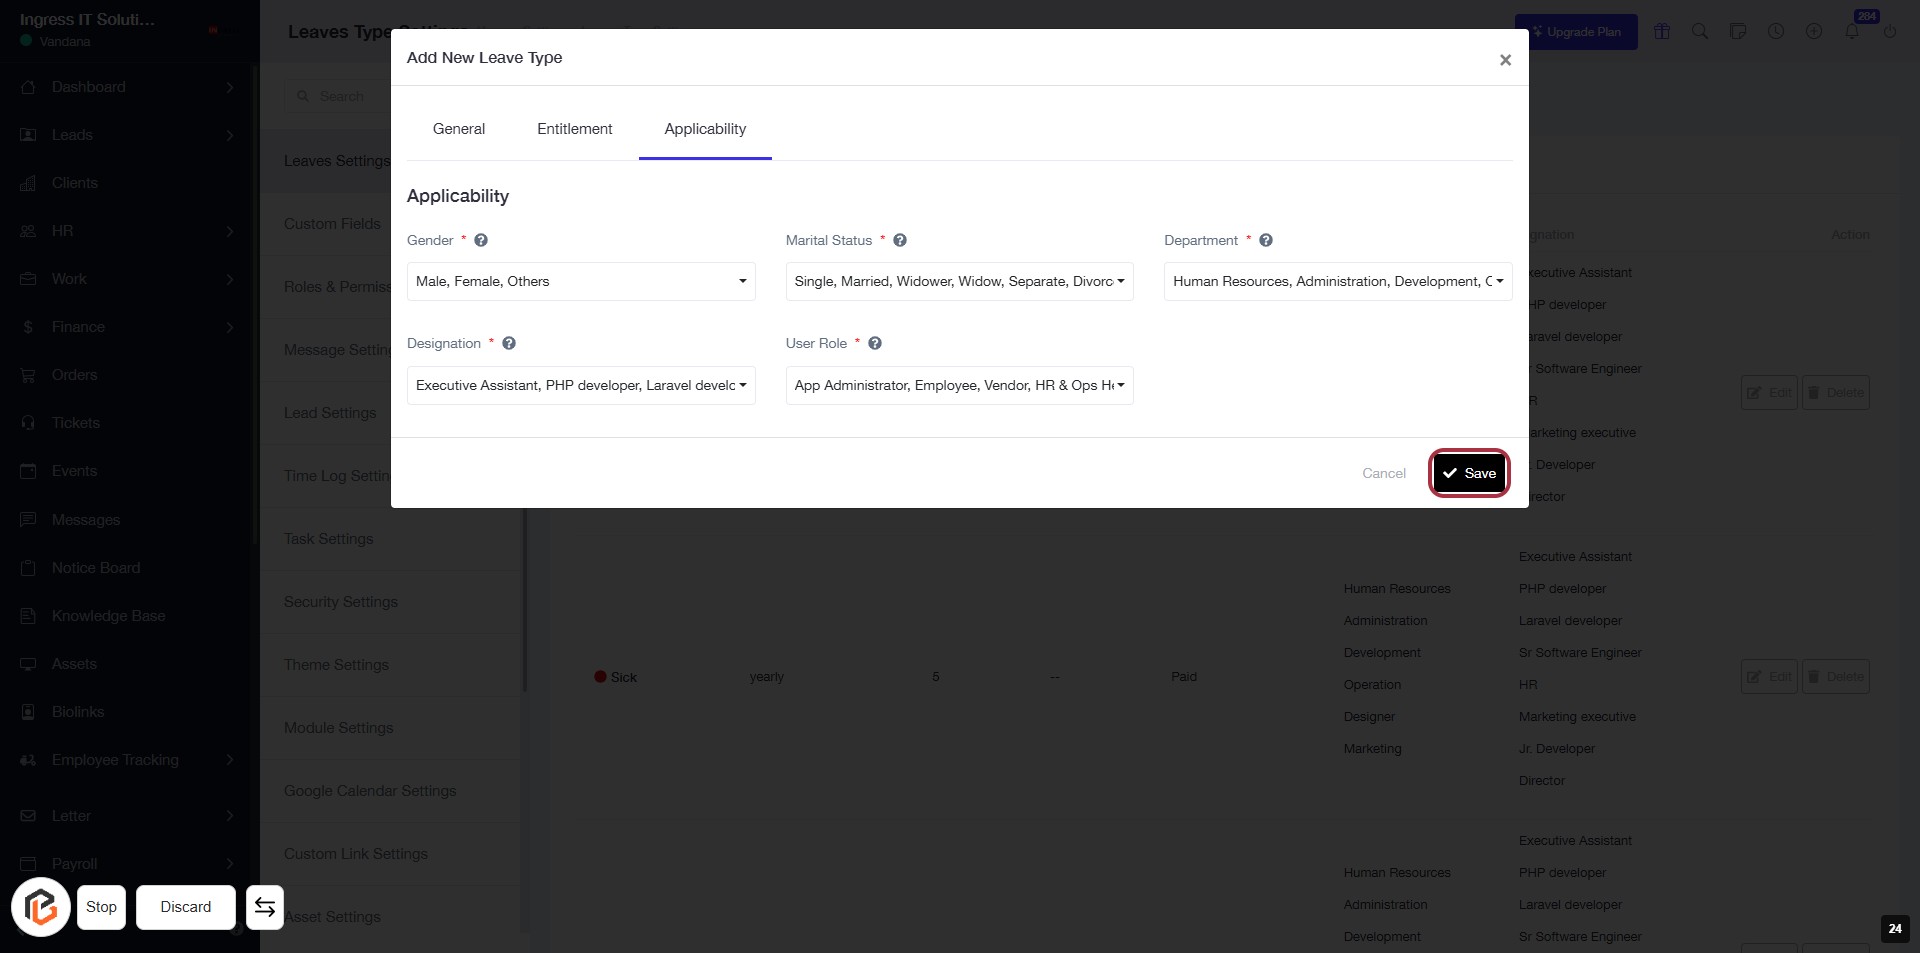
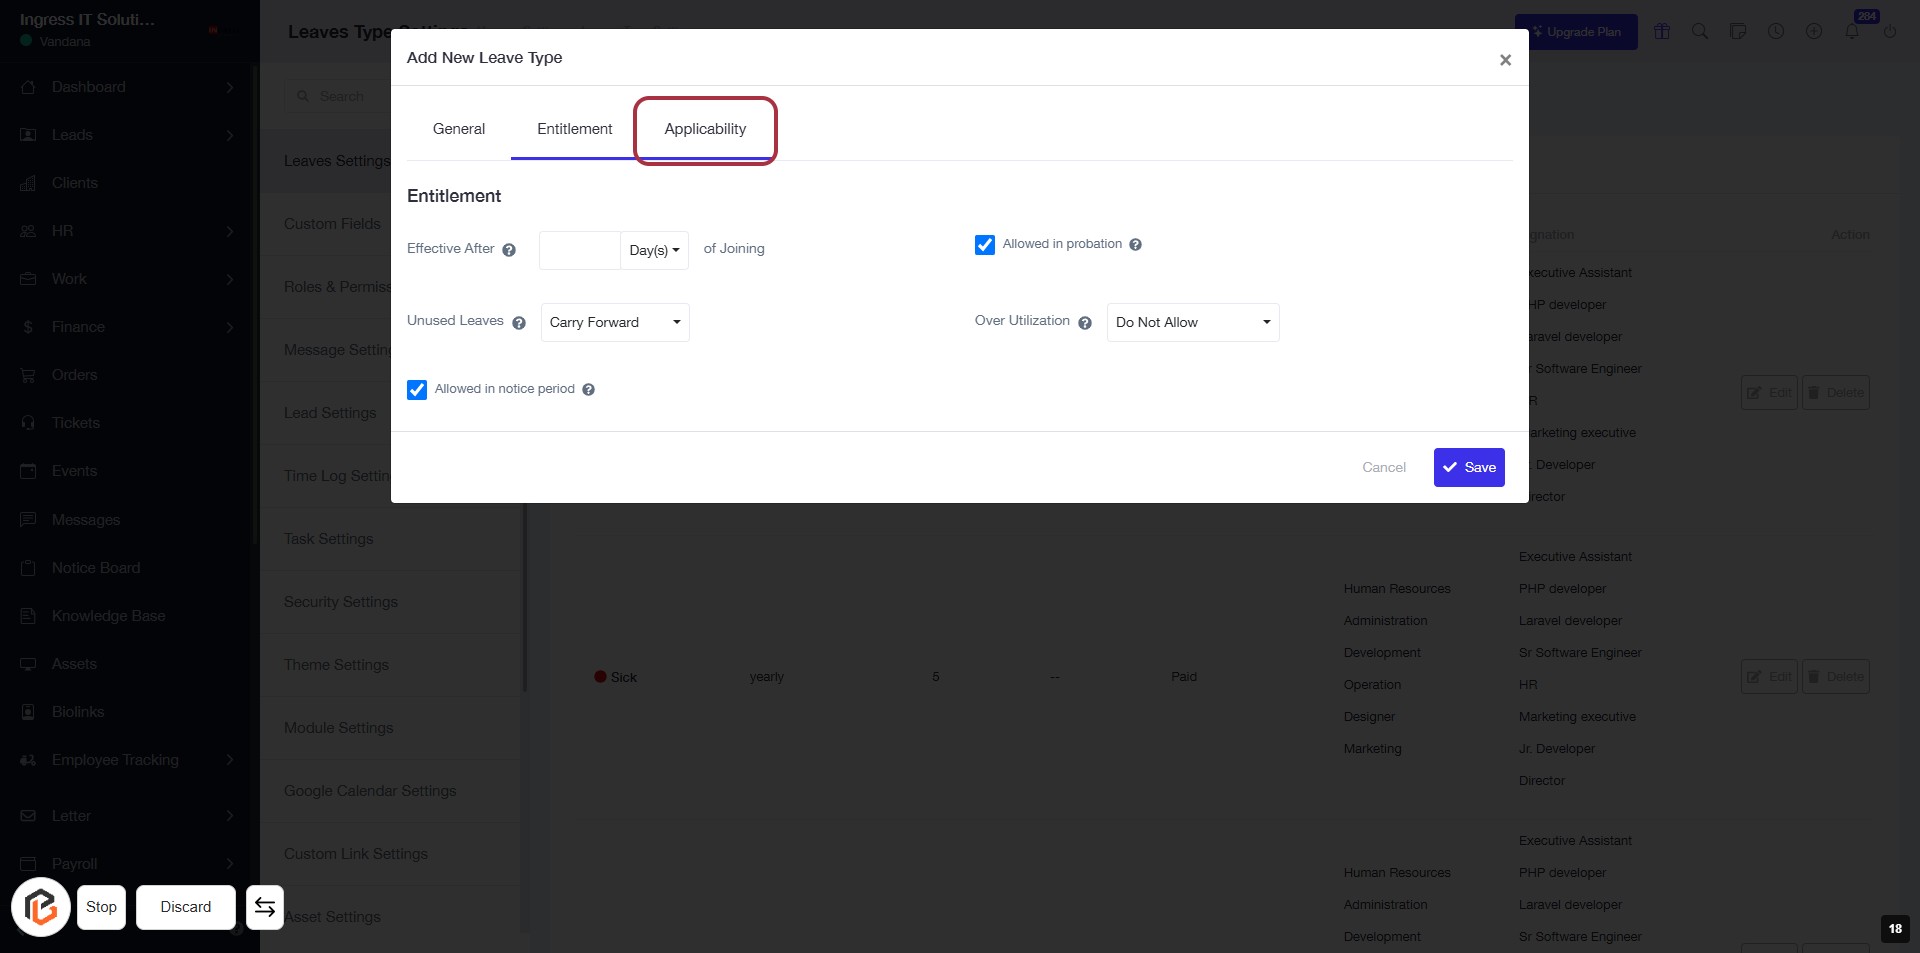
STEP 19: Select "Applicability" Tab
- Click on the "Applicability" tab to access settings related to leave type applicability.
- Ensure you have filled out the required fields in the "Entitlement" section before proceeding.
- Review options such as "Allowed in probation" and "Over Utilization" settings.
- After making selections, continue to the next step.
STEP 20: Select "Gender"
- Click on the "Gender" field in the Applicability section.
- Choose one of the options: Male, Female, or Others.
- Ensure that the field is marked with an asterisk (*) indicating it is required.
- Proceed to the next step by selecting "Designation."
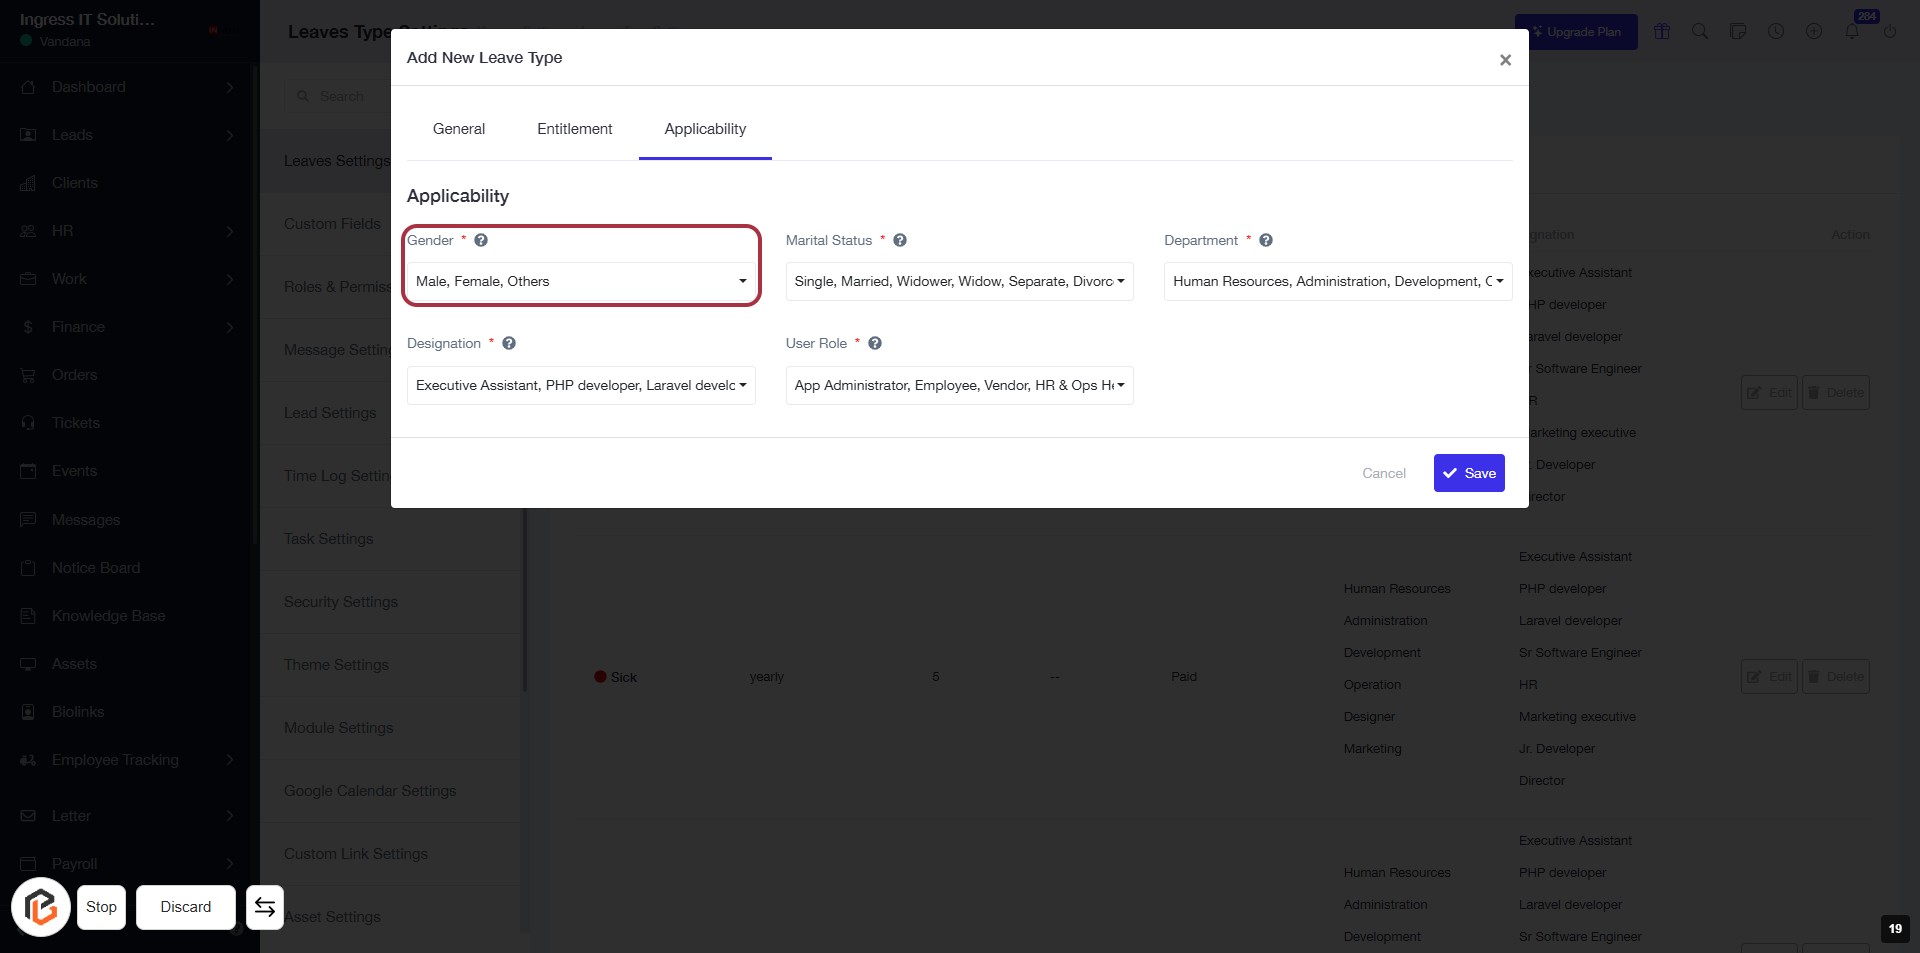
STEP 21: Select "Designation"
- Click on the Designation field (marked with an asterisk) to open the dropdown.
- Choose from the available options: Executive Assistant, PHP developer, Laravel developer, etc.
- Ensure the selection is made before proceeding to the next step.

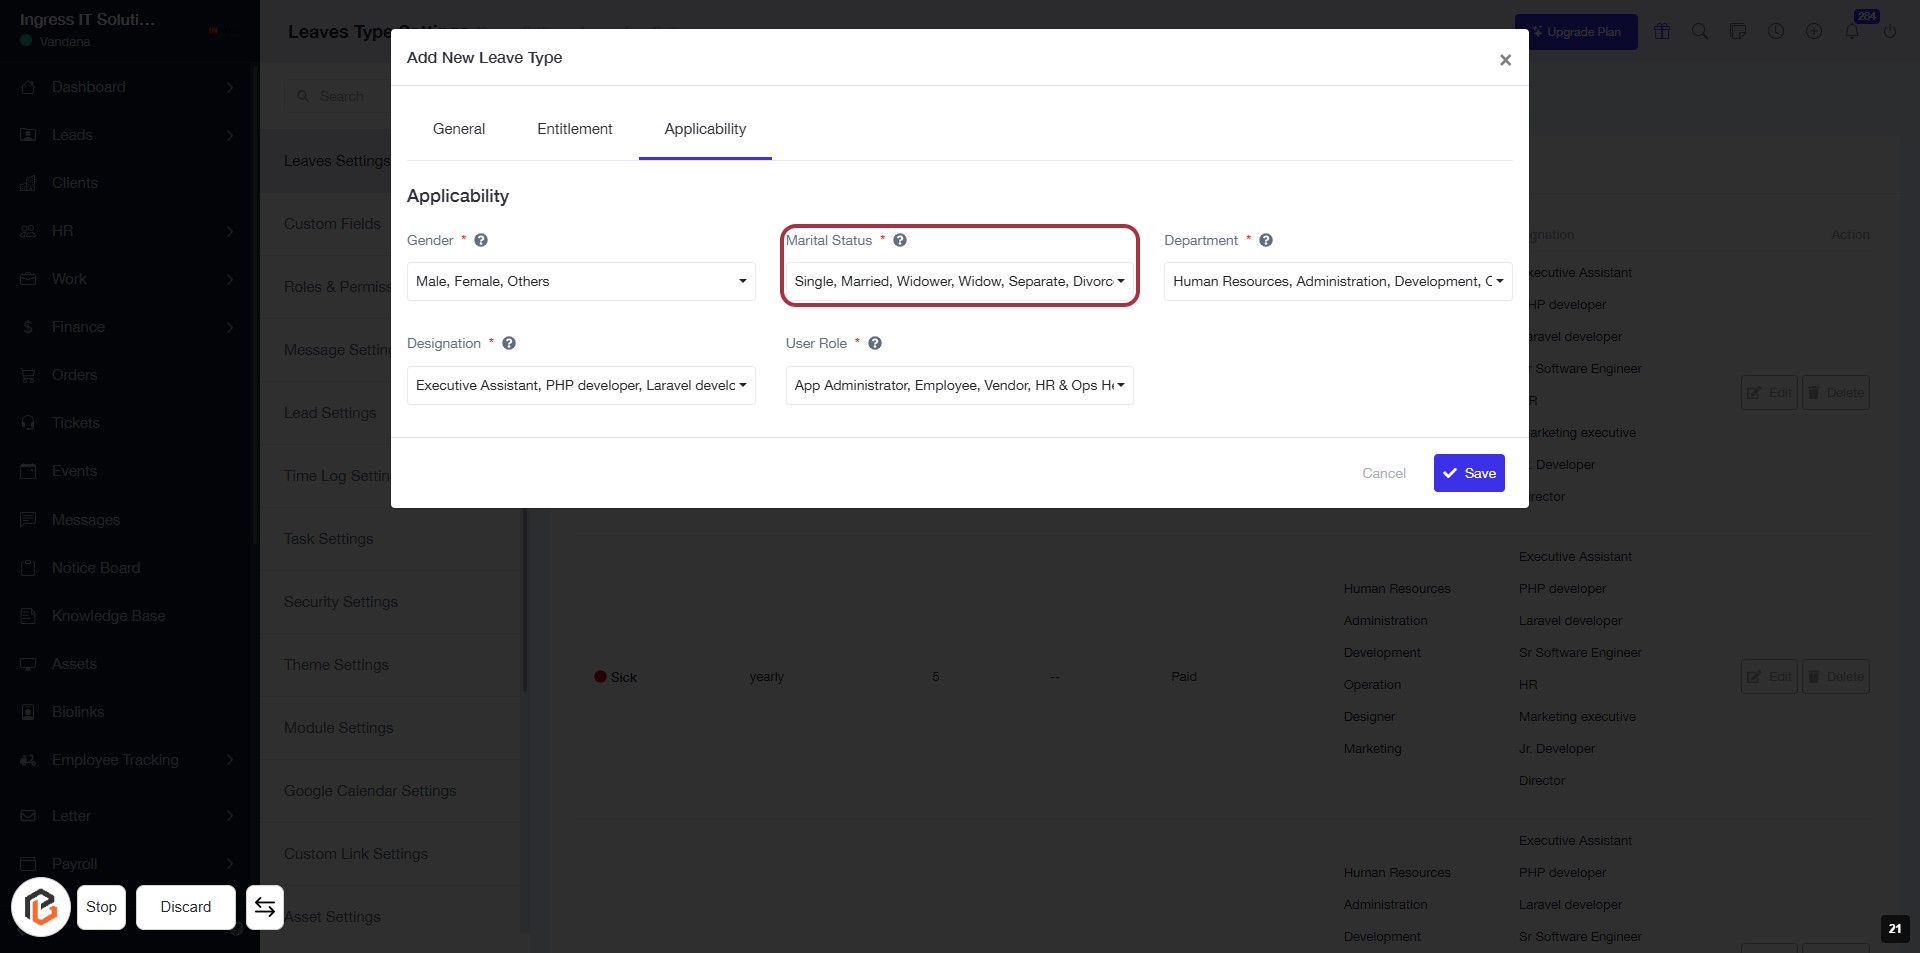
STEP 22: Select "Marital Status"
- Click on the "Marital Status" field to view options.
- Required options include: Single, Married, Widower, Widow, Separated, Divorce.
- Ensure to fill in this field as it is marked with an asterisk (*).
- Proceed to the next step by selecting "User Role."
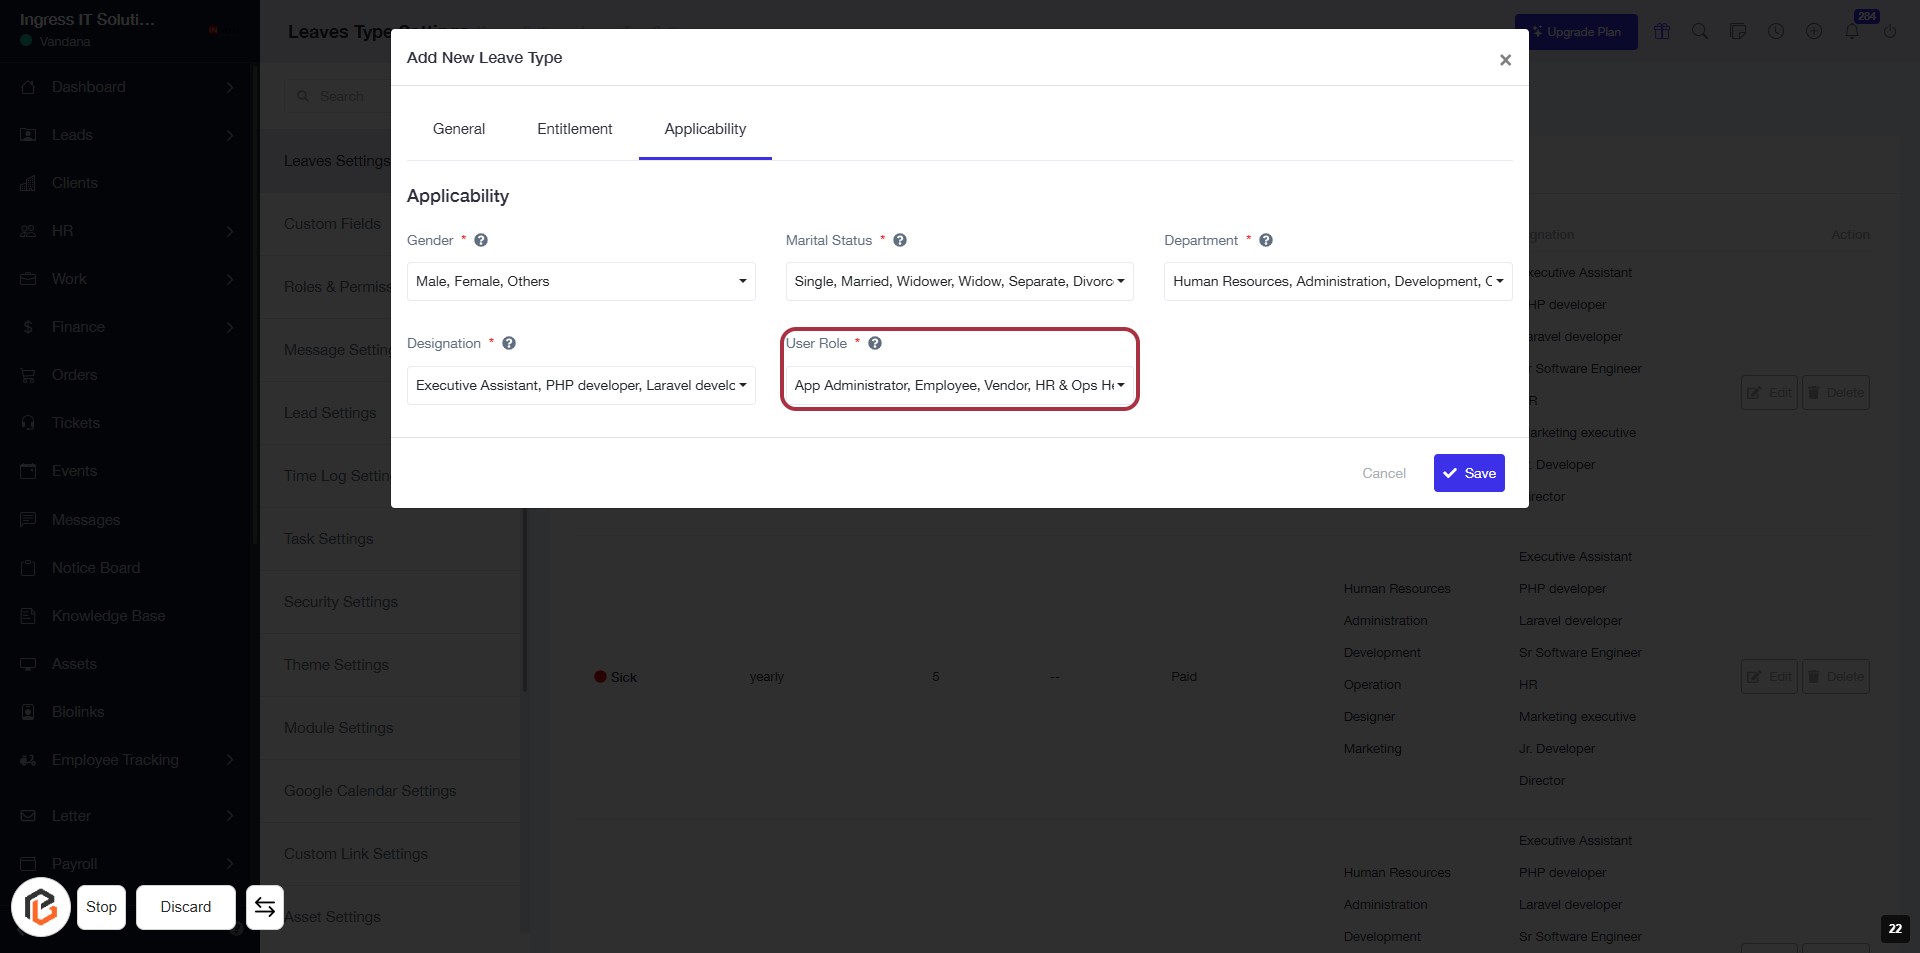
STEP 23: Select "User Role"
- Click on the "User Role" field (marked with an asterisk).
- Choose from the available options: App Administrator, Employee, Vendor, HR & Ops.
- Ensure to select a role that fits the user's position.
- Proceed to the next step by selecting "Department."
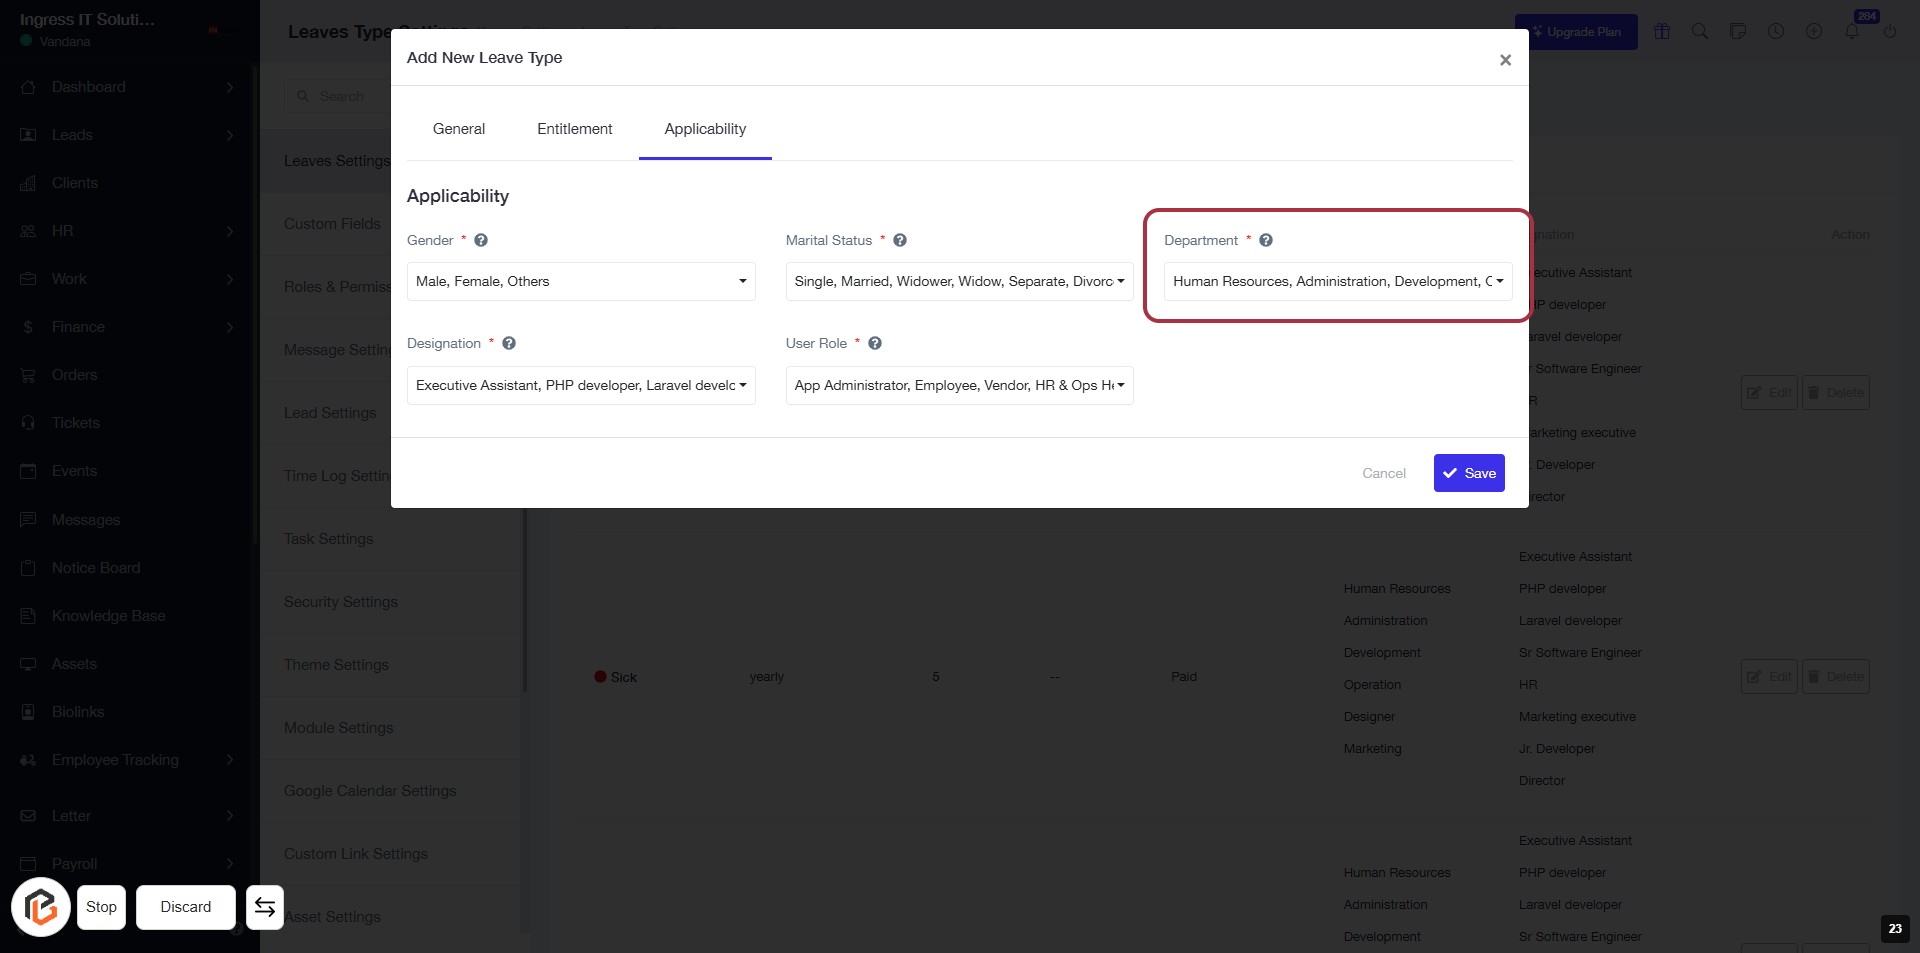
STEP 24: Select "Department"
STEP 25: Click "Save" to Confirm Leave Type Settings
- Ensure all required fields (marked with *) are filled: Gender, Marital Status, Designation, User Role, and Department.
- Review your entries for accuracy.
- Click the Save button to finalize your settings.