Comprehensive Guide to Configuring Lead Settings: Essential Steps for Setting Up Pipelines and Deal Stages
12 mins read · Updated 29 Sep, 2025
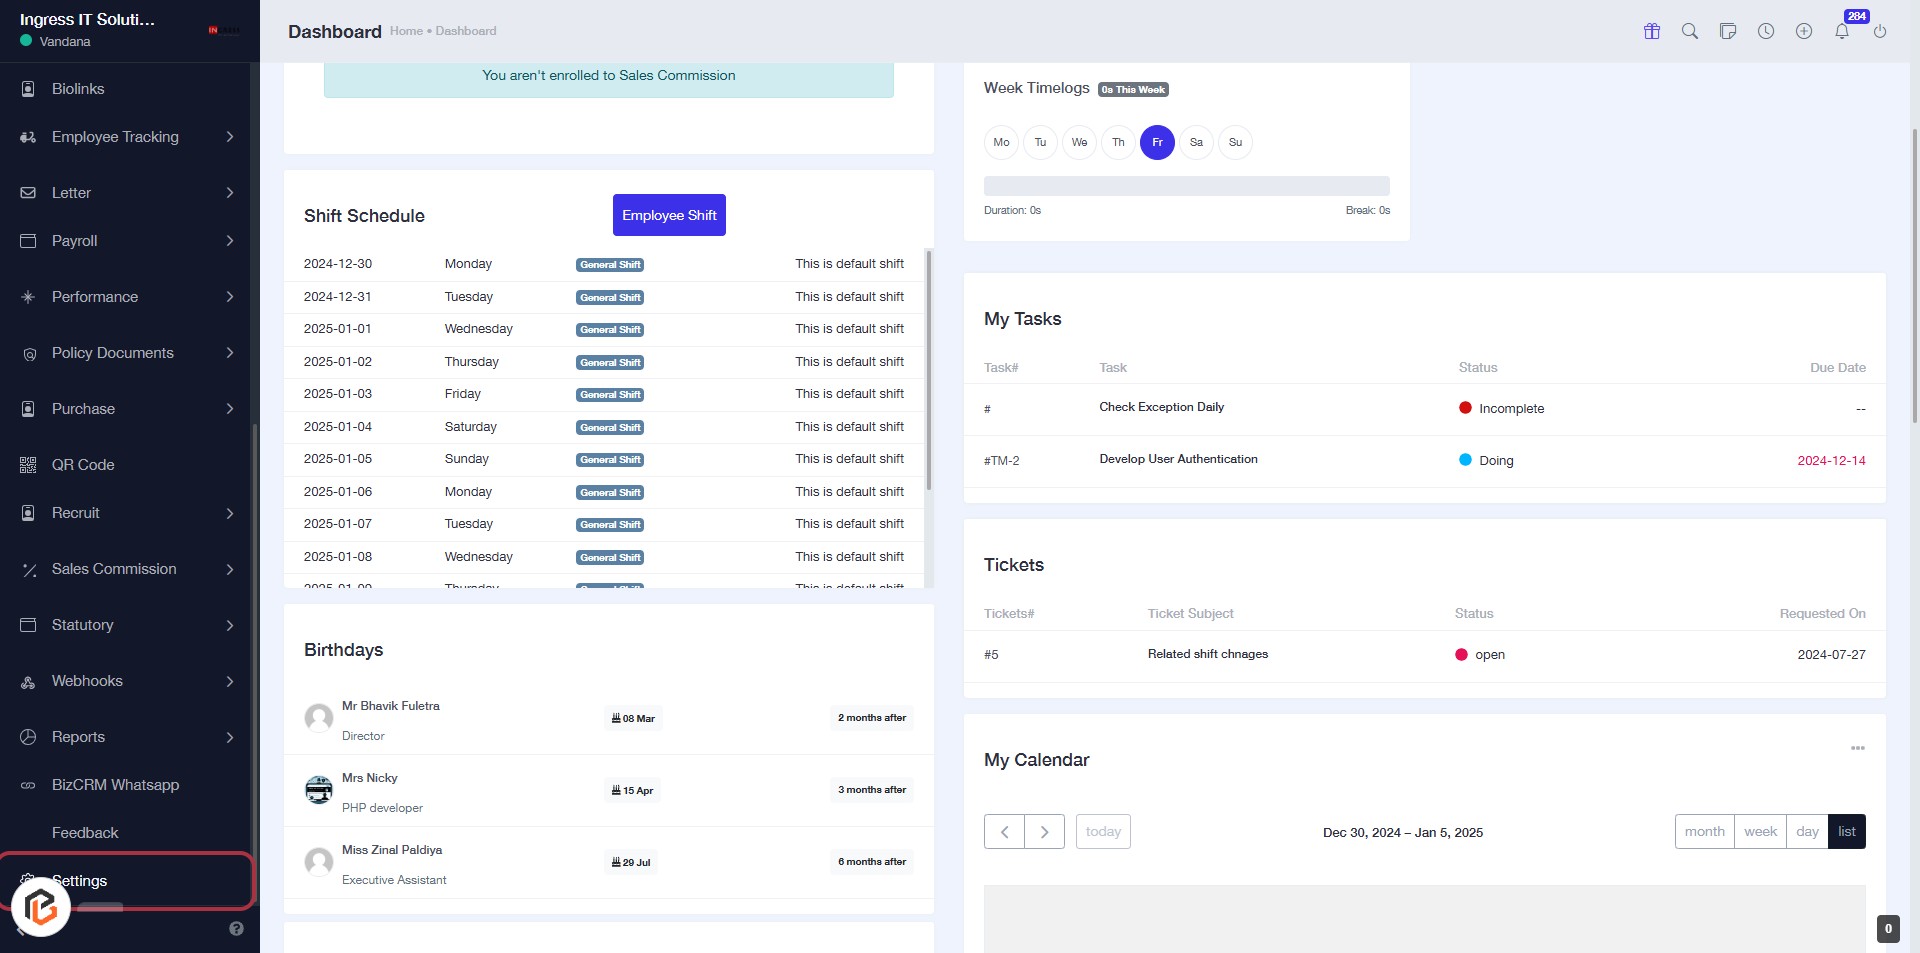
STEP 1: Click on "Settings" in the Dashboard
- Navigate to the left sidebar of the dashboard.
- Locate and click on the "Settings" option.
- This action will take you to the settings configuration page for further adjustments.
- Ensure to check for any required fields marked with an asterisk (*).
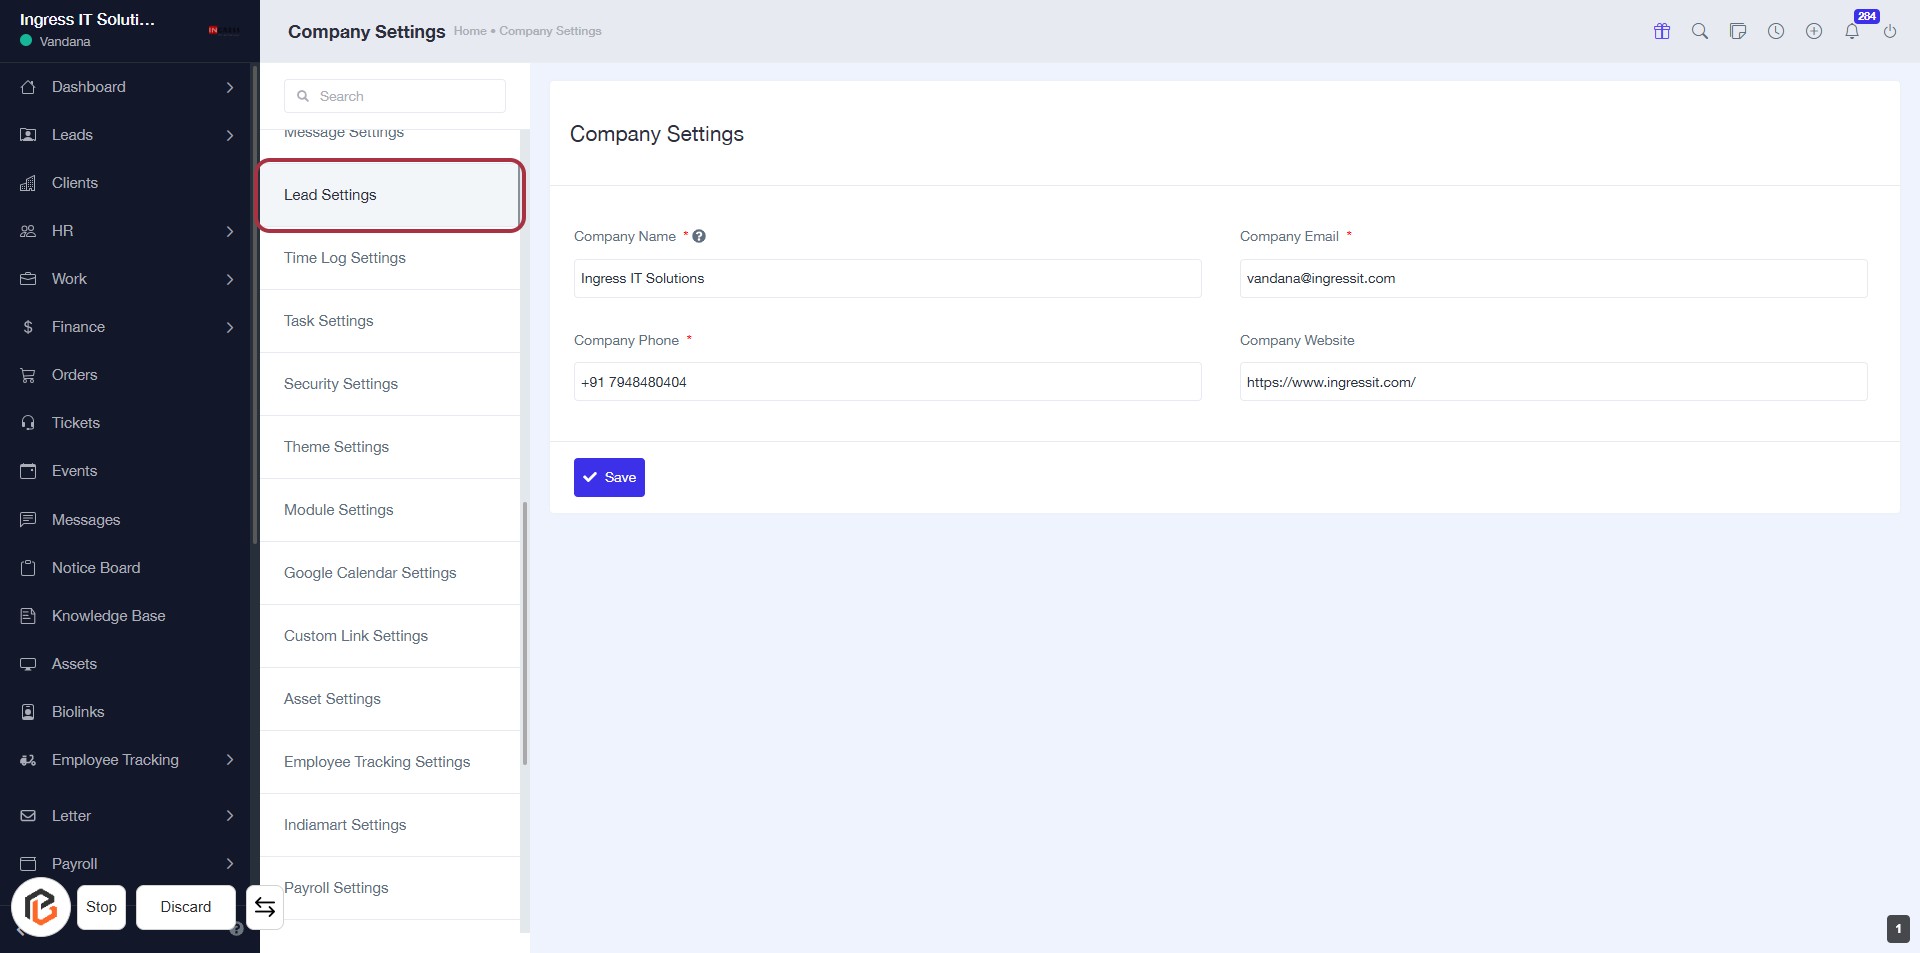
STEP 2: Click on "Lead Settings"
- Navigate to the "Lead Settings" section in the Company Settings.
- Ensure to fill in the required fields marked with an asterisk (*):
- Company Name
- Company Phone
- Company Email
- Optionally, you can provide the Company Website.
- After entering the information, click the Save button to apply changes.
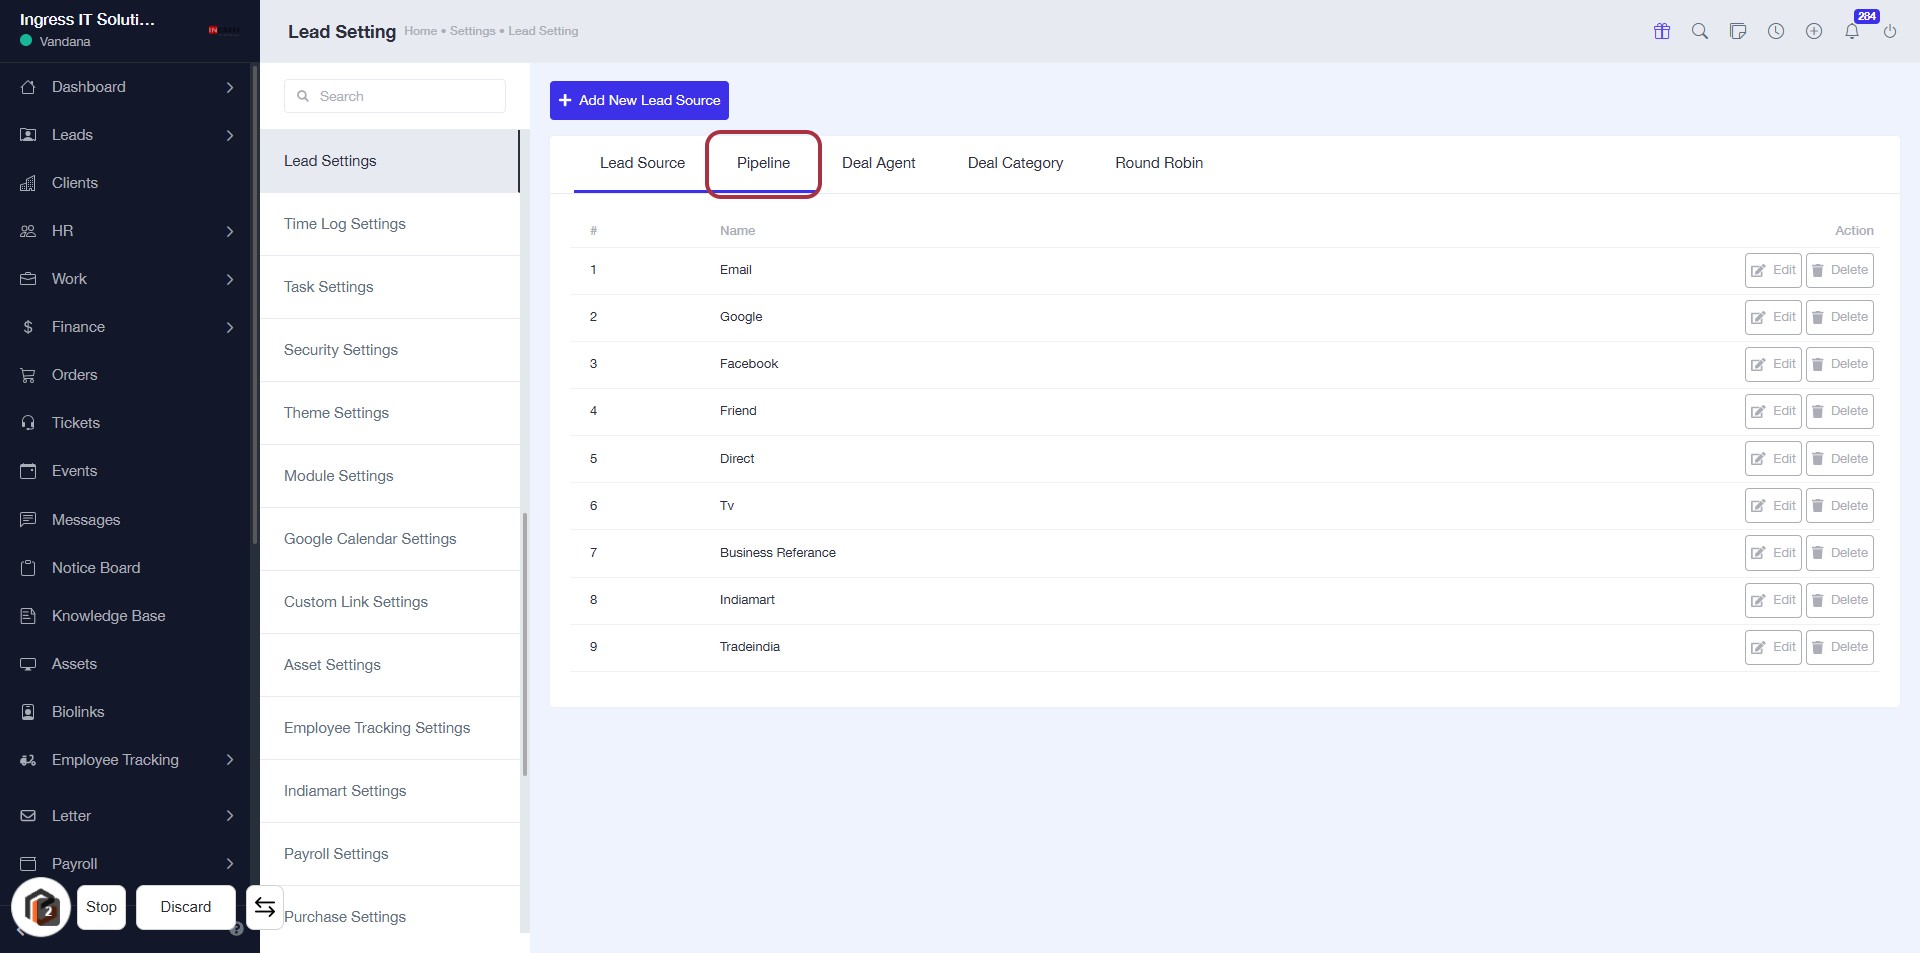
STEP 3: Select "Pipeline"
- Click on the "Pipeline" tab to view the lead sources.
- Ensure you are on the Lead Settings page.
- The highlighted area indicates the active selection for managing lead sources.
- Review the listed lead sources for further actions.
STEP 4: Click on "Add New Pipeline"
- Navigate to the Lead Settings page.
- Locate the Add New Pipeline button highlighted in red.
- Click on the button to initiate the process of adding a new pipeline.
- Ensure all required fields are filled in the subsequent form.
Proceed to the next step to enter the pipeline name.

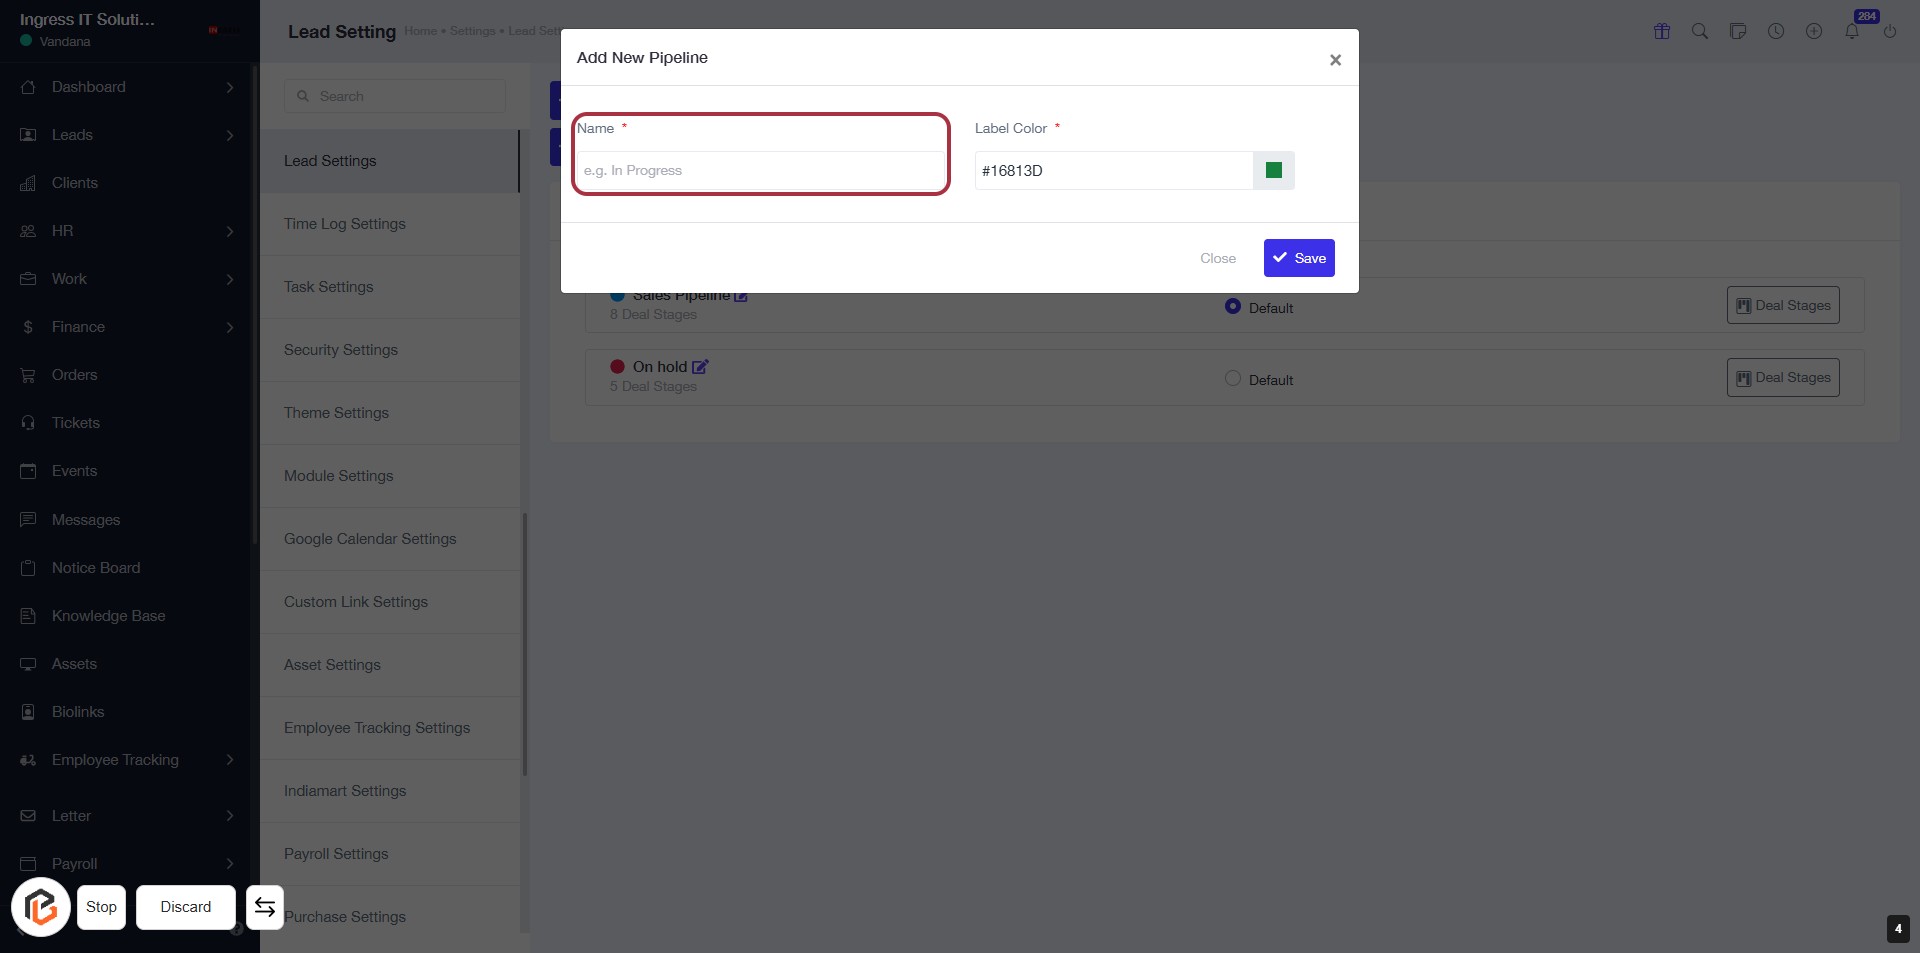
STEP 5: Enter "Name" for New Pipeline
- Click on the highlighted area labeled "Name" to input the pipeline name.
- Ensure to fill in the required field marked with an asterisk (*).
- Follow the next step to select the "Label Color" after entering the name.
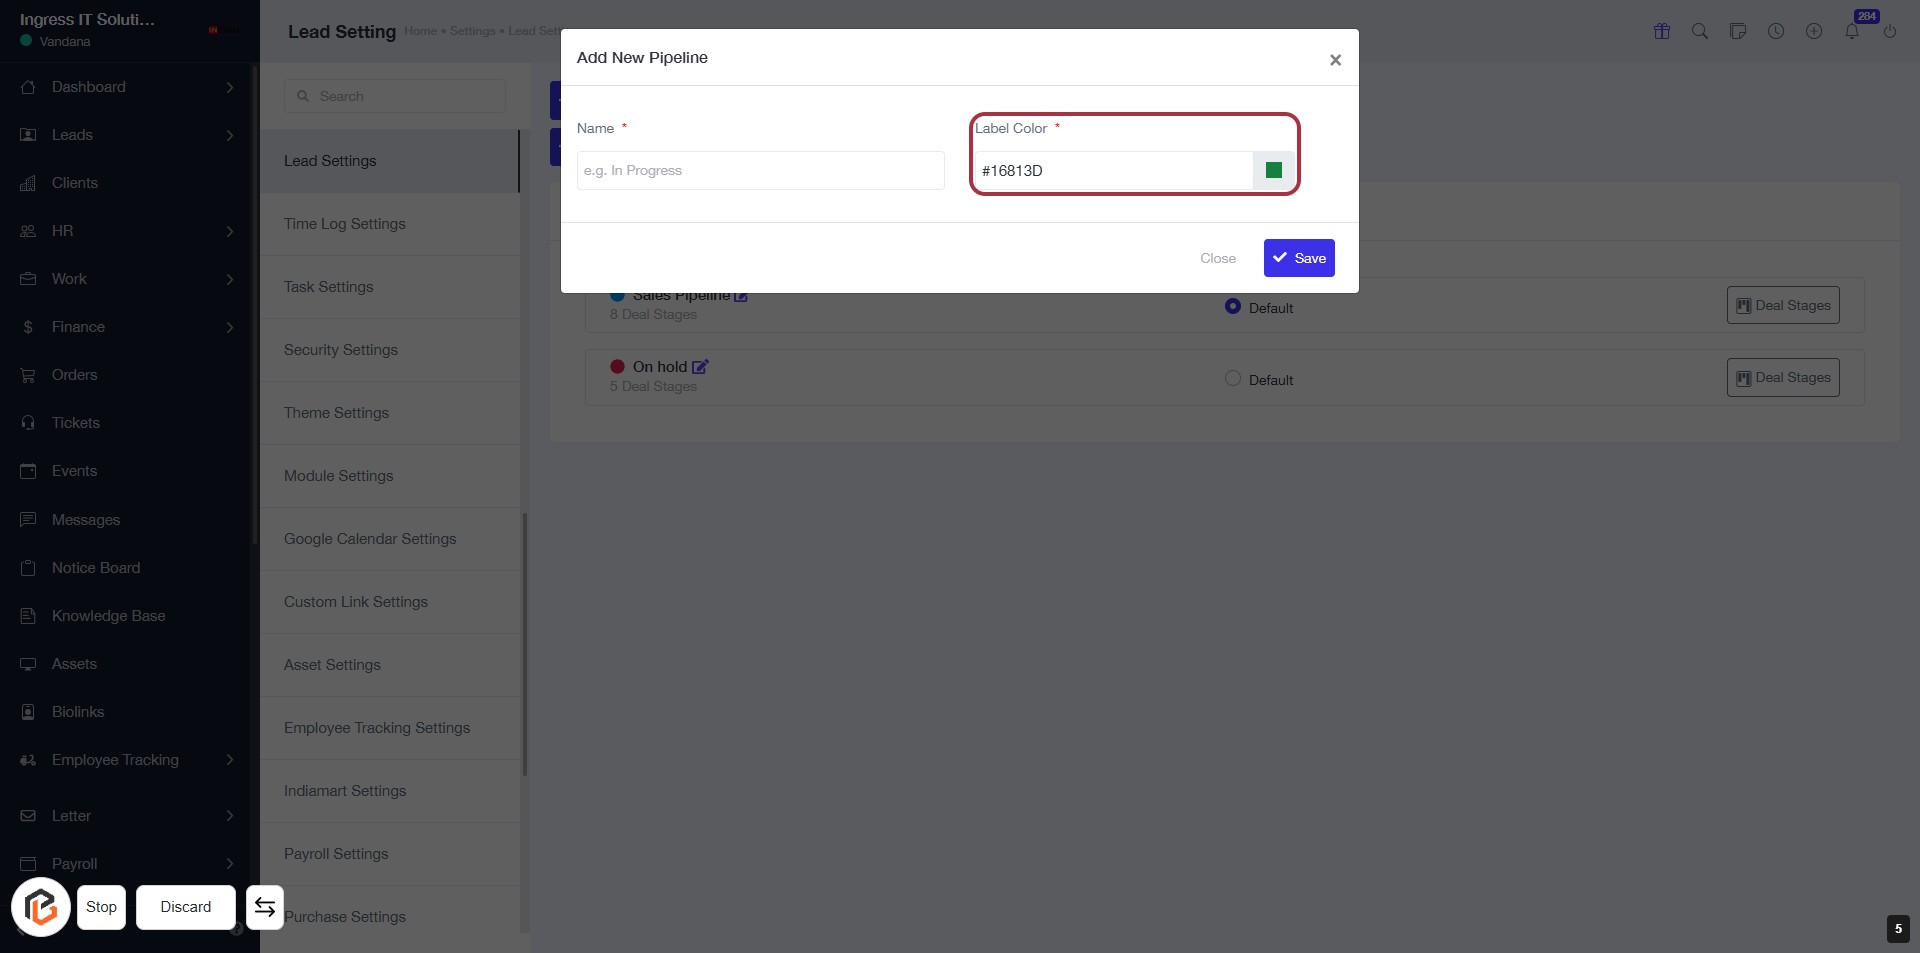
STEP 6: Select Label Color
- Click on the "Label Color" field (marked with an asterisk * for required input).
- Choose your desired color from the color picker that appears.
- Ensure the selected color is appropriate for your pipeline context.
- Proceed to the next step by clicking the "Save" button.
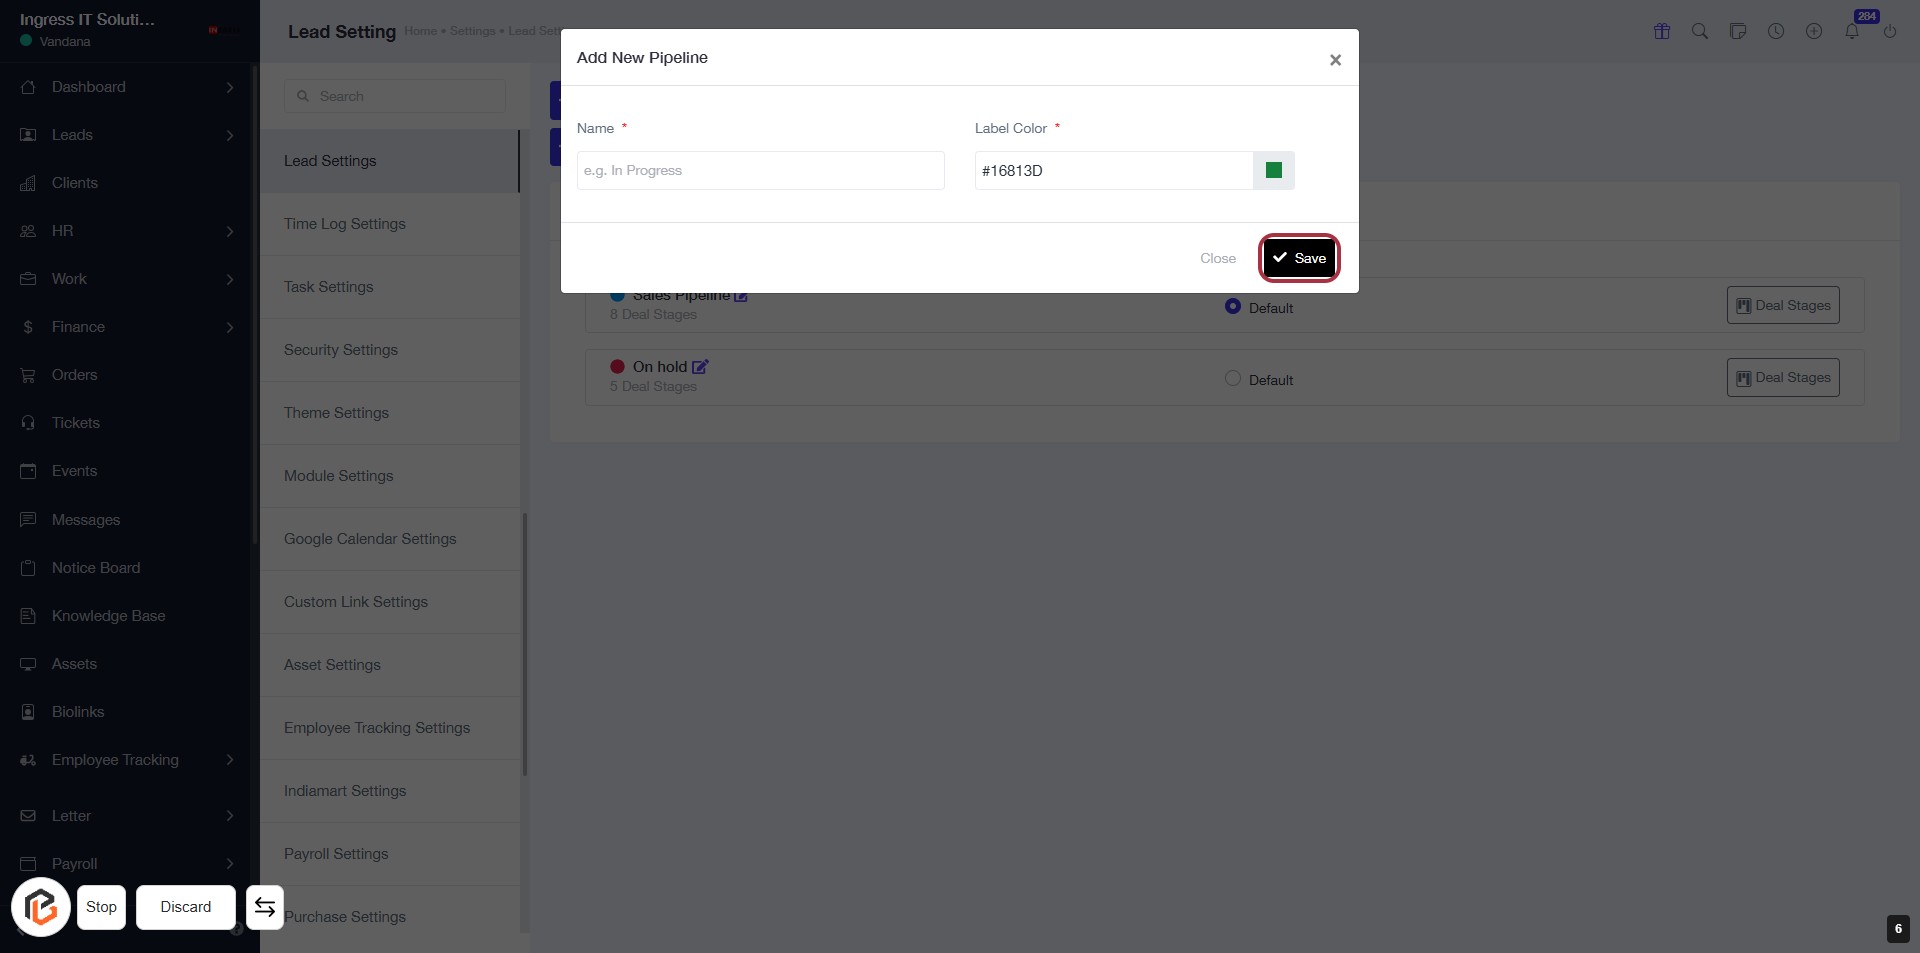
STEP 7: Click on "Save" to Confirm Your Pipeline Settings
- Ensure all required fields are filled:
- Name (marked with *): Enter the pipeline name.
- Label Color (marked with *): Select a color for the label.
- Click the Save button to finalize your settings.
- Proceed to the next step by clicking on "Add New Deal Stage".
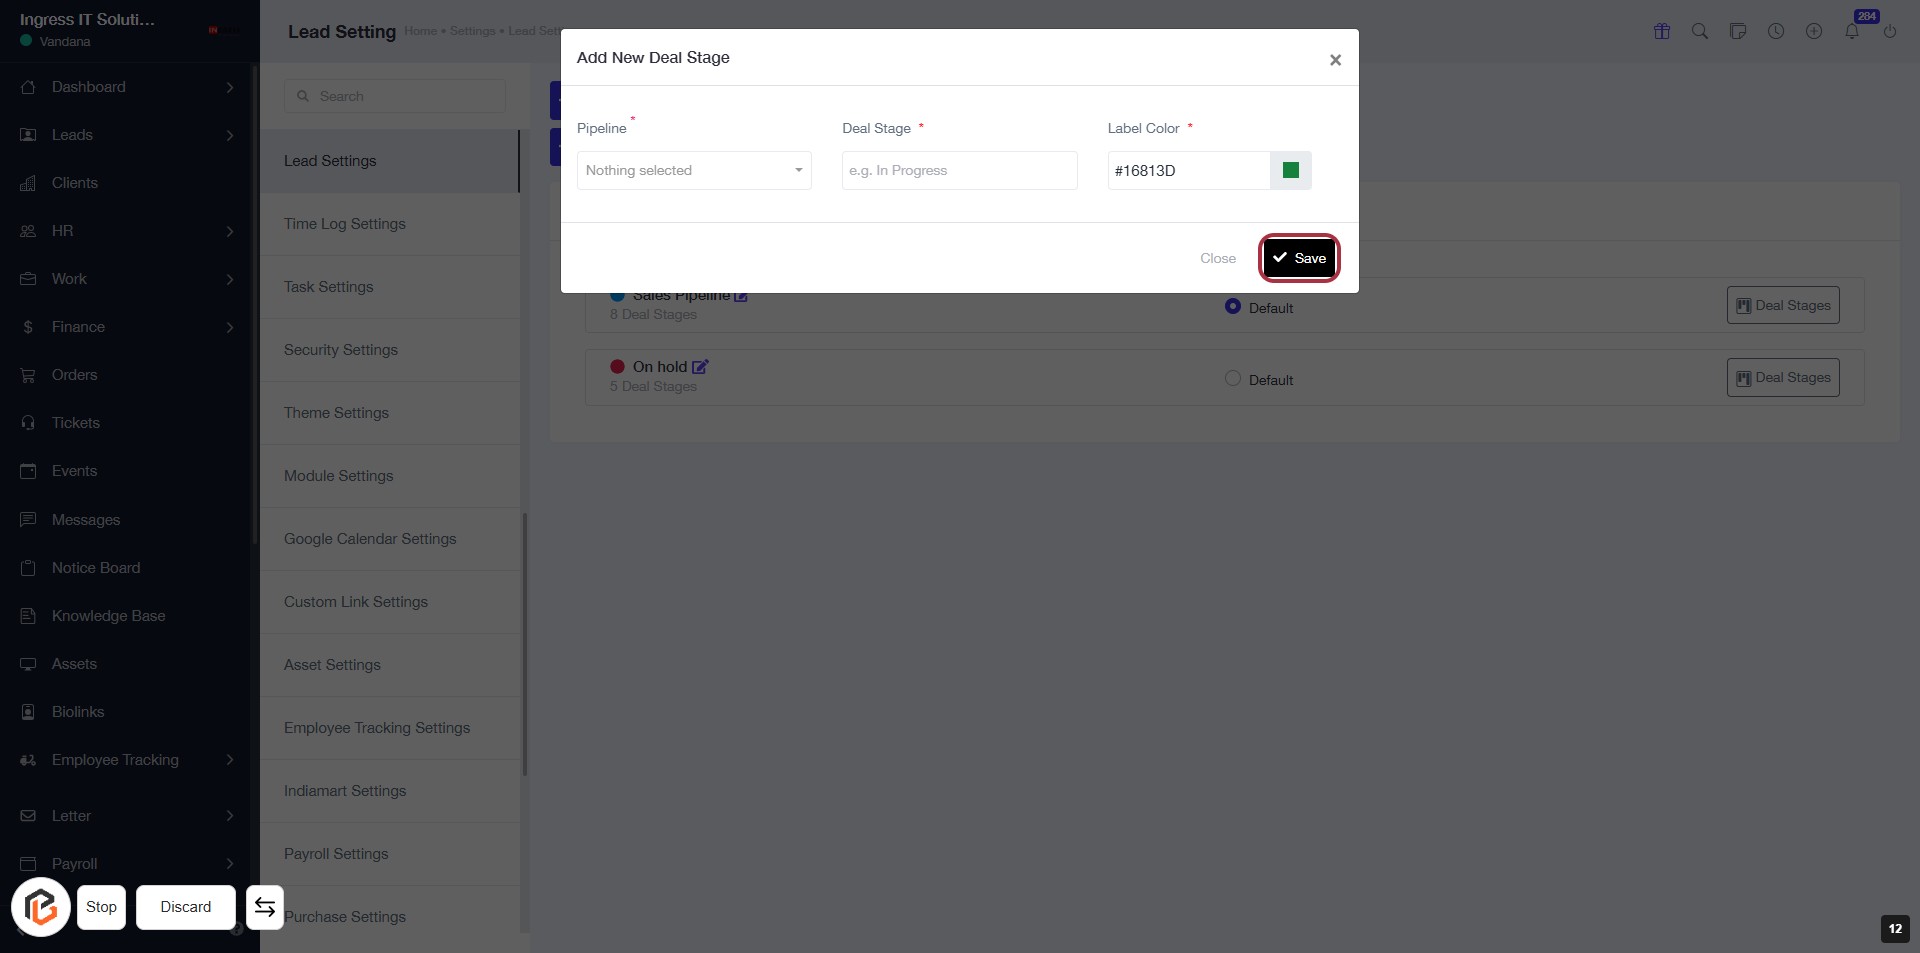
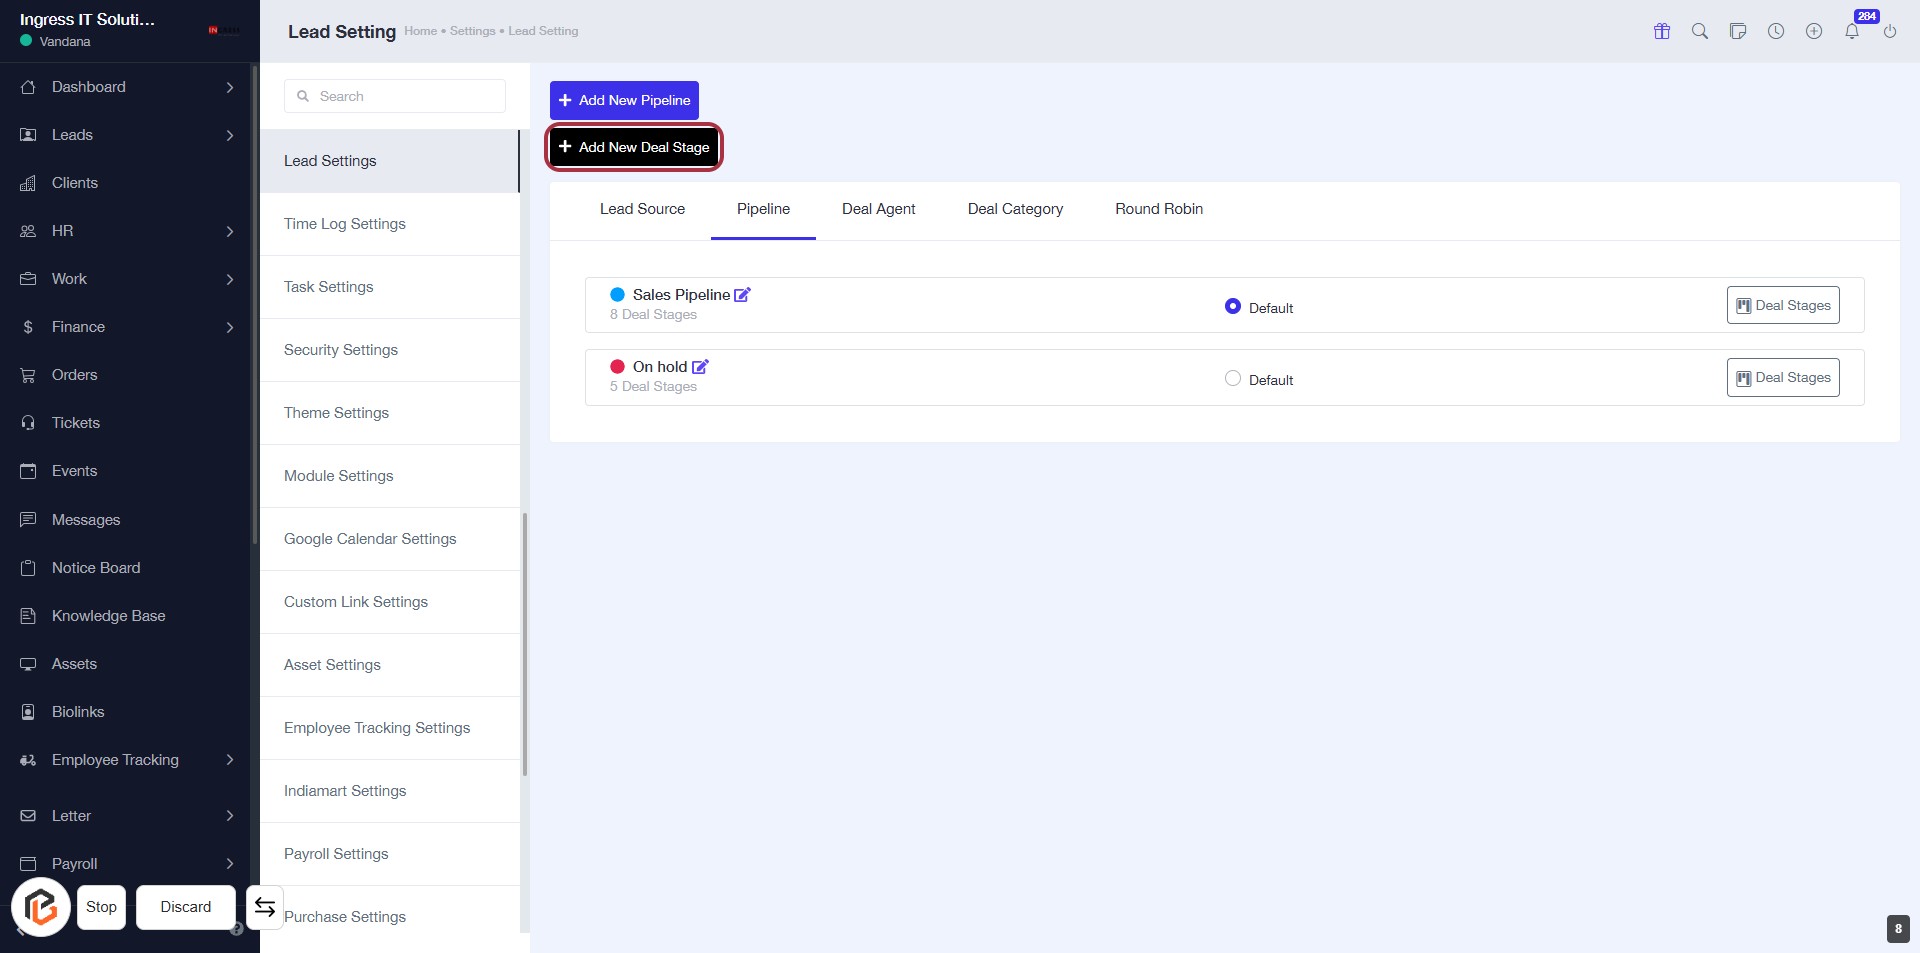
STEP 8: Click on "Add New Deal Stage"
- Navigate to the "Lead Settings" section.
- Locate the button labeled "Add New Deal Stage" highlighted in red.
- Click on this button to initiate the process of adding a new deal stage.
- Ensure all required fields are filled out in the subsequent form that appears.
STEP 9: Select "Pipeline" for the Deal Stage
- Click on the "Pipeline" dropdown in the "Add New Deal Stage" dialog.
- Ensure the field is marked with an asterisk (*) indicating it's a required input.
- Choose the appropriate pipeline from the list that appears.
- Proceed to the next step to enter the "Deal Stage."

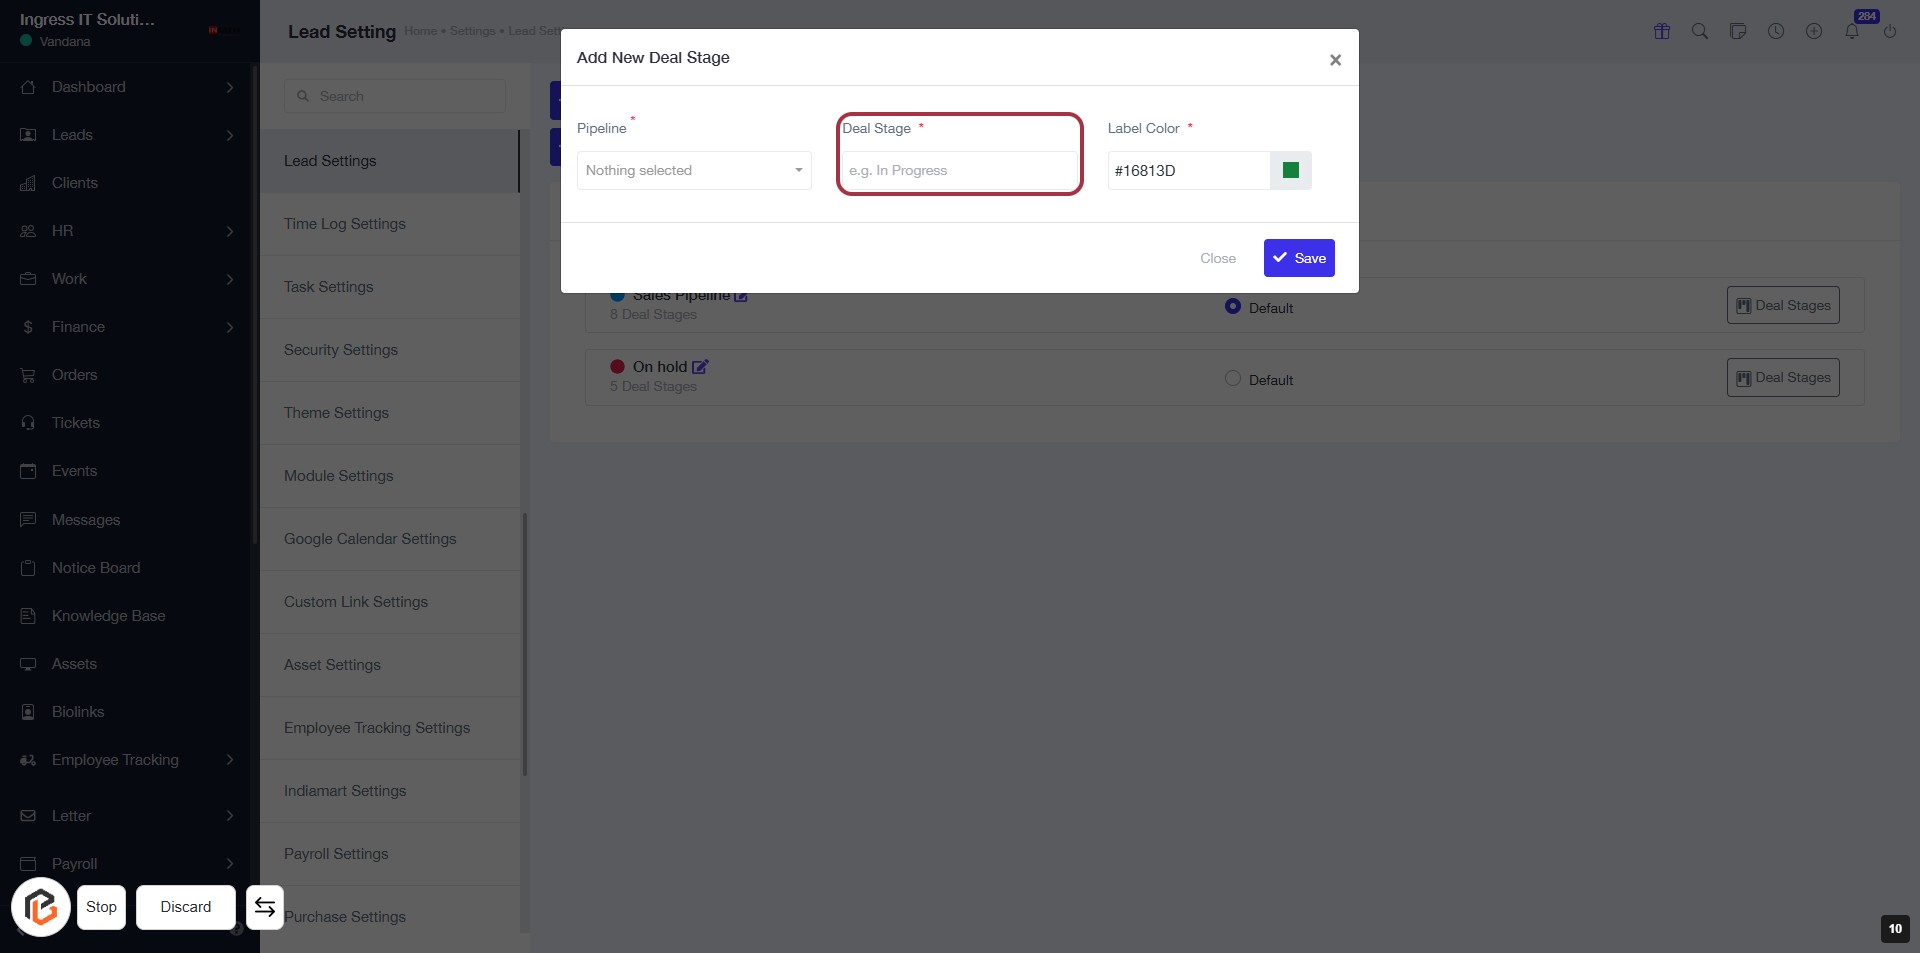
STEP 10: Enter "Deal Stage"
- Click on the "Deal Stage" field (marked with a red border).
- Enter the desired deal stage name (e.g., "In Progress").
- Ensure the field is marked with an asterisk (*) indicating it's required.
- Proceed to the next step to choose the "Label Color".
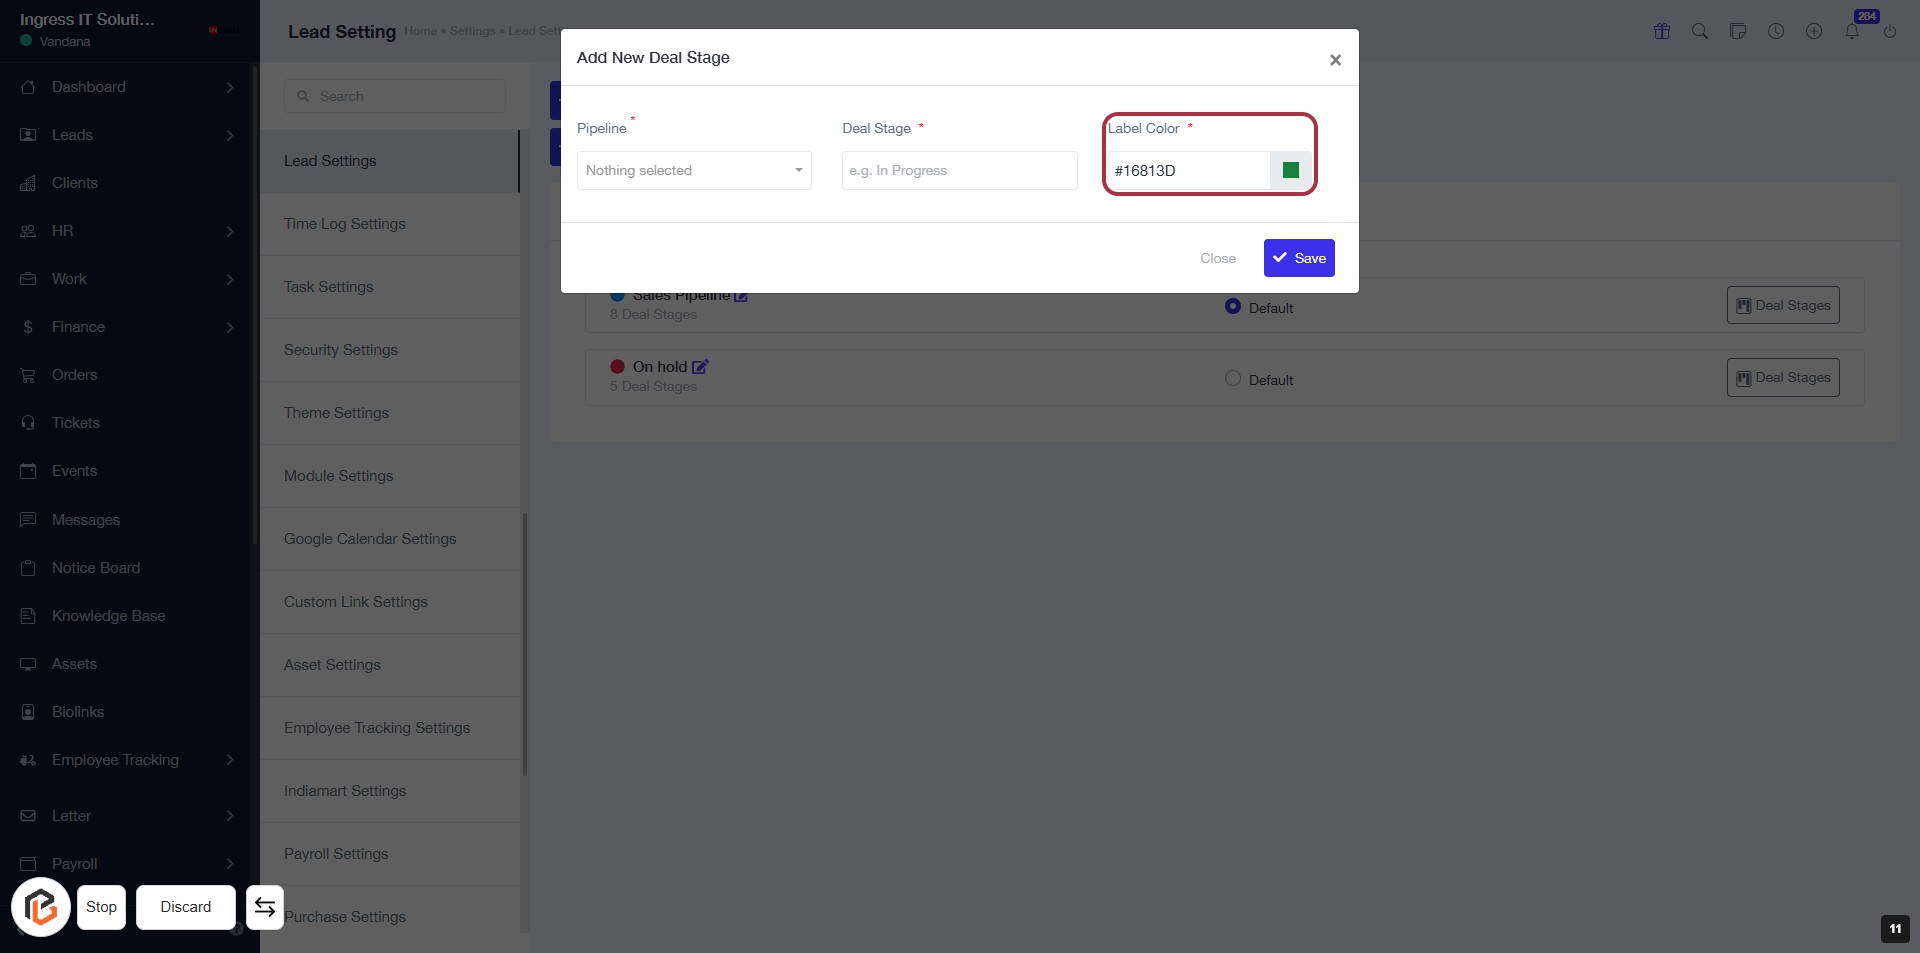
STEP 11: Choose "Label Color"
STEP 12: CLICK on "Save Button"