Comprehensive Guide to Configuring Indiamart Settings in BizCRM
11 mins read · Updated 29 Sep, 2025
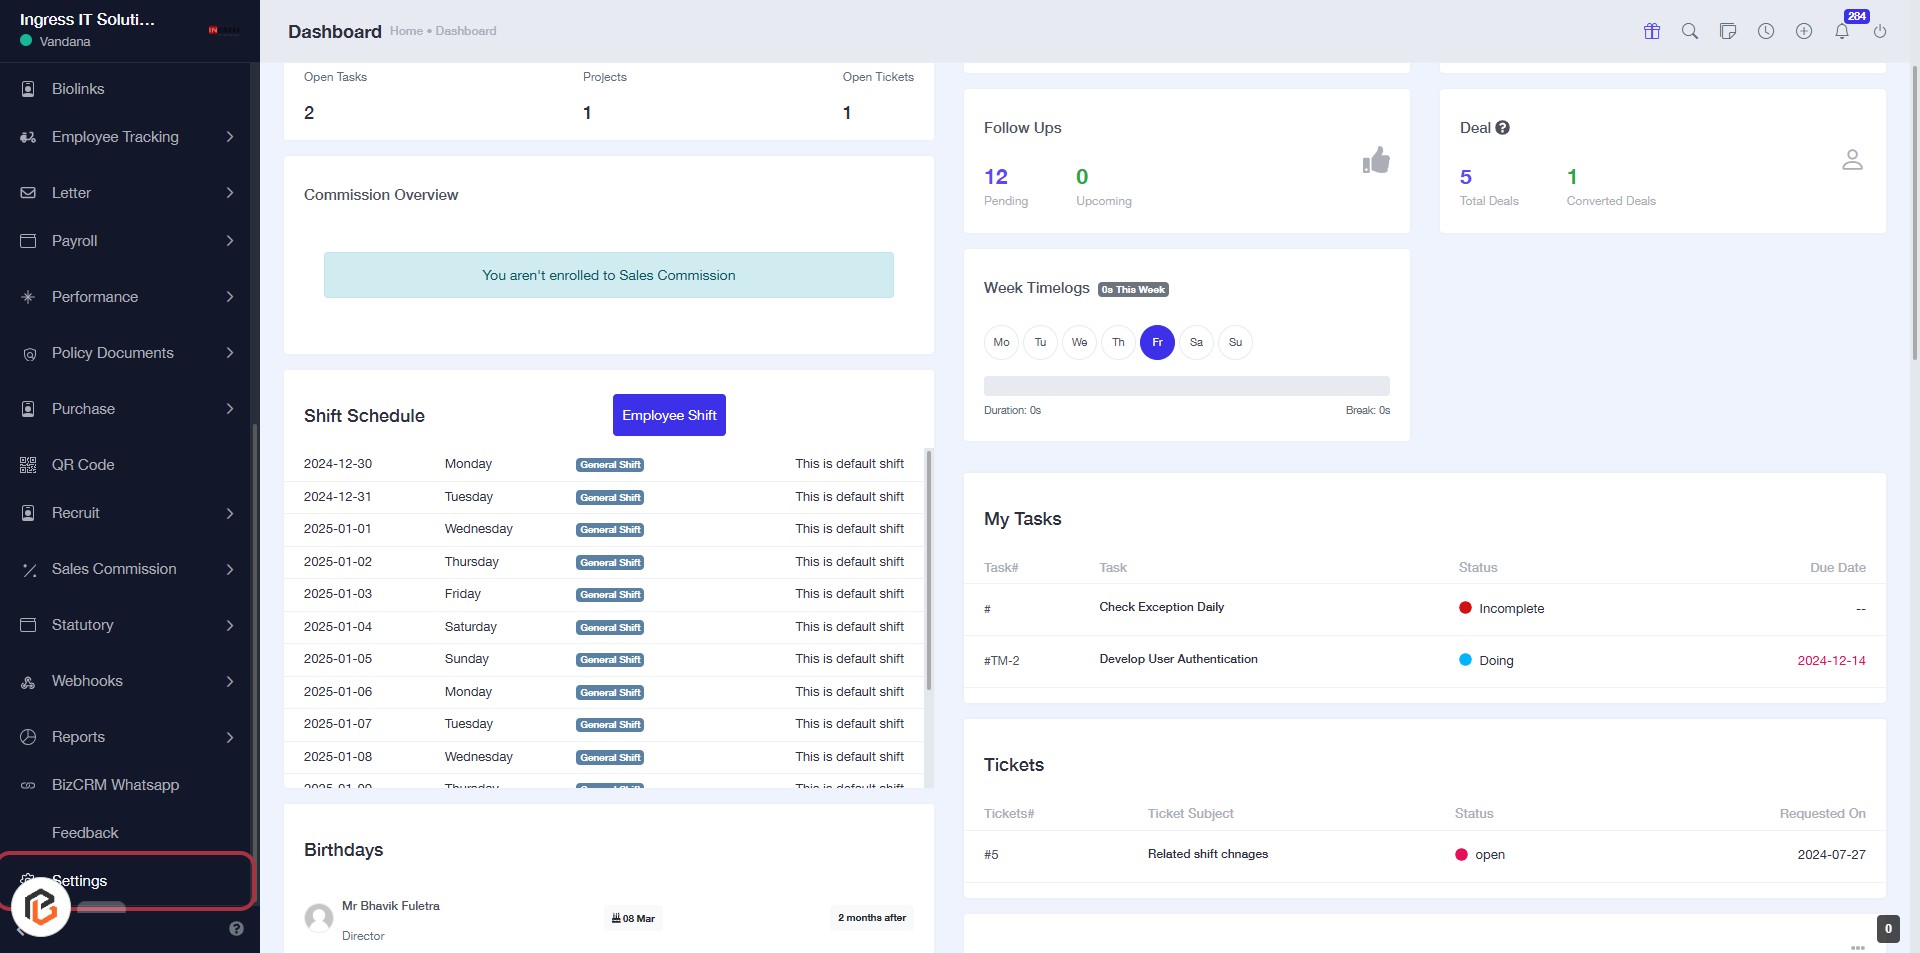
STEP 1: Click on "Settings" in the BizCRM App
- Navigate to the BizCRM dashboard at bizcrmapp.com.
- Locate the "Settings" option in the sidebar menu.
- Click on "Settings" to access the configuration options.
- Proceed to the next step to go to "Indiamart Settings".
STEP 2: Click on "Indiamart Settings"
- Navigate to the "Indiamart Settings" option in the left sidebar.
- Click on it to access the settings page.
- Ensure to fill in the required fields marked with an asterisk (*):
- Company Name
- Company Phone
- Company Email
- Review optional fields as needed.
- Click "Save" to apply your changes.

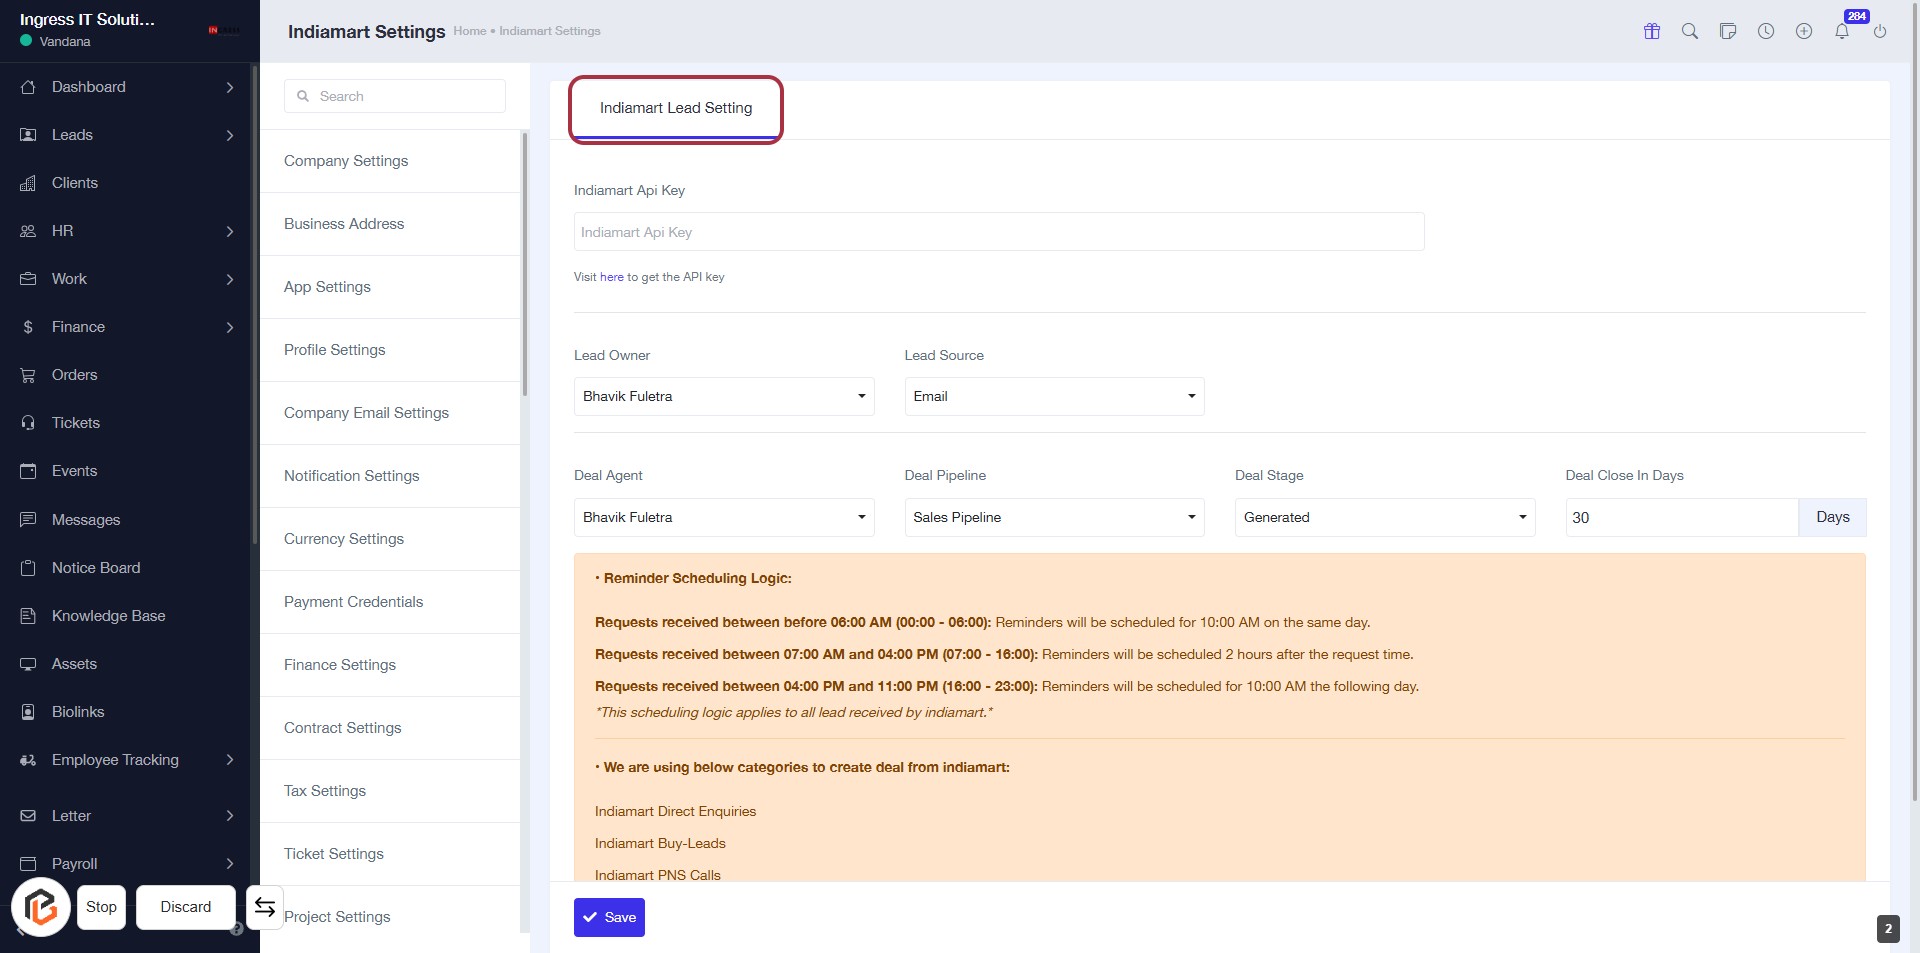
STEP 3: Select "Indiamart Lead Setting"
- Click on the "Indiamart Lead Setting" link to access the settings.
- Ensure you are on the Indiamart Settings page.
- Look for the following input fields:
- Indiamart Api Key (required)
- Lead Owner (optional)
- Lead Source (optional)
- Deal Agent (optional)
- Deal Pipeline (optional)
- Deal Stage (optional)
- Deal Close In Days (optional)
- Review the reminder scheduling logic provided below the input fields.
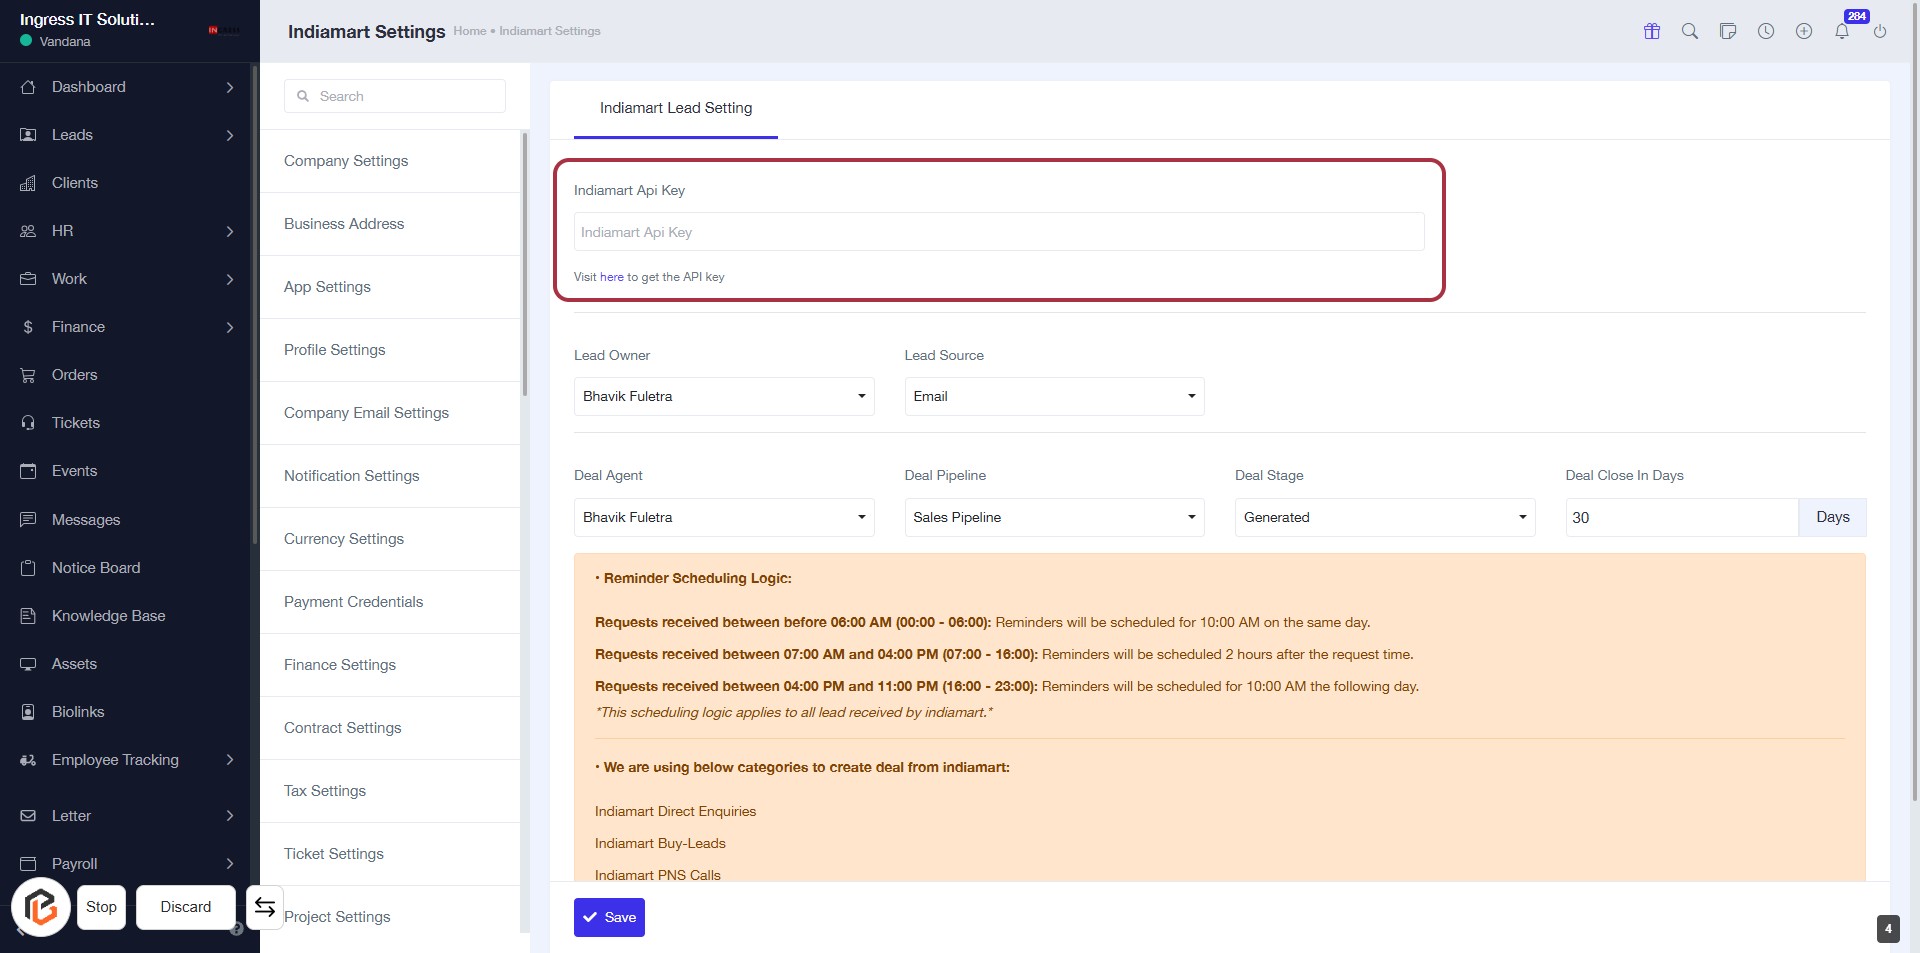
STEP 4: Enter "Indiamart Api Key"
- Click on the highlighted area labeled "Indiamart Api Key."
- Ensure you have the API key ready to input.
- The field is mandatory; look for any asterisk (*) indicating required information.
- After entering the key, proceed to the next step by selecting "Lead Owner."
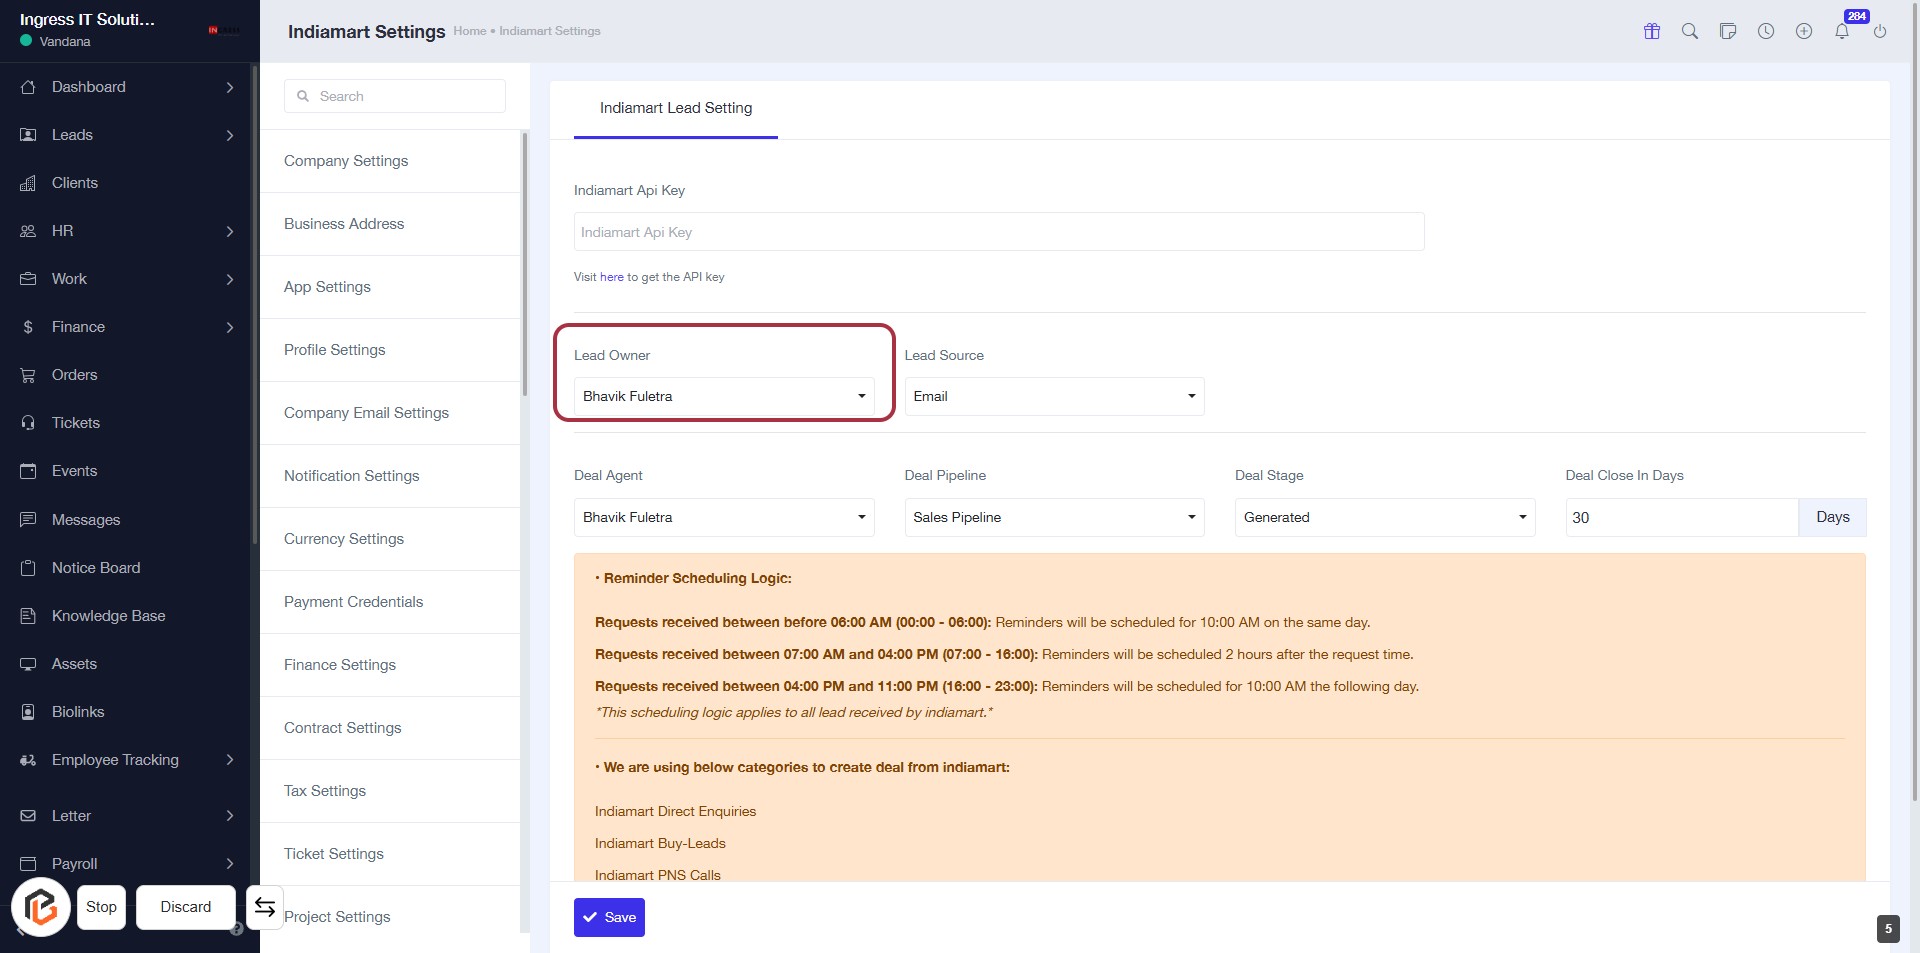
STEP 5: Select "Lead Owner"
- Click on the "Lead Owner" field to choose the appropriate owner for the lead.
- Ensure the selected owner is visible in the dropdown (e.g., Bhavik Fuletra).
- Review other fields like "Lead Source," "Deal Agent," and "Deal Pipeline" for completeness.
- Proceed to the next step by selecting "Lead Source."
STEP 6: Select "Lead Source"
- Click on the "Lead Source" dropdown menu.
- Choose the appropriate source for the lead (e.g., Email).
- Ensure all required fields marked with '*' are filled out.
- Review any additional information or instructions provided in the highlighted area below the form.

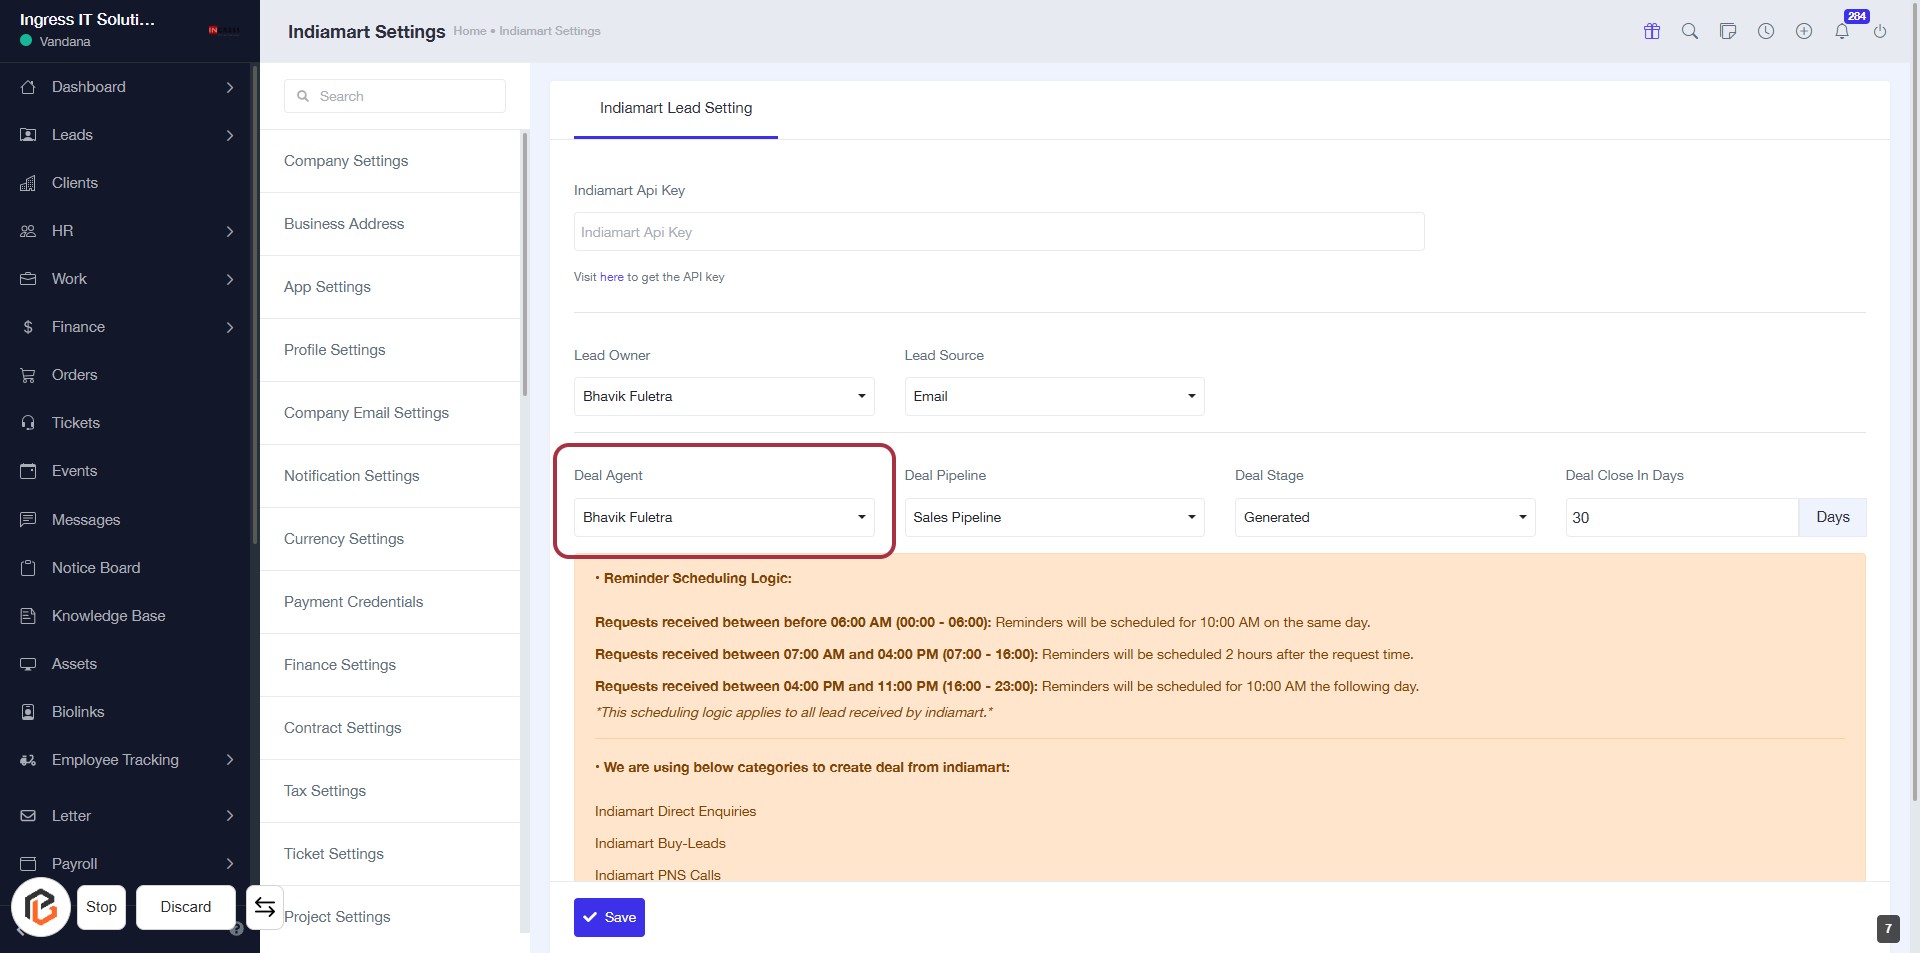
STEP 7: Select "Deal Agent"
- Click on the "Deal Agent" dropdown.
- Choose the appropriate agent from the list (e.g., Bhavik Fuletra).
- Ensure all required fields marked with '*' are filled.
- Review the information before proceeding to the next step.
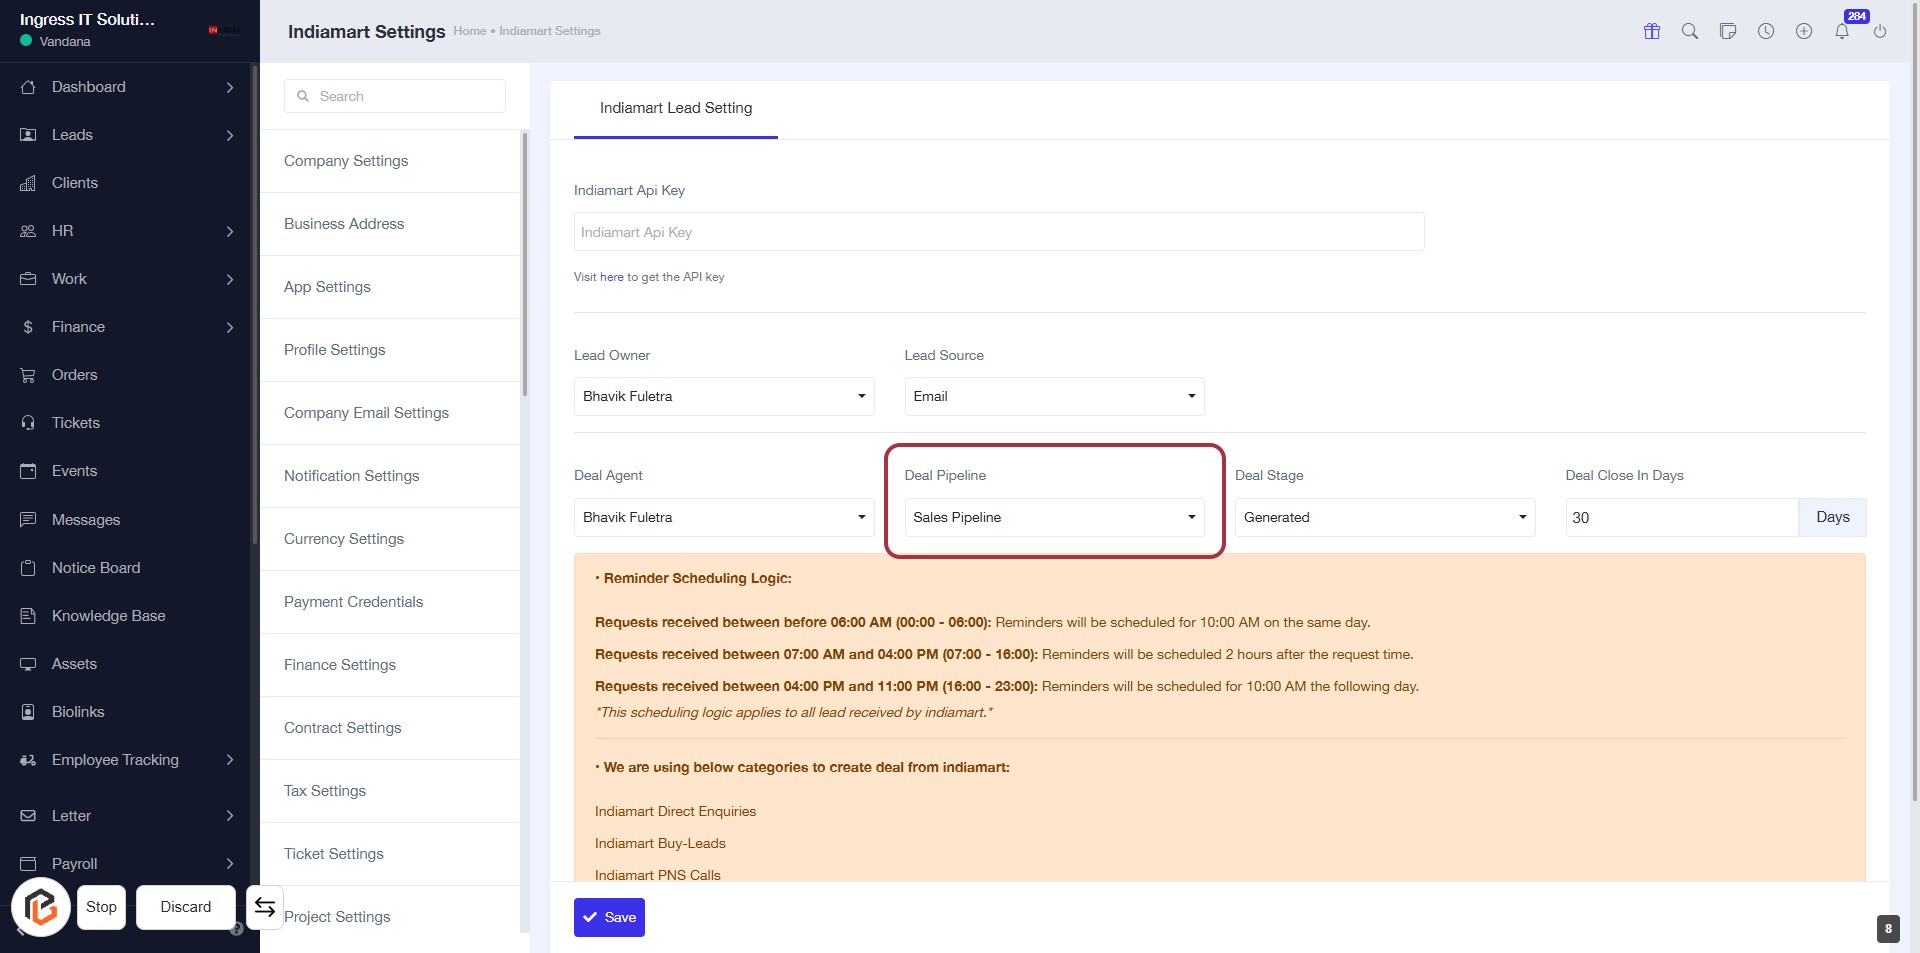
STEP 8: Select "Deal Pipeline"
- Click on the "Deal Pipeline" dropdown in the form.
- Choose the appropriate pipeline option (e.g., "Sales Pipeline").
- Ensure all required fields marked with '*' are filled out.
- Review any additional instructions or reminders provided below the selection area.
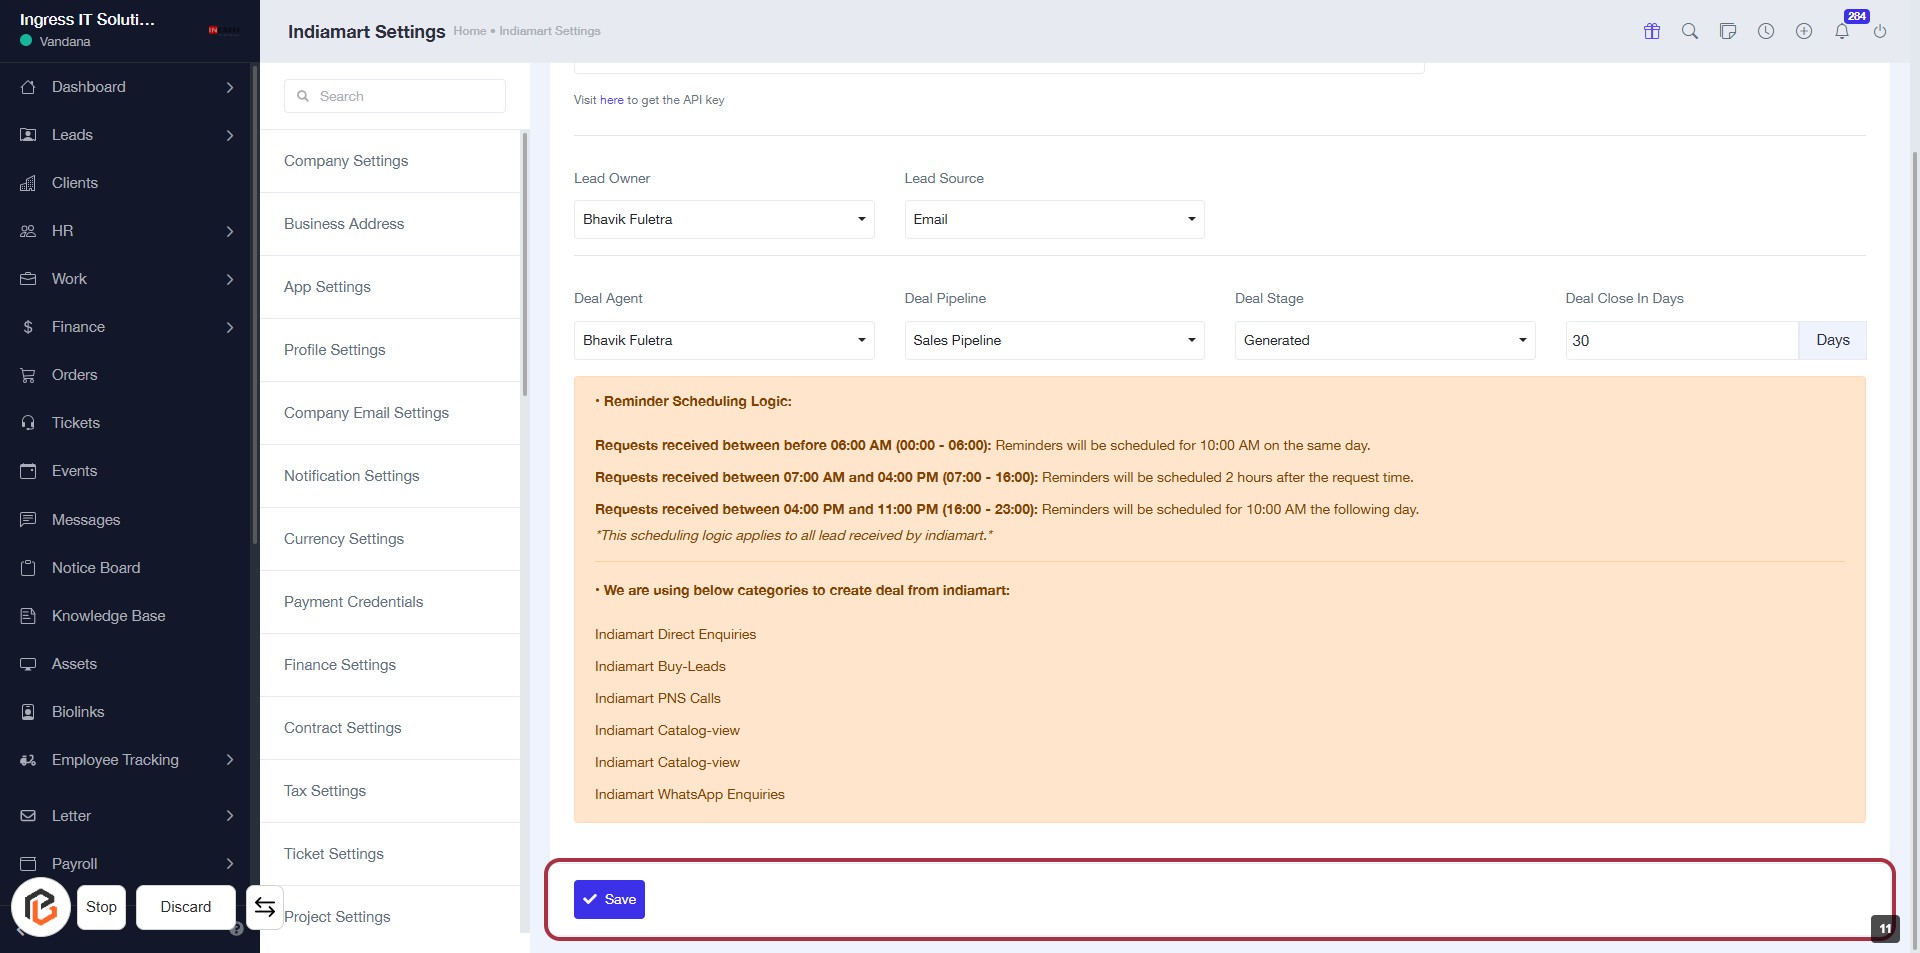
STEP 9: Select "Deal Stage"

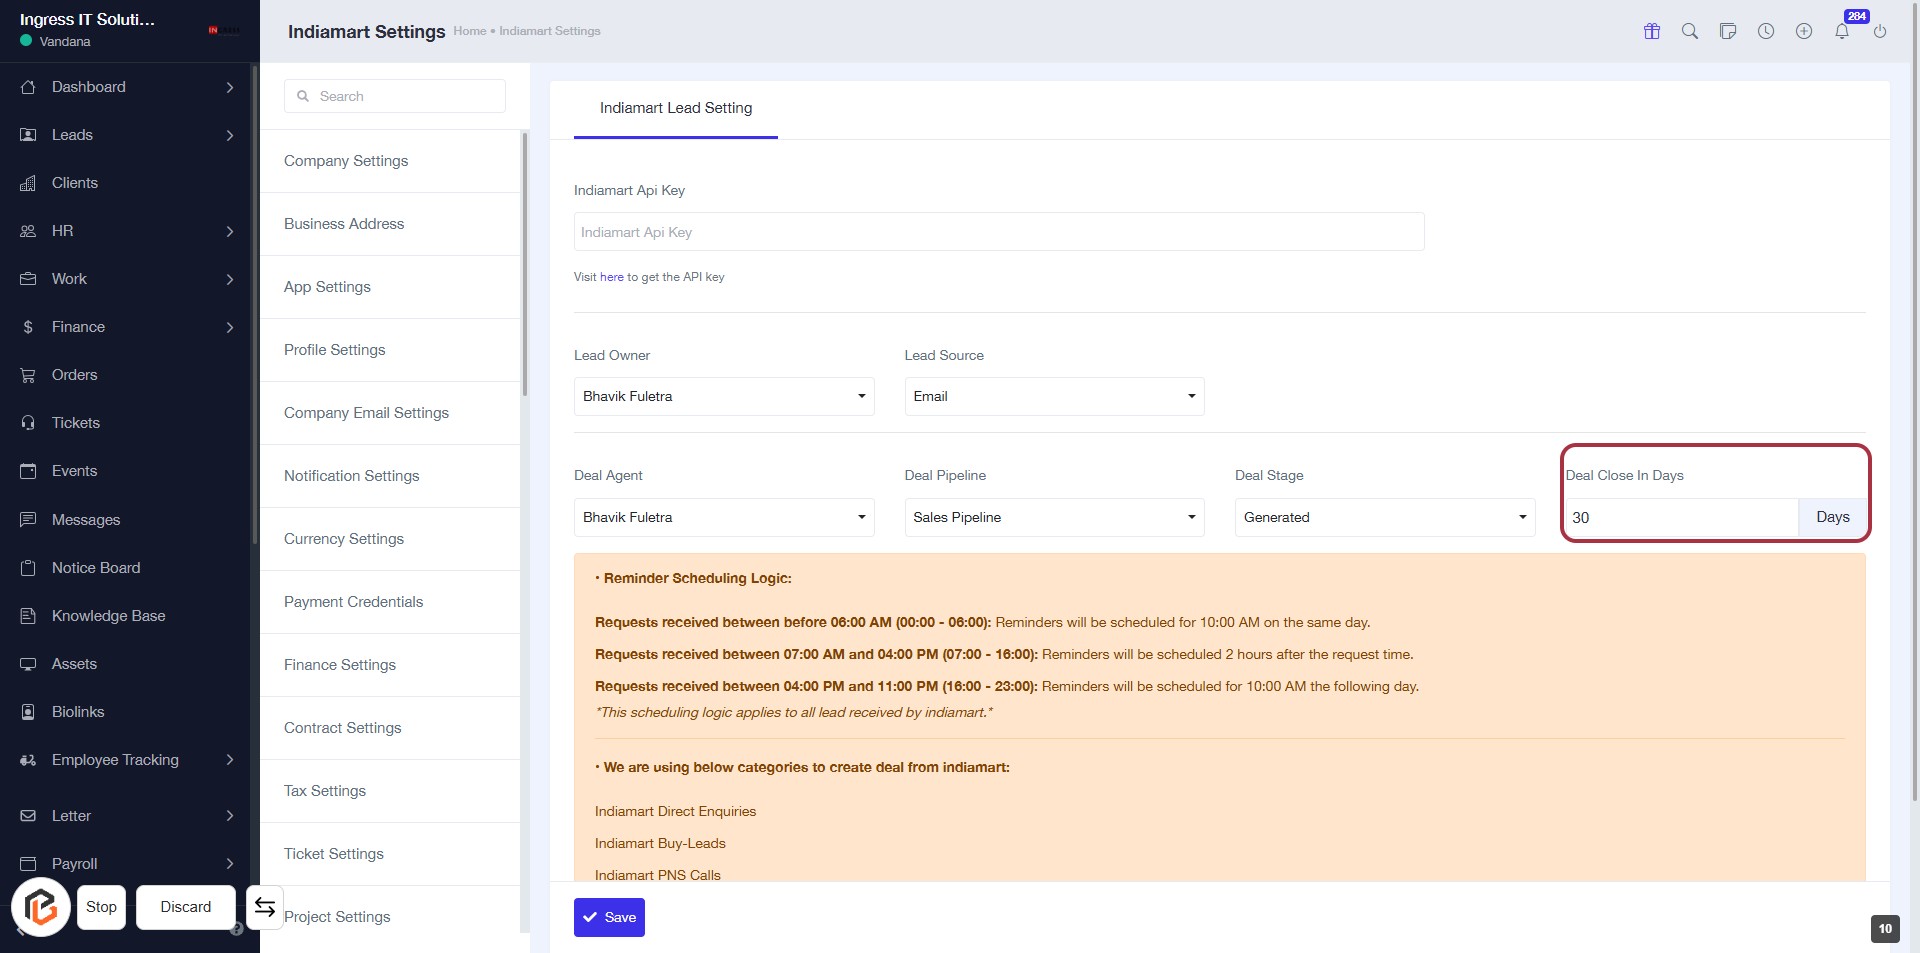
STEP 10: Enter "Deal Close In Days"
STEP 11: CLICK on "Save Button"