Complete Guide to Configuring Purchase Settings: Step-by-Step Instructions for Effective Order Management
14 mins read · Updated 29 Sep, 2025
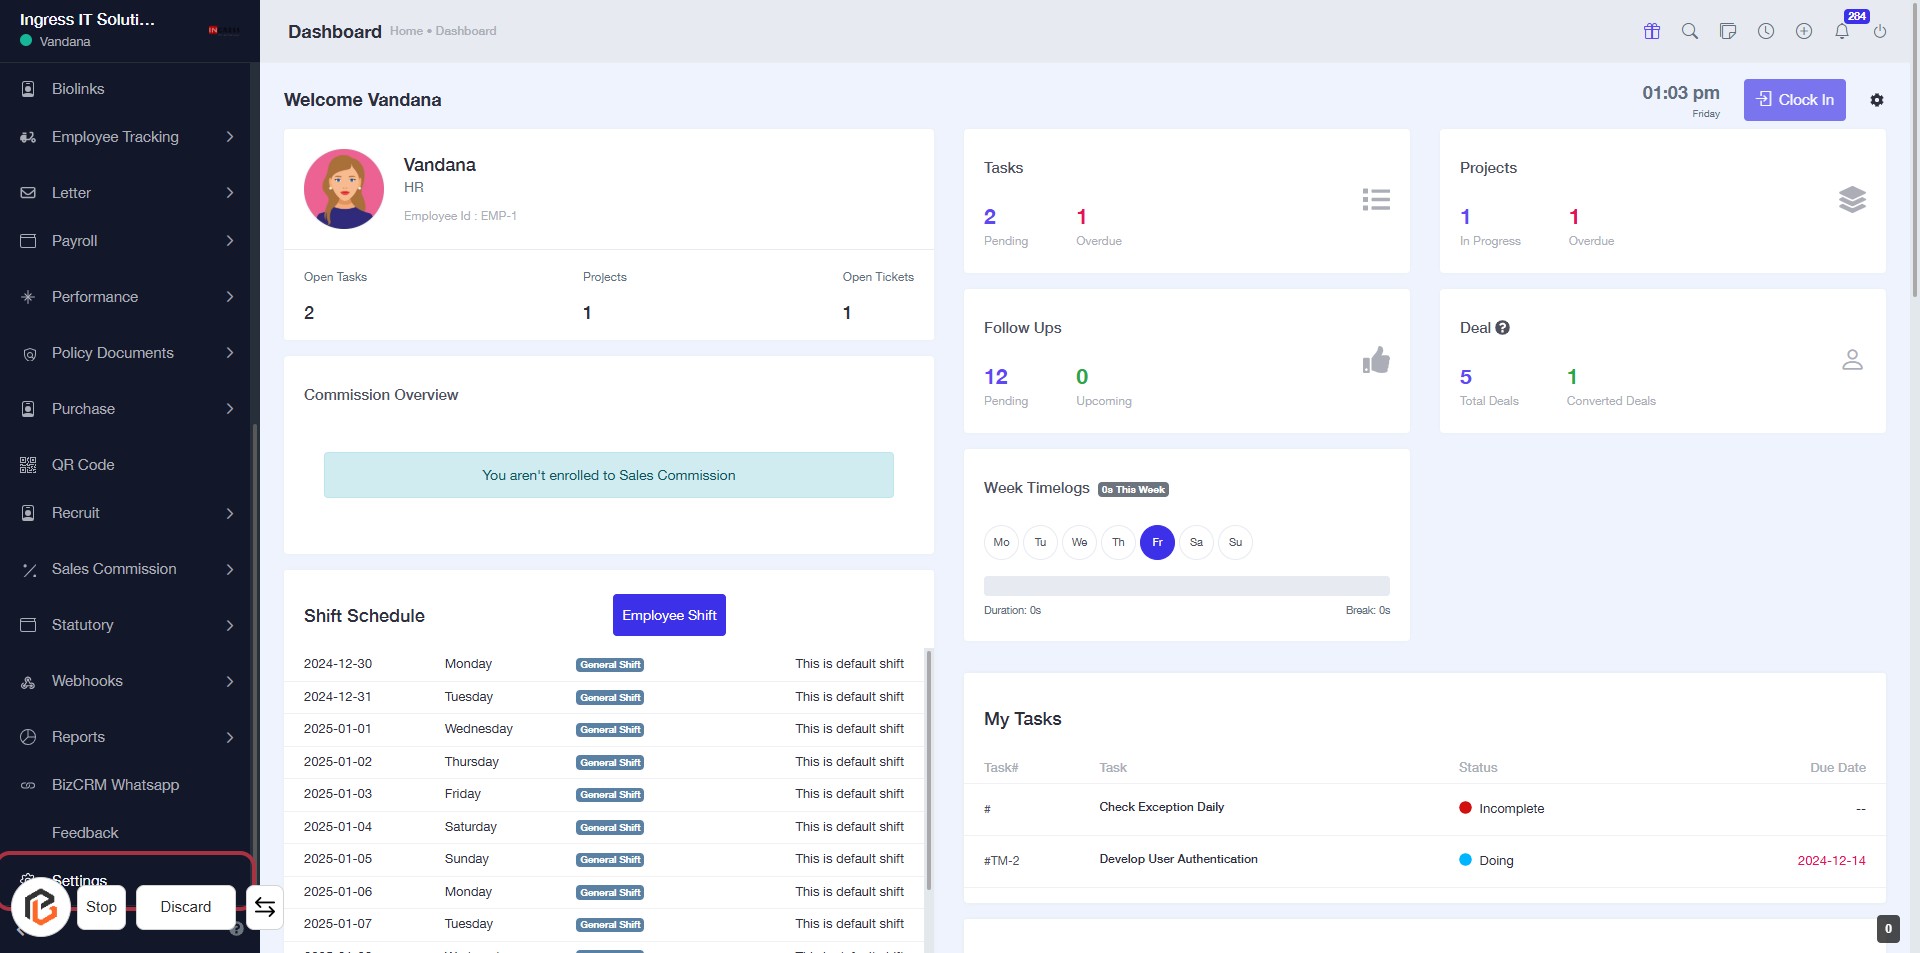
STEP 1: Click on "Settings" to Access Configuration Options
- Navigate to the left sidebar of the dashboard.
- Click on the Settings link to open the settings menu.
- Ensure you are on the Dashboard page for proper access.
- After clicking, proceed to the next step to access Purchase Settings.
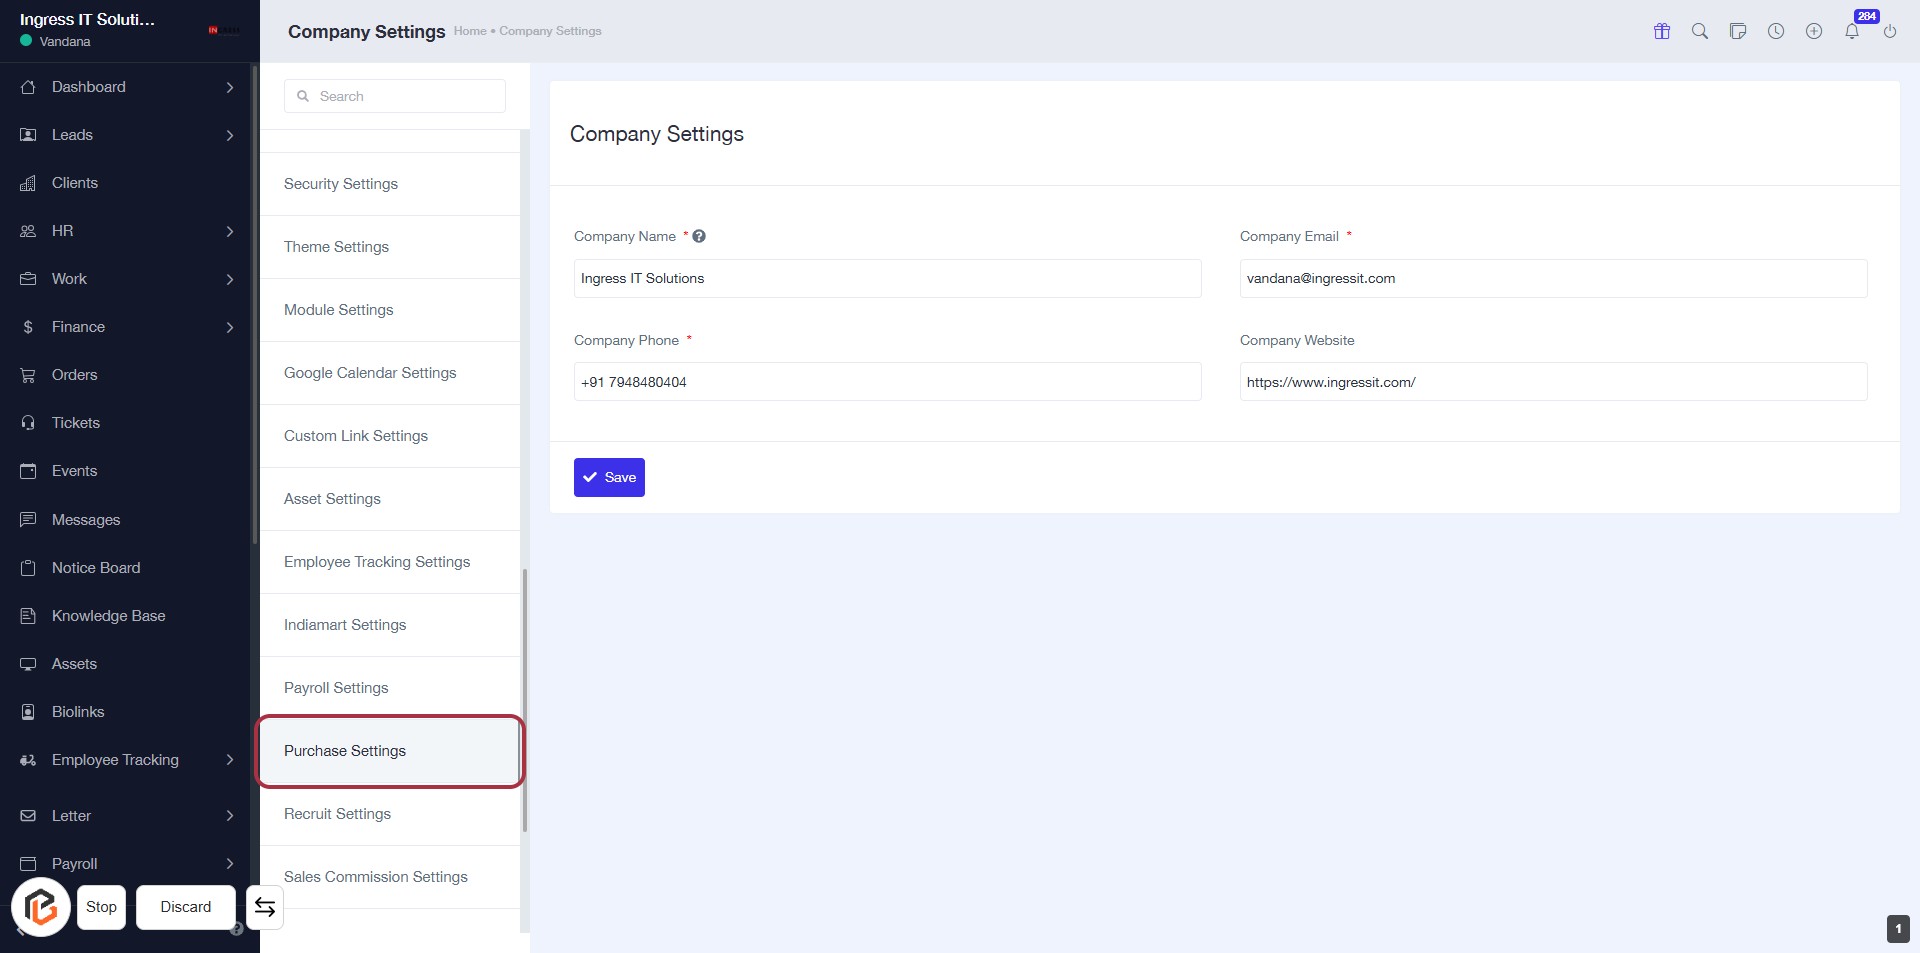
STEP 2: Click on "Purchase Settings"
- Navigate to the "Purchase Settings" option in the sidebar menu.
- Click on the highlighted "Purchase Settings" link to access the relevant configuration options.
- Ensure you have the necessary permissions to modify settings in this section.
- Review the available settings and make adjustments as needed.
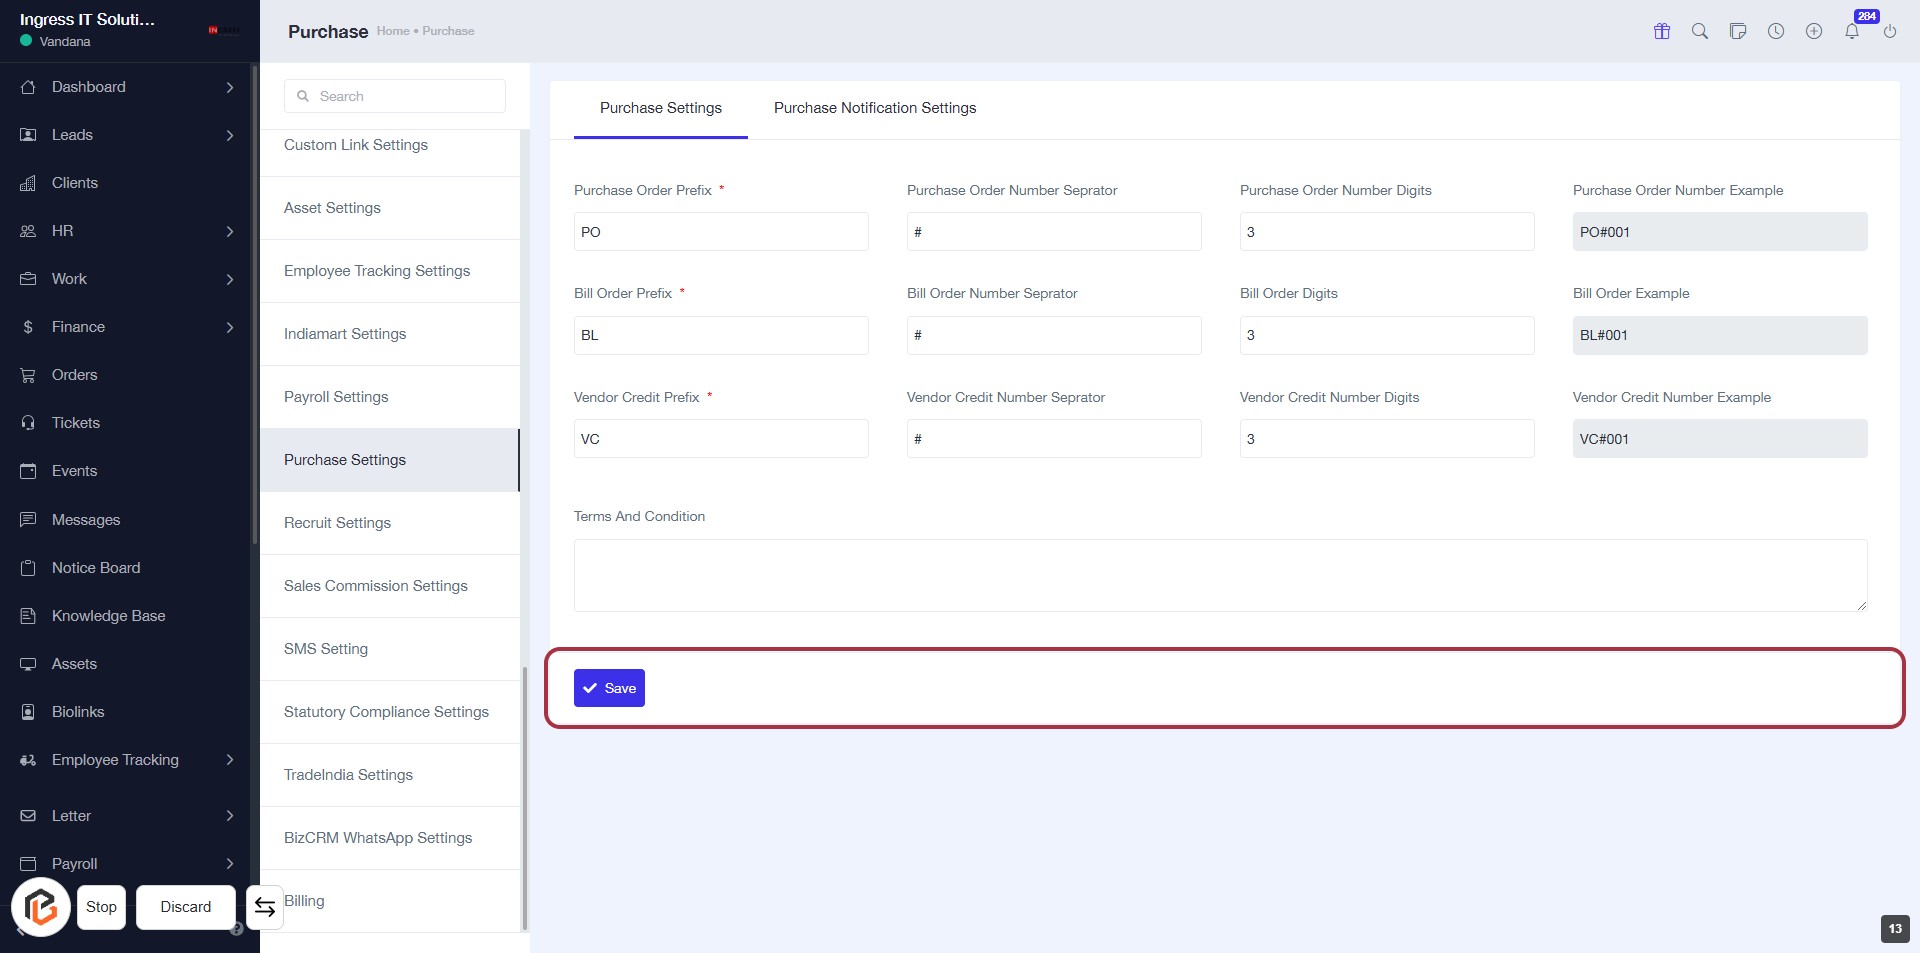
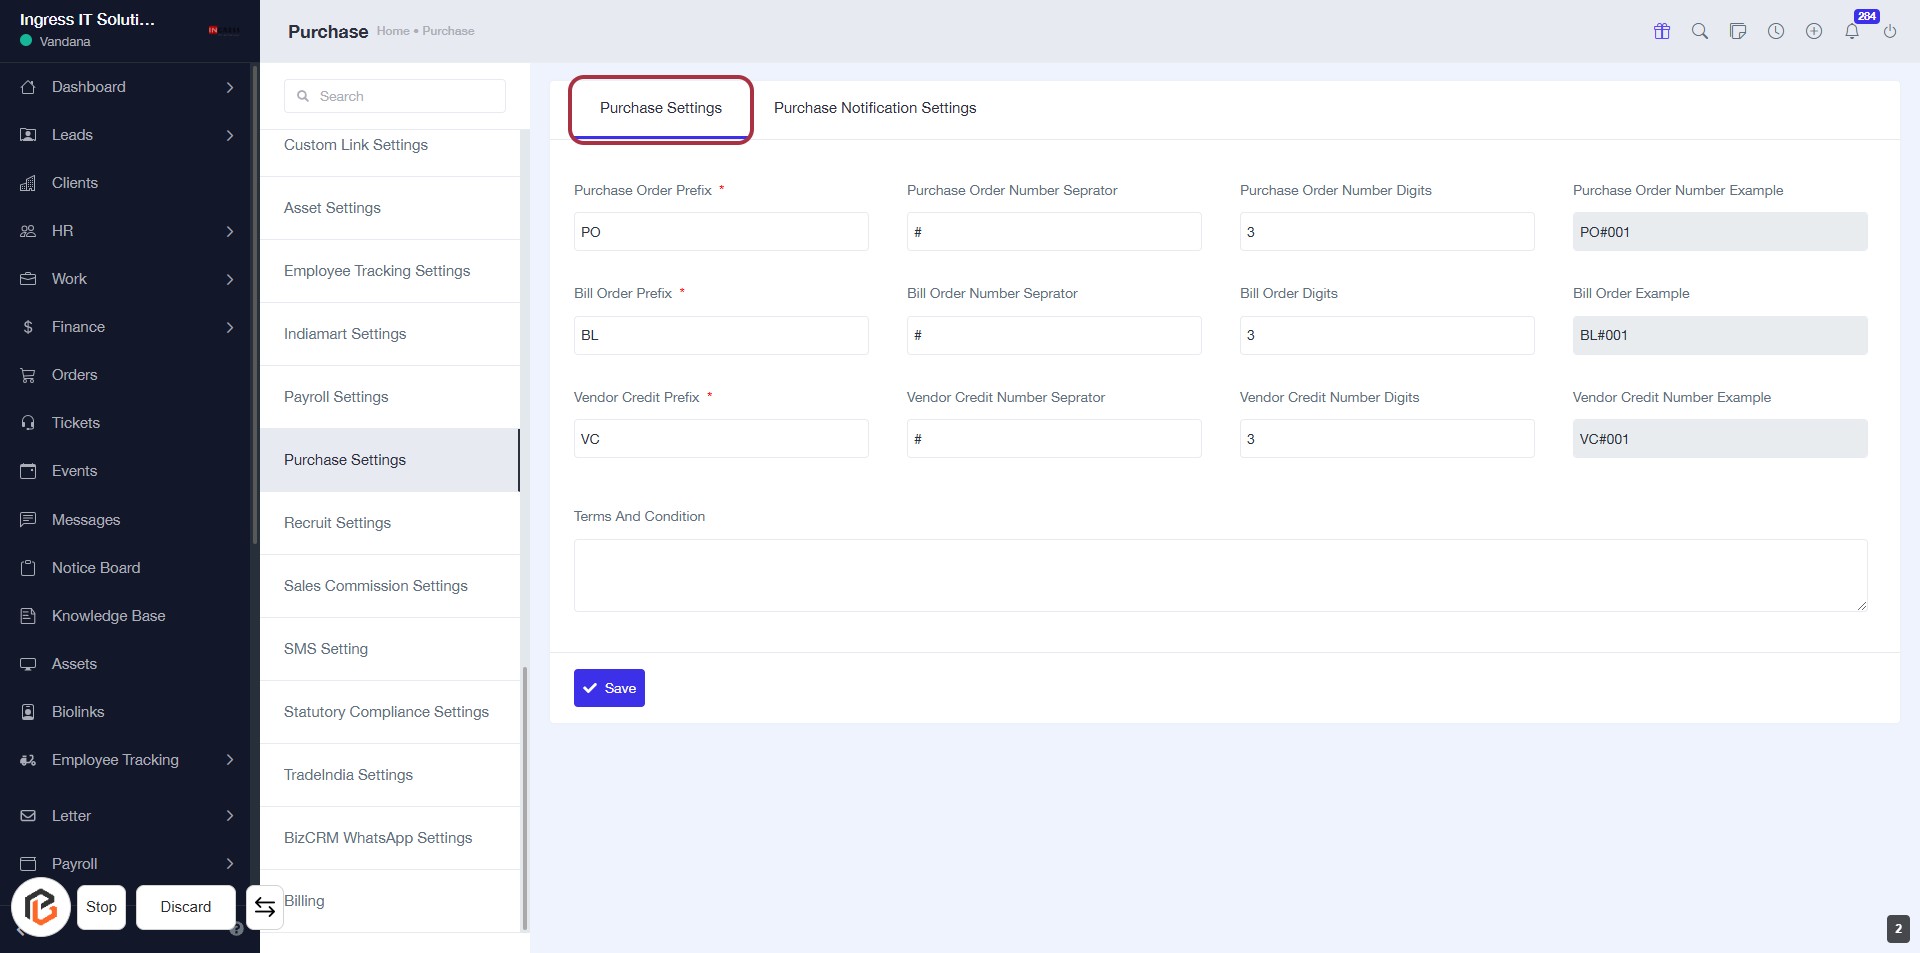
STEP 3: Select "Purchase Settings"
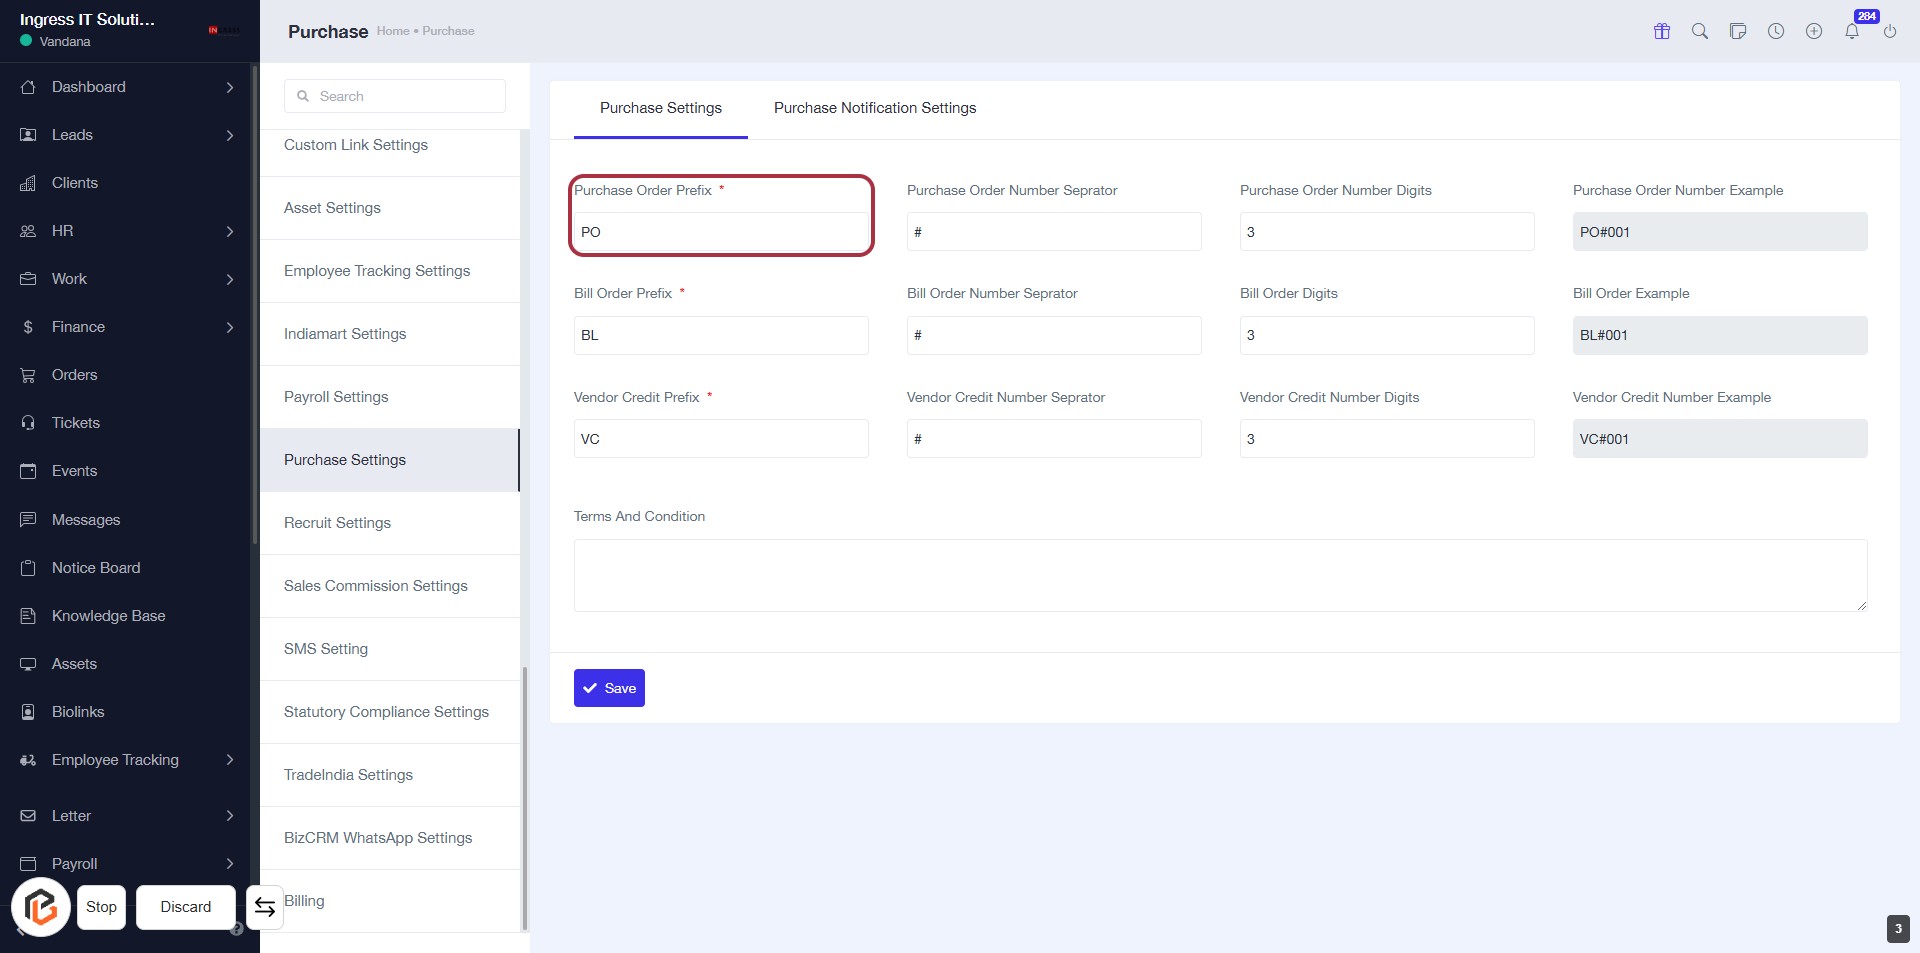
STEP 4: Enter "Purchase Order Prefix"
- Click on the "Purchase Order Prefix" field (marked with an asterisk * for required input).
- Input the desired prefix (e.g., "PO").
- Ensure the prefix aligns with your organization's naming conventions.
- Review other fields for additional settings related to purchase orders.
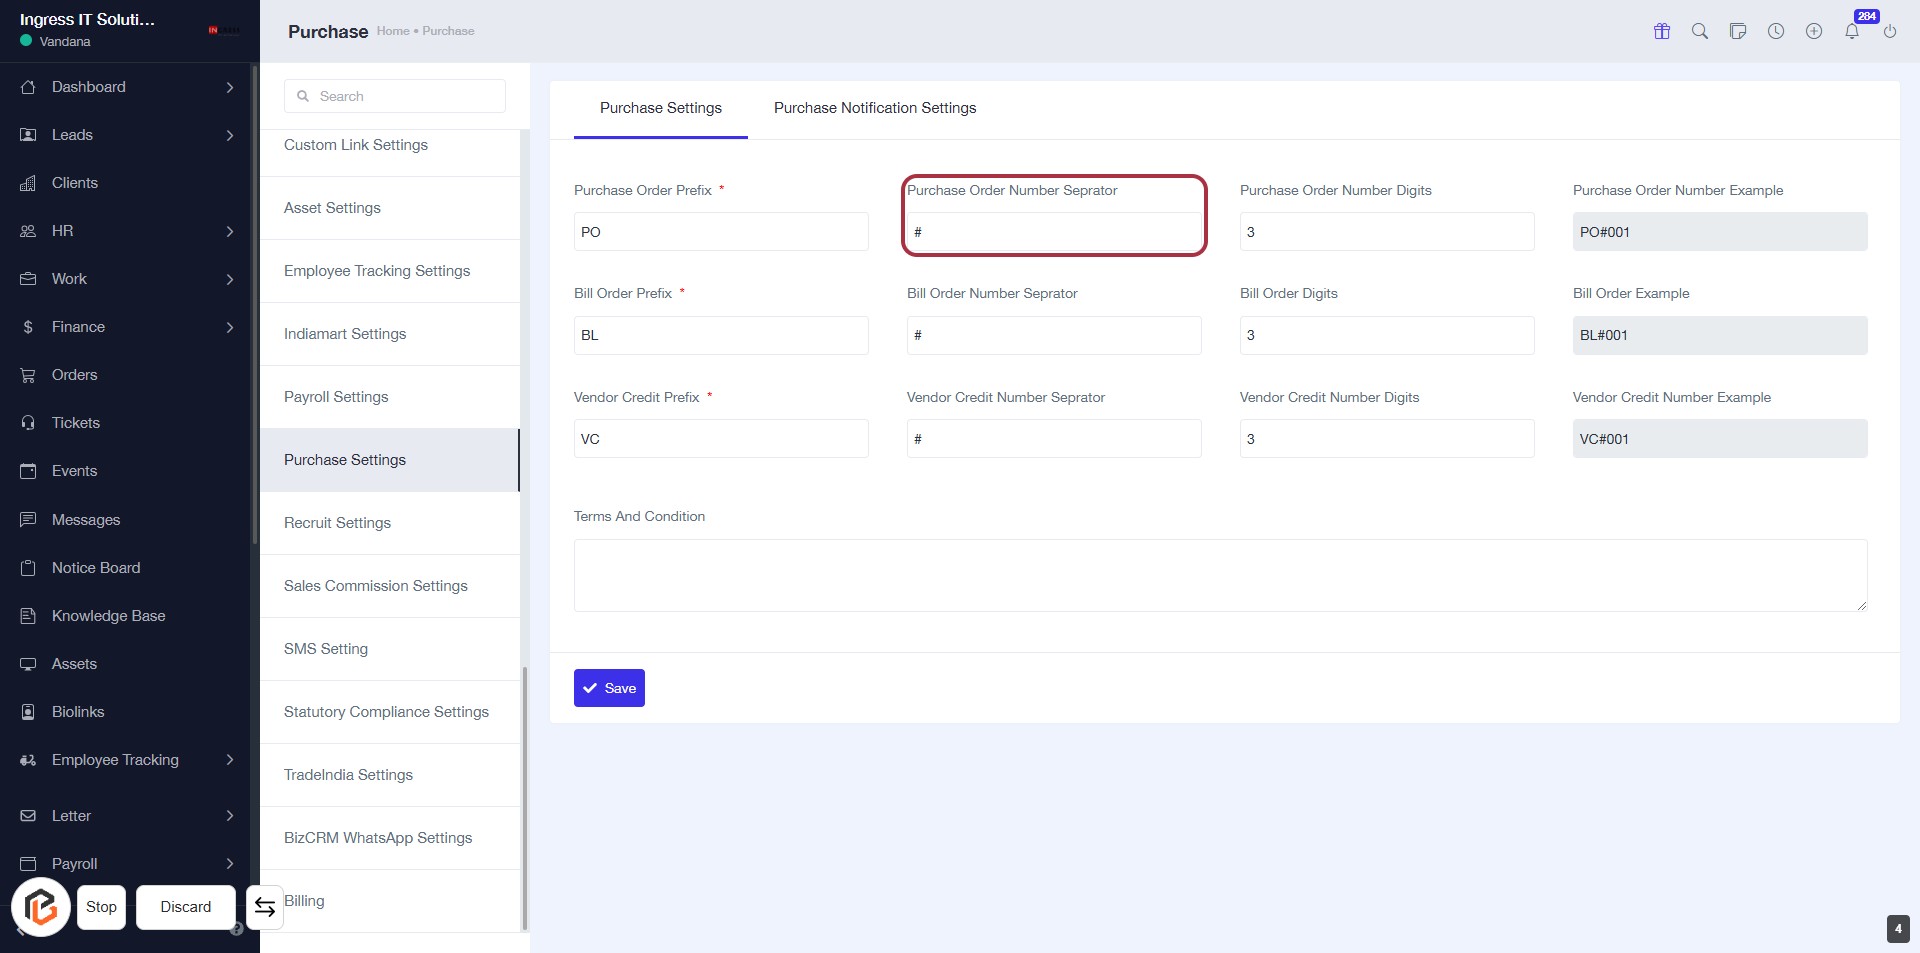
STEP 5: Enter "Purchase Order Number Separator"
- Click on the "Purchase Order Number Separator" field highlighted in red.
- Ensure to input the desired separator (e.g., "#").
- Review other fields for required inputs marked with an asterisk (*).
- Proceed to the next step by entering "Purchase Order Number Digits."
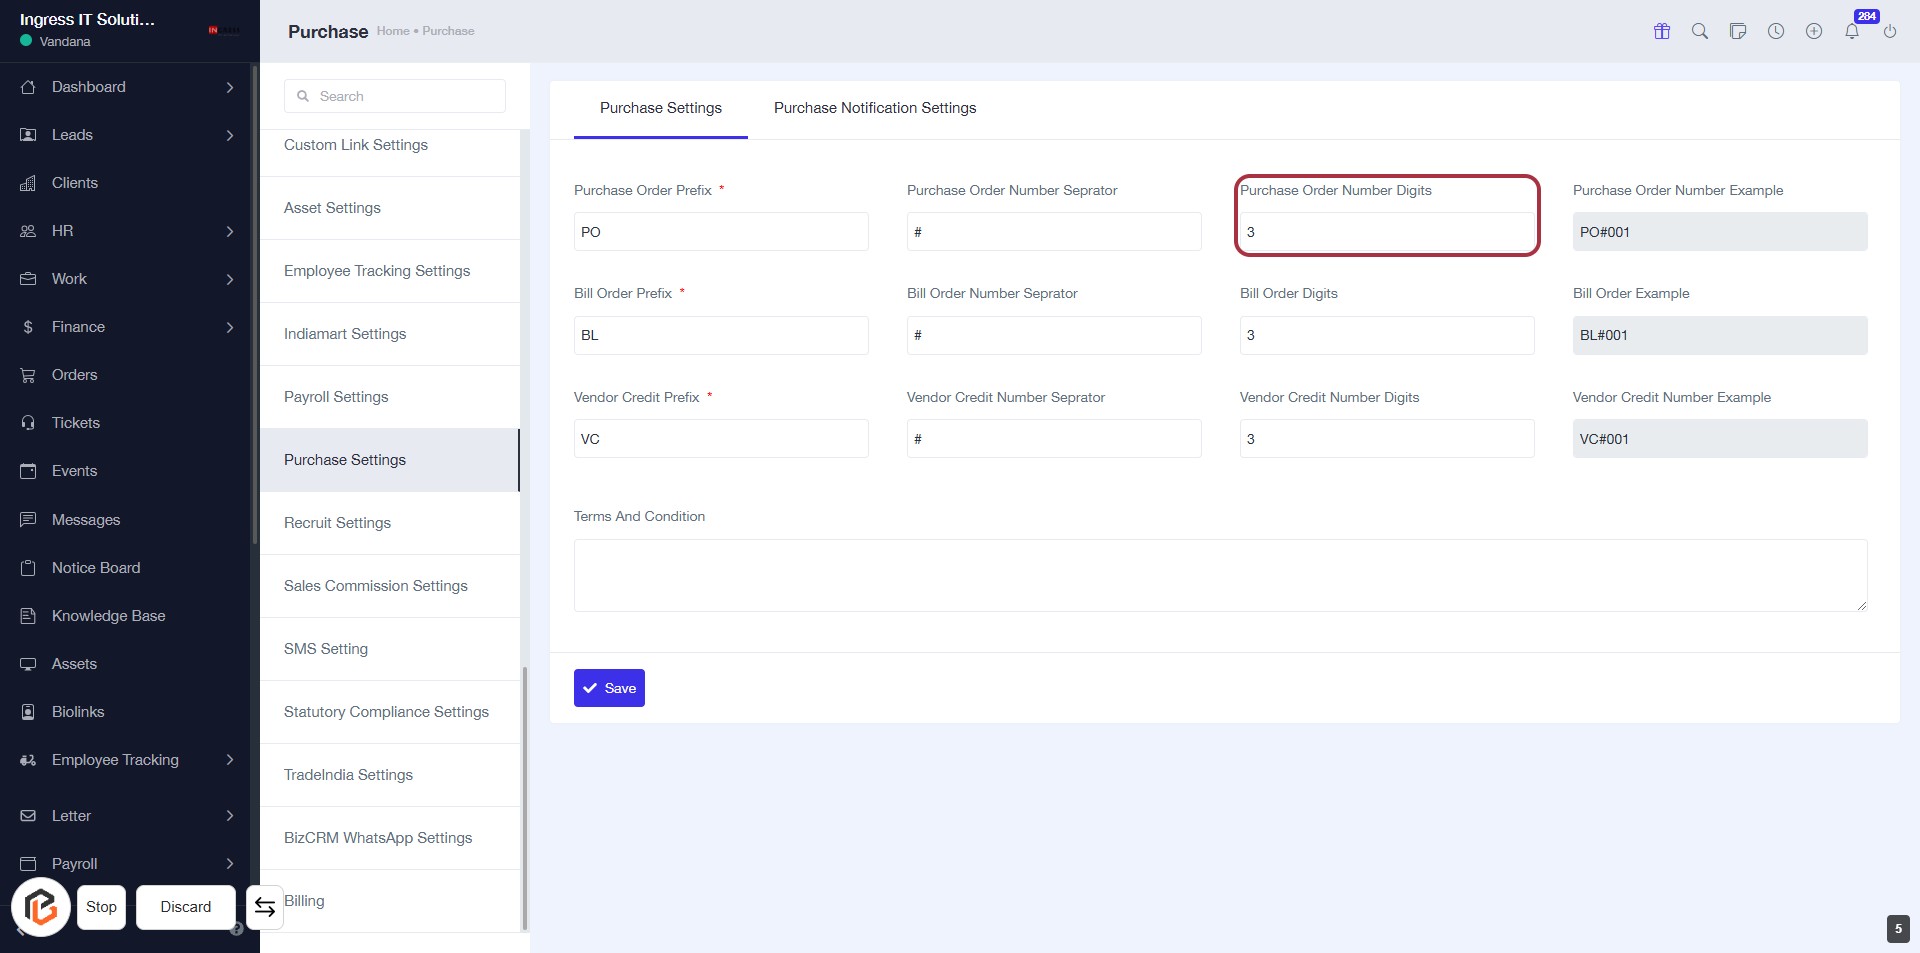
STEP 6: Enter "Purchase Order Number Digits"
- Click on the "Purchase Order Number Digits" field highlighted in red.
- Input the desired number of digits for the Purchase Order Number.
- Ensure to fill any required fields marked with an asterisk (*).
- Review other related fields for consistency before saving.
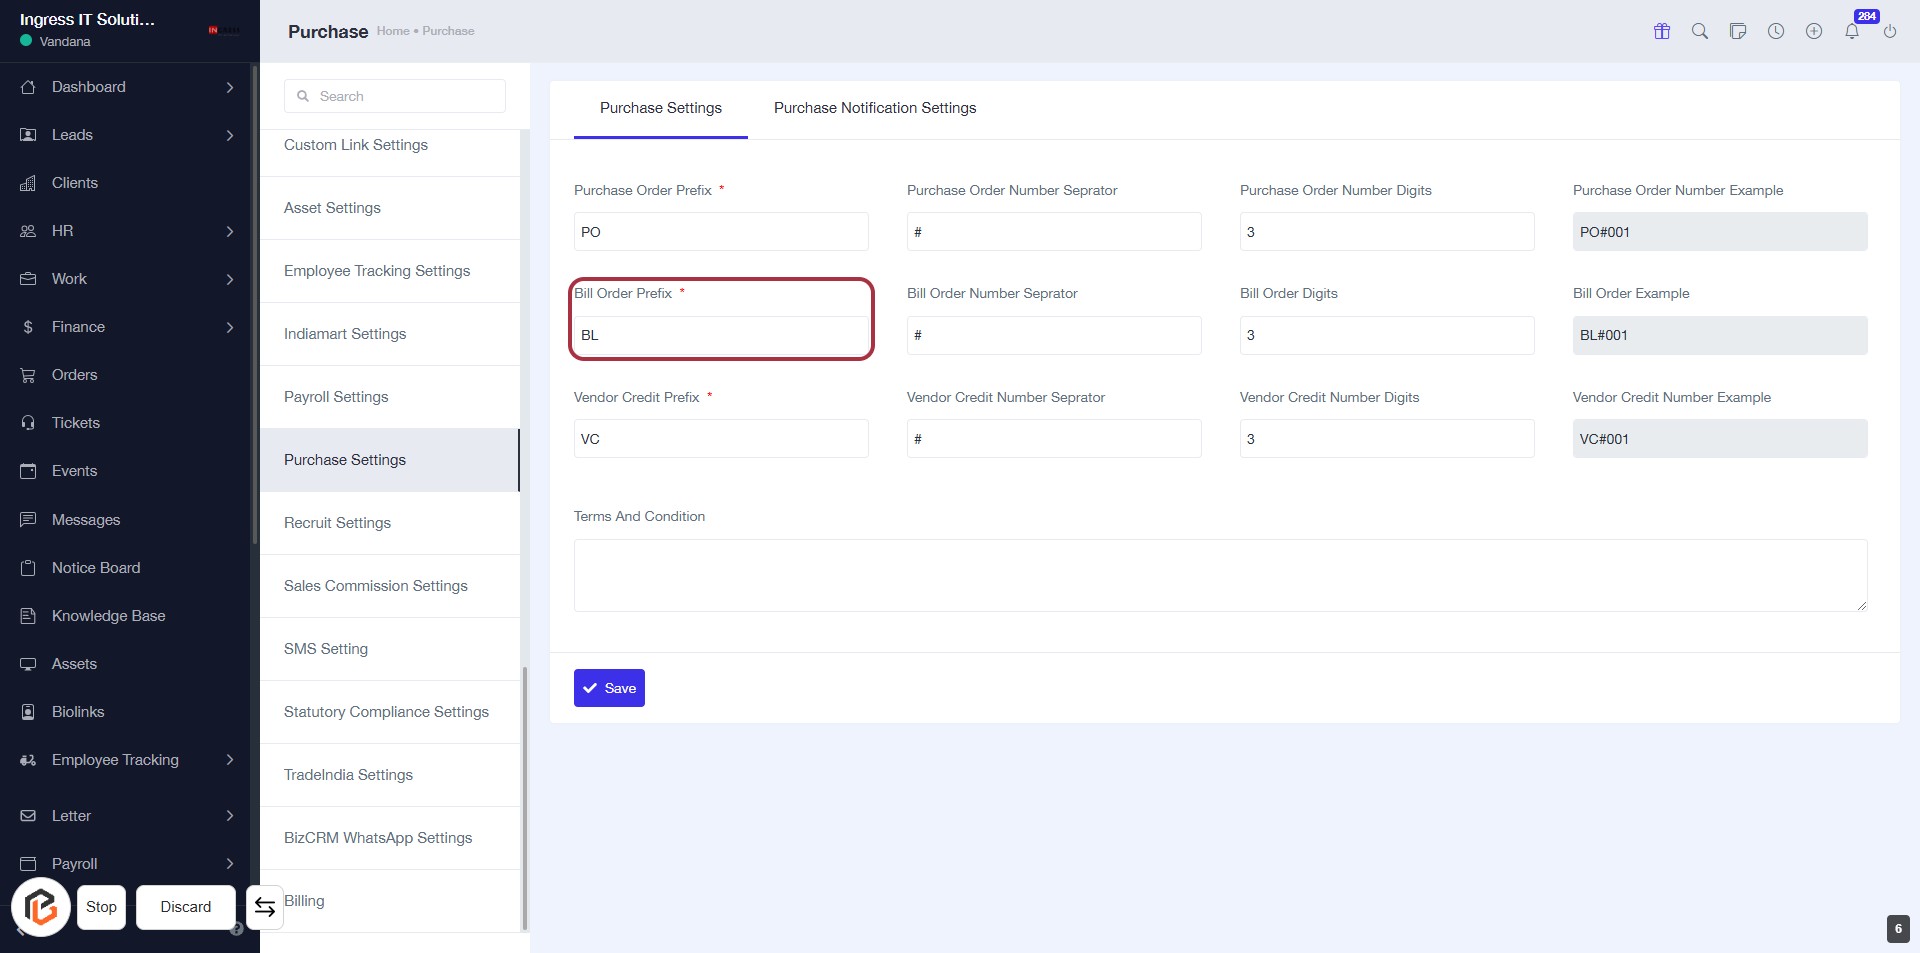
STEP 7: Enter "Bill Order Prefix"
- Click on the highlighted area labeled "Bill Order Prefix" (marked with a red border).
- Ensure to fill in the required field, indicated by the asterisk (*).
- This prefix will be used for bill orders, so choose an appropriate value.
- After entering, proceed to the next step to enter the "Bill Order Number Separator."
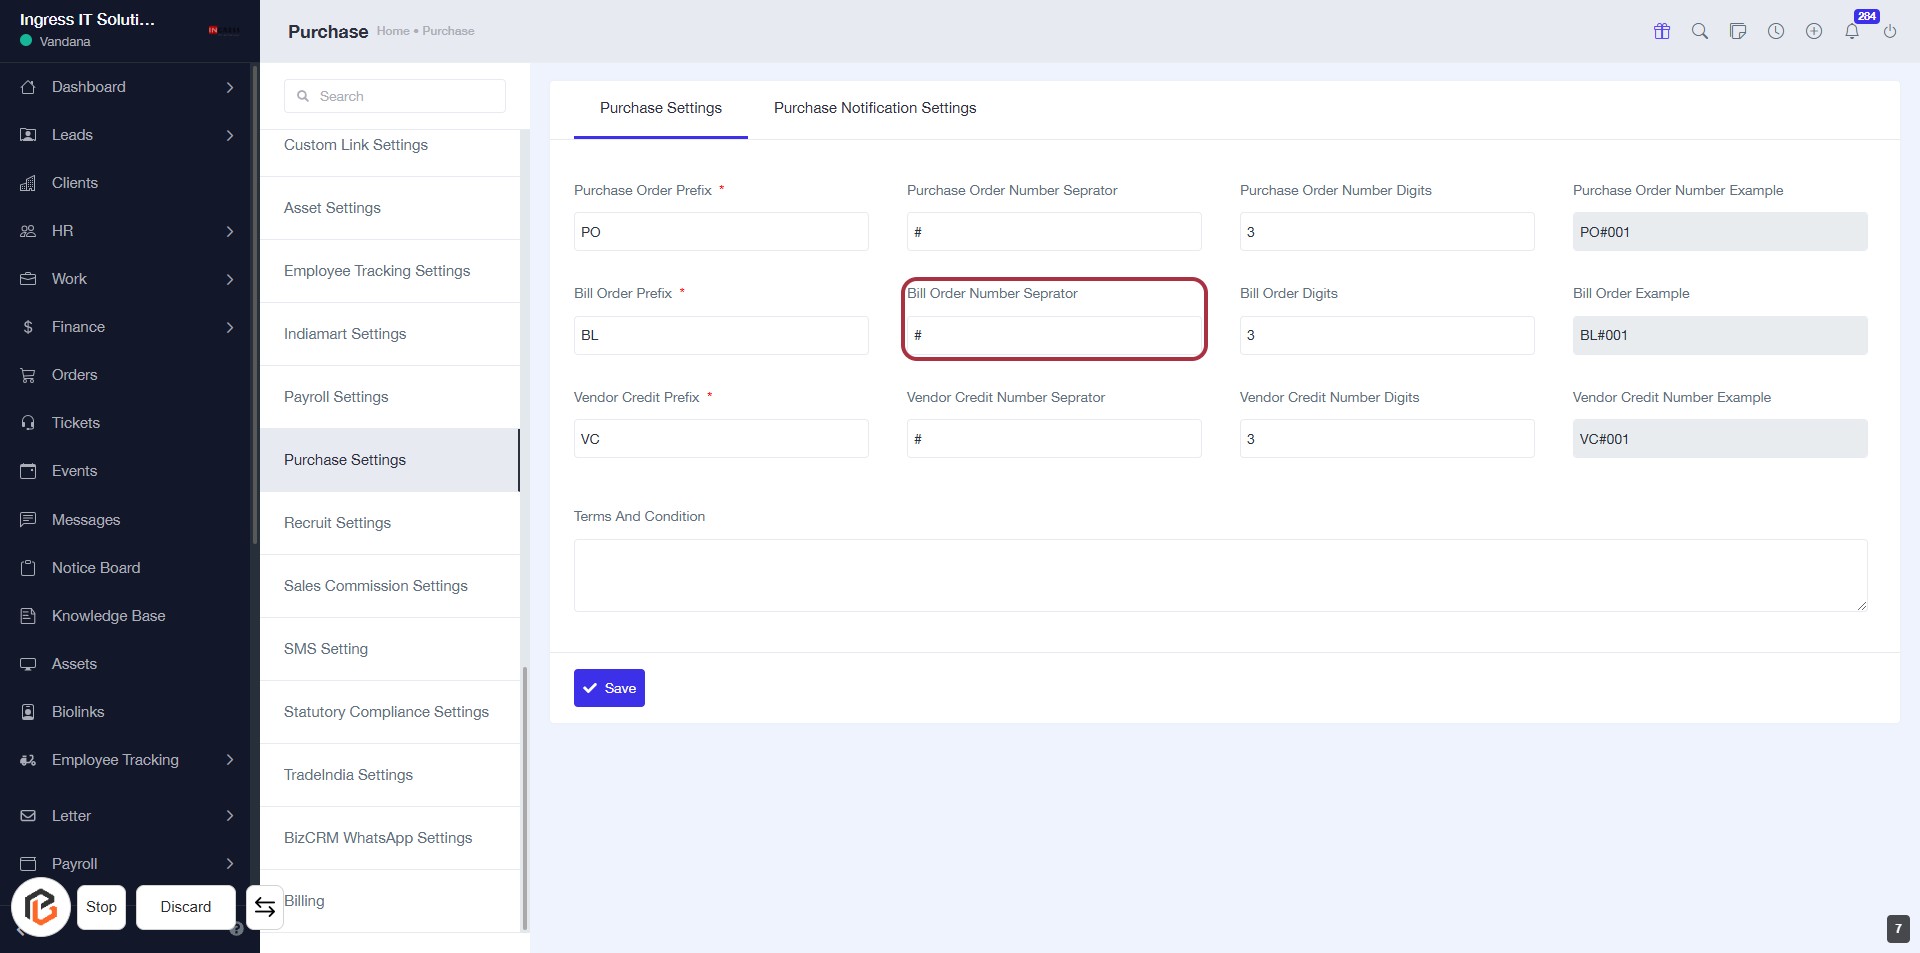
STEP 8: Click "Bill Order Number Separator"
- Navigate to the Purchase Settings section.
- Locate the Bill Order Number Separator field highlighted in red.
- Click on the field to enter the desired separator (e.g., #).
- Ensure to fill in any required fields marked with an asterisk (*).
- Proceed to the next step to enter Bill Order Digits.
STEP 9: Enter Bill Order Digits
- Click on the "Bill Order Digits" field highlighted in red.
- Input the desired number of digits for the Bill Order.
- Ensure that the field is filled according to your billing requirements.
- Review other related fields like "Bill Order Number Separator" for consistency.
- After entering, proceed to the next step by filling in the "Vendor Credit Prefix."

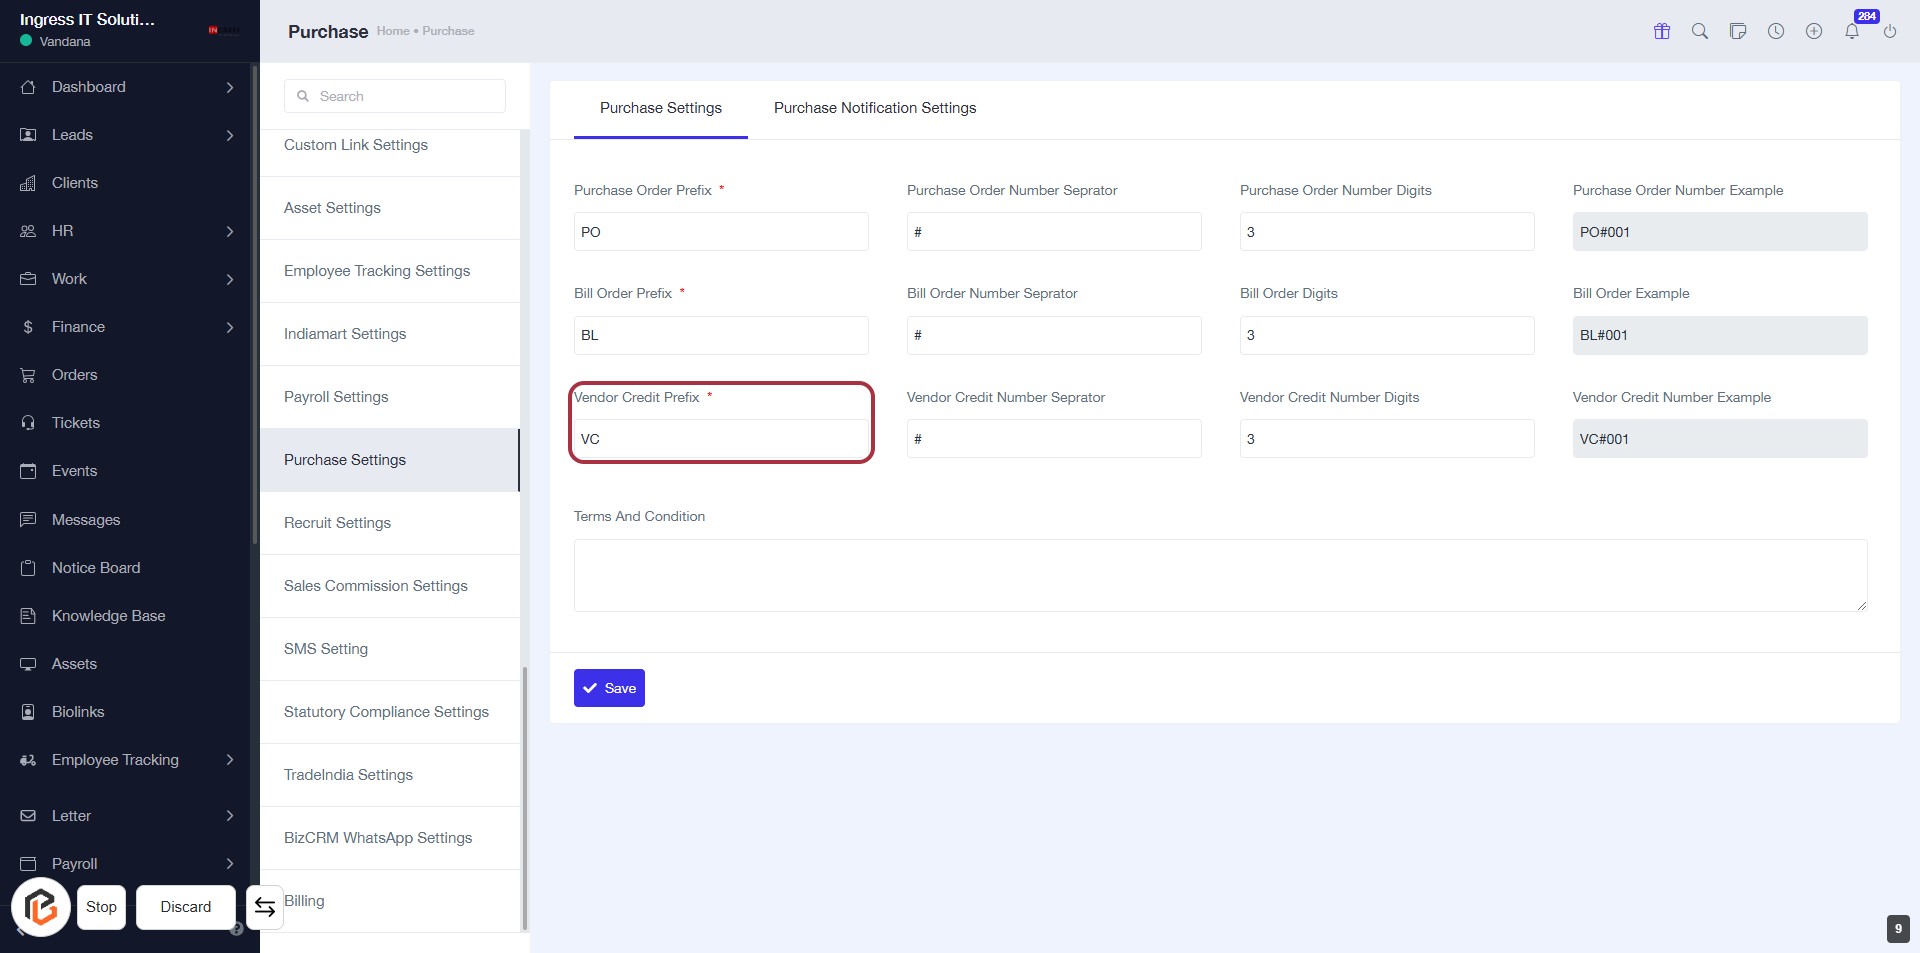
STEP 10: Enter Vendor Credit Prefix
- Click on the "Vendor Credit Prefix" field (marked with an asterisk * for required input).
- Input the desired prefix for vendor credits (e.g., "VC").
- Ensure the prefix aligns with your organization's naming conventions.
- Proceed to the next step by entering the "Vendor Credit Number Separator."
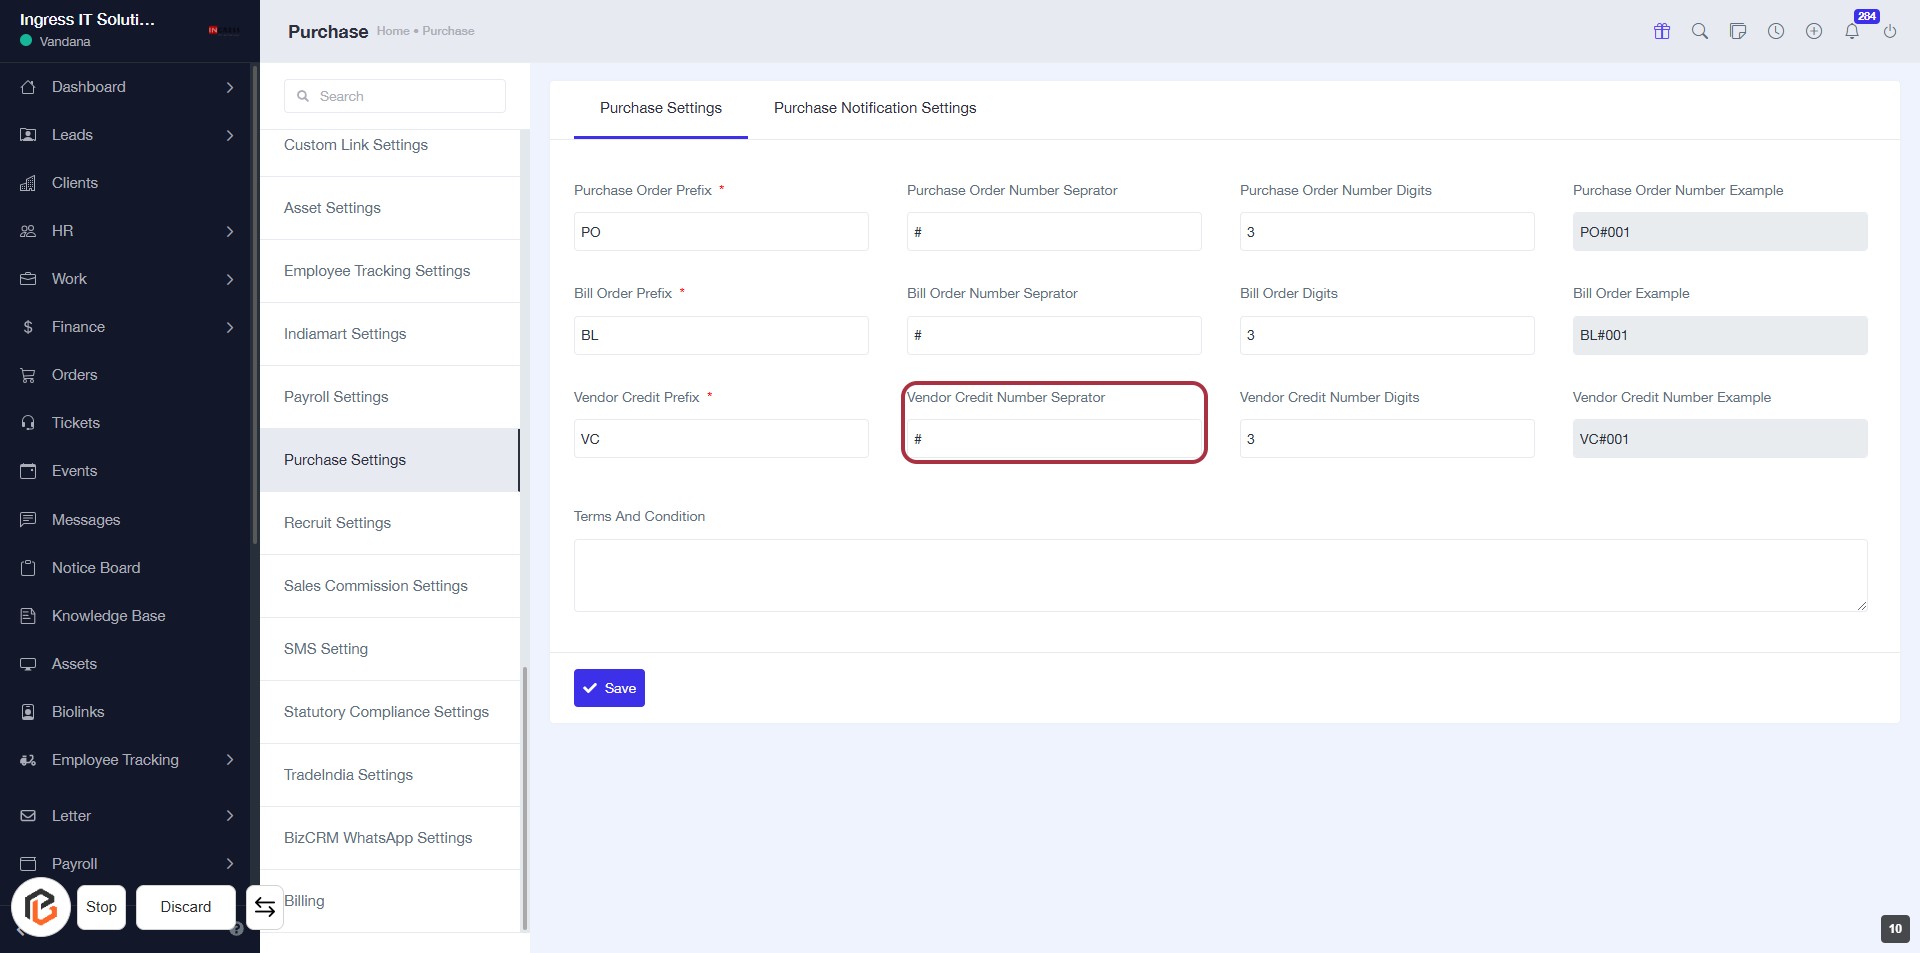
STEP 11: Enter Vendor Credit Number Separator
- Click on the "Vendor Credit Number Separator" field.
- Ensure to input the desired separator (e.g., #).
- Note: The field is marked with an asterisk (*), indicating it is required.
- Proceed to the next step to enter "Vendor Credit Number Digits."
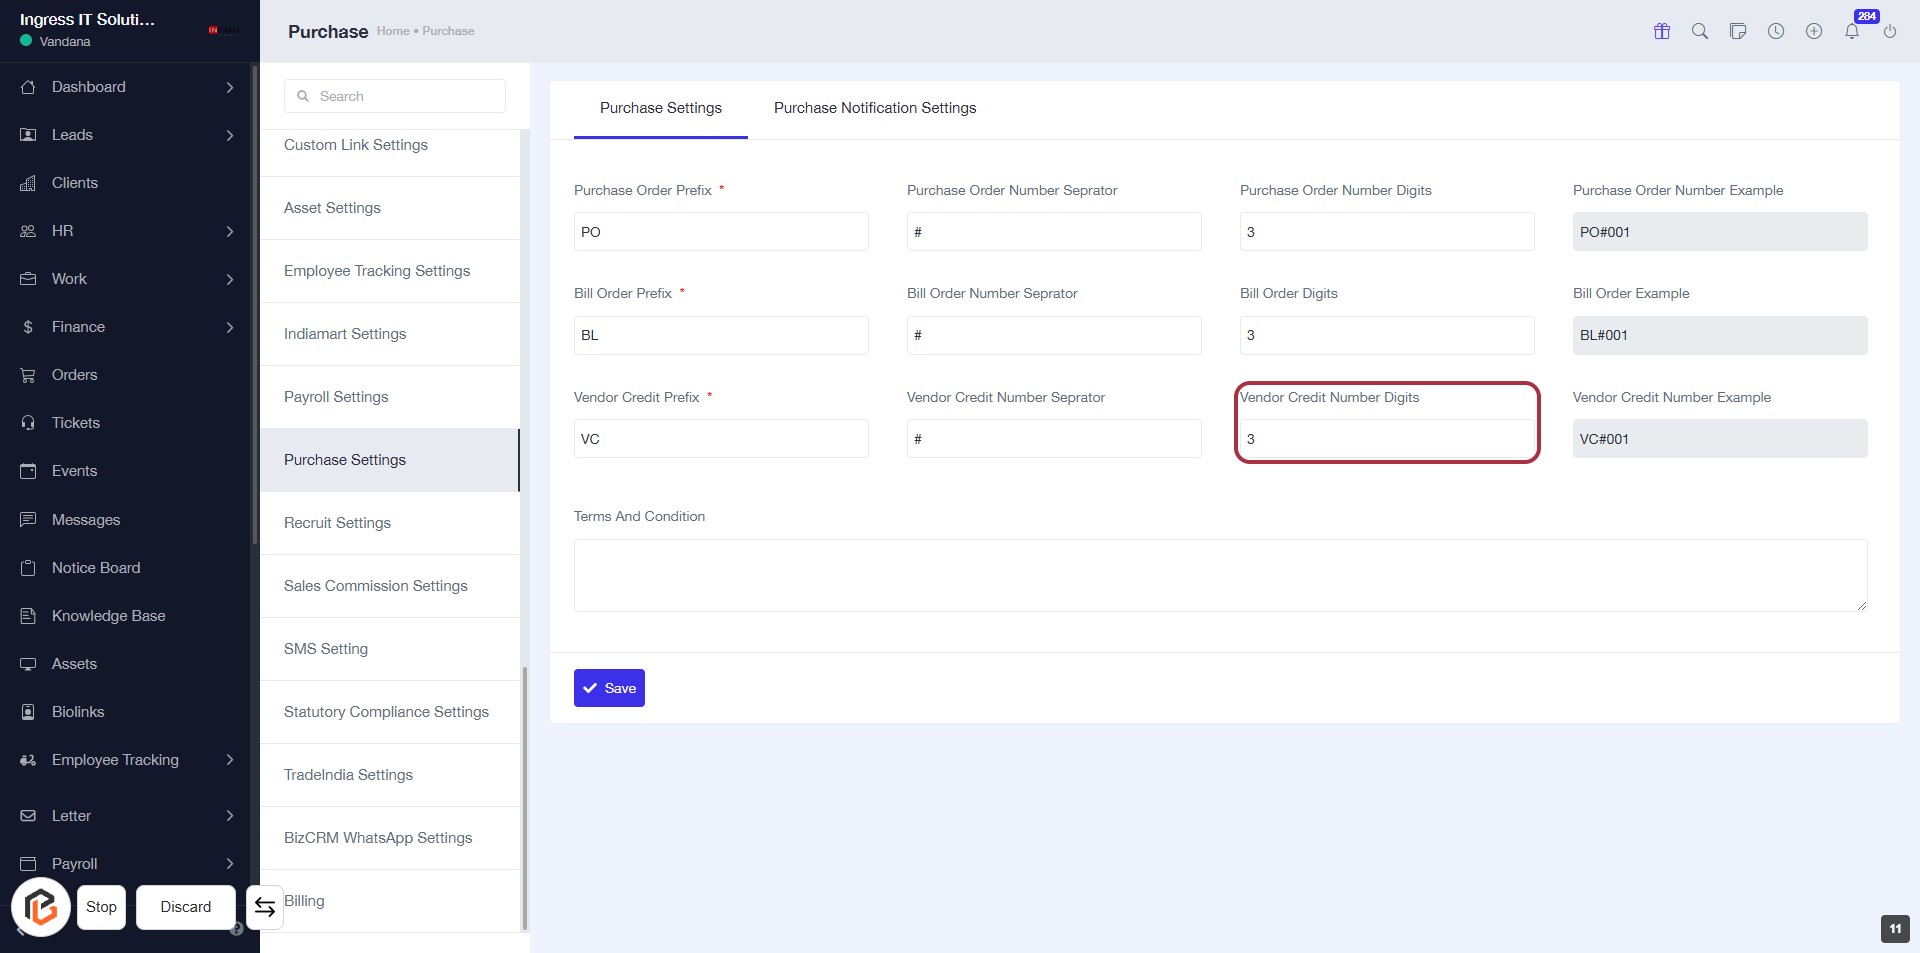
STEP 12: Enter Vendor Credit Number Digits
- Click on the Vendor Credit Number Digits field.
- Ensure to enter the desired number of digits for the vendor credit number.
- Review other fields for any required inputs marked with an asterisk (*).
- After filling in the necessary information, proceed to the next step.
STEP 13: Click on "Terms And Condition" Field
- Locate the "Terms And Condition" field highlighted in red.
- Click on the field to activate it for input.
- Enter the relevant terms and conditions as needed.
- Ensure all required fields marked with an asterisk (*) are filled out.
- Proceed to the next step by clicking the "Save" button.
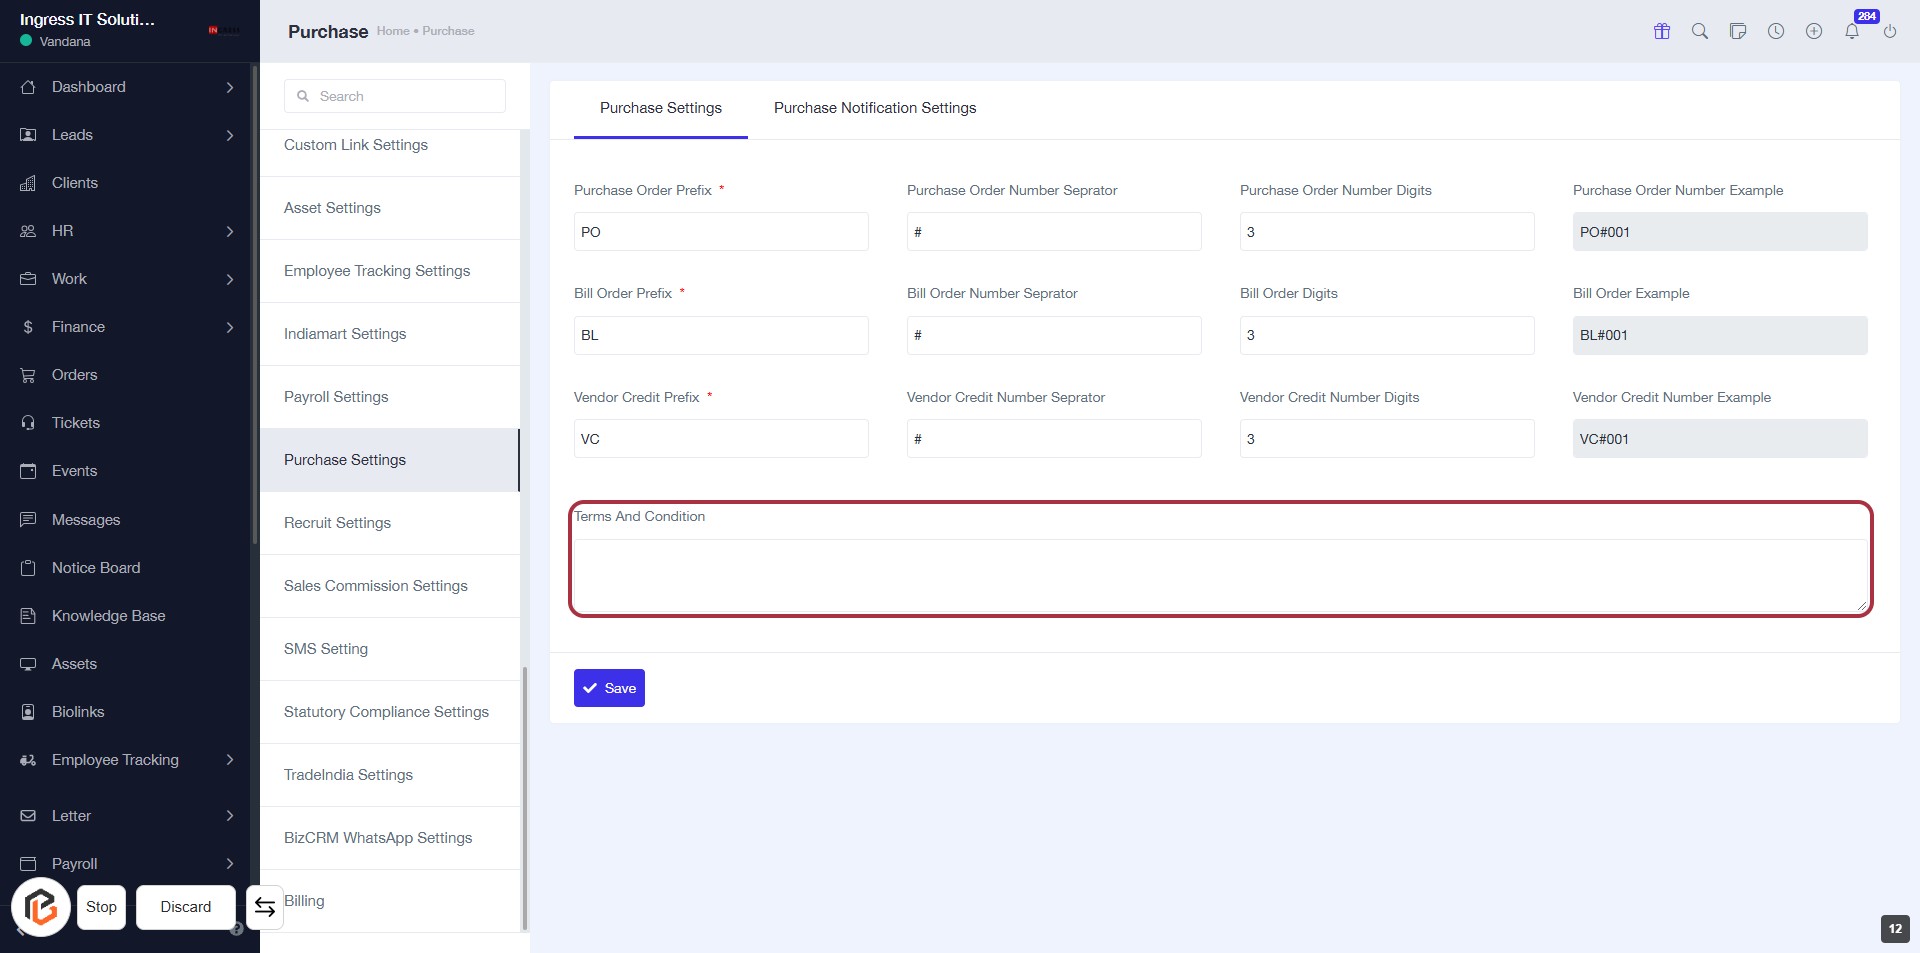
STEP 14: Click on "Save" Button to Finalize Changes
- Ensure all required fields (marked with *) are filled out.
- Review the "Terms And Conditions" section for accuracy.
- Click the Save button located at the bottom of the form to save your settings.
- Confirm that a success message appears to indicate the changes have been saved.