Step-by-Step Guide to Create and Submit Sales Targets in Your Dashboard
9 mins read · Updated 29 Sep, 2025
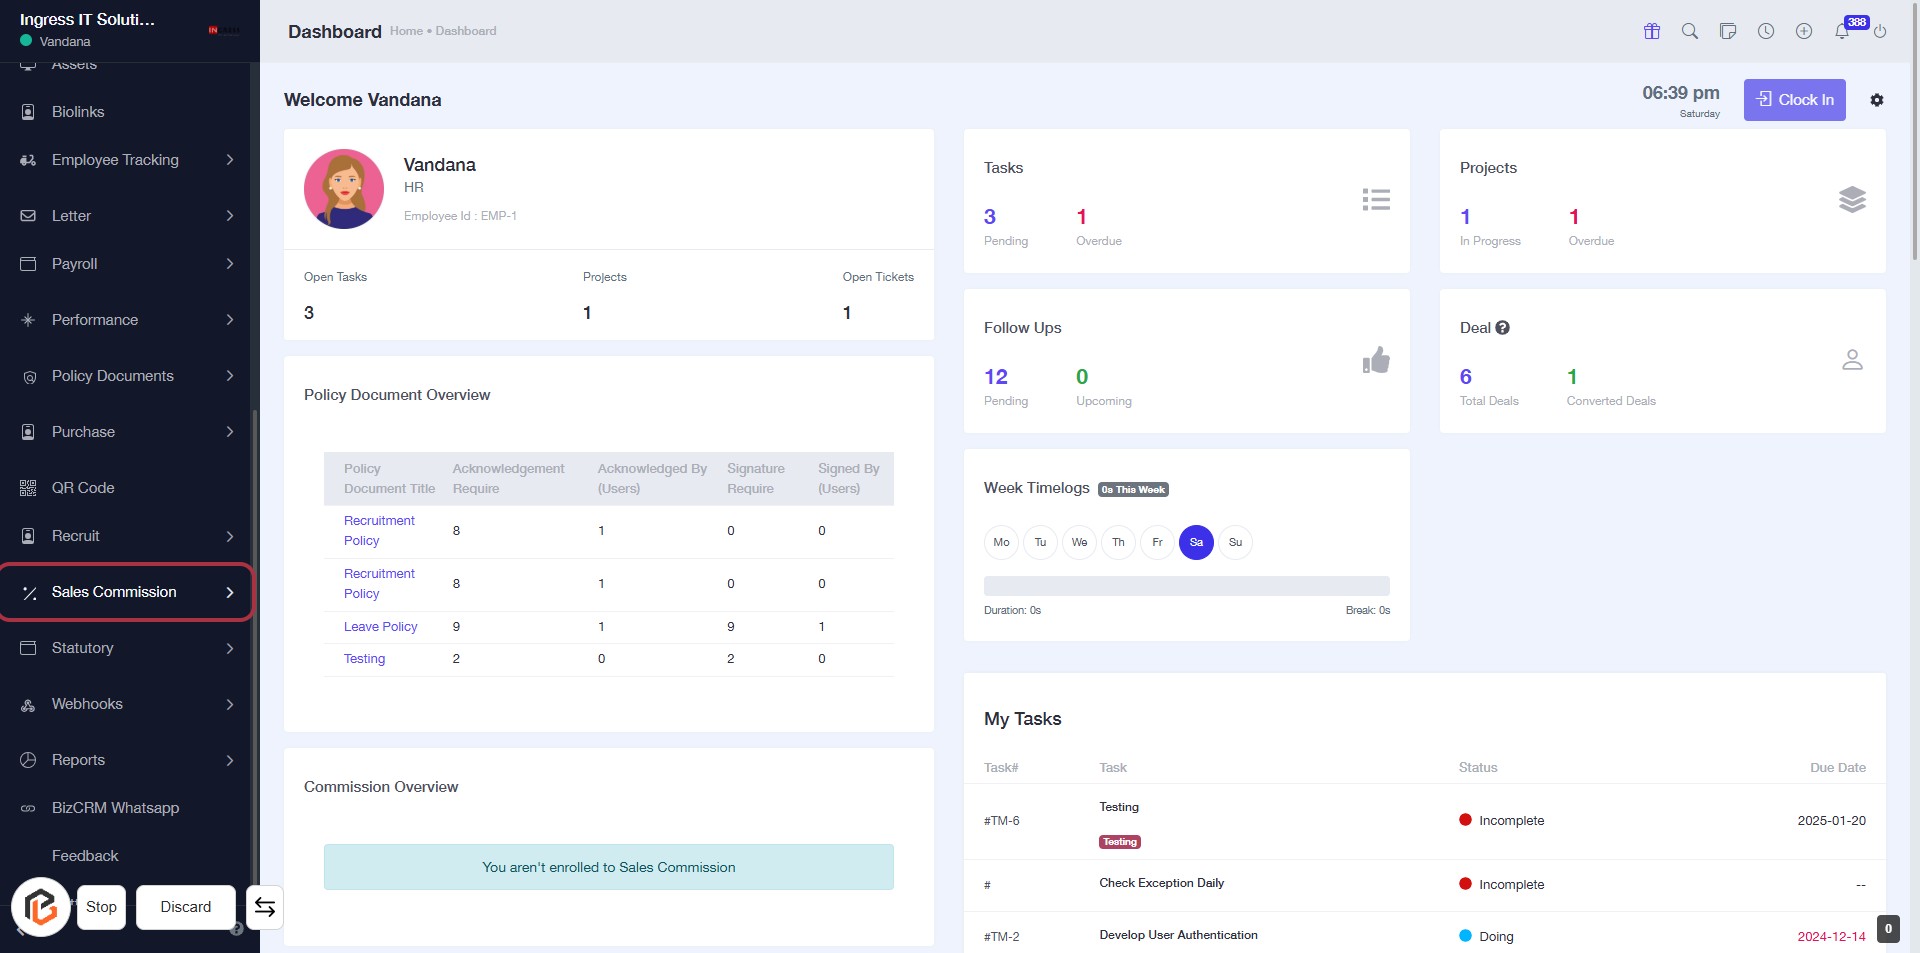
STEP 1: Click on "Sales Commission"
- Navigate to the left sidebar of the dashboard.
- Locate the "Sales Commission" option highlighted in red.
- Click on the "Sales Commission" link to proceed.
- Ensure you are enrolled in the Sales Commission program to access relevant information.
STEP 2: Click on "Targets"
- Navigate to the "Targets" section in the sidebar.
- Ensure you are on the Dashboard page.
- Look for the highlighted area indicating the "Targets" link.
- Click on the "Targets" link to proceed.
- After this, you will be able to click on "Create Target" for further actions.

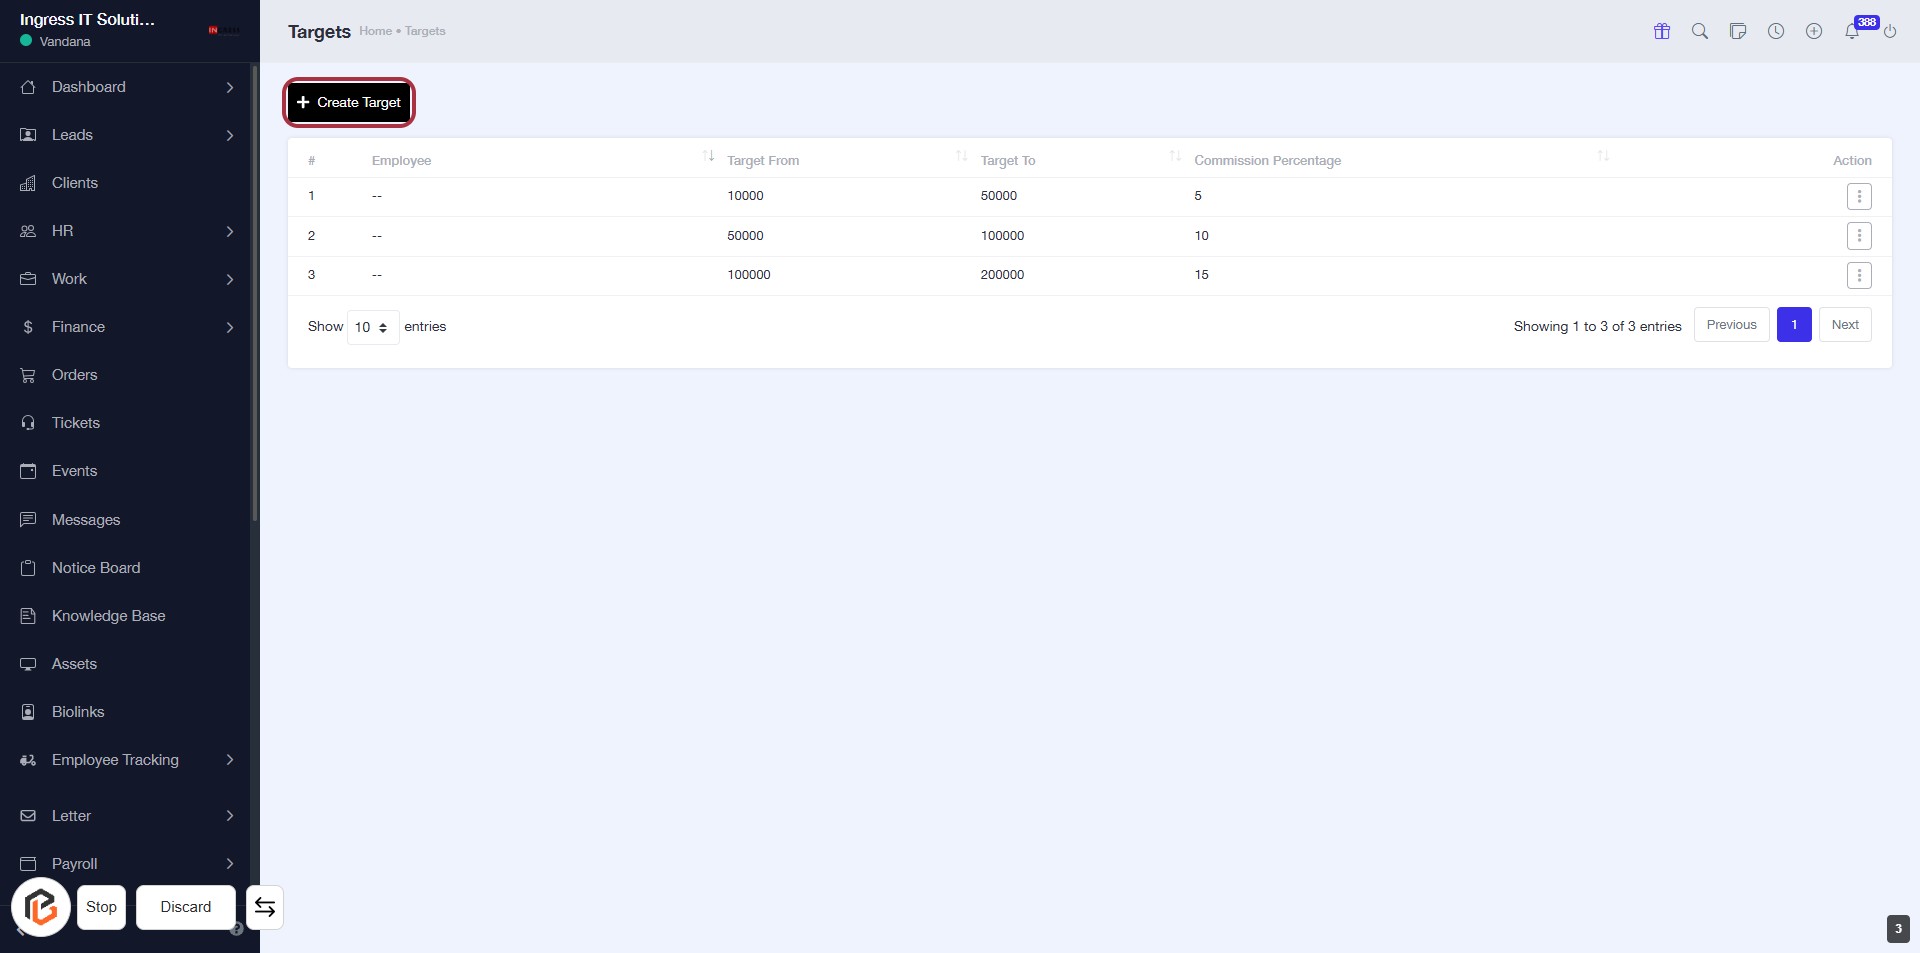
STEP 3: Click on "Create Target"
- Navigate to the "Targets" page.
- Click on the Create Target button located at the top right of the table.
- This action will allow you to proceed to the next step where you can select an employee for the target.
- Ensure all required fields marked with an asterisk (*) are filled out in the subsequent form.
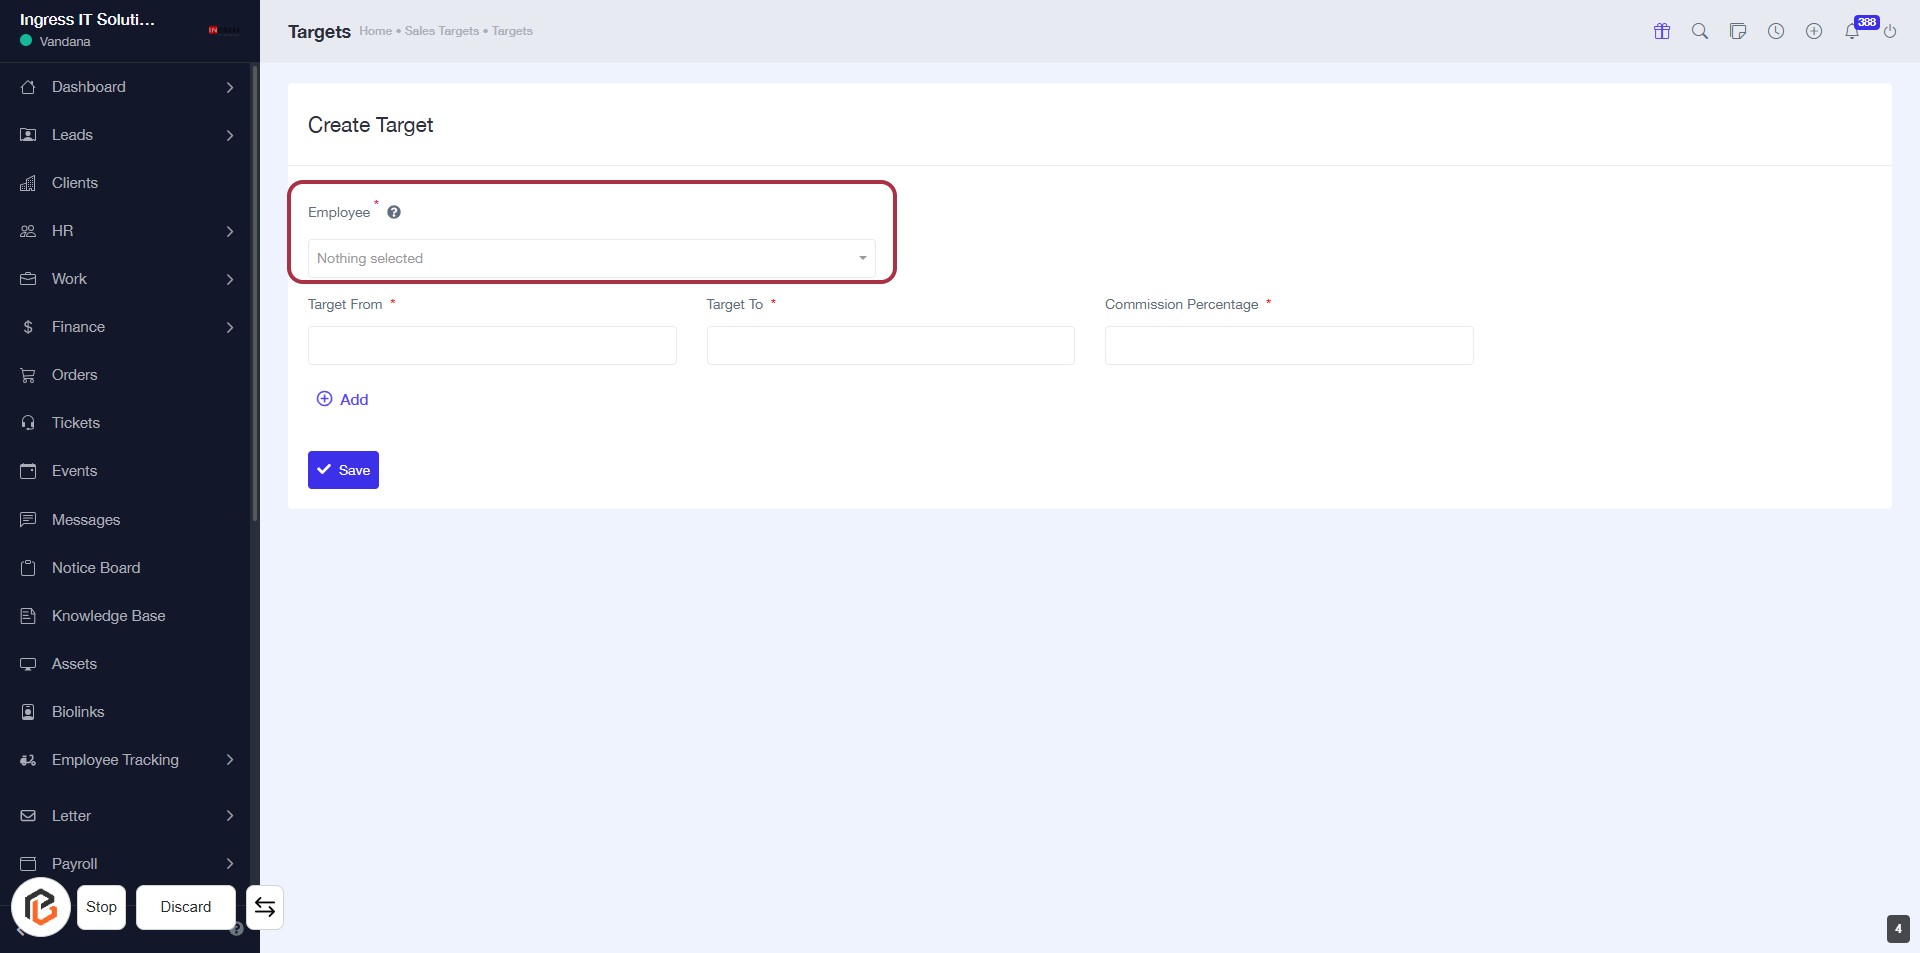
STEP 4: Select "Employee"
- Click on the "Employee" dropdown to choose an employee for the target.
- Ensure the field marked with an asterisk (*) is filled, as it is required.
- After selection, proceed to the next step to enter "Target From."
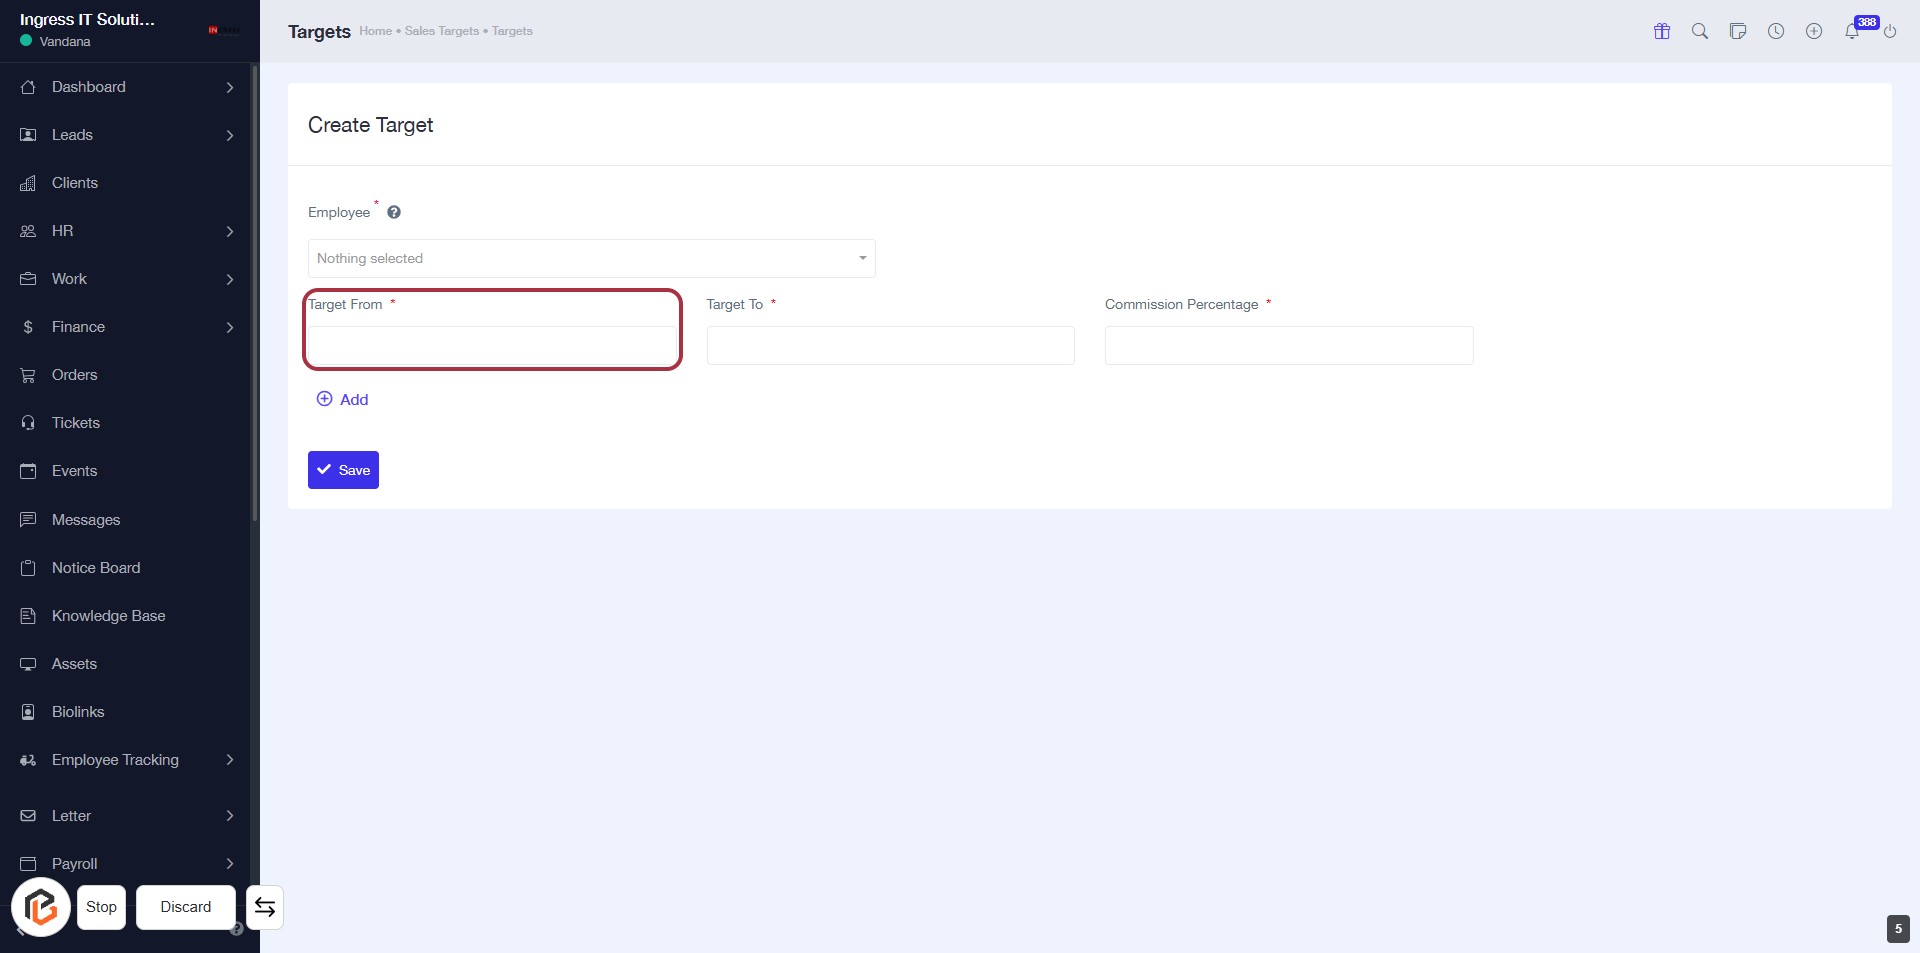
STEP 5: Enter "Target From"
- Click on the "Target From" field (marked with an asterisk) to activate it.
- This field is mandatory; ensure you provide the required information.
- After filling in "Target From," proceed to the next step to enter "Target To."
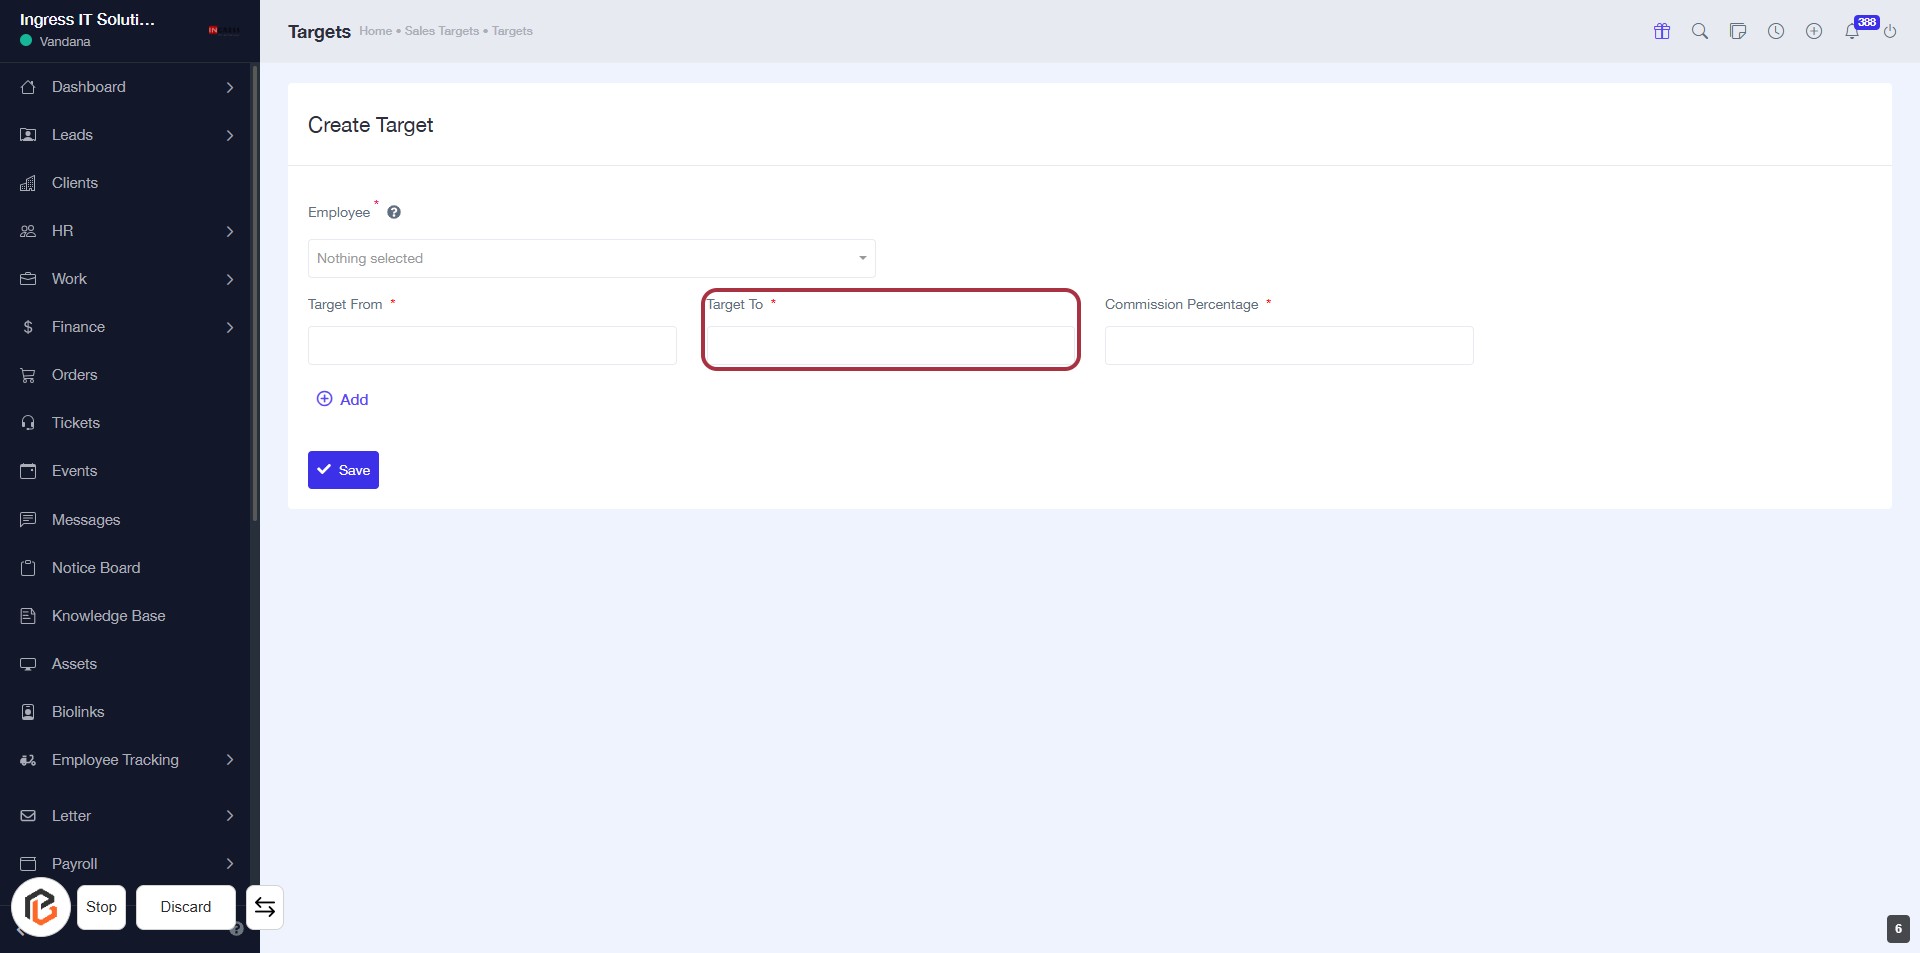
STEP 6: Enter "Target To"
- Click on the "Target To" field (marked with a red border).
- Ensure to fill in the required information as indicated by the asterisk (*).
- Review other fields for completeness before proceeding to the next step.
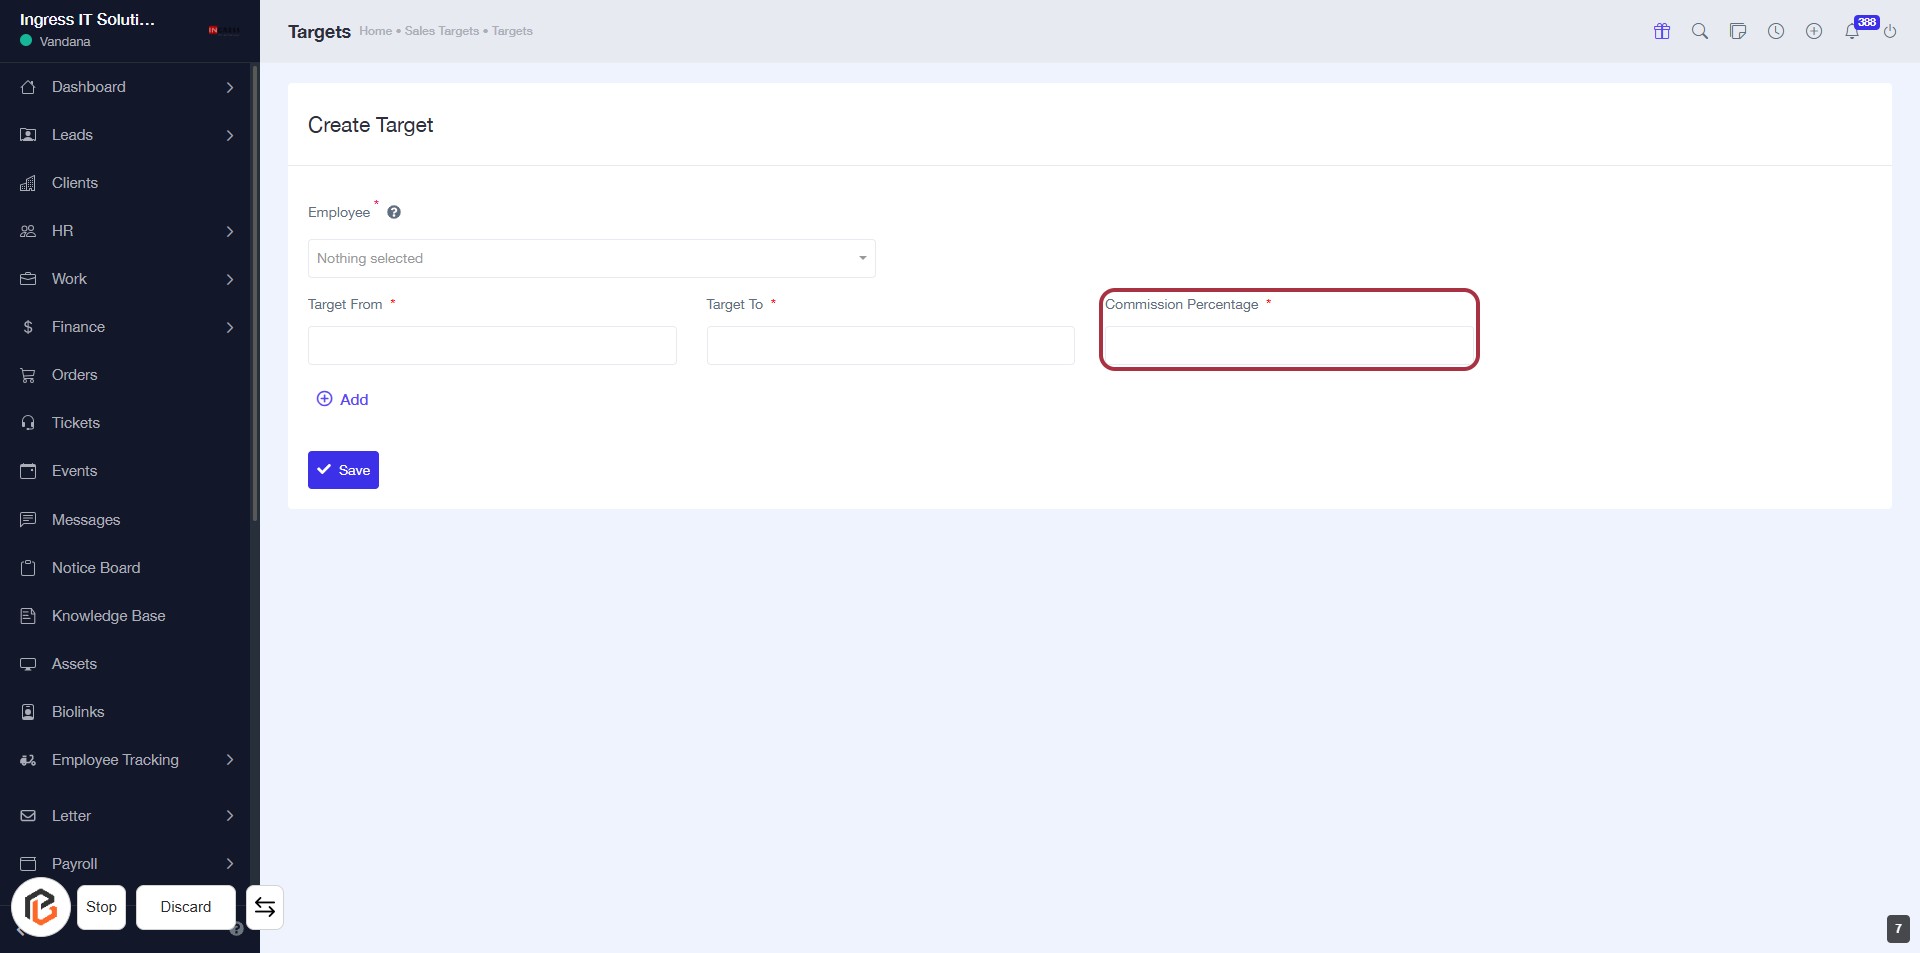
STEP 7: Enter "Commission Percentage"
- Click on the highlighted area labeled "Commission Percentage" to input the desired value.
- Ensure to fill in this field as it is marked with an asterisk (*), indicating it is required.
- Review other fields for any additional inputs needed before proceeding.
- After entering the percentage, continue to the next step by clicking on "Add."
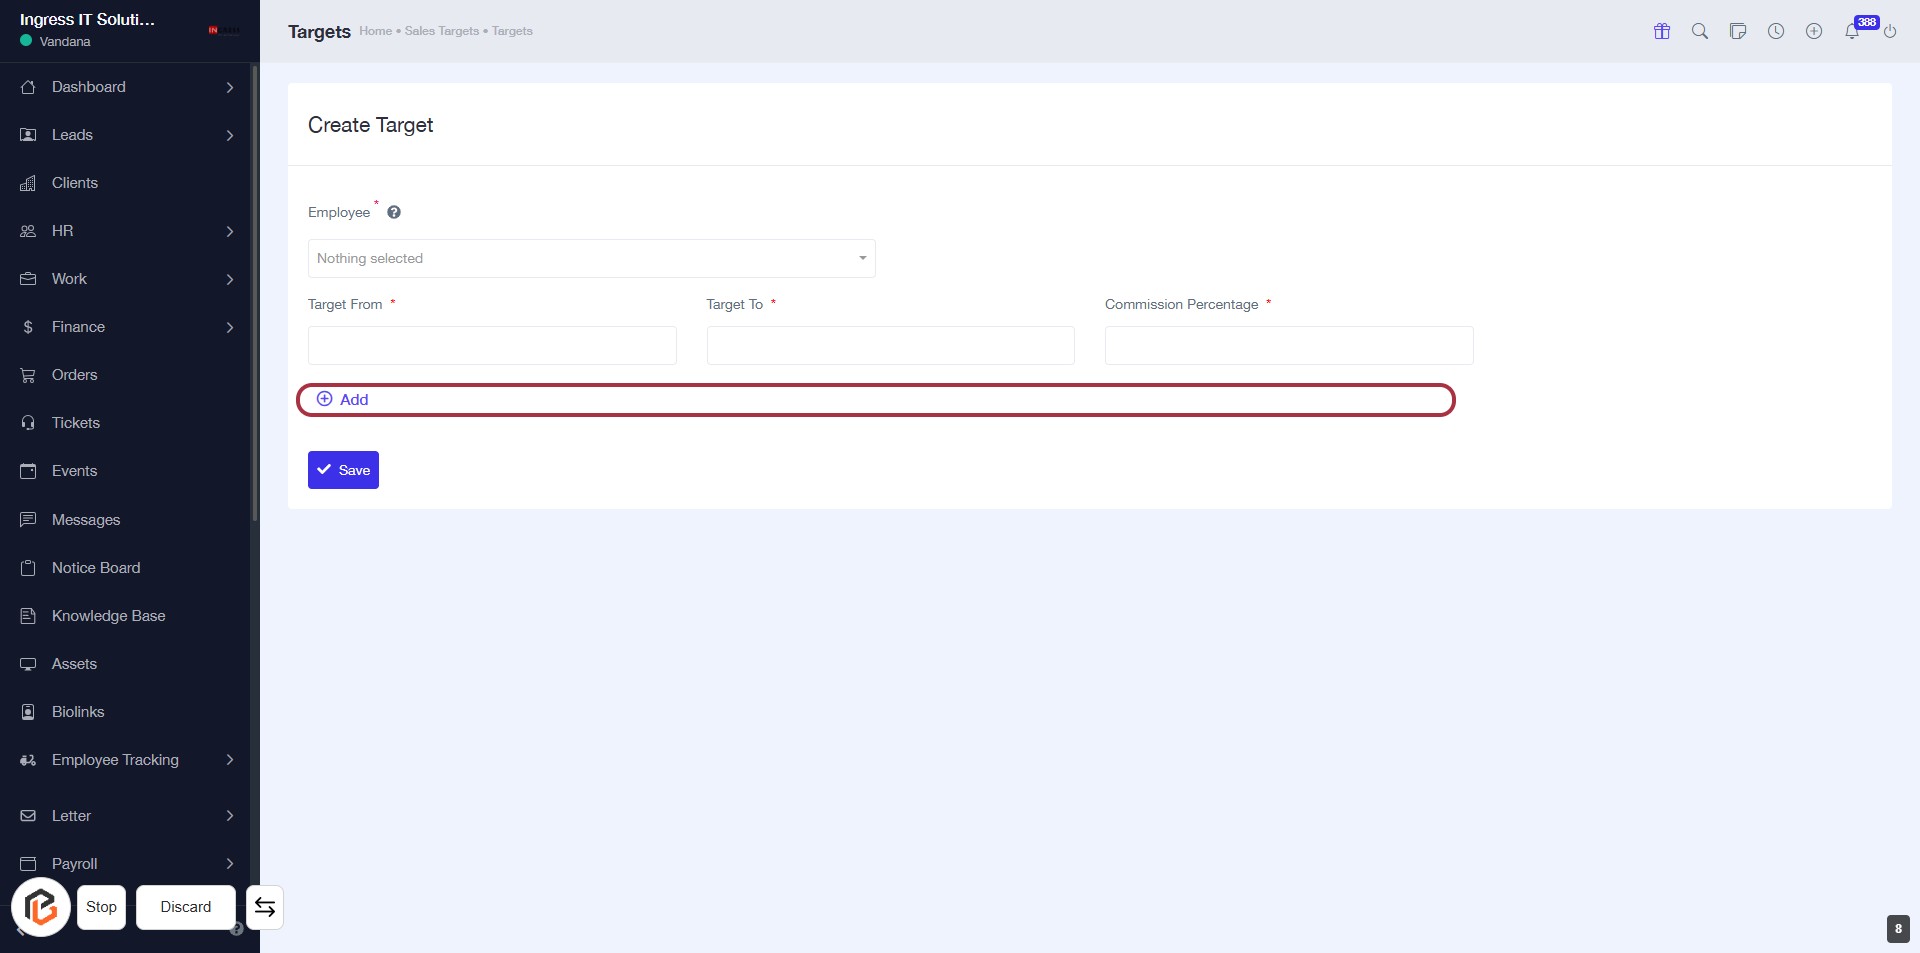
STEP 8: Click on "Add" to Include a New Target
- Locate the "Add" button highlighted in red.
- Click on the "Add" button to include a new target.
- Ensure all required fields (marked with *) are filled out before proceeding.
- After adding, you can continue to the next step by clicking the "Save" button.
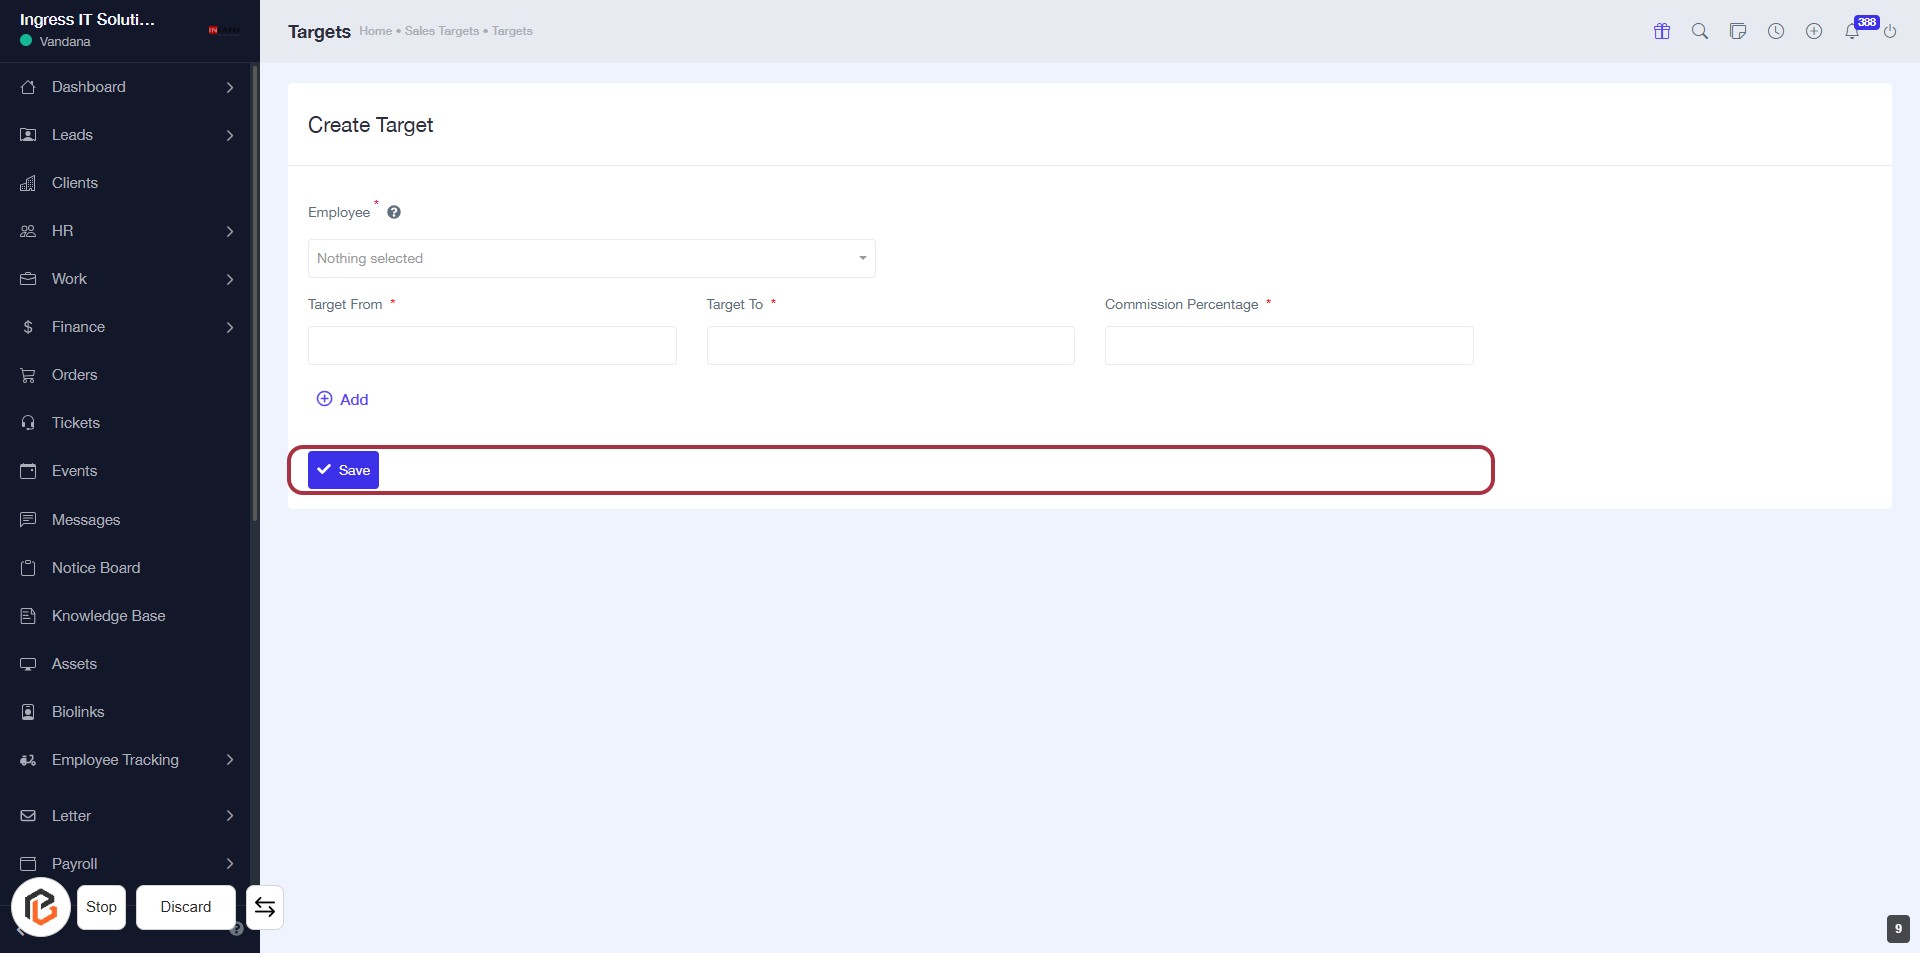
STEP 9: Click on "Save" to Finalize Your Target
- Ensure all required fields are filled: Employee*, Target From*, Target To*, and Commission Percentage*.
- Review your entries for accuracy.
- Click the Save button at the bottom to submit your target.
- Confirmation of your submission will follow.