Step-by-Step Guide to Submitting Job Applications on the Dashboard
19 mins read · Updated 29 Sep, 2025
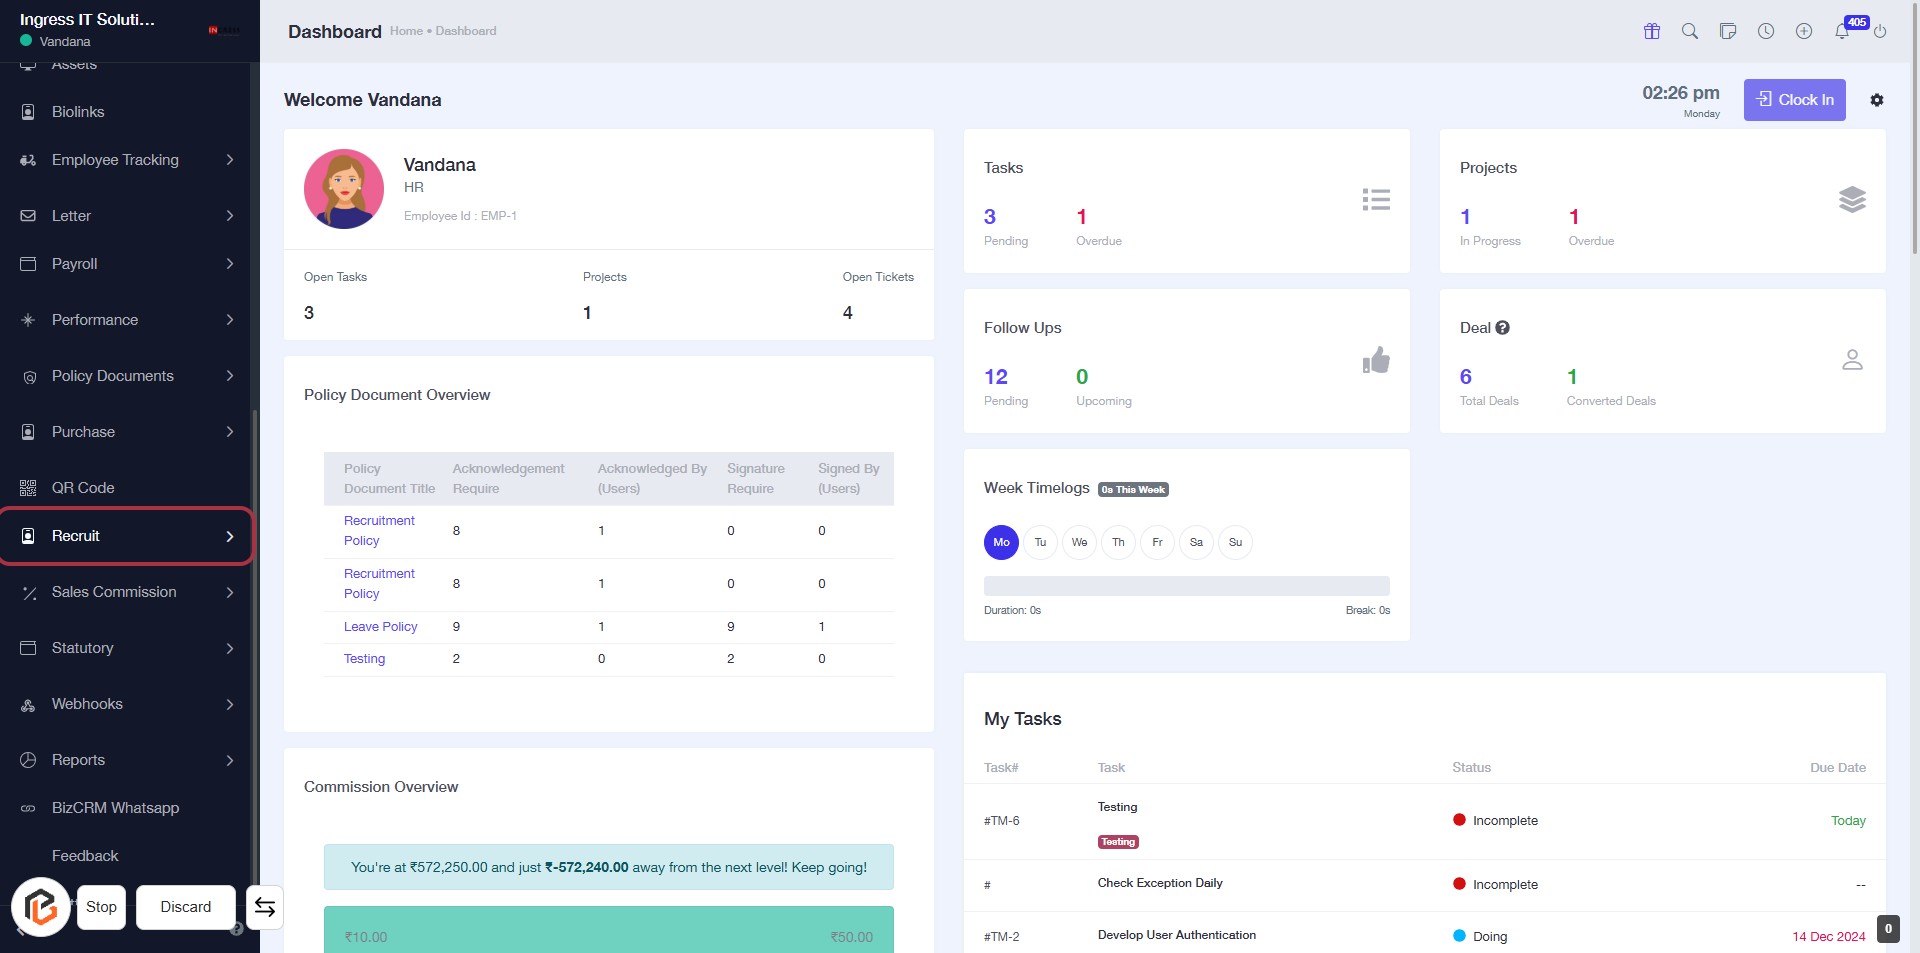
STEP 1: Click on "Recruit" to Access Recruitment Features
- Navigate to the left sidebar of the dashboard.
- Locate and click on the "Recruit" option highlighted in red.
- This action will direct you to the recruitment section for further options.
- Ensure to check for any additional prompts or information that may appear after clicking.
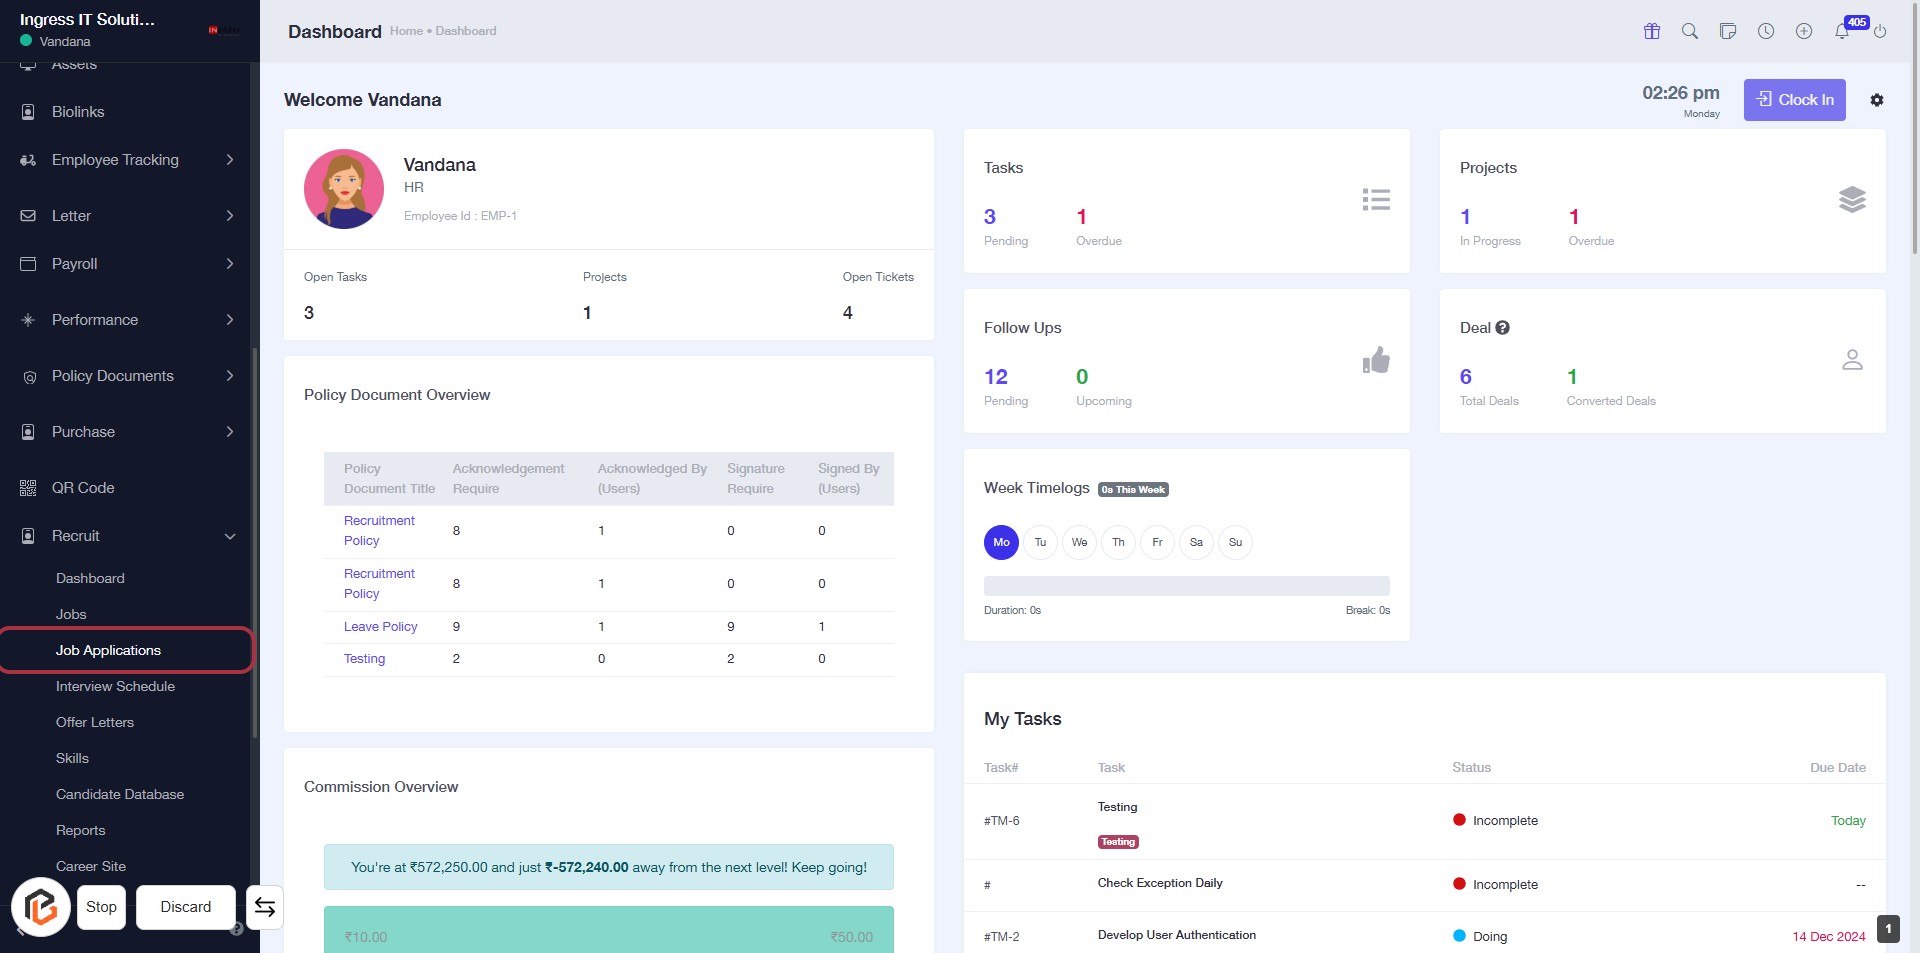
STEP 2: Click on "Job Applications" to Access Job Management
- Navigate to the left sidebar and locate the "Job Applications" link.
- Click on the "Job Applications" link to view the job application management section.
- Ensure you have the necessary permissions to access this feature.
- After clicking, you will be directed to the job applications overview page.
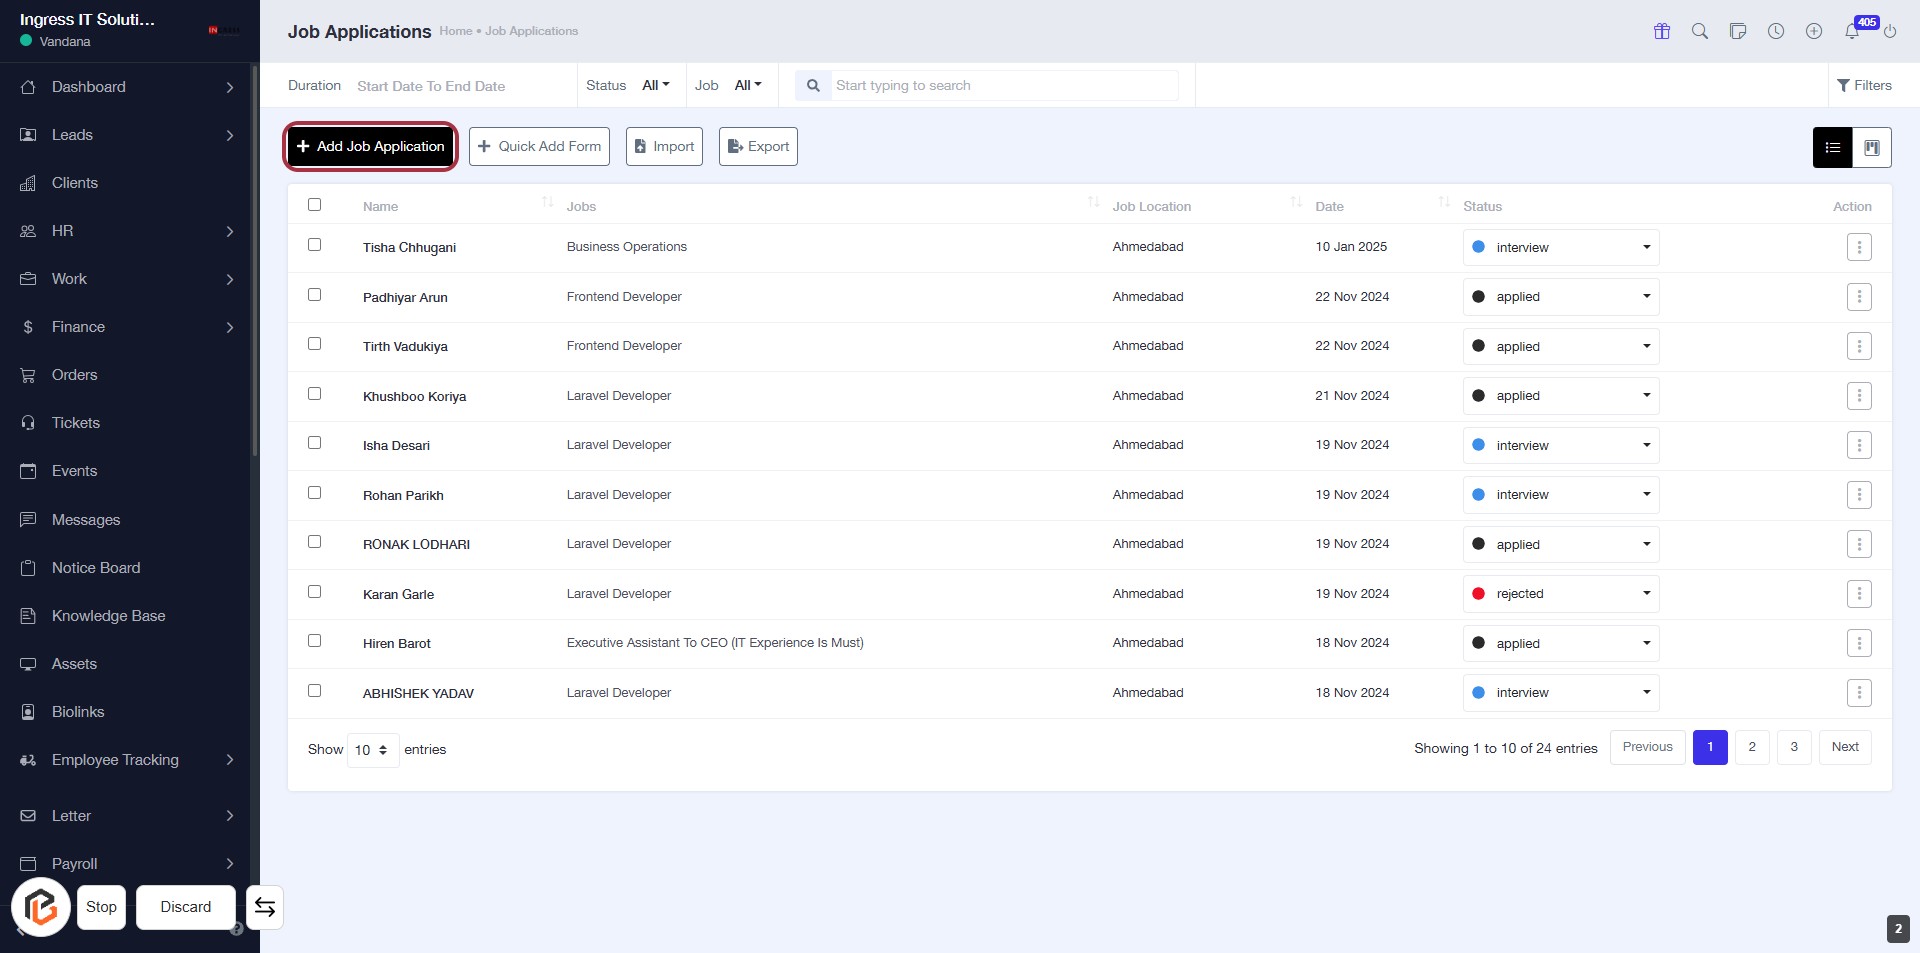
STEP 3: Click on "Add Job Application"
- Navigate to the "Job Applications" section.
- Click on the Add Job Application button highlighted in red.
- Ensure to fill in all required fields marked with an asterisk (*) in the subsequent form.
- Review any optional fields to enhance your application details.
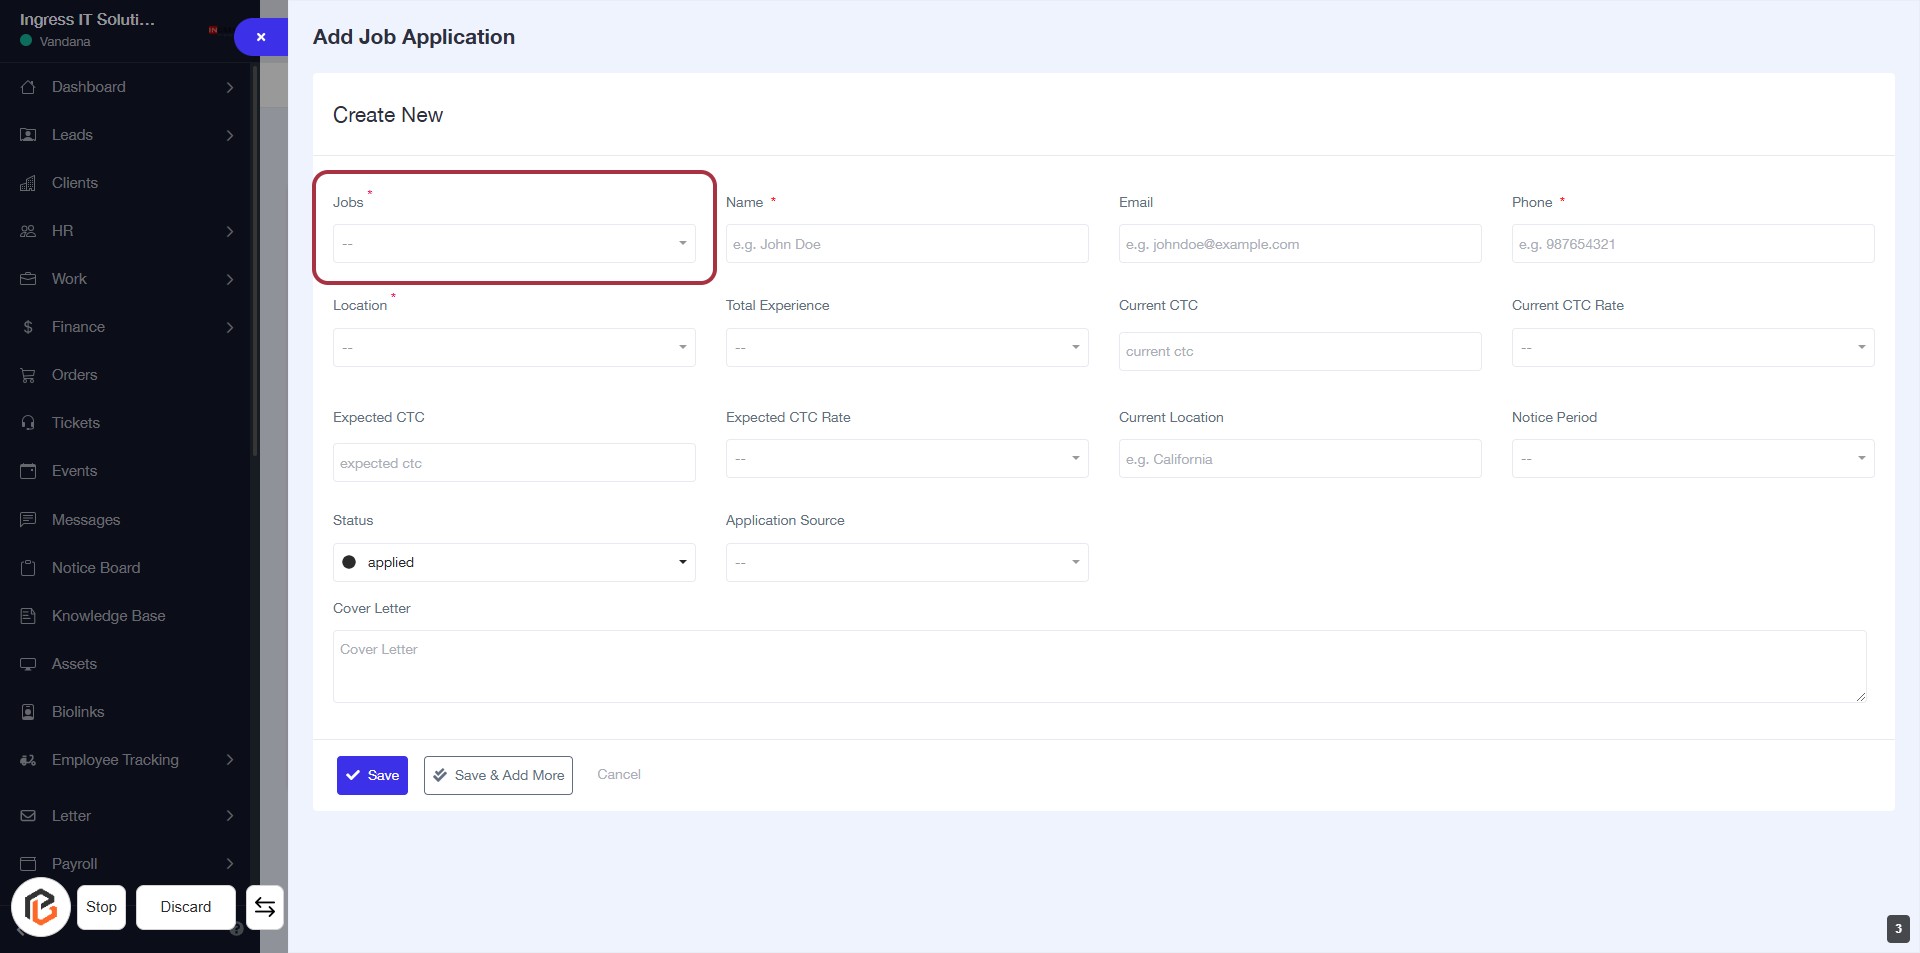
STEP 4: Select "Jobs"
- Click on the "Jobs" dropdown in the form.
- Choose the relevant job position from the list.
- Ensure that the field is marked with an asterisk (*) indicating it is required.
- Proceed to the next step by selecting "Name" after filling this field.
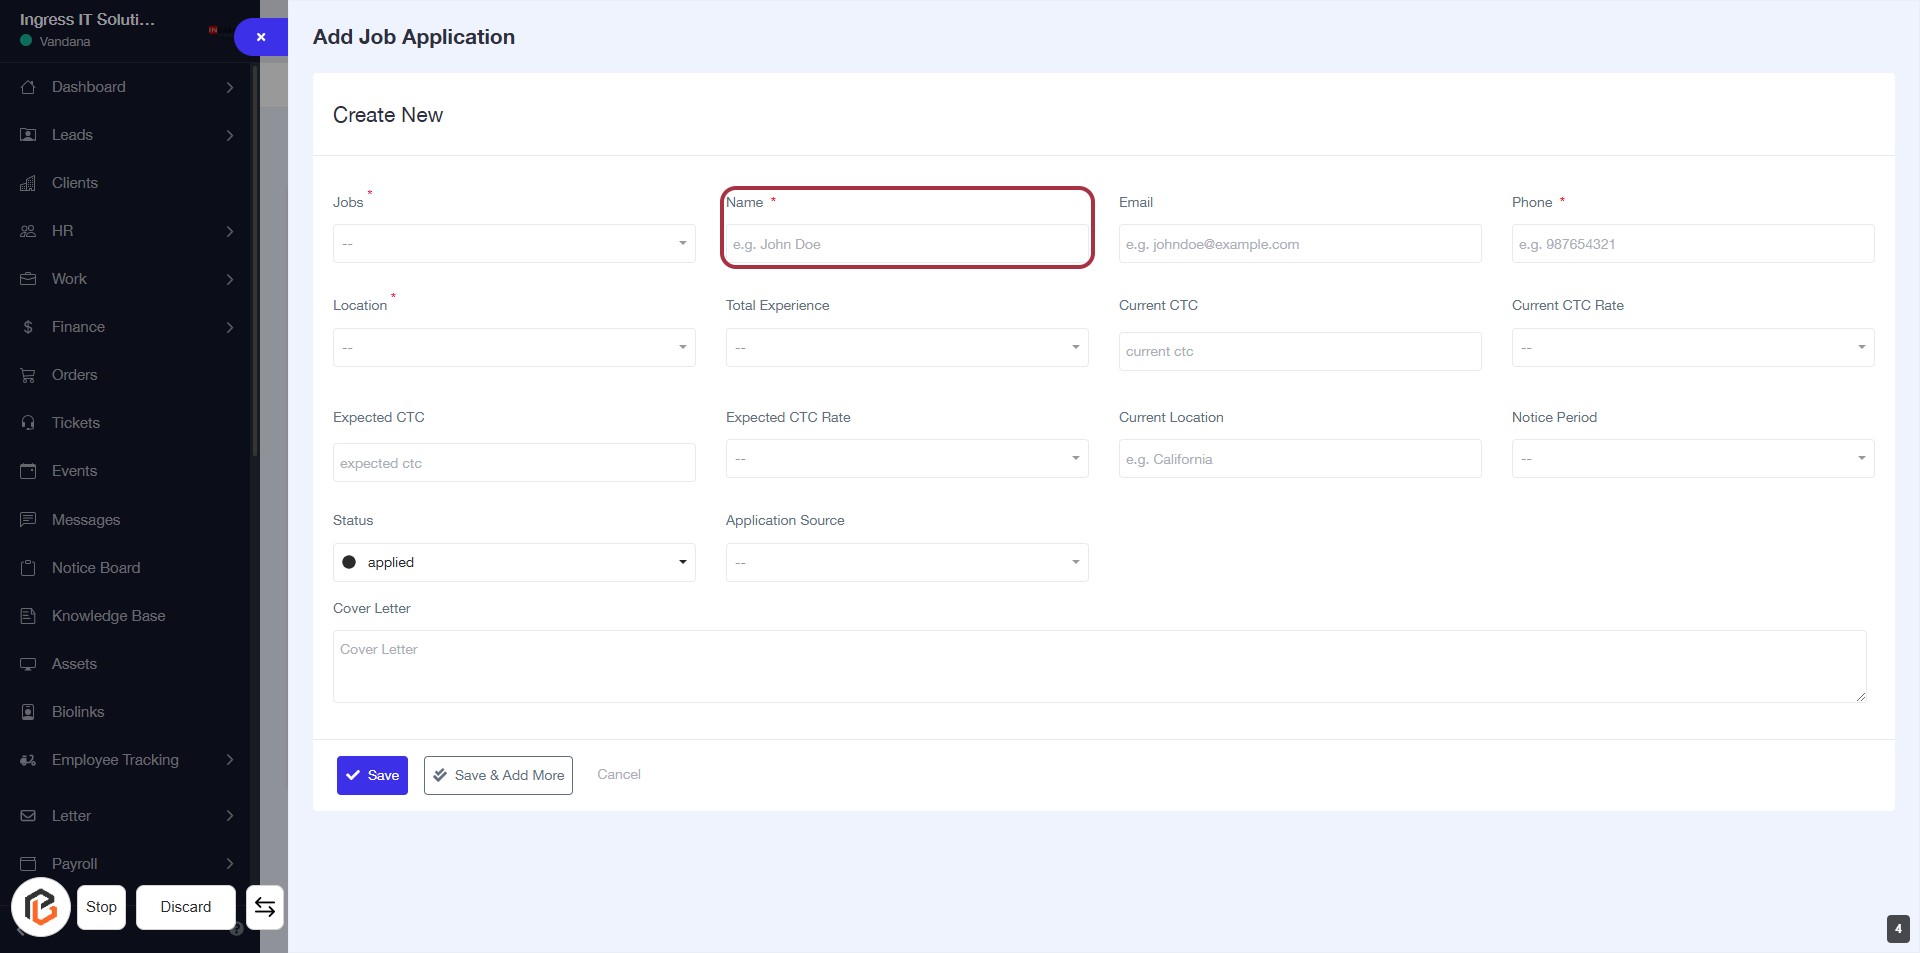
STEP 5: Select "Name"
- Click on the "Name" field (marked with an asterisk) to enter the applicant's name.
- Ensure to provide a valid name as this field is mandatory.
- The format example is provided as "e.g. John Doe".
- Proceed to the next step to enter the "Email".
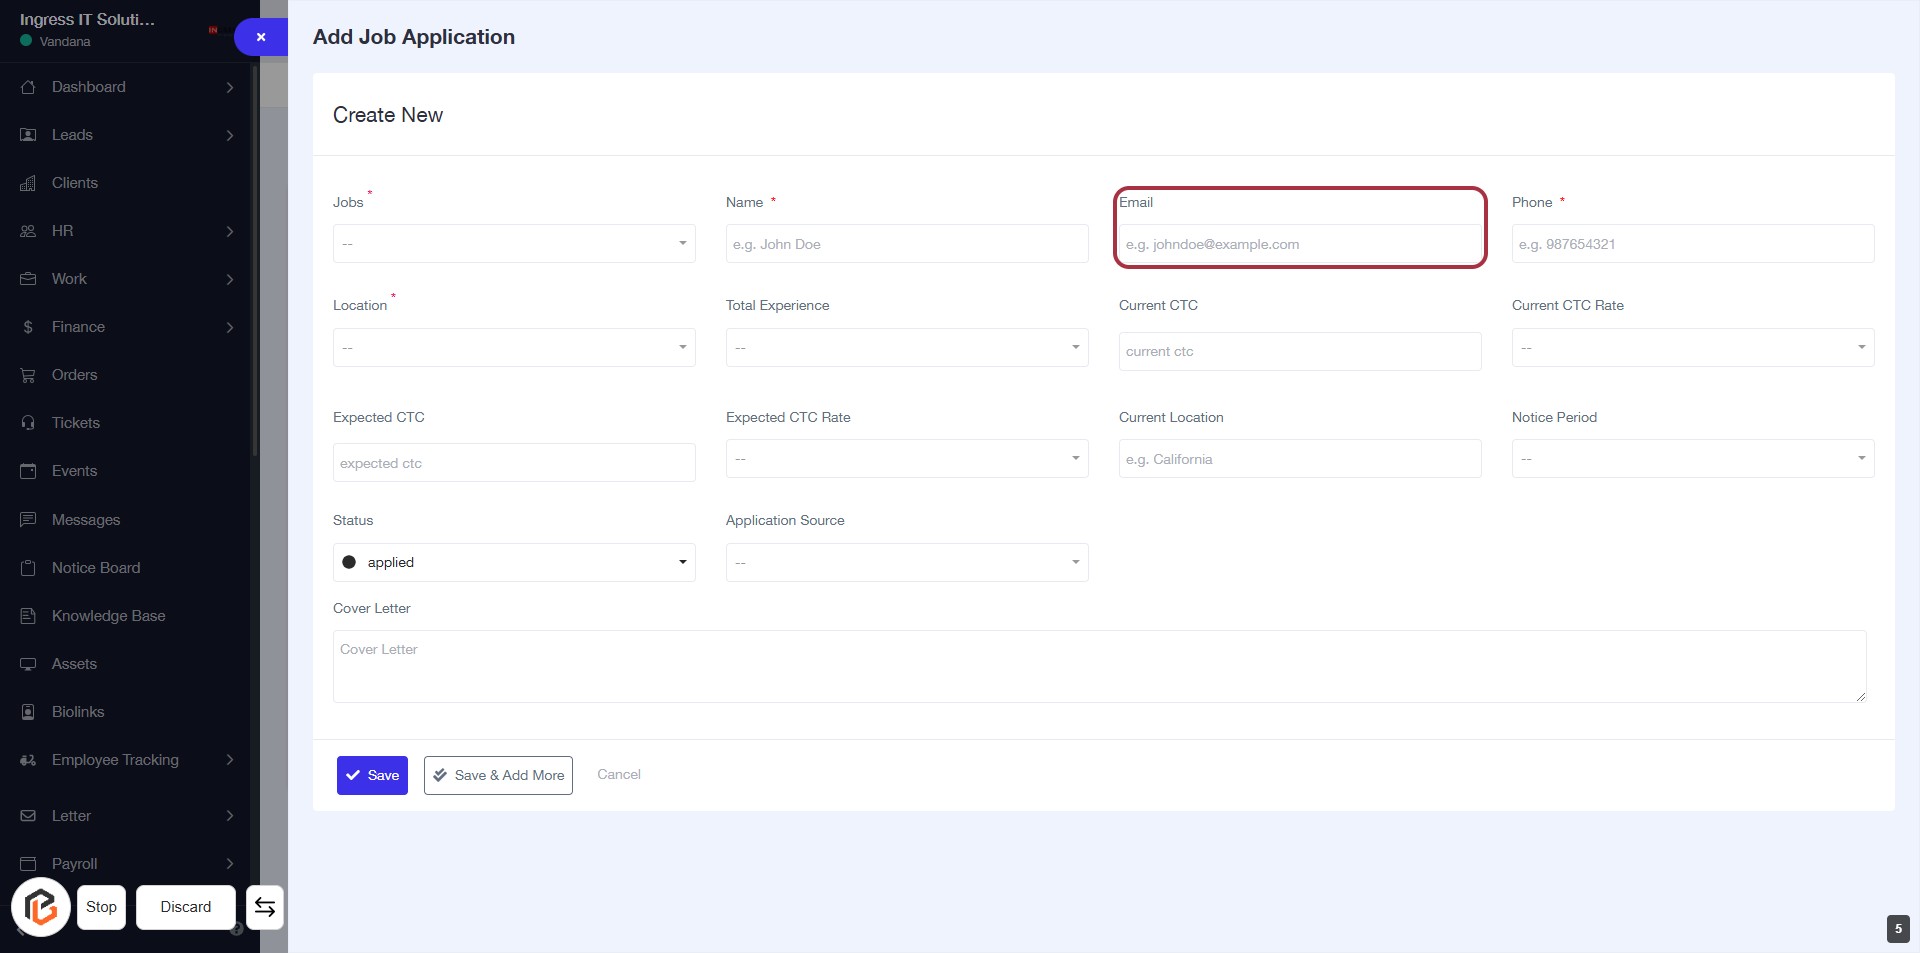
STEP 6: Enter "Email"
- Click on the "Email" field to input your email address.
- Ensure the email format is correct (e.g., johndoe@example.com).
- This field is mandatory, indicated by the asterisk (*).
- After entering, proceed to the next step by filling in the "Phone" field.
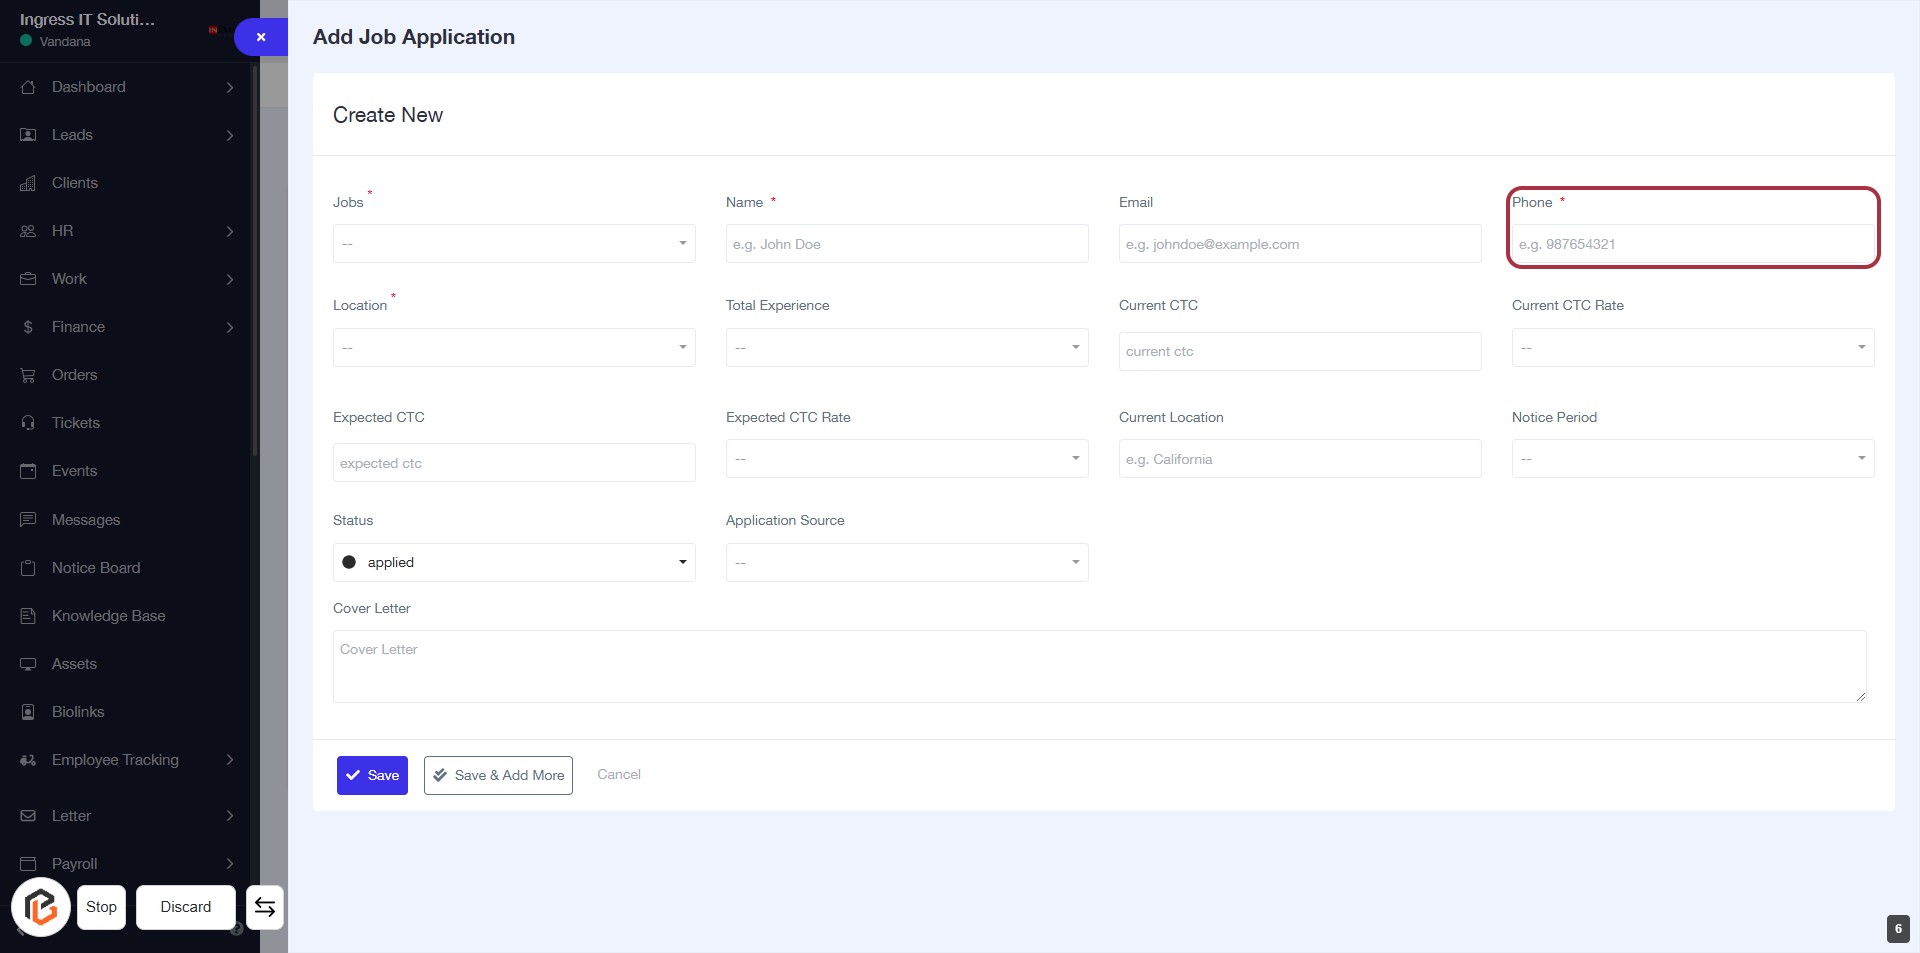
STEP 7: Enter "Phone"
- Click on the highlighted area labeled "Phone" to input your phone number.
- Ensure to fill in the required field marked with an asterisk (*).
- The format for the phone number is suggested as "e.g. 887654321".
- After entering the phone number, proceed to the next step by entering your "Location".
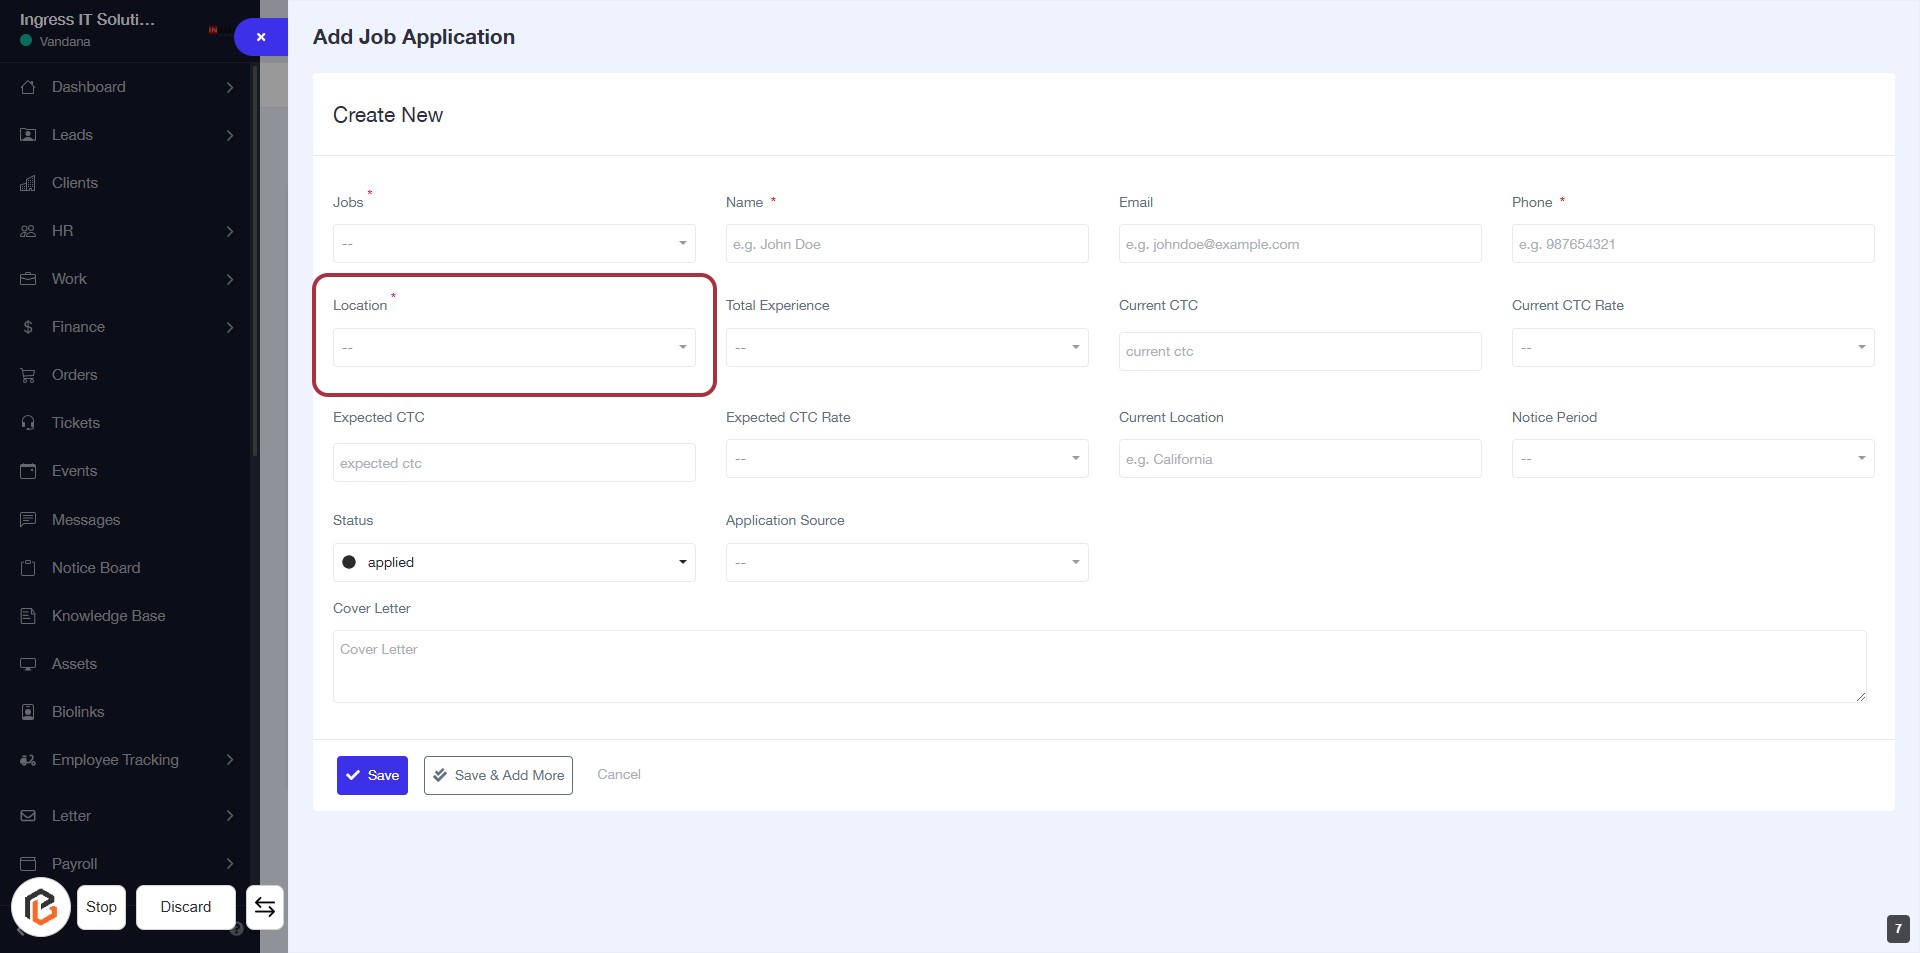
STEP 8: Enter "Location"
- Click on the "Location" field (marked with an asterisk * for required input).
- Select the appropriate location from the dropdown menu.
- Ensure all required fields are filled before proceeding.
- After entering the location, continue to the next step by selecting "Total Experience."
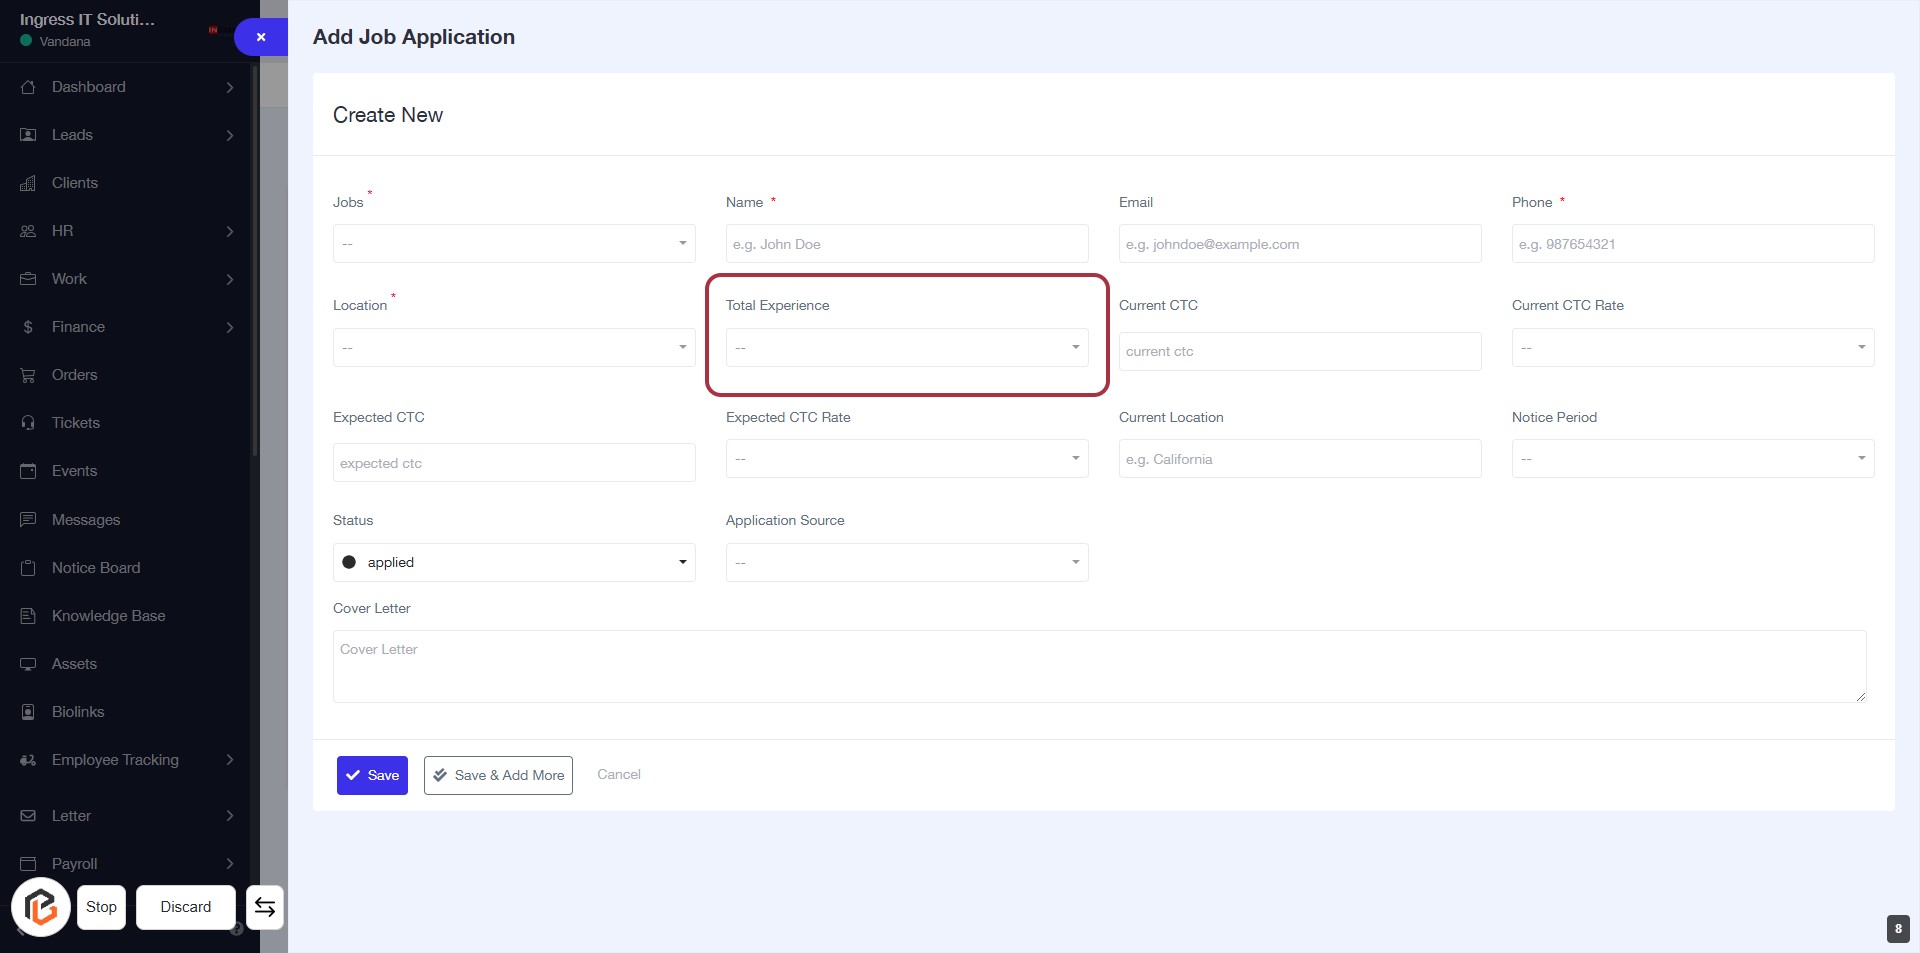
STEP 9: Select "Total Experience"
- Click on the "Total Experience" field highlighted in red.
- Ensure to select the appropriate experience level from the dropdown options.
- This field is essential for providing your work experience details.
- After selection, proceed to the next step to enter "Current CTC".
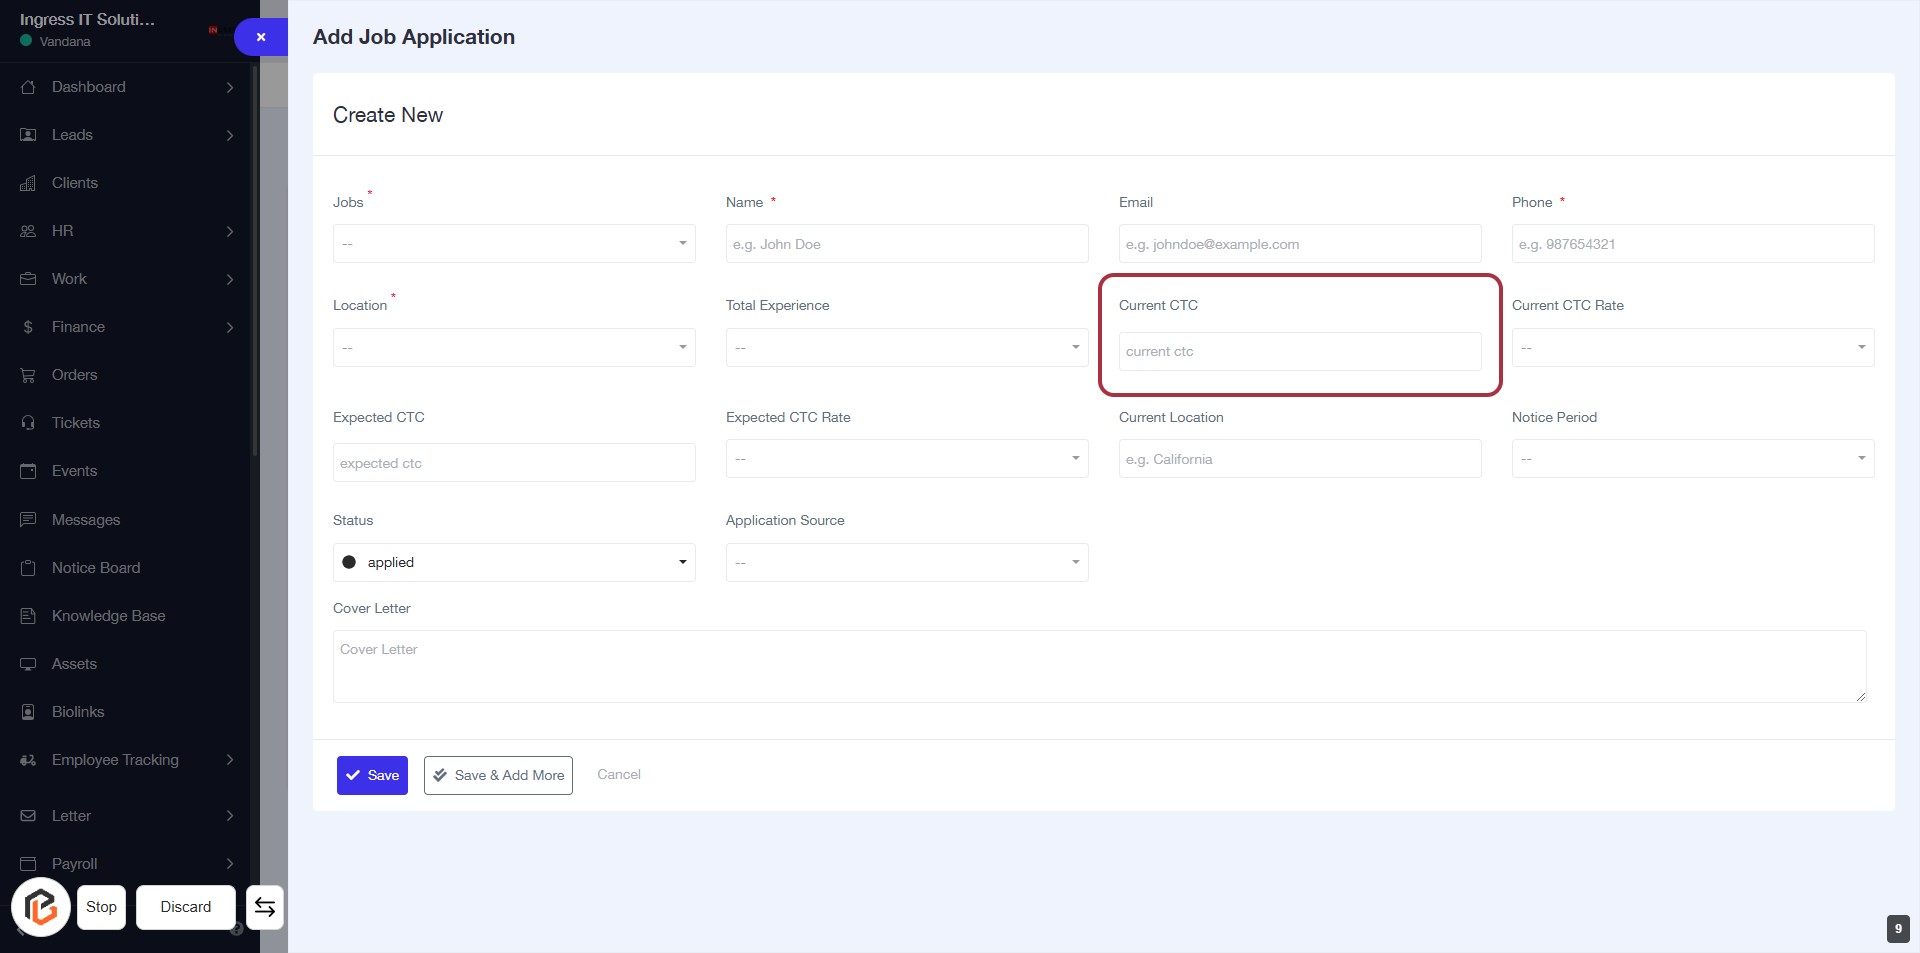
STEP 10: Enter "Current CTC"
- Click on the "Current CTC" field in the form.
- Input your current cost to company (CTC) amount.
- Ensure all required fields marked with an asterisk (*) are filled out.
- Review your entry for accuracy before proceeding to the next step.
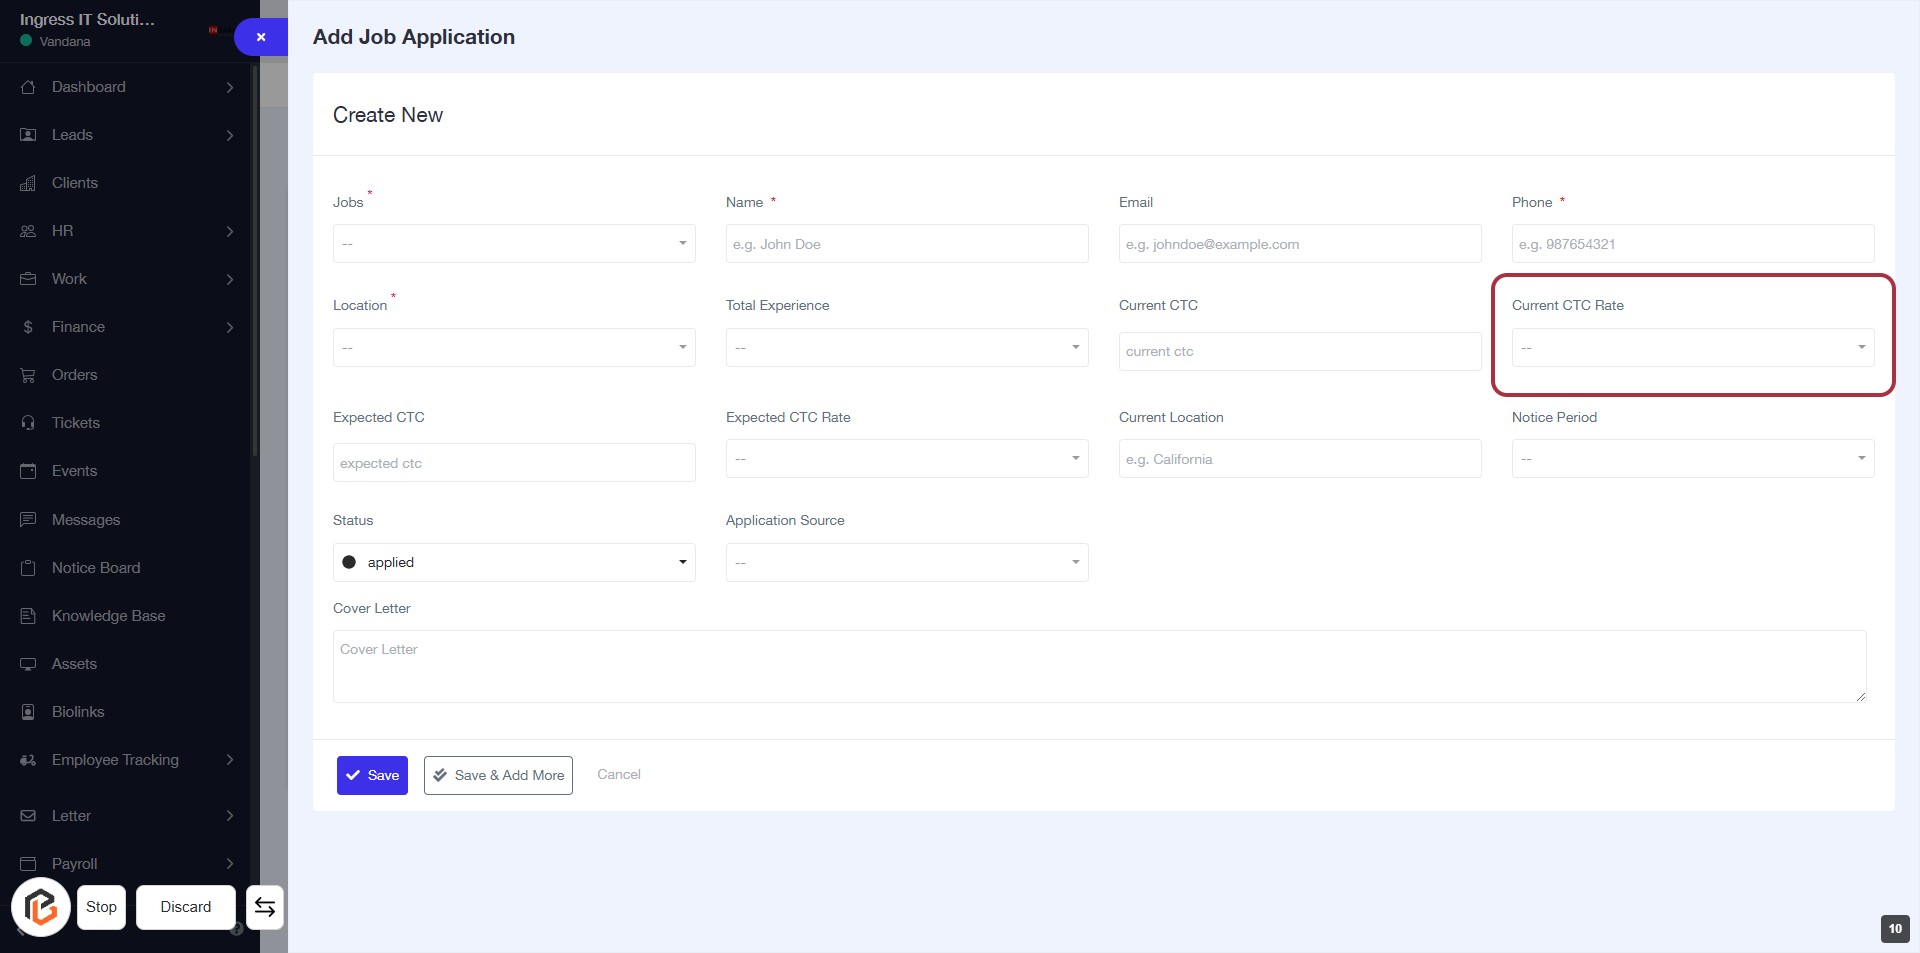
STEP 11: Select "Current CTC Rate"
- Click on the "Current CTC Rate" dropdown to view options.
- Ensure to select a value from the dropdown list.
- This field is mandatory, indicated by the asterisk (*).
- Review other fields to ensure all required information is filled before proceeding.
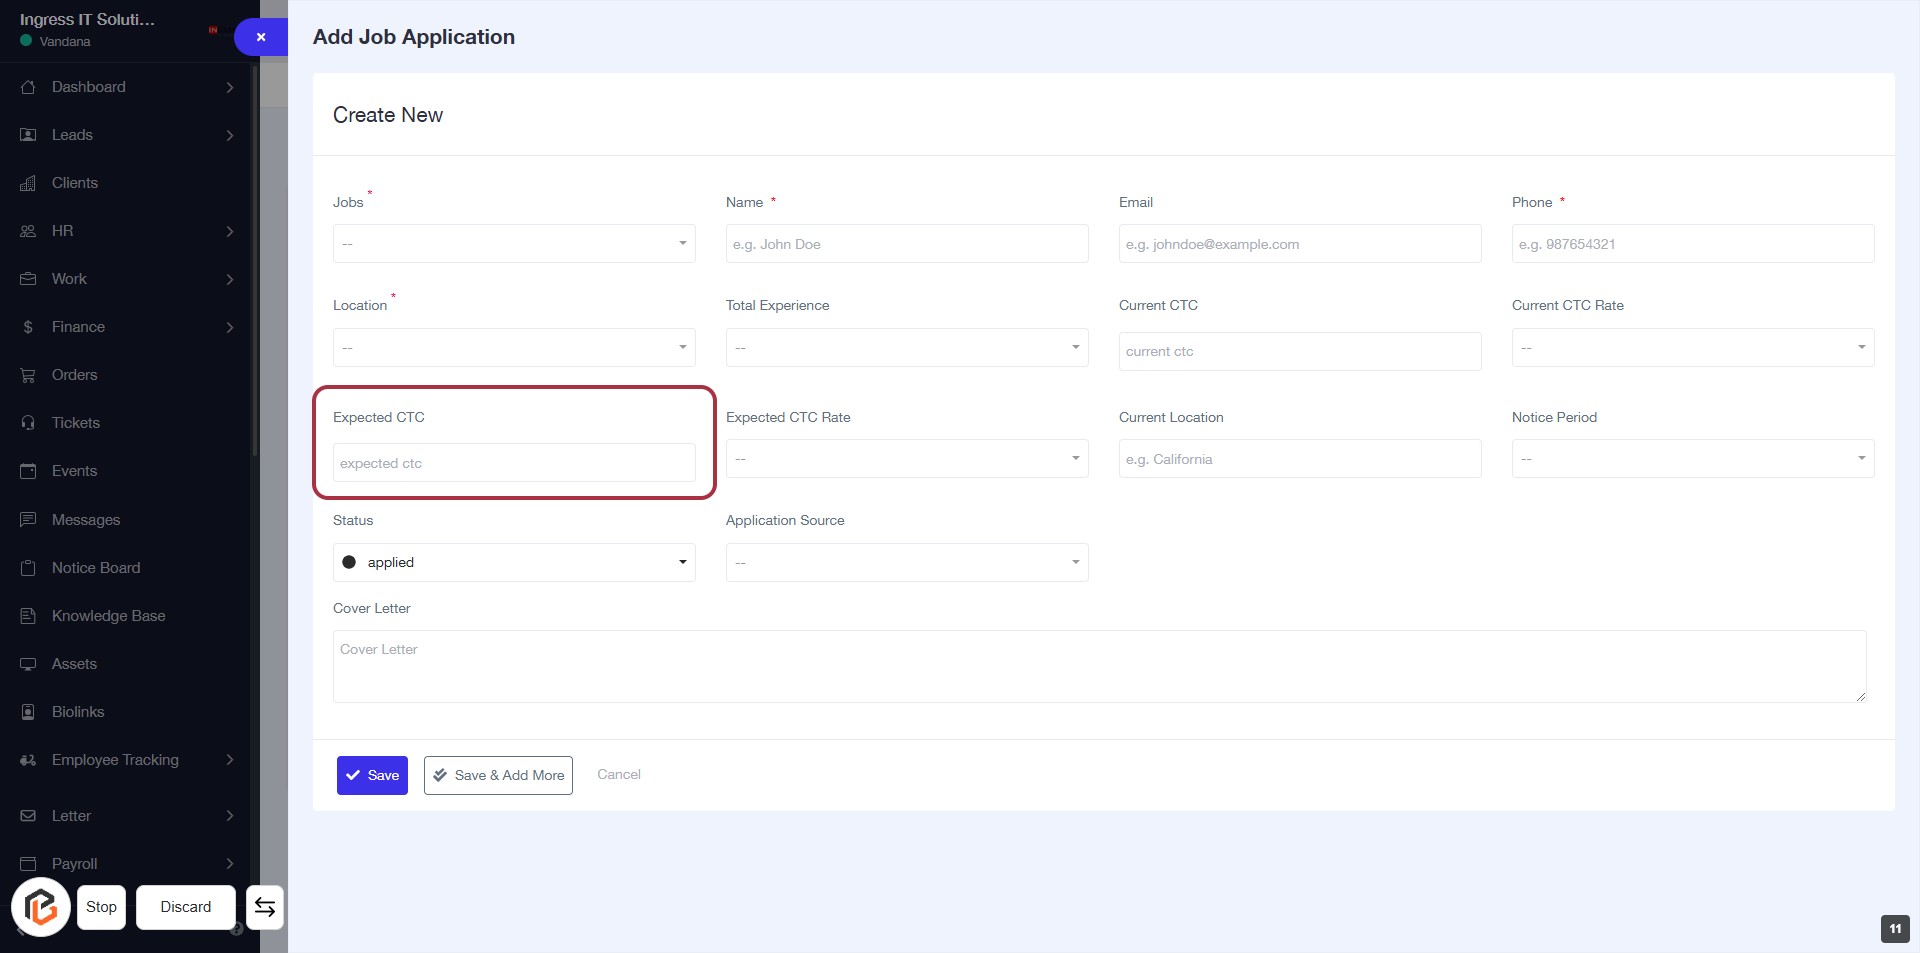
STEP 12: Enter "Expected CTC"
- Click on the "Expected CTC" field to input your desired compensation.
- Ensure to provide a numerical value as this is a required field.
- Review other fields such as "Status" and "Application Source" for completeness.
- Proceed to the next step by entering the "Expected CTC Rate."
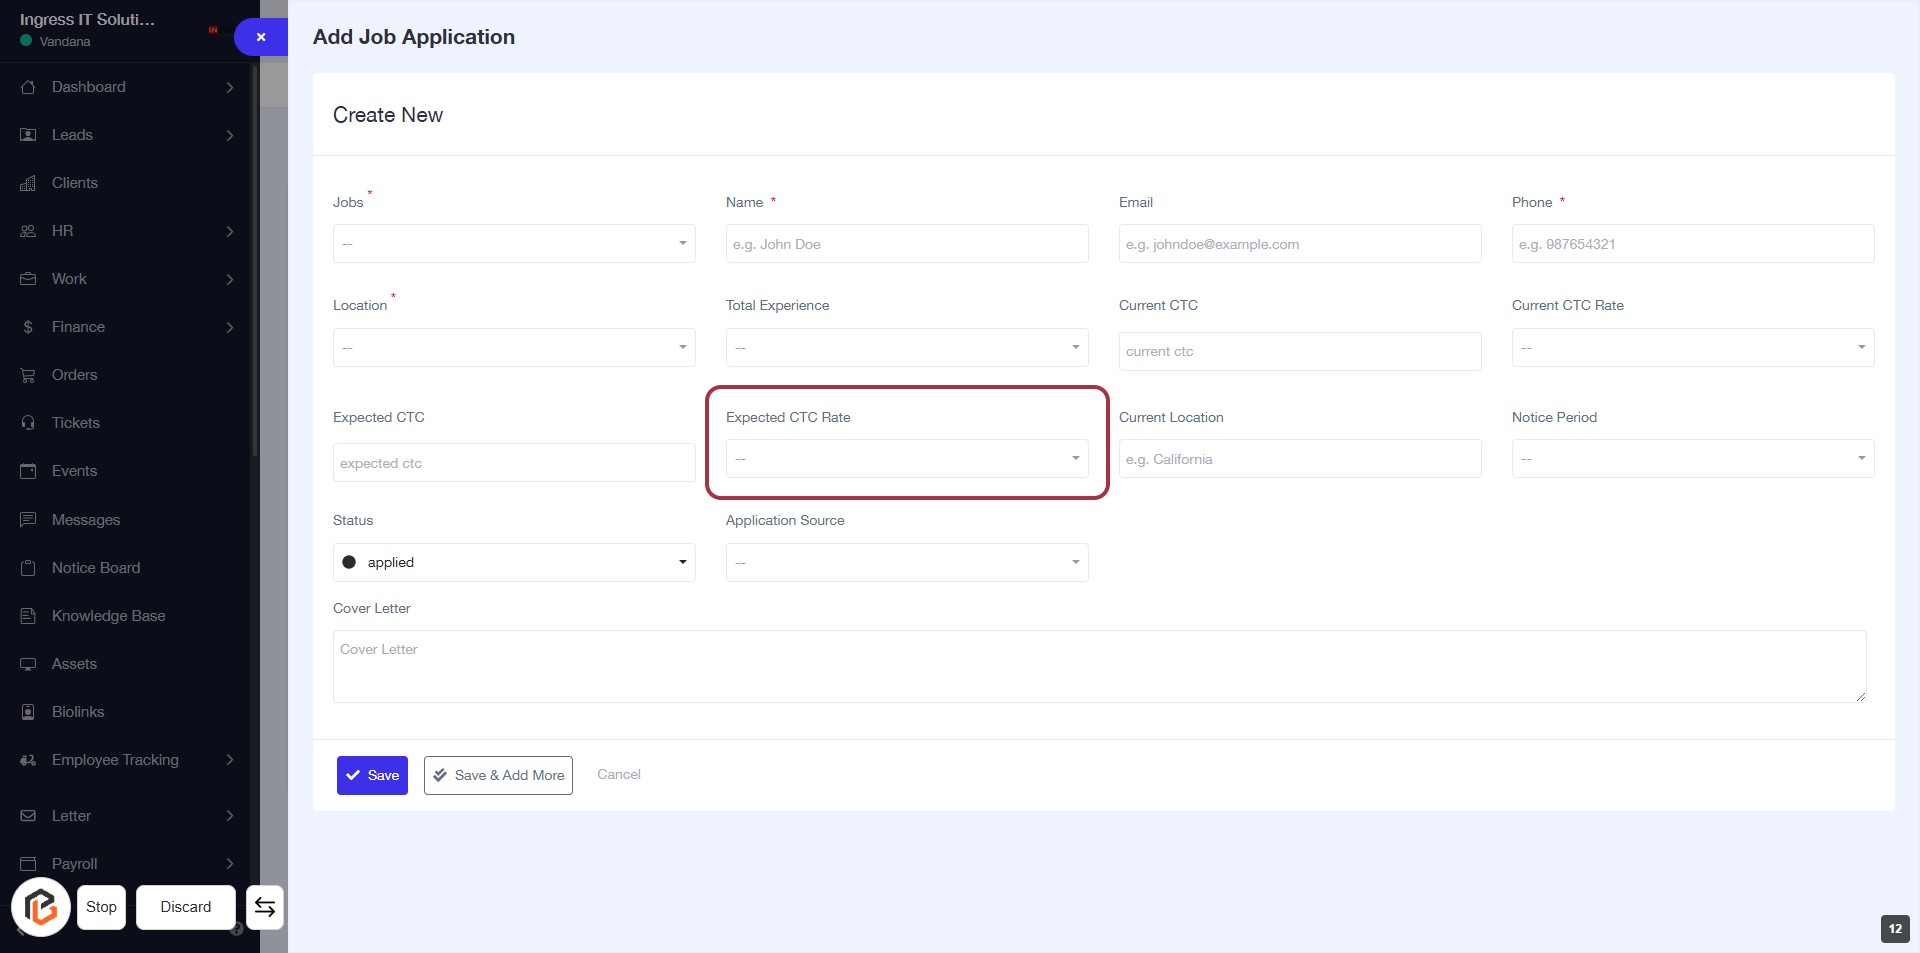
STEP 13: Click on "Expected CTC Rate"
- Locate the "Expected CTC Rate" field in the form.
- Click on the field to activate it for input.
- Enter the expected CTC amount as required.
- Ensure all mandatory fields marked with an asterisk (*) are filled out before proceeding.
- After entering, you can move to the next field, "Current Location."
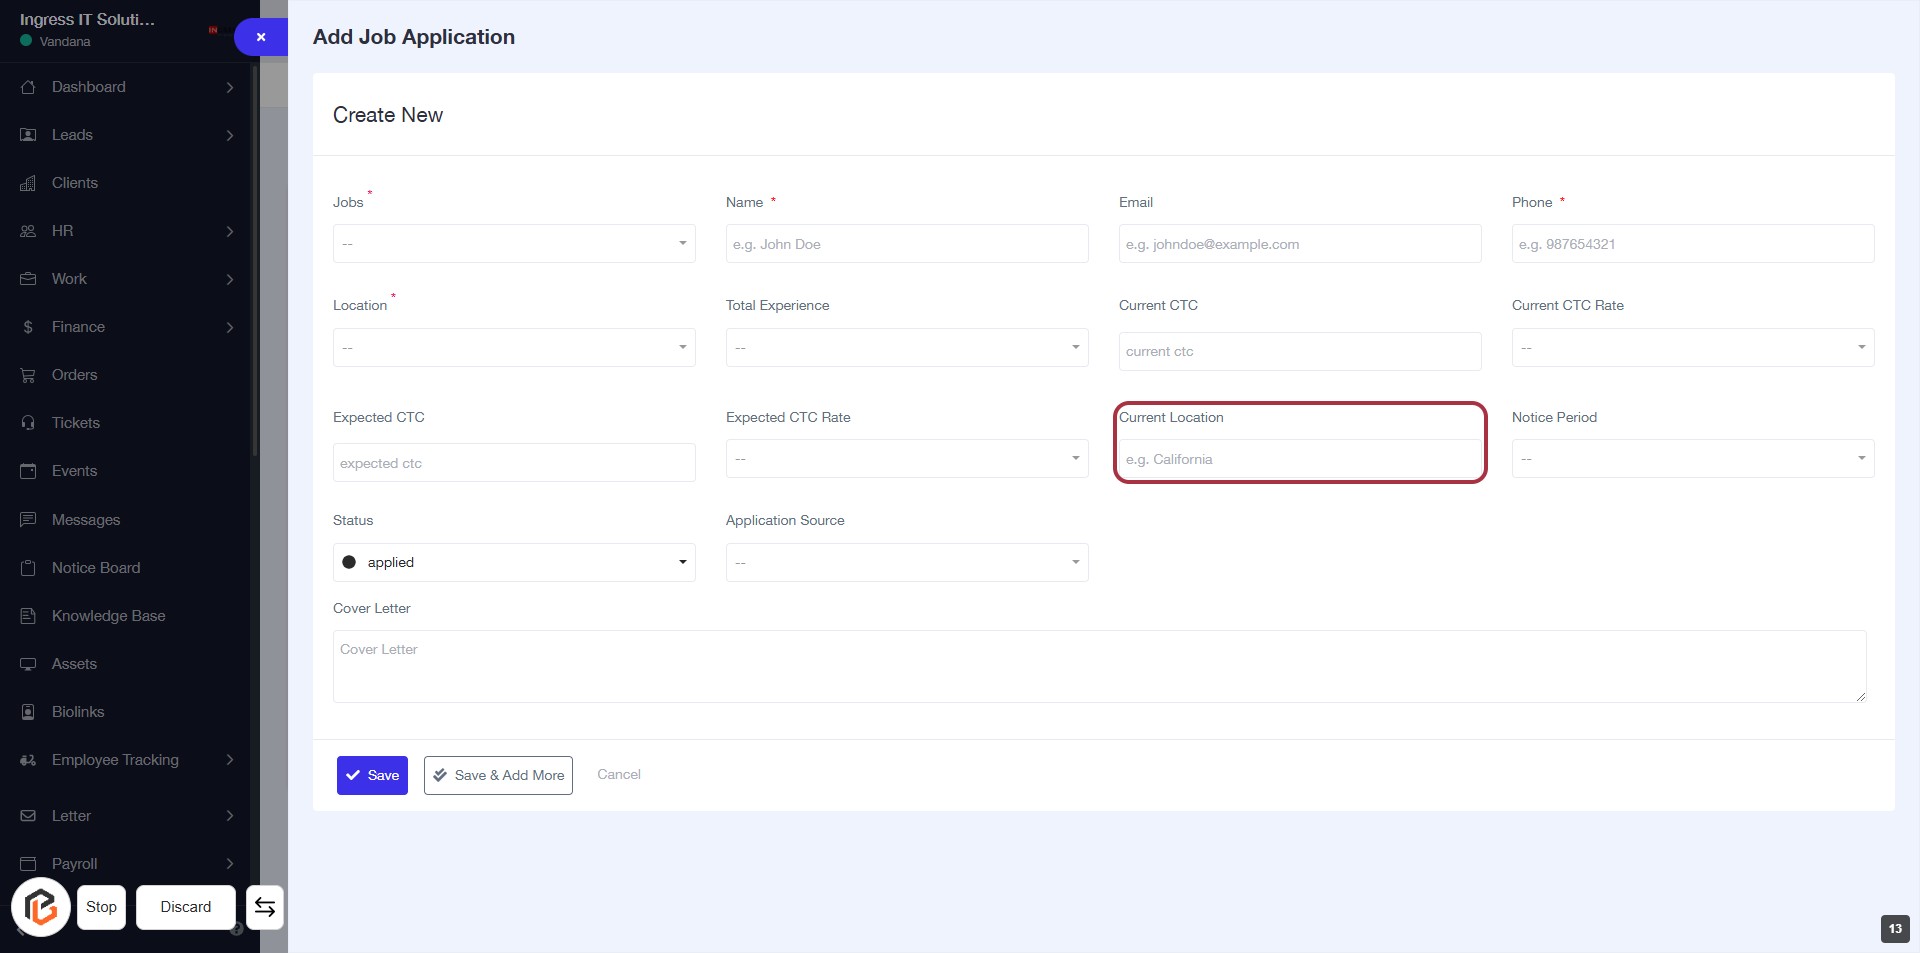
STEP 14: Enter Current Location
- Click on the "Current Location" field highlighted in red.
- Input your current location (e.g., California).
- Ensure the field is filled as it may be required (indicated by the asterisk).
- Proceed to the next step by clicking on "Notice Period."
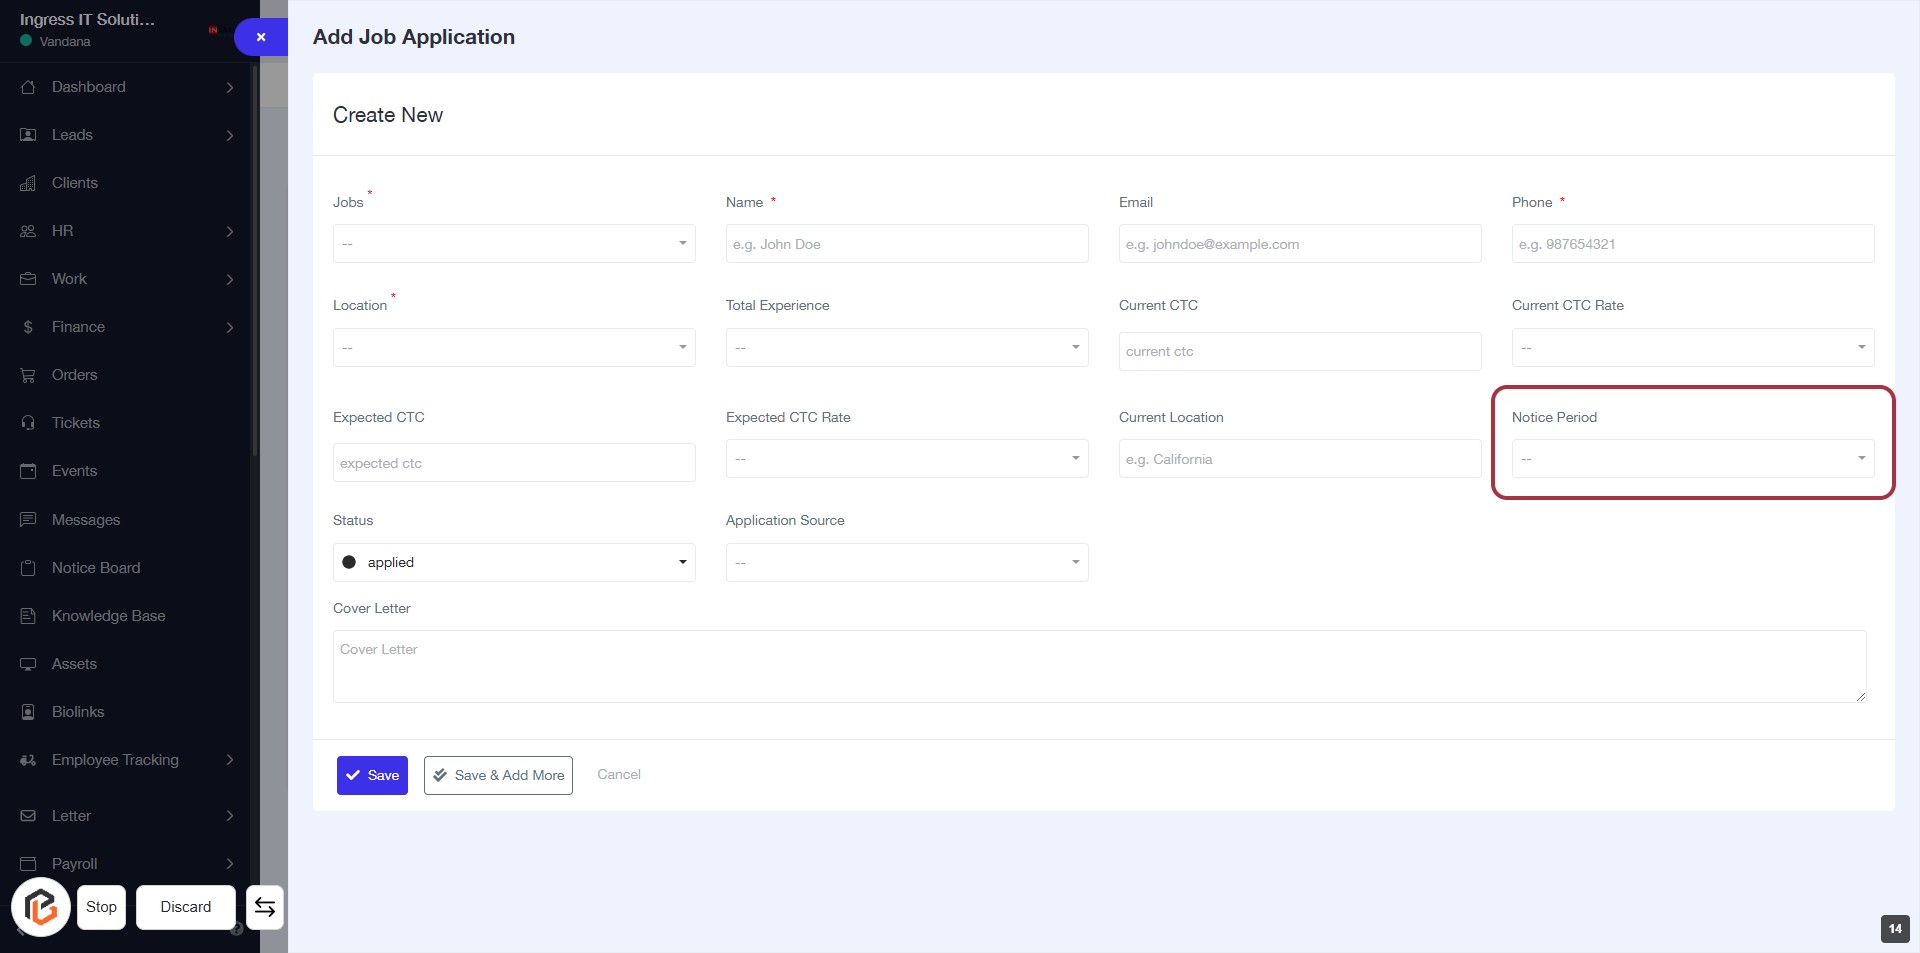
STEP 15: Click on "Notice Period"
- Locate the "Notice Period" field in the job application form.
- Click on the dropdown to view available options.
- Select the appropriate notice period from the list.
- Ensure all required fields marked with an asterisk (*) are filled out before proceeding.
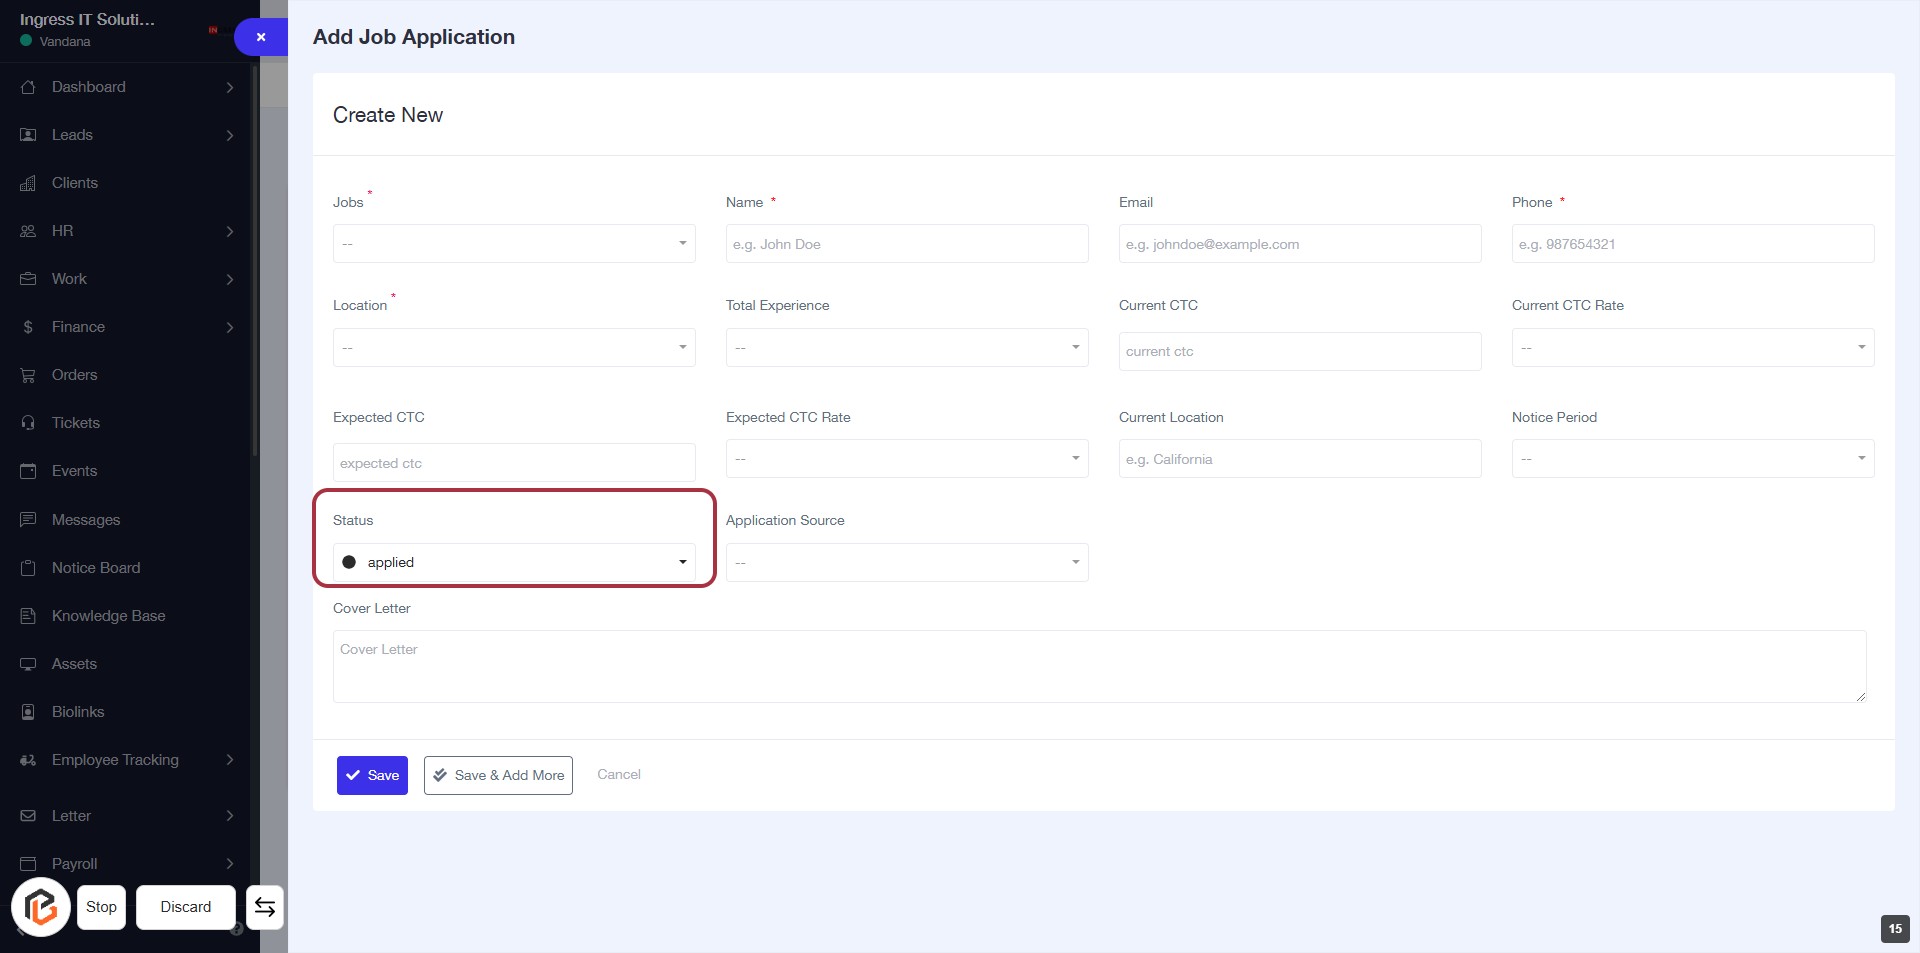
STEP 16: Select "Status"
- Click on the "Status" dropdown menu in the form.
- Choose the appropriate status from the options available (e.g., "applied").
- Ensure all required fields marked with an asterisk (*) are filled out.
- Proceed to the next step by selecting "Application Source."
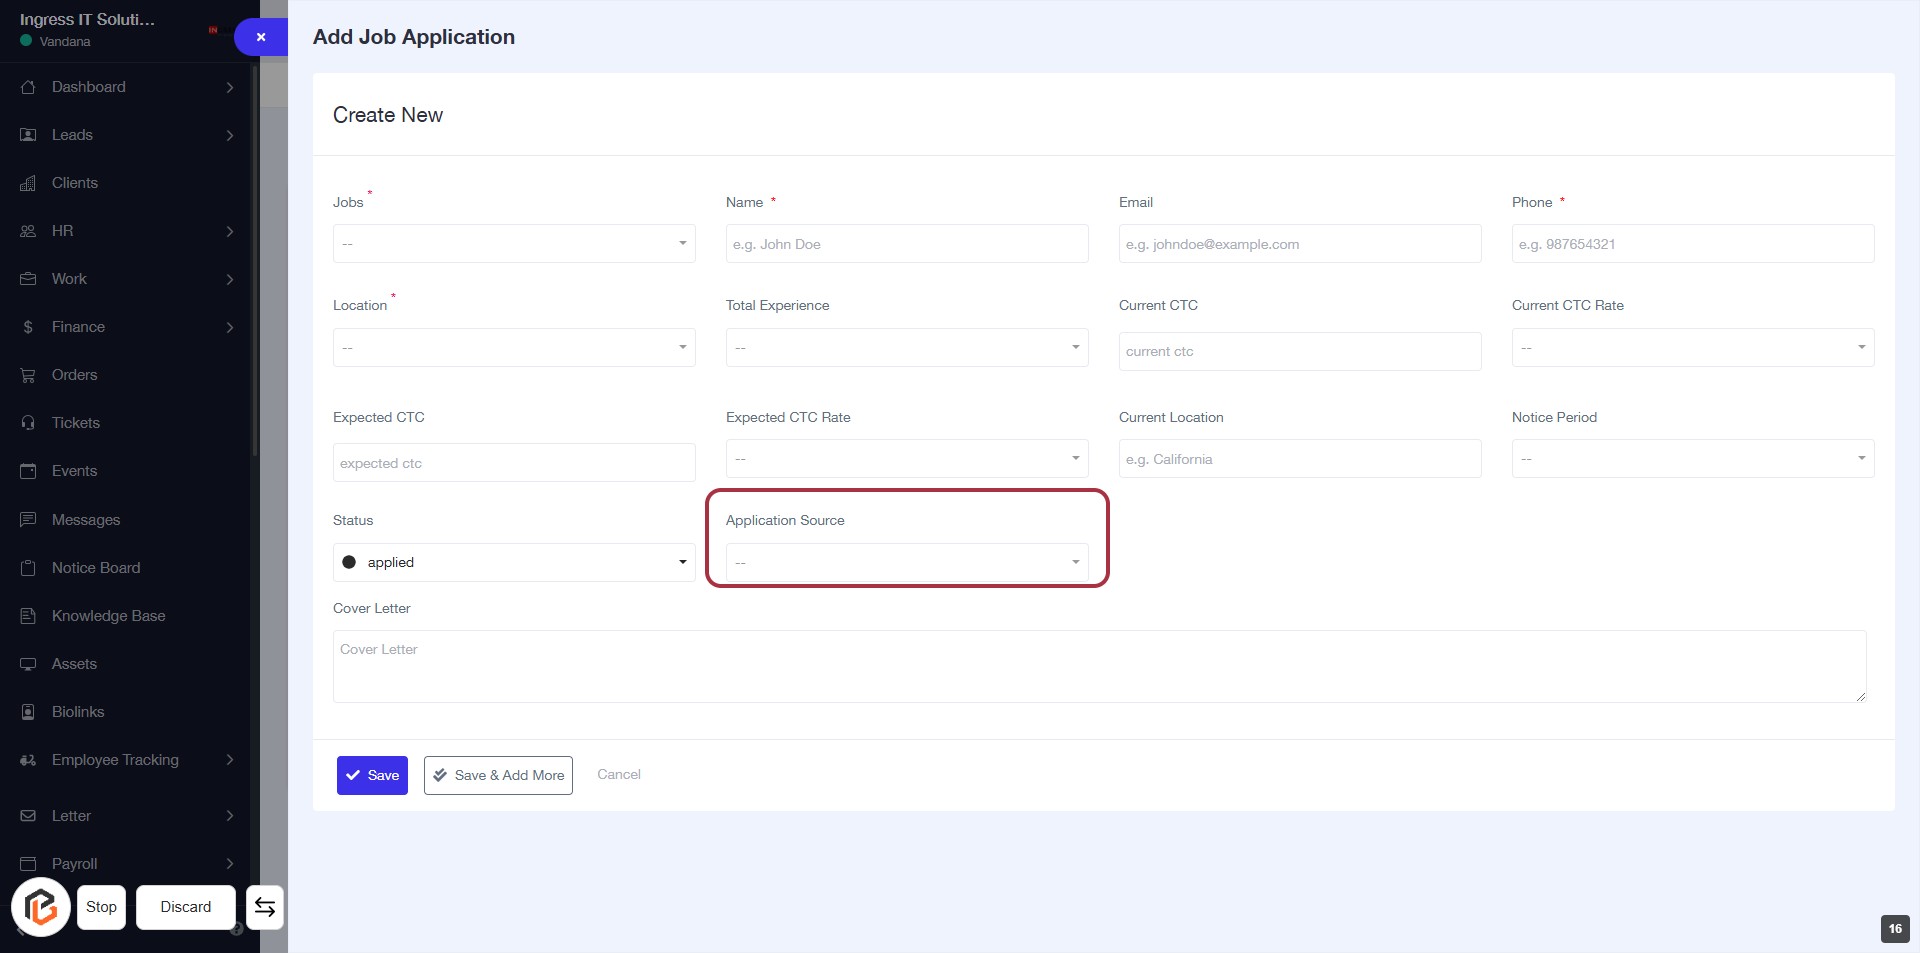
STEP 17: Select "Application Source"
- Click on the "Application Source" dropdown.
- Choose the appropriate source from the available options.
- Ensure all required fields marked with an asterisk (*) are filled out.
- Review your selections before proceeding to the next step.
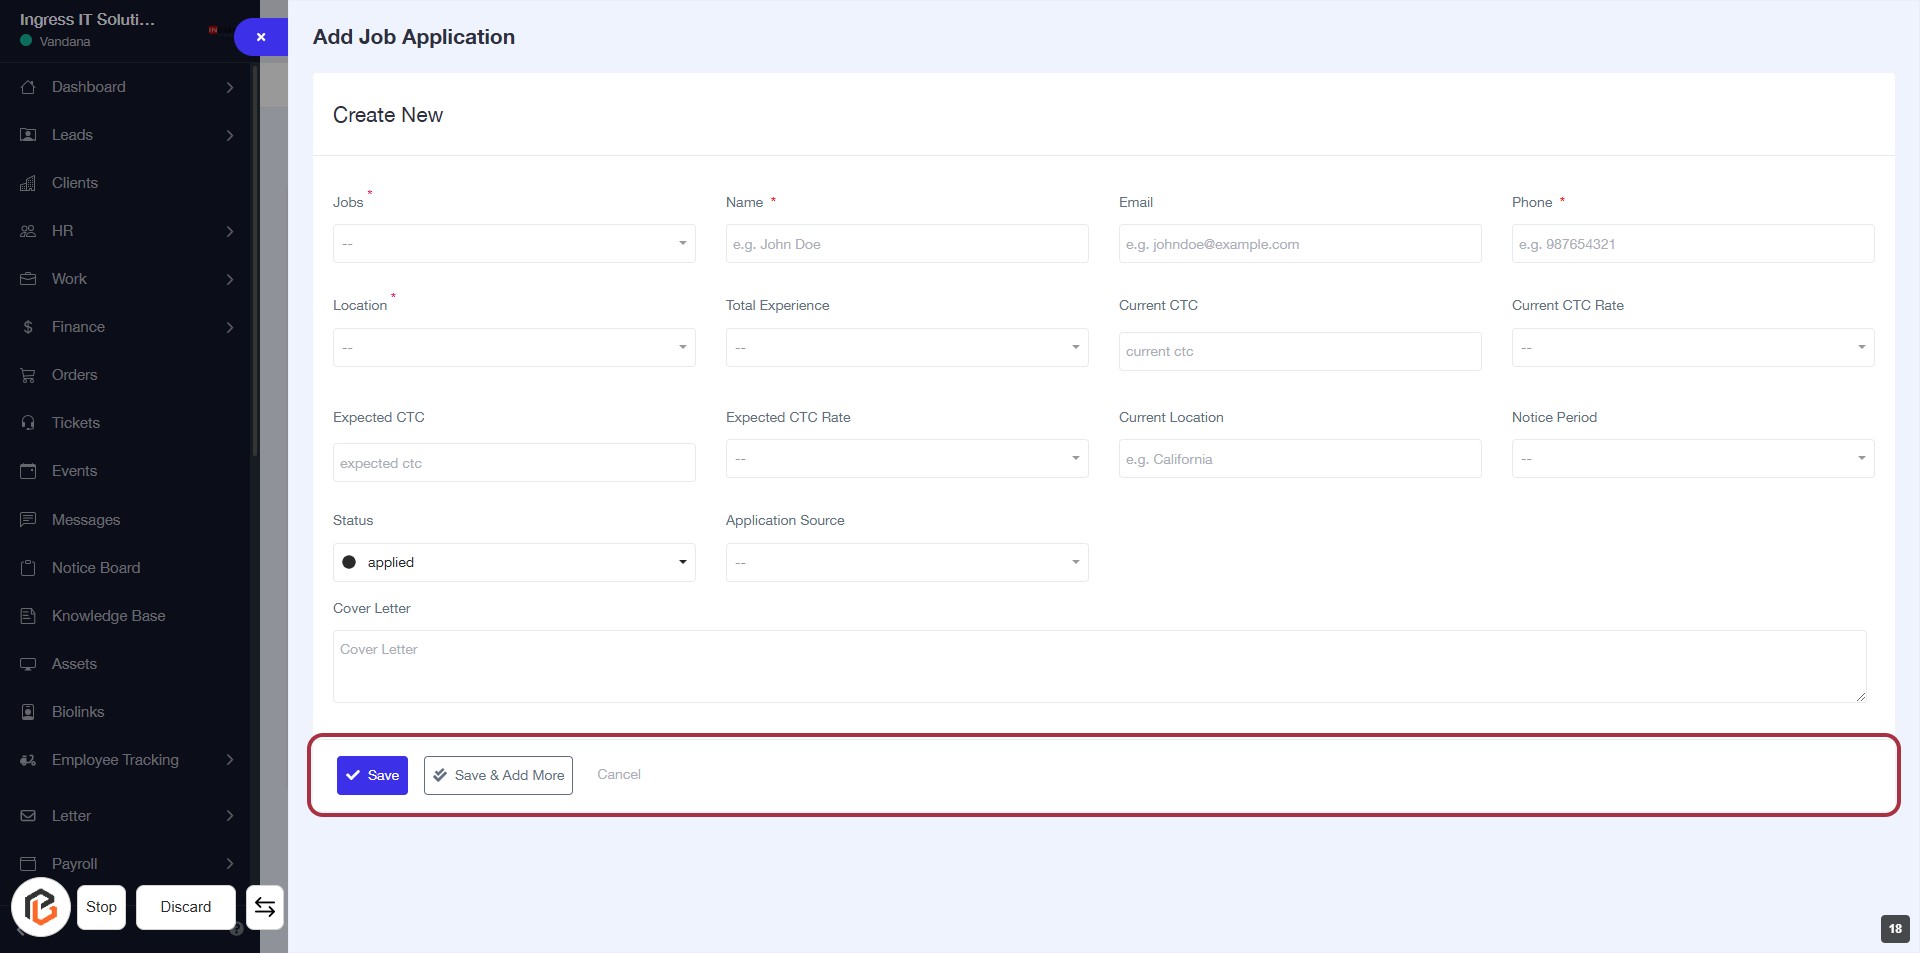
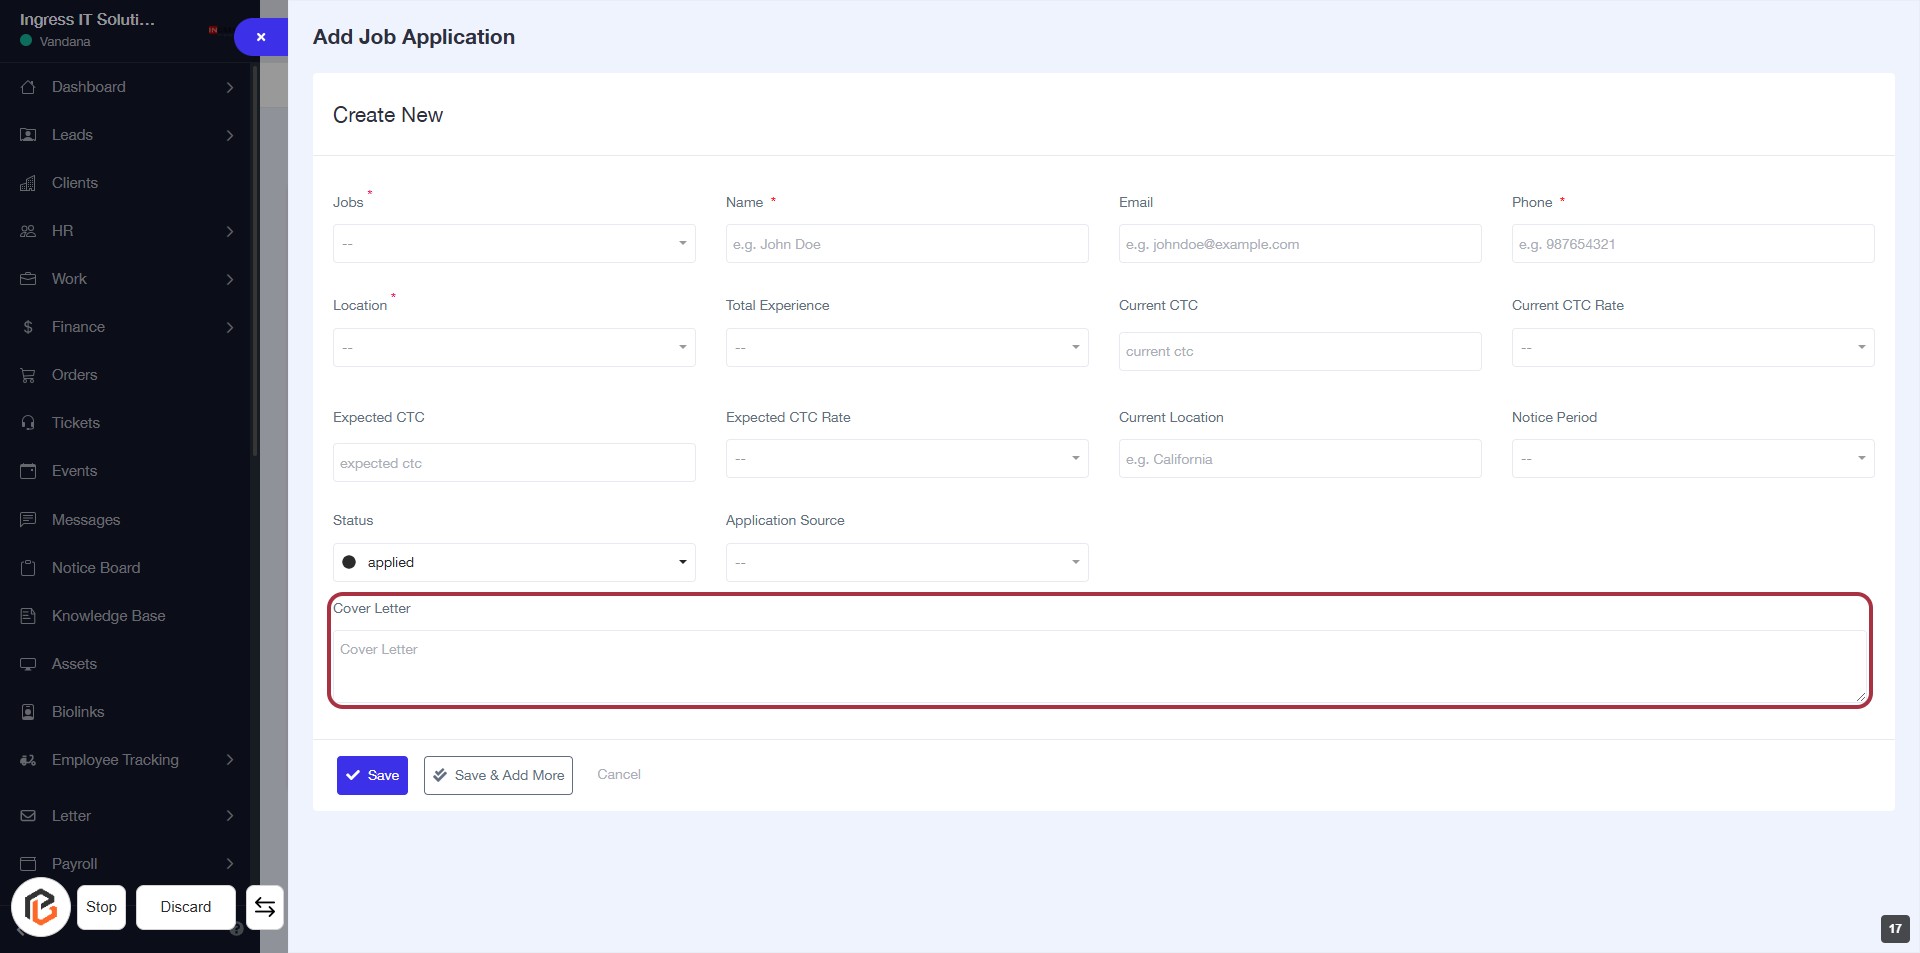
STEP 18: Click on "Cover Letter"
- Navigate to the "Cover Letter" section in the job application form.
- Click on the highlighted area to enter your cover letter details.
- Ensure all required fields marked with an asterisk (*) are filled out.
- Review your input before proceeding to the next step.
STEP 19: Click on "Save" to Submit Job Application
- Ensure all required fields marked with an asterisk (*) are filled out.
- Review the information entered in the form for accuracy.
- Click the Save button located at the bottom of the form to submit your job application.