Step-by-Step Guide to Navigate and Complete Job Applications on the Recruitment Dashboard
17 mins read · Updated 29 Sep, 2025
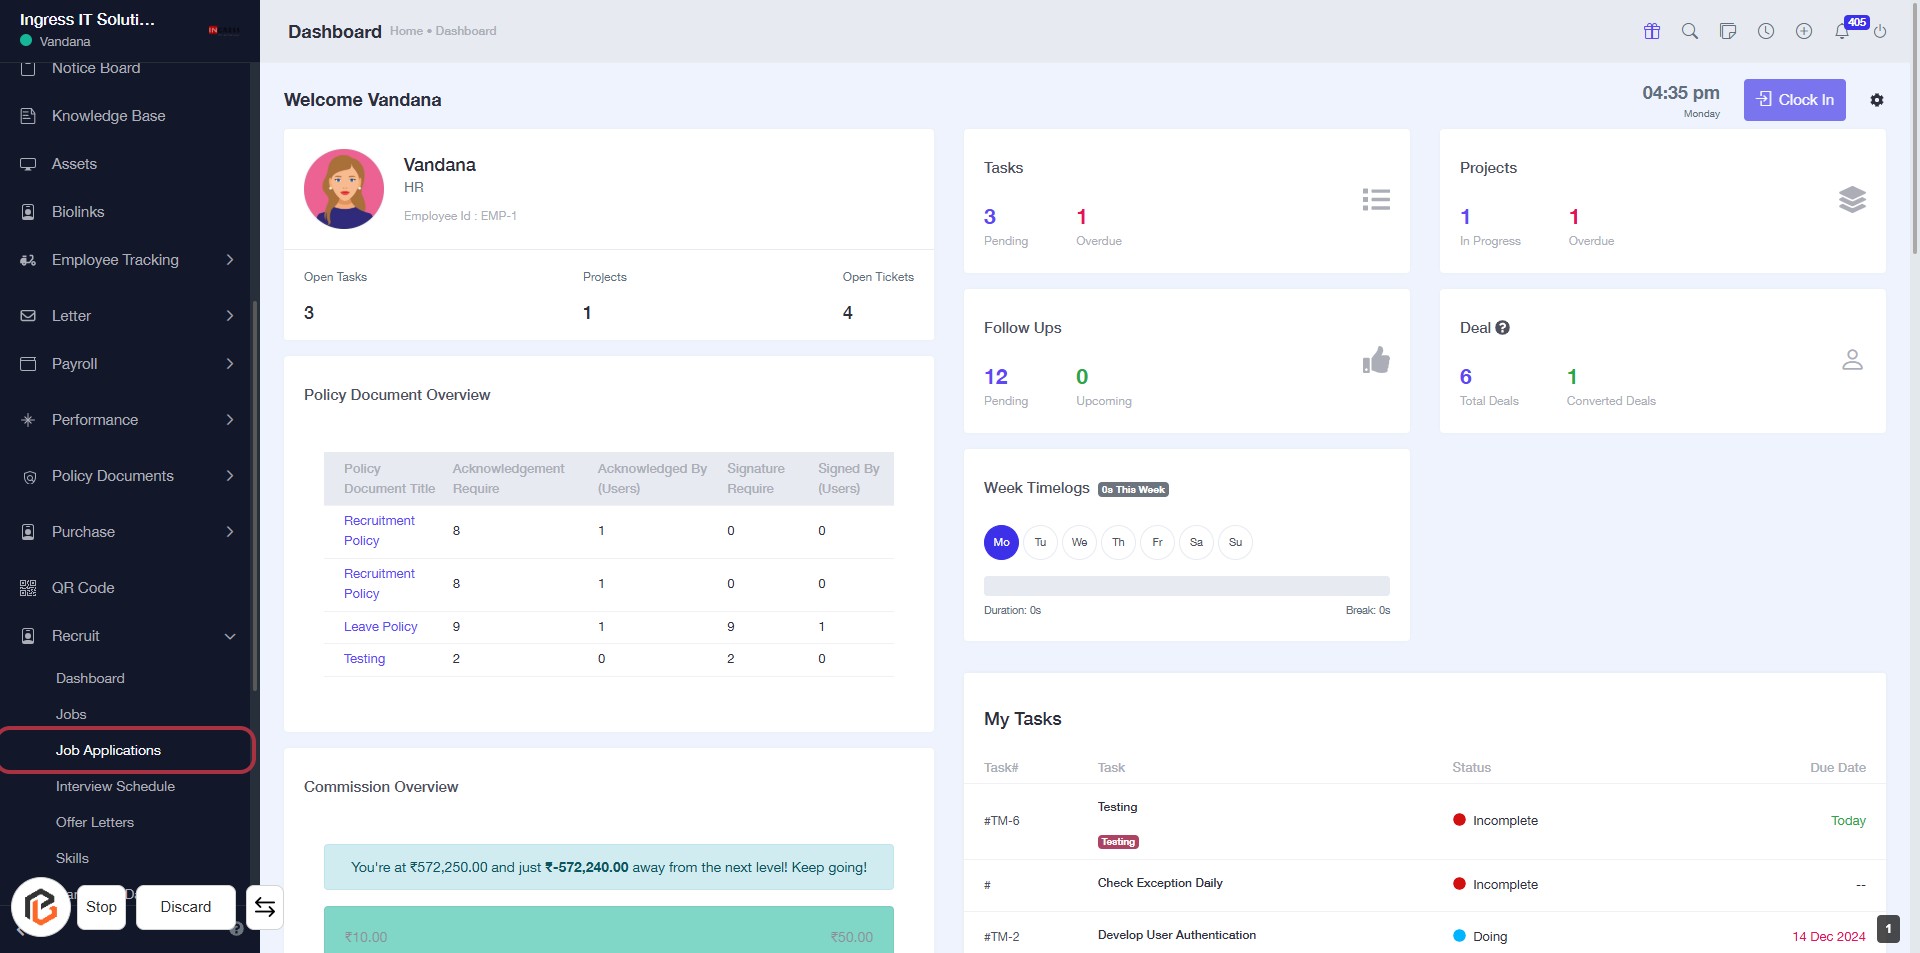
STEP 1: Click on "Recruit" to Access Recruitment Section
- Navigate to the left sidebar of the dashboard.
- Click on the "Recruit" link to access the recruitment features.
- Ensure you are on the correct page before proceeding to the next step.
- This action will lead you to the recruitment overview and related tasks.

STEP 2: Click on "Job Applications" to Access Job Application Section
- Navigate to the left sidebar.
- Click on the Job Applications link highlighted in red.
- This will take you to the Job Applications section for further actions.
- Ensure to review any required fields marked with an asterisk (*) in the subsequent forms.
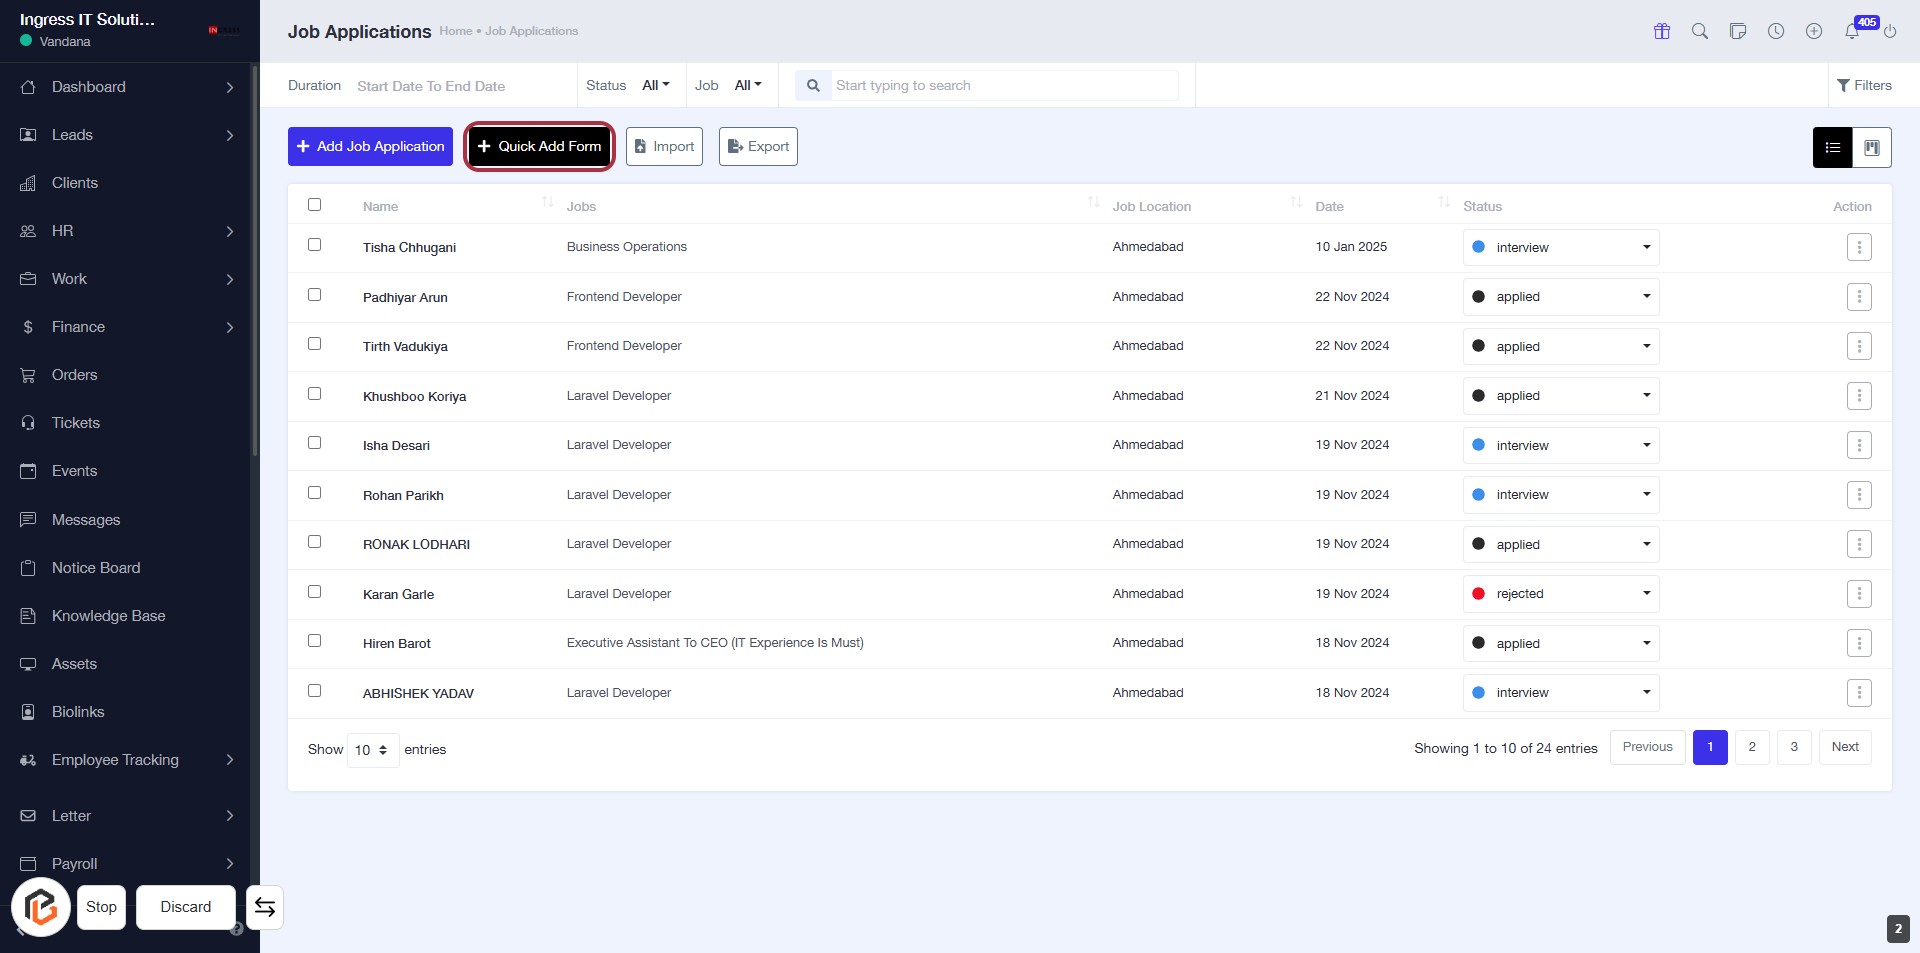
STEP 3: Click on "Quick Add Form" to Begin Job Application Process
- Navigate to the Job Applications section.
- Click the Quick Add Form button located in the upper right corner.
- This will open a form for adding new job applications.
- Ensure to fill in all required fields marked with an asterisk (*).
- Proceed to the next step by selecting the Jobs option.
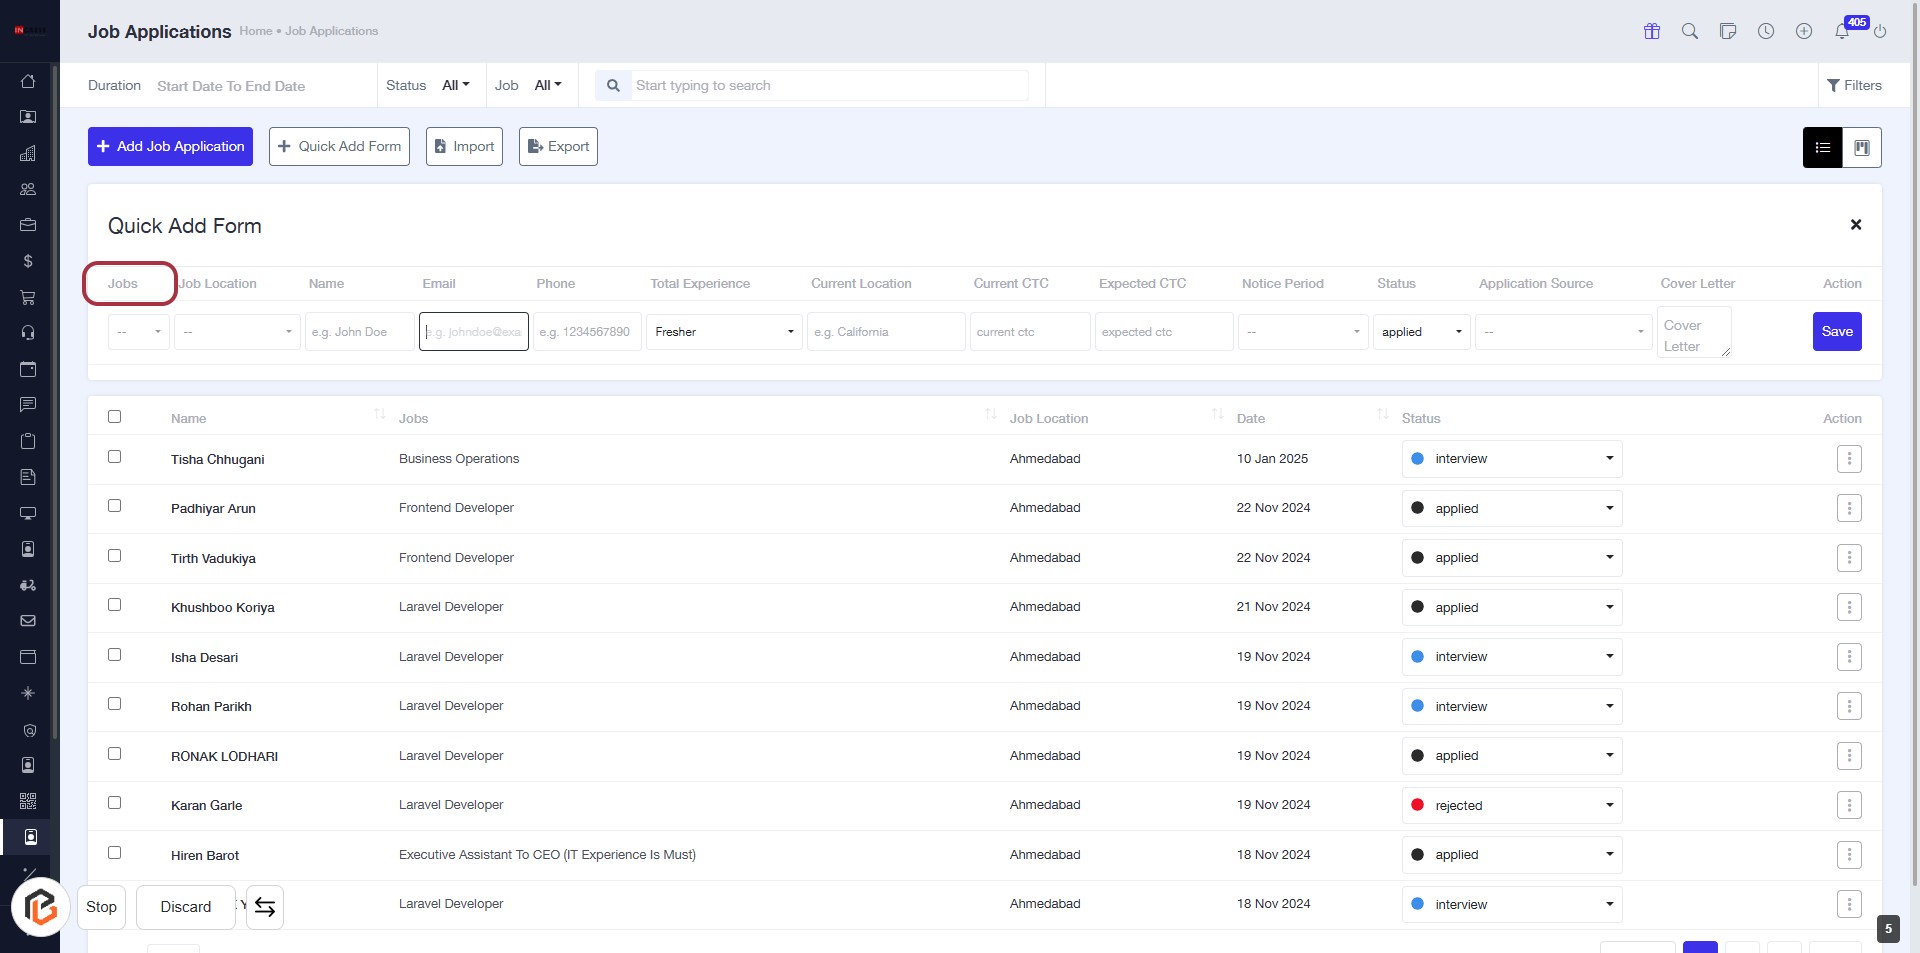
STEP 4: Select "Jobs" in the Job Applications Section
- Click on the "Jobs" header to view available job listings.
- Ensure you are in the "Quick Add Form" section for job applications.
- Review the job titles listed below the "Jobs" header for selection.
- Proceed to the next step by selecting "Job Location."
STEP 5: Select "Job Location"
- Click on the "Job Location" header to sort or filter job applications based on location.
- Ensure the highlighted area is visible for interaction.
- Other fields in the form include "Jobs," "Name," "Email," "Phone," "Total Experience," "Current Location," "Current CTC," and "Expected CTC."
- Look for any fields marked with an asterisk (*) to identify required inputs.

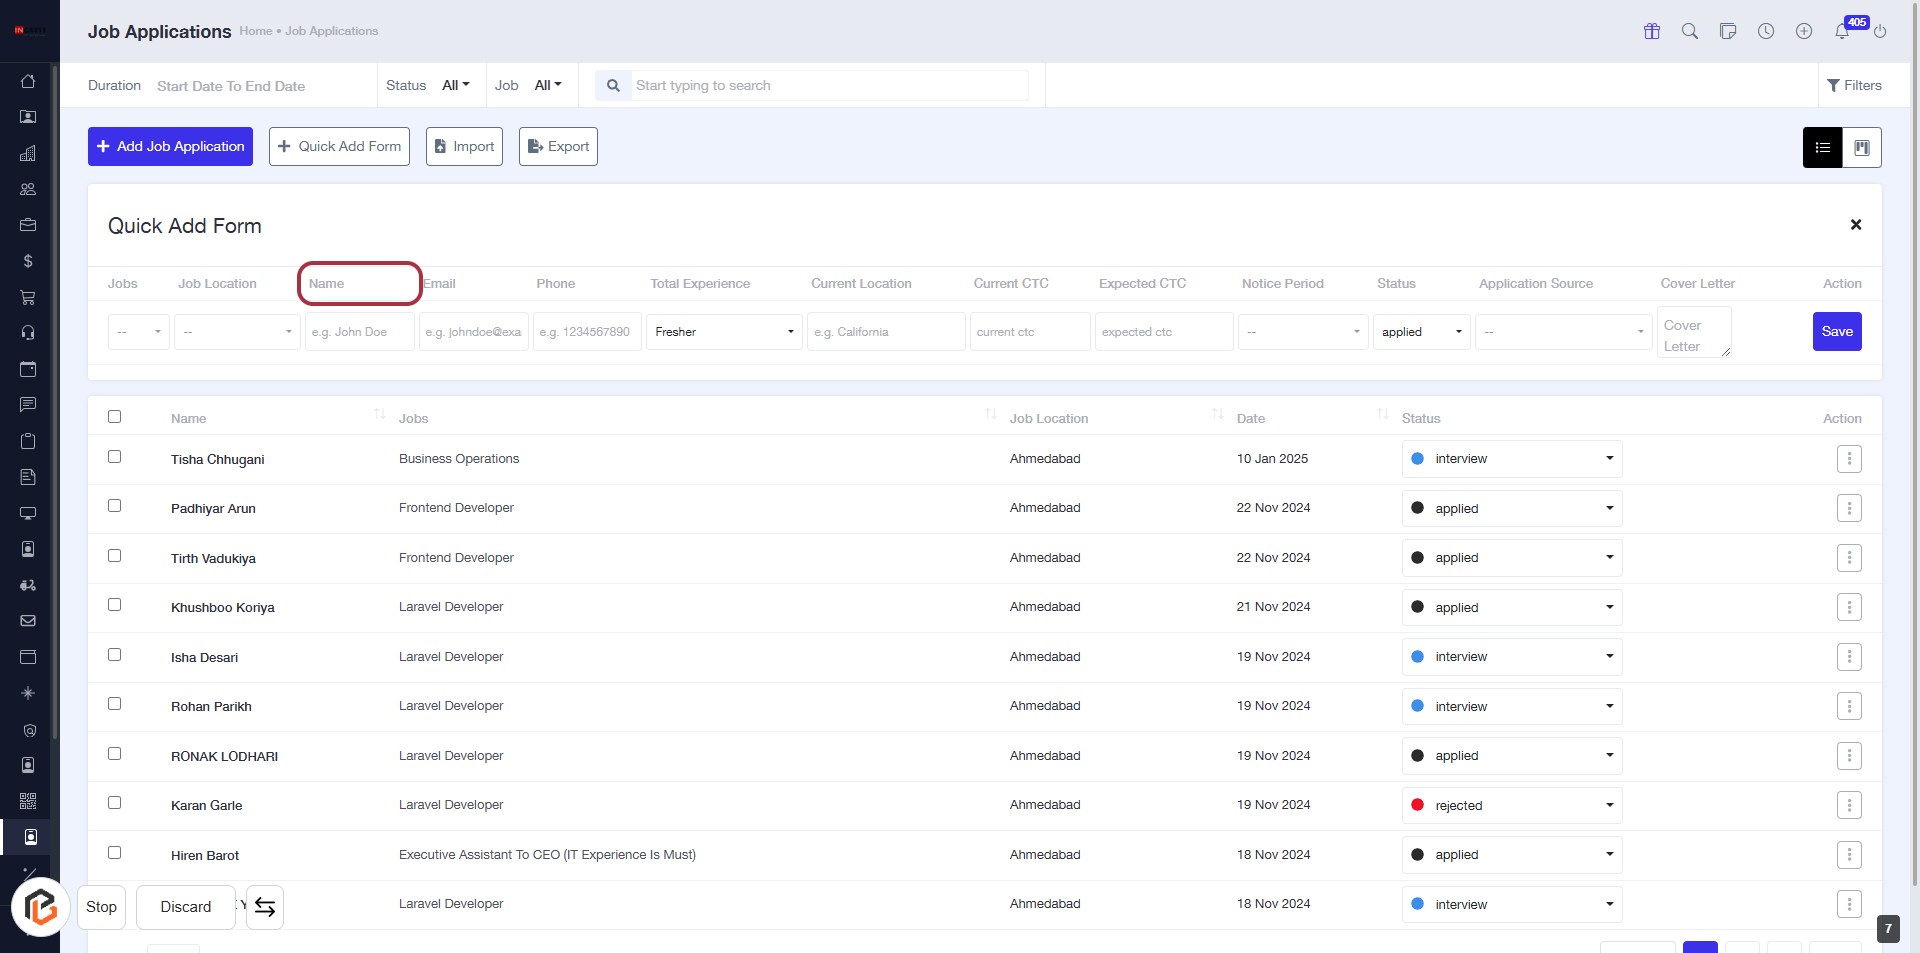
STEP 6: Enter "Name" in the Job Application Form
- Click on the "Name" field in the Quick Add Form.
- Ensure to provide the applicant's name as required (indicated by the absence of an asterisk).
- This field is essential for identifying the applicant in the job application process.
- Proceed to the next step to enter the "Email" address.
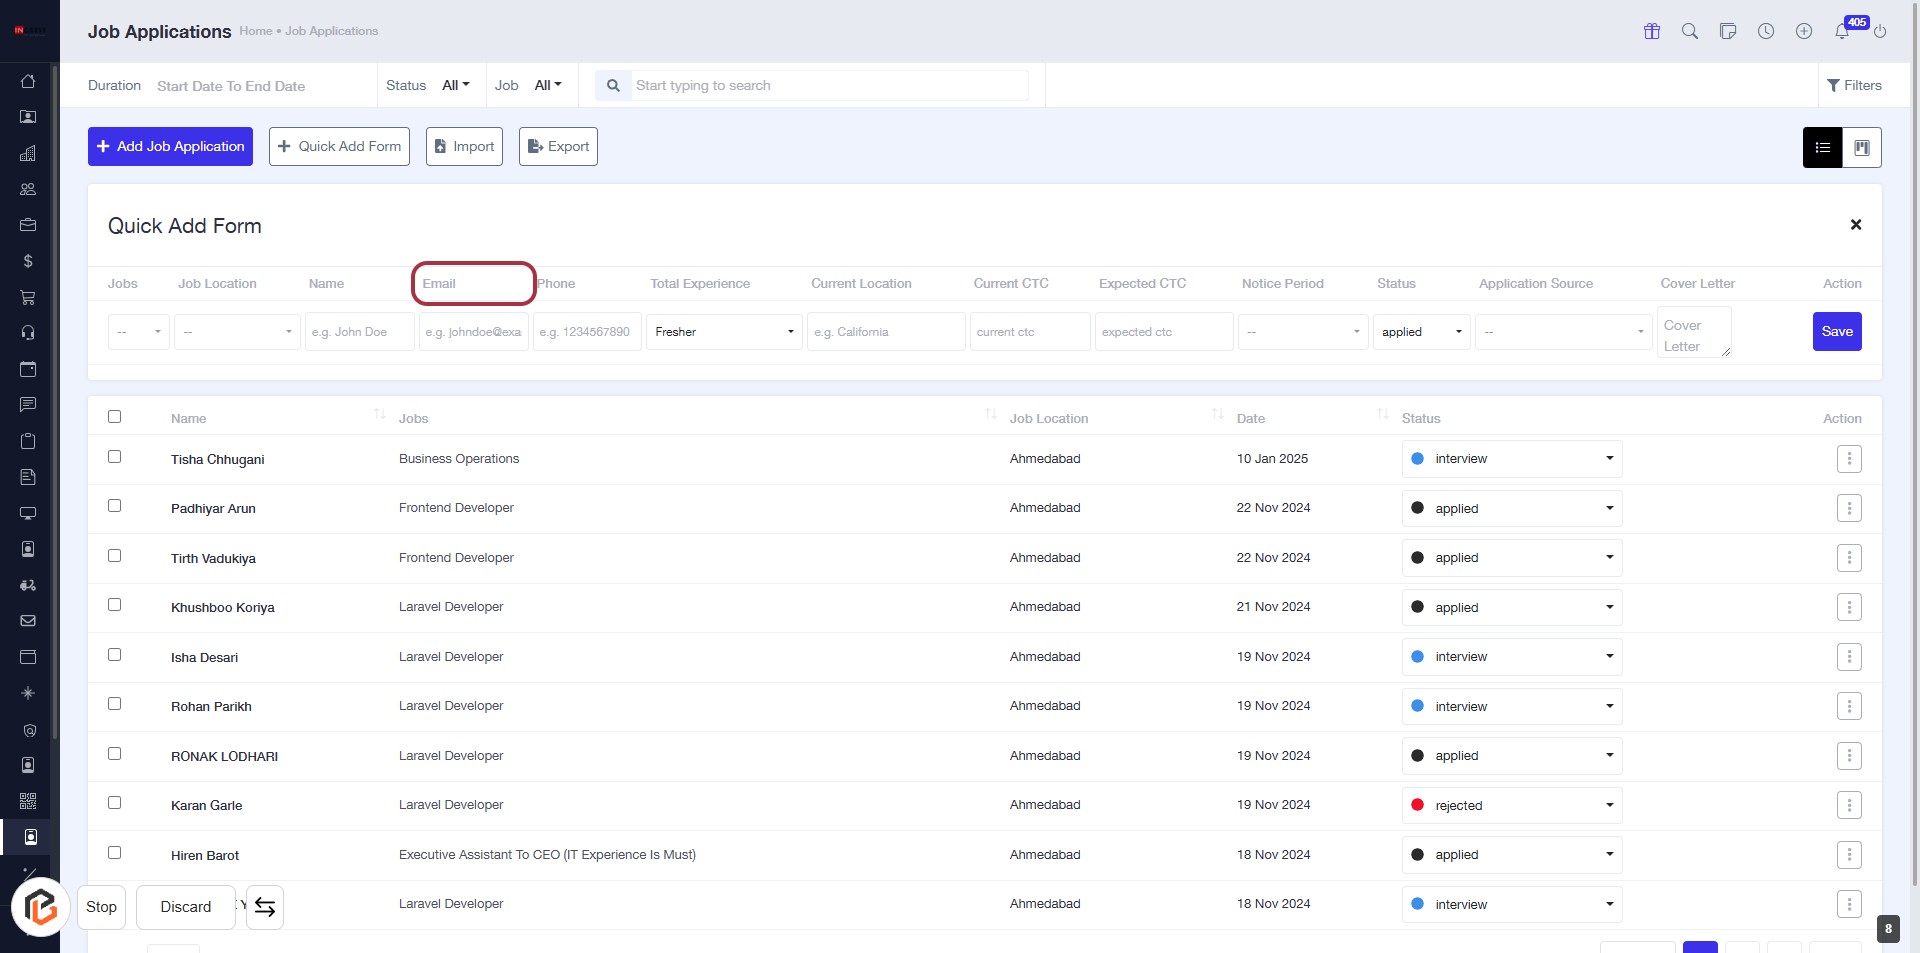
STEP 7: Enter "Email" in the Job Application Form
- Click on the "Email" field in the Quick Add Form.
- Ensure the field is highlighted for input.
- Enter a valid email address (format: example@domain.com).
- Proceed to the next step by entering the "Phone" number.
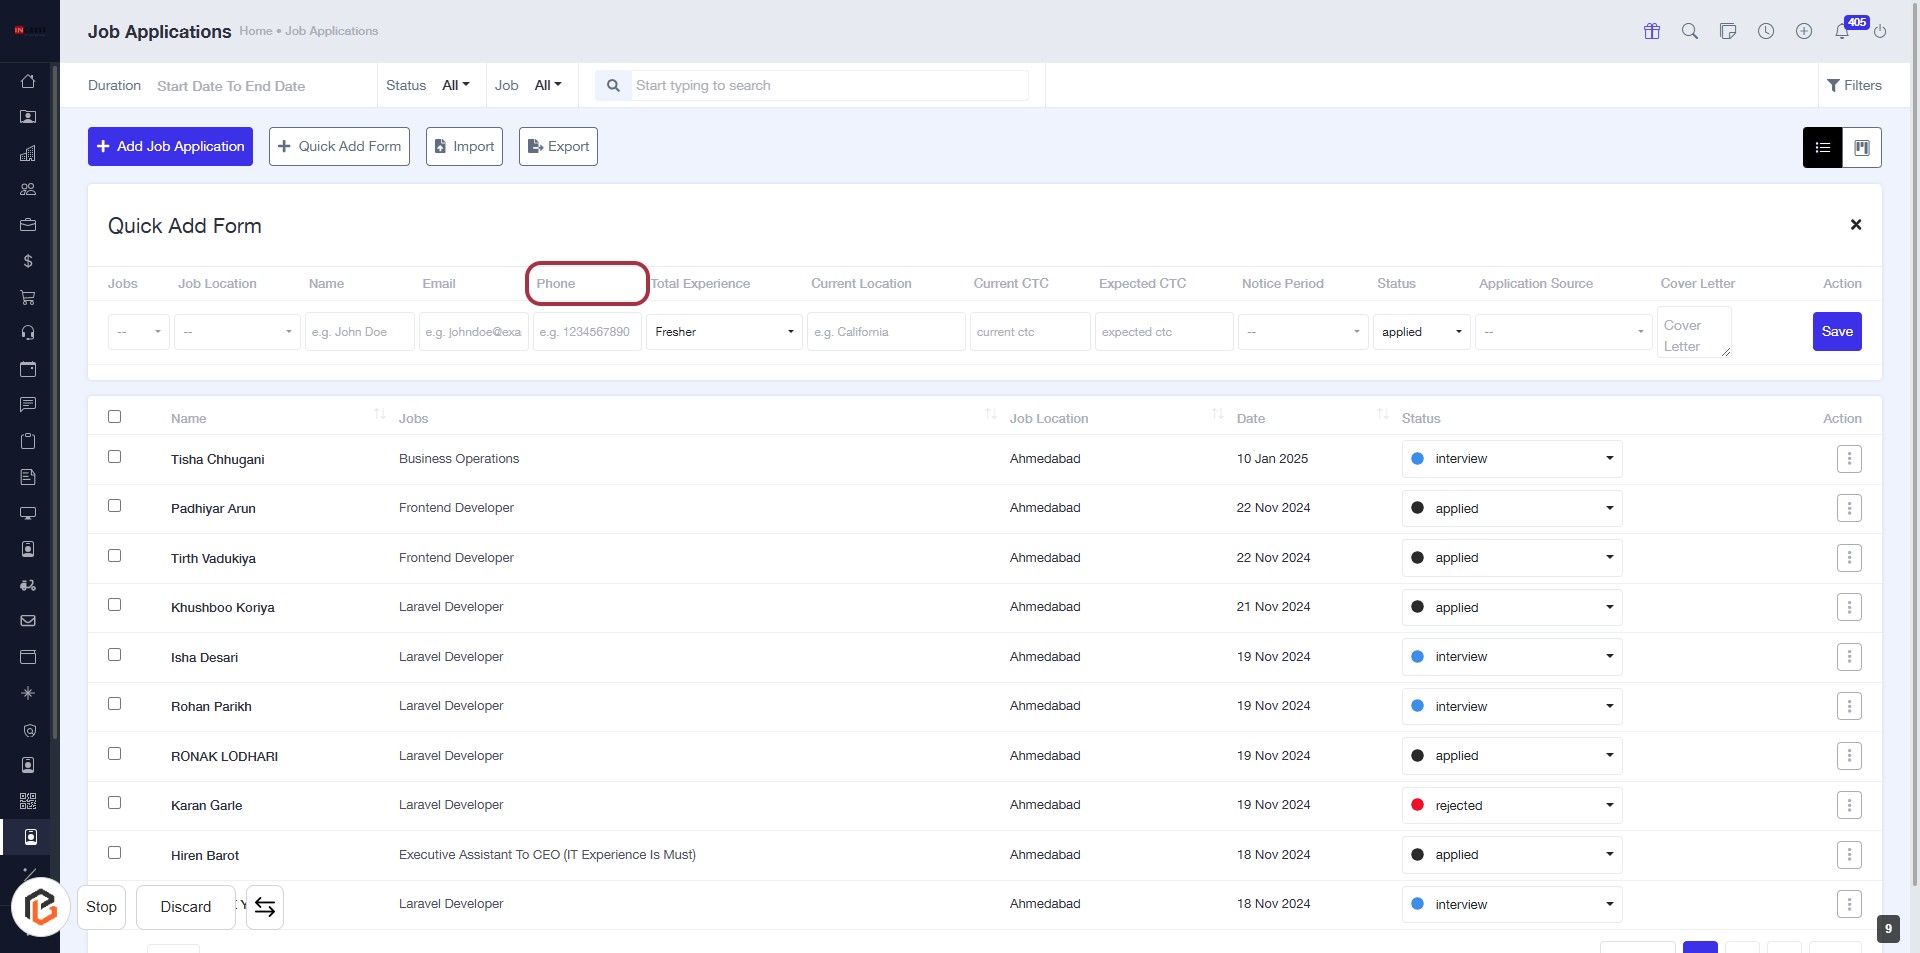
STEP 8: Enter "Phone" Number in the Job Application Form
- Click on the "Phone" field in the Quick Add Form.
- Ensure to enter a valid phone number.
- The phone number is a required field (indicated by the asterisk).
- Review other fields like "Jobs," "Job Location," and "Email" for completeness before proceeding.
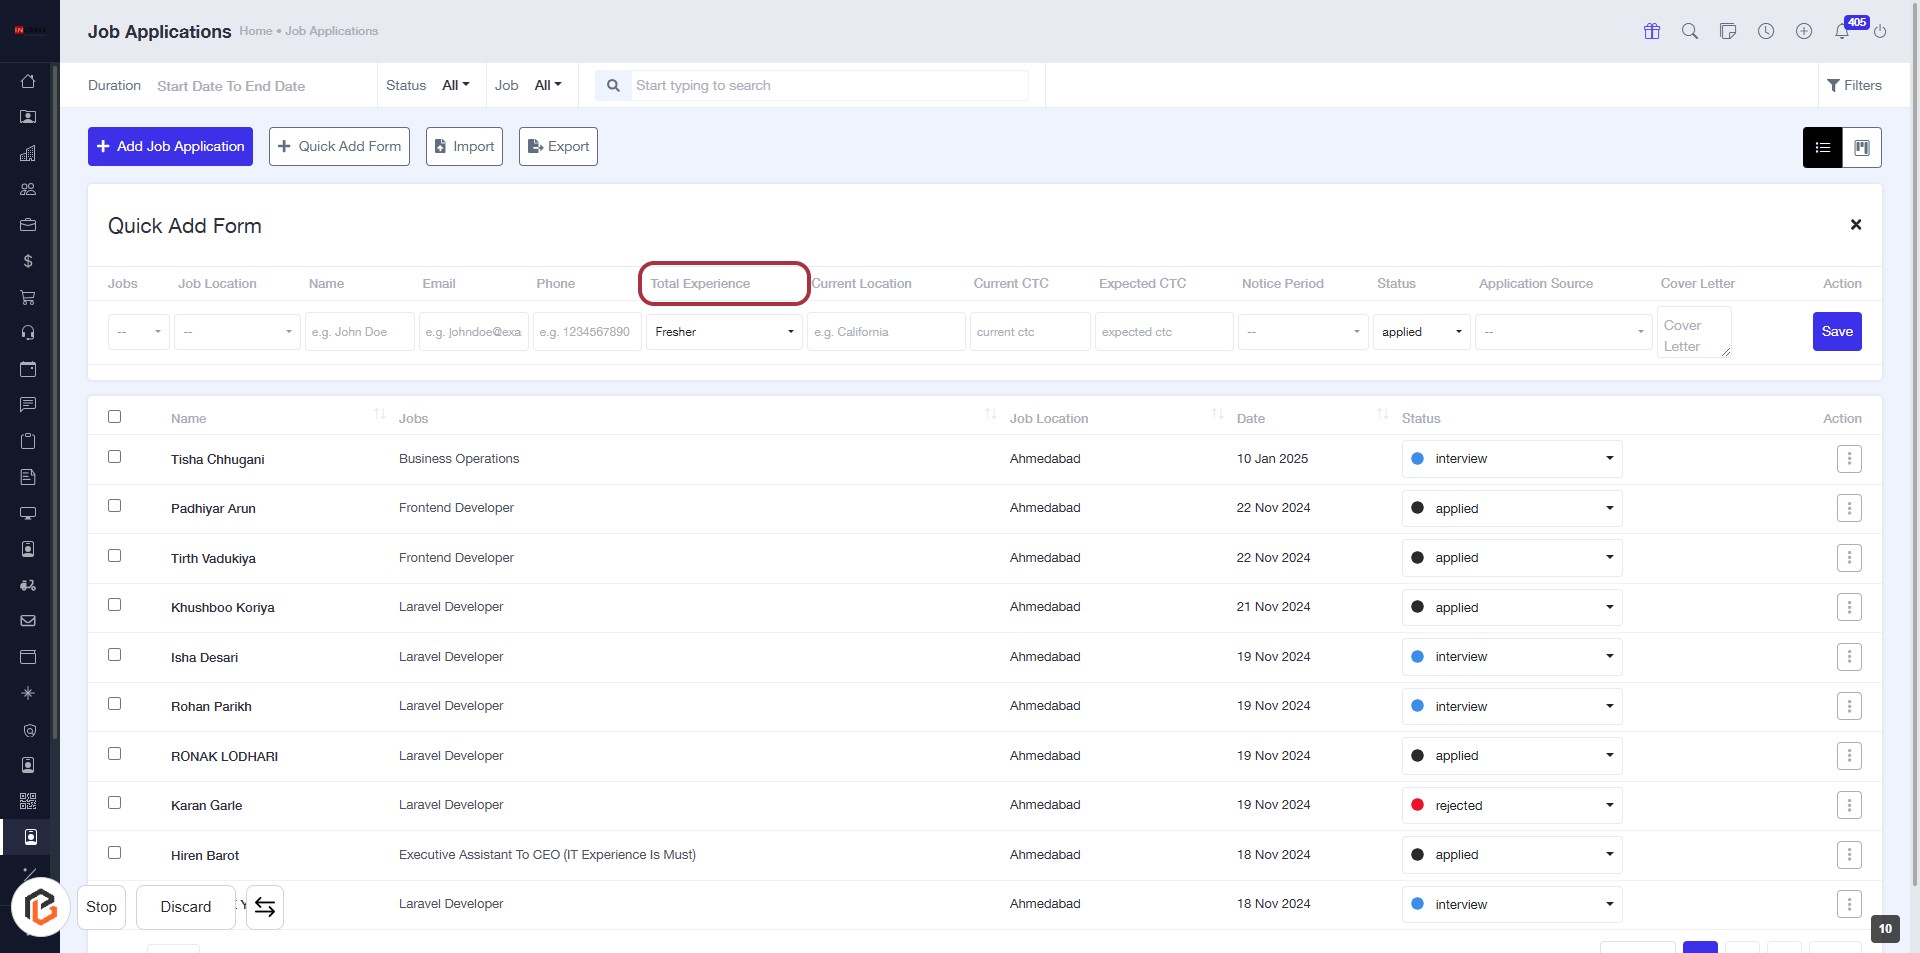
STEP 9: Click on "Total Experience" in the Job Application Form
- Navigate to the "Total Experience" column in the job application table.
- Click on the "Total Experience" header to access the relevant input options.
- Ensure to fill in the required details as indicated by any asterisk (*) next to the label.
- Proceed to the next step by entering your "Current Location."
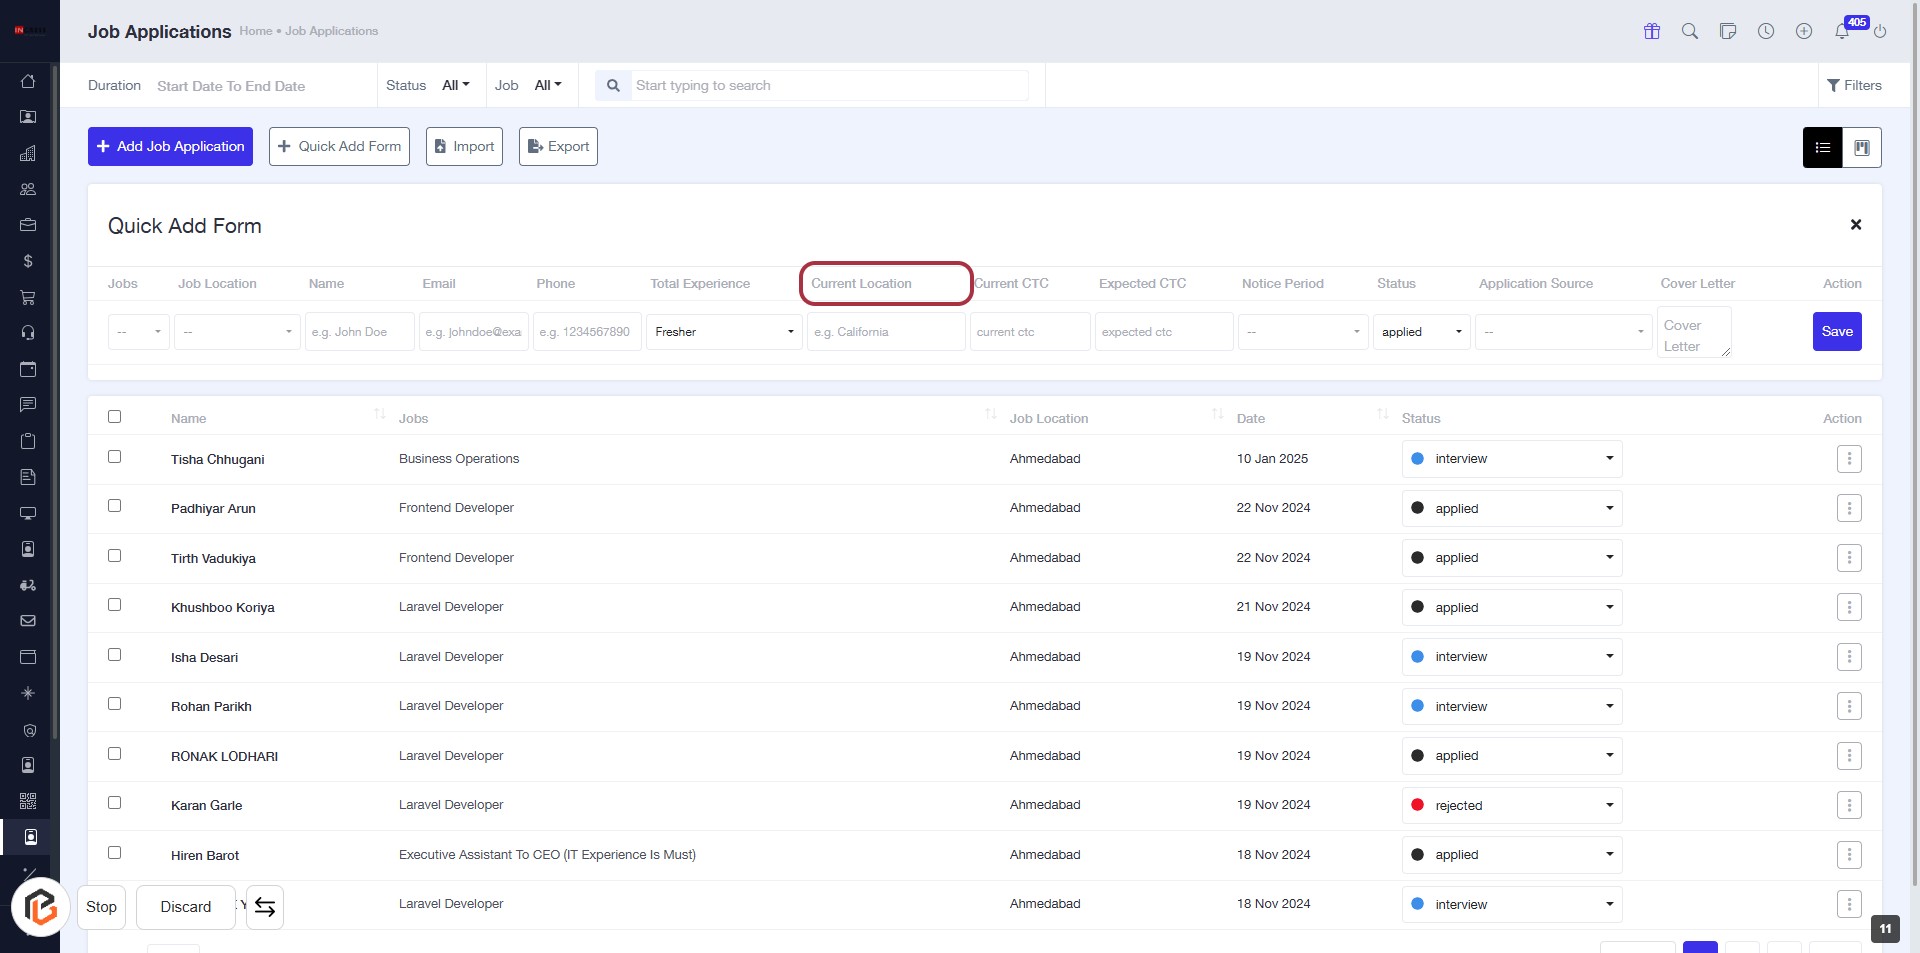
STEP 10: Enter Current Location in the Job Application Form
- Click on the "Current Location" header in the Quick Add Form.
- Ensure to fill in the required field marked with an asterisk (*).
- The input field accepts your current location (e.g., California).
- Proceed to the next step by entering your "Current CTC."
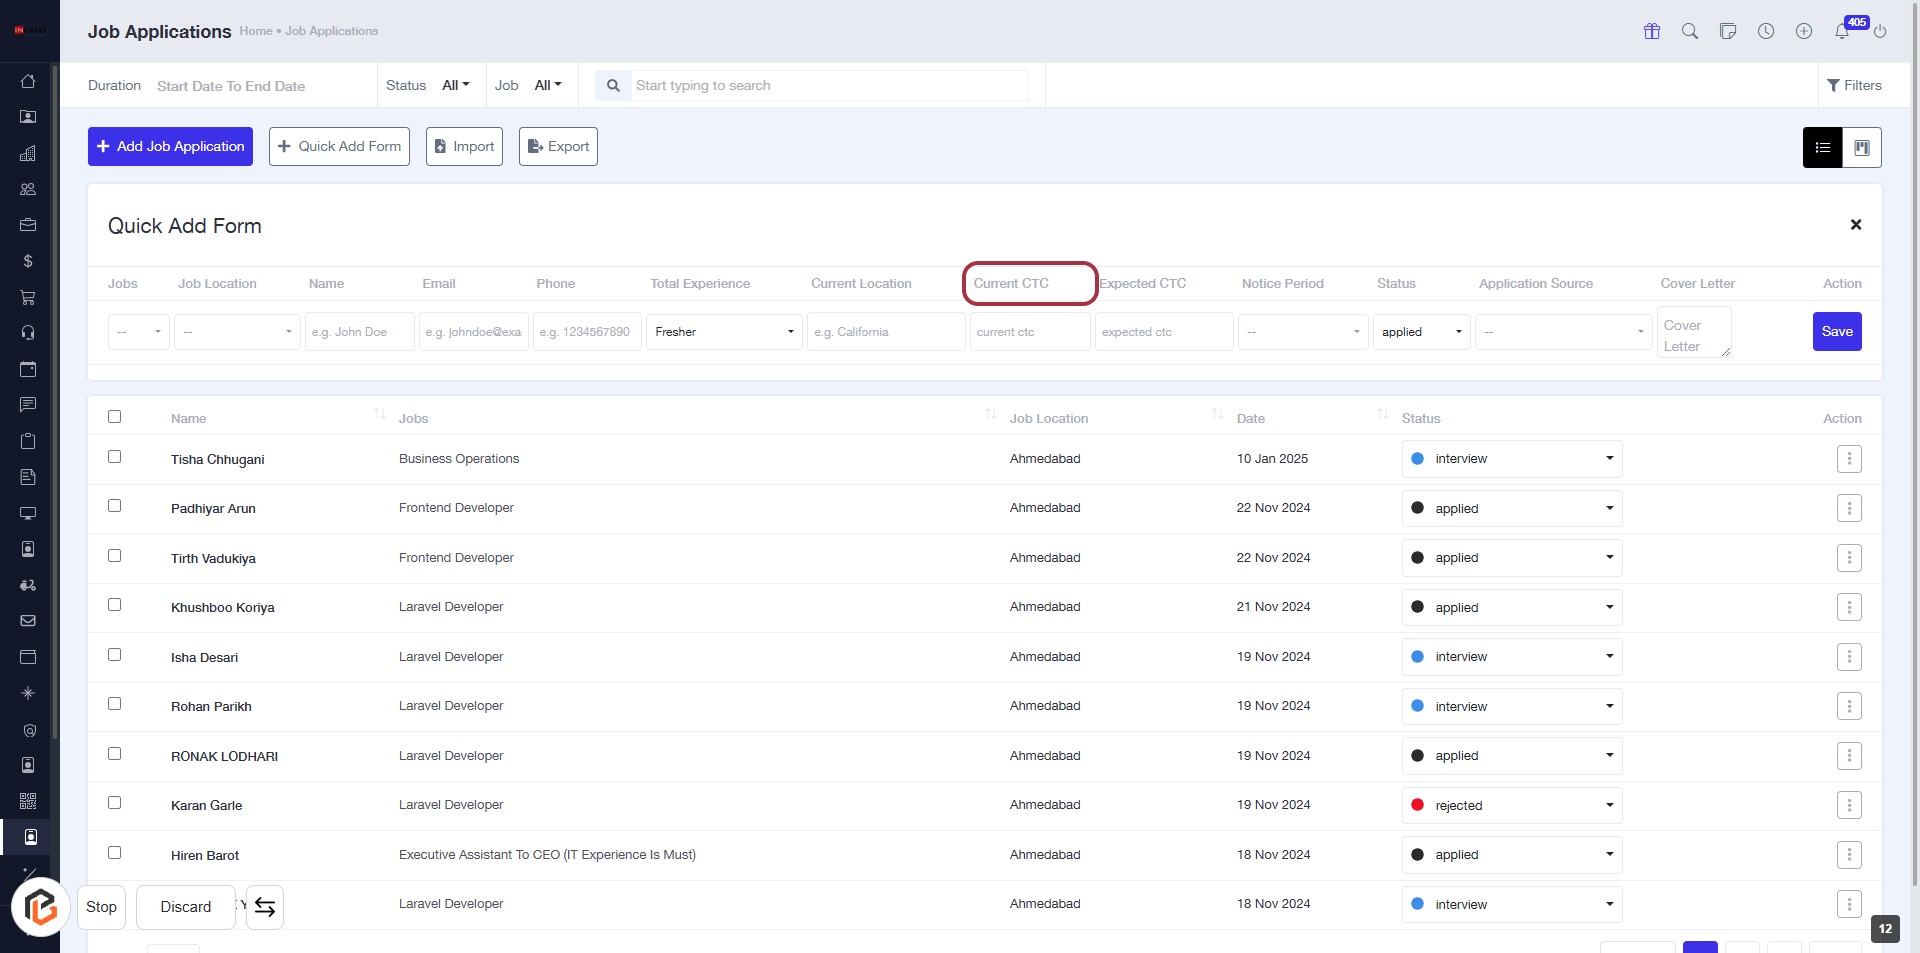
STEP 11: Click on "Current CTC" in the Job Application Form
- Navigate to the Job Applications page.
- Locate the "Current CTC" header in the table.
- Click on the "Current CTC" header to access related options or fields.
- Ensure all required fields marked with '*' are filled out before proceeding to the next step.
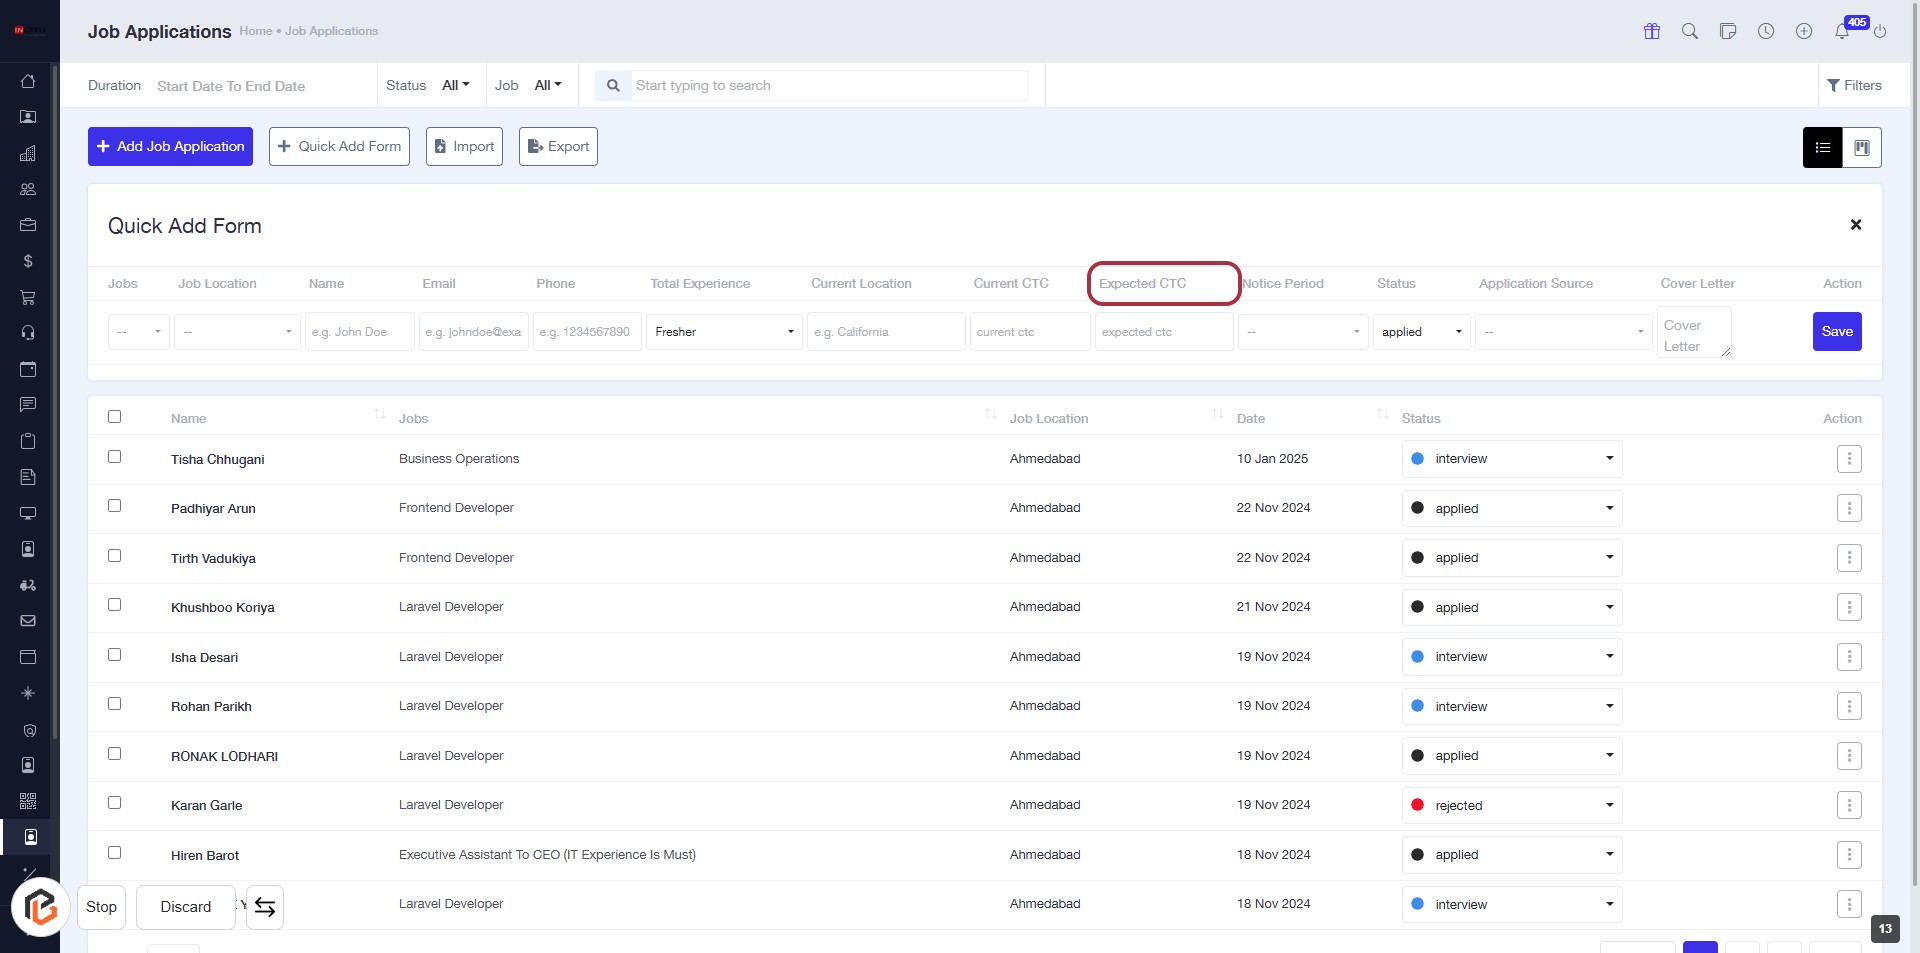
STEP 12: Enter "Expected CTC"
- Click on the "Expected CTC" header in the Job Application Form.
- Ensure to fill in the required fields marked with an asterisk (*).
- Review any additional optional fields for completeness.
- Proceed to the next step by selecting the "Notice Period" option.
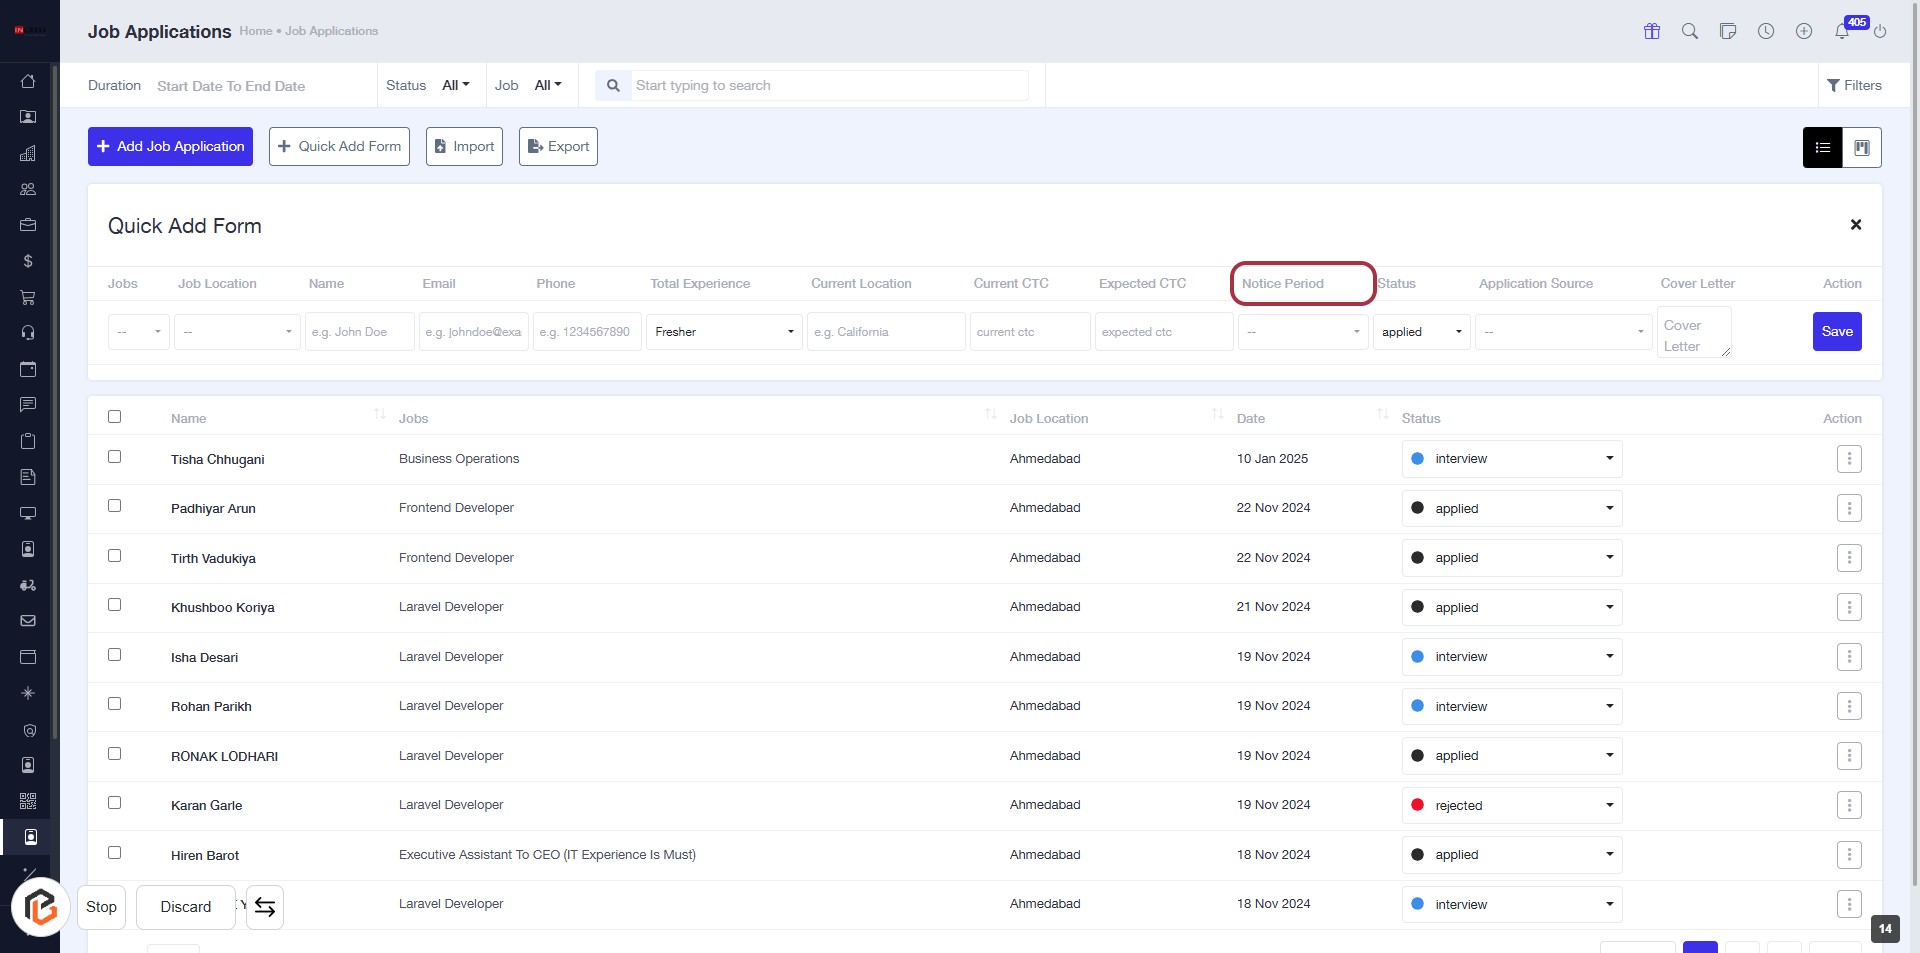
STEP 13: Select "Notice Period"
- Click on the "Notice Period" header in the job applications table.
- Ensure that the highlighted area is selected to view or modify the notice period details.
- Review any additional fields that may appear related to the notice period.
- Proceed to the next step by selecting "Status" after updating the notice period.
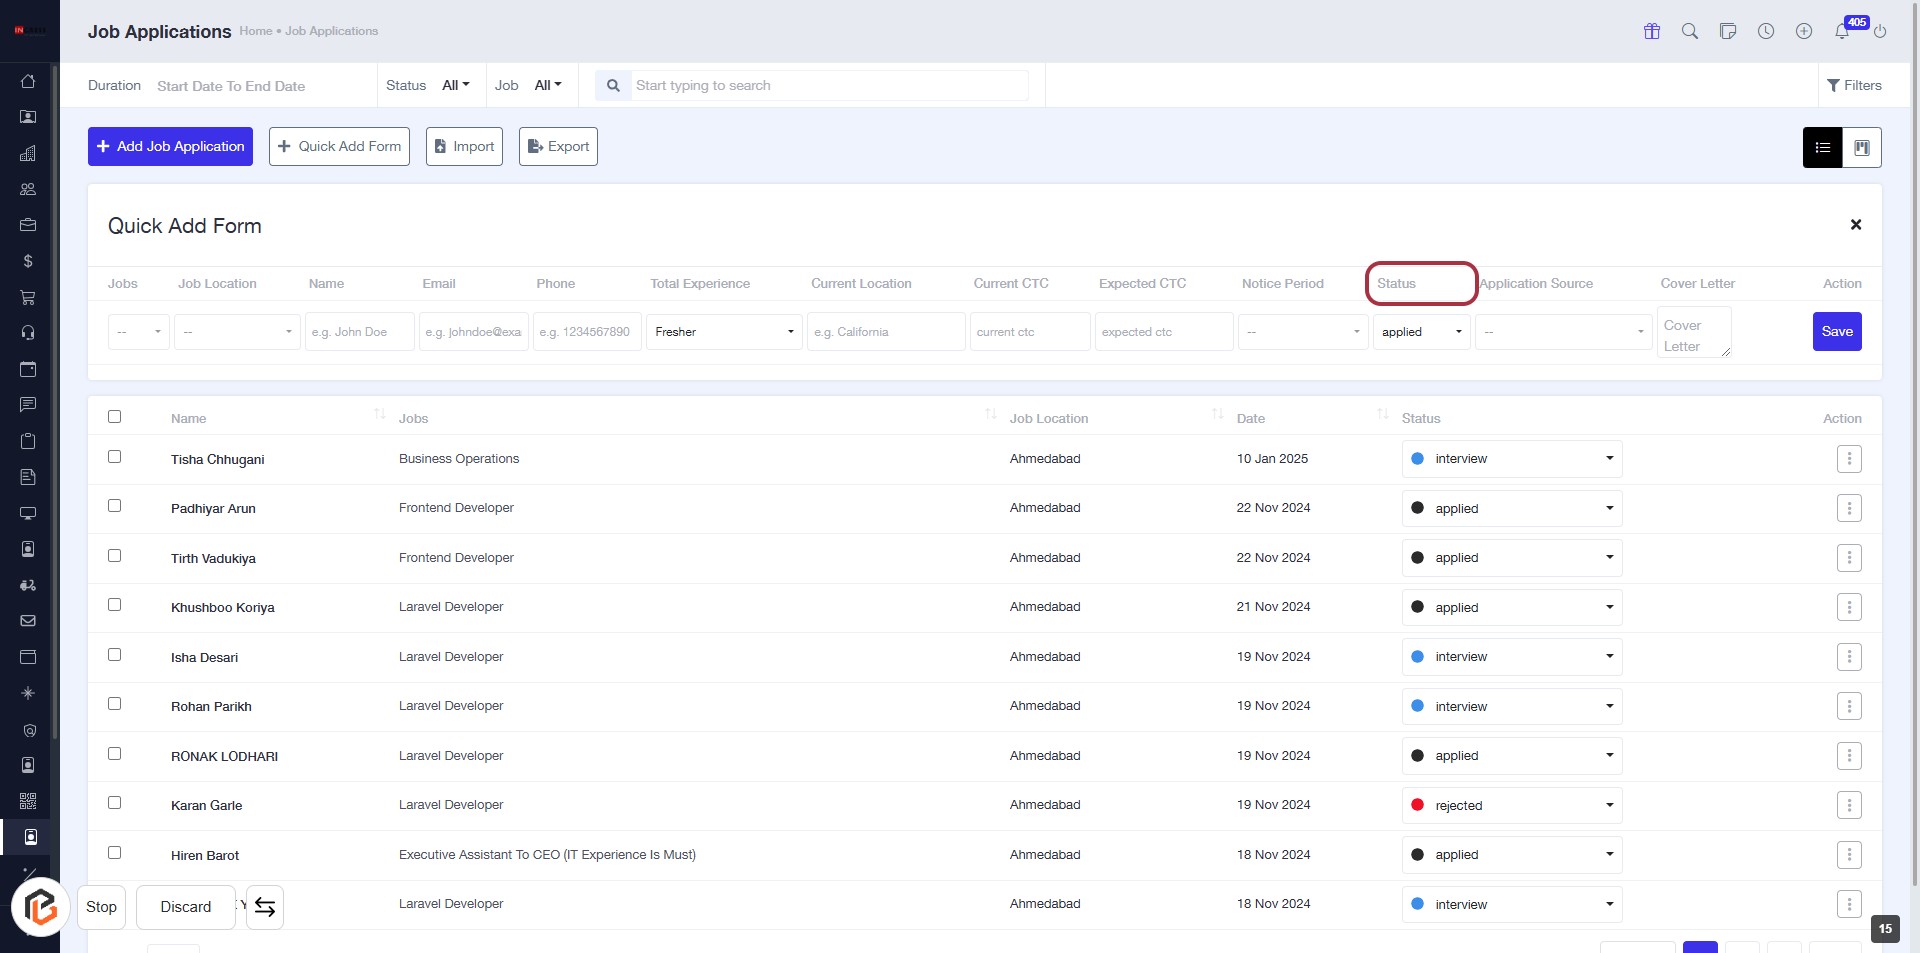
STEP 14: Select "Status"
- Click on the "Status" header in the table to sort or filter job applications.
- Ensure you have completed the previous step of selecting "Notice Period."
- The "Status" column allows you to view or modify the application status.
- Look for any required fields marked with an asterisk (*) in the form.
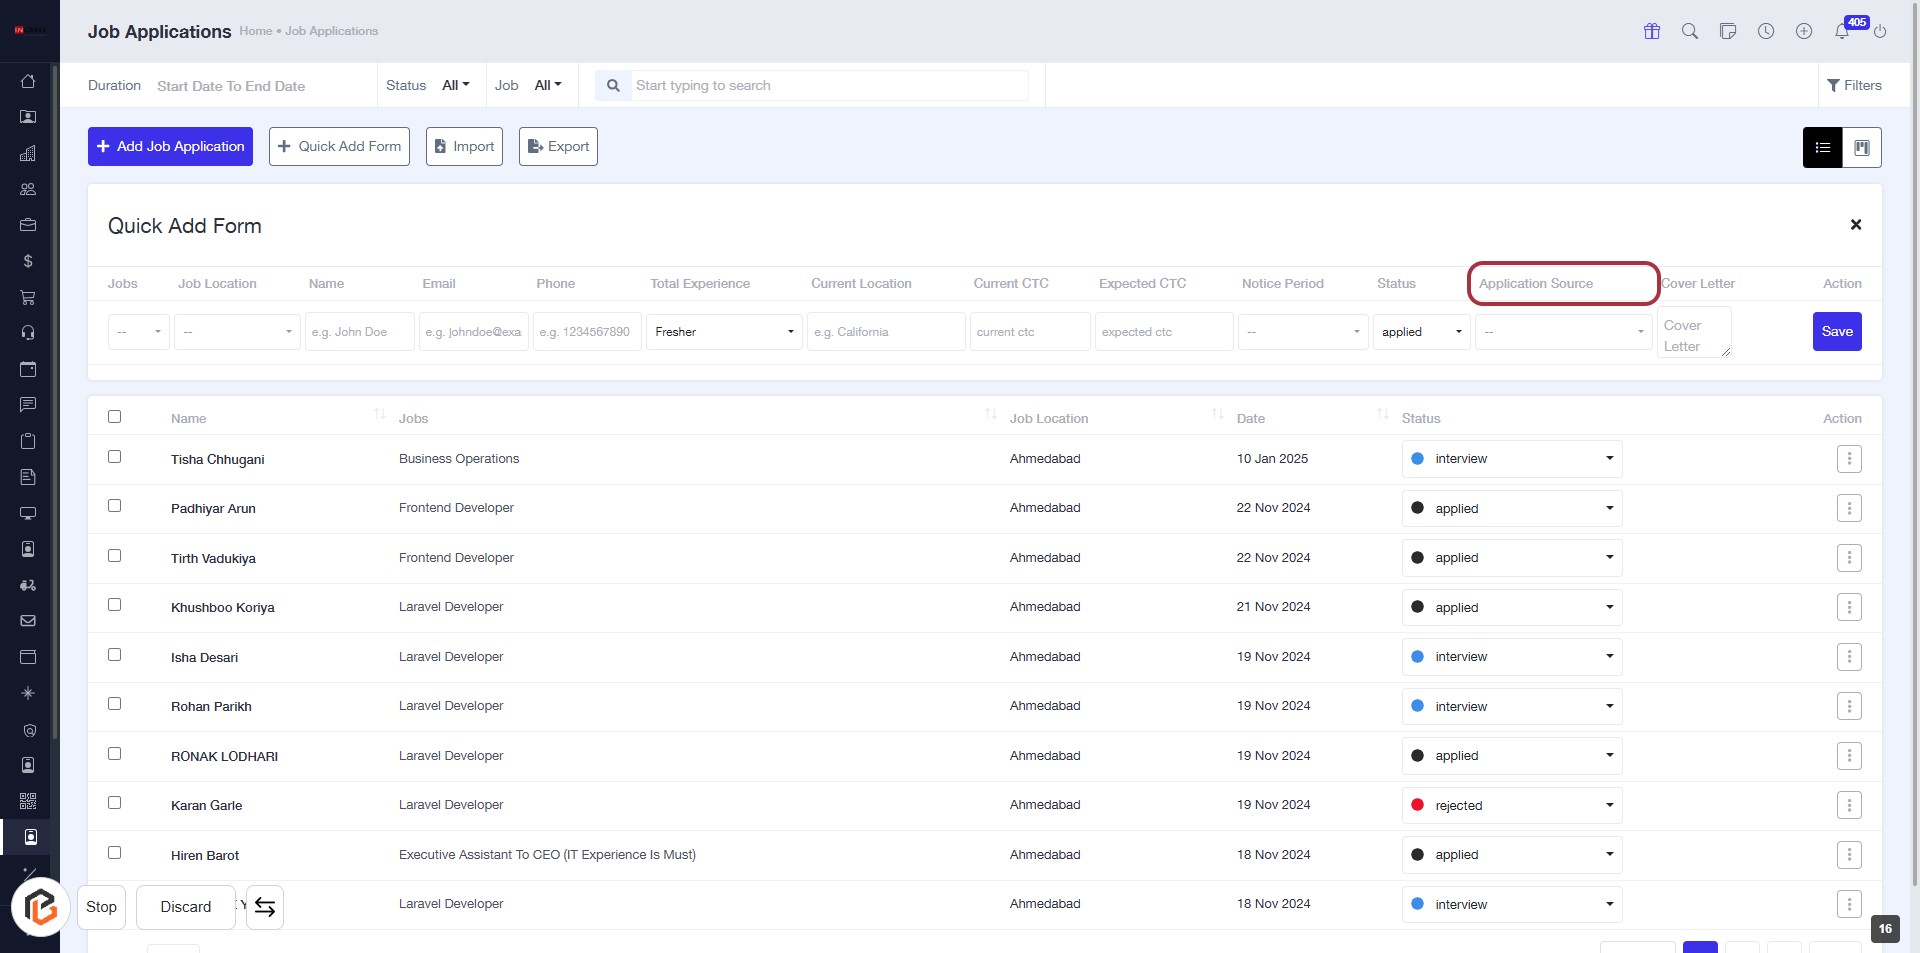
STEP 15: Click "Application Source"
- Navigate to the "Job Applications" page.
- Locate the "Application Source" column highlighted in red.
- Click on the "Application Source" header to sort or filter the applications based on their source.
- Ensure to check any additional fields marked with an asterisk (*) for required inputs.
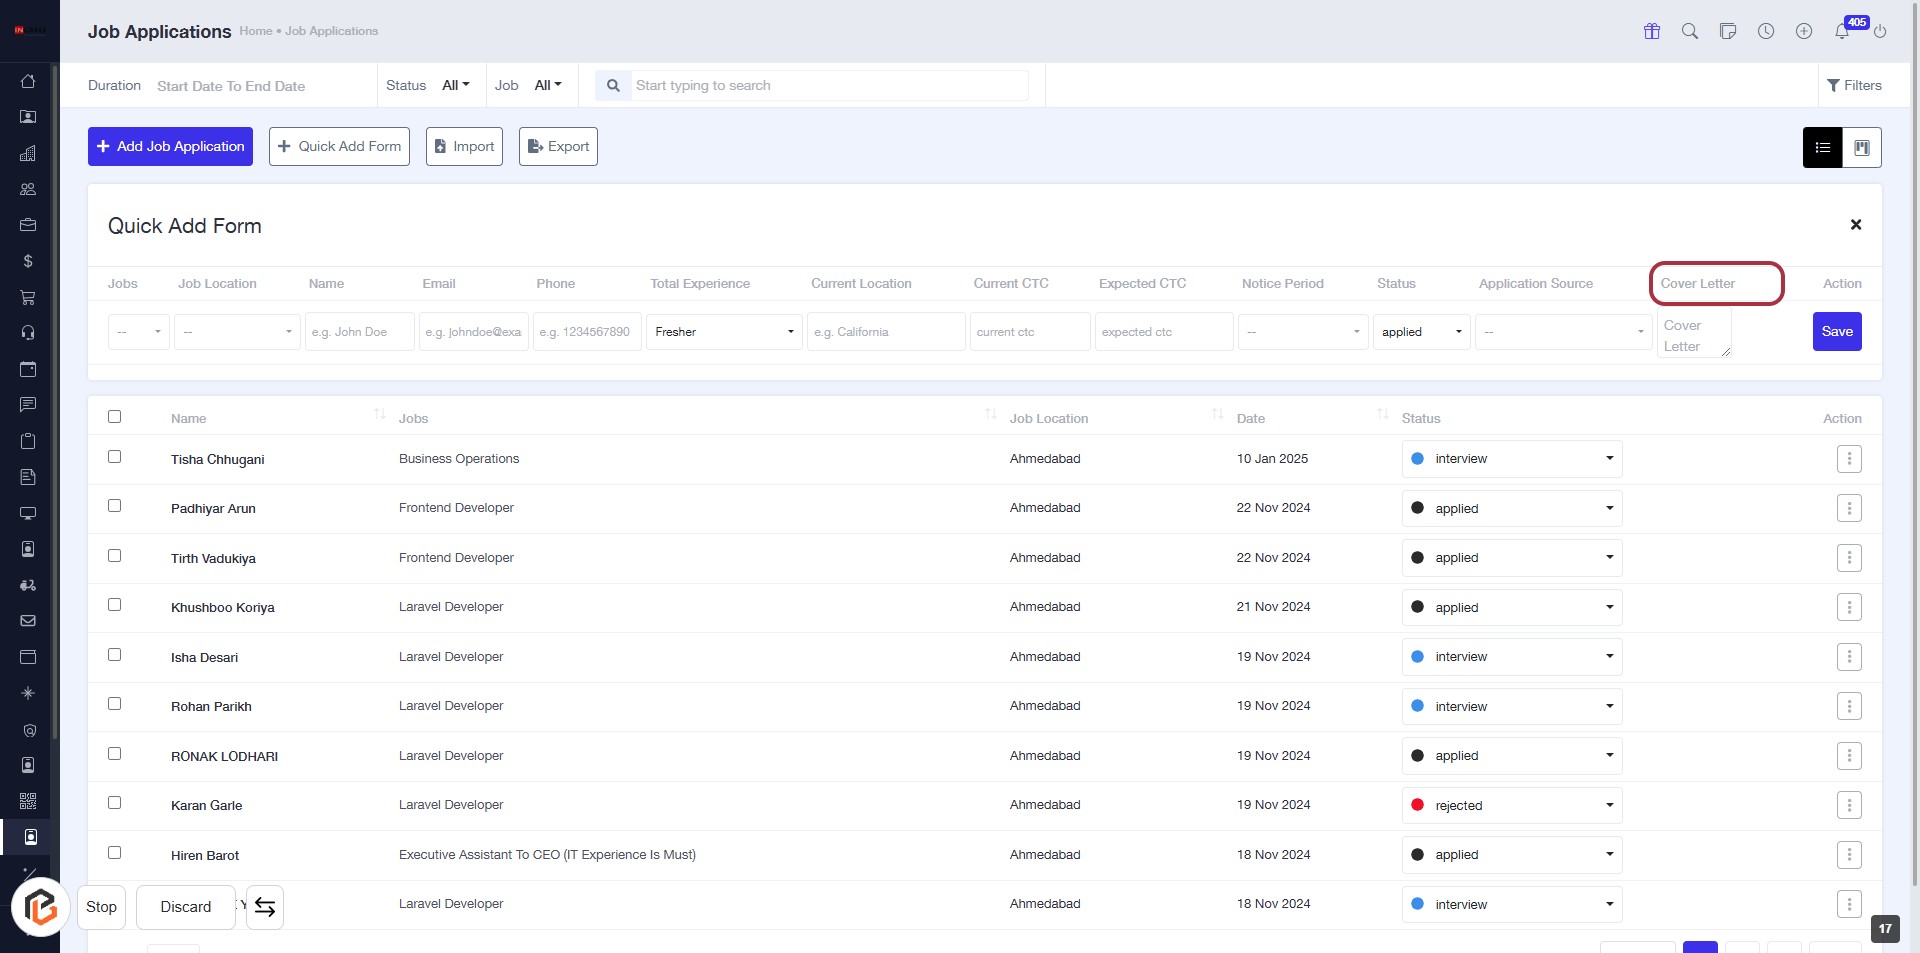
STEP 16: Enter Cover Letter
- Click on the "Cover Letter" field in the form.
- Ensure all required fields marked with '*' are filled out.
- Review any optional fields for additional context.
- Proceed to the next step by clicking the "Save" button.
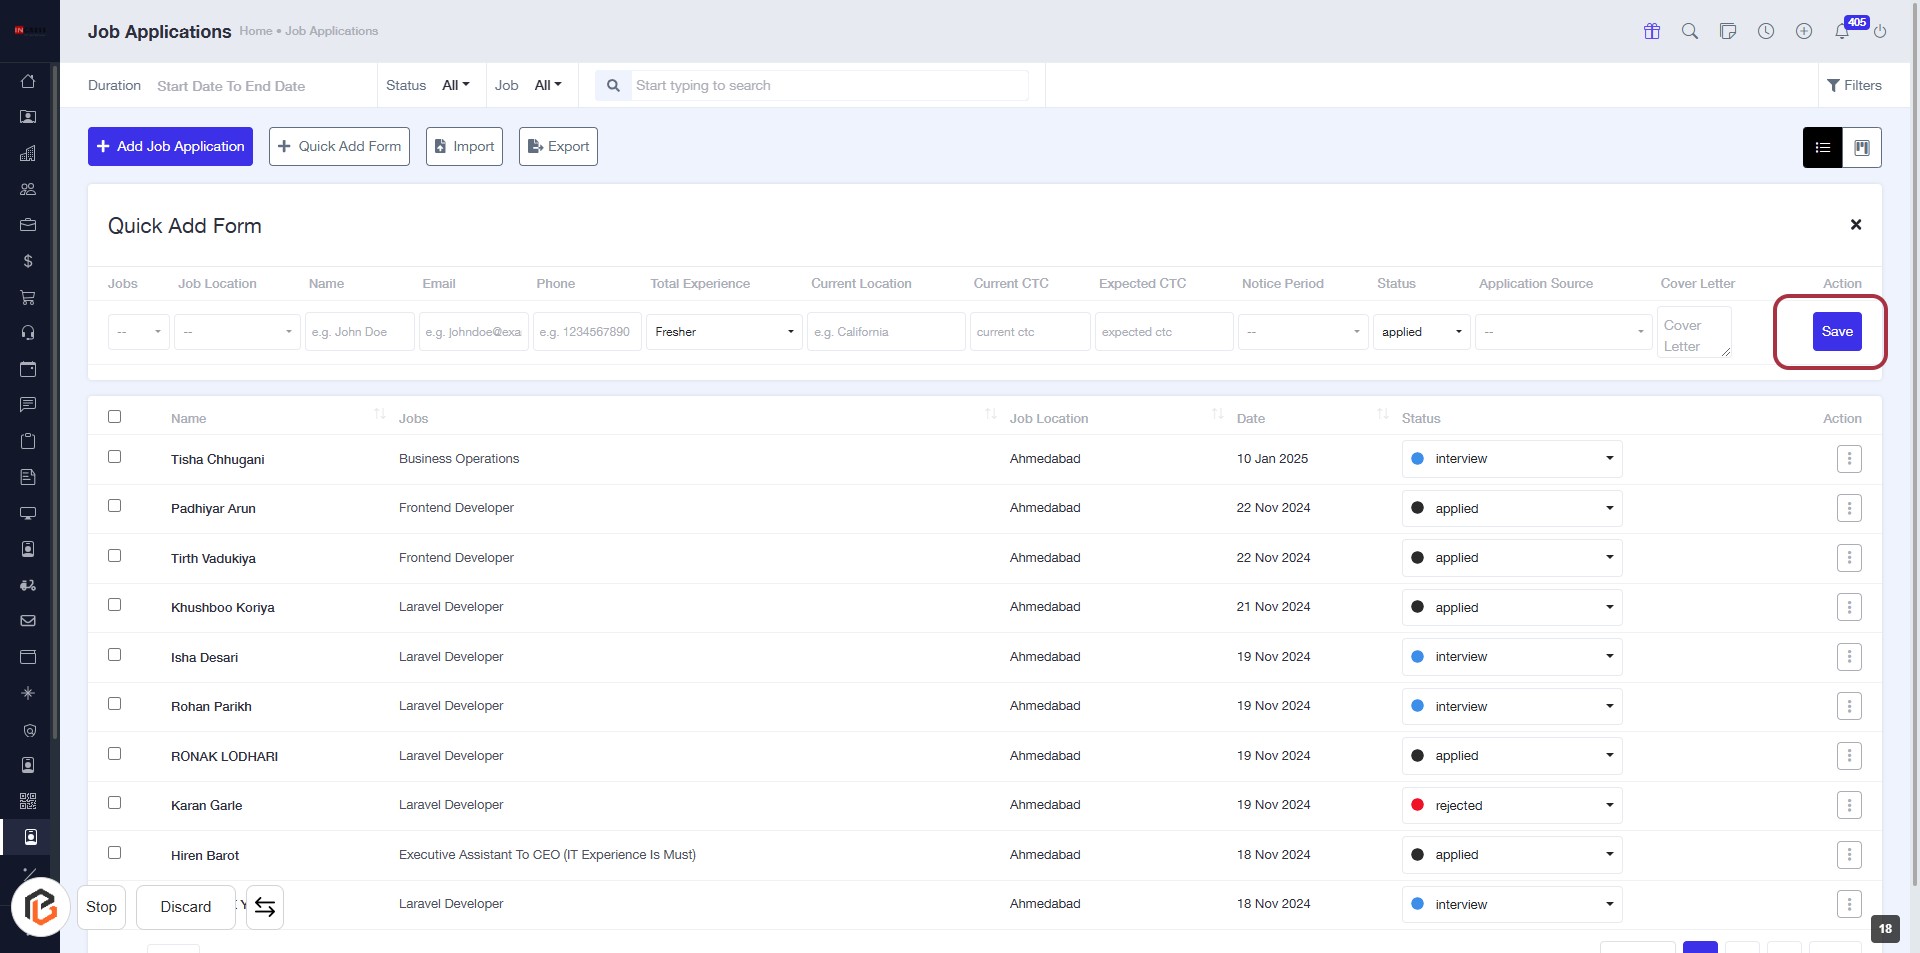
STEP 17: Click on "Save" to Finalize Your Job Application
- Ensure all required fields in the form are filled out.
- Locate the "Save" button highlighted in red on the right side of the screen.
- Click the "Save" button to submit your application.
- Confirm that a success message appears to indicate your application has been saved.