Step-by-Step Guide to Managing Skills and Recruitment Tasks in Your Dashboard
6 mins read · Updated 29 Sep, 2025
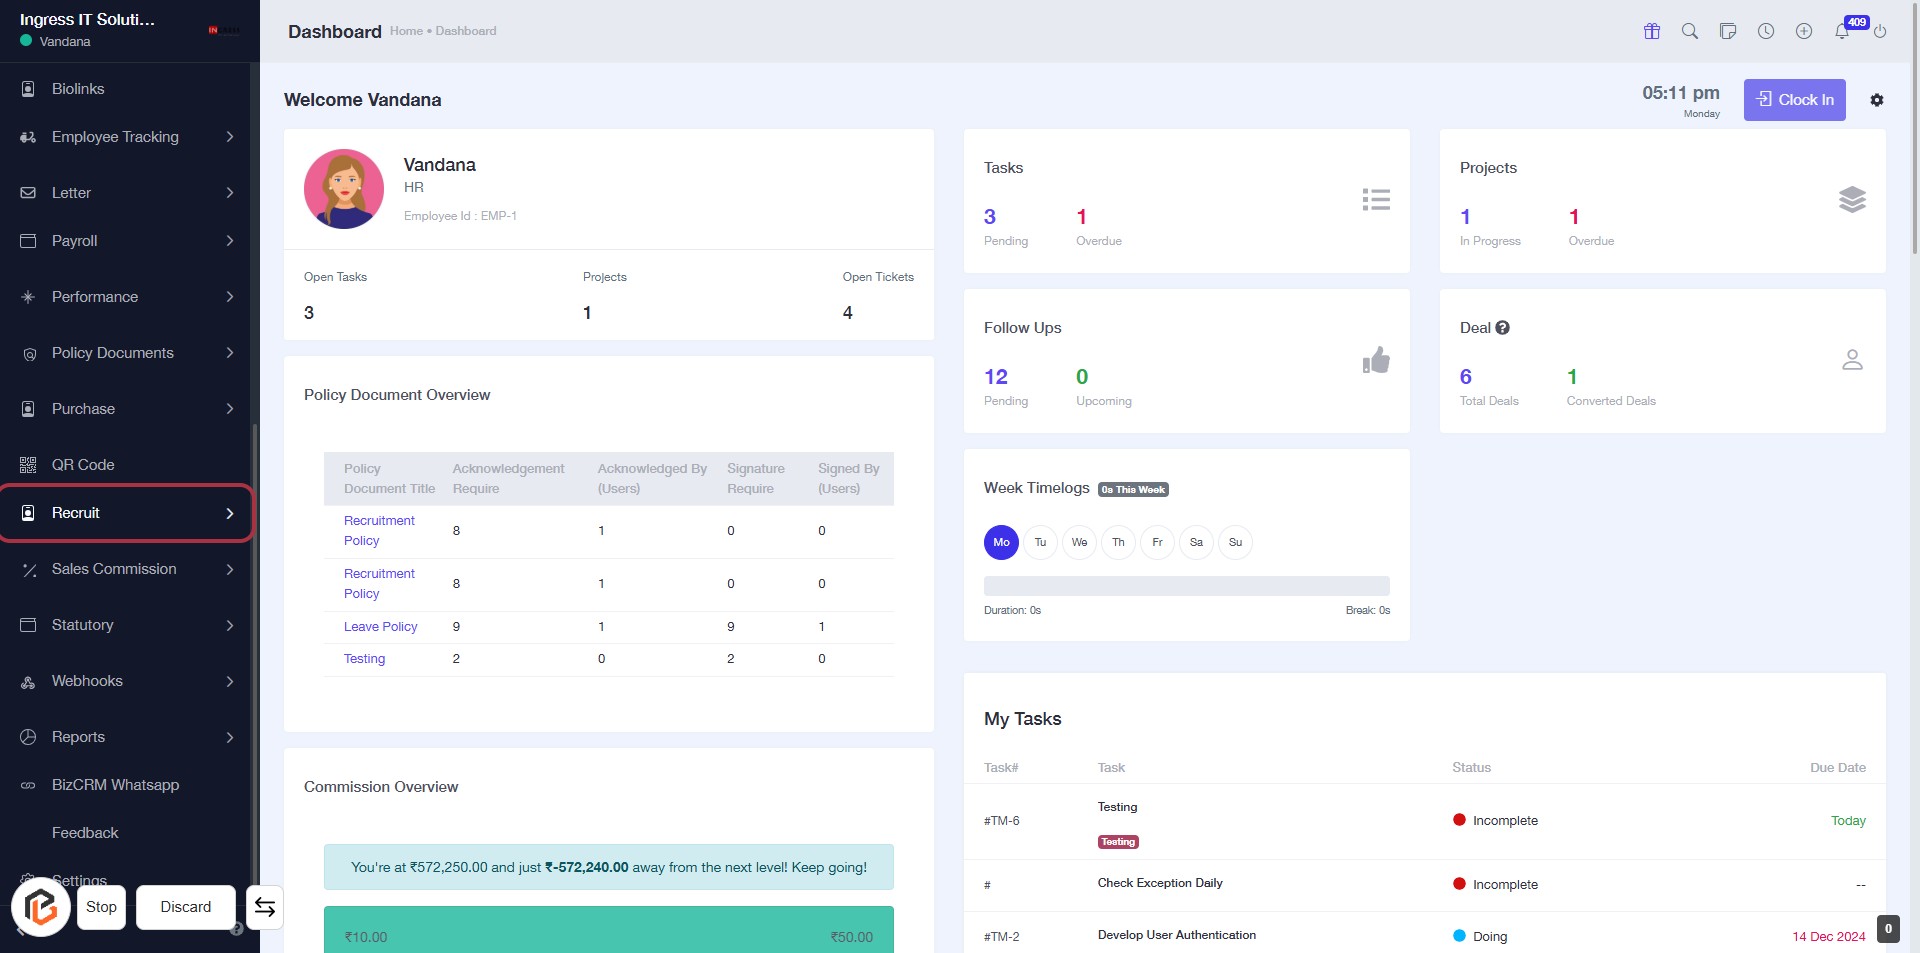
STEP 1: Click on "Recruit" to Access Recruitment Section
- Navigate to the left sidebar of the dashboard.
- Click on the Recruit link highlighted in red.
- This will take you to the recruitment section where you can manage recruitment-related tasks and documents.
- Ensure to check for any additional options or documents that may require your attention.
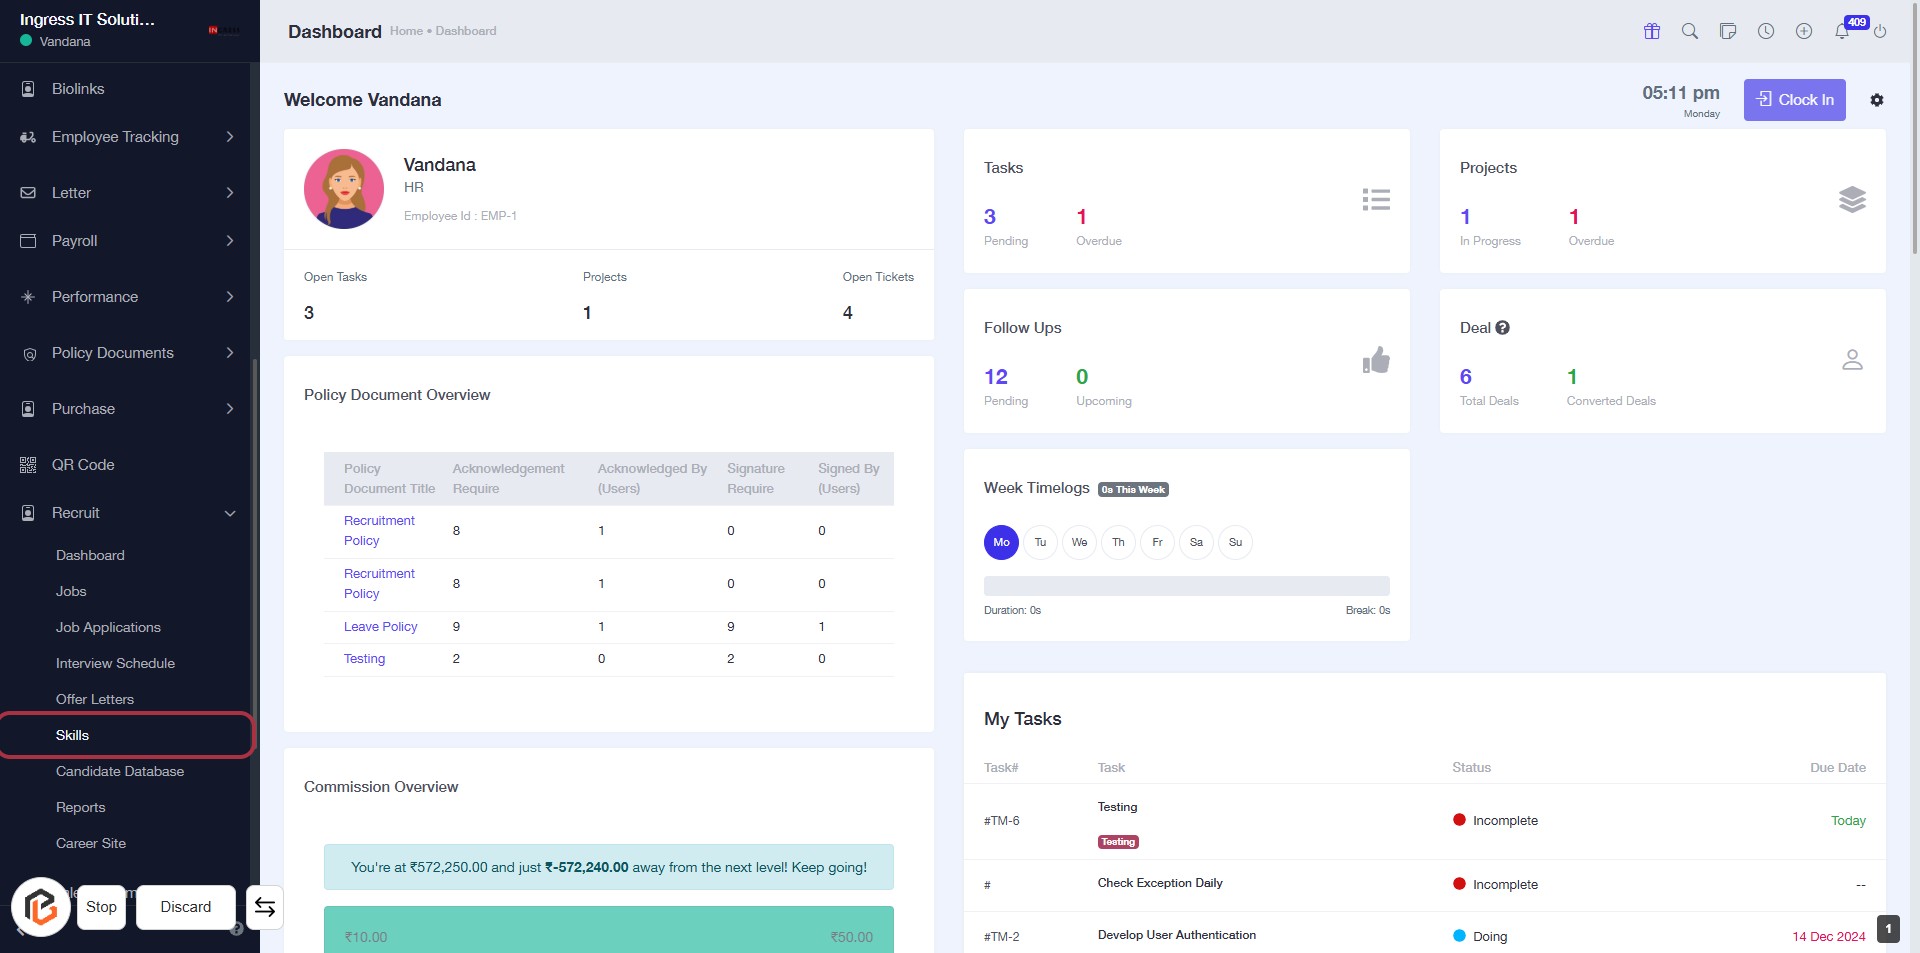
STEP 2: Click on "Skills" to Access Skills Section
- Click on the "Skills" link in the sidebar menu.
- This will direct you to the Skills section for further actions.
- Ensure to check for any required fields marked with an asterisk (*) in the next steps.
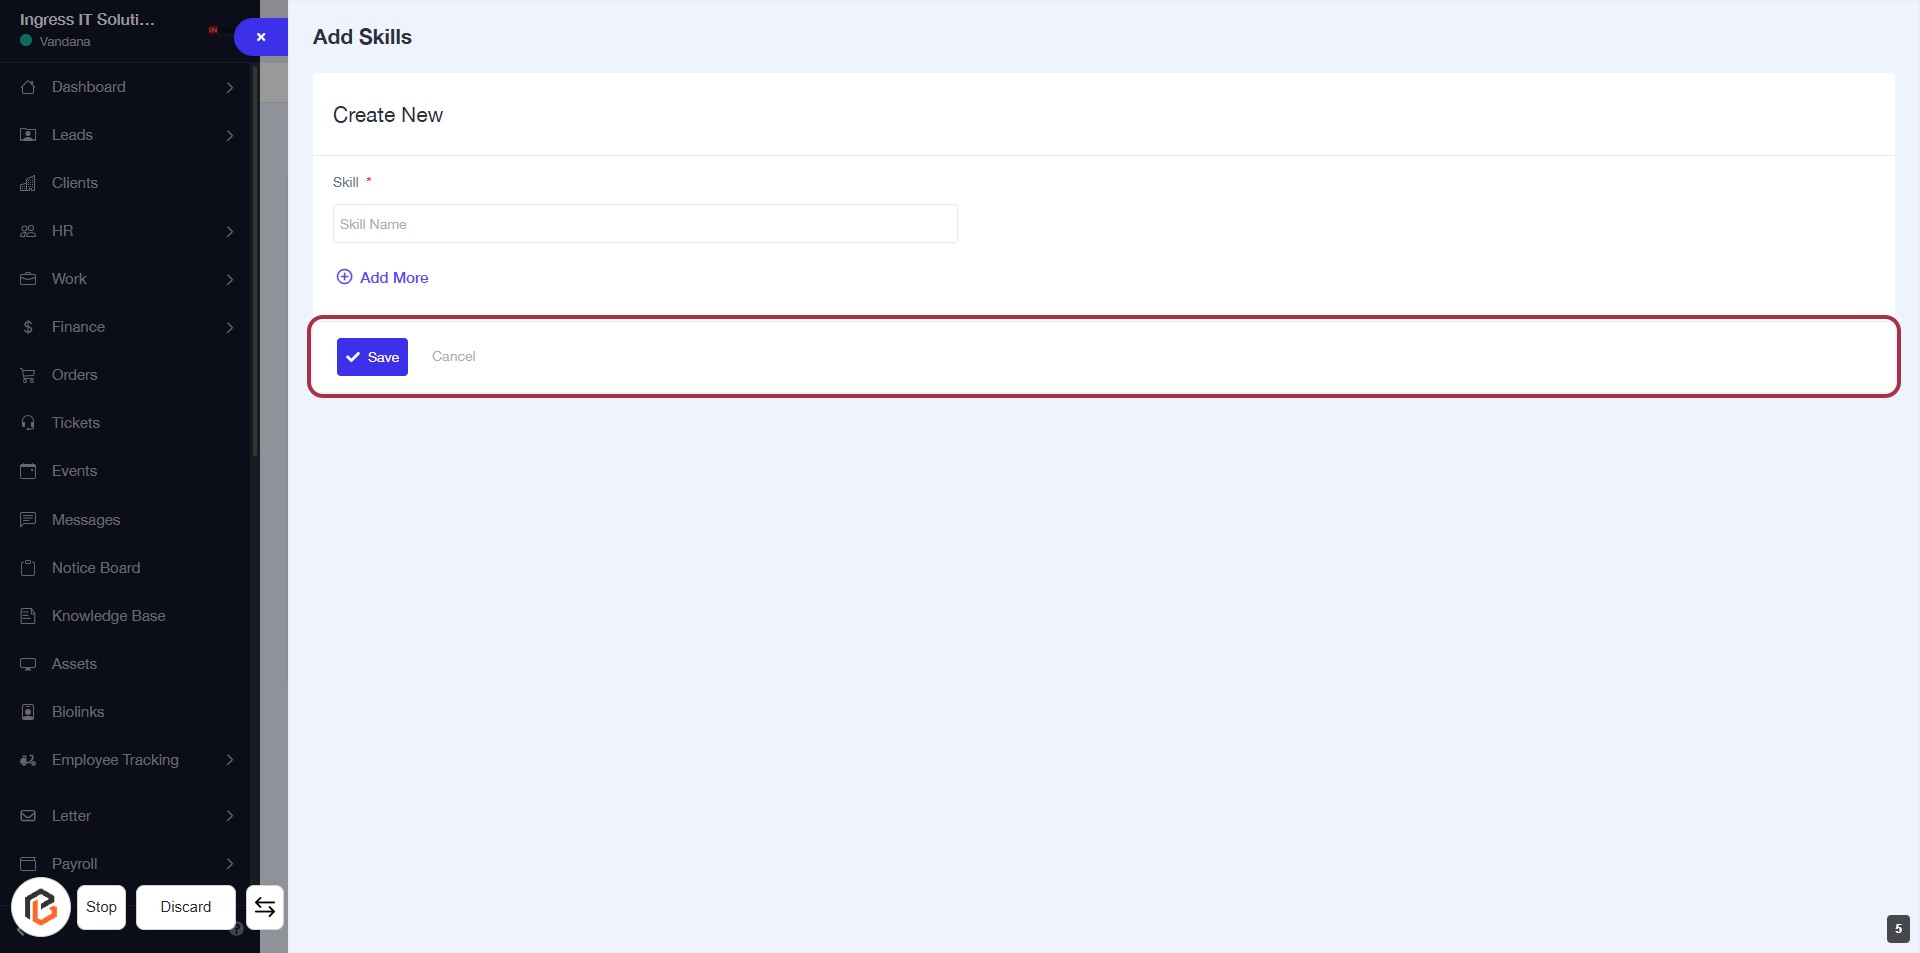
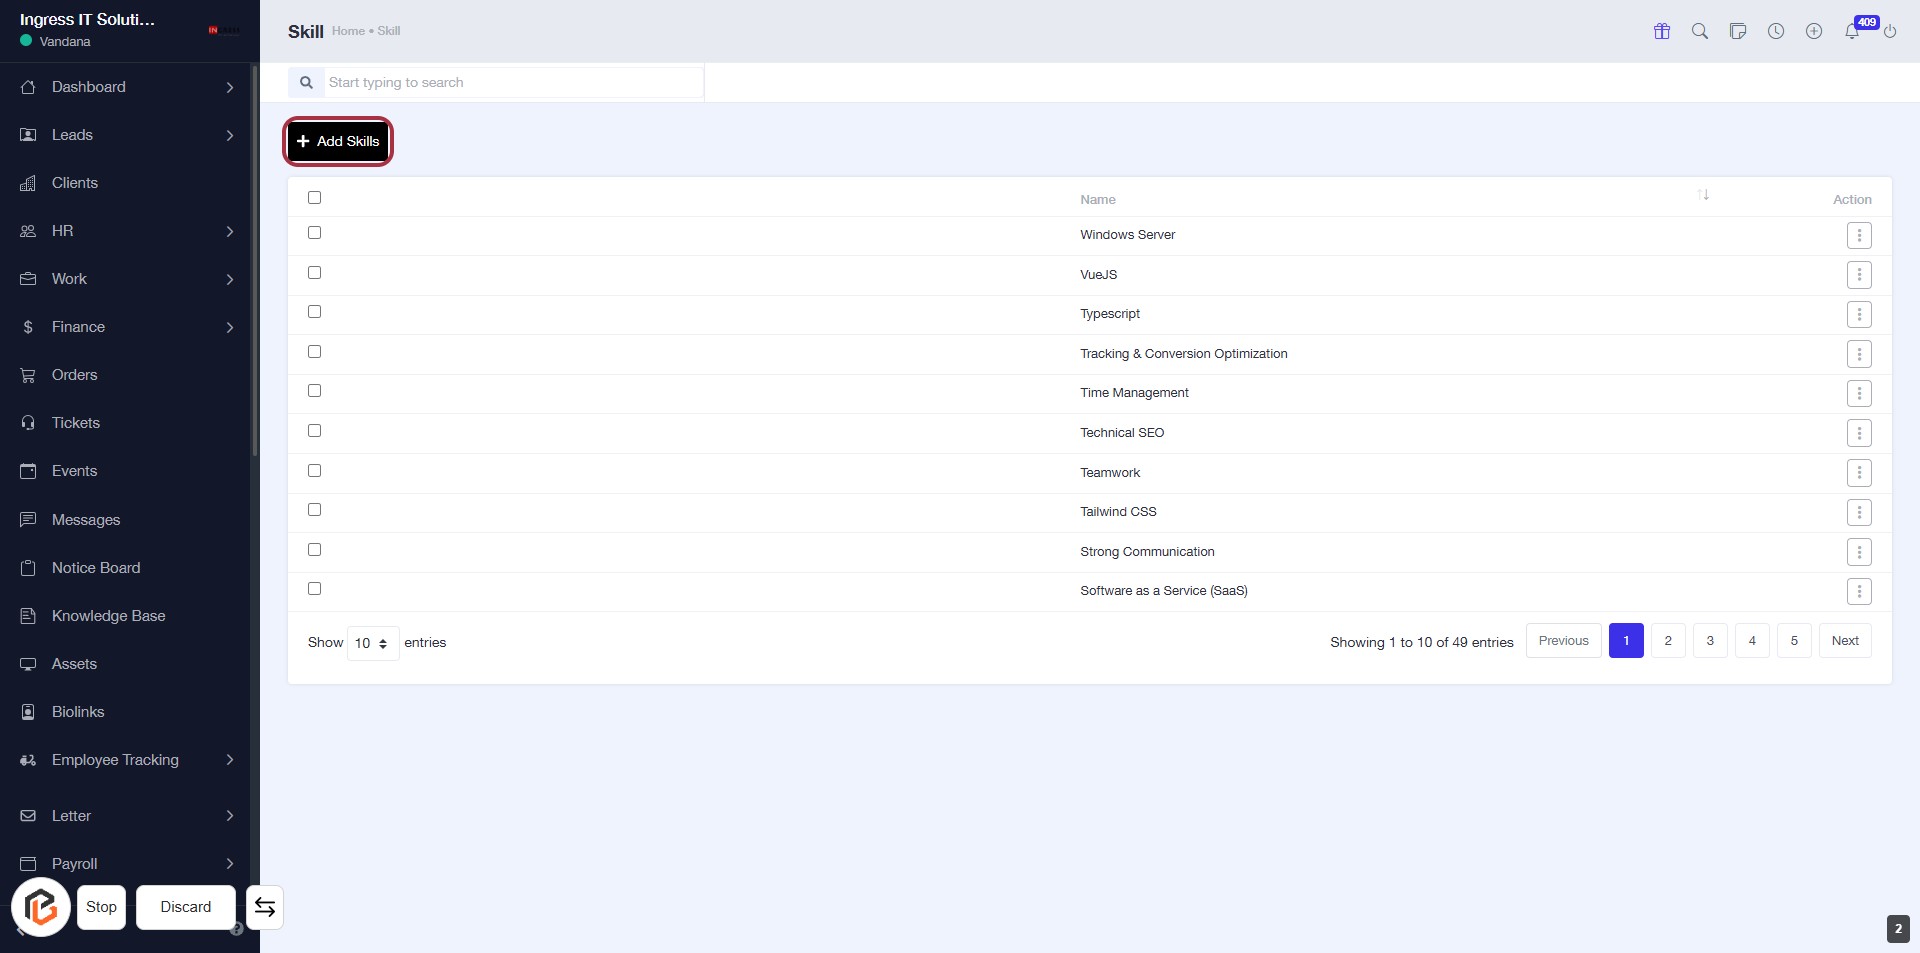
STEP 3: Click on "Add Skills" to Begin Adding New Skills
- Navigate to the Skills section.
- Click on the Add Skills button located at the top of the Skills list.
- This action will open a form where you can enter details for new skills.
- Ensure to fill in any required fields marked with an asterisk (*).
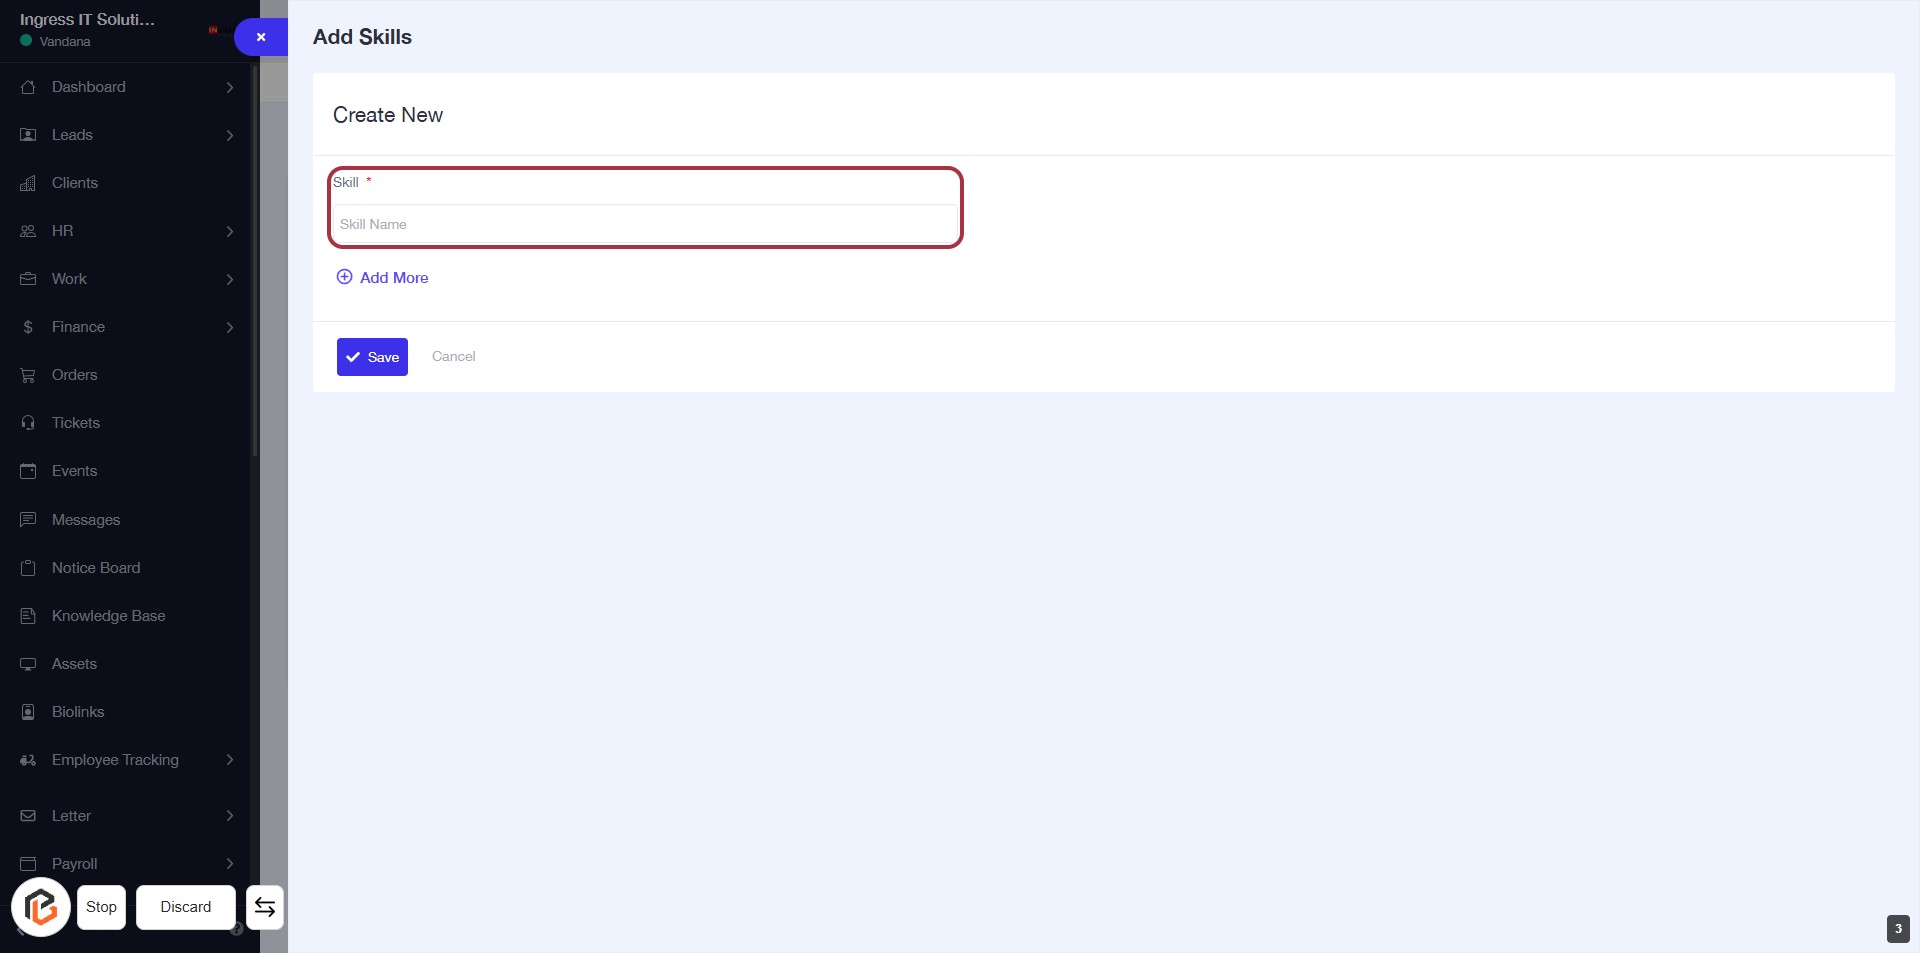
STEP 4: Click on "Skill" to Add a New Skill
- Navigate to the "Create New" section.
- Click on the highlighted "Skill *" area to enter the skill name.
- Ensure to fill in the required field marked with an asterisk (*).
- After entering the skill, proceed to click "Add More" if you wish to add additional skills.
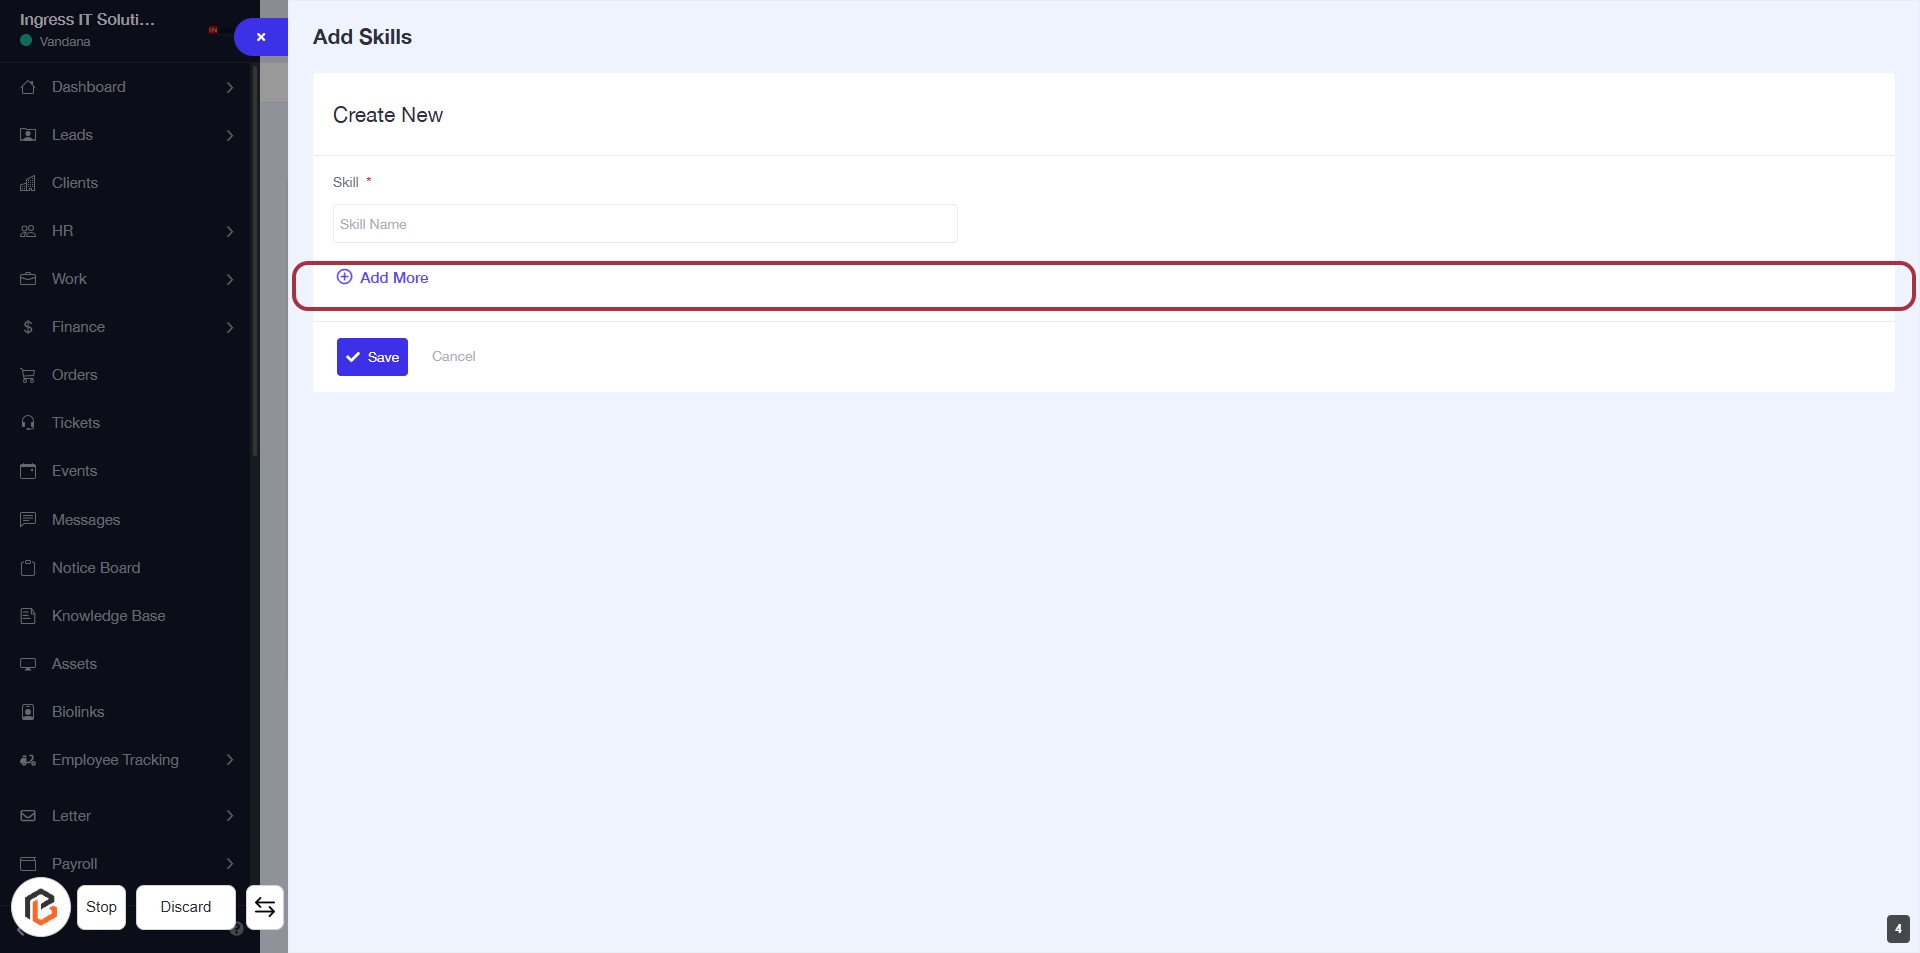
STEP 5: Click on "Add More" to Add Additional Skills
- Locate the "Add More" button highlighted in red.
- Click on "Add More" to enable the option to input additional skills.
- Ensure that the required fields are filled out before proceeding.
- After adding more skills, you can continue to the next step by clicking on "Save".
STEP 6: Click on "Save" to Finalize Skill Entry
- Ensure all required fields are filled out, especially the "Skill" field marked with an asterisk (*).
- Review your entries for accuracy.
- Click the Save button to submit your skill information.
- If you wish to cancel, click the Cancel button instead.