Step-by-Step Guide to Create a Job Listing: Navigate, Fill Required Fields, and Save Successfully
26 mins read · Updated 29 Sep, 2025
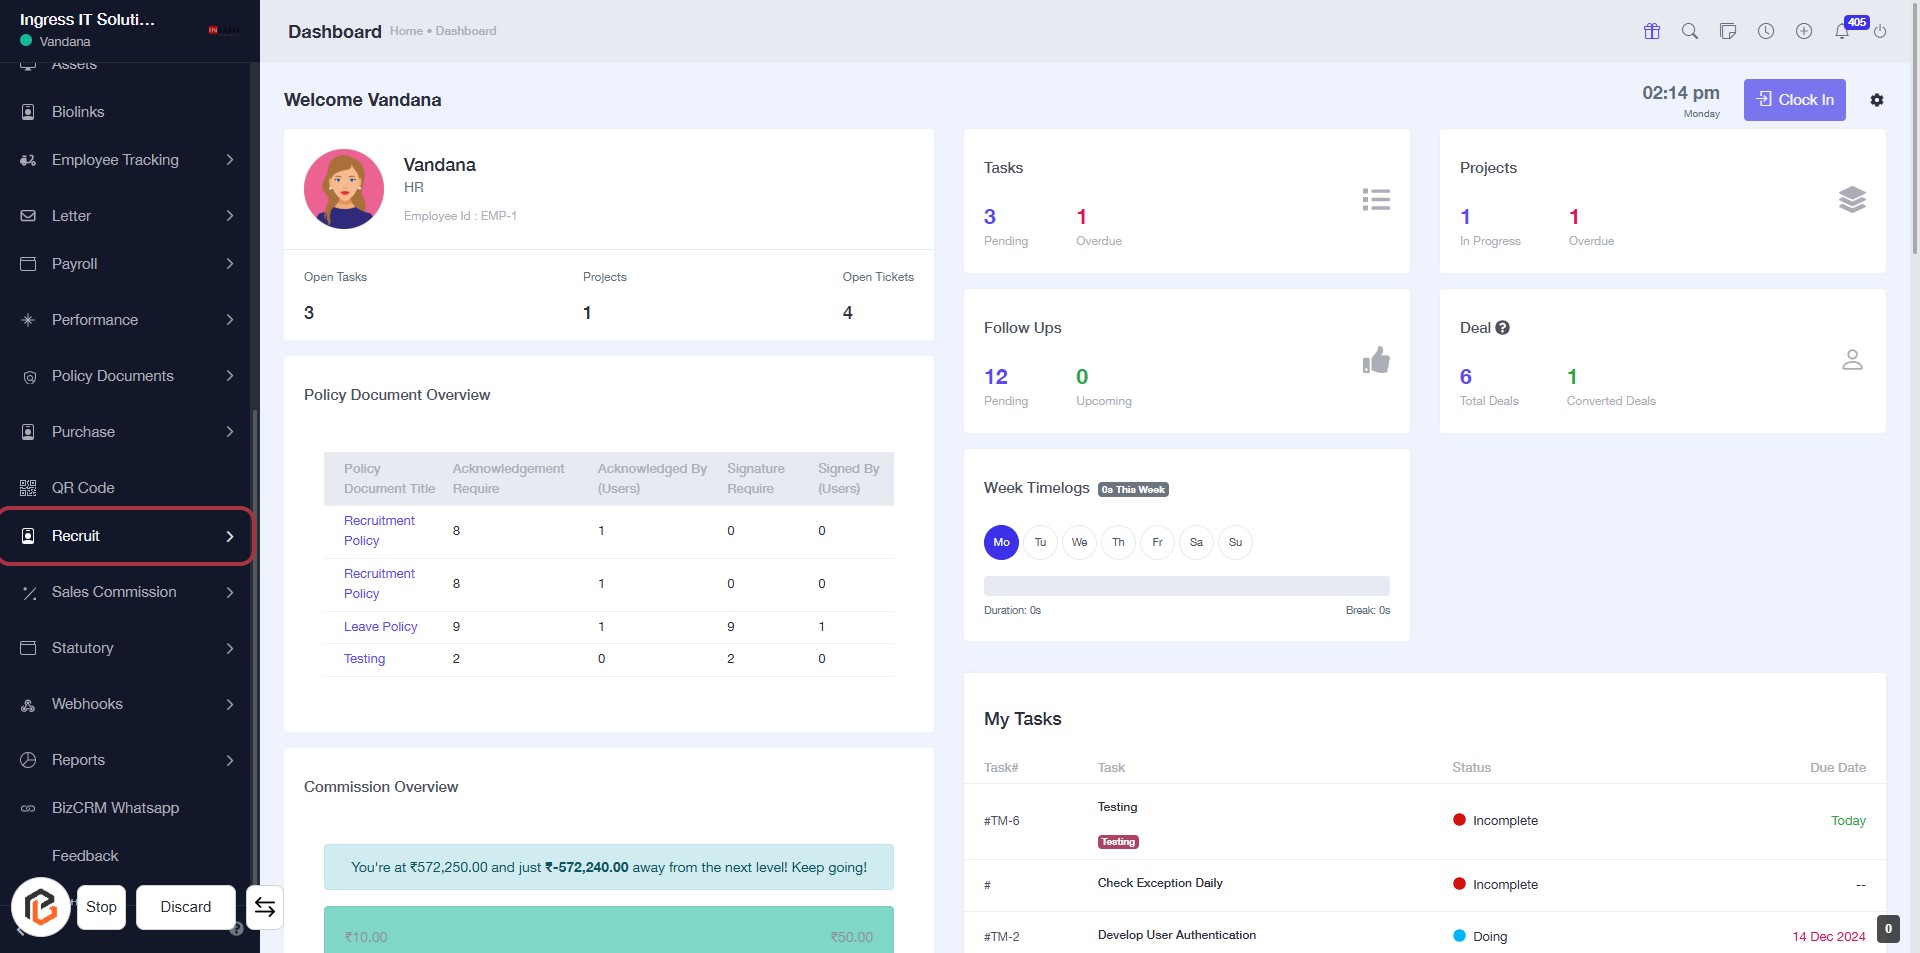
STEP 1: Click on "Recruit" to Access Recruitment Section
- Navigate to the left sidebar of the dashboard.
- Click on the Recruit link highlighted in red.
- This will direct you to the recruitment section for further actions.
- Ensure to check for any additional prompts or options that may appear after clicking.
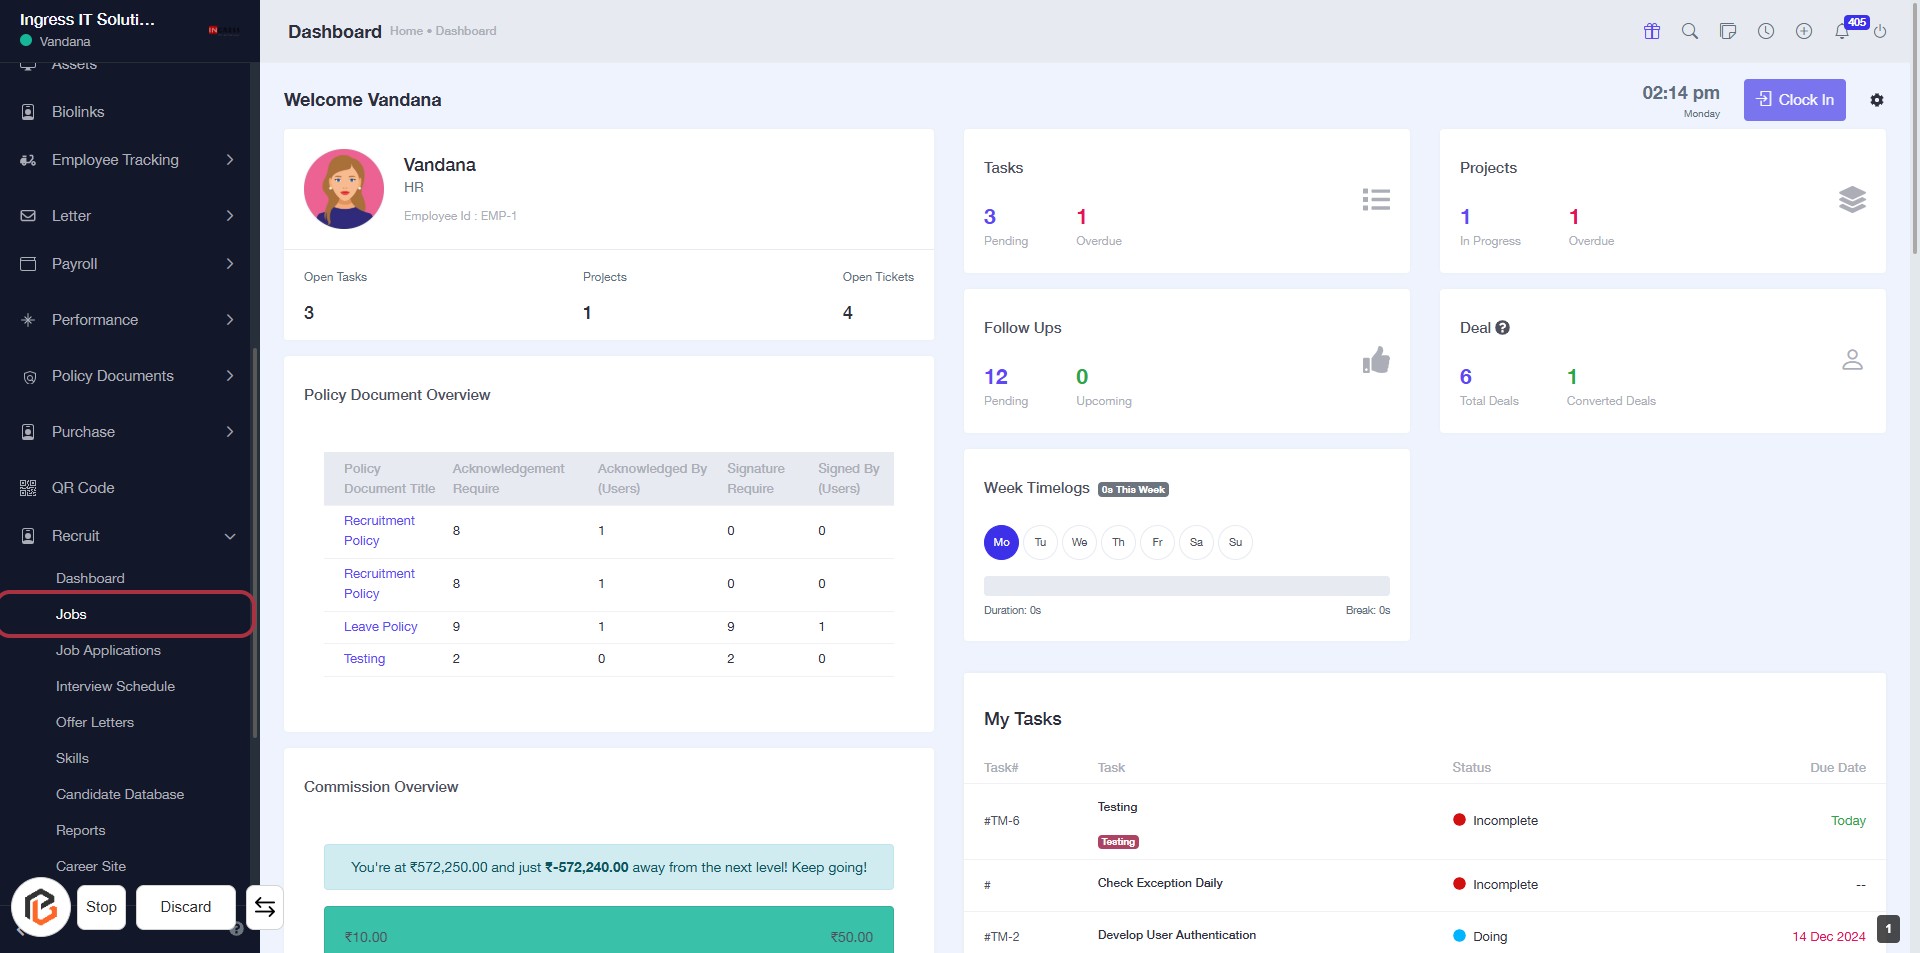
STEP 2: Click on "Jobs" to Access Job Management
- Navigate to the left sidebar and locate the "Jobs" option.
- Click on the "Jobs" link to enter the job management section.
- Ensure you are on the dashboard to view relevant job-related information.
- After this step, proceed to click on "Add Job" for job creation.
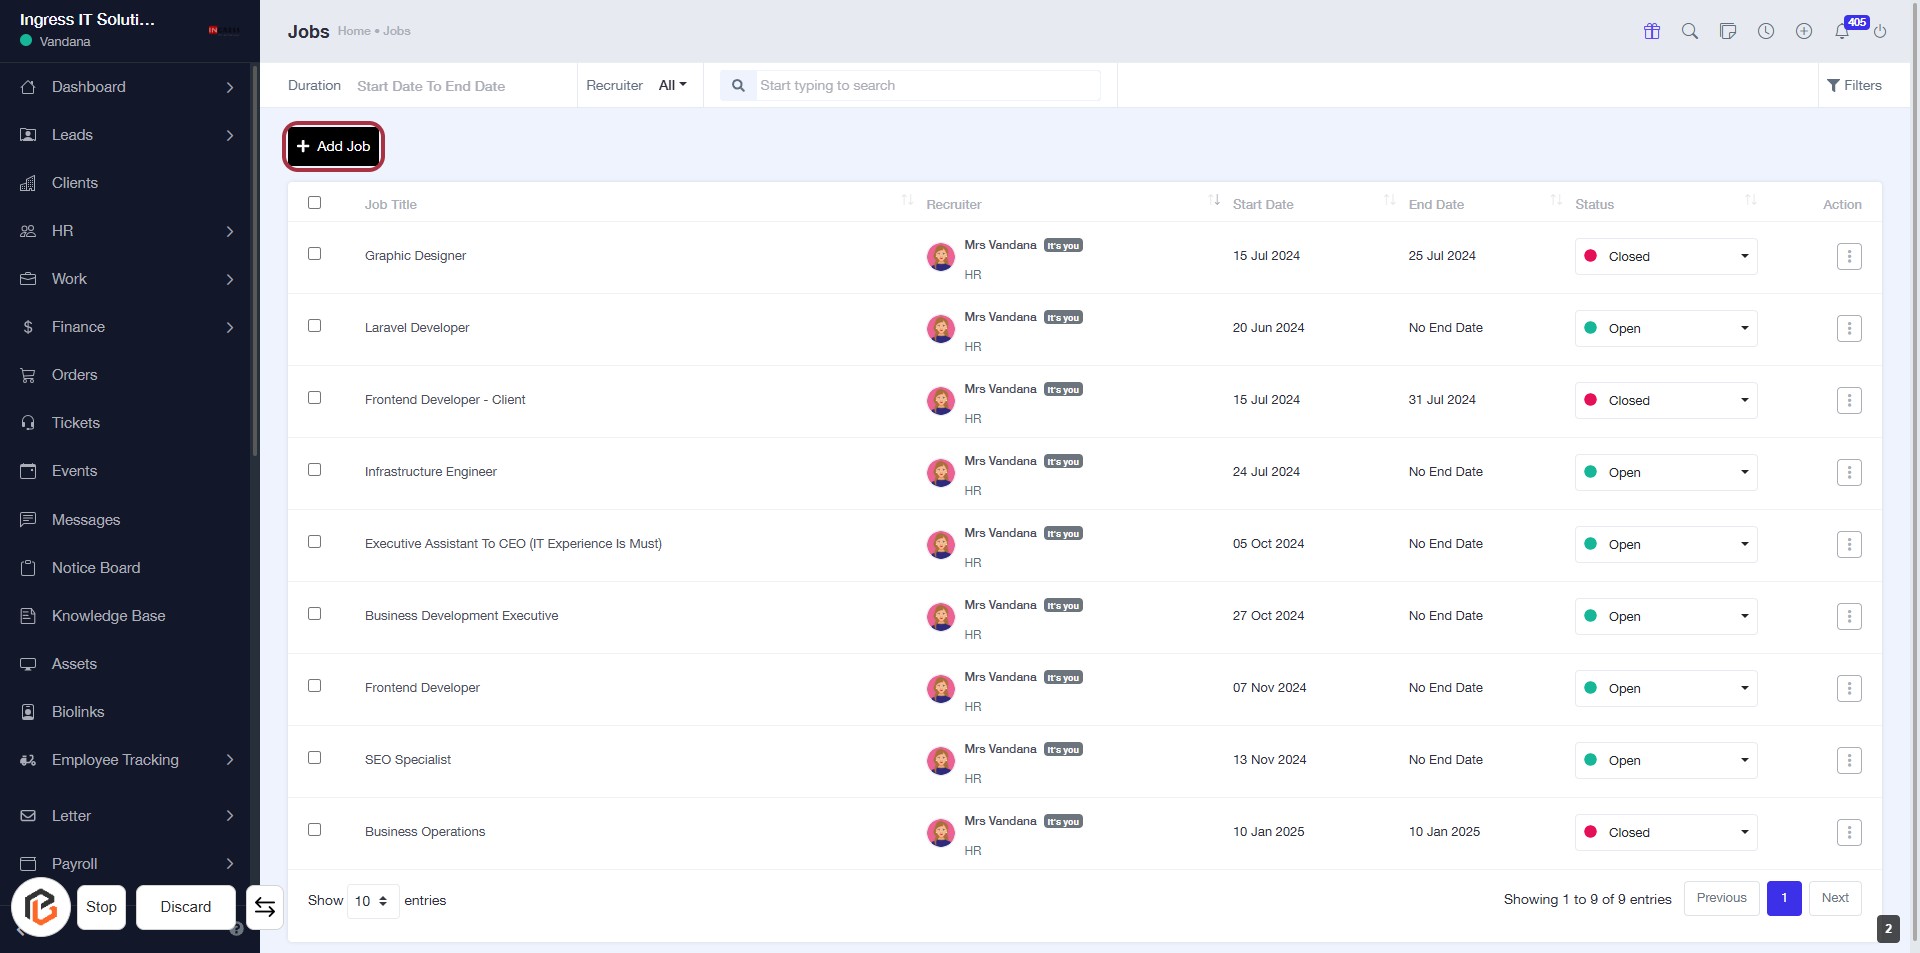
STEP 3: Click on "Add Job"
- Navigate to the "Jobs" section.
- Click on the + Add Job button highlighted in red.
- This action will take you to the job creation form.
- Ensure to fill in all required fields marked with an asterisk (*).
- Proceed to the next step to enter the "Job Title".
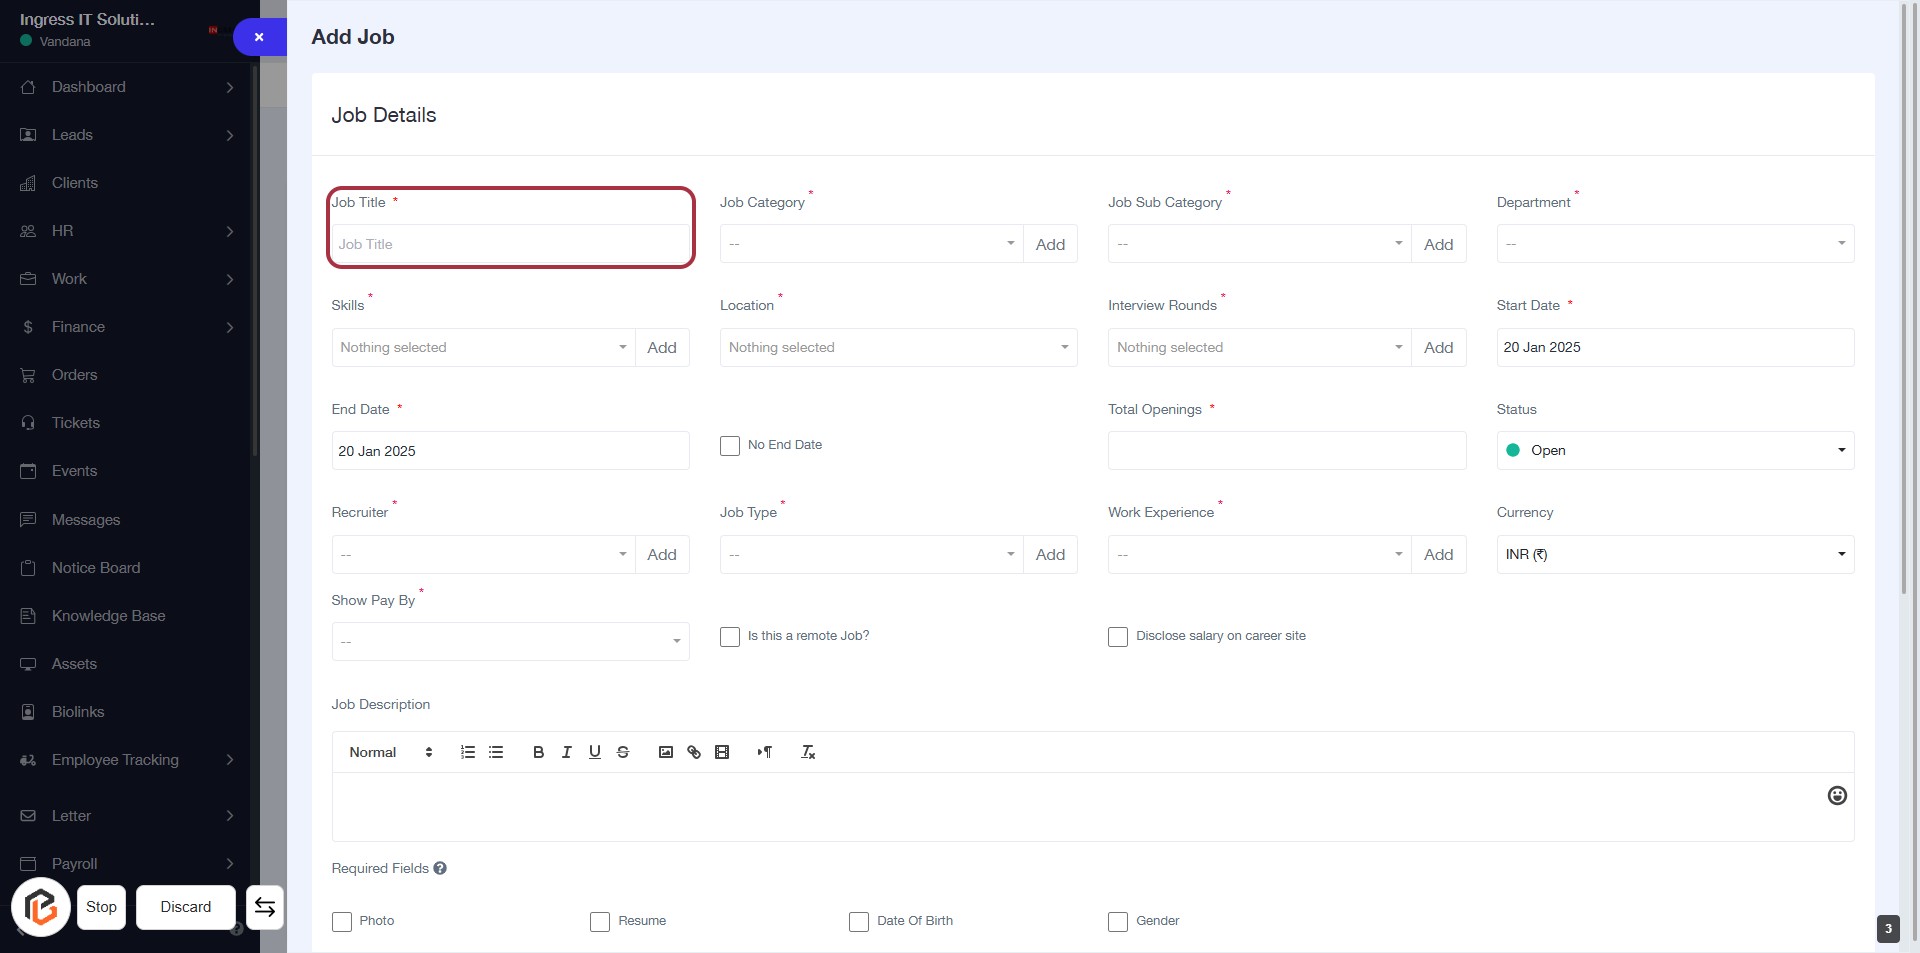
STEP 4: Enter Job Title
- Click on the "Job Title" field (marked with an asterisk) to input the job title.
- Ensure the title is descriptive and relevant to the position.
- This field is mandatory, as indicated by the asterisk (*).
- Proceed to the next step by adding the "Job Category."
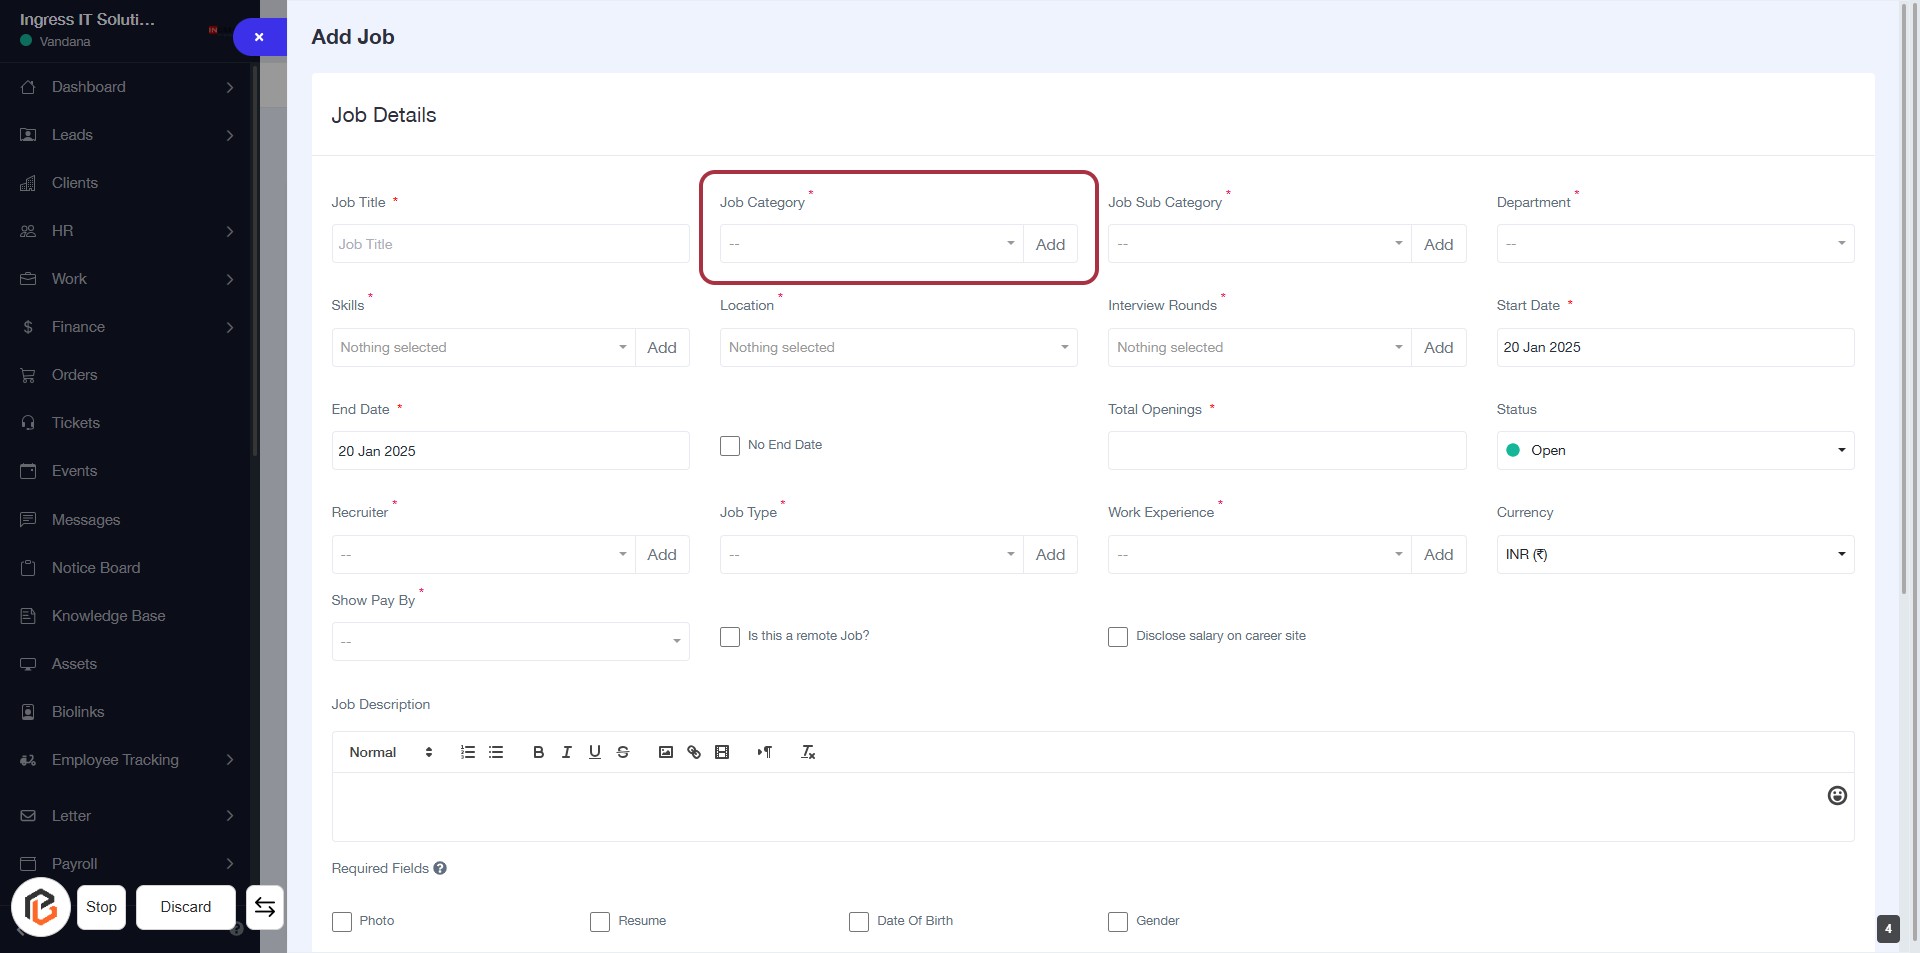
STEP 5: Click to Add Job Category
- Click on the Job Category field (marked with a red border).
- This field is required (indicated by the asterisk '*').
- Select an appropriate category from the dropdown menu.
- Ensure all mandatory fields are filled before proceeding to the next step.
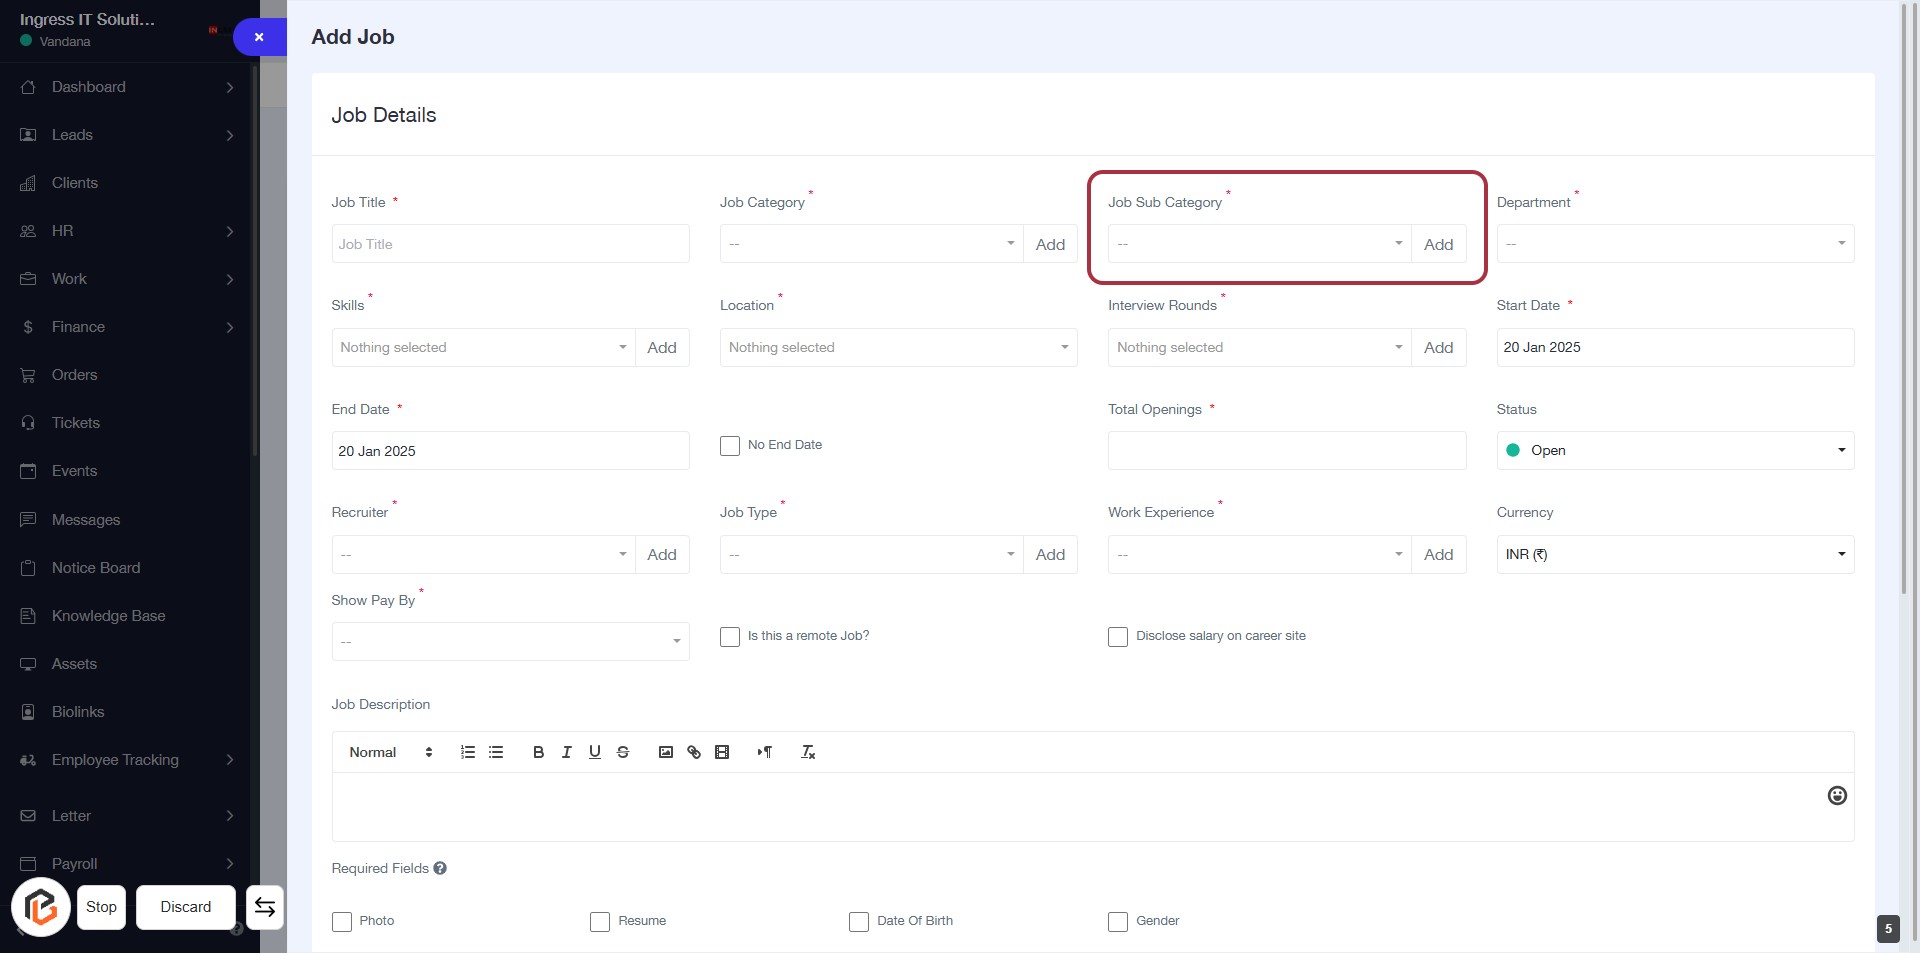
STEP 6: Click to Add Job Sub Category
- Click on the "Job Sub Category" field highlighted in red.
- This field is mandatory, indicated by the asterisk (*).
- A dropdown will appear; select the appropriate job subcategory.
- Ensure all required fields are filled before proceeding to the next step.
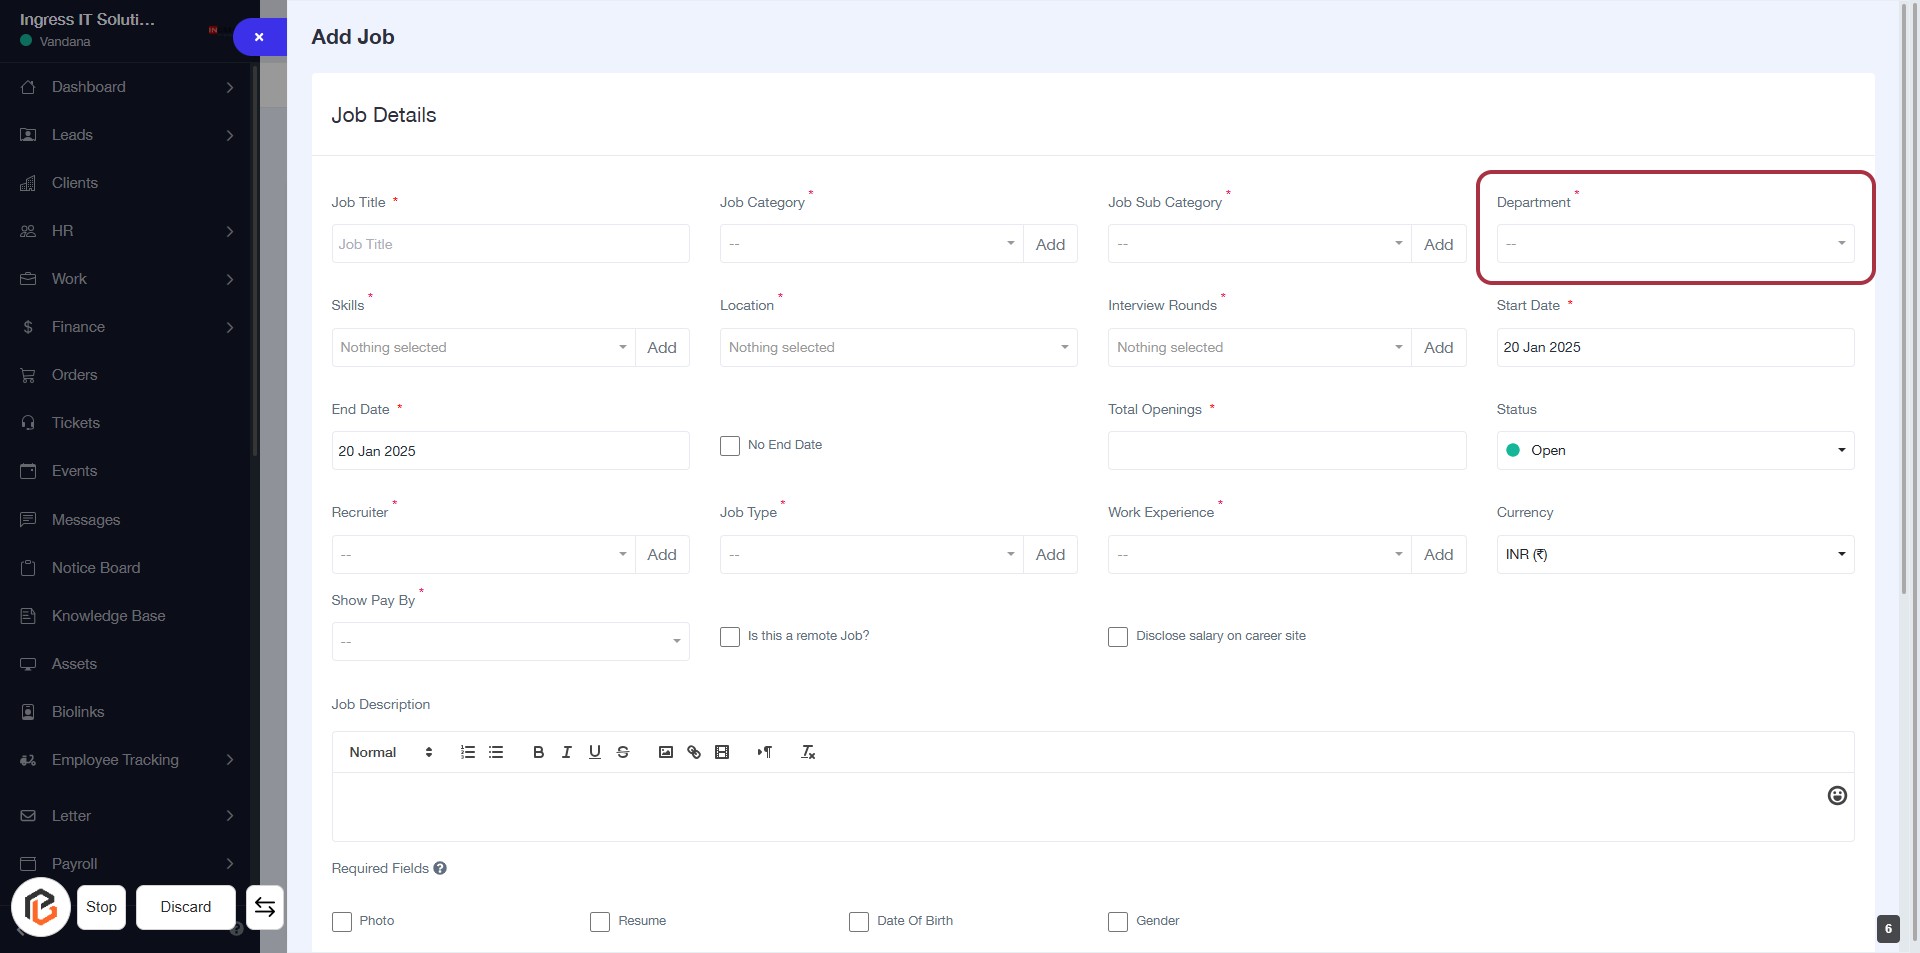
STEP 7: Select "Department"
- Click on the "Department" field highlighted in red.
- Choose the appropriate department from the dropdown menu.
- Ensure that the field marked with an asterisk (*) is filled, as it is required.
- Review other job details before proceeding to the next step.
STEP 8: Click "Add Skills"
- Click on the "Add" button next to the "Skills" field to select required skills for the job.
- Ensure to fill in any mandatory fields marked with an asterisk (*).
- Review the selected skills before proceeding to the next step.

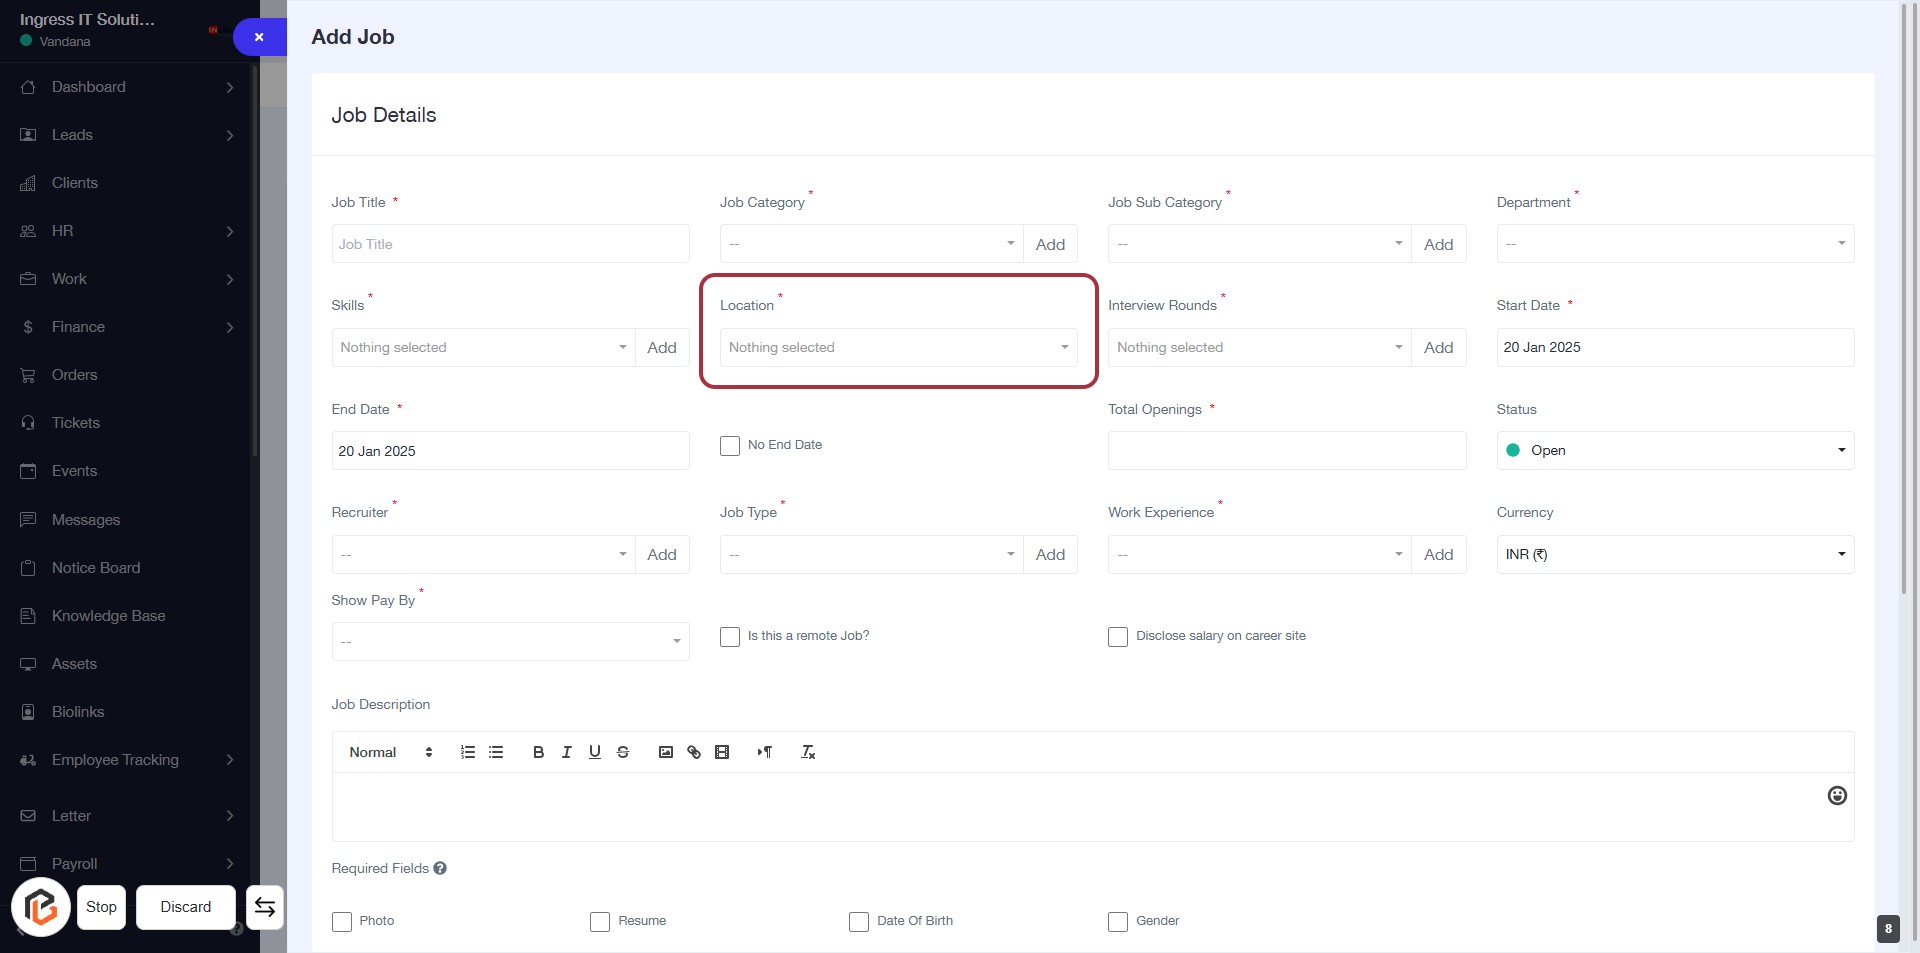
STEP 9: Add "Location"
- Click on the "Location" field highlighted in red.
- Select the desired location from the dropdown menu.
- Ensure that the field marked with an asterisk (*) is filled, as it is required.
- Review other job details before proceeding to the next step.
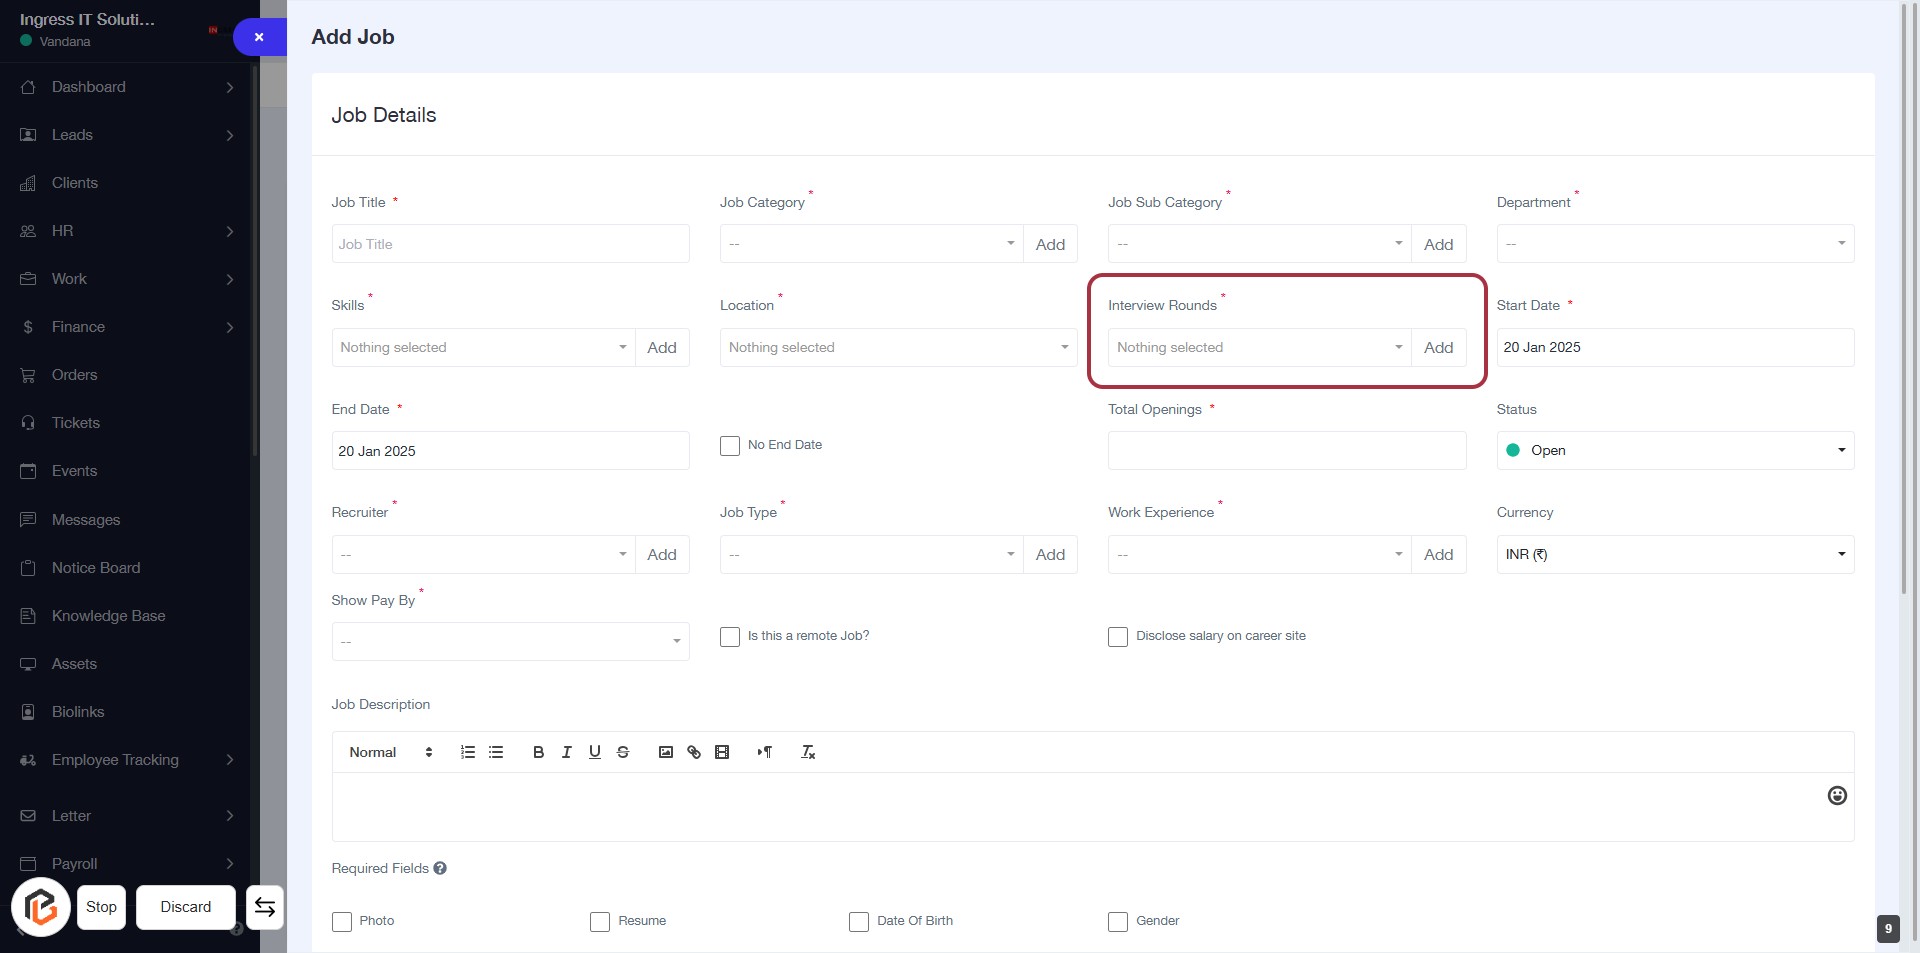
STEP 10: Click "Add" for Interview Rounds
- Navigate to the Interview Rounds section in the job details form.
- Click the Add button next to the Interview Rounds label.
- Ensure to select the appropriate interview rounds from the dropdown.
- Look for any required fields marked with an asterisk (*).
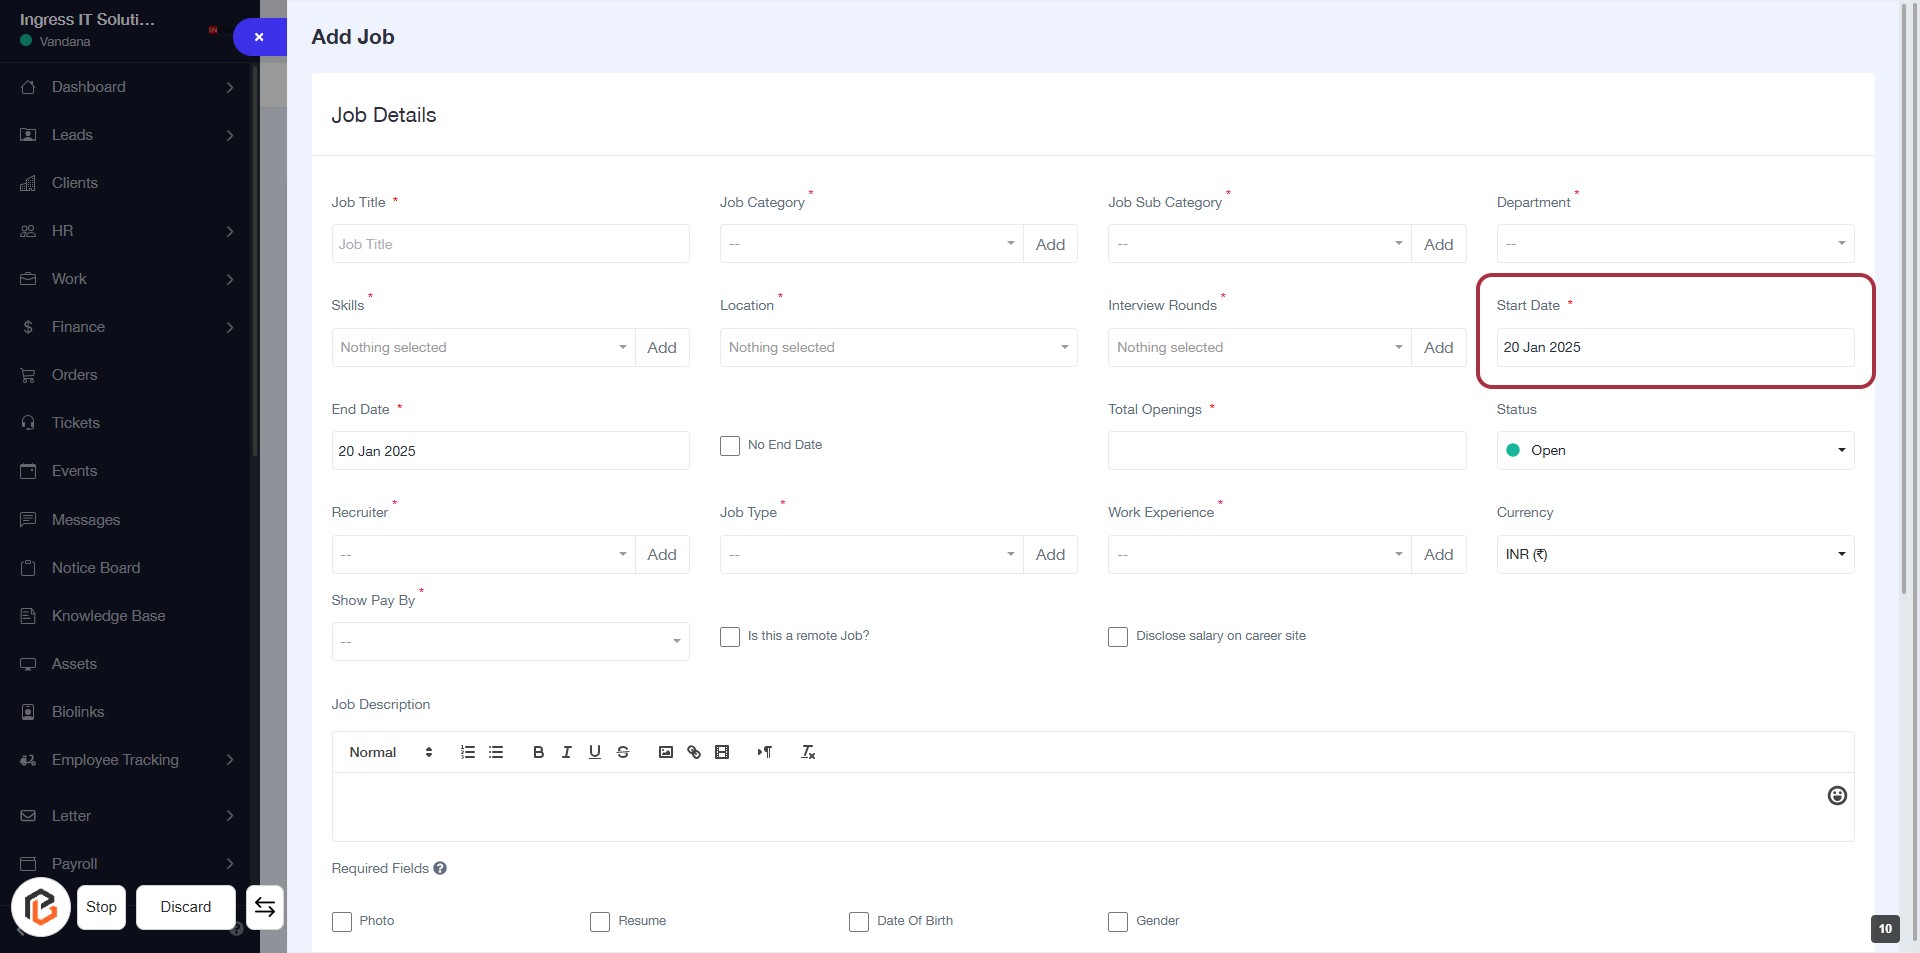
STEP 11: Select "Start Date"
- Click on the "Start Date" field (marked with an asterisk * for required input).
- Enter the desired start date for the job position.
- Ensure the date format is consistent with the application requirements.
- Review other fields for any additional required information.
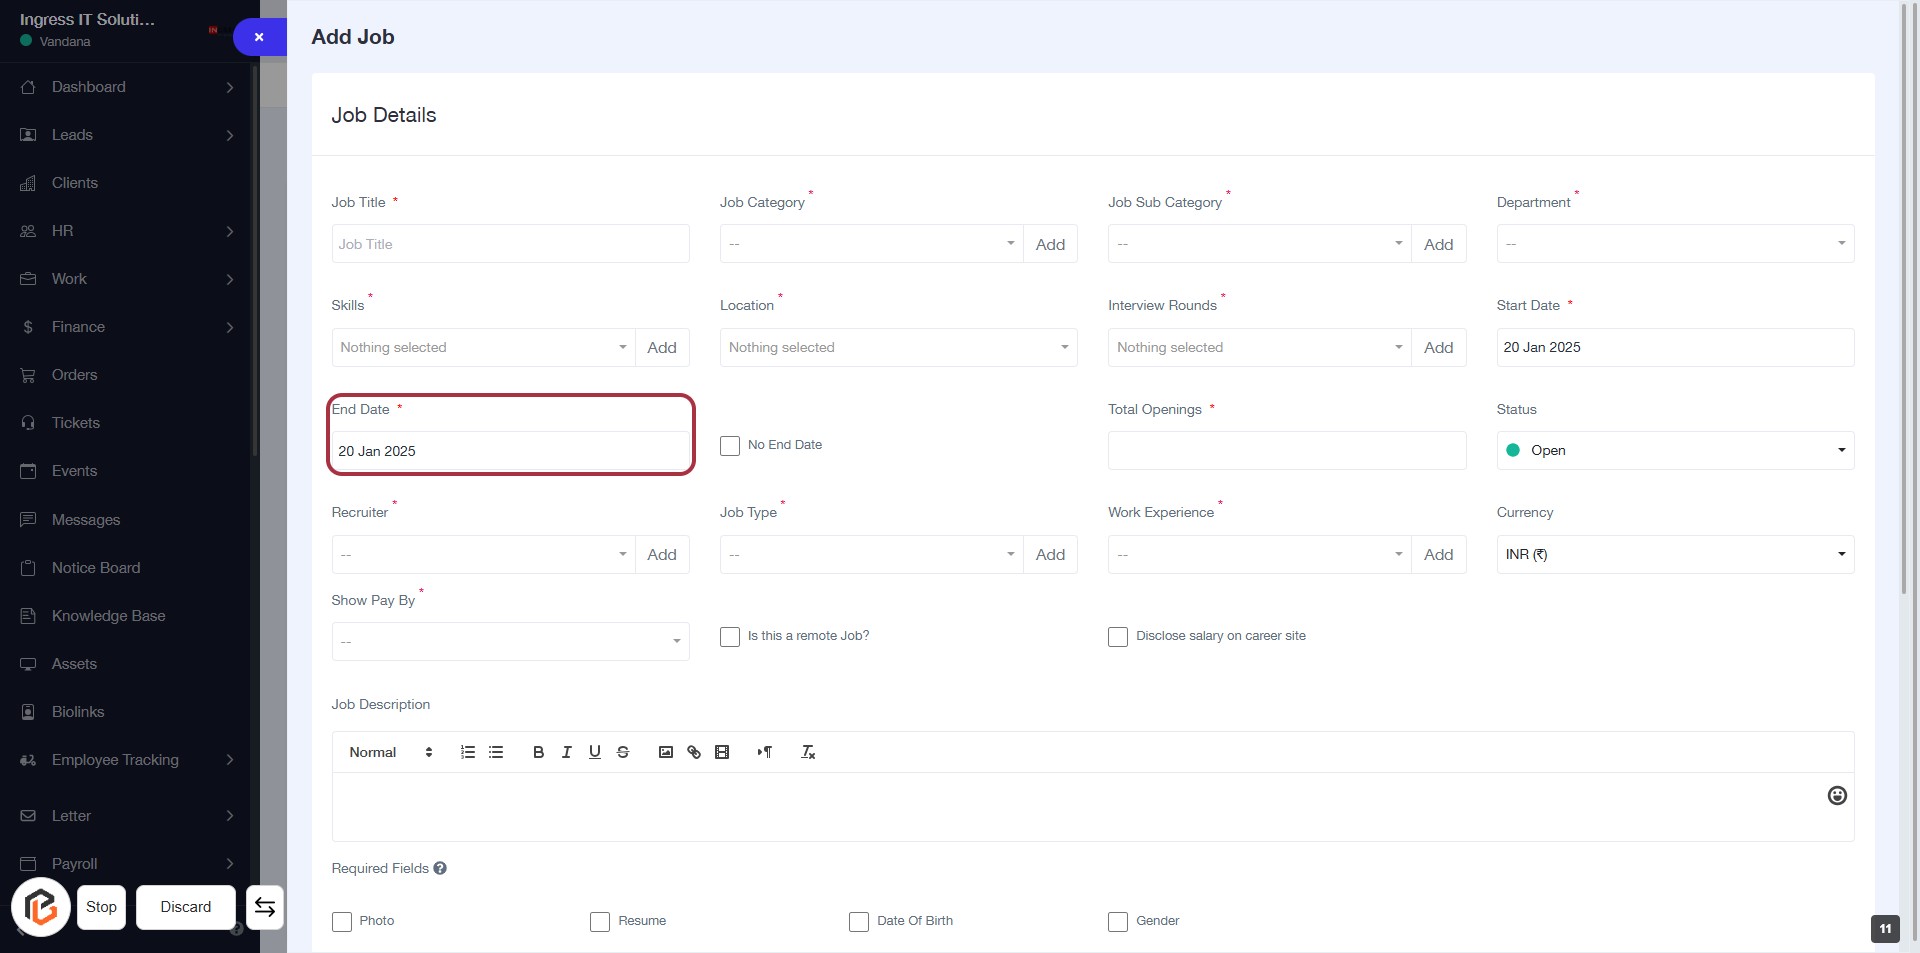
STEP 12: Select "End Date"
- Click on the End Date field (marked with an asterisk).
- Enter the desired end date for the job.
- Ensure the date format is consistent with the application's requirements.
- If applicable, consider checking the No End Date option in the next step.
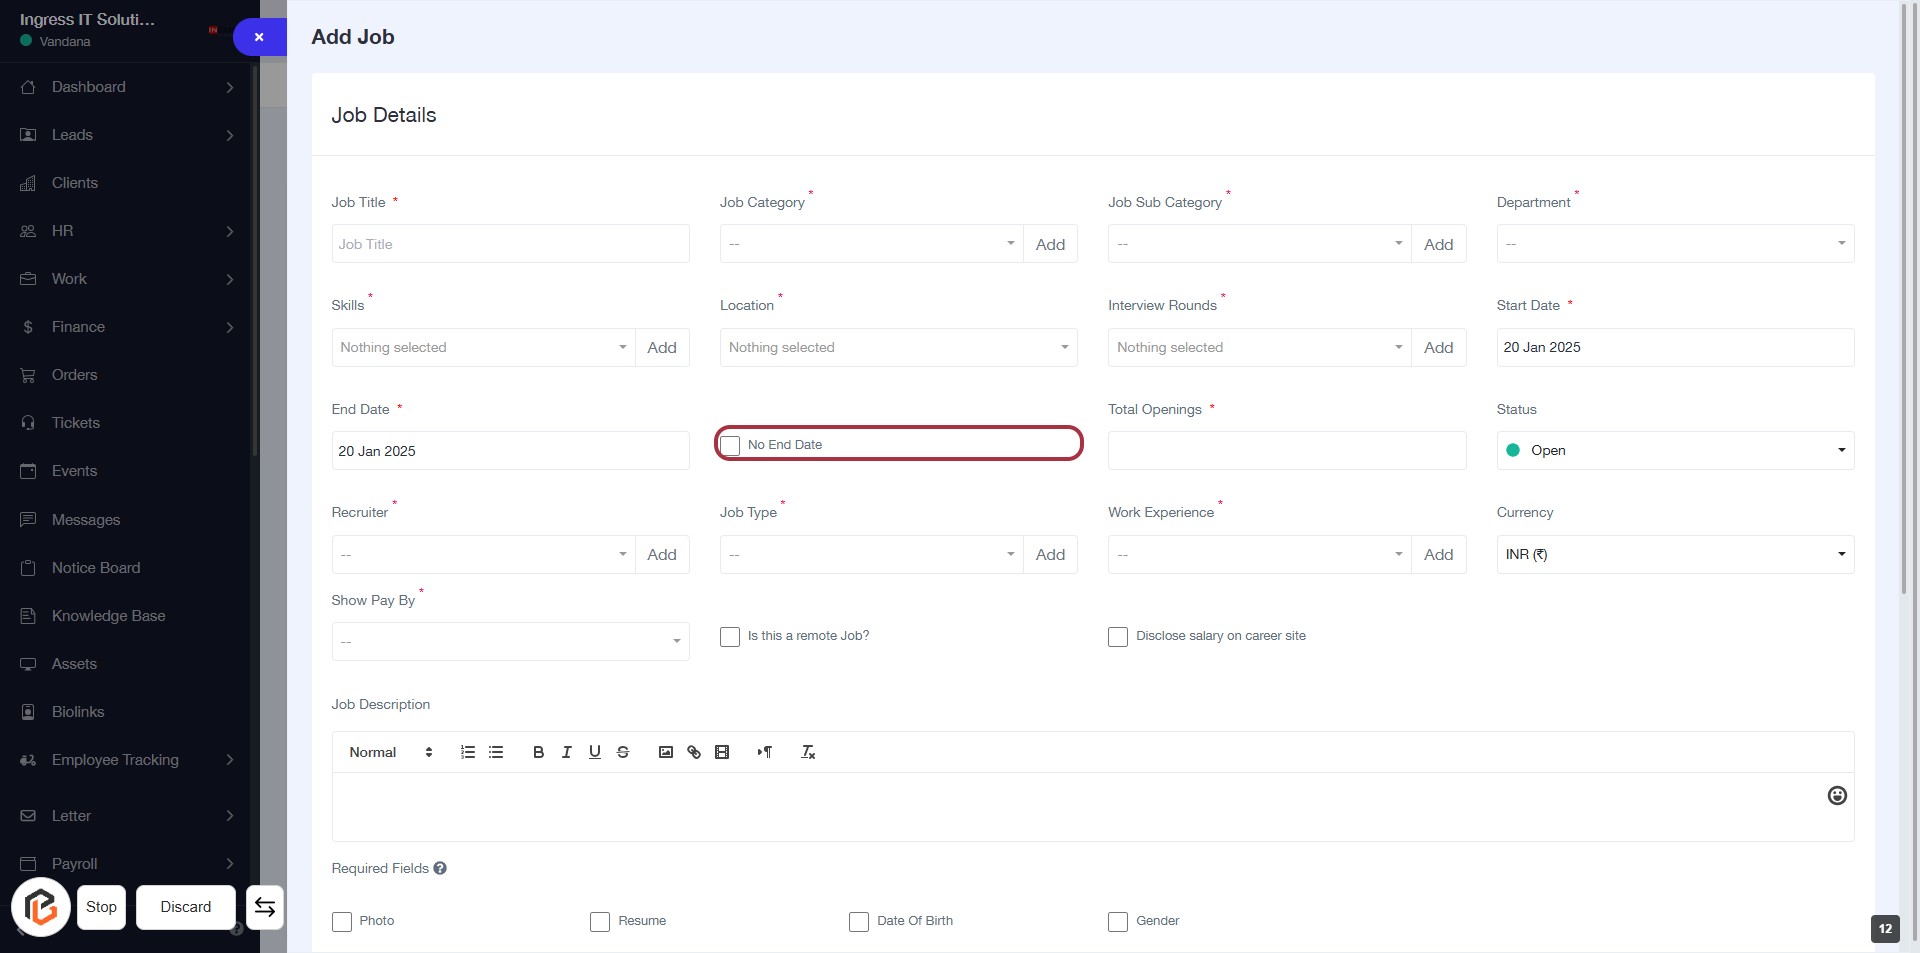
STEP 13: Click "No End Date" Checkbox
- Locate the "No End Date" checkbox in the job details form.
- Click on the checkbox to select it.
- Ensure that the checkbox is marked, indicating that there is no end date for the job.
- Proceed to the next step by entering the "Total Openings."
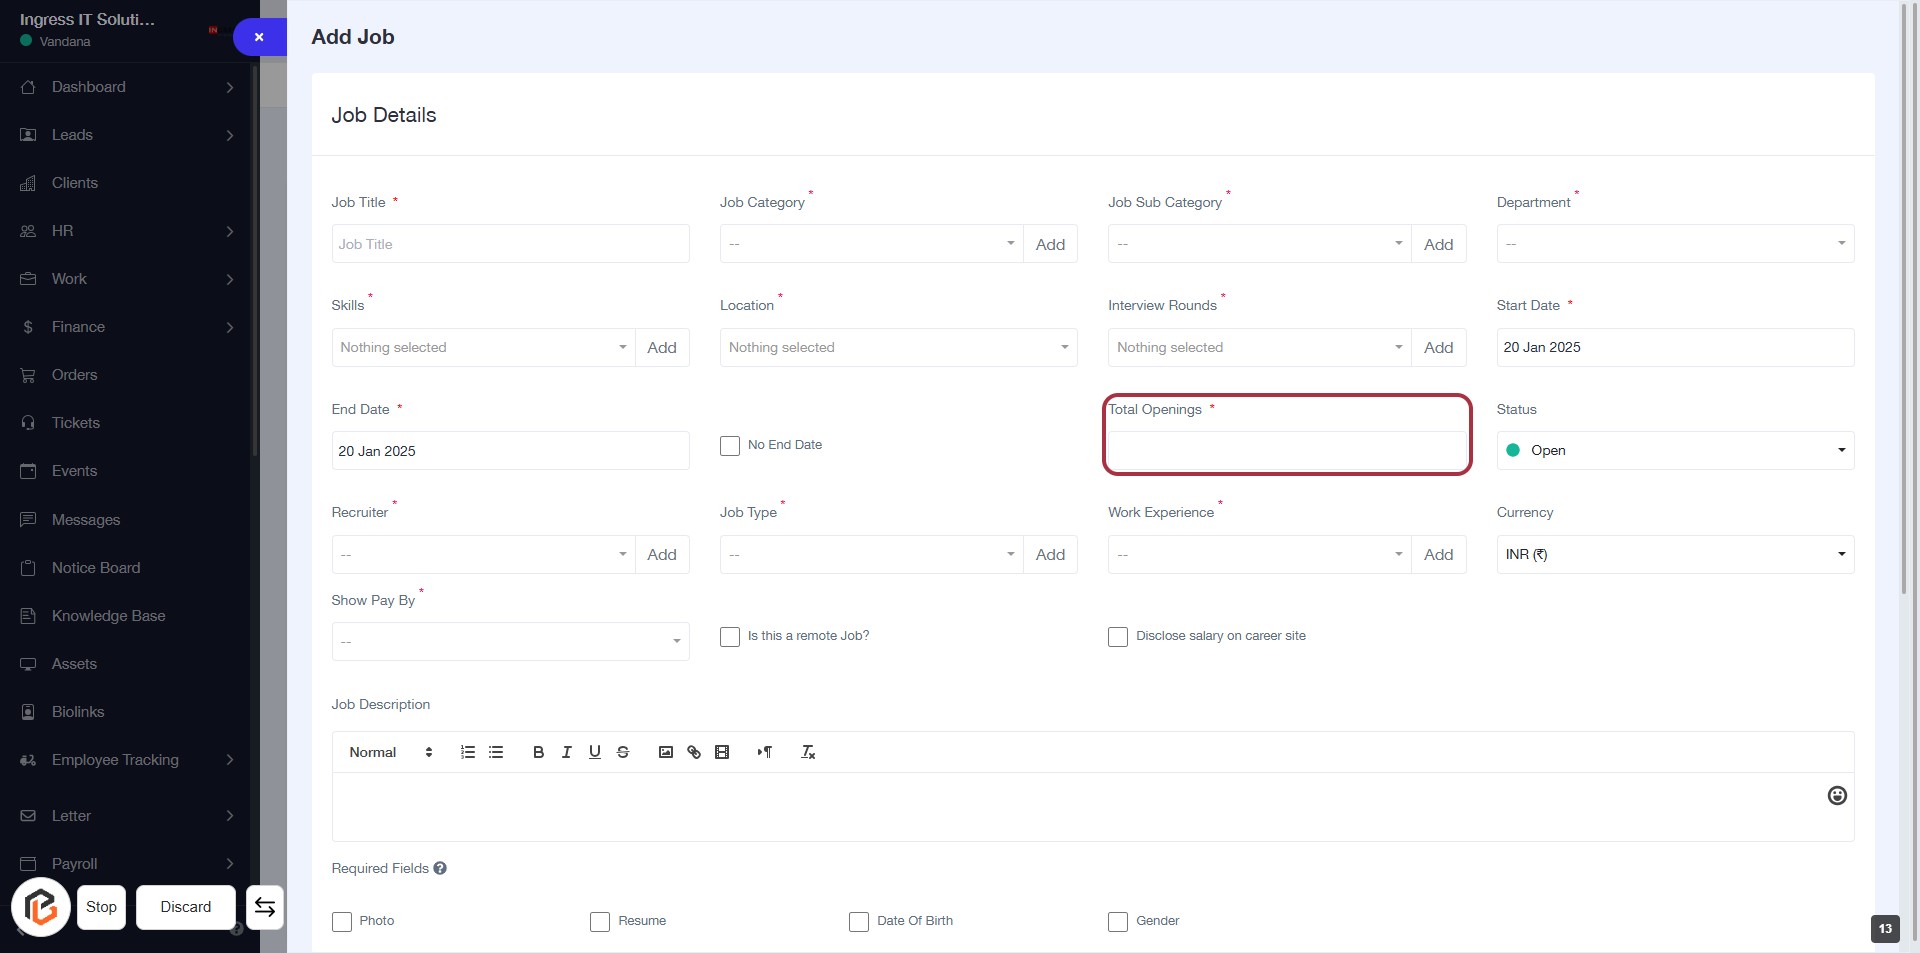
STEP 14: Enter Total Openings
- Click on the "Total Openings" field (marked with an asterisk) to input the number of job openings.
- Ensure to provide a valid number as this field is mandatory.
- Review other fields for completeness before proceeding to the next step.
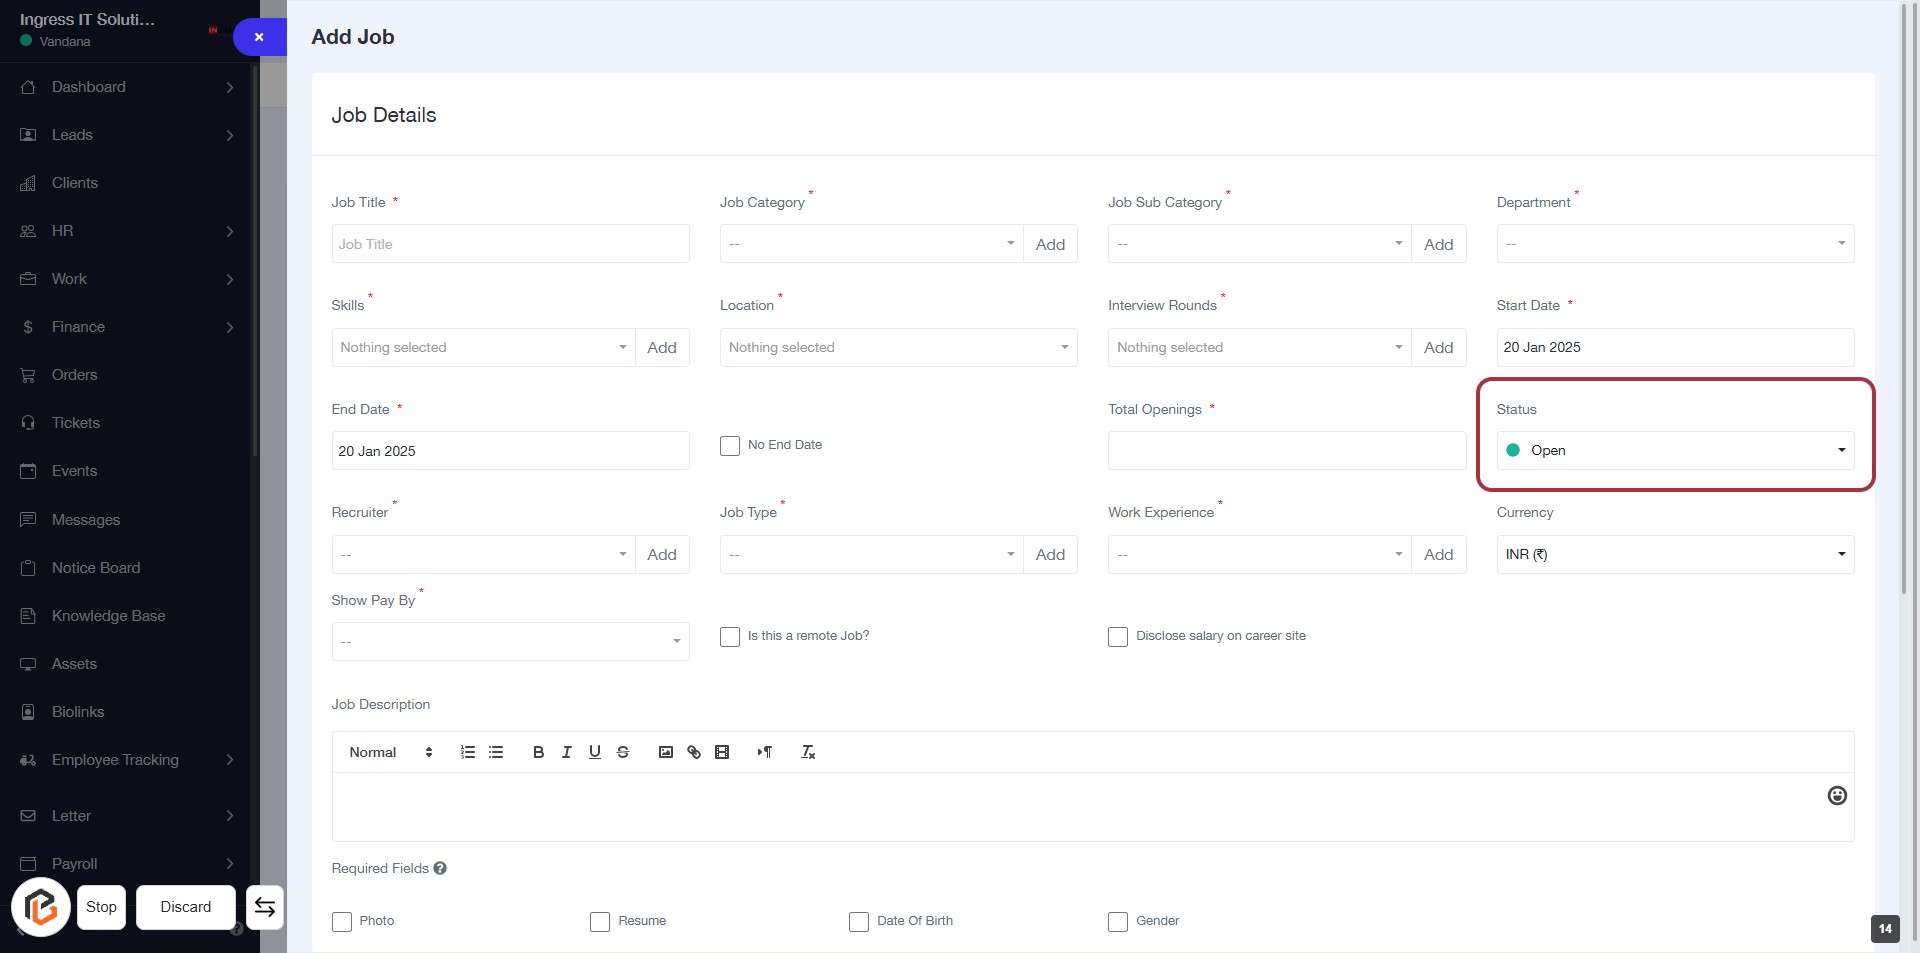
STEP 15: Select "Status"
- Click on the "Status" dropdown in the job details form.
- Choose the appropriate status from the options available.
- Ensure that the status reflects the current state of the job opening.
- Review other required fields marked with an asterisk (*) to ensure completeness before proceeding.
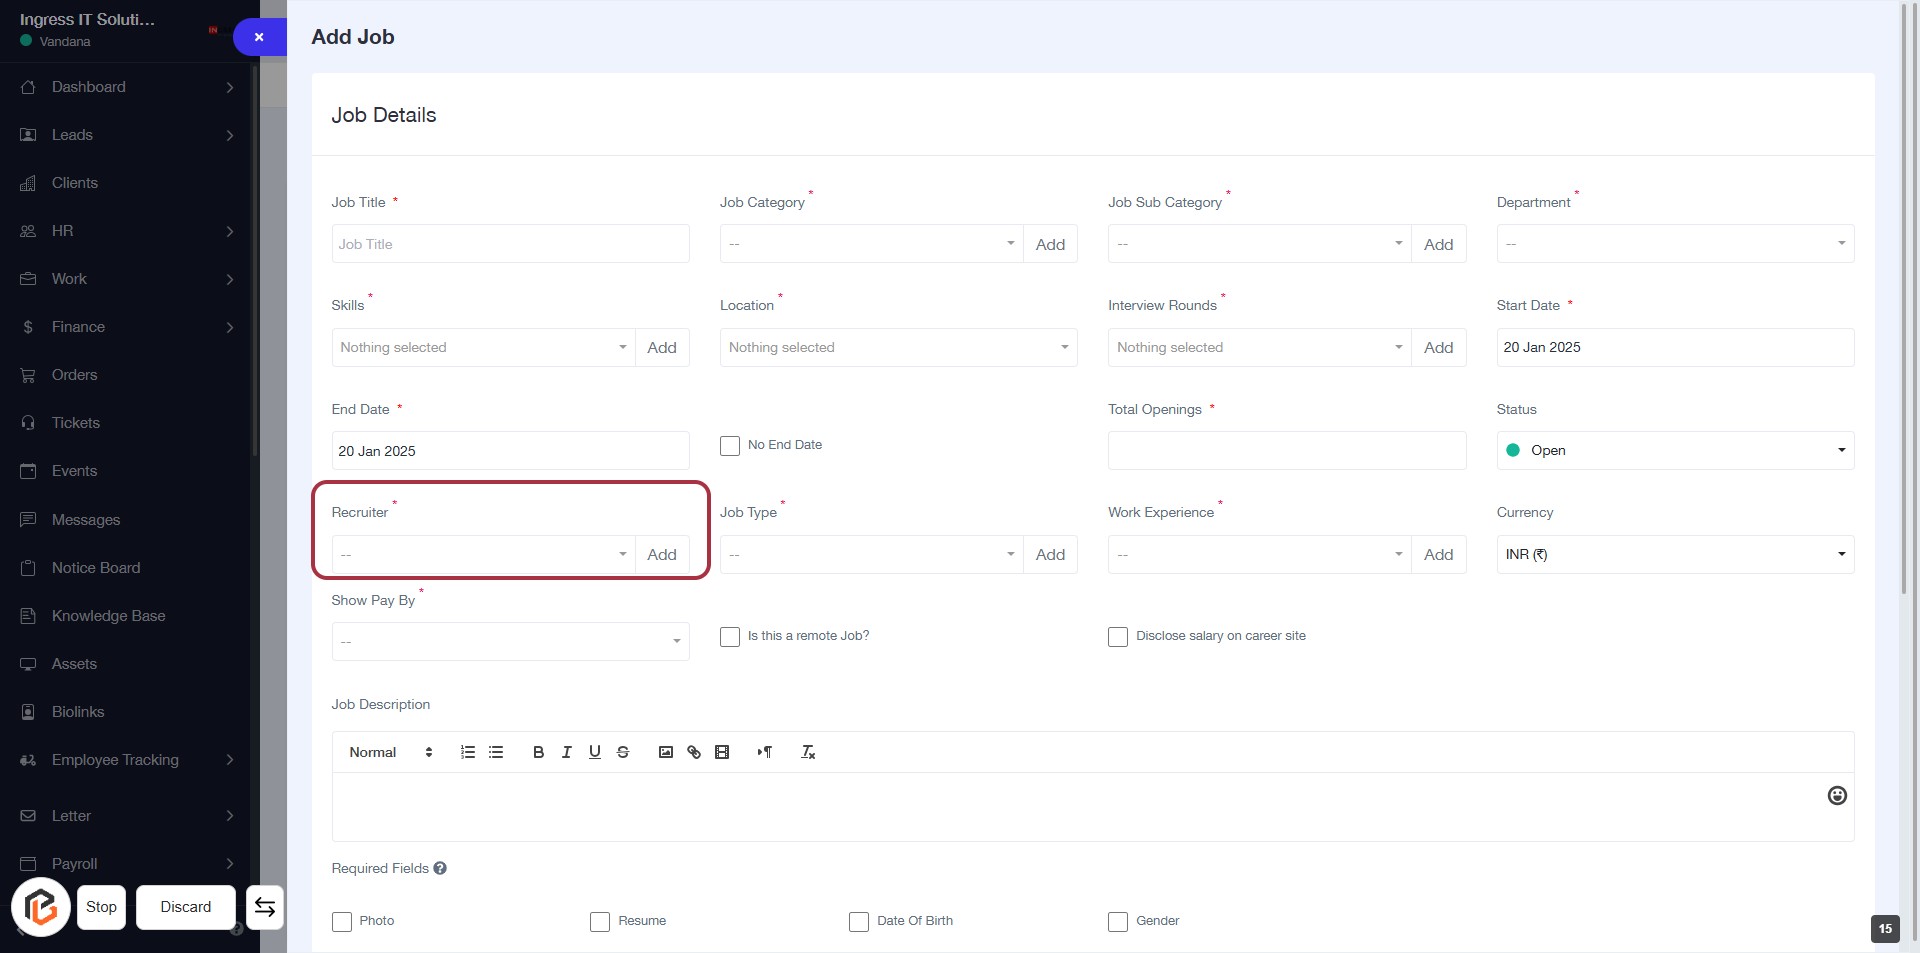
STEP 16: Click "Recruiter" to Add Details
- Navigate to the Recruiter section in the form.
- Click on the Add button next to the Recruiter label.
- A dropdown will appear; select the appropriate recruiter from the list.
- Ensure that the field marked with an asterisk (*) is filled, as it is required.
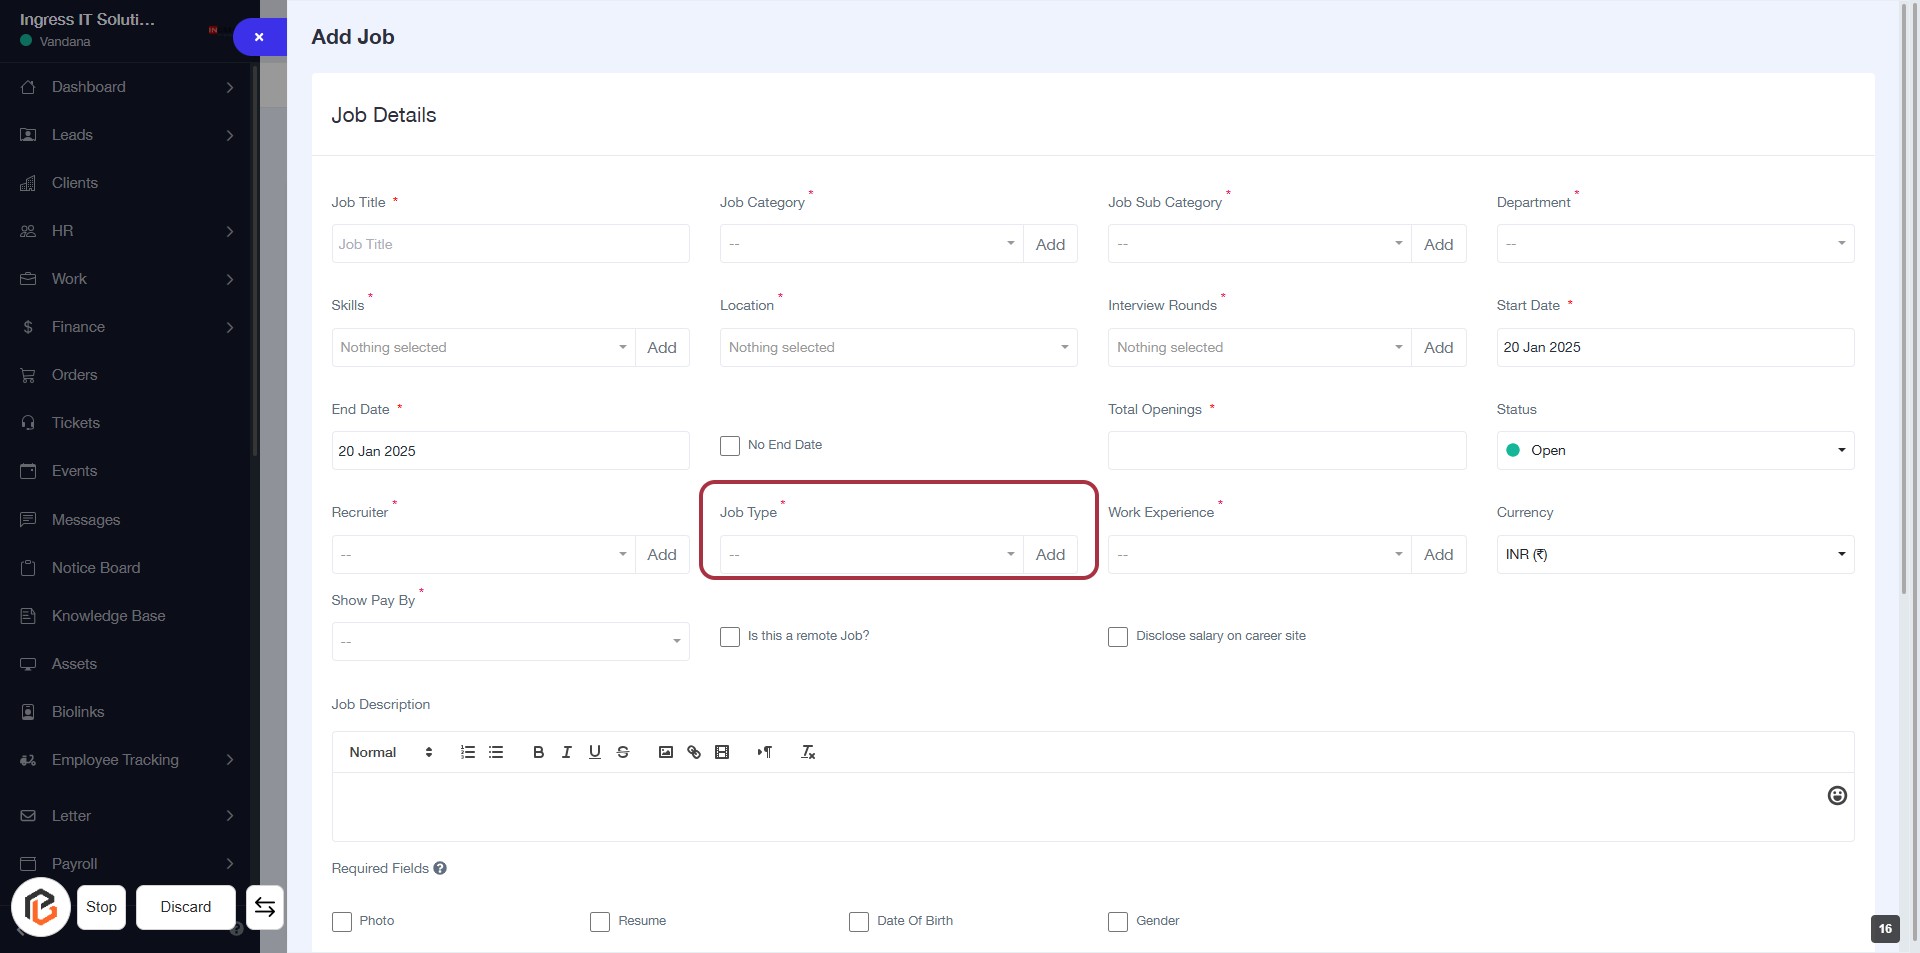
STEP 17: Click "Add" to Specify Job Type
- Locate the "Job Type" field highlighted in red.
- Click the "Add" button next to "Job Type" to select the type of job.
- Ensure to fill in any required fields marked with an asterisk (*).
- Review other fields for completeness before proceeding to the next step.
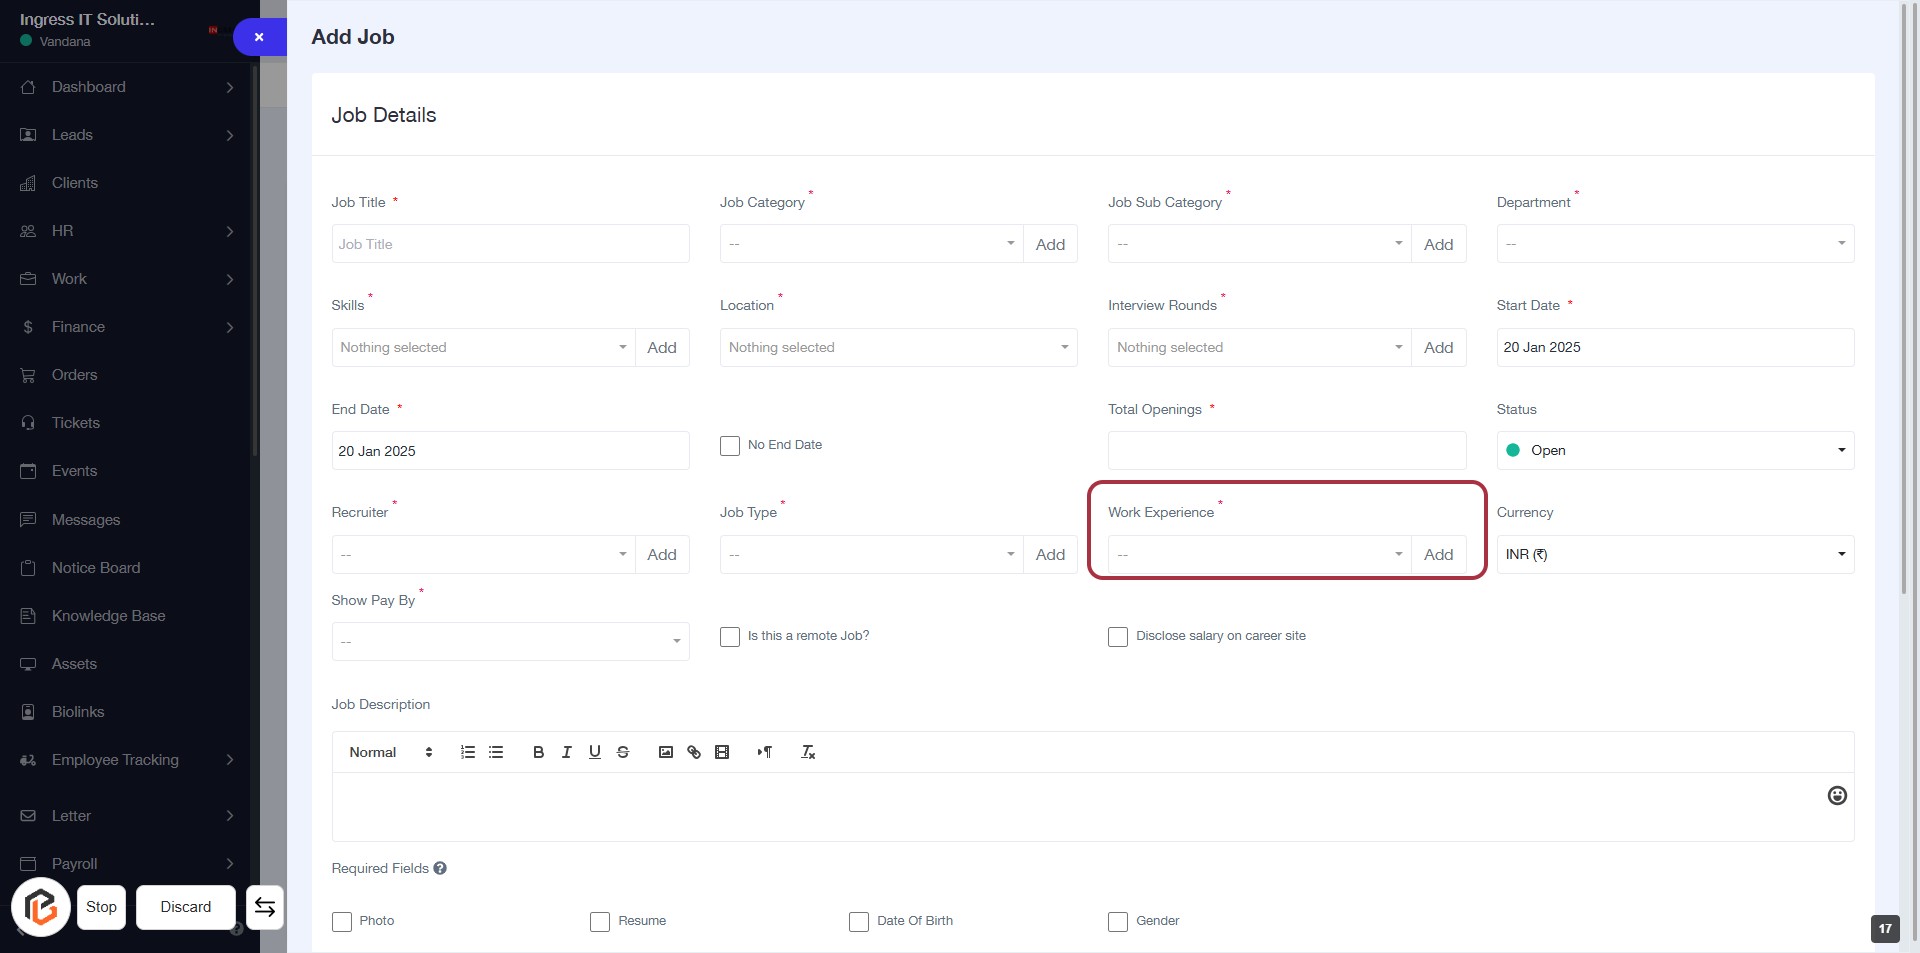
STEP 18: Click "Add" to Specify Work Experience
- Click on the "Work Experience" section highlighted in red.
- Ensure to fill in any required fields marked with an asterisk (*).
- After adding the necessary information, proceed to the next step by selecting "Currency".
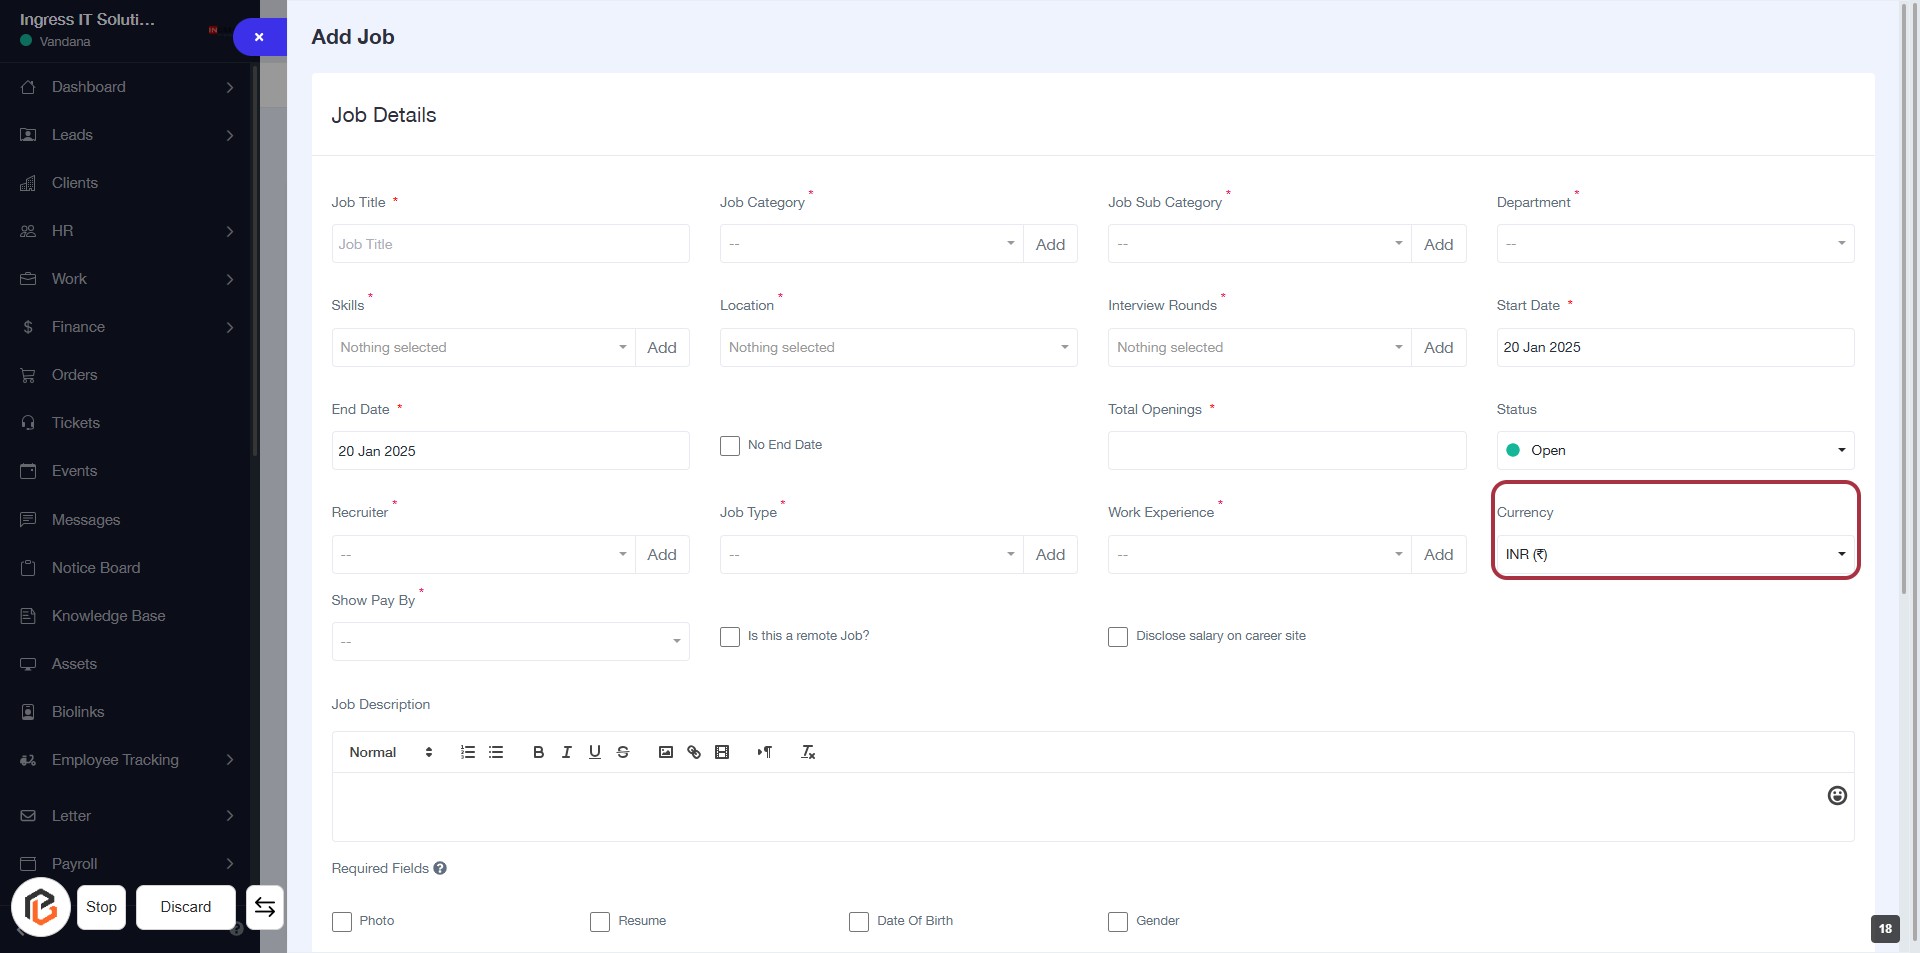
STEP 19: Select "Currency"
- Click on the "Currency" field to choose the appropriate currency for the job listing.
- Ensure that all required fields marked with an asterisk (*) are filled out.
- Review the selected currency before proceeding to the next step.
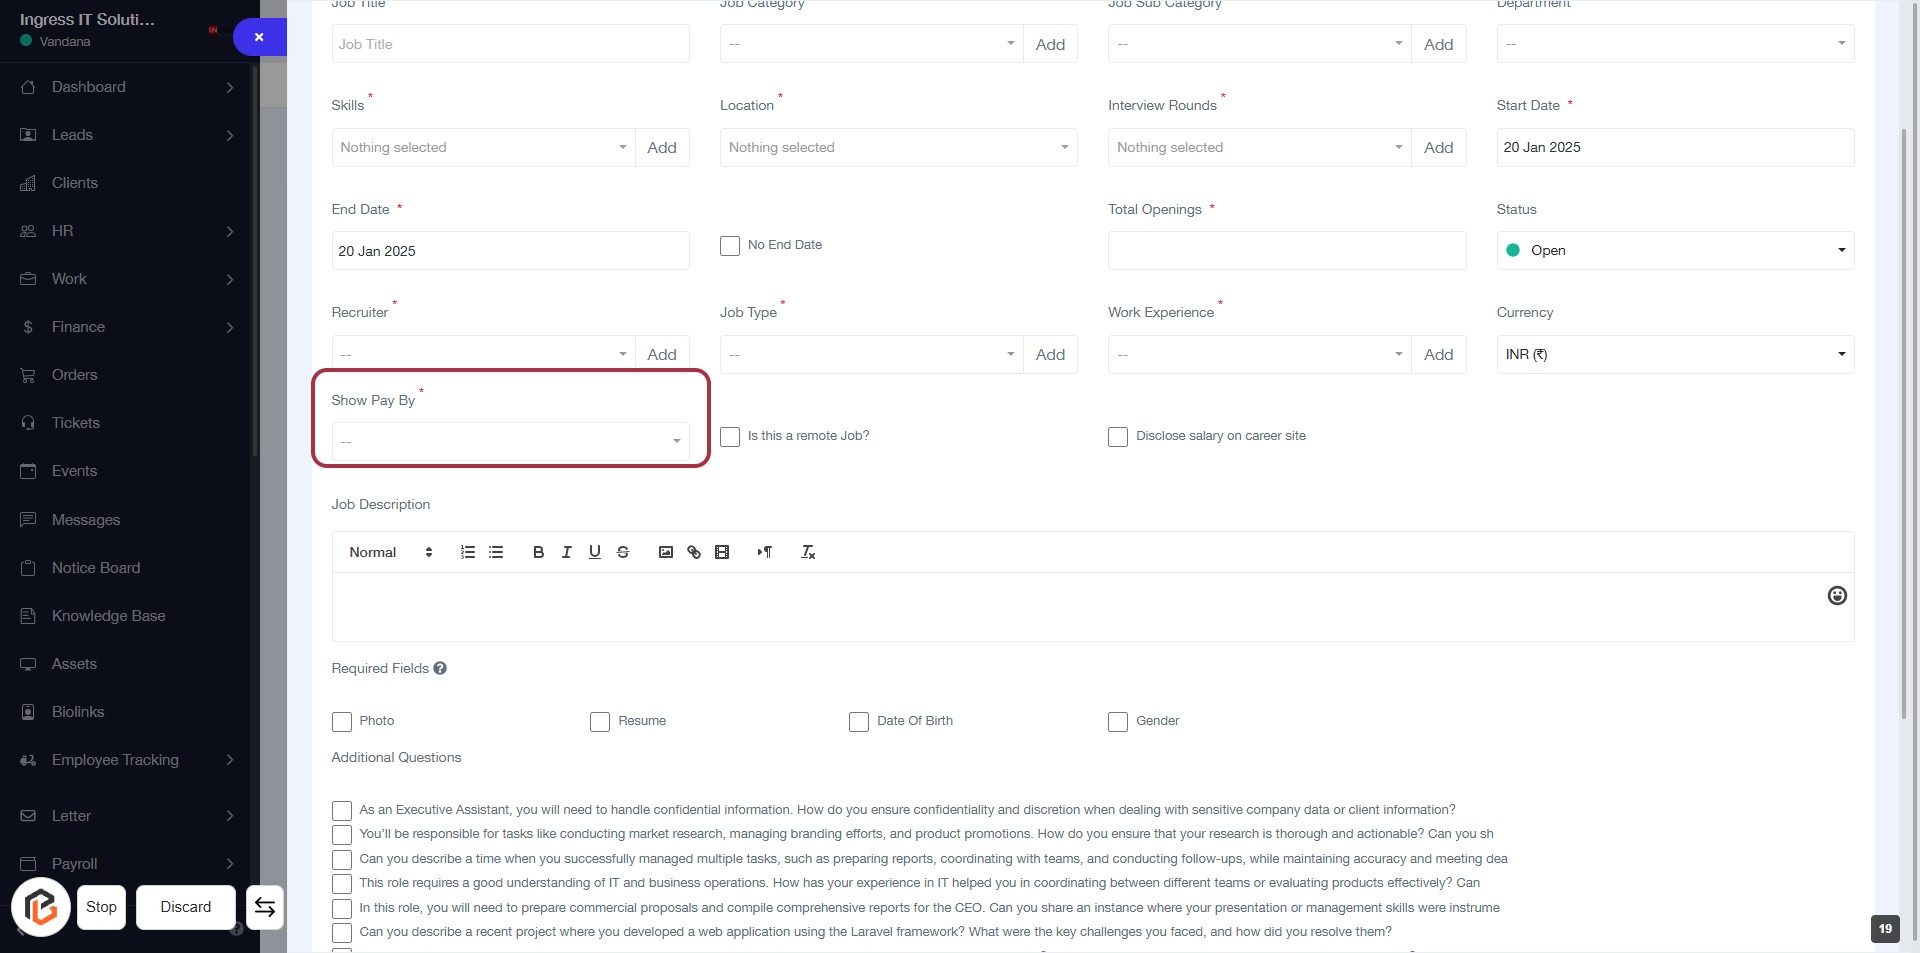
STEP 20: Select "Show Pay By"
- Click on the "Show Pay By" field to reveal options.
- Ensure to fill in this mandatory field, indicated by the asterisk (*).
- Choose the appropriate payment display option from the dropdown.
- Review other required fields above to ensure all necessary information is provided.
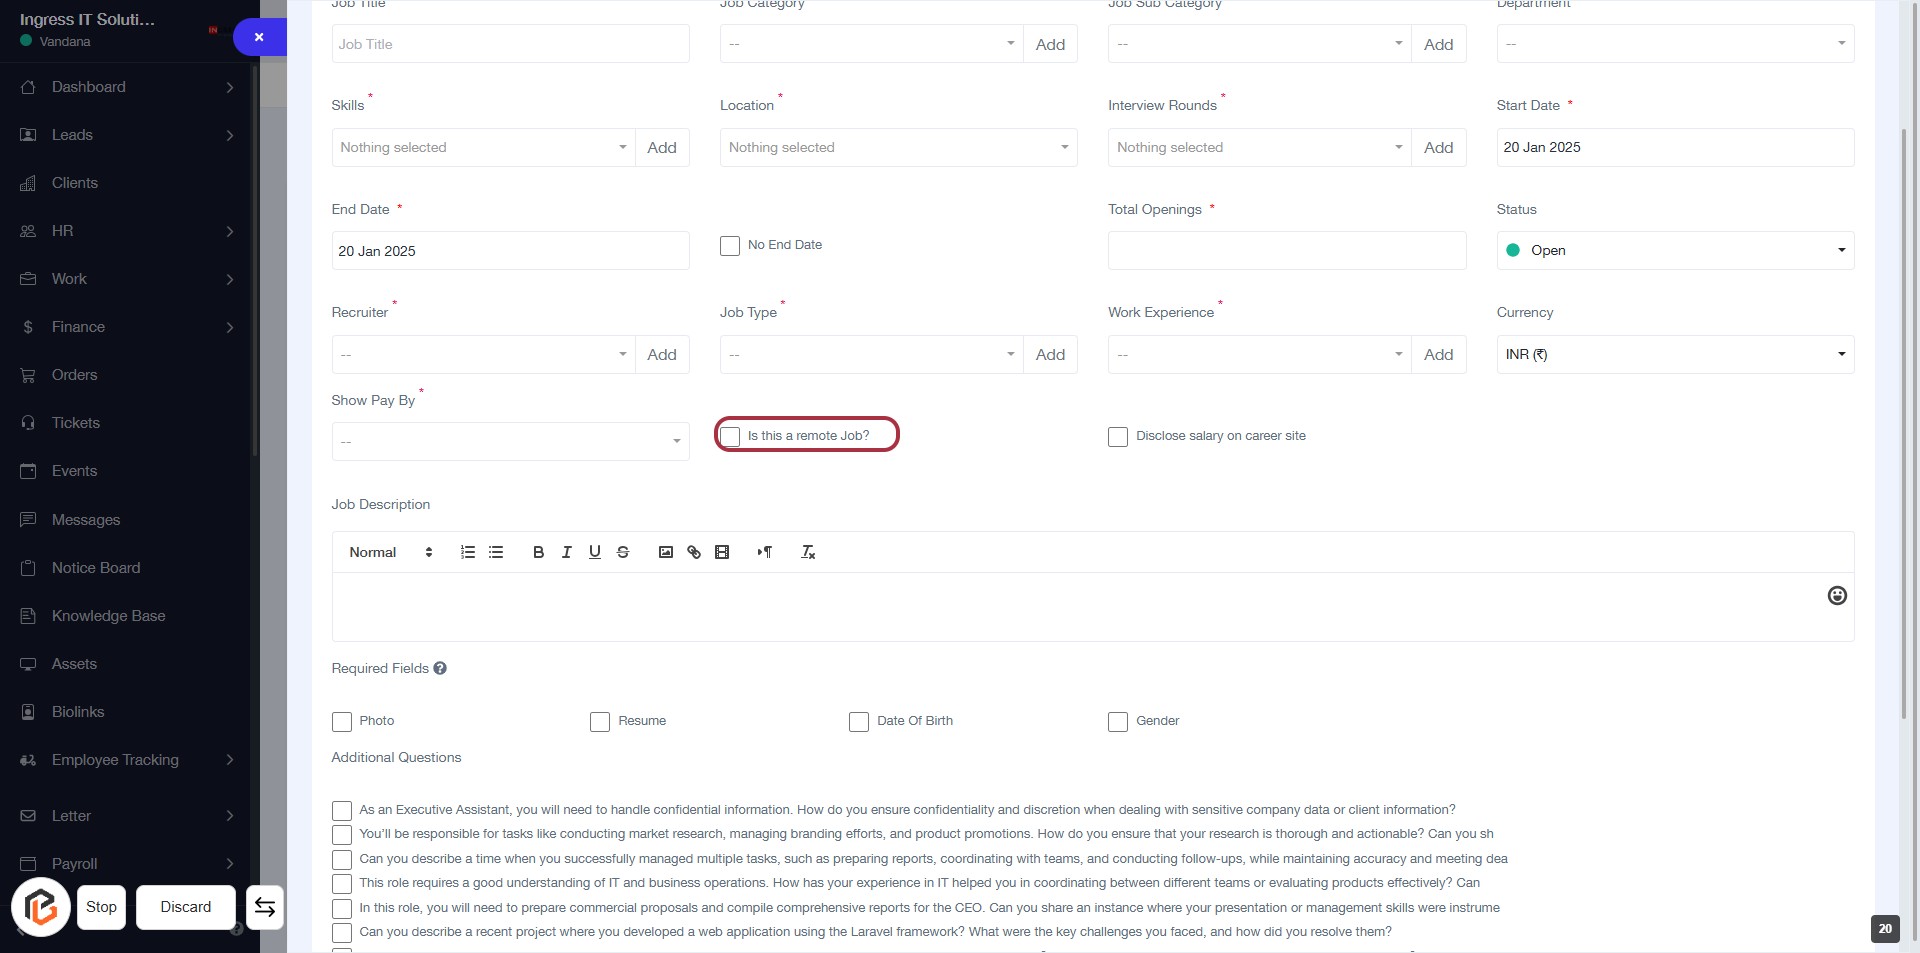
STEP 21: Click "Is this a remote Job?" to Indicate Job Type
- Locate the checkbox labeled "Is this a remote Job?" in the job creation form.
- Click on the checkbox to indicate whether the job is remote.
- Ensure that all required fields marked with an asterisk (*) are filled out before proceeding to the next step.
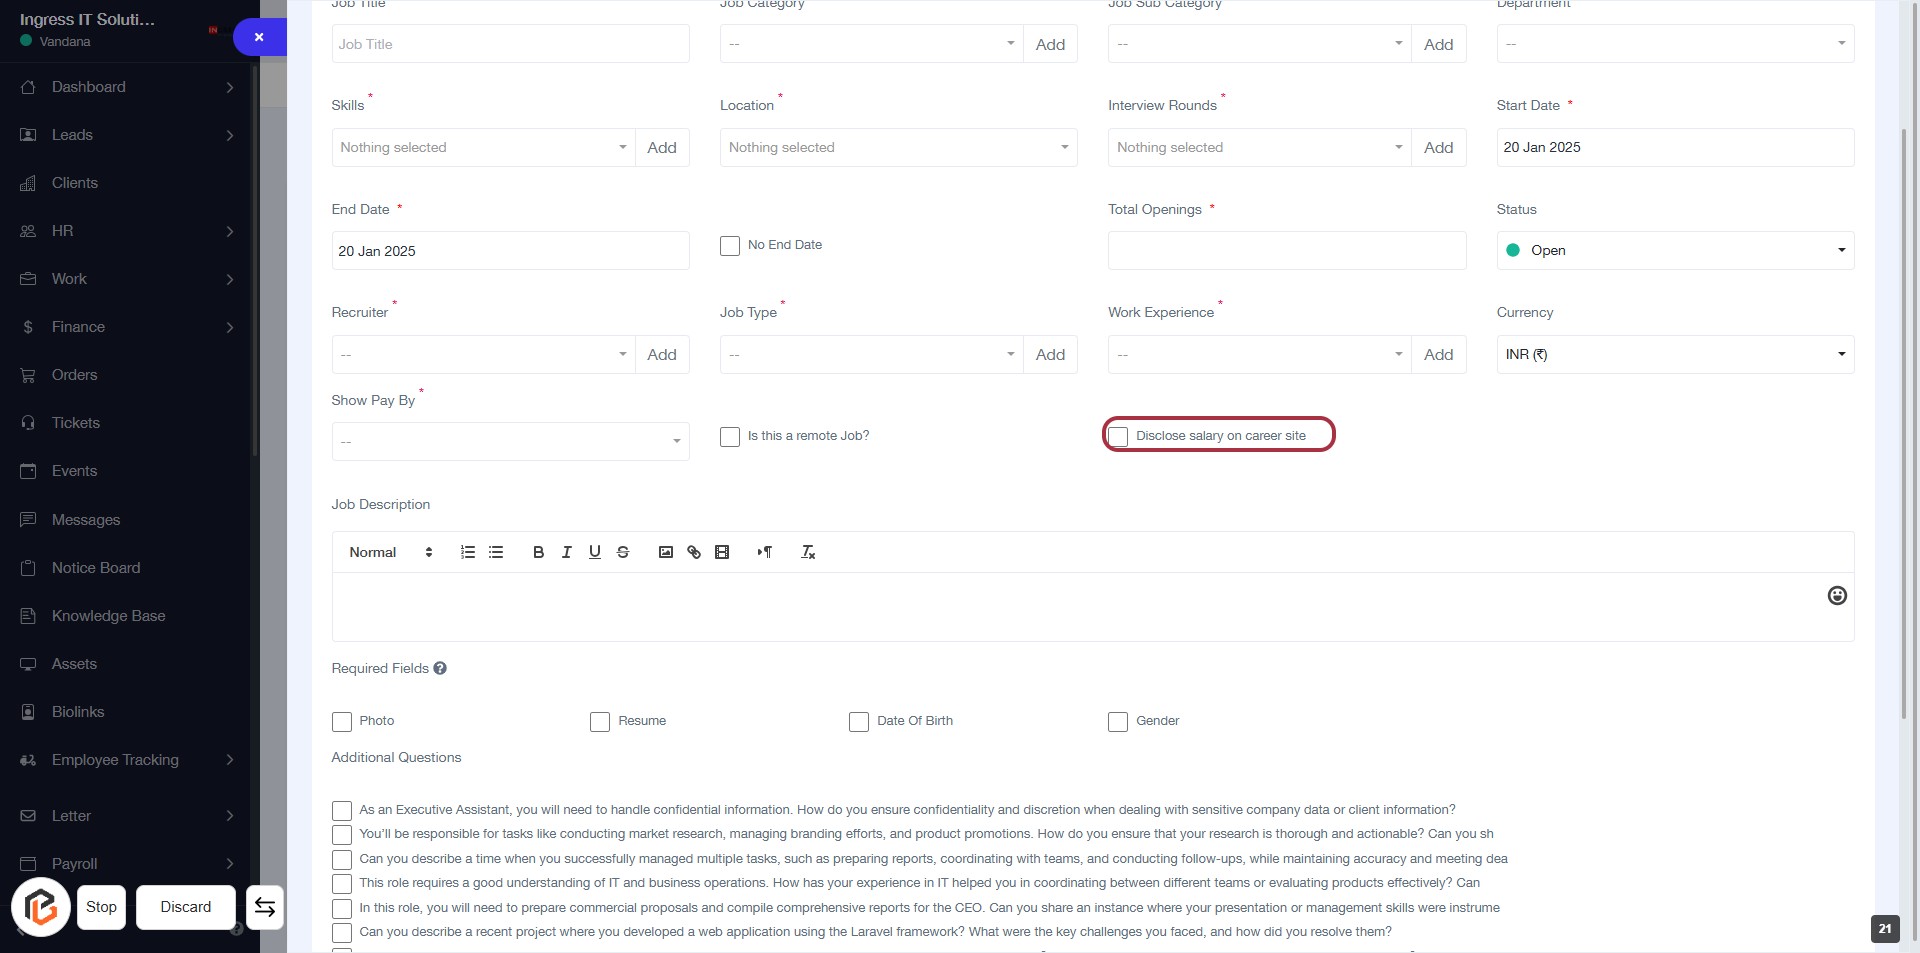
STEP 22: Click "Disclose salary on career site" Checkbox
- Locate the checkbox labeled "Disclose salary on career site."
- Click the checkbox to indicate your preference for disclosing salary information on the career site.
- Ensure that the checkbox is marked if you want to disclose the salary; otherwise, leave it unchecked.
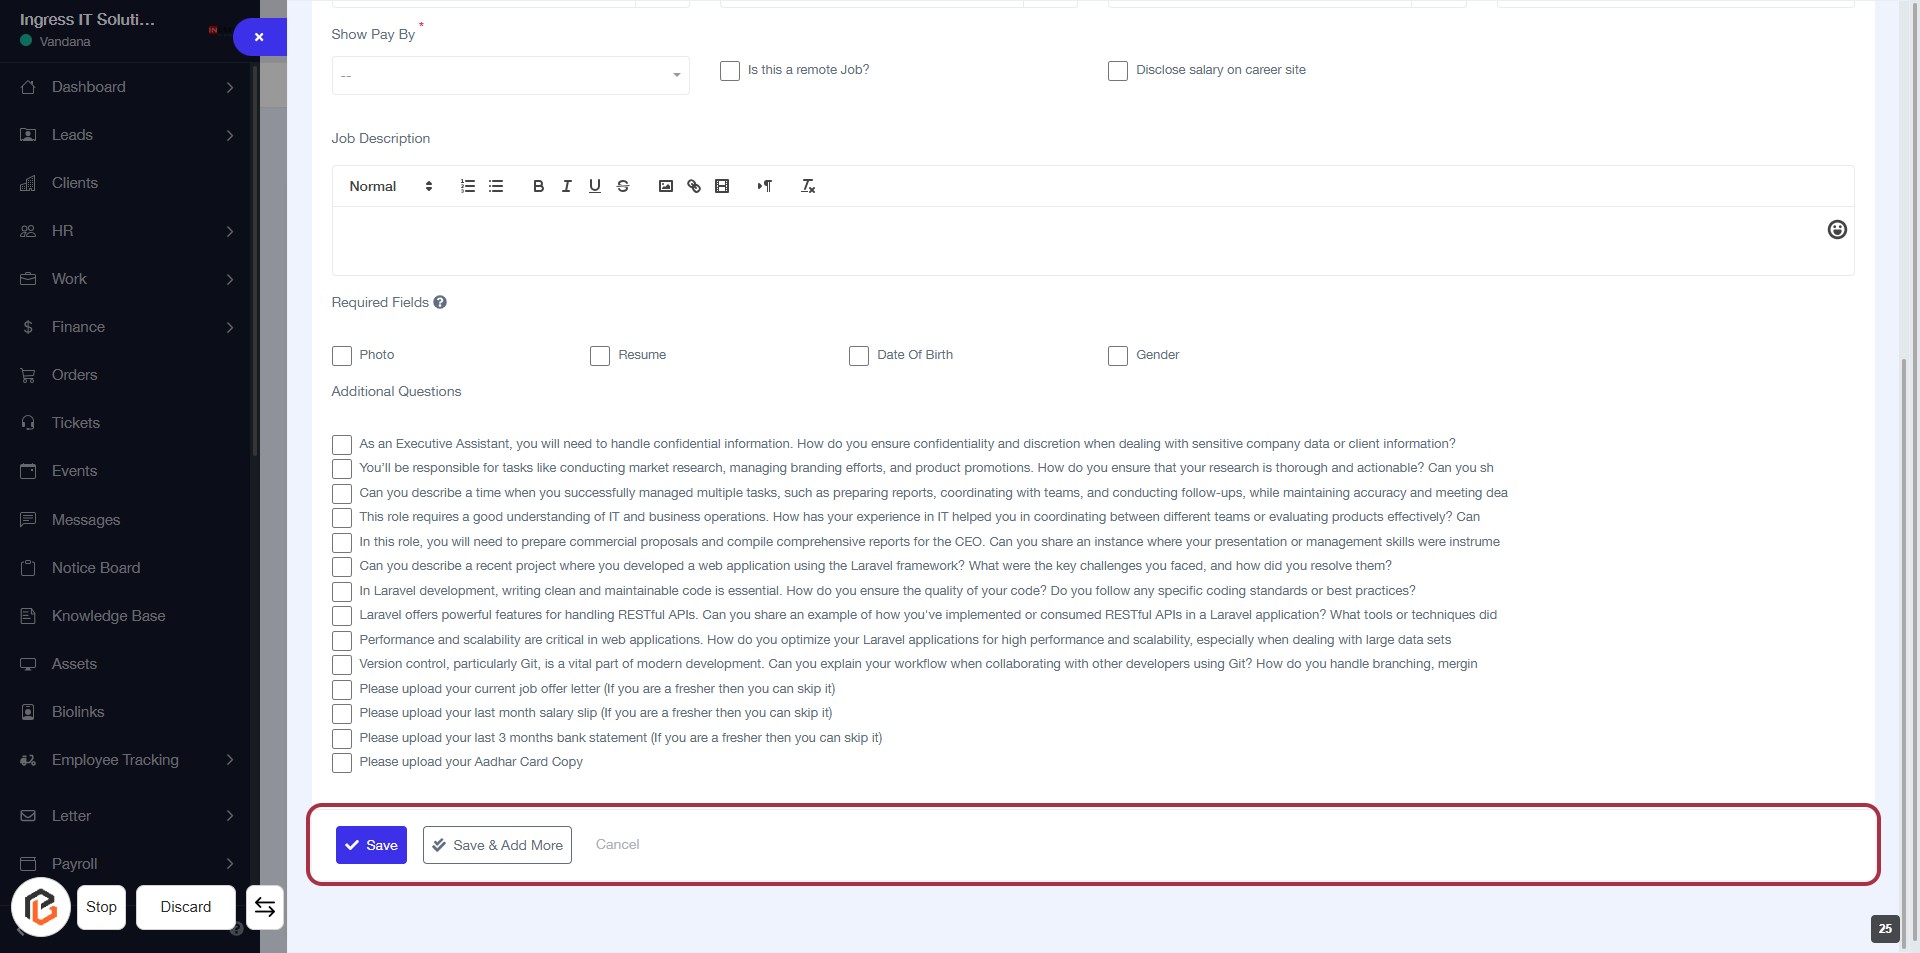
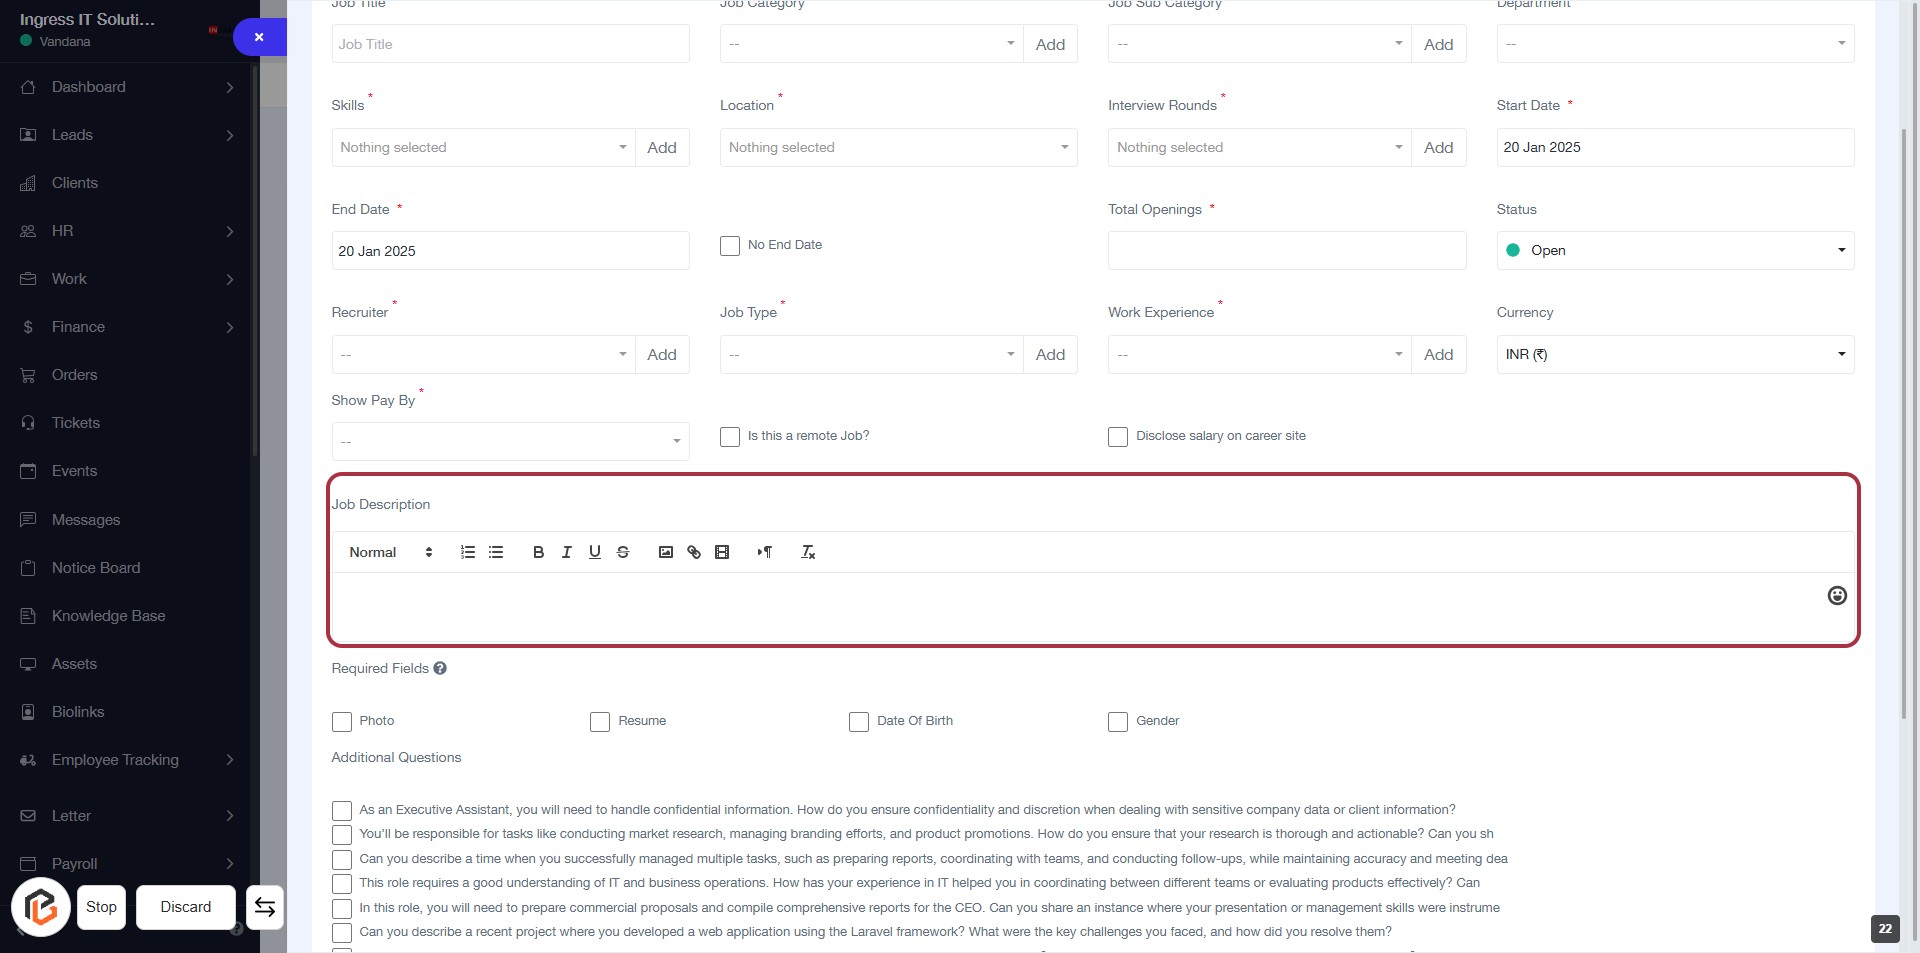
STEP 23: Fill Job Description
- Click on the "Job Description" area highlighted in red.
- Enter the details of the job description in the provided text box.
- Use formatting options (bold, italics, etc.) as needed.
- Ensure to complete any required fields marked with an asterisk (*).
- Review your input before proceeding to the next step.
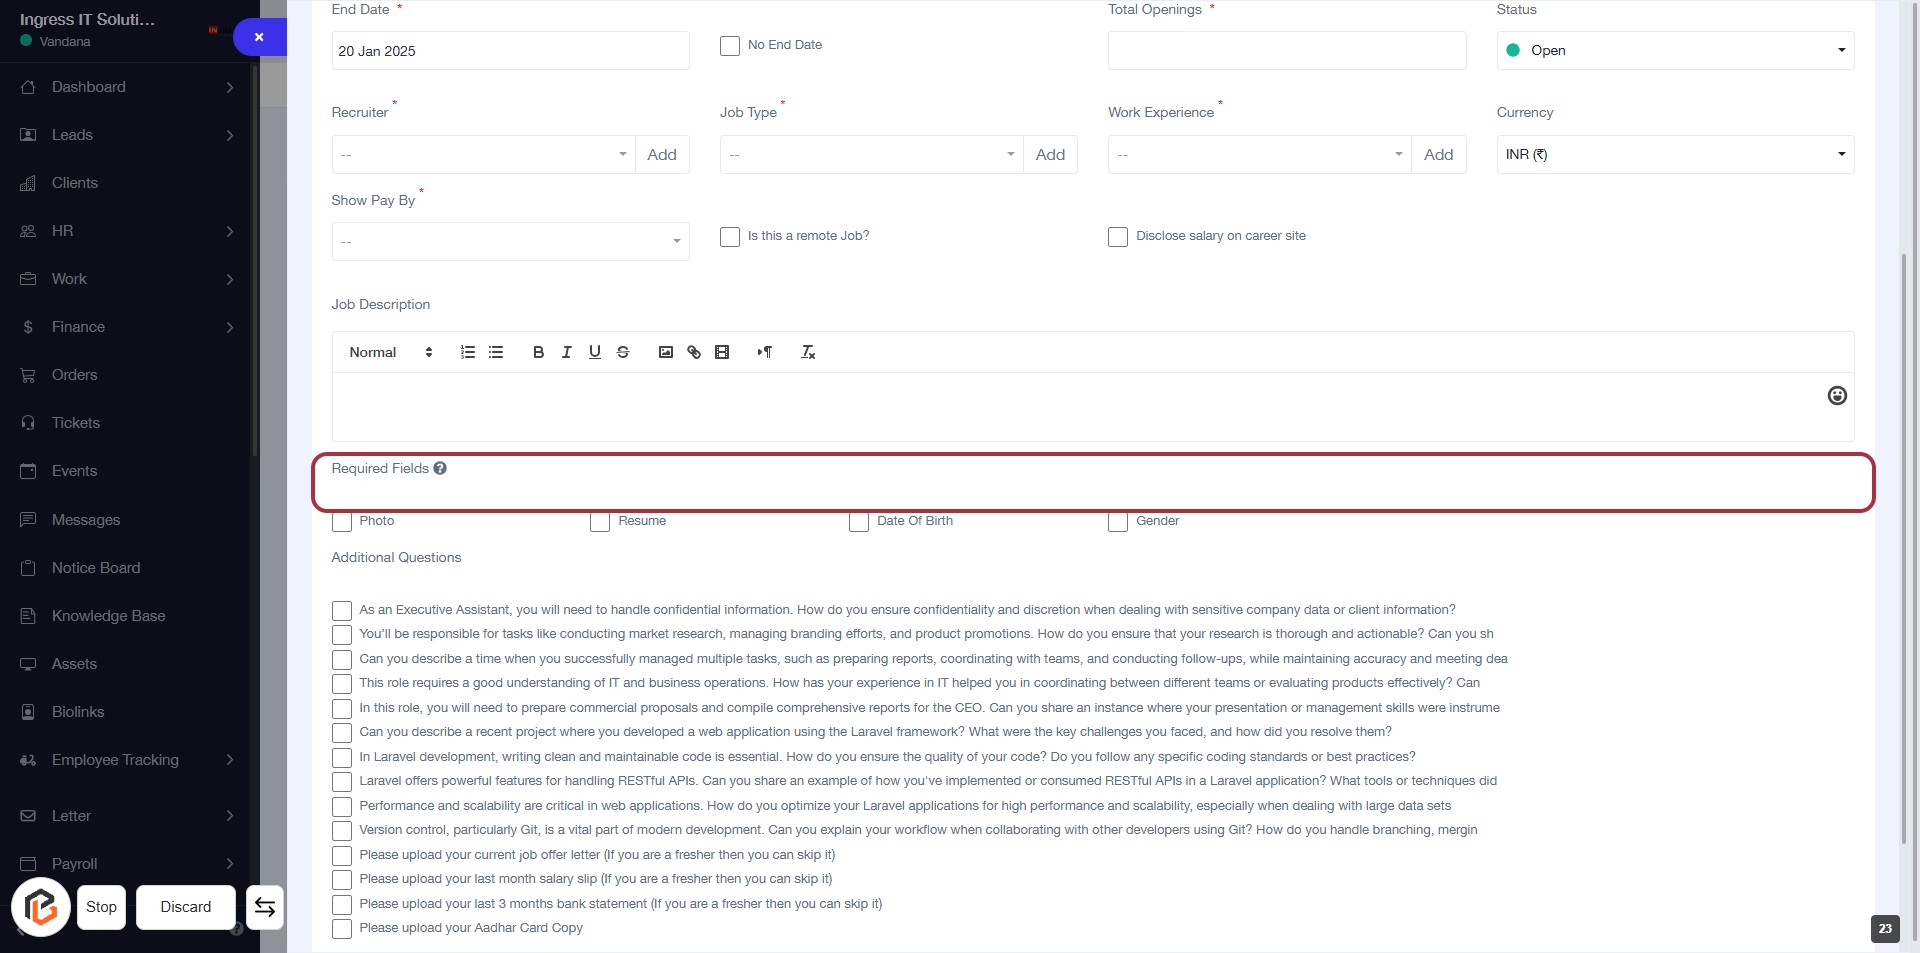
STEP 24: Select "Required Fields"
- Click on the "Required Fields" section highlighted in red.
- This section allows you to specify mandatory information for job applicants.
- Ensure to fill in all fields marked with an asterisk (*) as they are required.
- Review the options available, such as "Photo," "Resume," "Date of Birth," and "Gender."
- Proceed to the next step by selecting "Additional Questions."
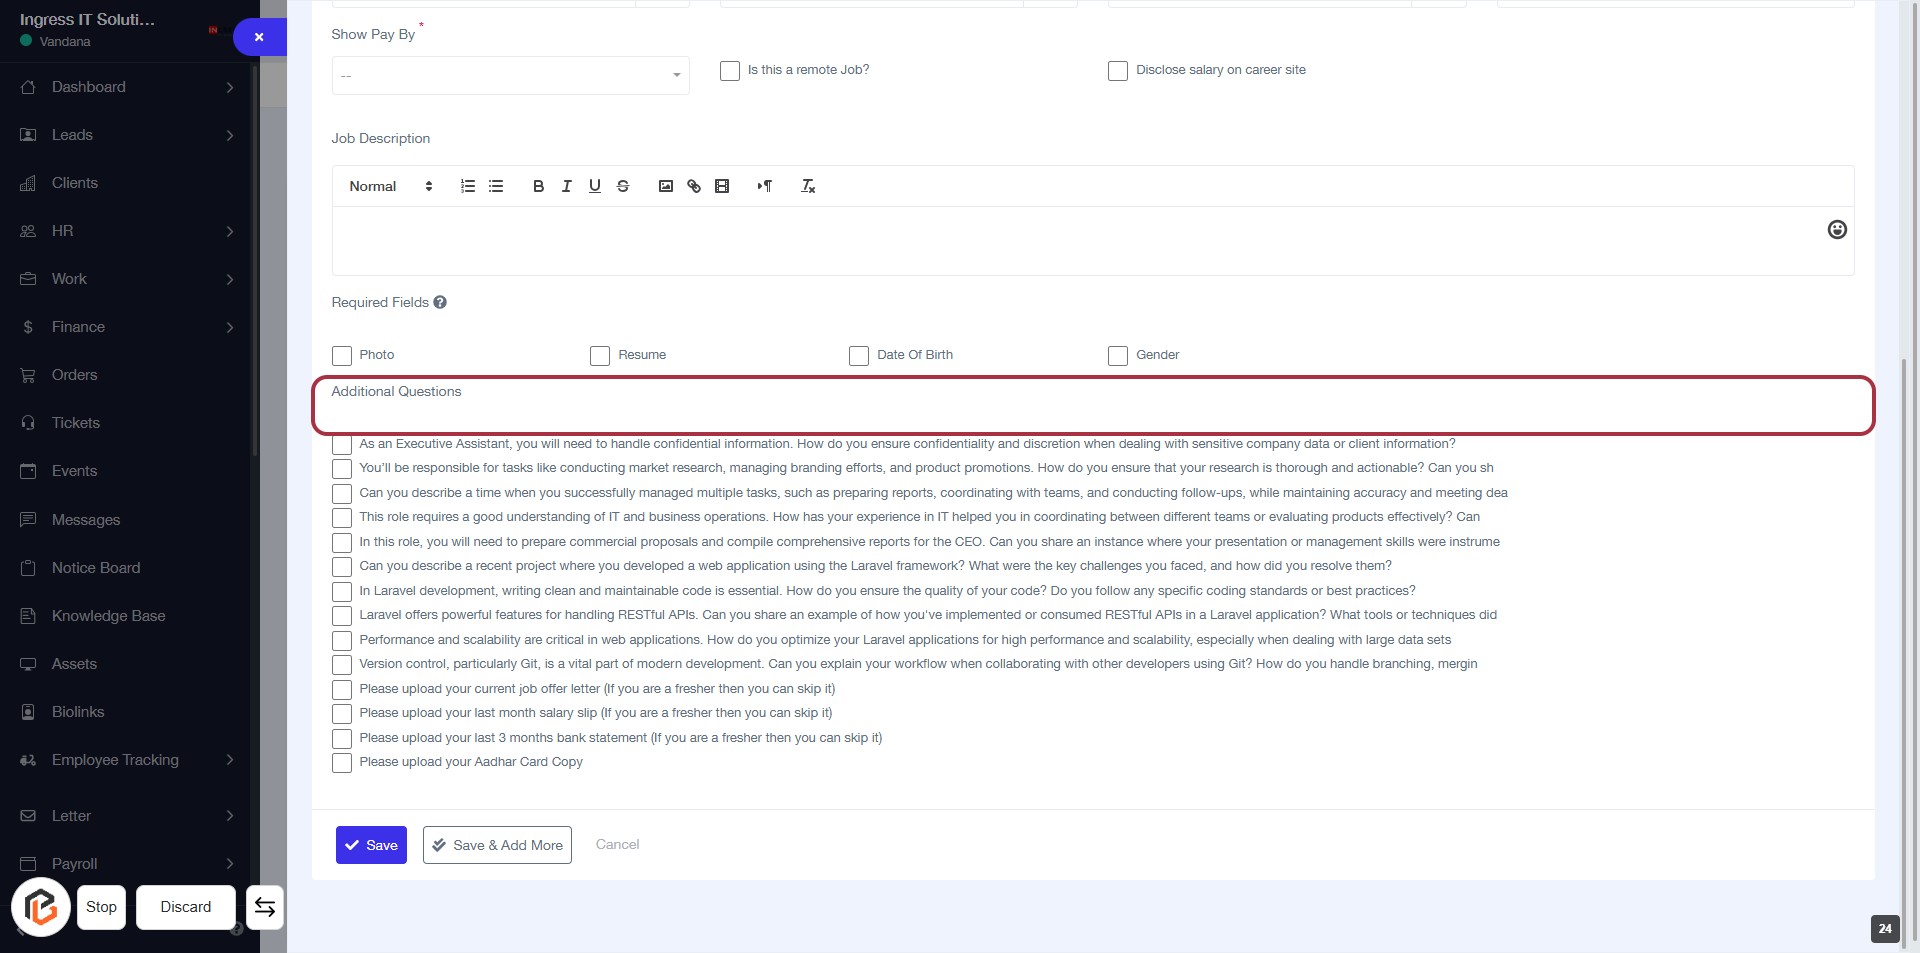
STEP 25: Select "Additional Questions"
- Click on the Additional Questions section to expand it.
- Review the questions listed, which may require responses.
- Ensure to check any relevant boxes for the questions applicable to your context.
- Proceed to the next step by clicking on the Save Button.
STEP 26: Click "Save" to Finalize Job Details
- Ensure all required fields marked with '*' are filled out.
- Review the job description and additional questions for accuracy.
- Click the Save button located at the bottom of the form to save your entries.
- If you wish to add more entries, consider using the Save & Add More option.