Essential Guide to Navigating the Recruitment and Interview Scheduling Sections
15 mins read · Updated 29 Sep, 2025
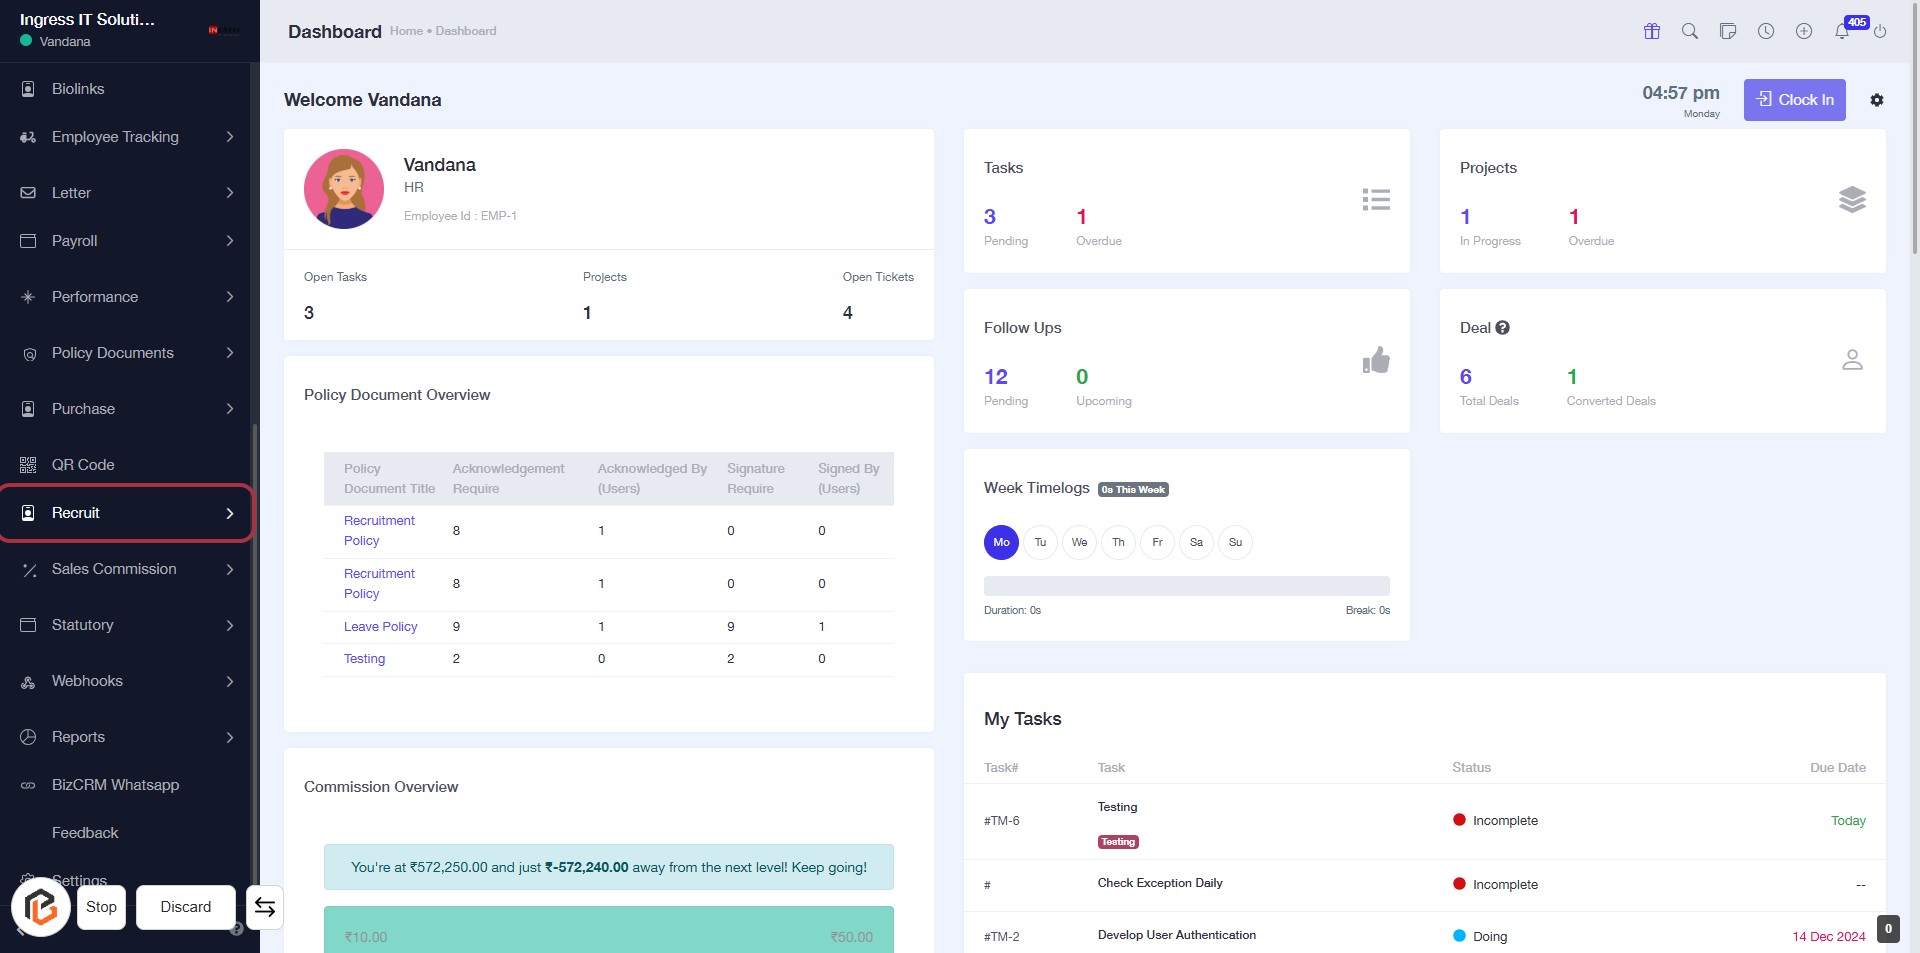
STEP 1: Click on "Recruit" to Access Recruitment Section
- Navigate to the left sidebar of the dashboard.
- Locate the "Recruit" option highlighted in red.
- Click on "Recruit" to enter the recruitment section.
- Ensure you have access to relevant recruitment policies and documents displayed on the page.
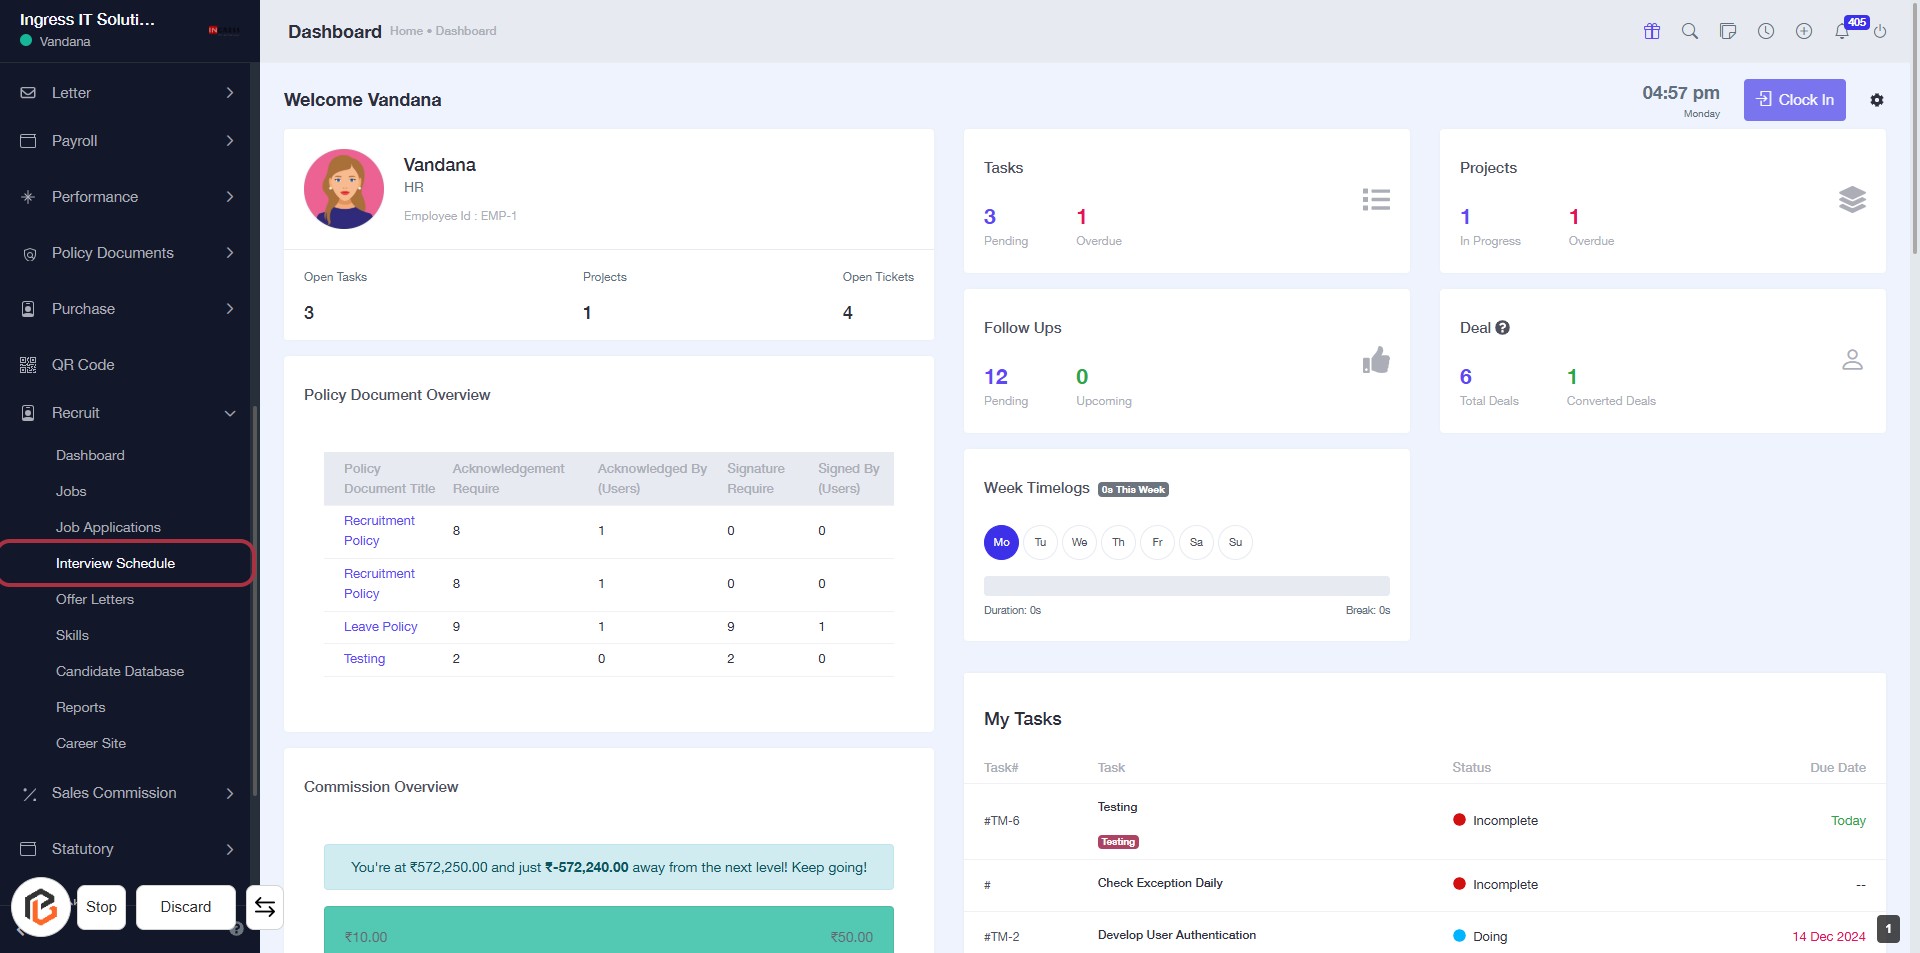
STEP 2: Click on "Interview Schedule"
- Navigate to the left sidebar menu.
- Locate and click on the Interview Schedule link highlighted in red.
- This will direct you to the interview scheduling section for further actions.
- Ensure to check for any required fields marked with an asterisk (*) before proceeding.
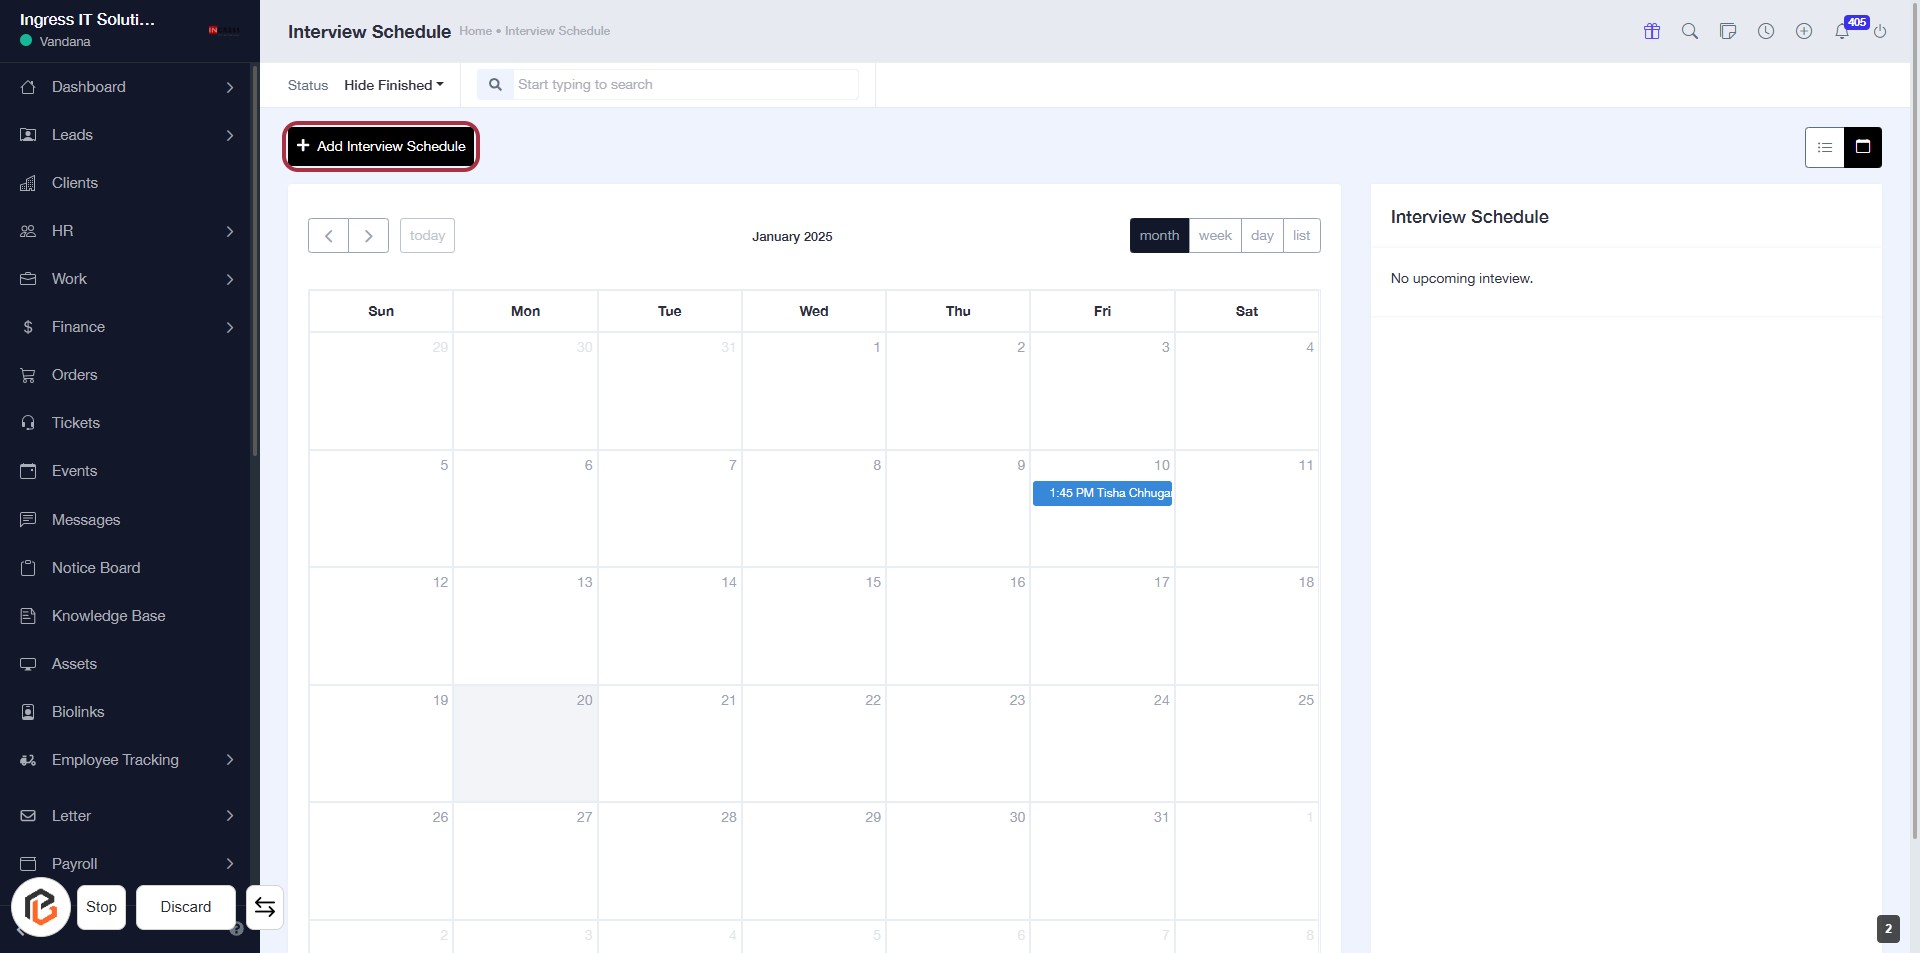
STEP 3: Click on "Add Interview Schedule"
- Navigate to the Interview Schedule page.
- Locate the Add Interview Schedule button highlighted in red.
- Click on the button to proceed with adding a new interview schedule.
- Ensure all required fields are filled out in the subsequent form.
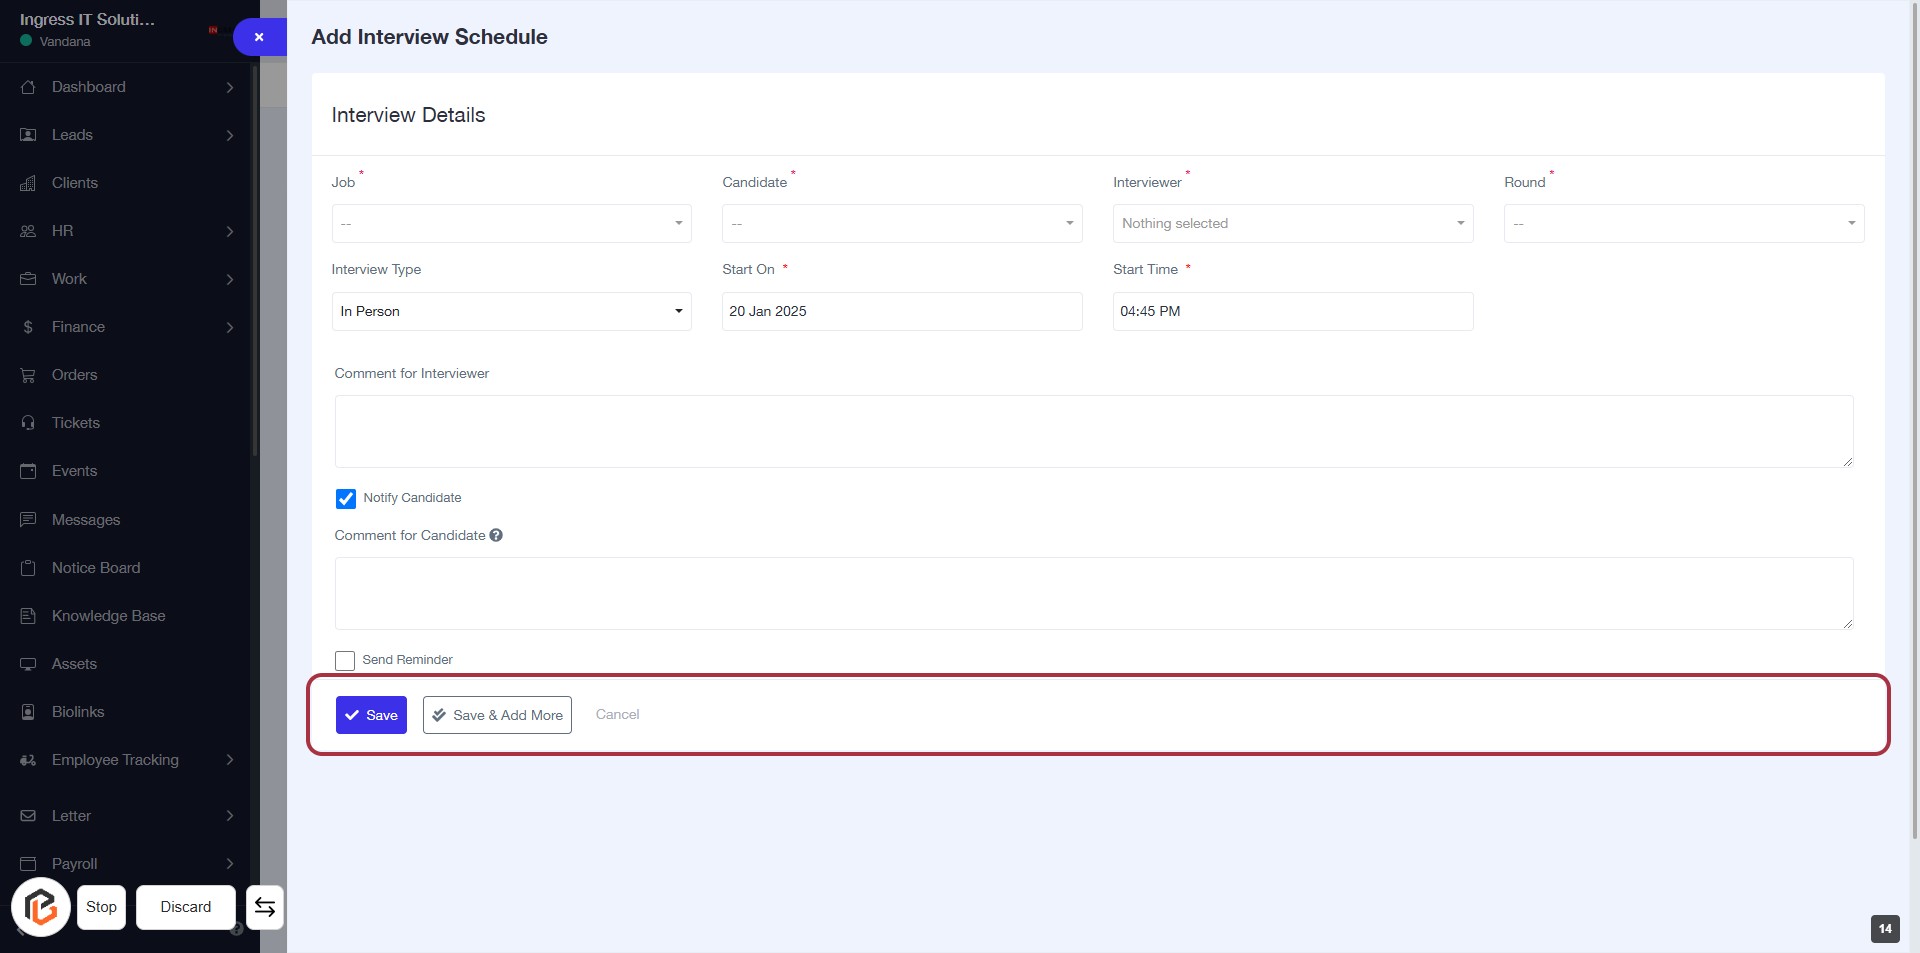
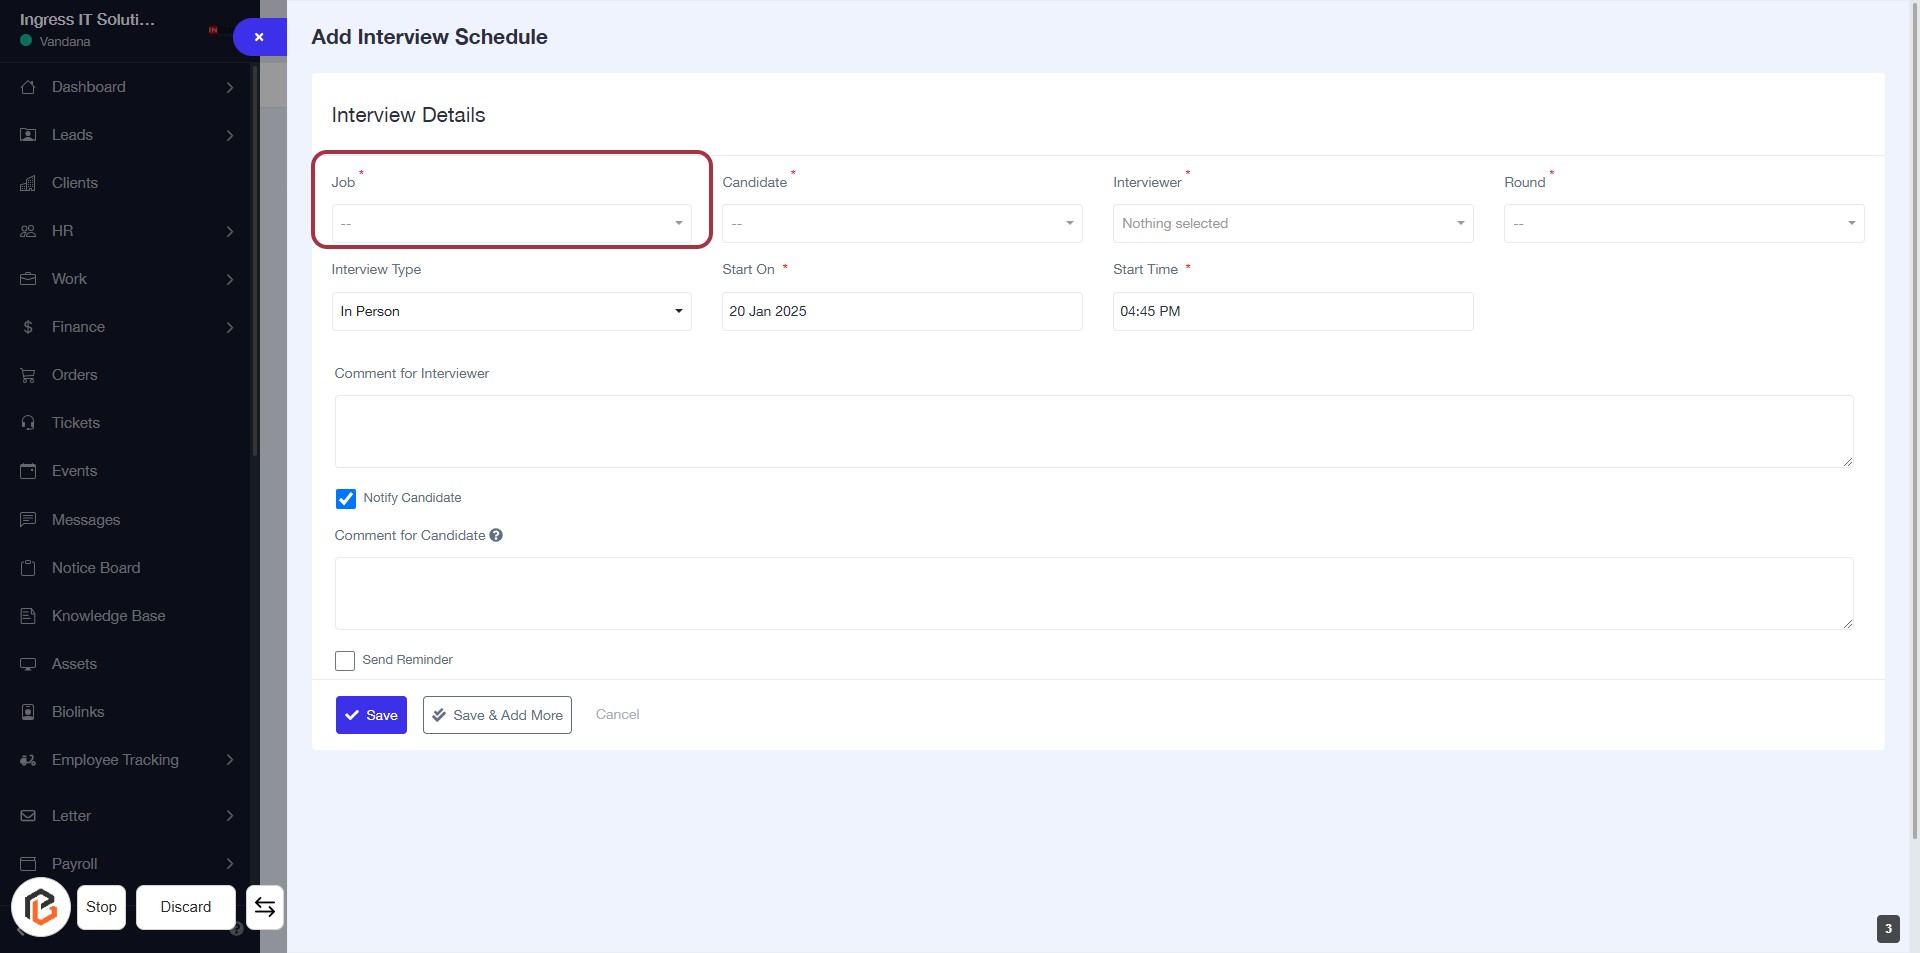
STEP 4: Select "Job"
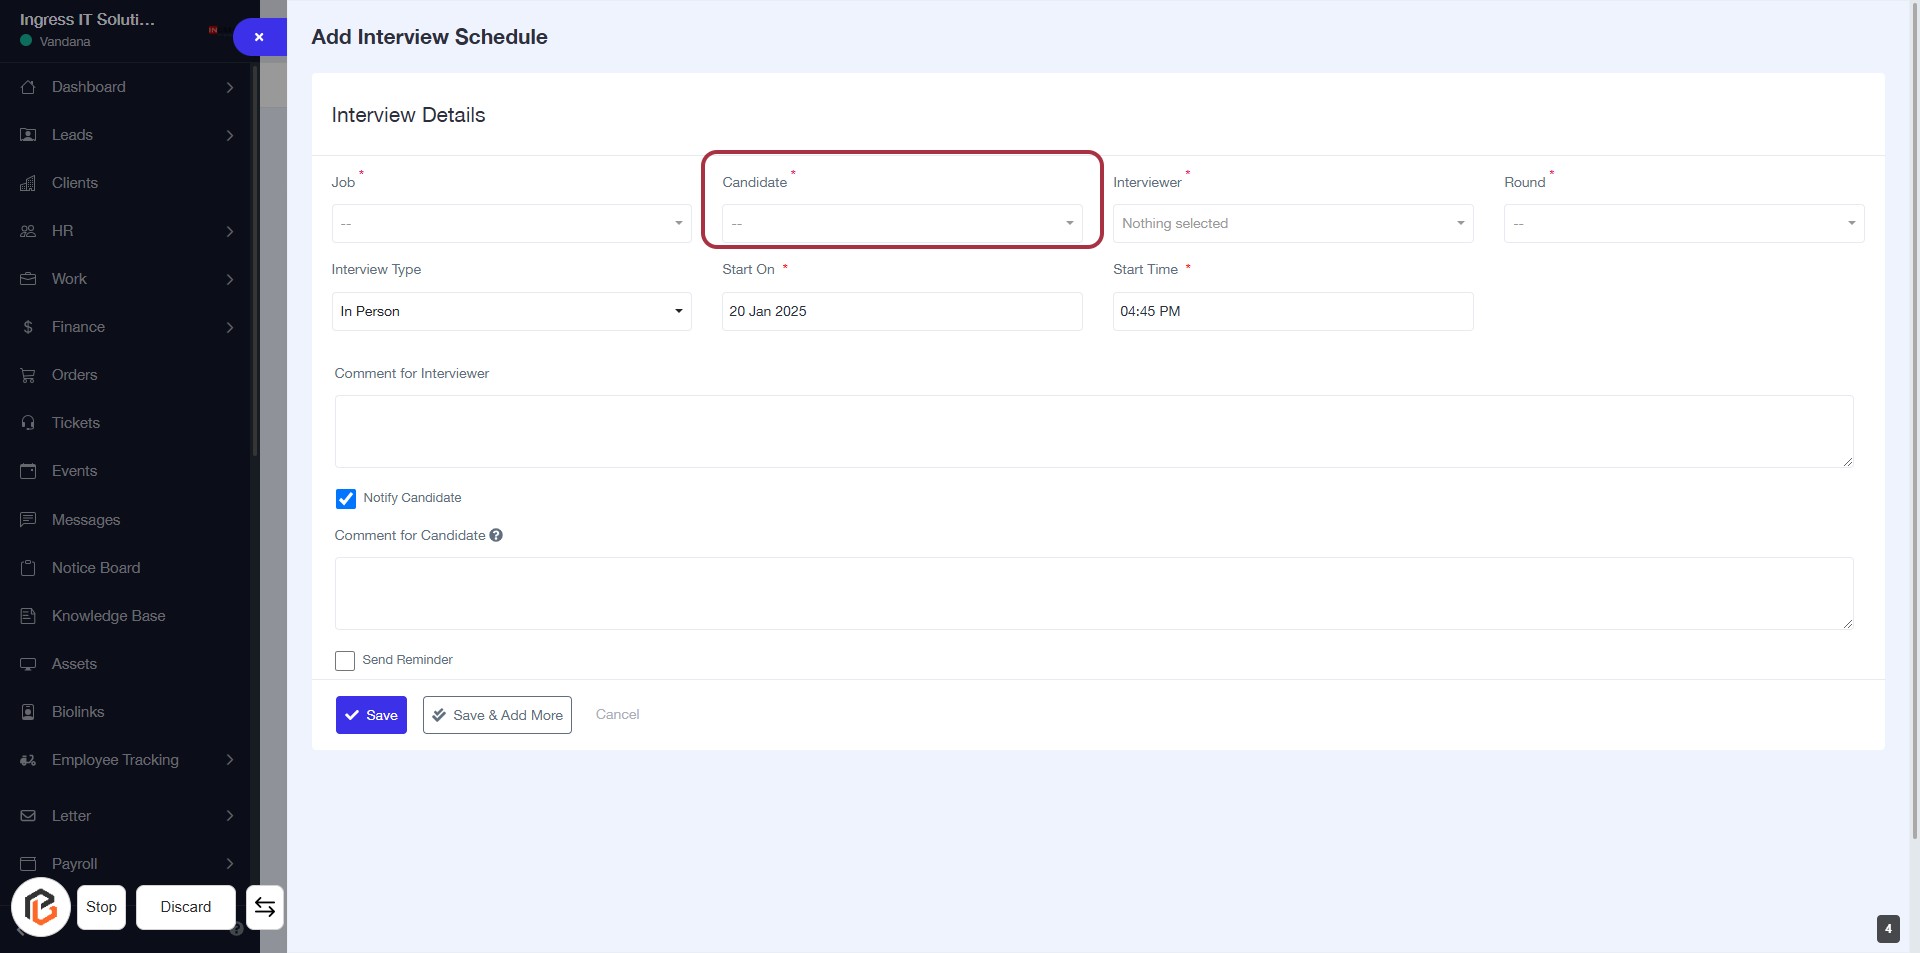
STEP 5: Select "Candidate"
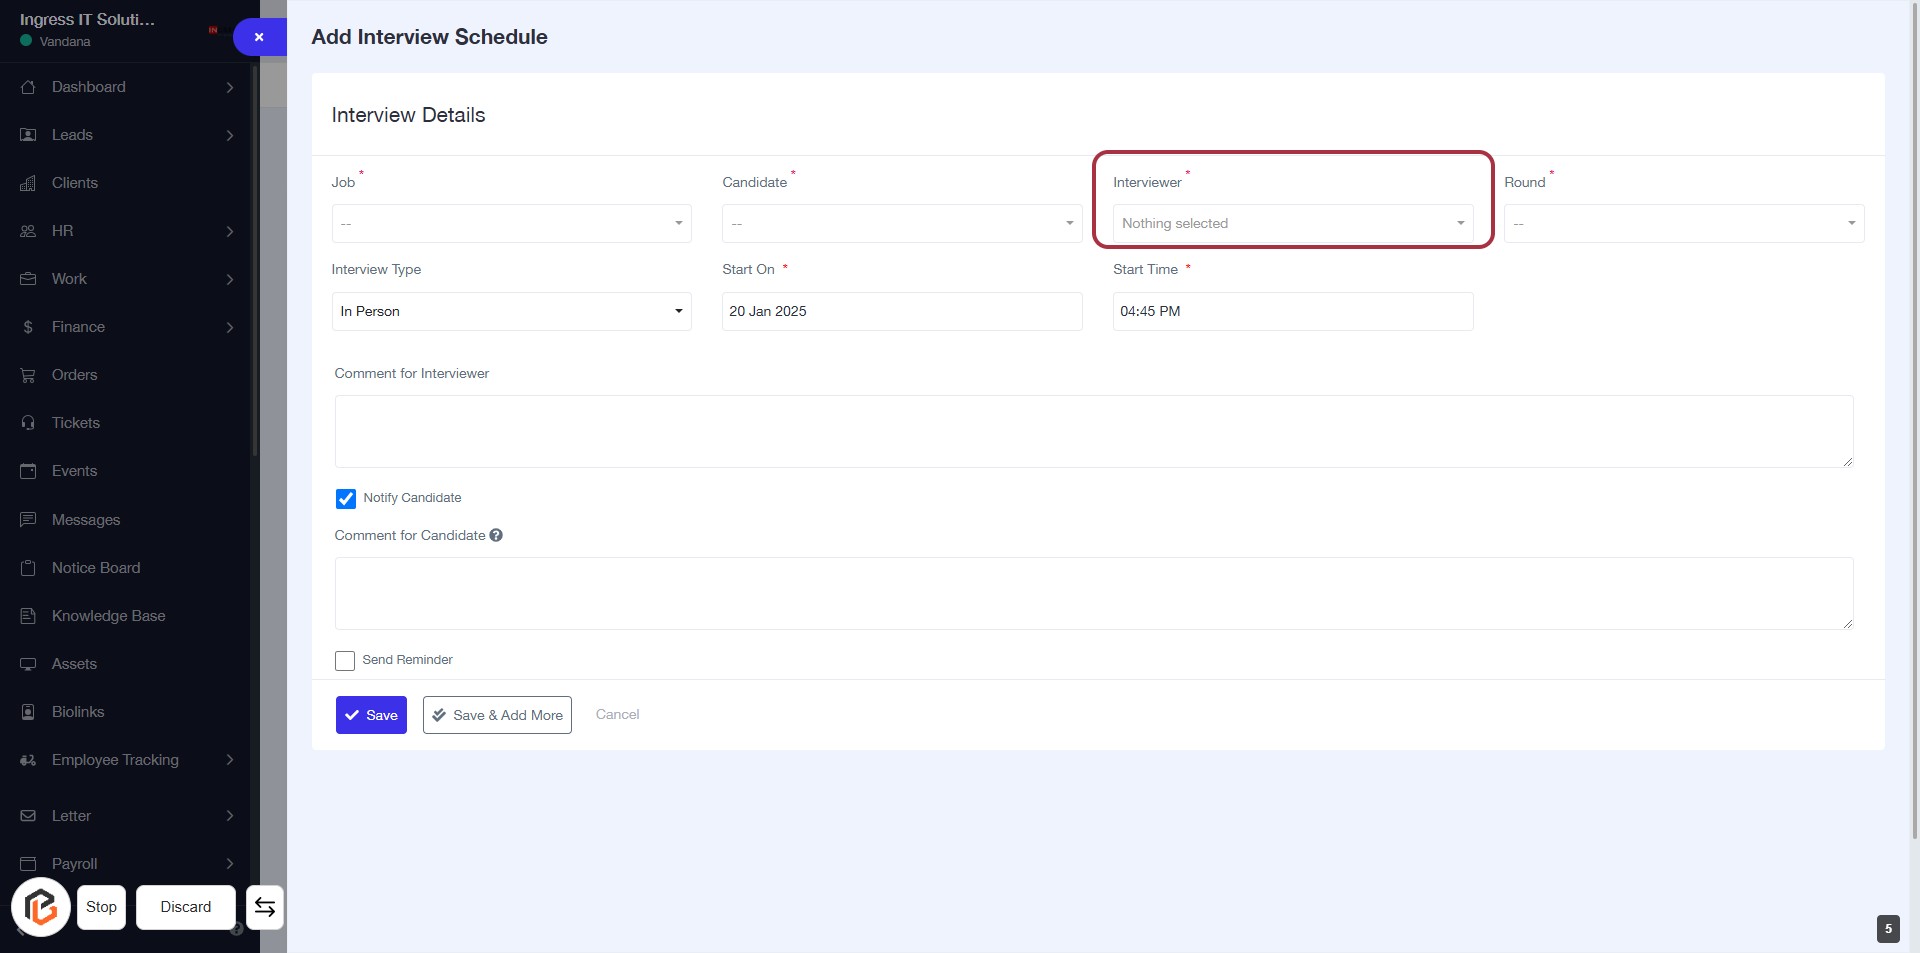
STEP 6: Select "Interviewer"
STEP 7: Select "Round"

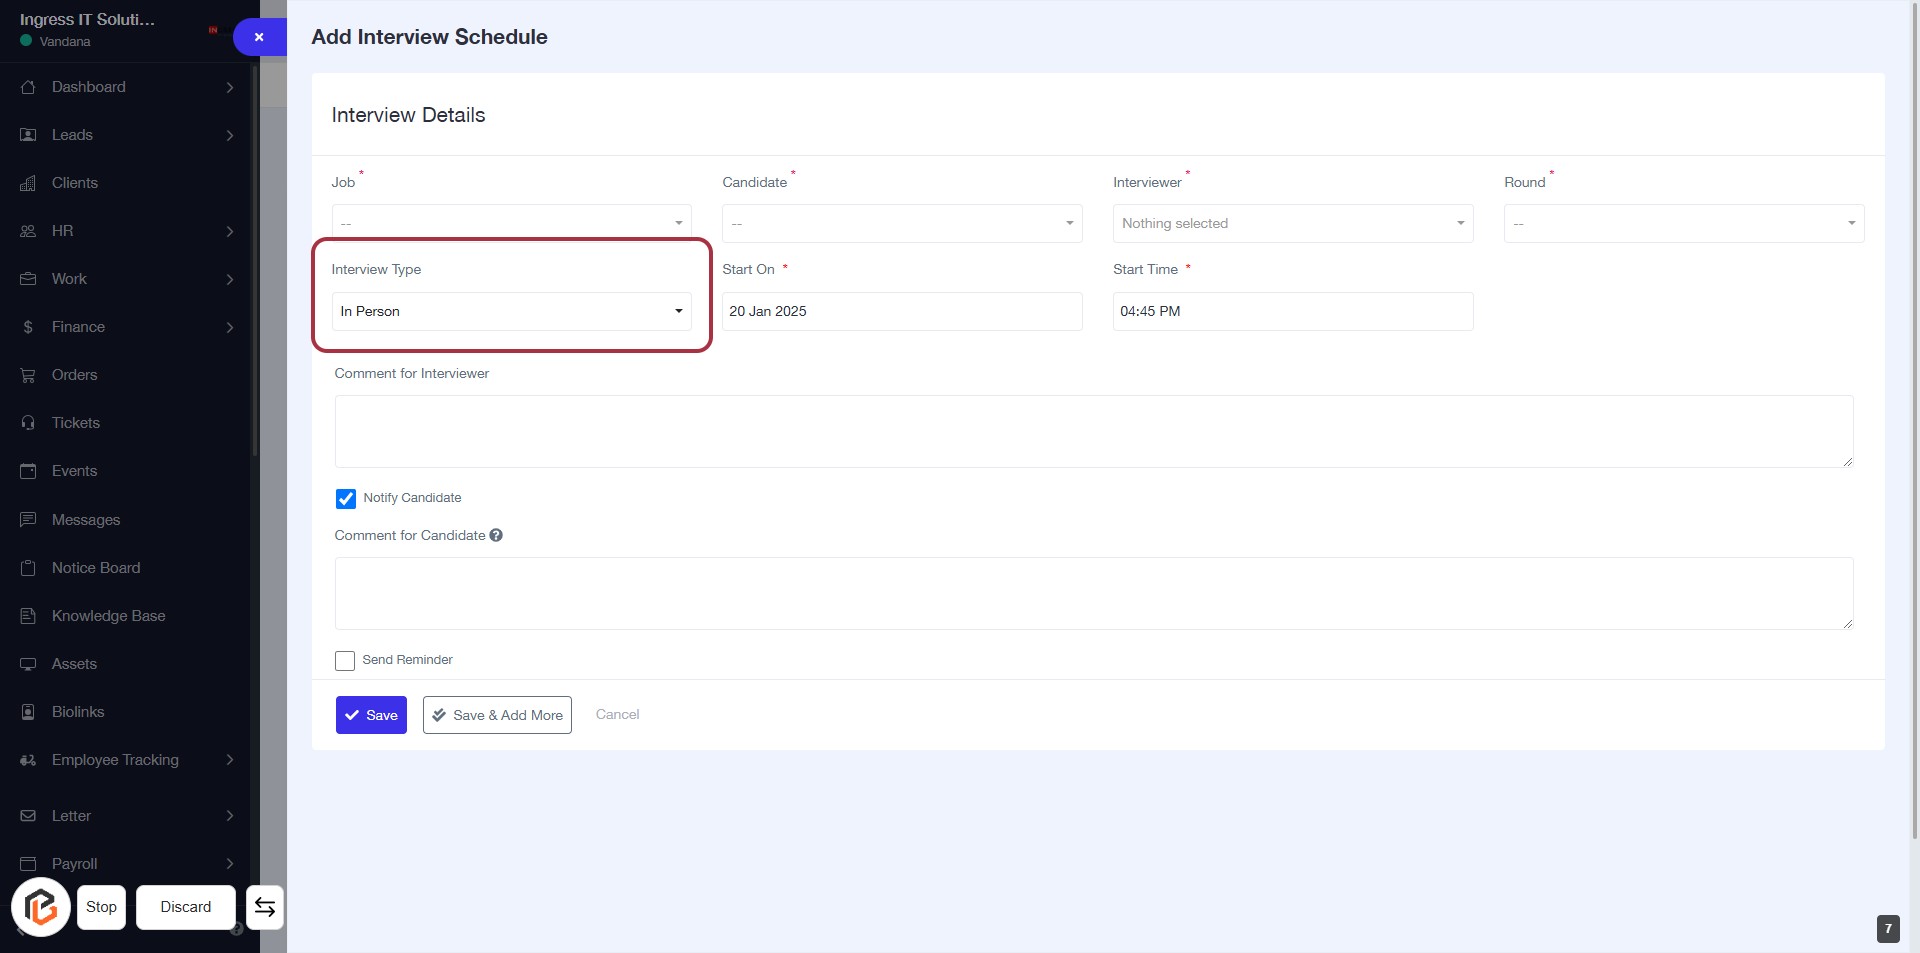
STEP 8: Select "Interview Type"
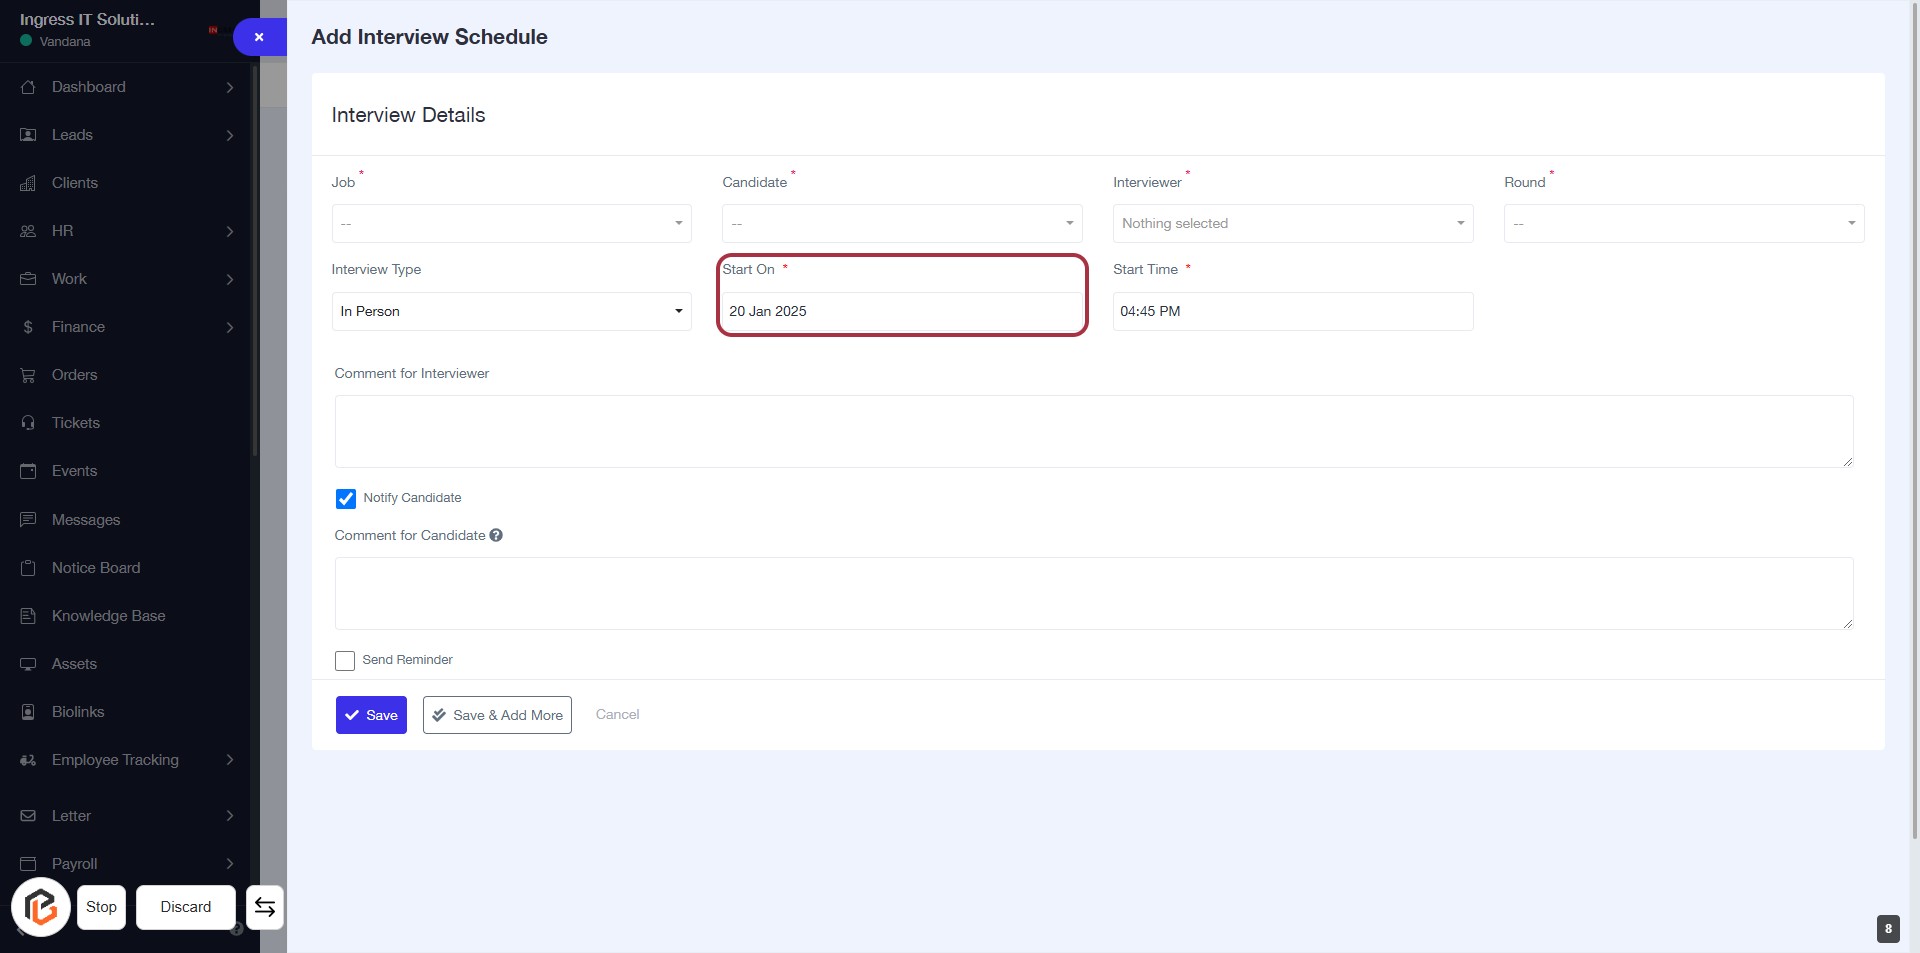
STEP 9: Enter "Start On"
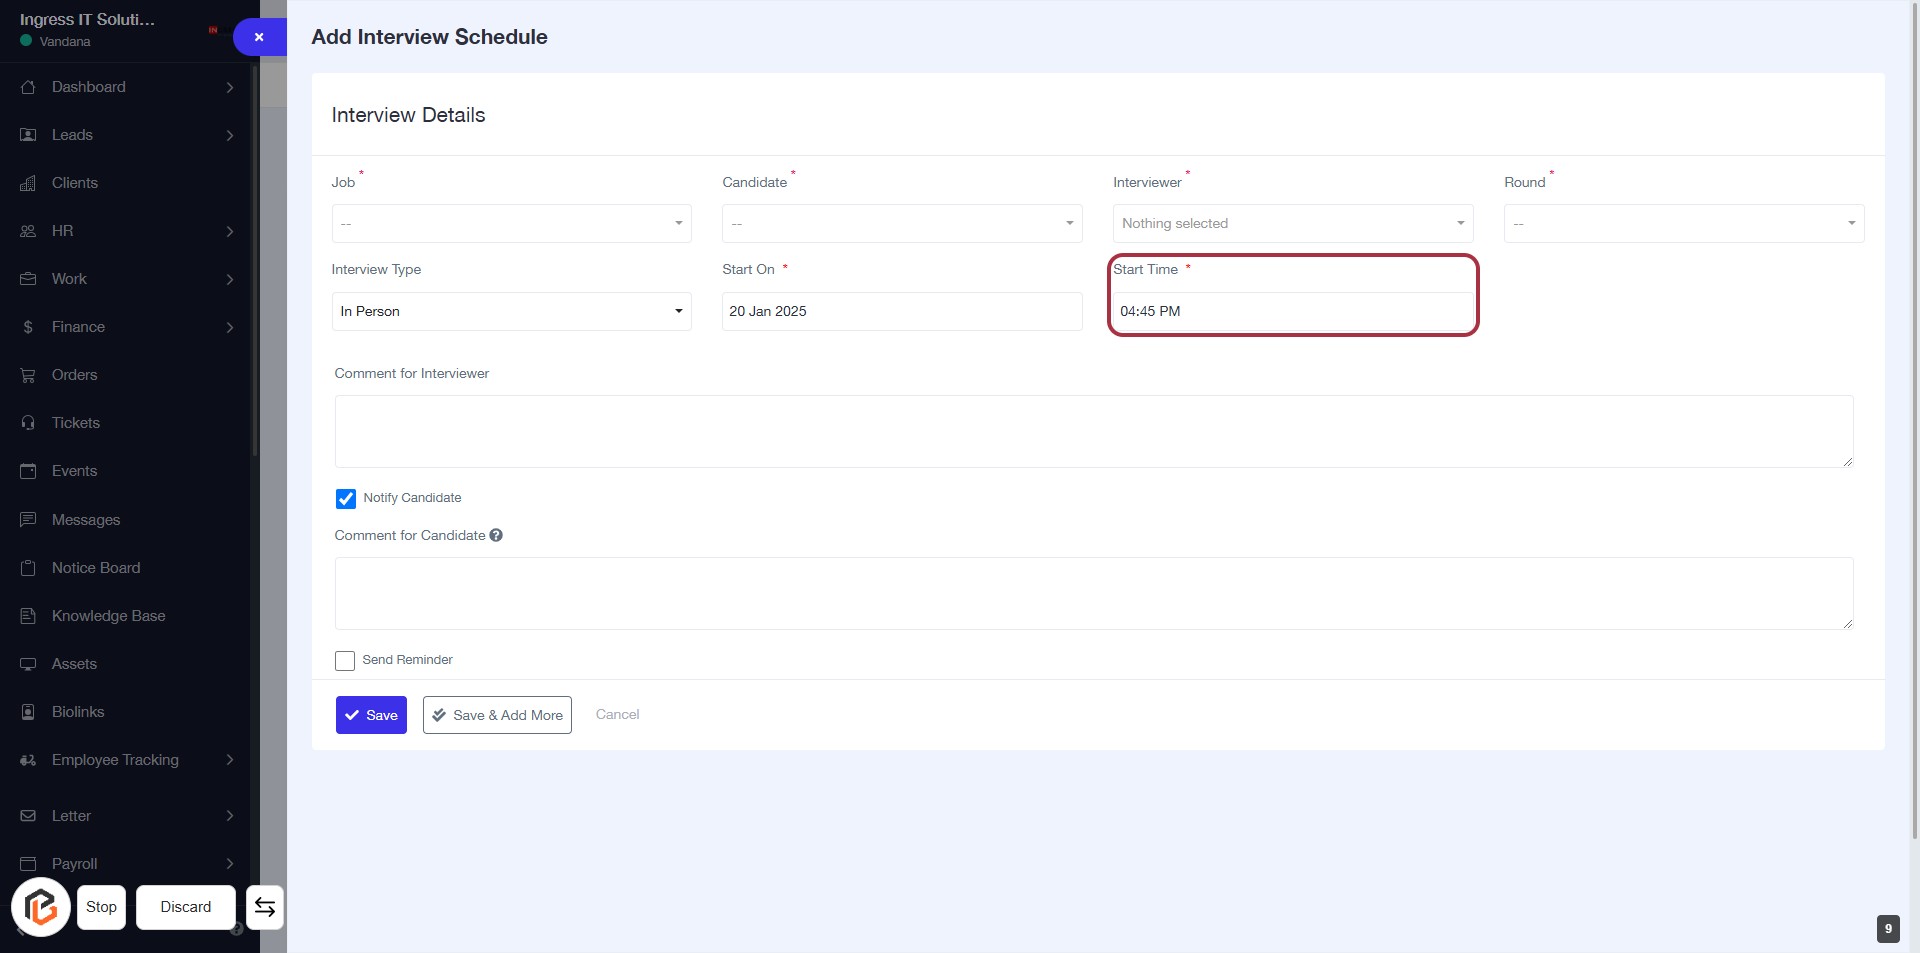
STEP 10: Enter "Start Time"
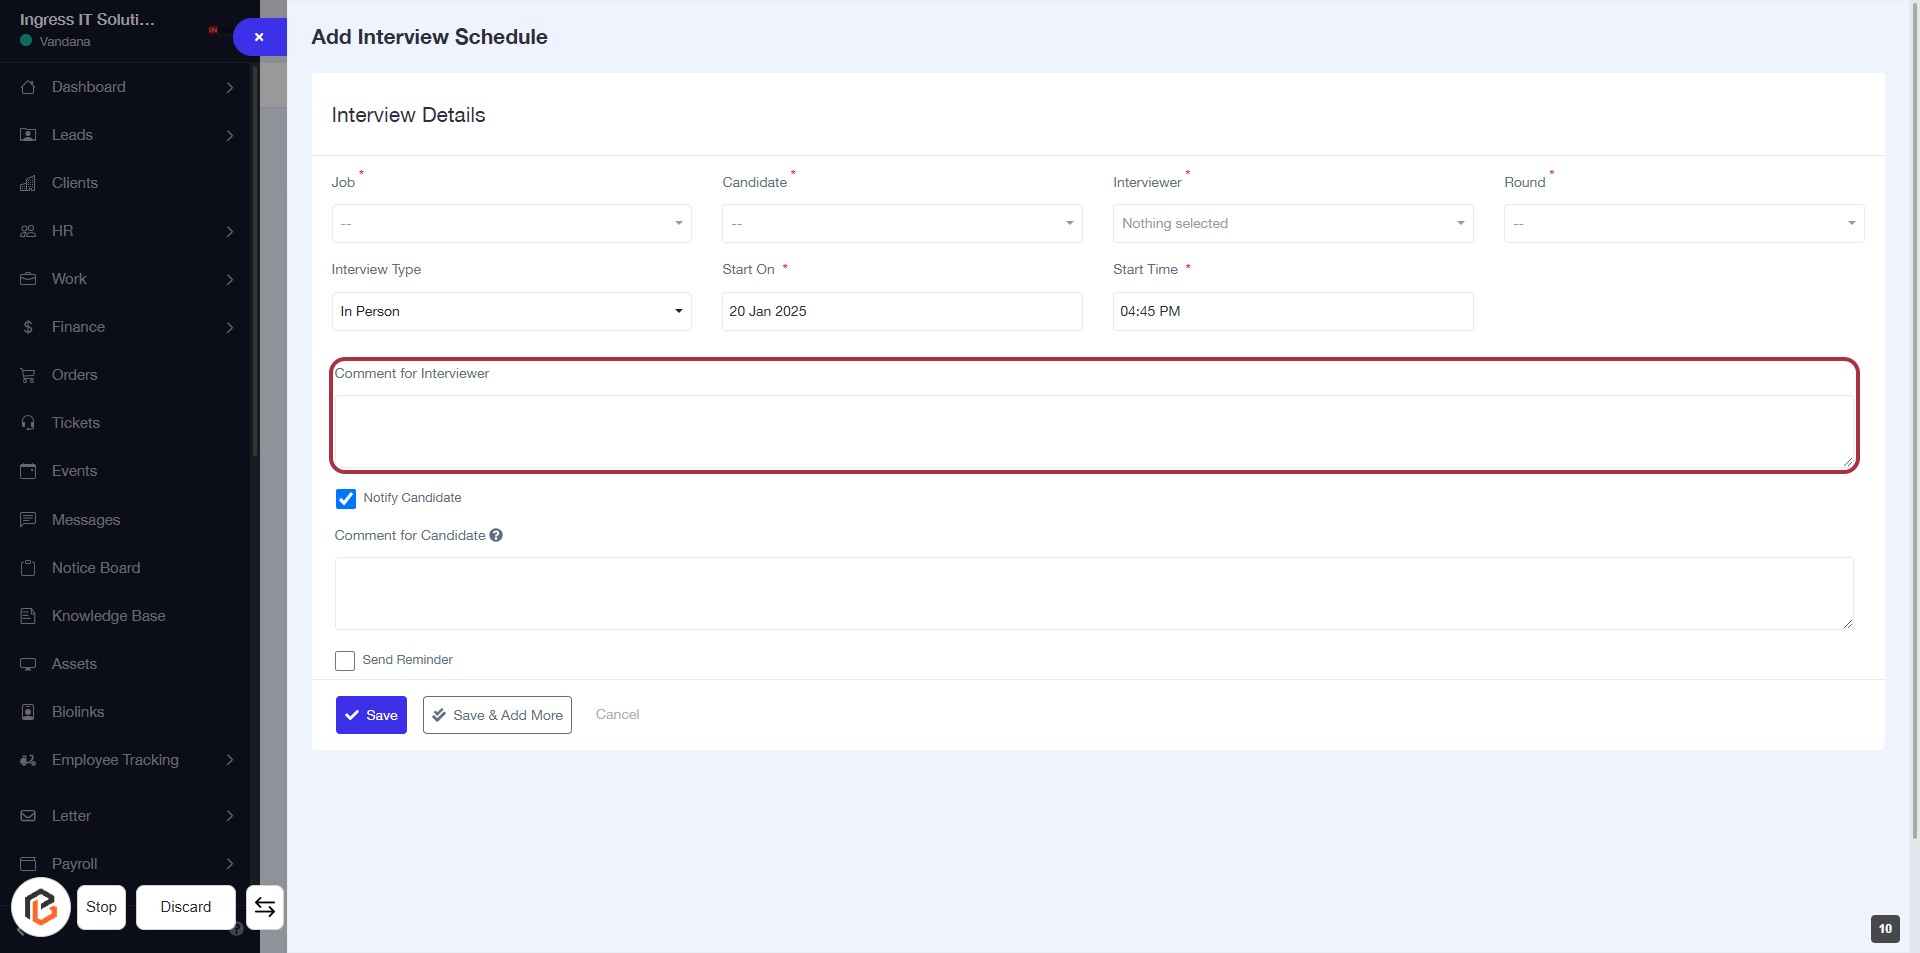
STEP 11: Write "Comment for Interviewer"
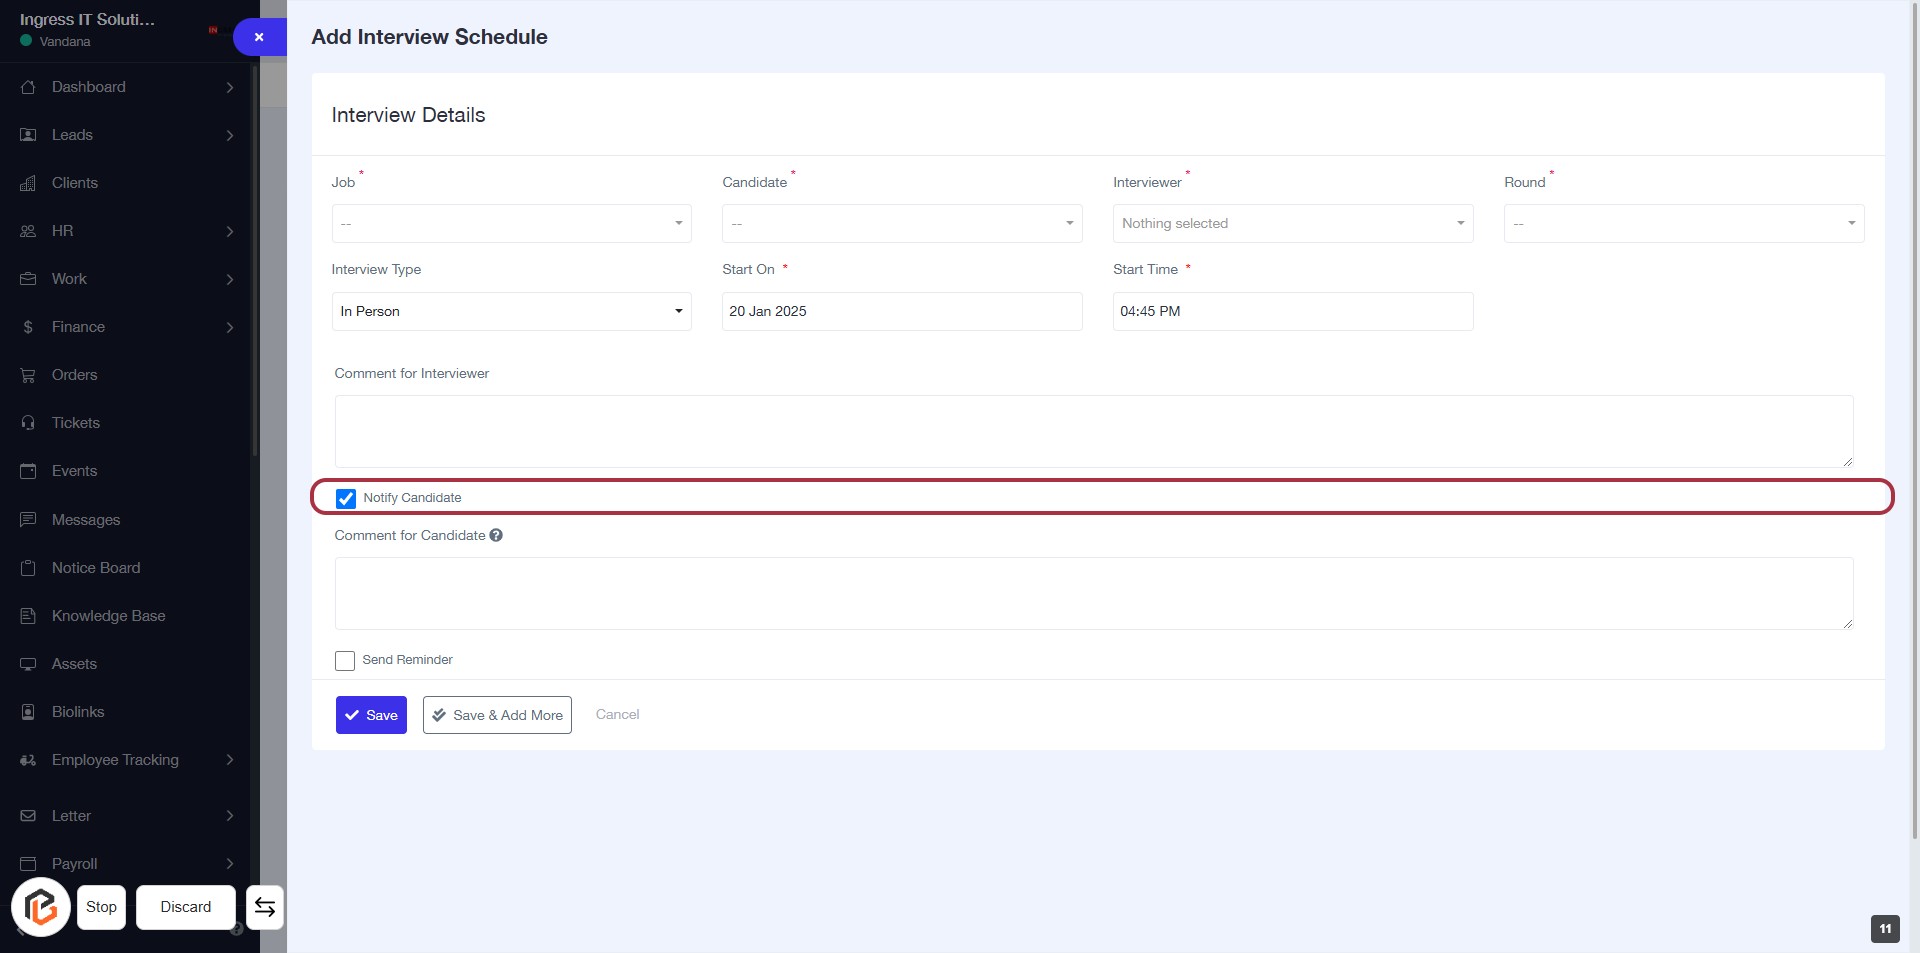
STEP 12: Check "Notify Candidate" If Yes
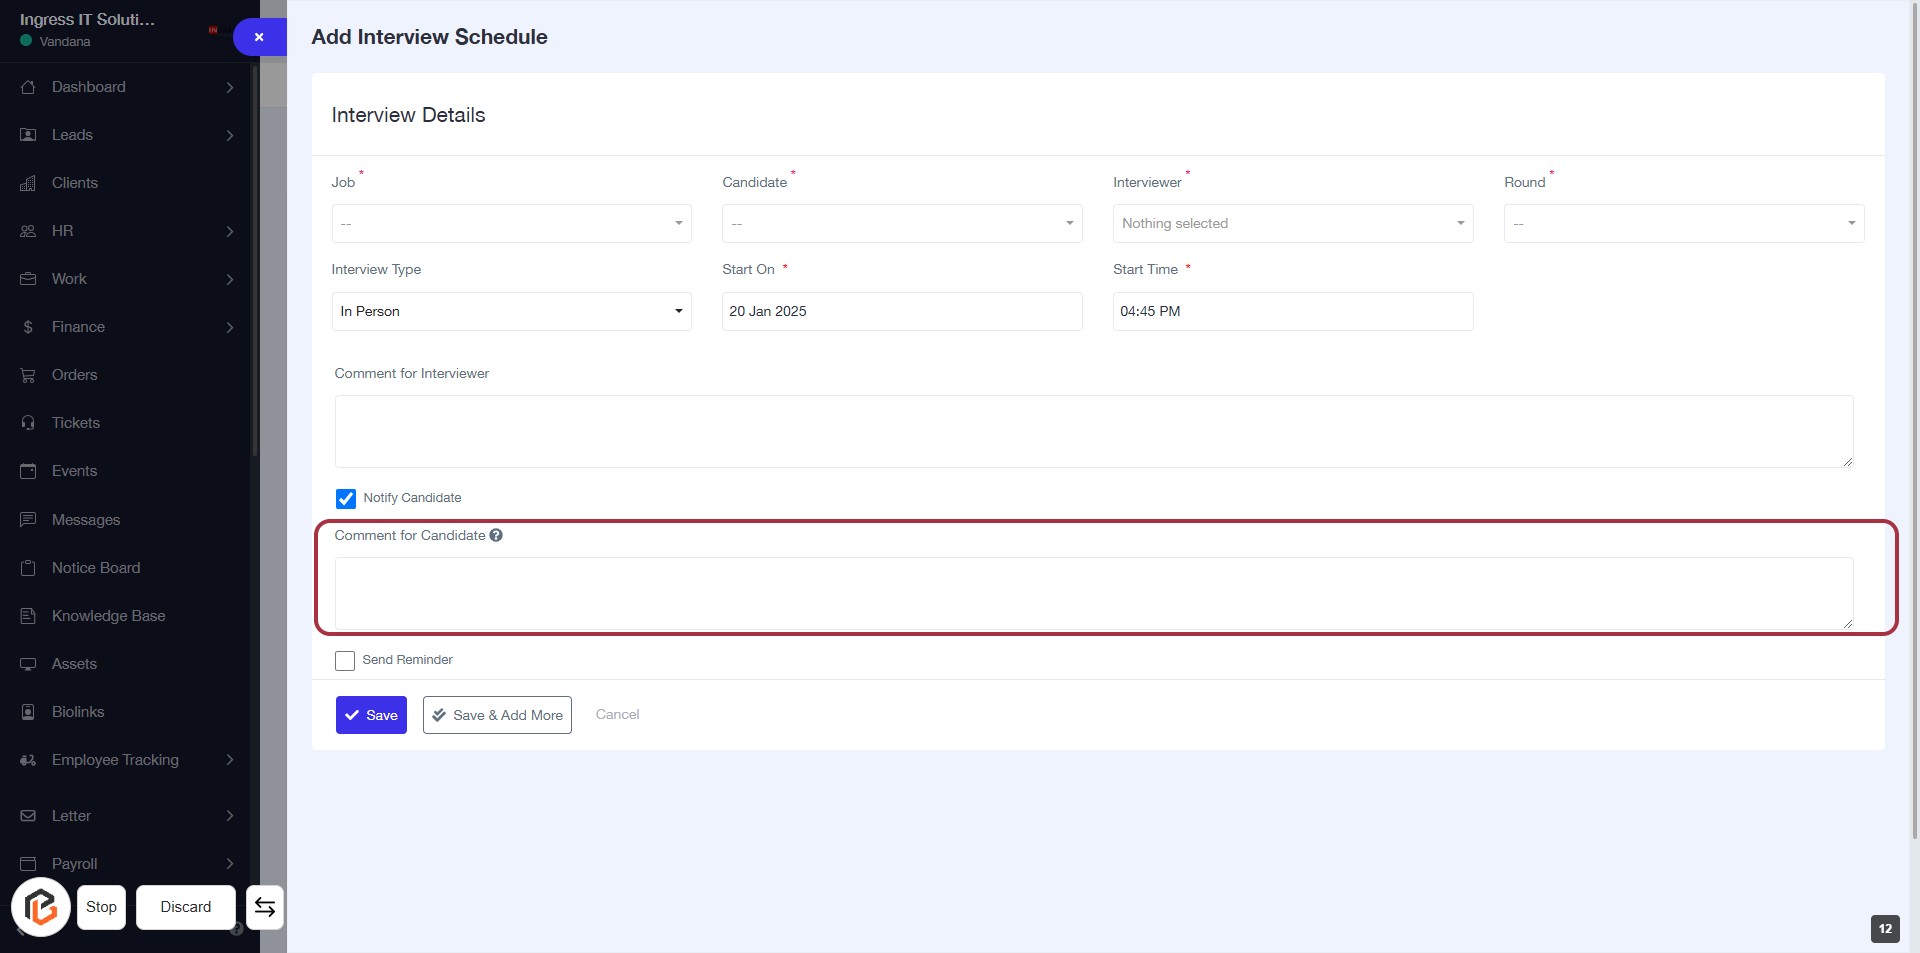
STEP 13: Write "Comment for Candidate"
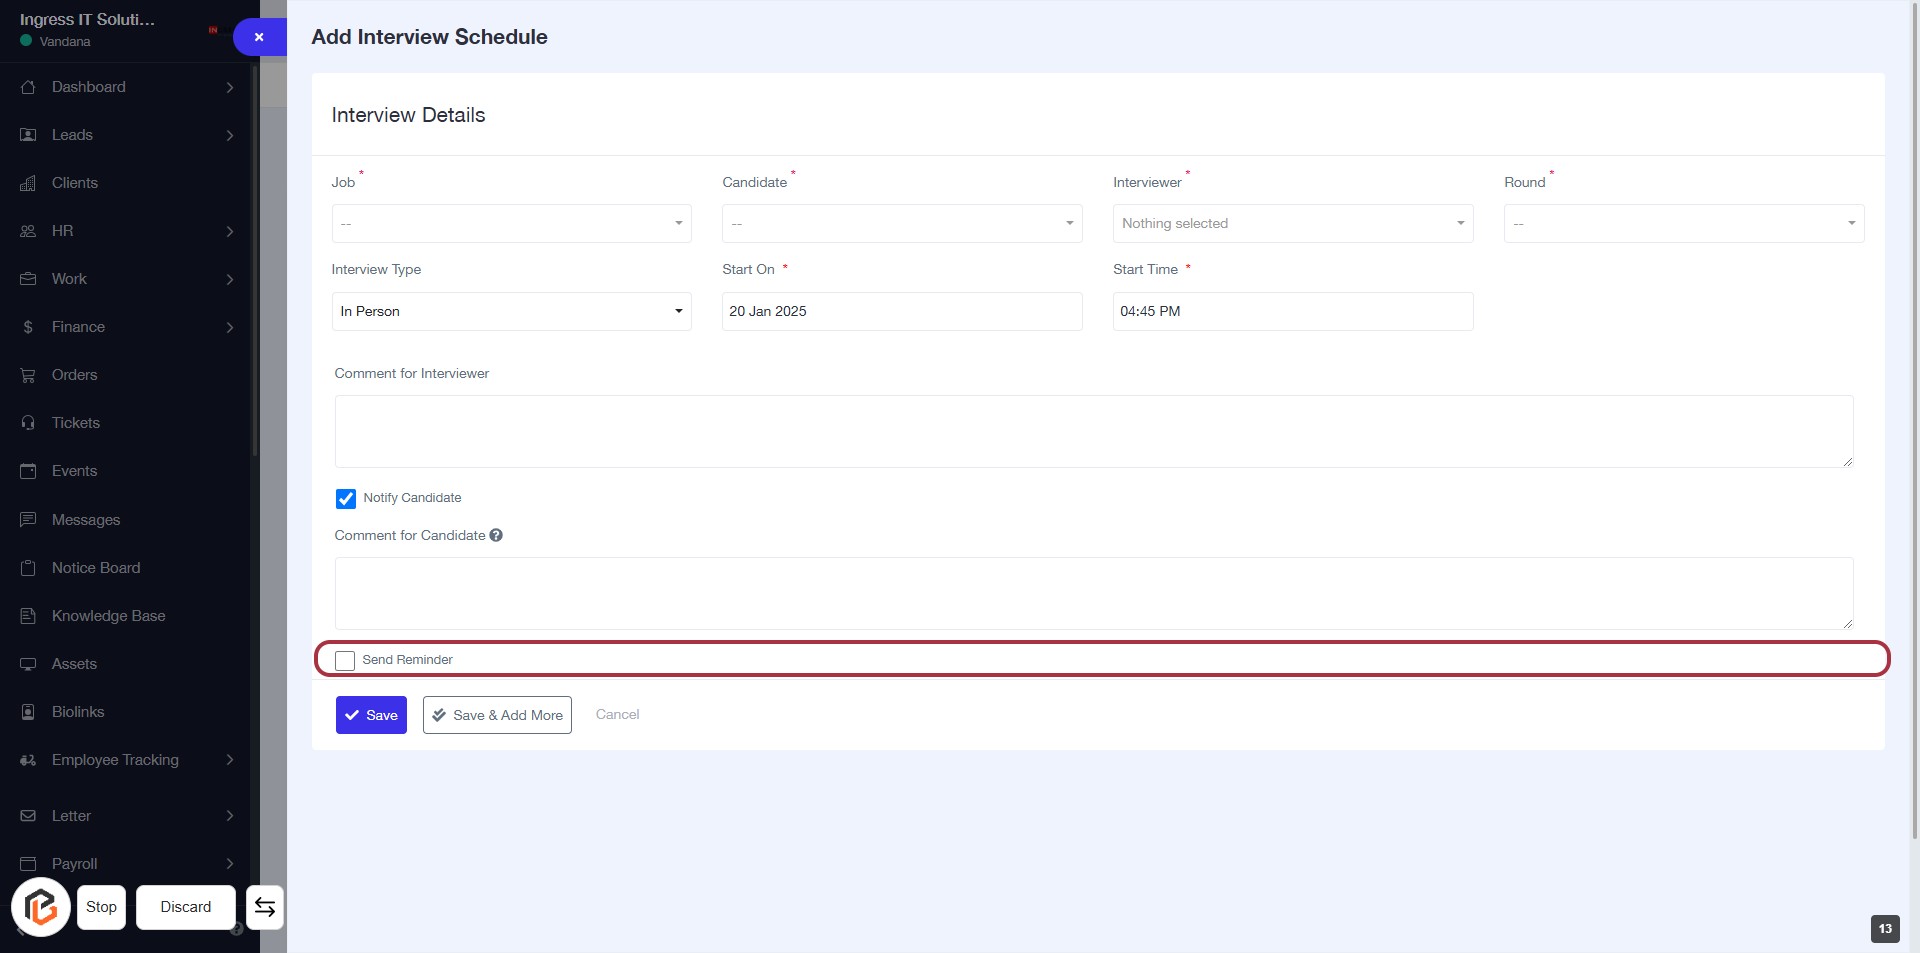
STEP 14: Check "Send Reminder" If Yes
STEP 15: CLICK on "Save Button"