Comprehensive Guide to Managing Recruitment and Reporting in Your Dashboard
11 mins read · Updated 29 Sep, 2025
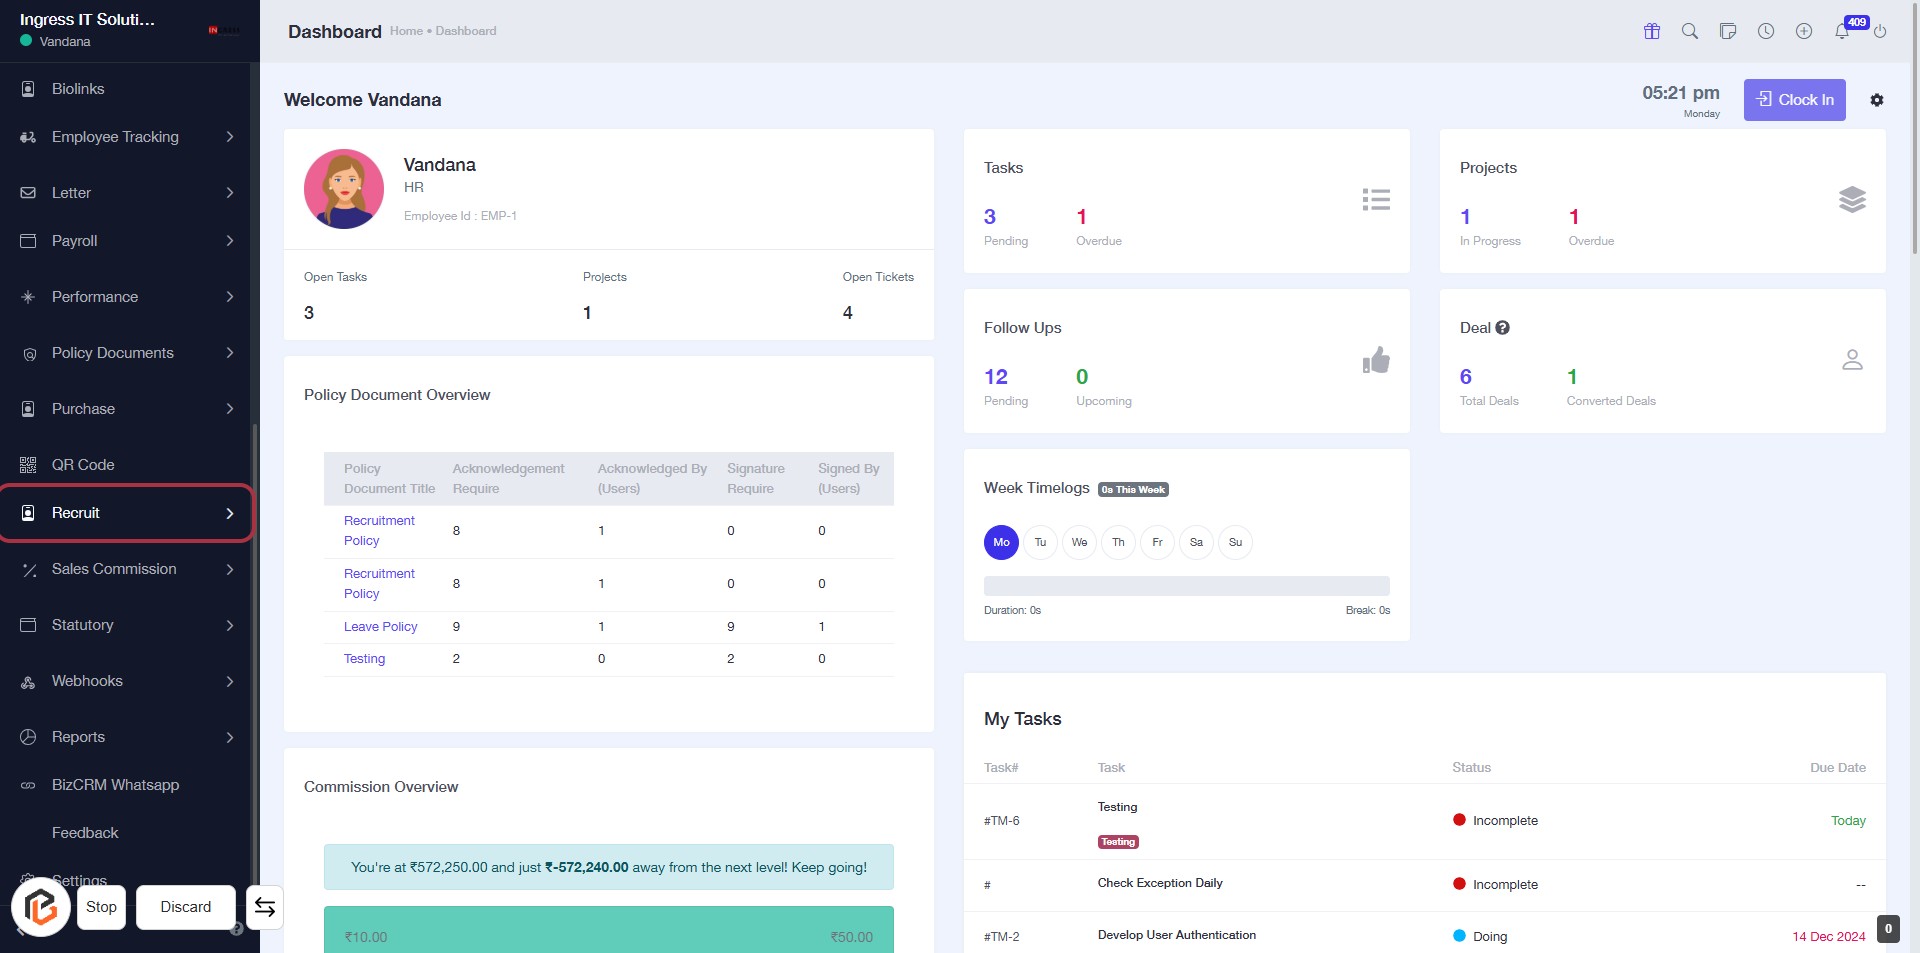
STEP 1: Click on "Recruit" to Access Recruitment Section
- Navigate to the left sidebar of the dashboard.
- Click on the Recruit link highlighted in red.
- This will take you to the recruitment section where you can manage related tasks and policies.
- Ensure to review any relevant documents listed under the Policy Document Overview.
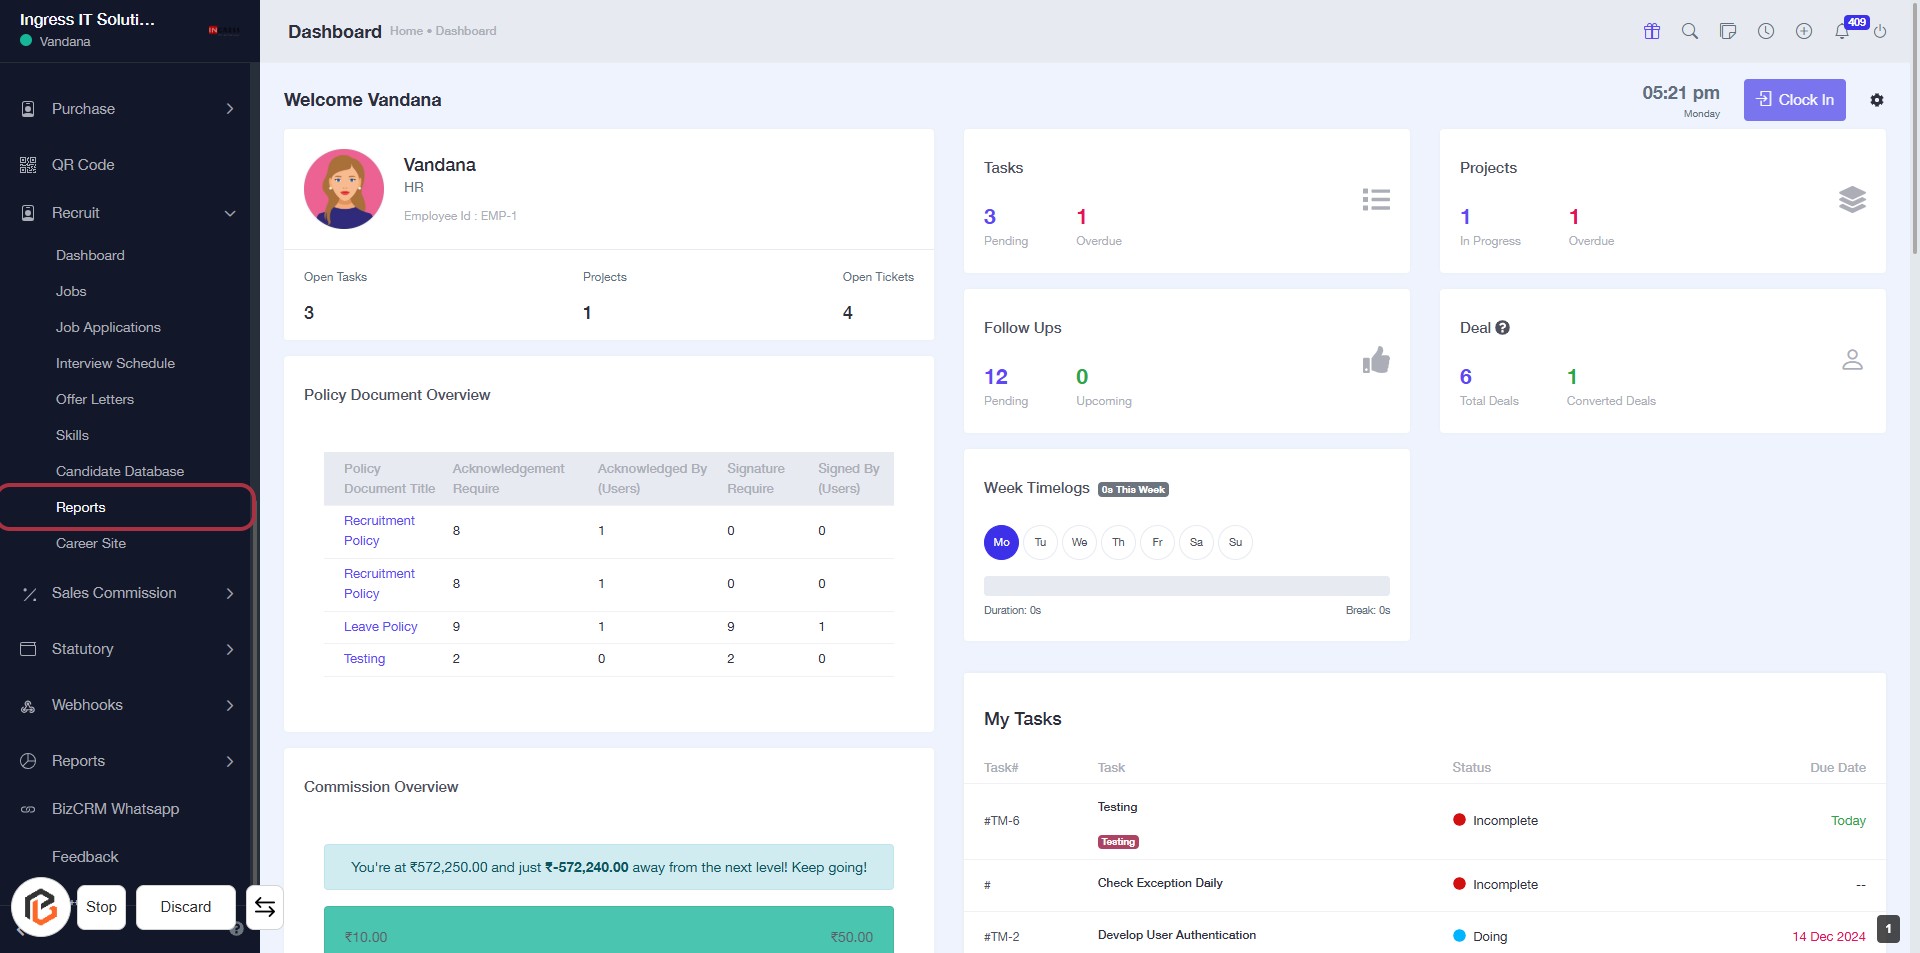
STEP 2: Click on "Reports" to Access Report Section
- Navigate to the sidebar menu.
- Click on the "Reports" link highlighted in red.
- Ensure you are on the dashboard page to view relevant data.
- This action will take you to the Reports section for further analysis.
STEP 3: Click on "Job Application" to View Details
- Navigate to the "Reports" section.
- Locate the highlighted area displaying "Job Application."
- Click on the "Job Application" card to view detailed information.
- Review the metrics: Job Posted, Candidate Hired, and Interview Schedule.
- Analyze the pie chart for a visual representation of the data.

STEP 4: Click on "Job Application" to Access Details
- Click on the Job Application section highlighted in red.
- This section displays the total number of job applications.
- Review the data presented in the adjacent cards for insights on job postings and candidates hired.
- Ensure to check the pie chart for a visual representation of job application statistics.

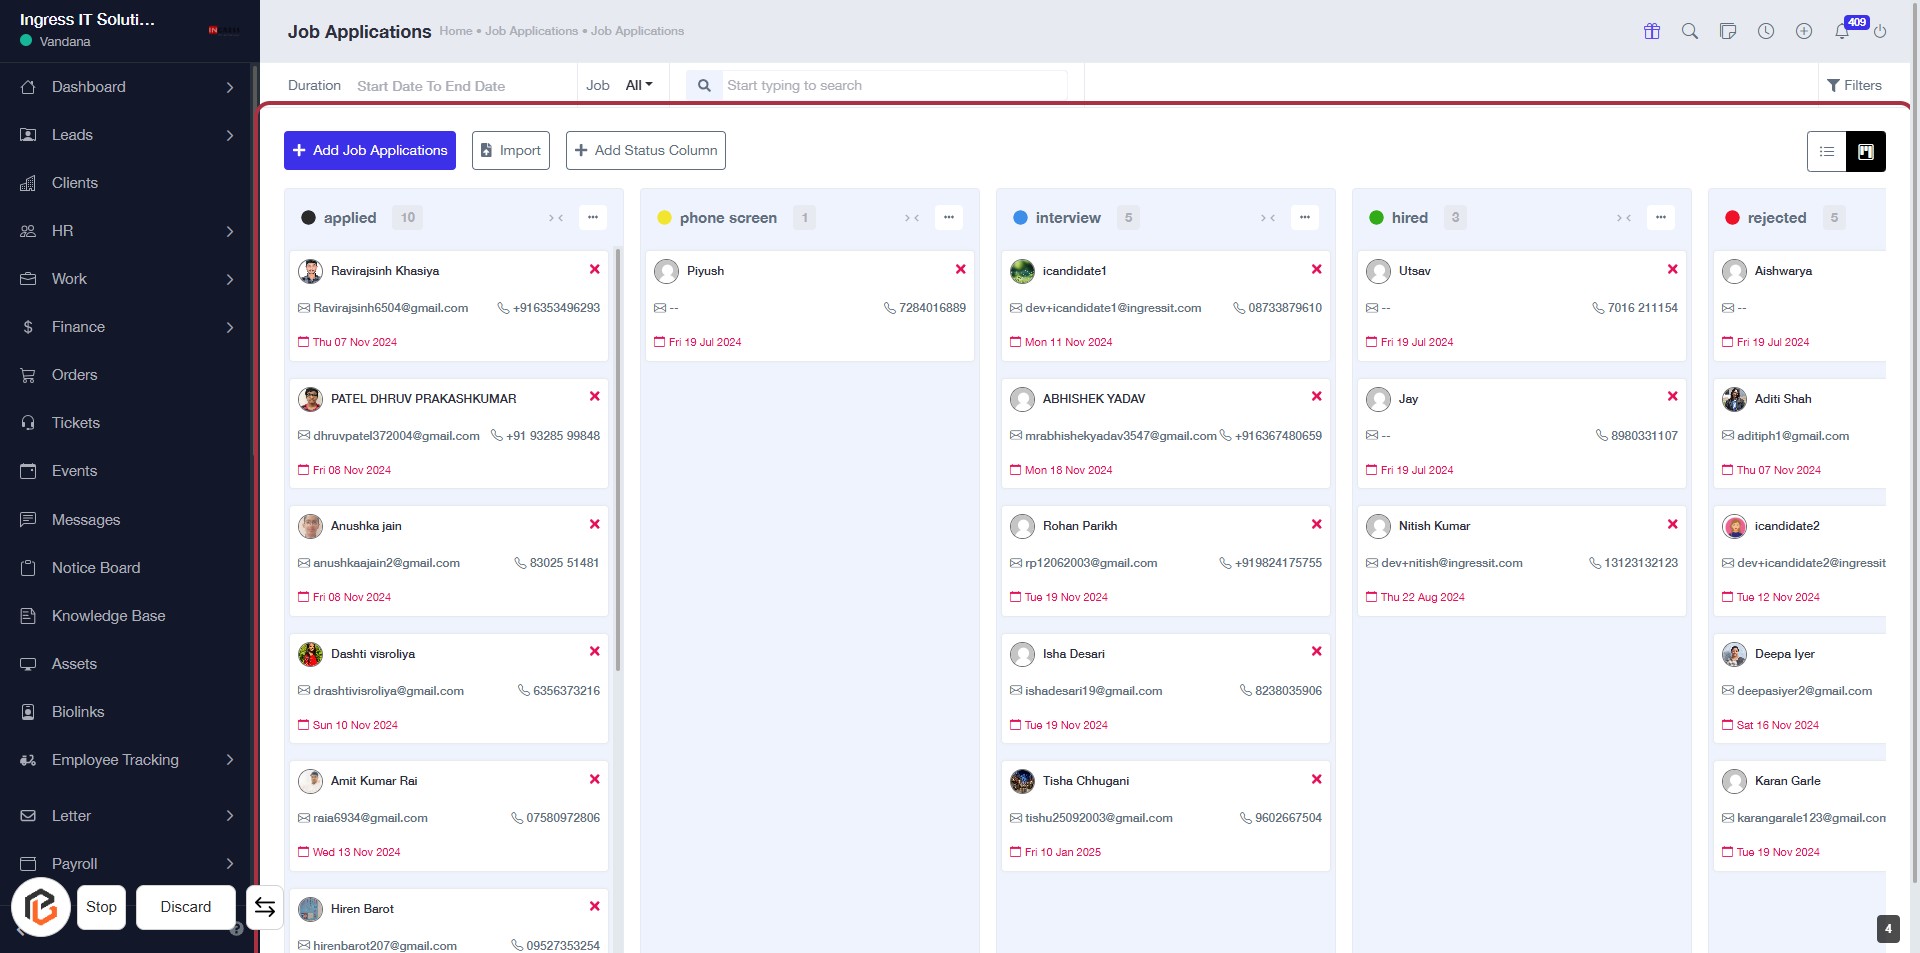
STEP 5: Click on "Add Job Applications" to Proceed
- Navigate to the "Job Applications" page.
- Click on the Add Job Applications button highlighted in blue.
- Ensure all required fields marked with an asterisk (*) are filled out.
- Review the displayed job applications for accuracy.
- Proceed to the next step by clicking on "Job Posted".
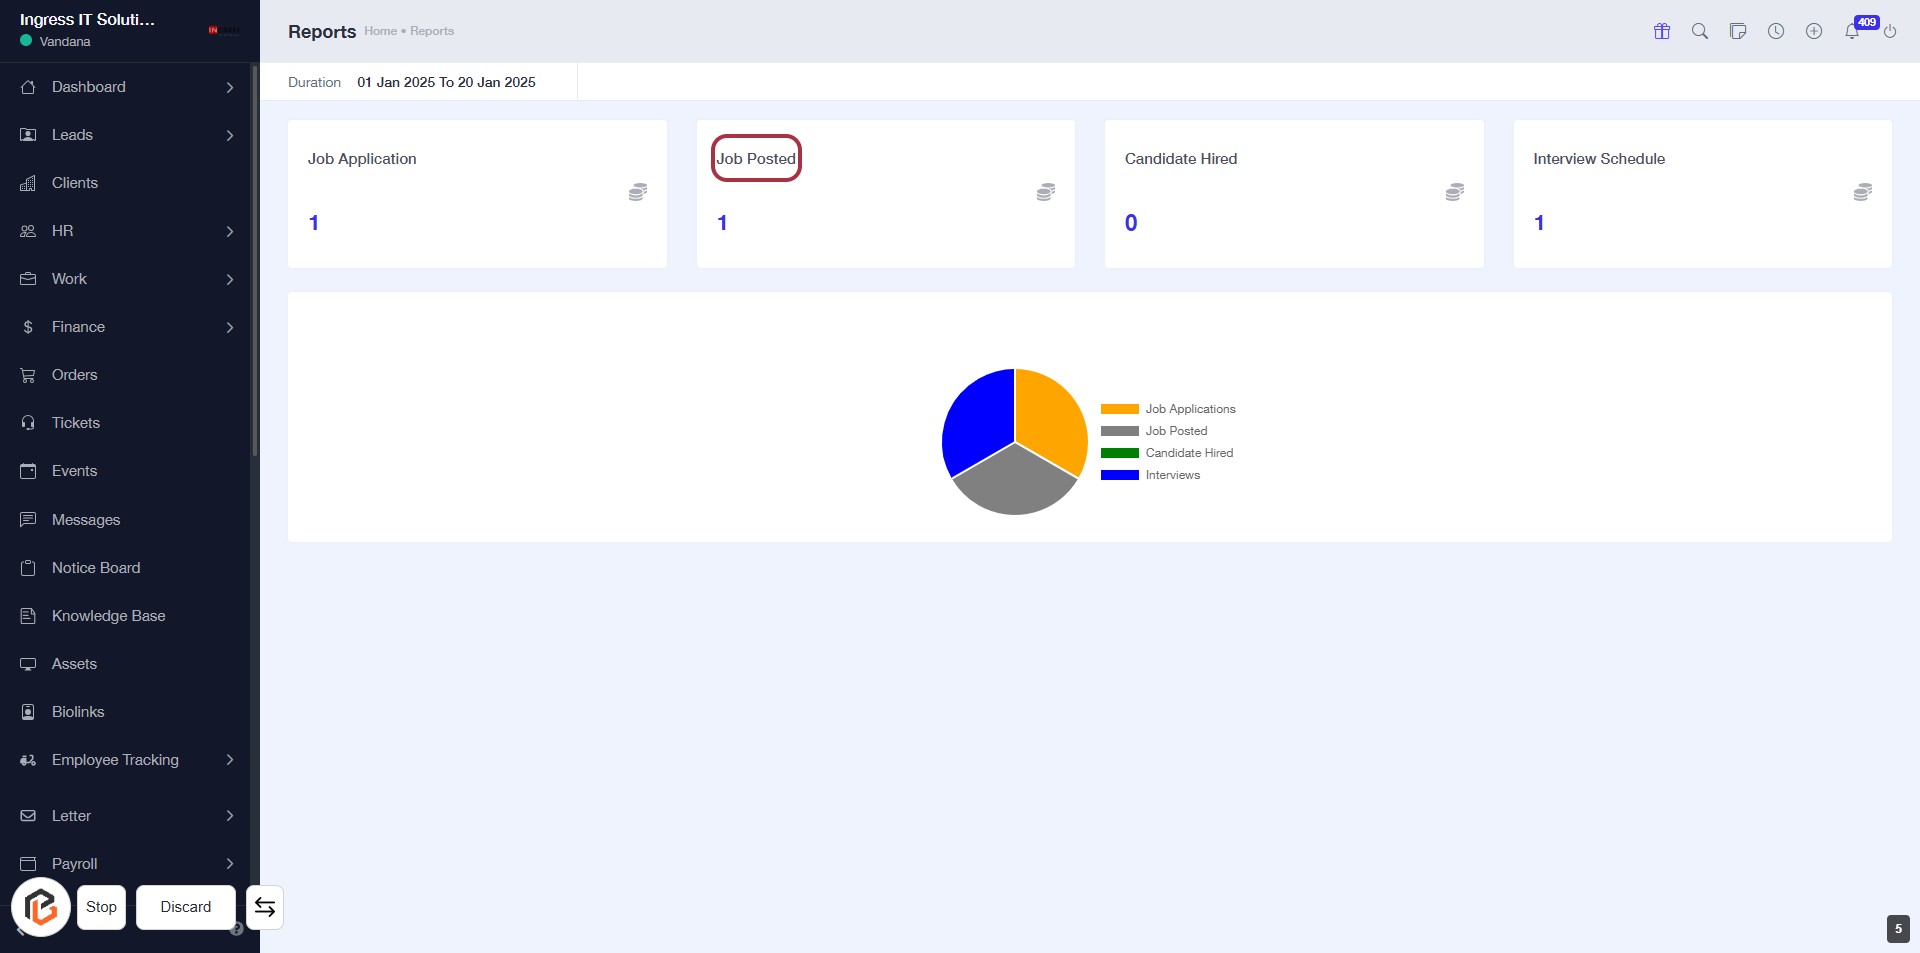
STEP 6: Click on "Job Posted" to View Details
- Locate the "Job Posted" section highlighted in red.
- Click on the "Job Posted" label to access detailed information.
- Ensure you have the necessary filters set for the report duration.
- Review the displayed data regarding job postings.
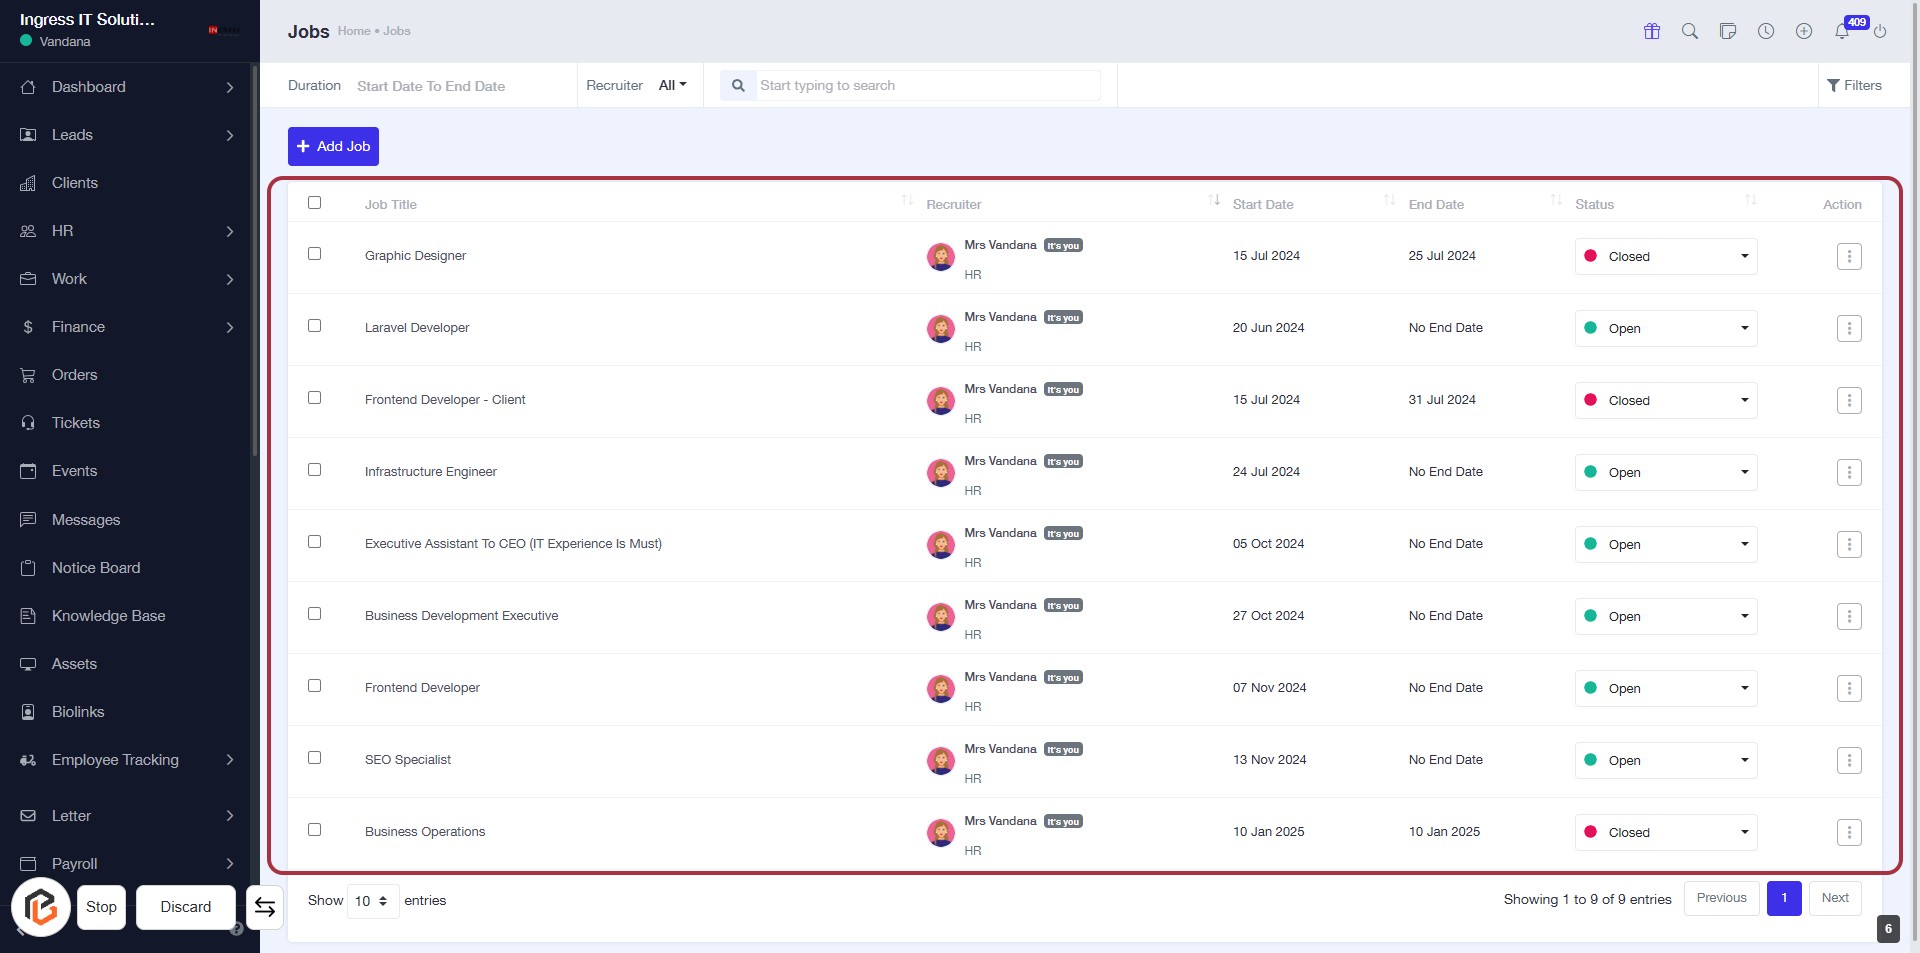
STEP 7: Click on "Jobs" to View Details
- Navigate to the "Jobs" section to see the list of posted jobs.
- Review the columns: Job Title, Recruiter, Start Date, End Date, Status, and Action.
- Click on any job title for more details or actions related to that job.
- Ensure to check the status of each job for updates.
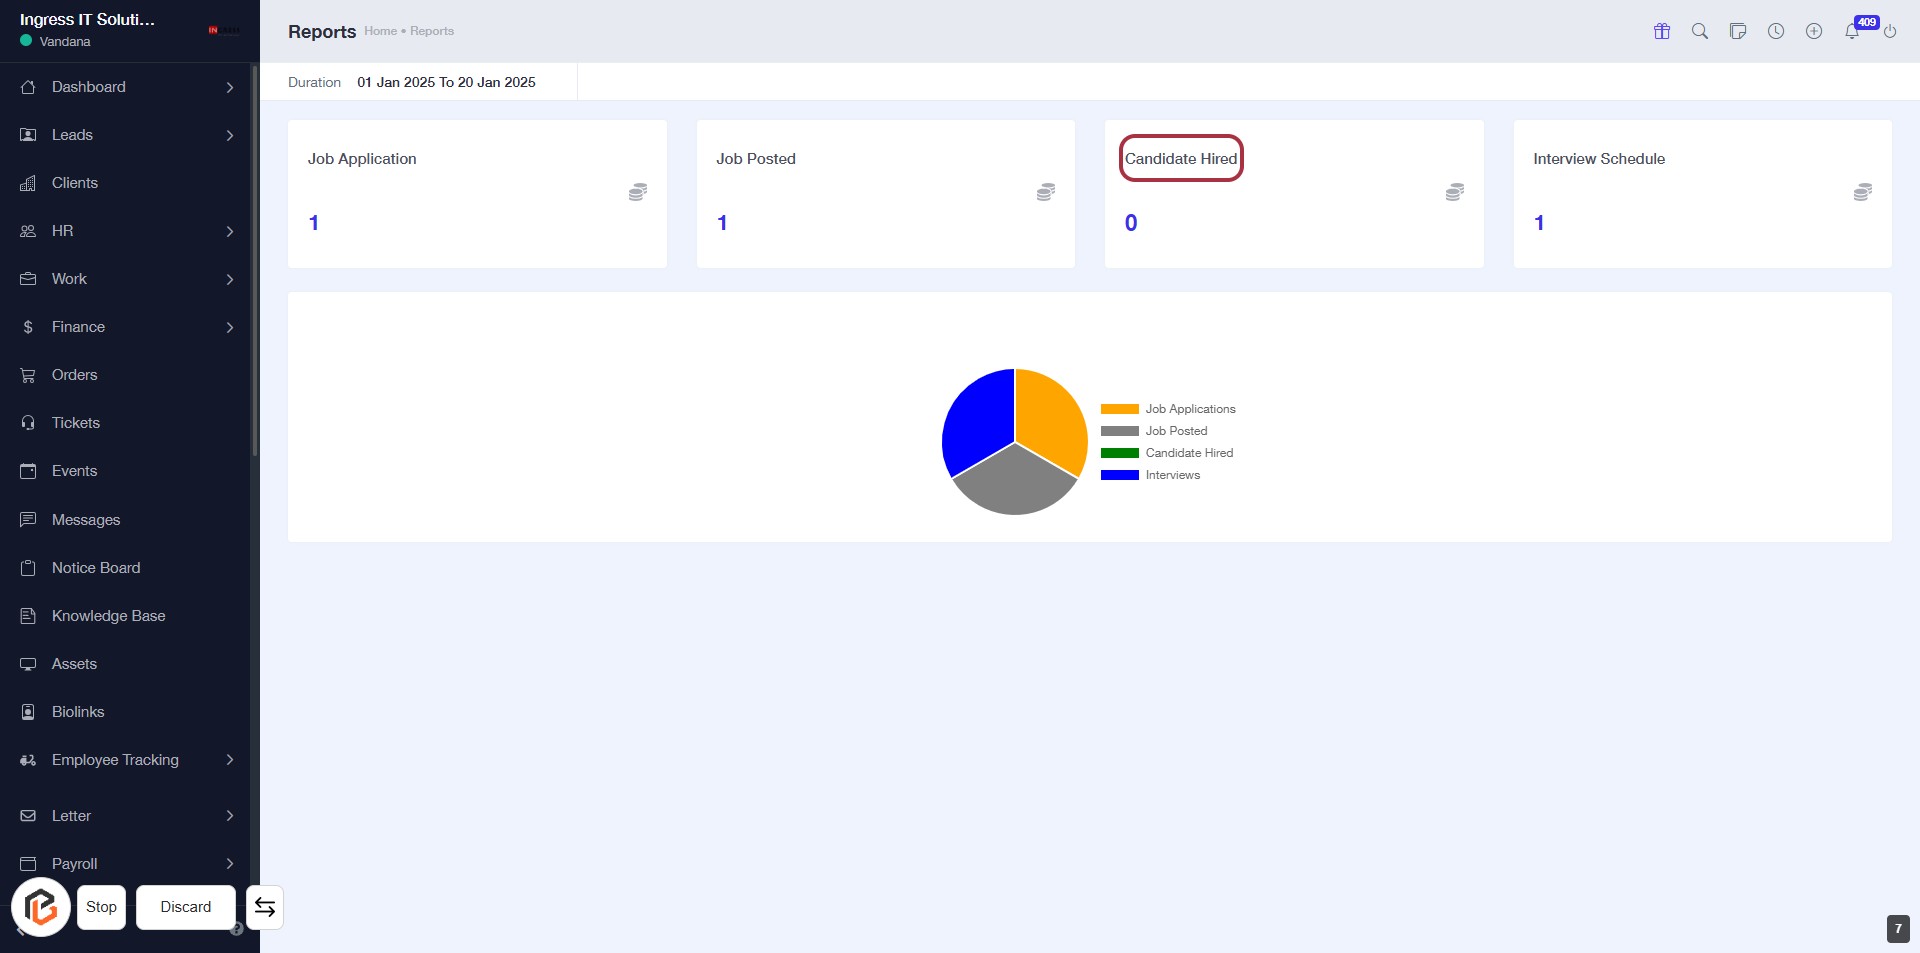
STEP 8: Click on "Candidate Hired" to View Details
- Navigate to the "Reports" section.
- Locate the "Candidate Hired" card highlighted in red.
- Click on the "Candidate Hired" text to access detailed information about candidates hired.
- Ensure you have the necessary permissions to view this data.
STEP 9: Click on "Add Job Applications"
- Navigate to the highlighted area to add new job applications.
- Ensure all required fields marked with '*' are filled out.
- Review any optional fields for additional information.
- Click the "Add Job Applications" button to proceed.

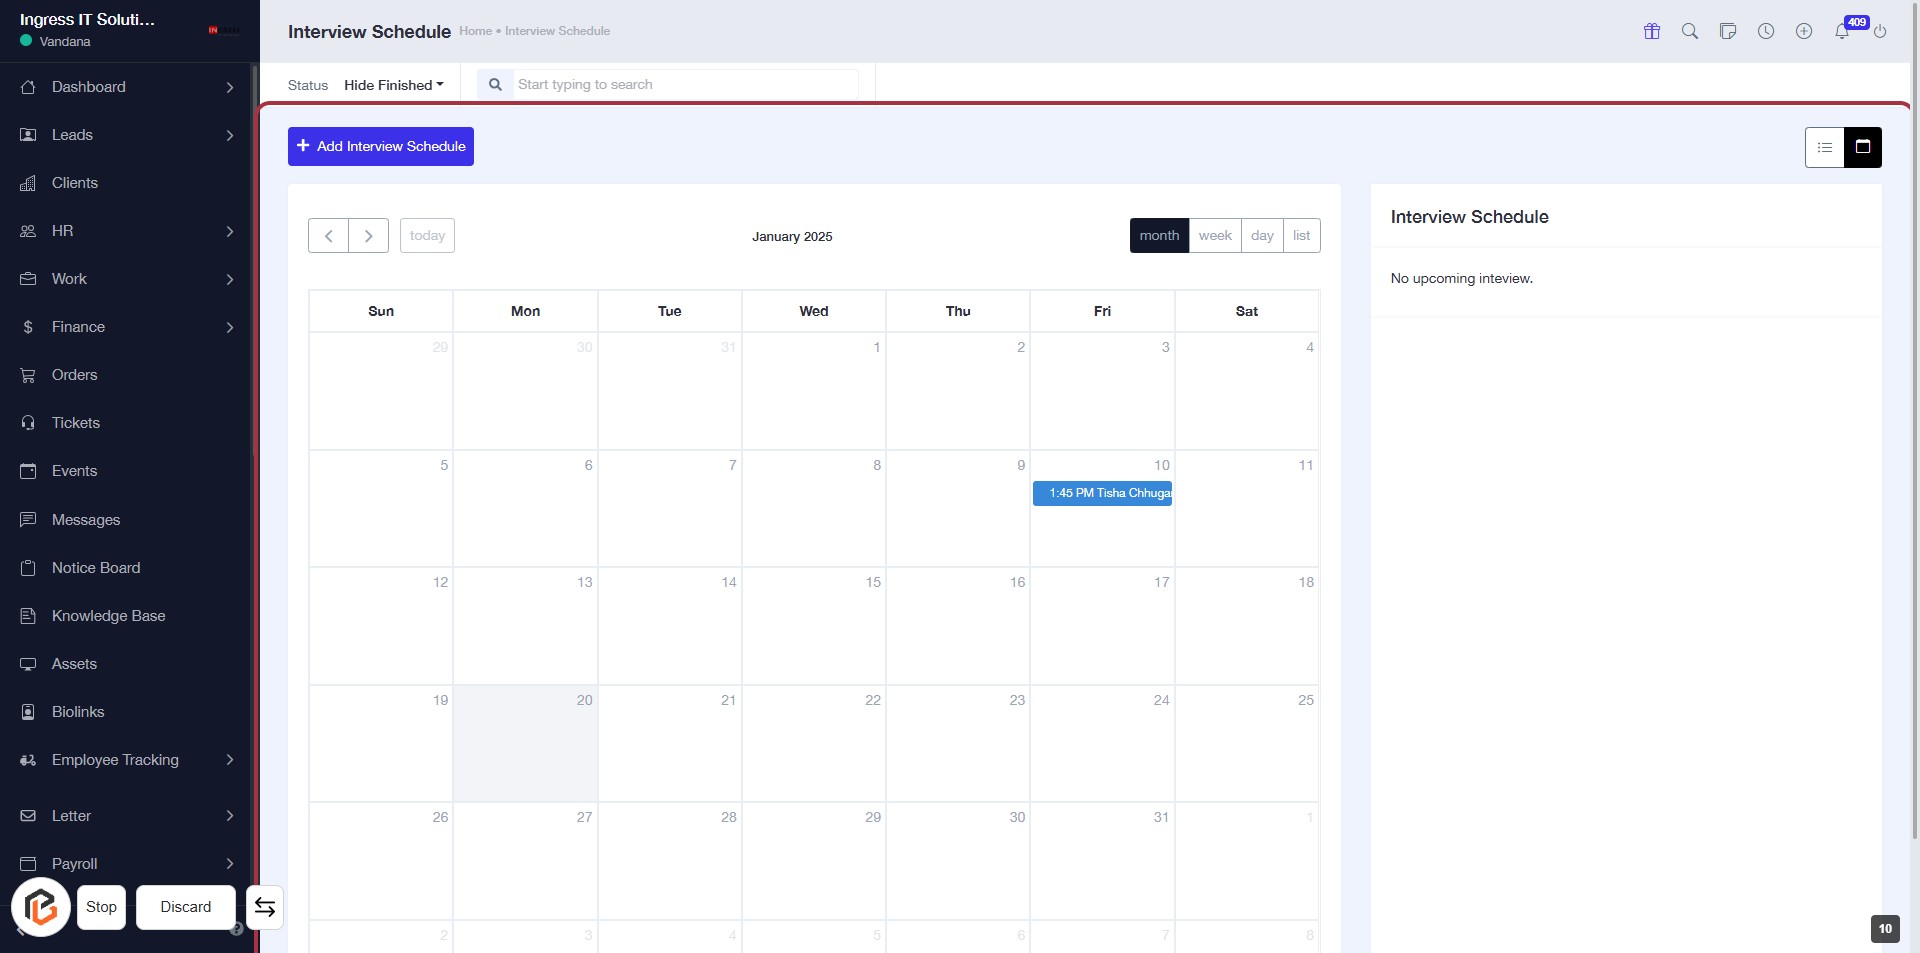
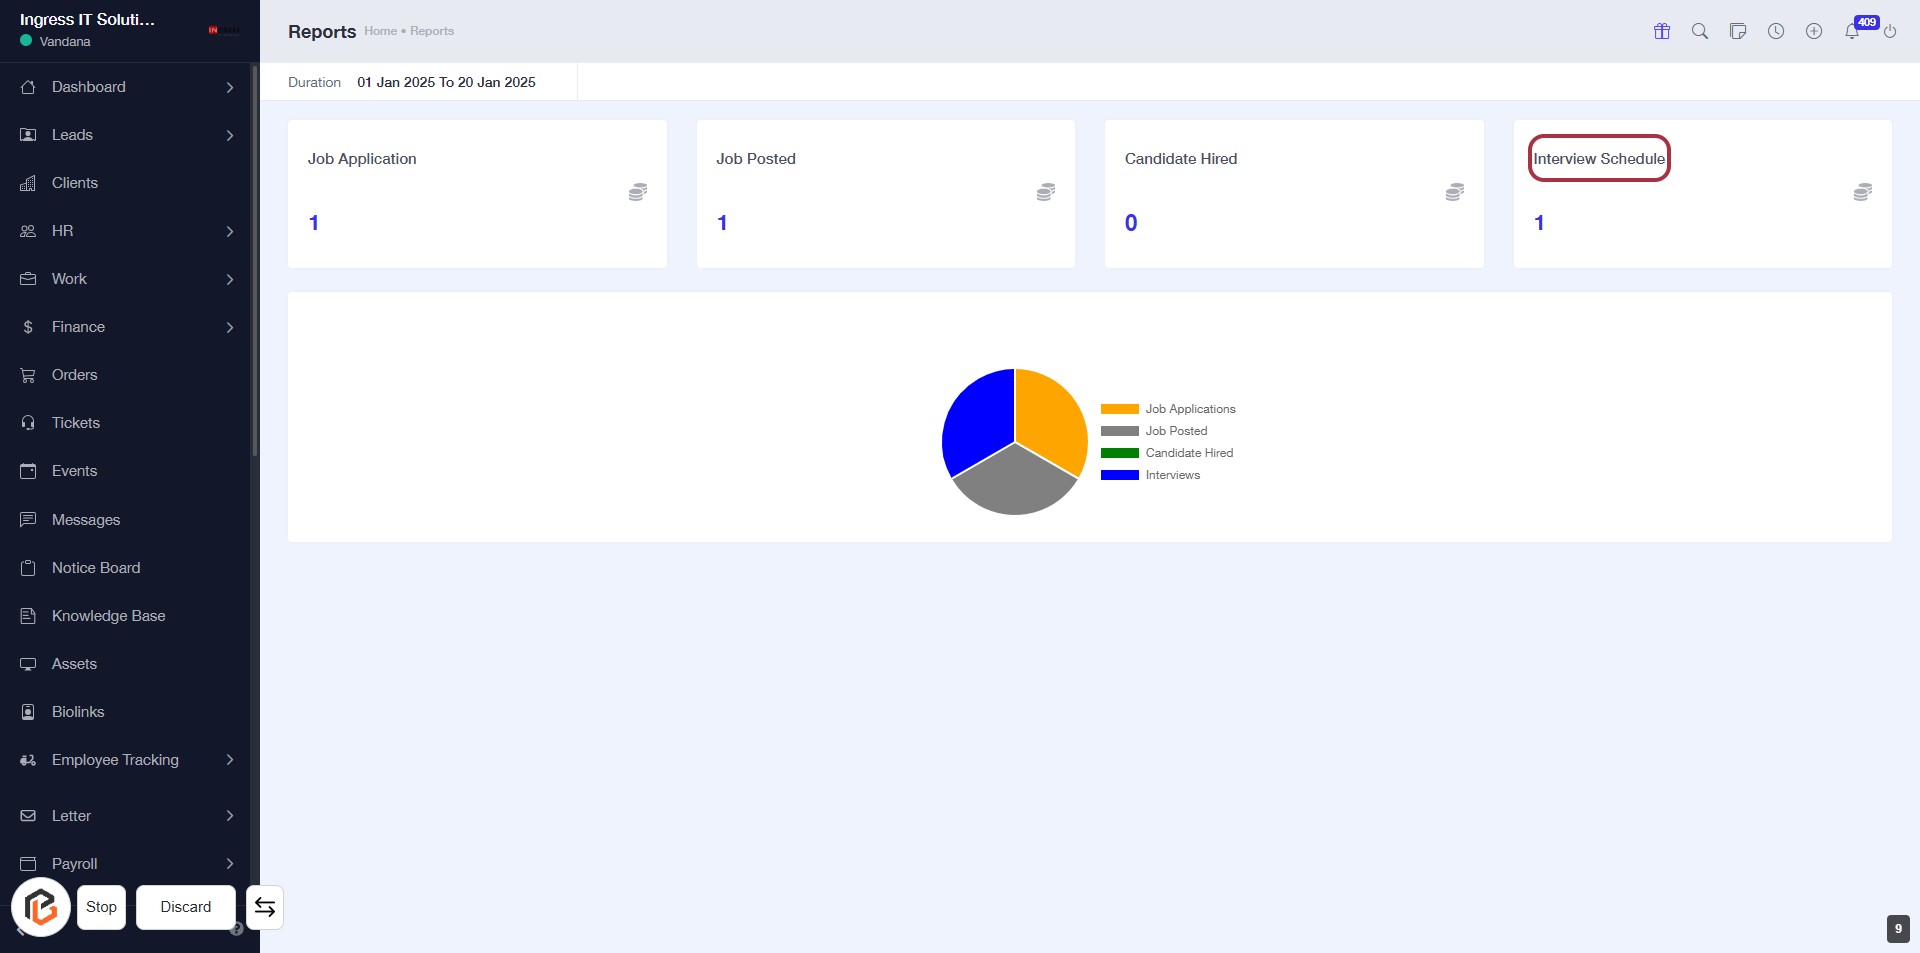
STEP 10: Click on "Interview Schedule"
- Navigate to the highlighted area labeled "Interview Schedule."
- Click on the "Interview Schedule" section to proceed.
- Ensure you have completed the previous step of adding job applications.
- Review any additional information displayed in the section after clicking.
STEP 11: Click "Add Interview Schedule"
- Navigate to the Interview Schedule section.
- Click on the Add Interview Schedule button highlighted in blue.
- Ensure all required fields are filled out (marked with an asterisk '*').
- Review any optional fields for additional information.
- Proceed with scheduling your interview.