Comprehensive Guide to Managing Job Listings: Navigating, Editing, Deleting, and Duplicating Job Entries
10 mins read · Updated 29 Sep, 2025
STEP 1: Click on "Recruit" to Access Job Listings
- Navigate to the sidebar menu and click on the "Recruit" link.
- This will take you to the Jobs section where you can view job listings.
- Ensure to check the job titles, recruiters, and their statuses for further actions.

STEP 2: Click on "Jobs" to Access Job Listings
- Click on the "Jobs" link in the sidebar menu.
- This will take you to the job listings page where you can view and manage job postings.
- Look for the highlighted area to ensure you are on the correct page.
- You can add new job listings or manage existing ones from this section.

STEP 3: Click on "Option Menu" to Access Job Actions
- Navigate to the highlighted area in the "Actions" column.
- Click on the three-dot menu icon to reveal additional options for the selected job.
- Ensure you have selected a job from the list before clicking.
- This action allows you to manage job listings effectively.

STEP 4: CLICK on "View" to Access Job Details
- Locate the "View" link in the Actions column of the job table.
- Click on the "View" link to open the detailed view of the selected job.
- Ensure you have the necessary permissions to view job details.
- Review the information presented in the job detail view for further actions.
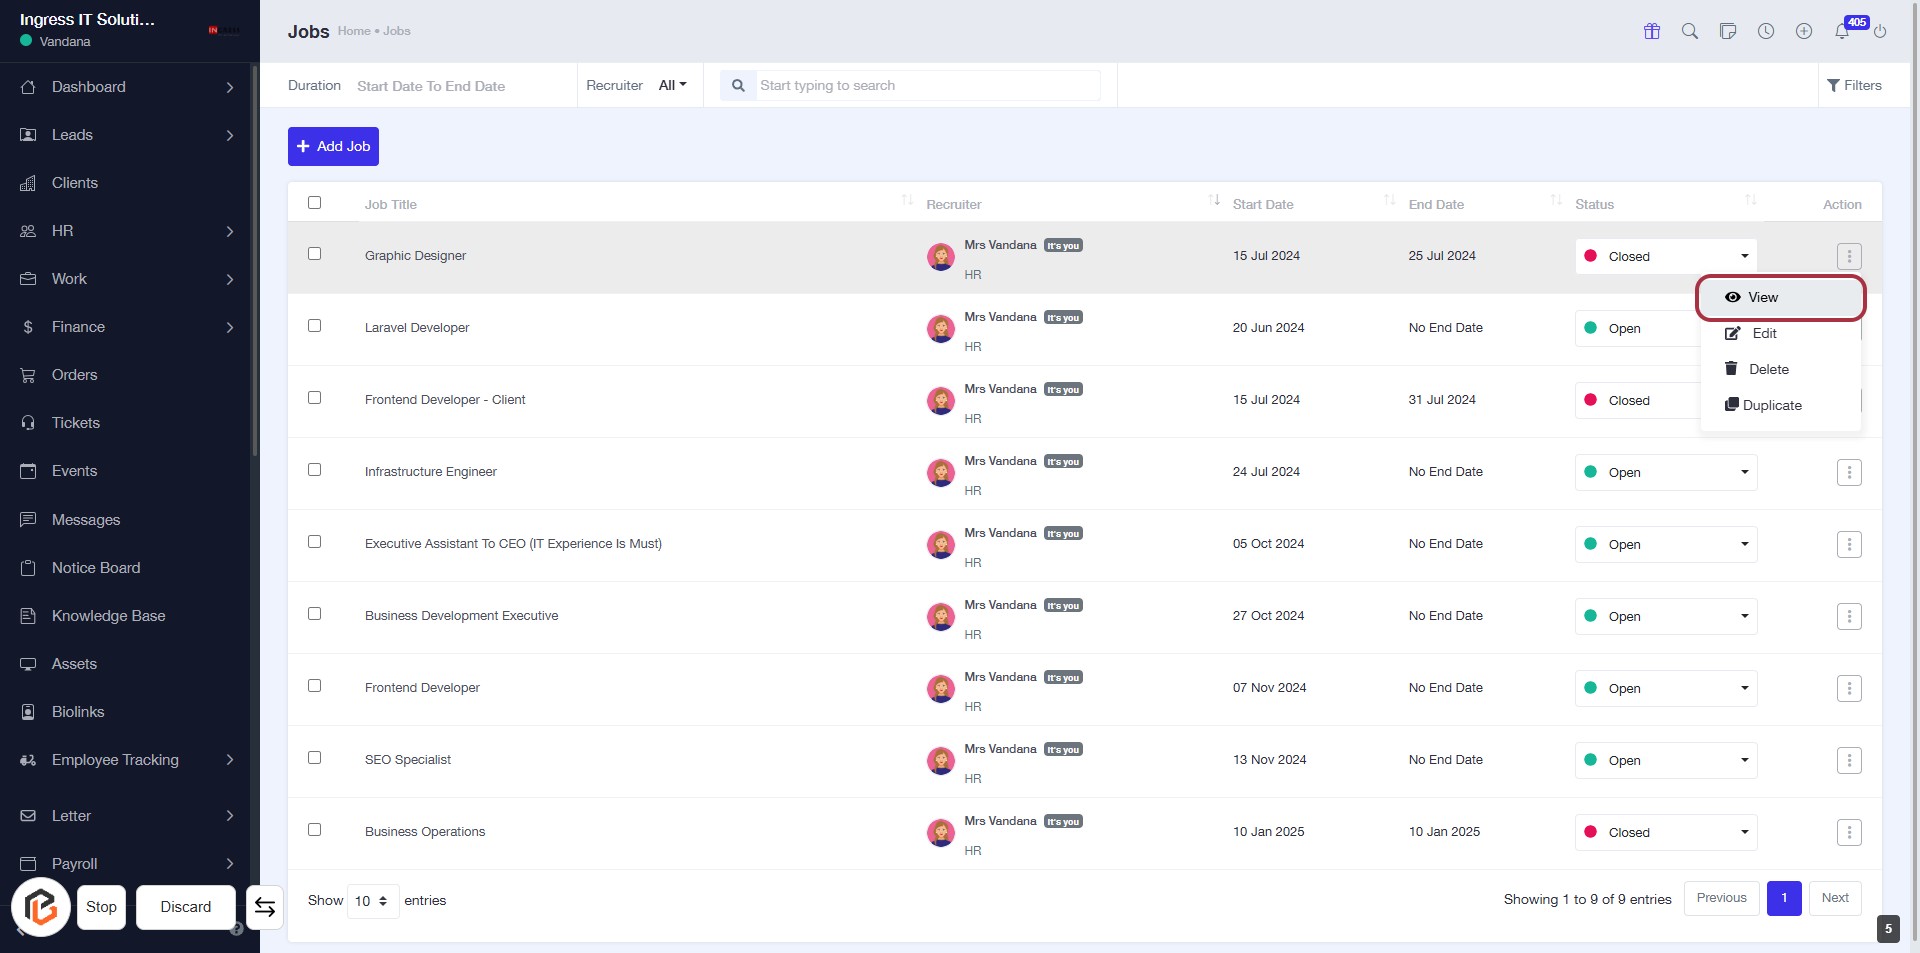
STEP 5: CLICK on "Option Menu"
- Locate the highlighted area in the "Actions" column of the job list.
- Click on the three-dot menu icon to access additional options for the selected job.
- Review the available options that appear in the dropdown menu for further actions.
- Ensure to select the appropriate action based on your needs.

STEP 6: CLICK on "Edit"
- Navigate to the "Jobs" section on the screen.
- Locate the job entry you wish to edit.
- Click on the "Edit" option in the action column for the selected job.
- This will open the editing interface for the job details.
- Ensure all required fields marked with '*' are filled out before saving changes.
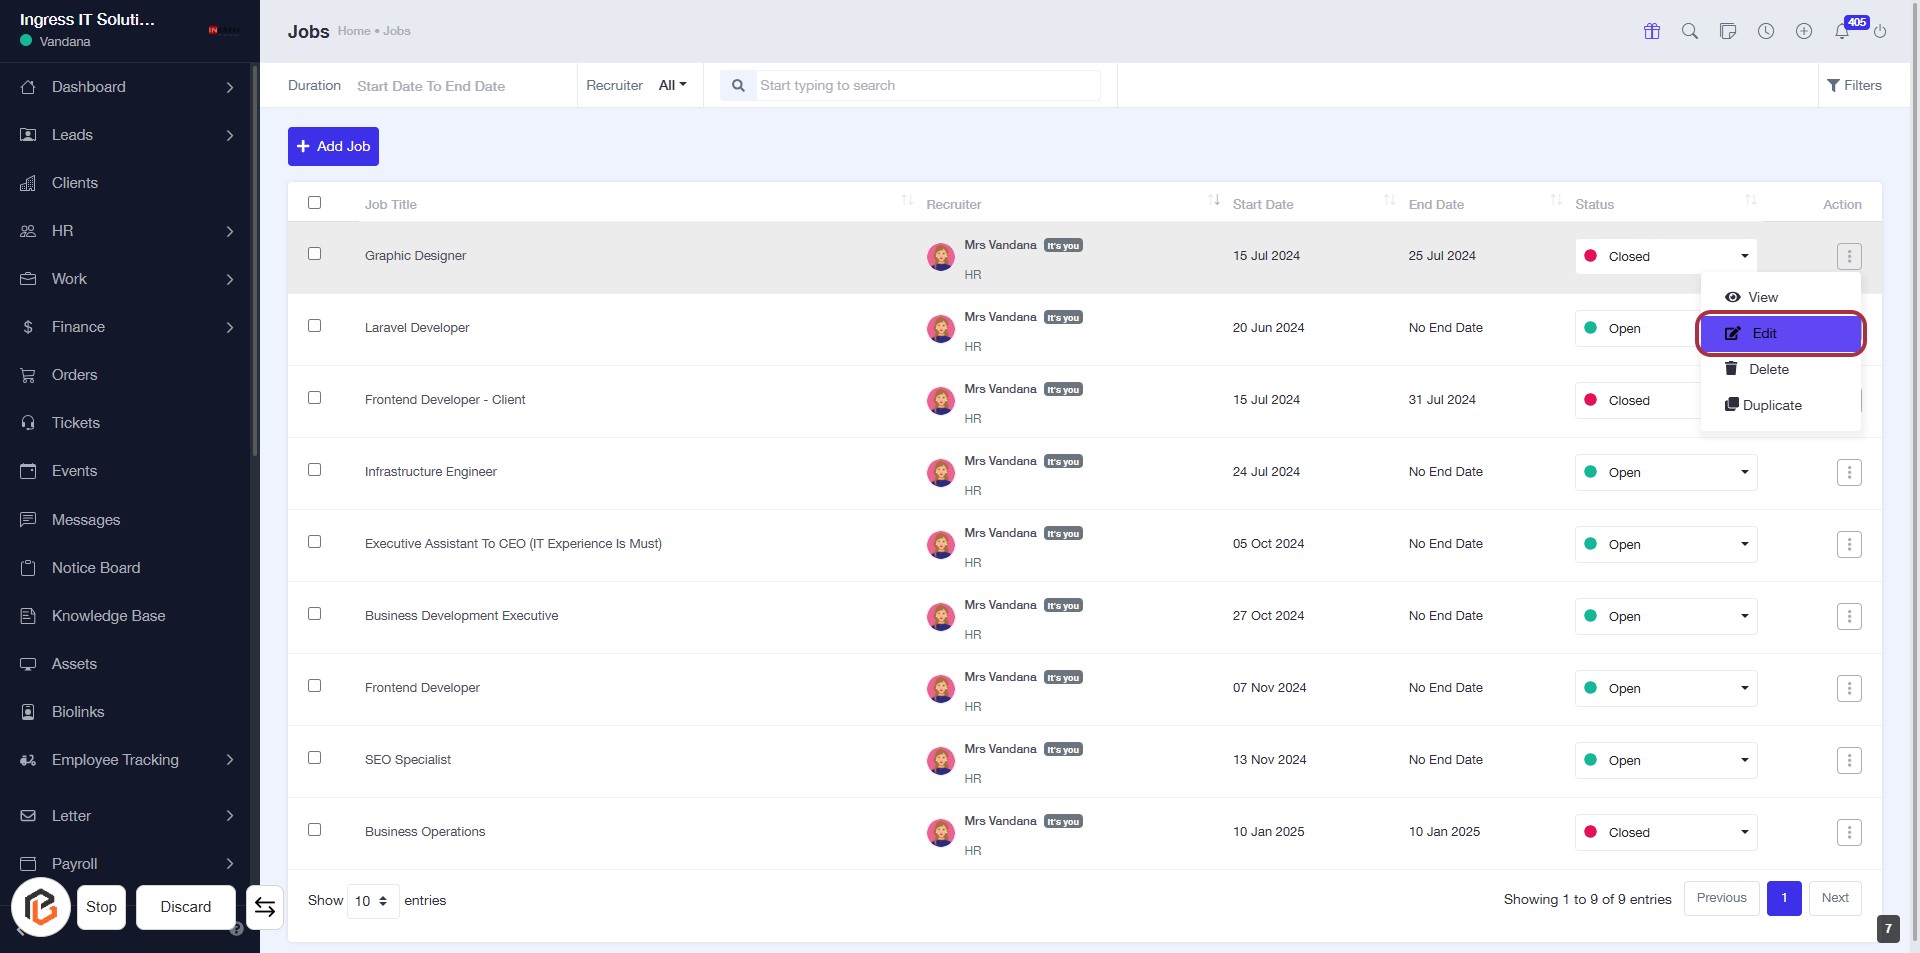
STEP 7: CLICK on "Option Menu"
- Navigate to the "Jobs" section on the screen.
- Locate the job entry you wish to manage.
- Click on the three-dot menu (highlighted area) in the "Action" column for that job.
- This will open the option menu for further actions like editing or deleting the job.
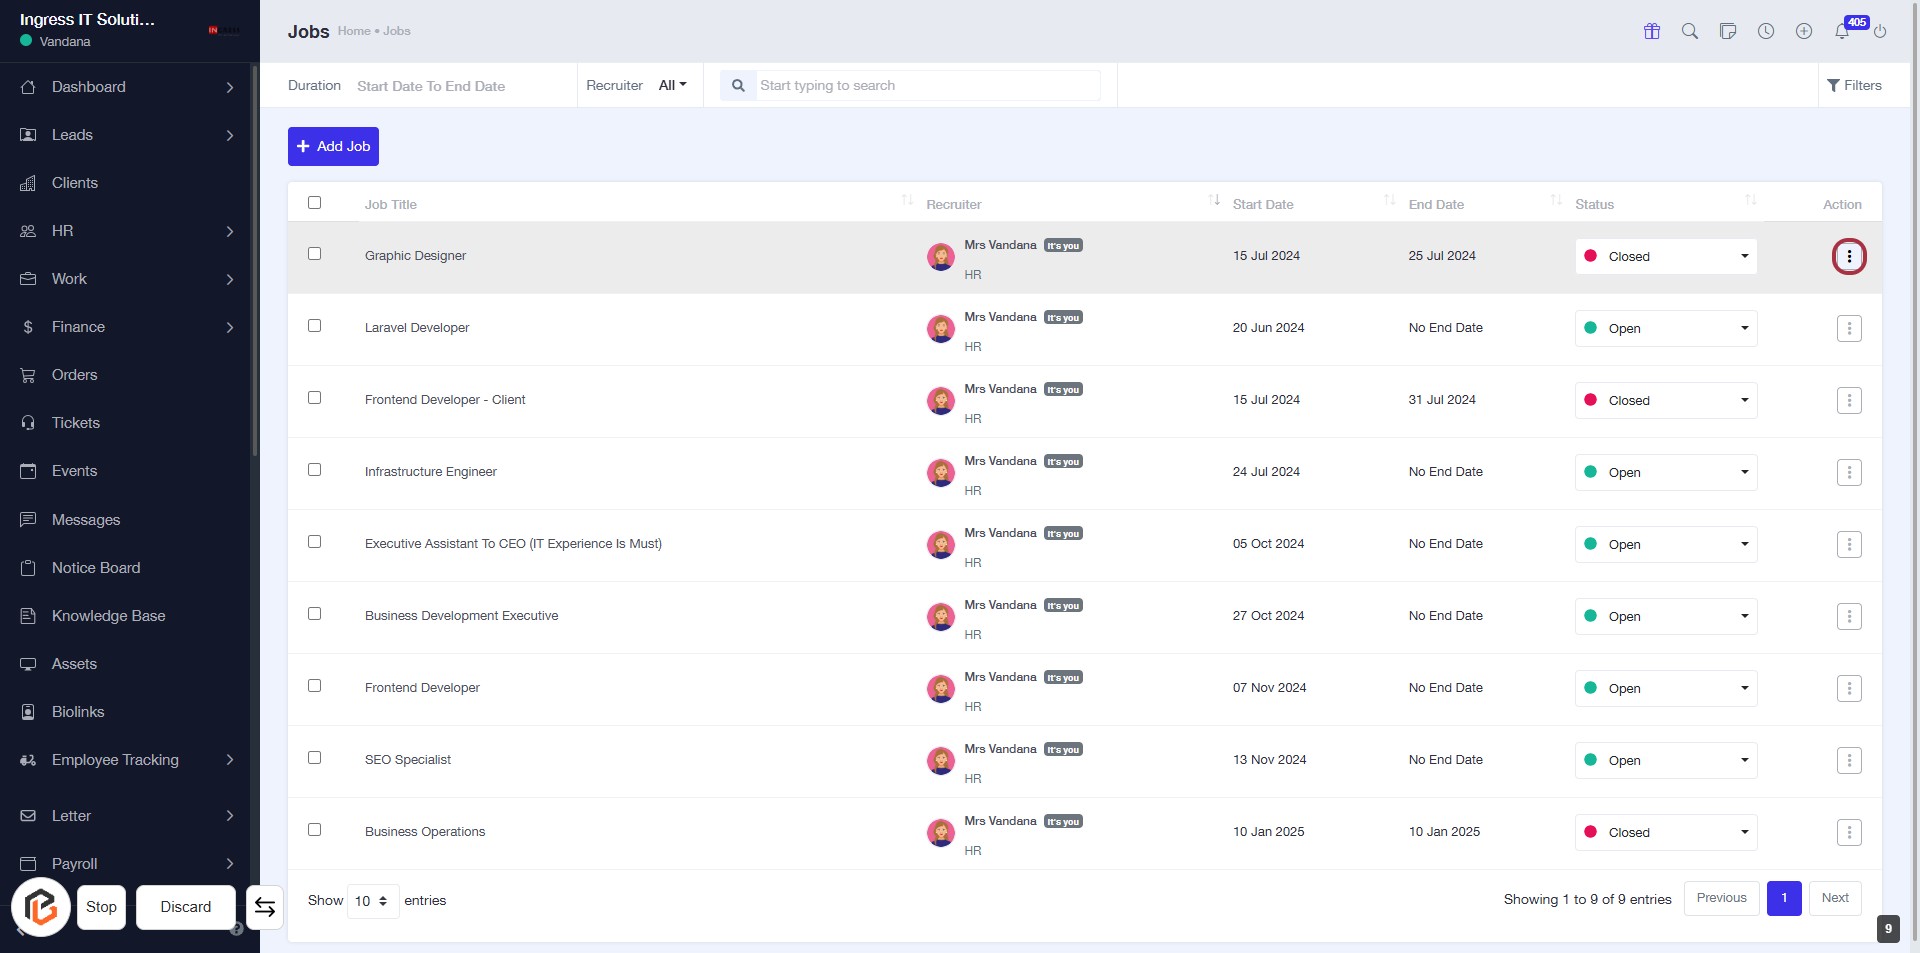
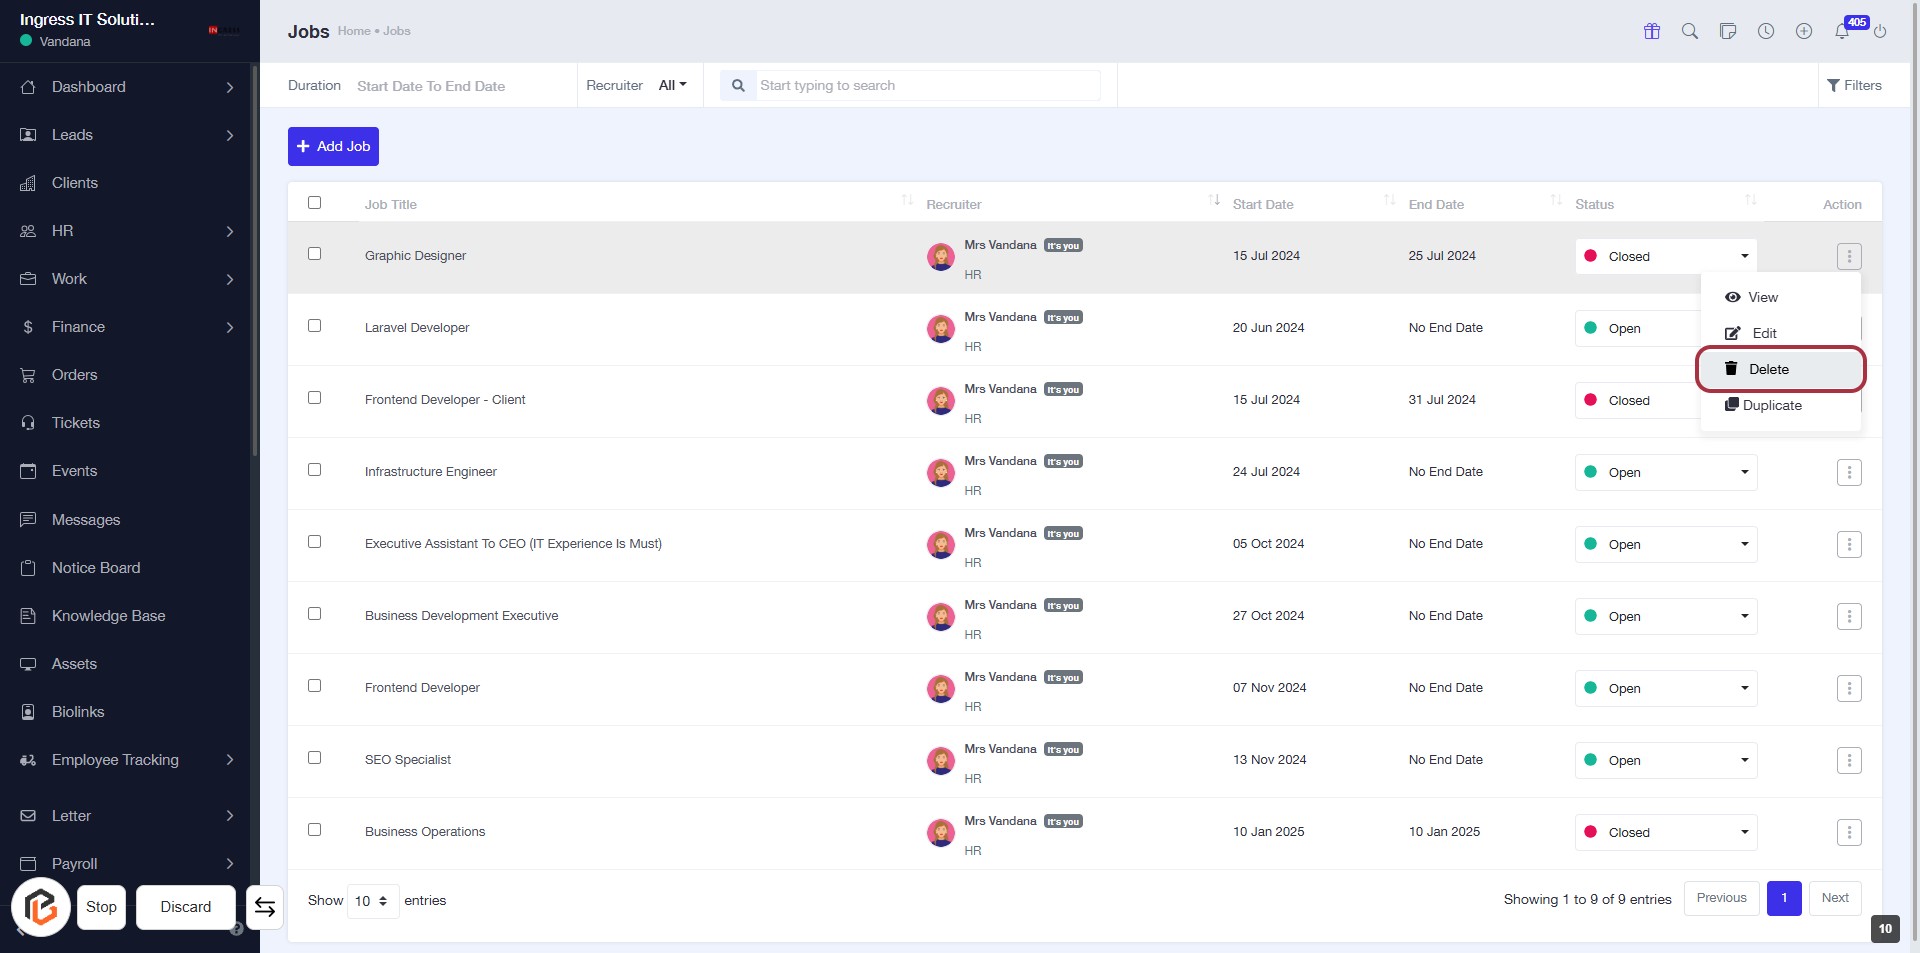
STEP 8: CLICK on "Delete"
- Navigate to the "Jobs" section.
- Locate the job entry you wish to delete.
- Click on the "Option Menu" (three dots) next to the job.
- Select "Delete" from the dropdown menu.
- Confirm the deletion if prompted.
Ensure you have selected the correct job before proceeding, as this action cannot be undone.
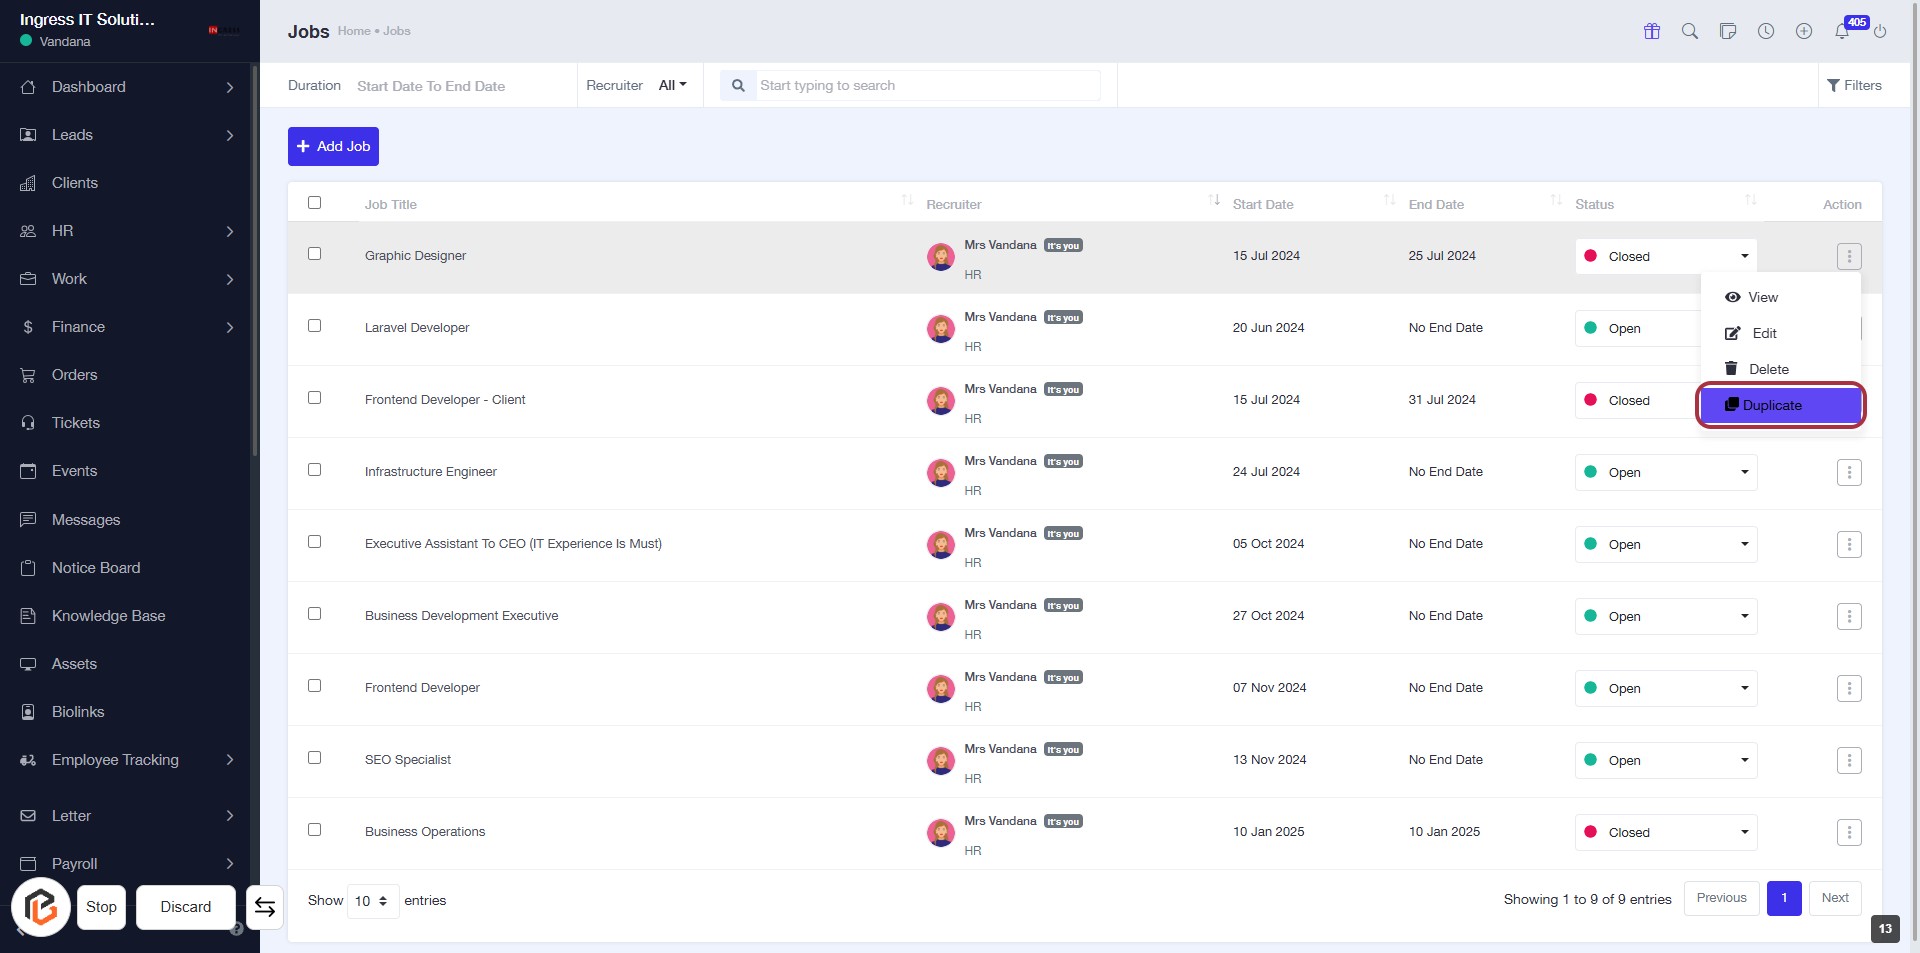
STEP 9: Click on "Option Menu" to Access Job Actions
- Locate the job entry you wish to manage.
- Click on the three-dot icon (Option Menu) highlighted in red.
- This will open a dropdown menu with various actions for the selected job.
- Choose the desired action, such as "Duplicate" or others available.

STEP 10: Click on "Duplicate" to Create a Copy of the Job
- Navigate to the "Jobs" section.
- Locate the job entry you wish to duplicate.
- Click on the "Duplicate" option in the Actions column.
- A new job form will appear, allowing you to edit details as needed.